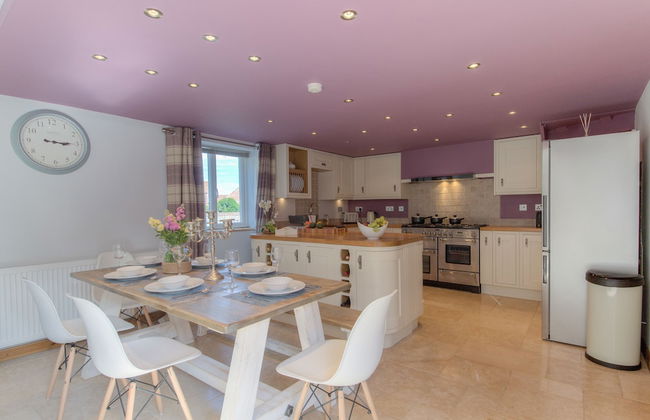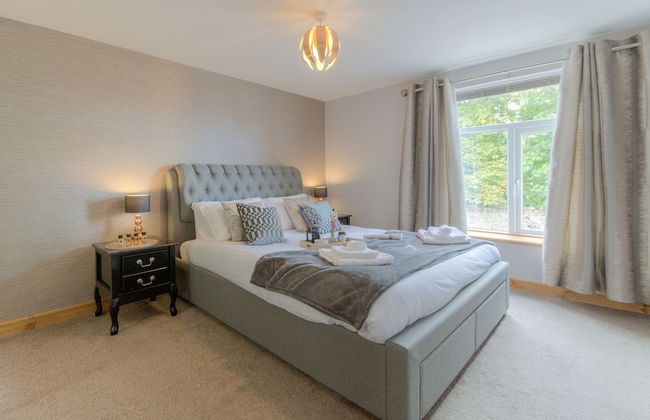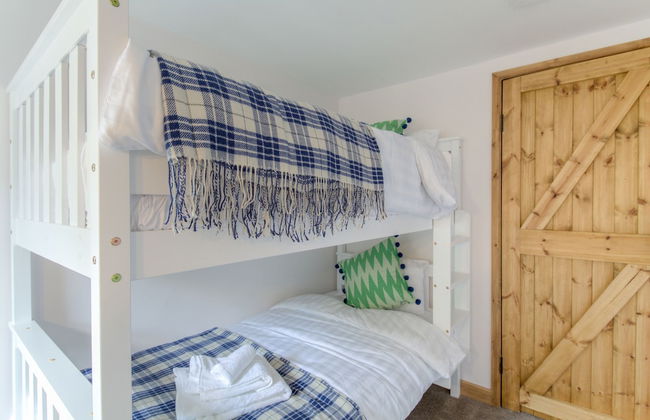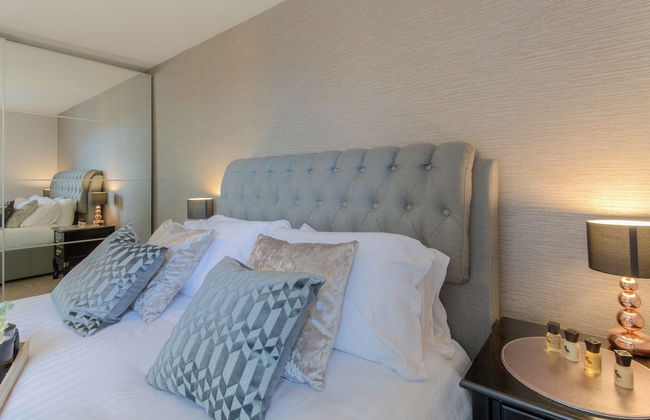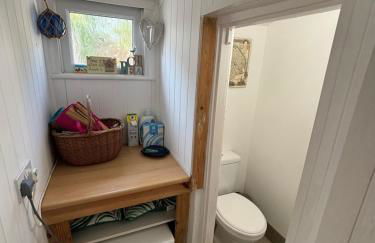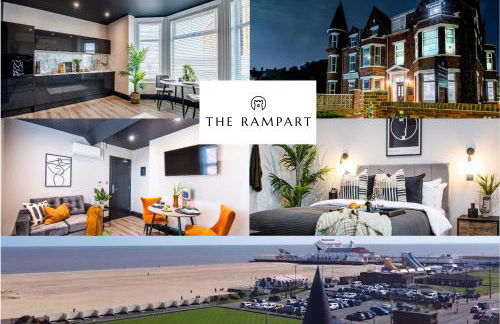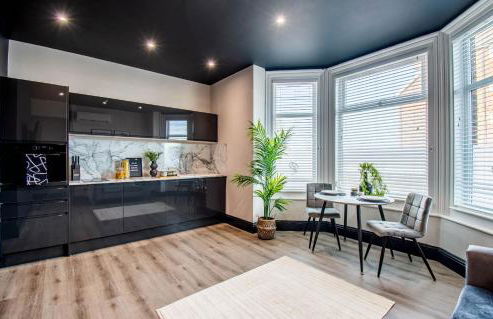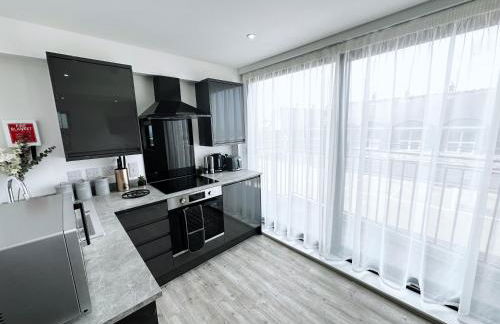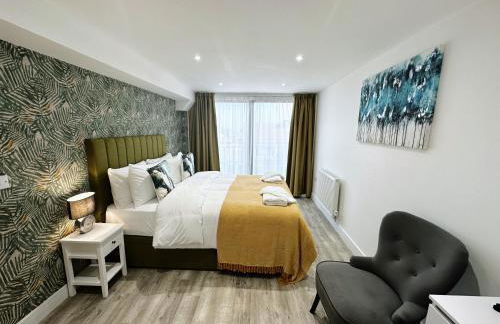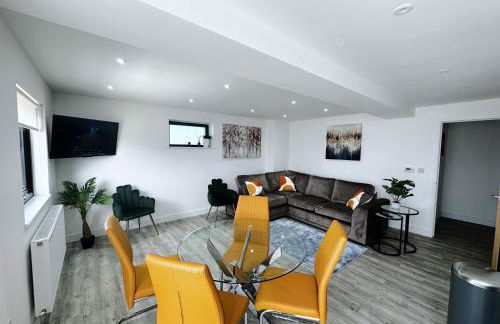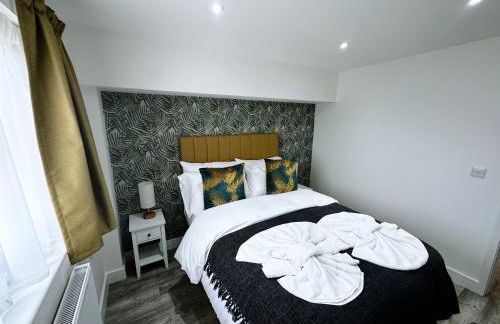


624 Apartamentos en Great Yarmouth
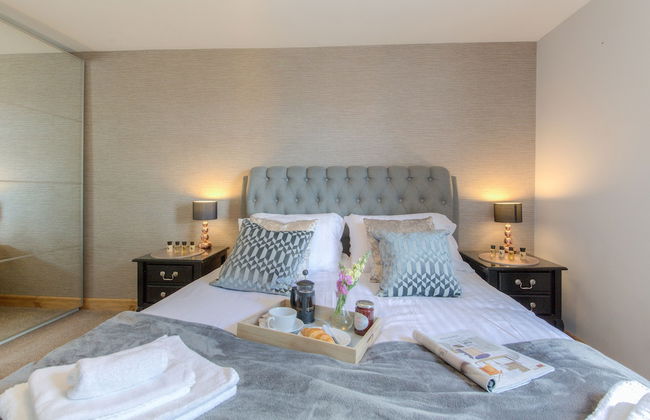
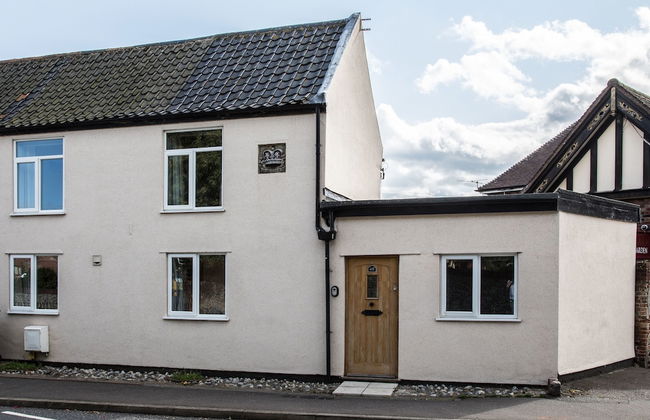
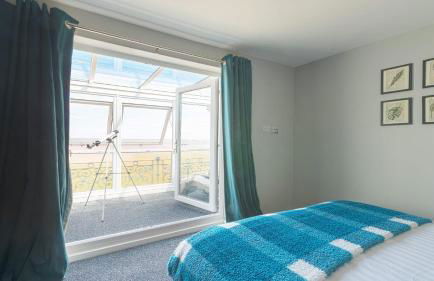
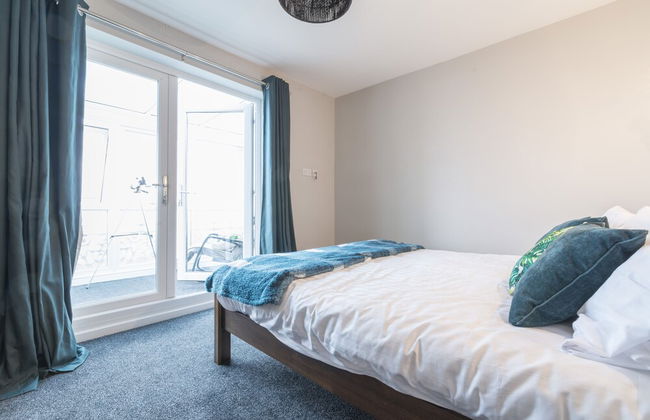
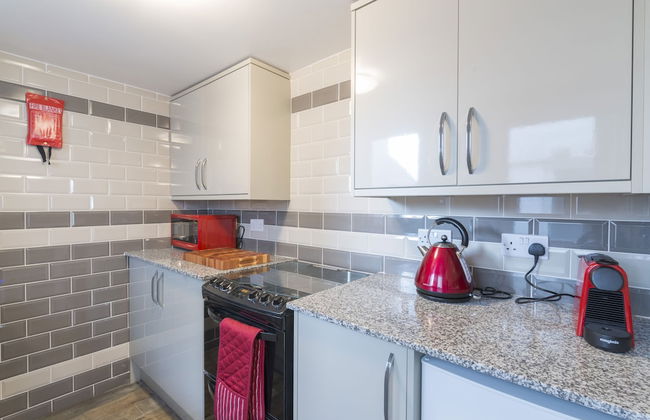
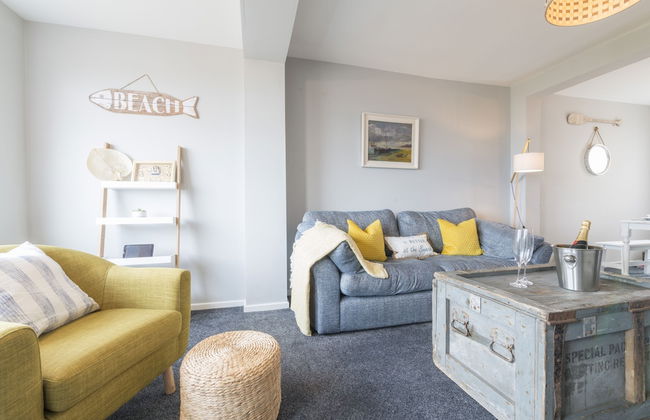
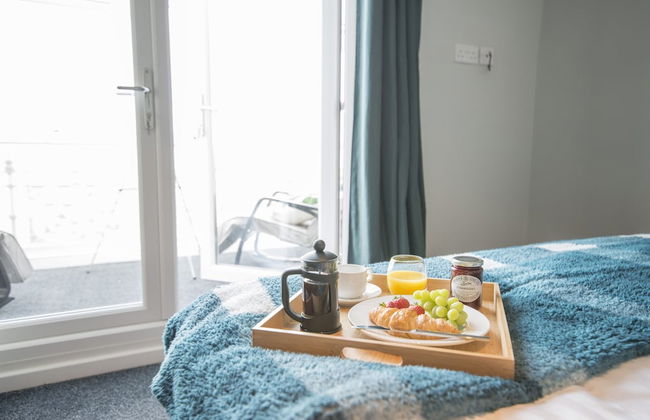
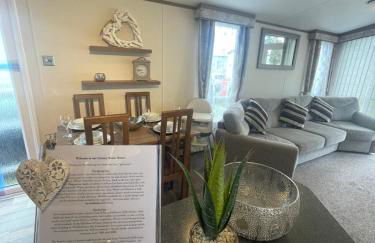
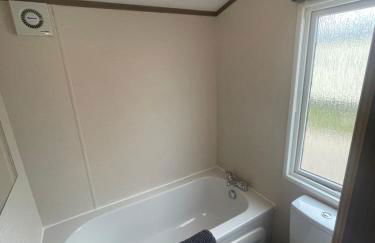
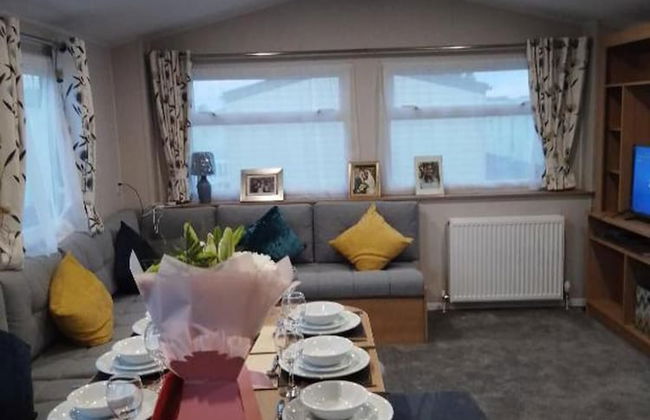
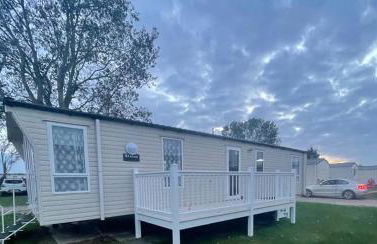
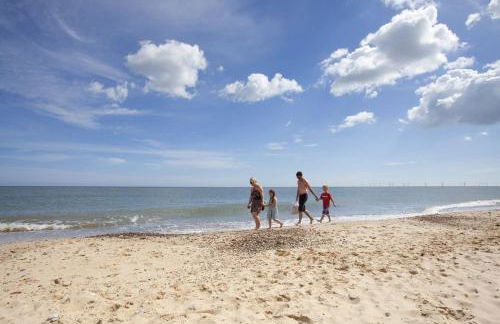
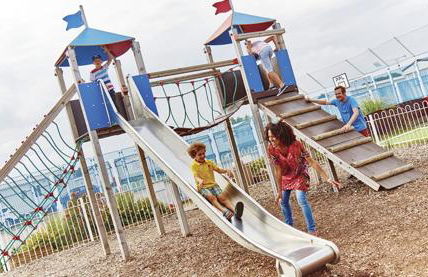
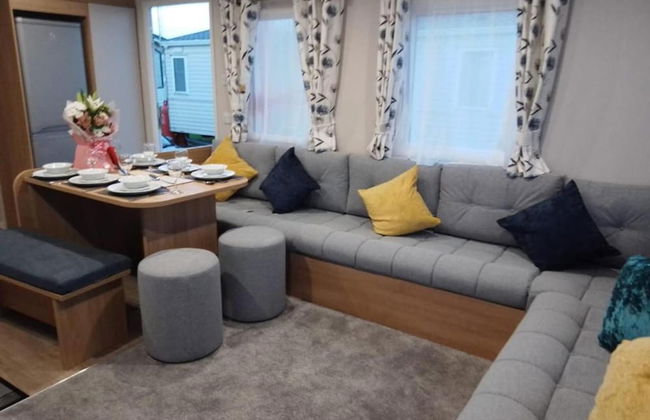
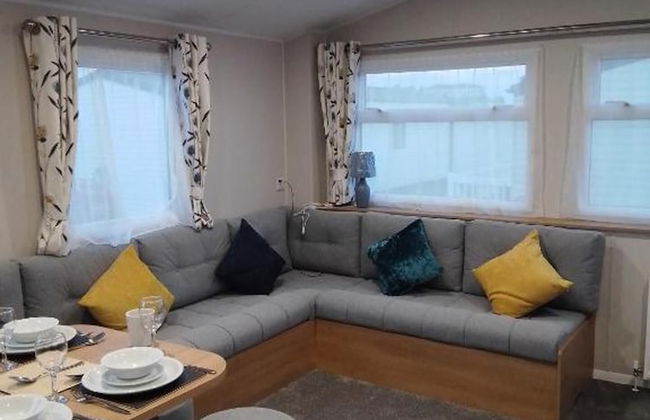
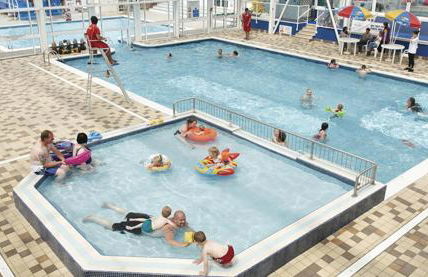
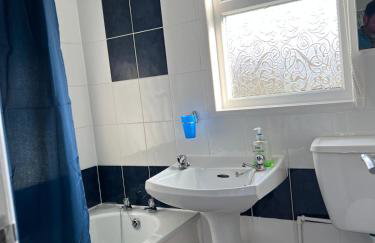
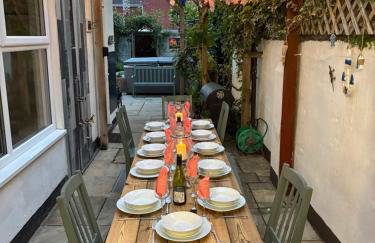
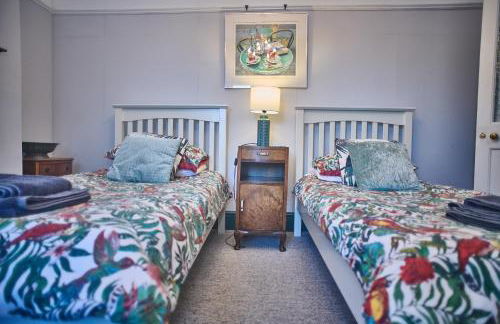
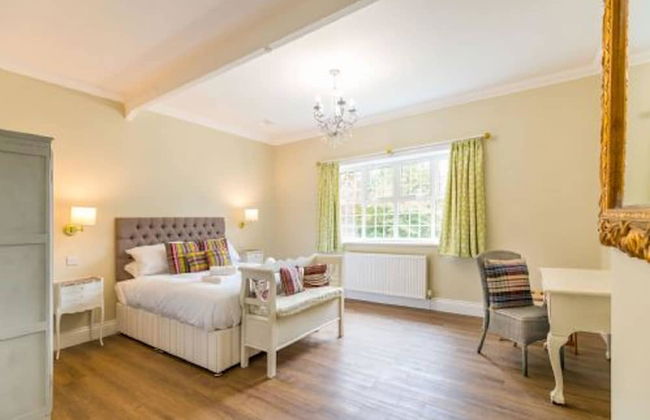
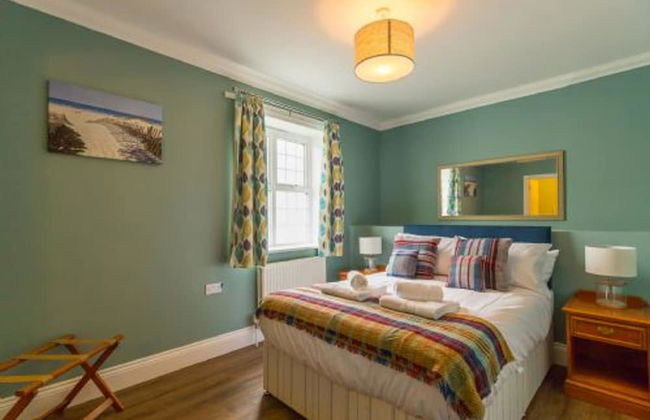
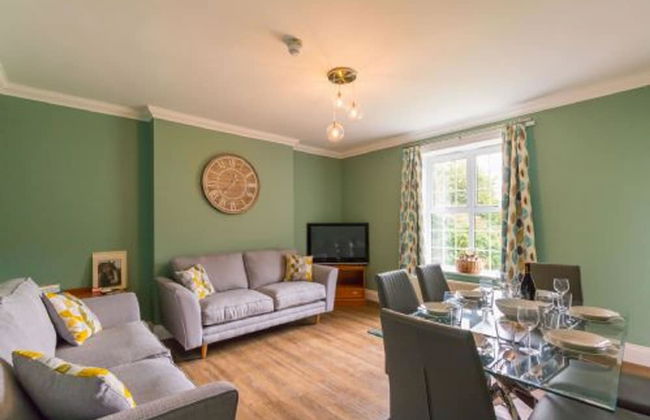
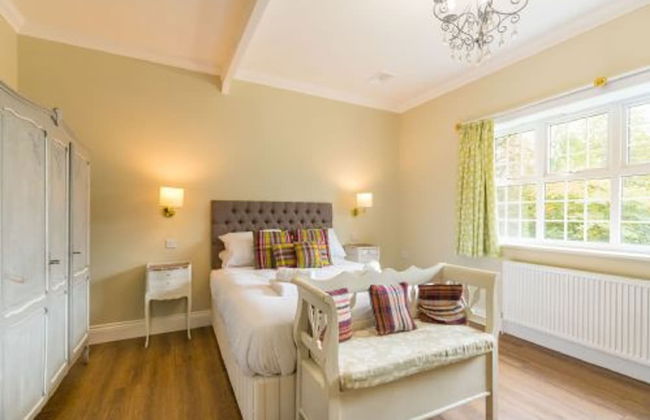
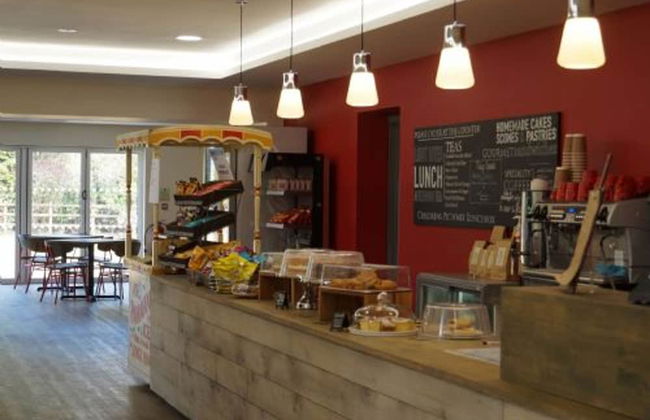
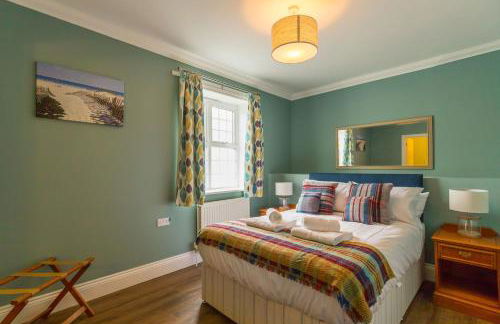
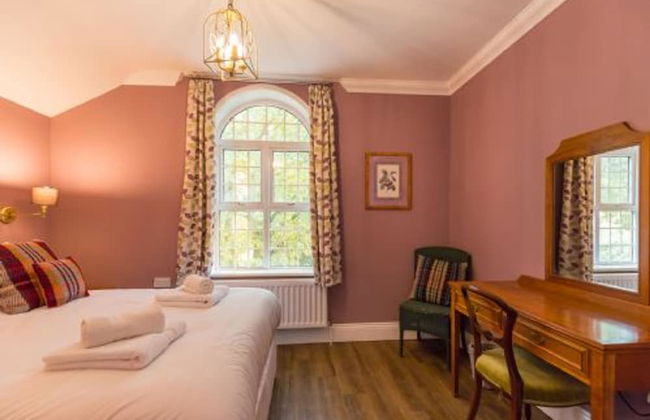
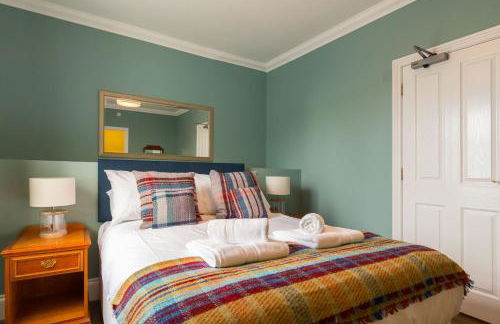
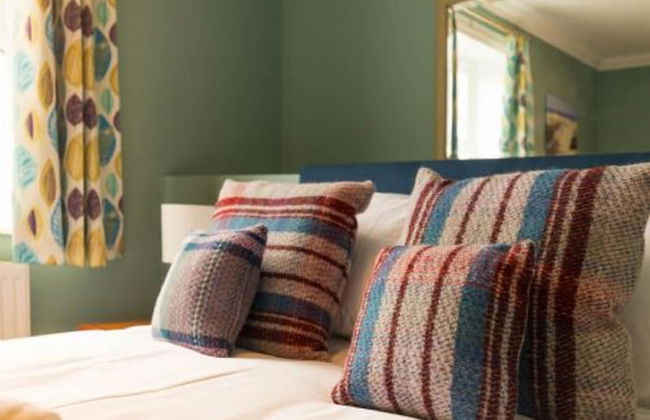
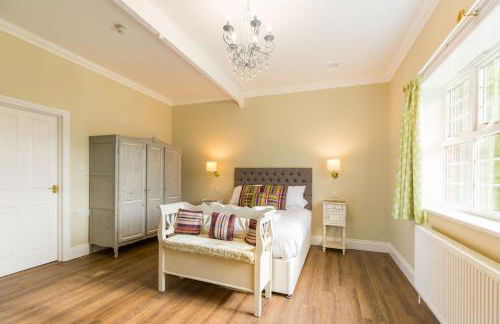
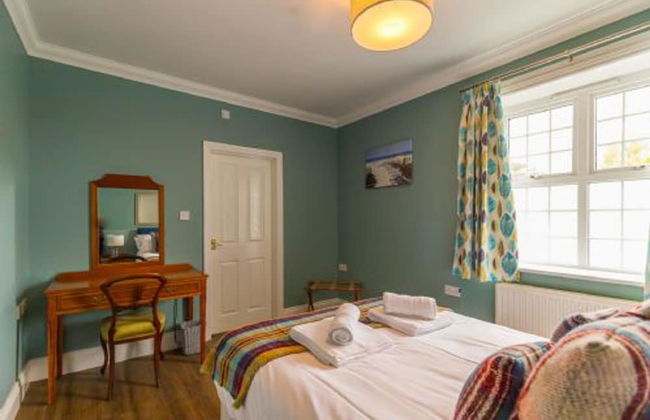
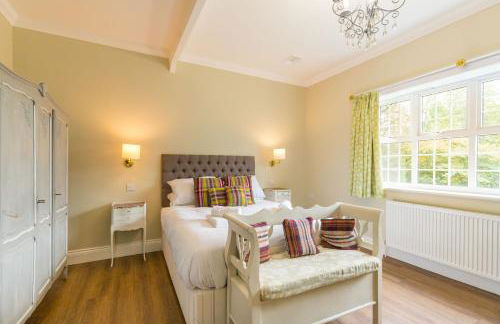
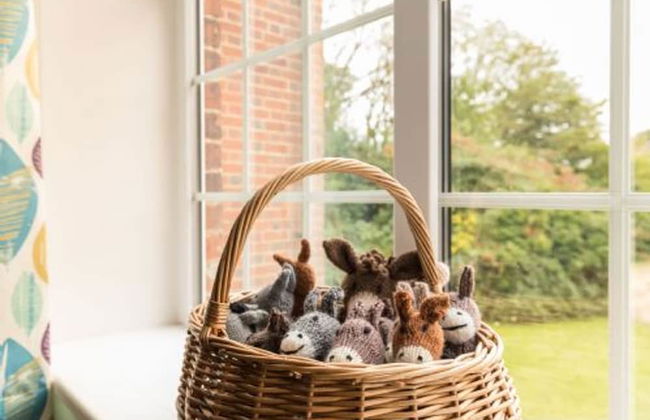
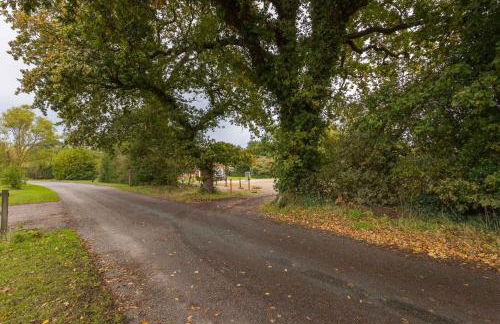
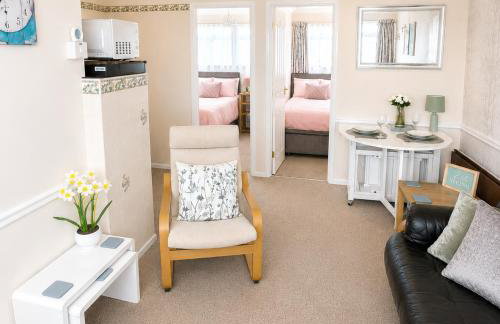
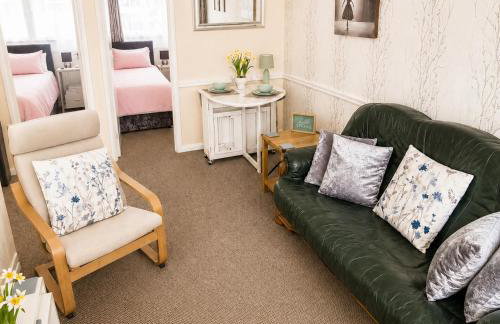
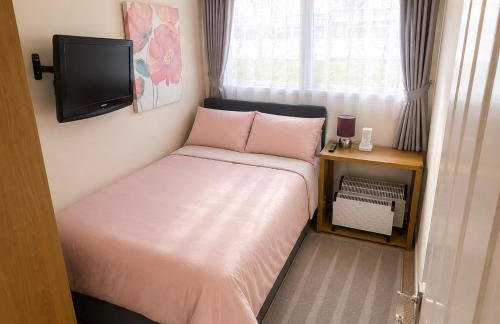
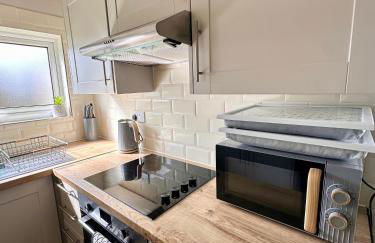
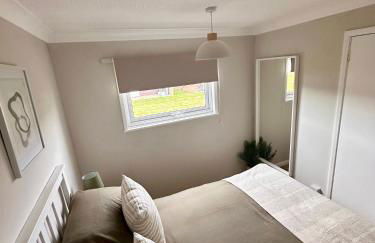
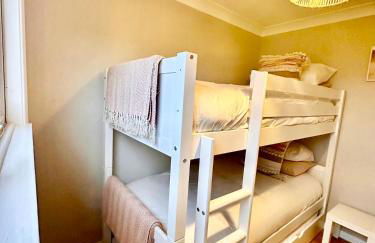
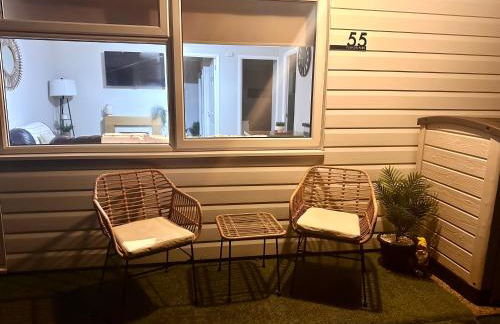
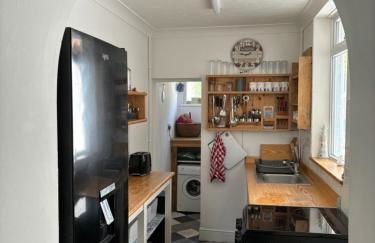
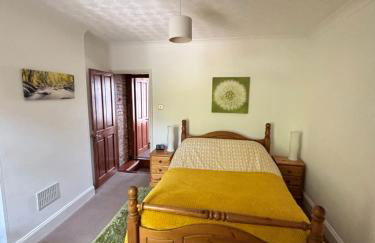
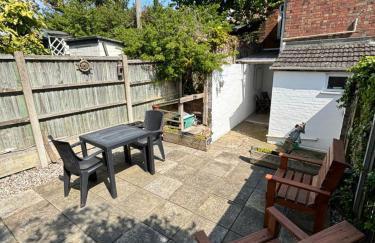
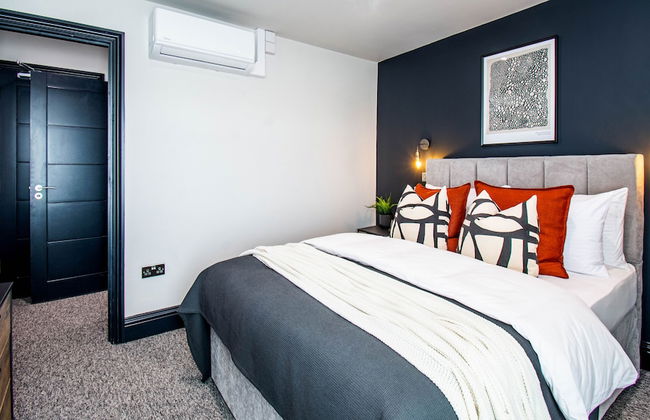
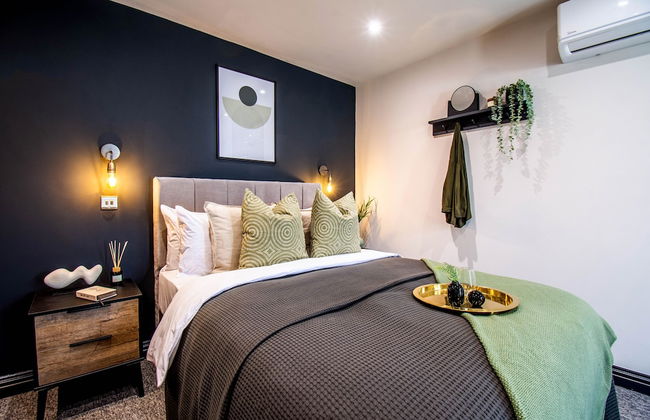
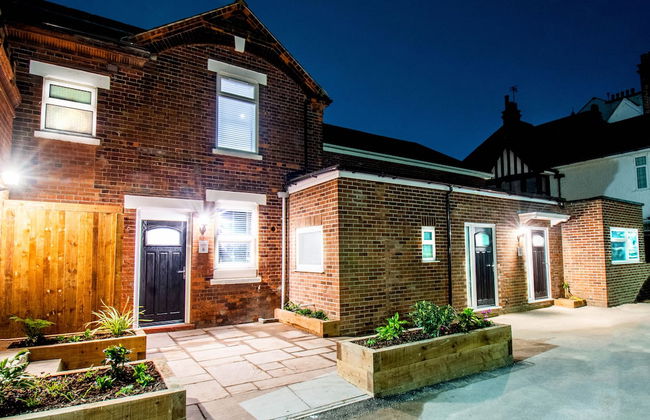
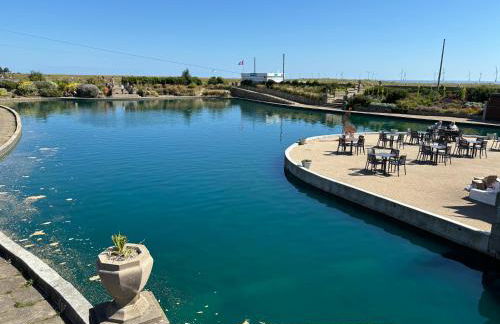
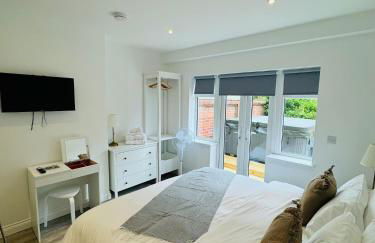
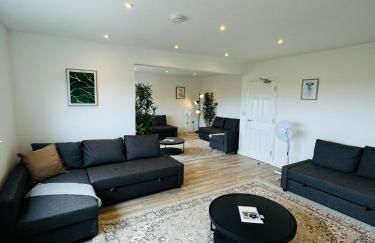
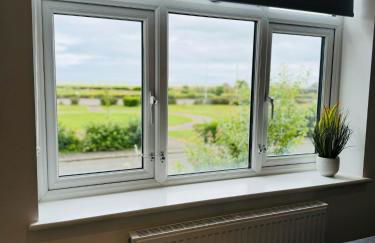
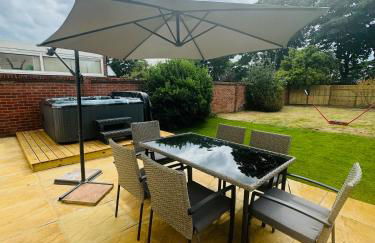
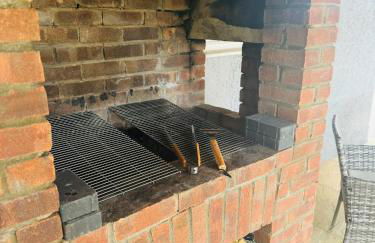
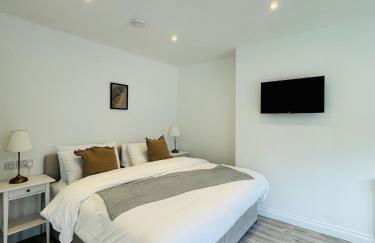
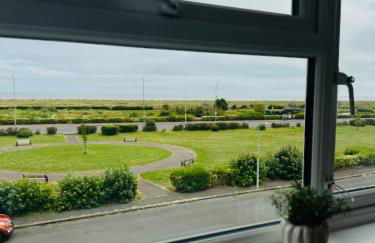
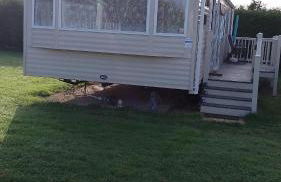
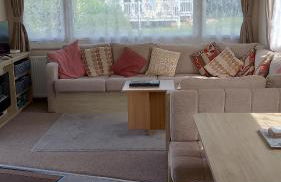
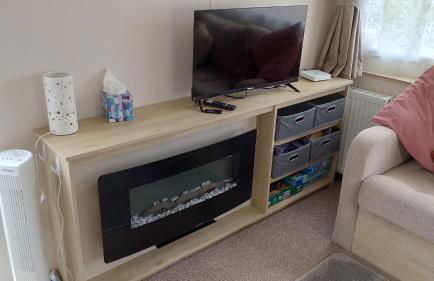
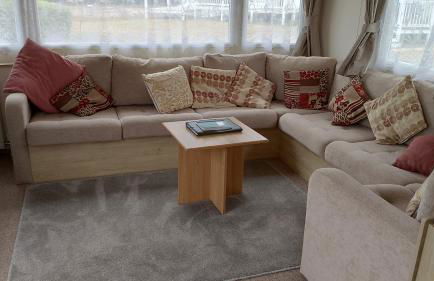
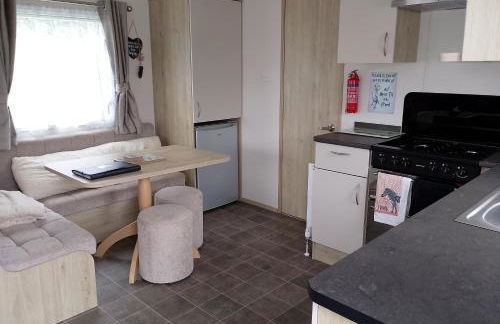
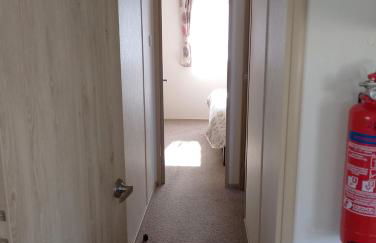
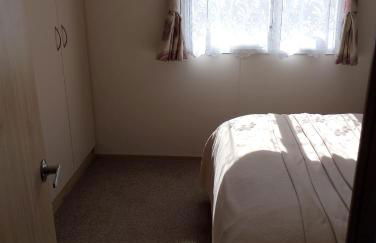
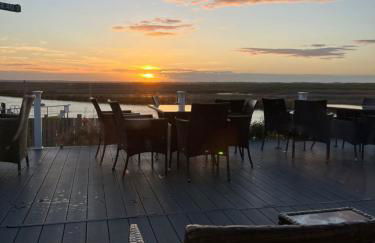
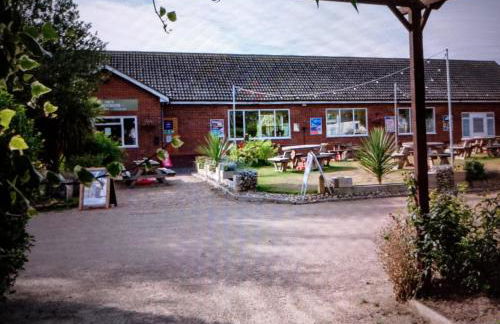
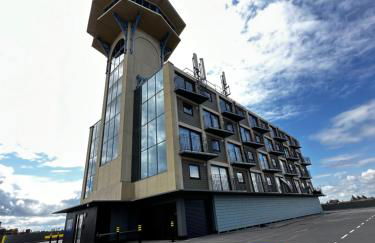
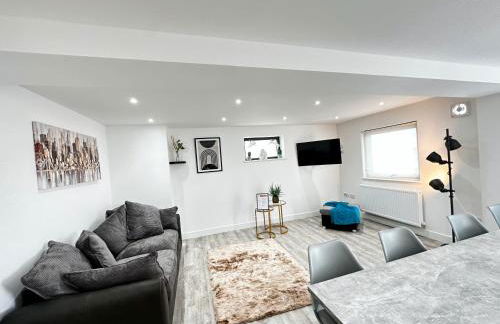
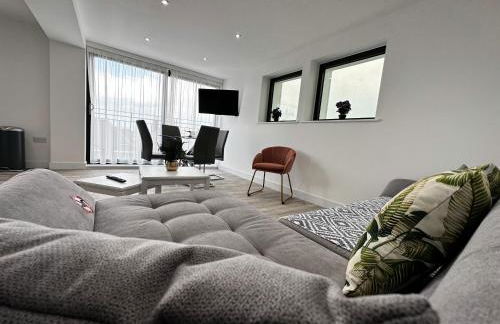
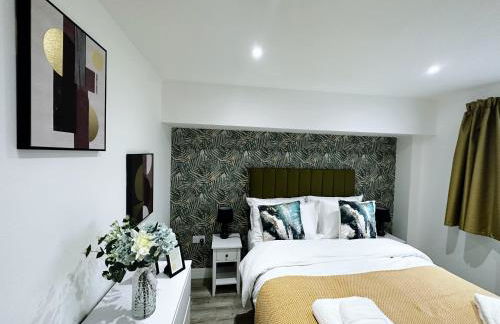
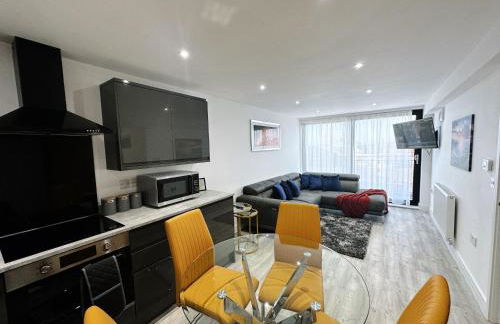
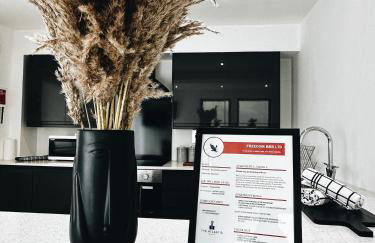
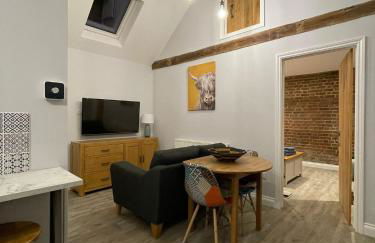
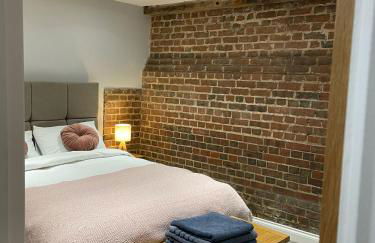
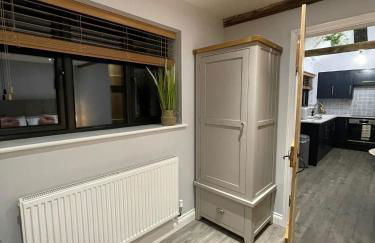
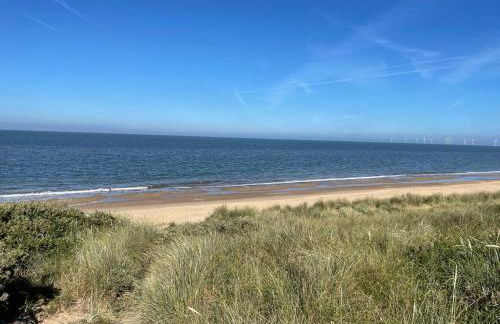
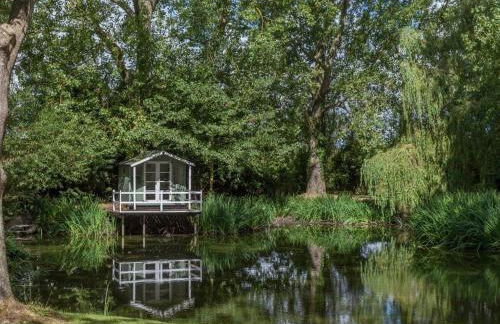
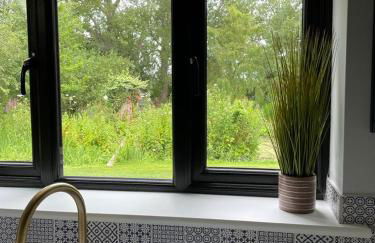
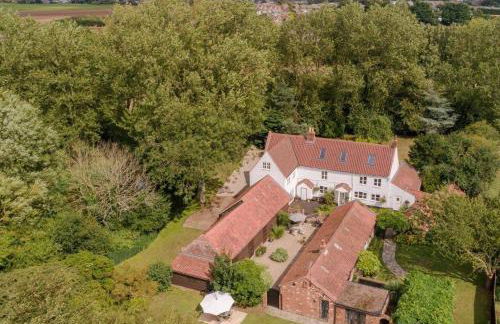
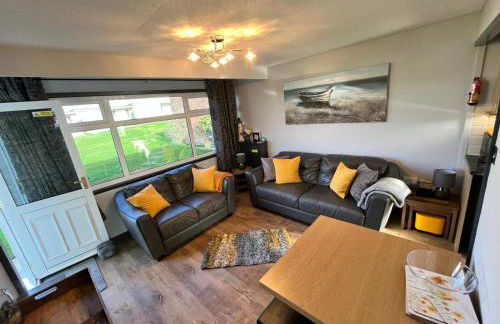
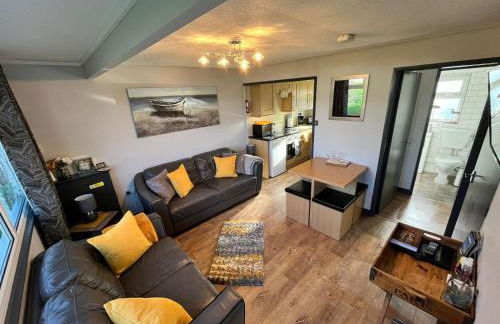
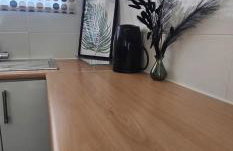
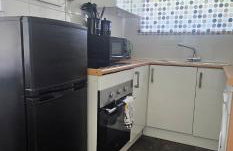
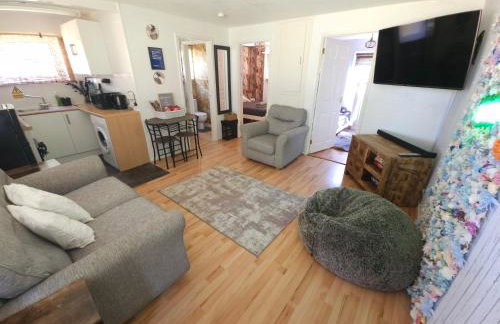
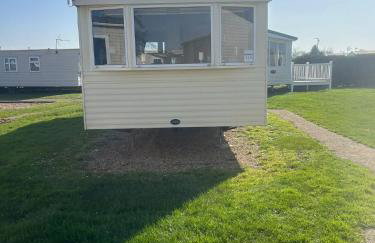
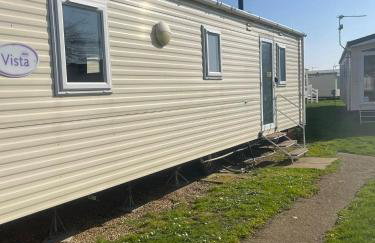
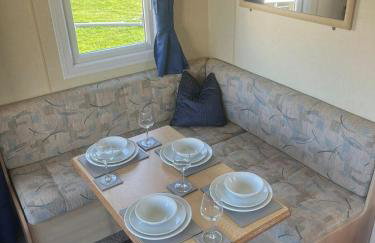
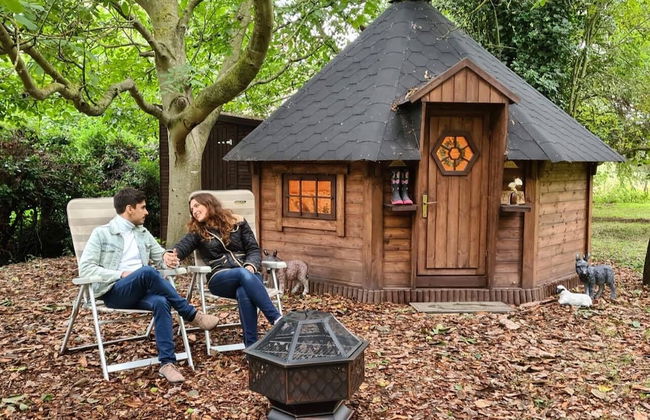
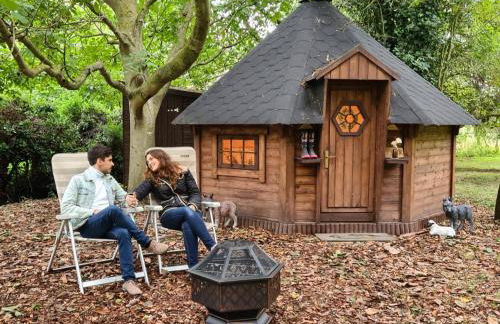
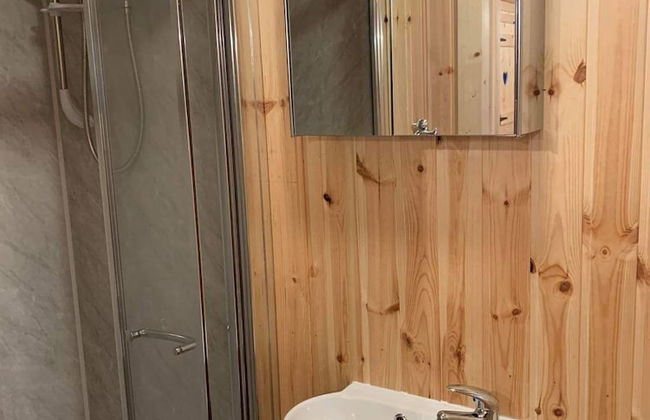
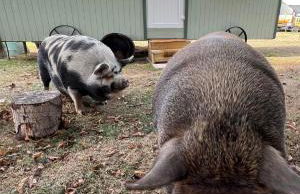
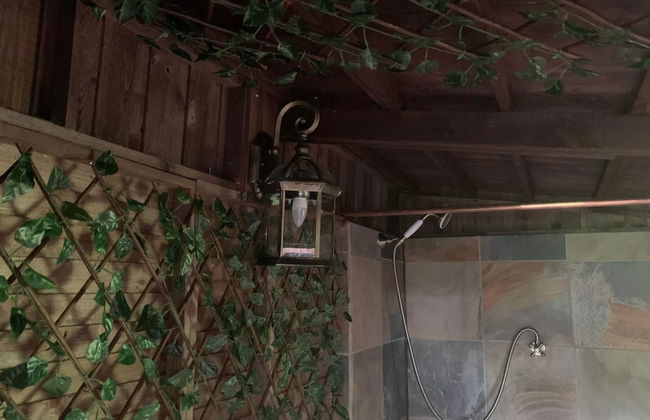
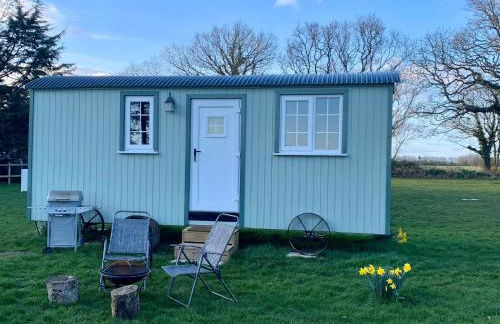
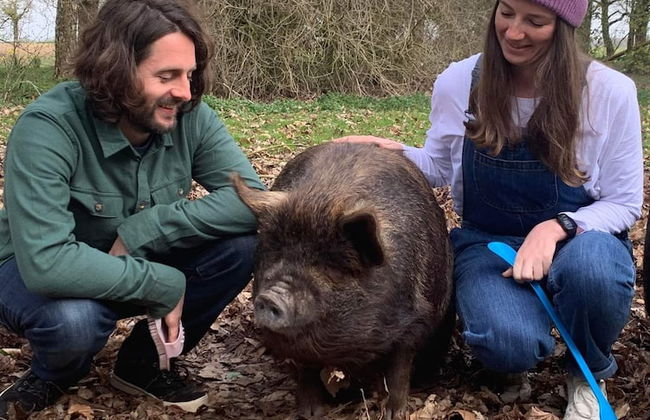
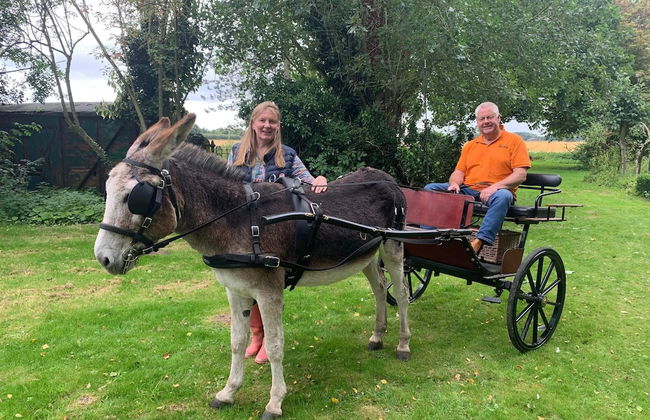
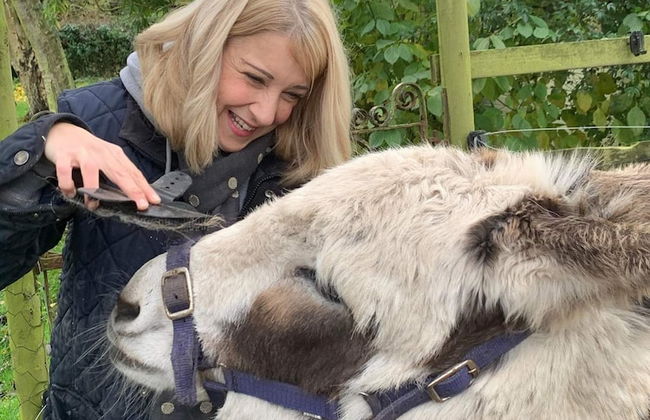
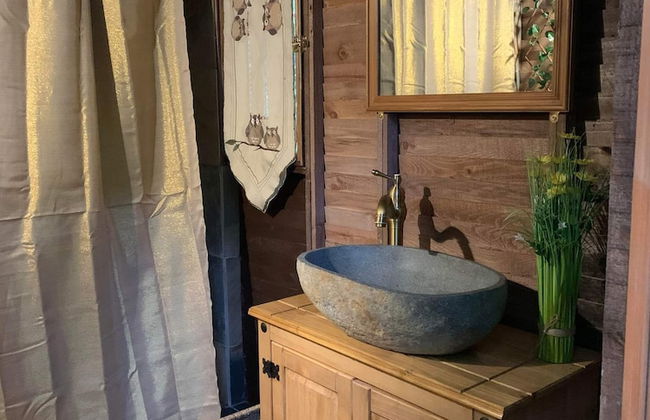
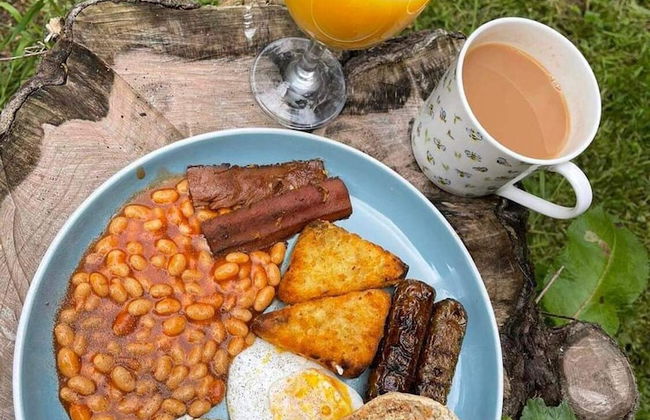
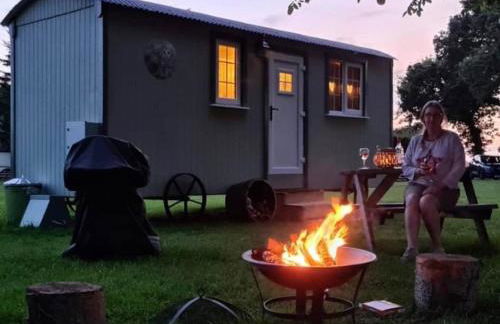
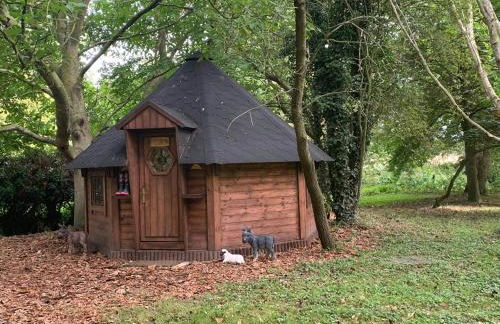
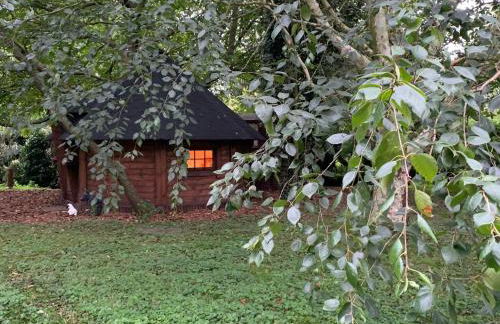
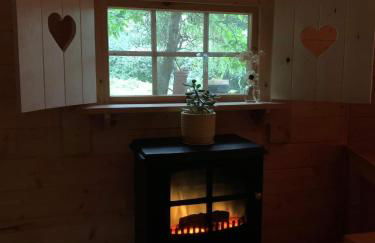
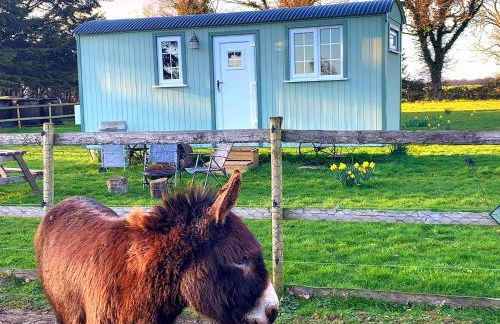
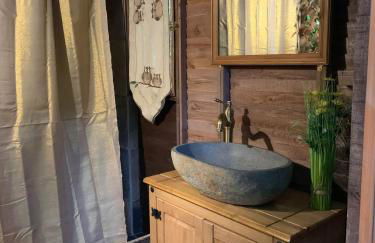
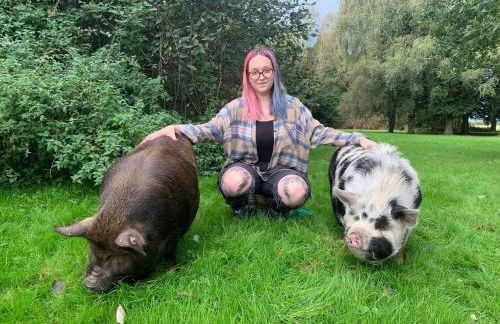
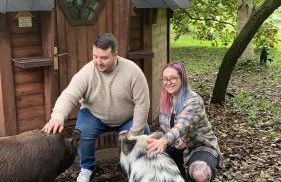
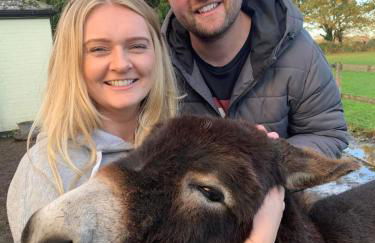
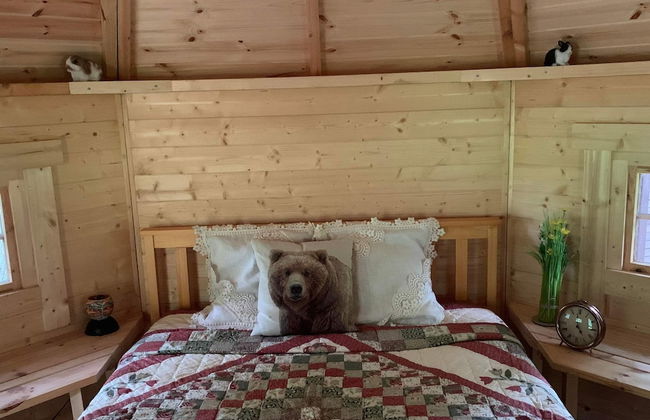
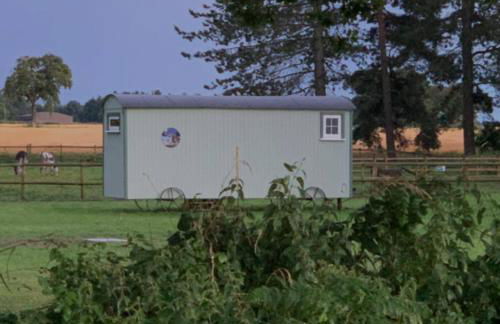
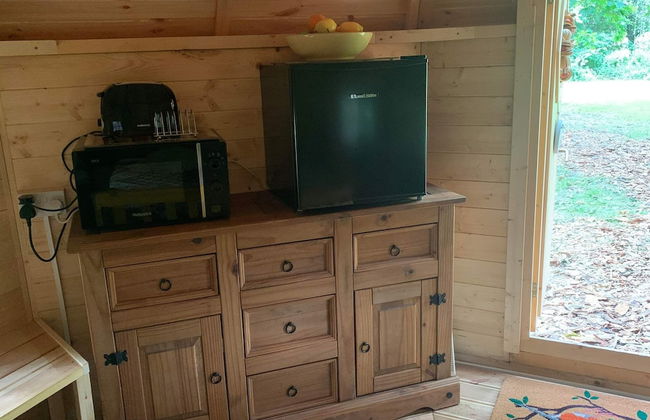
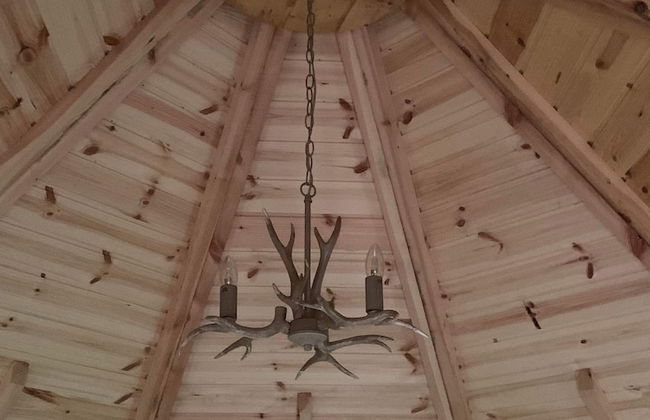
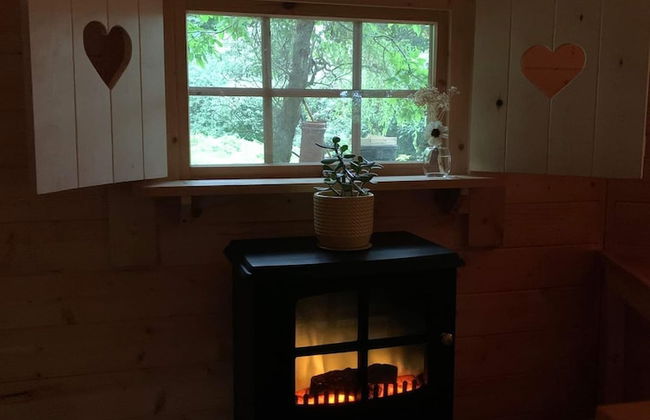
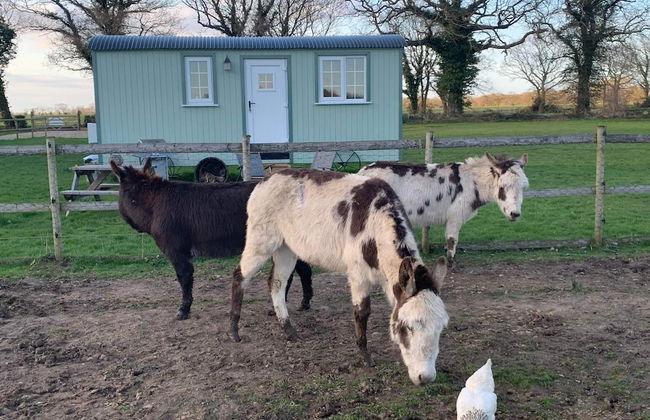
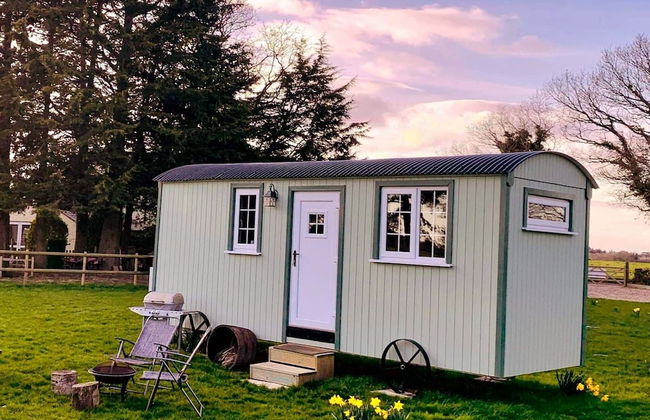
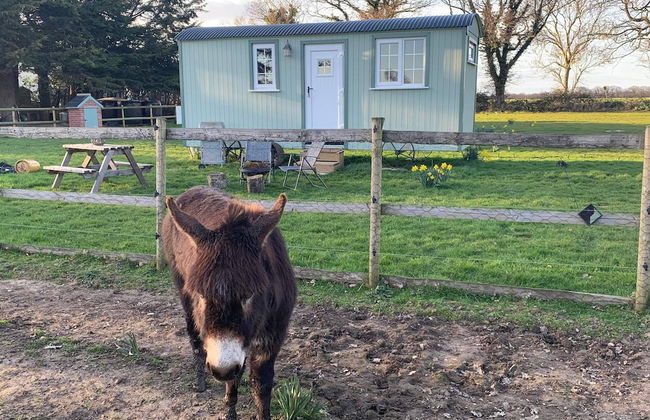
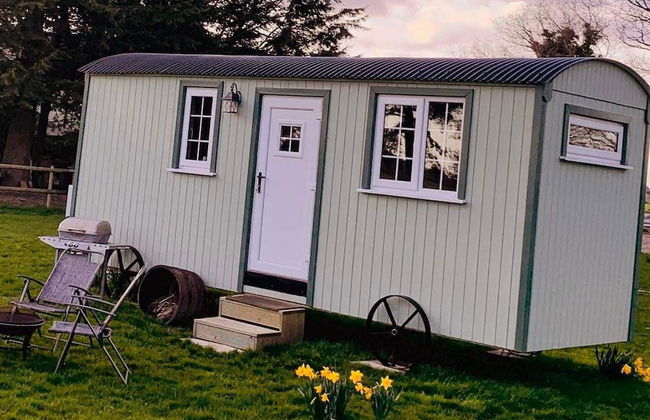
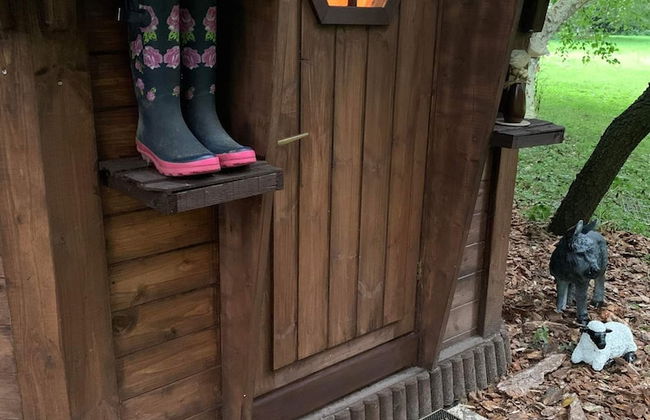
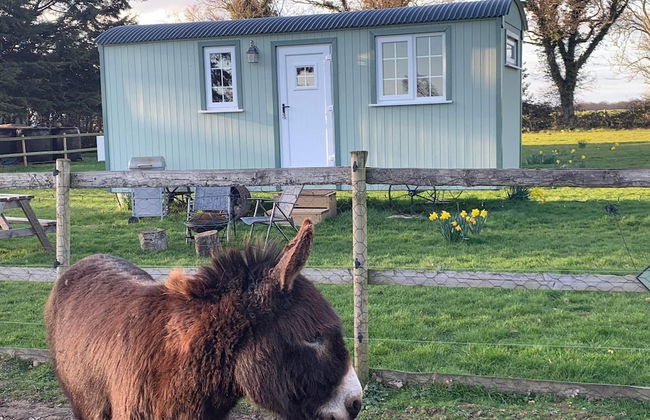
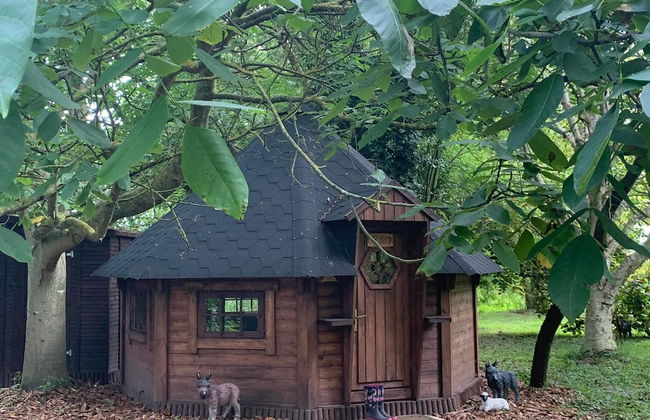
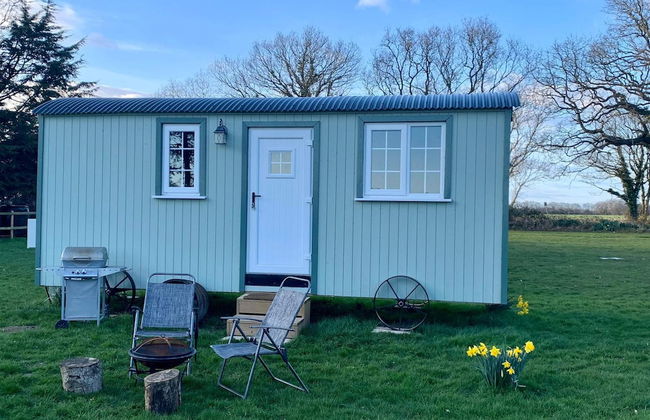
Starry Meadow & Rescued Animal Experiences - Foto 1
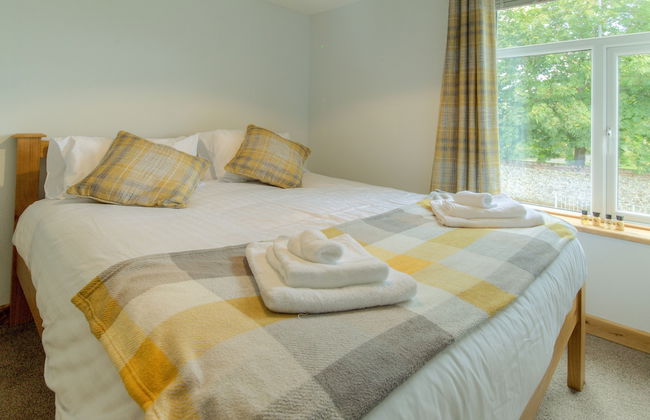
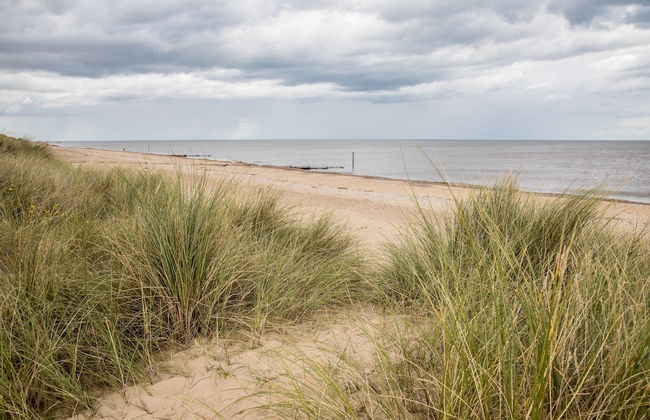
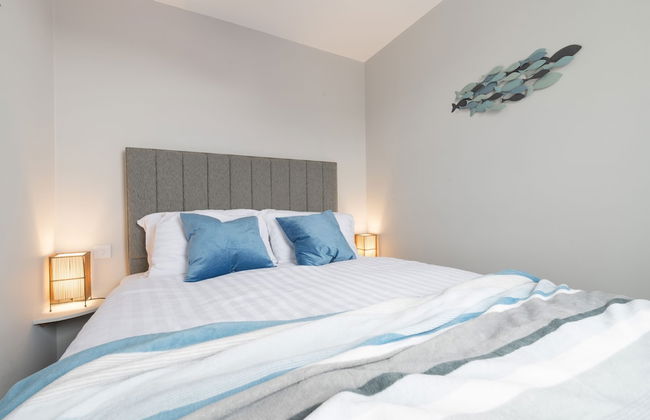
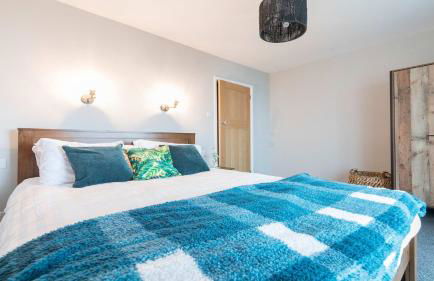
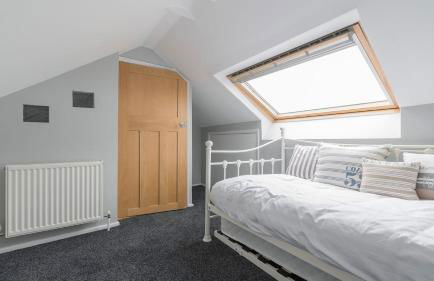
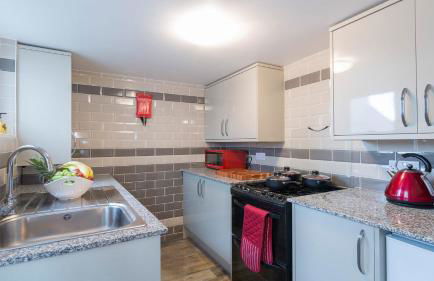
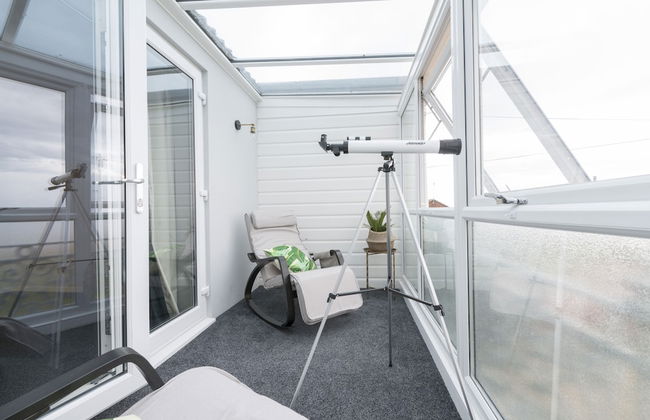
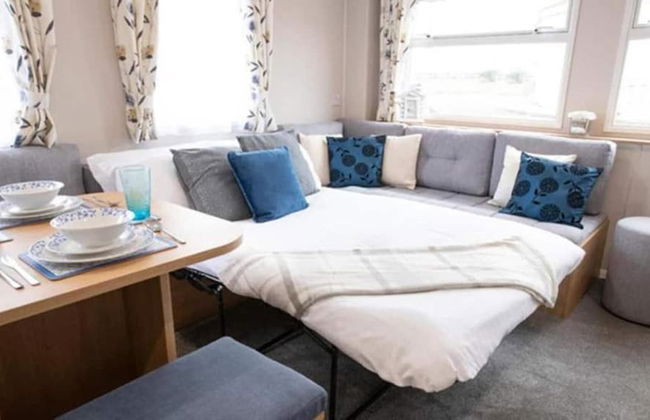
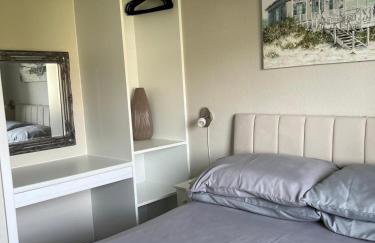
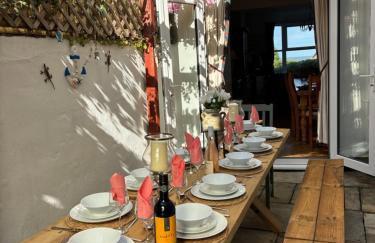
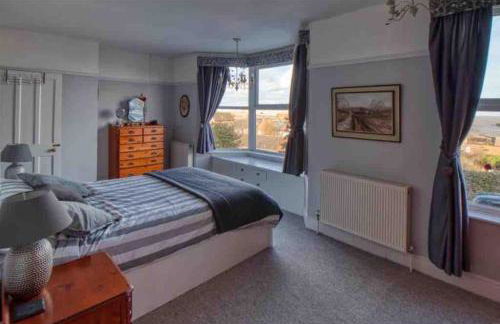
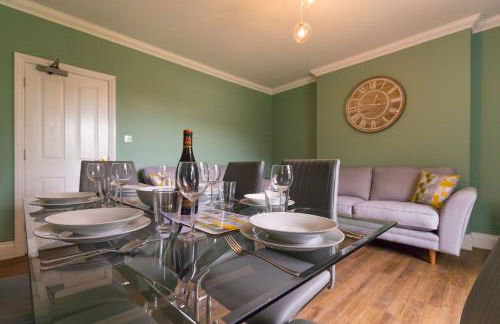
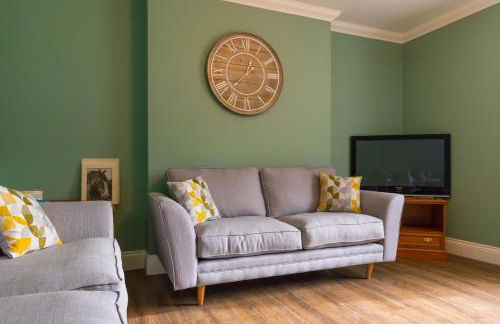
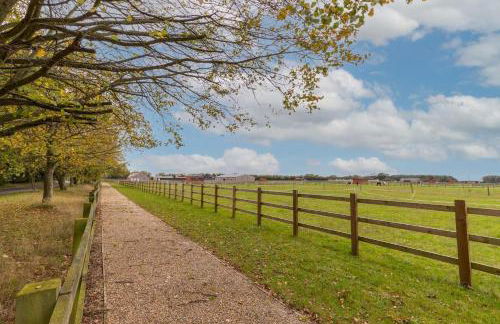
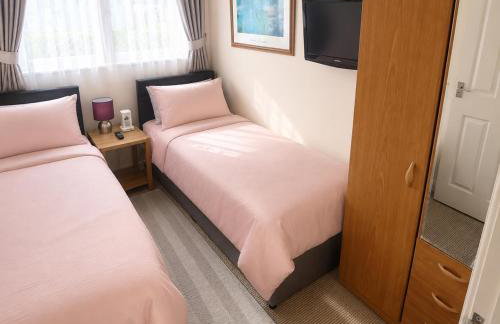
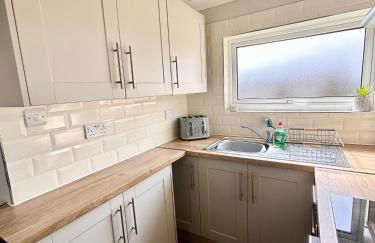
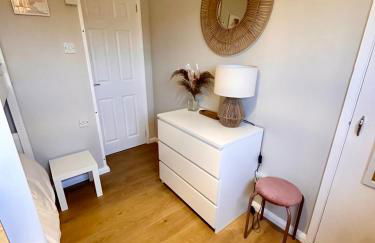
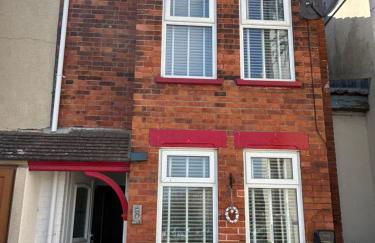
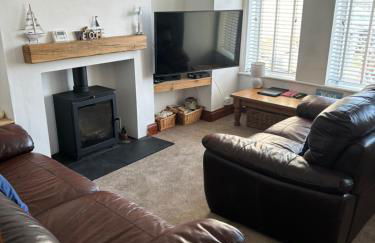
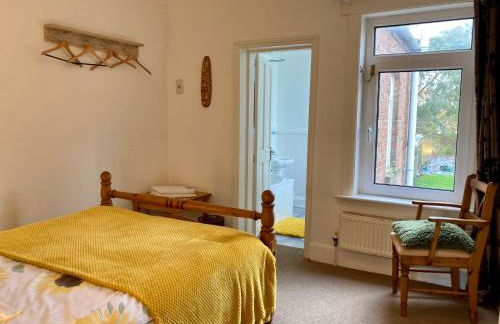
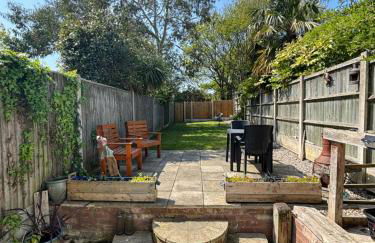
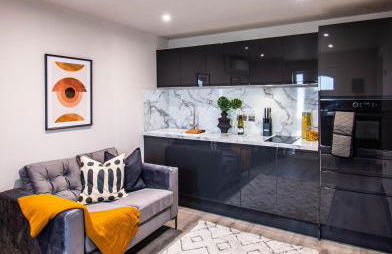
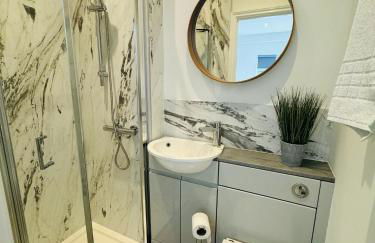
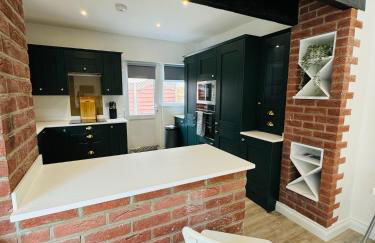
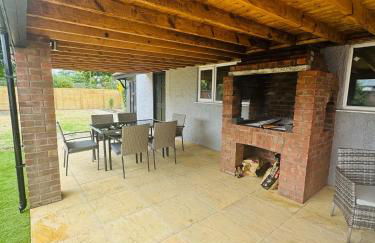
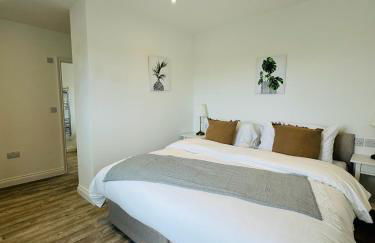
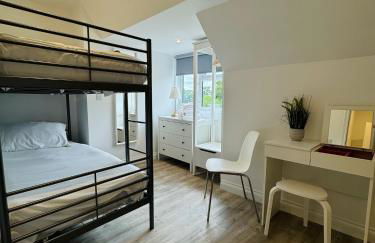
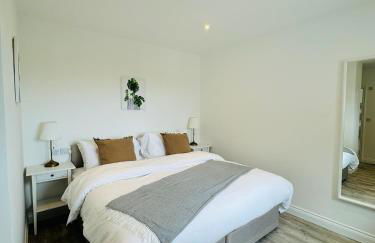
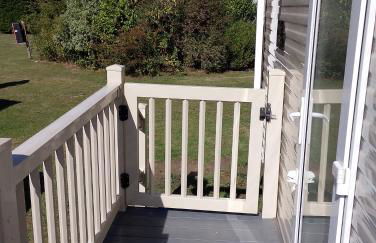
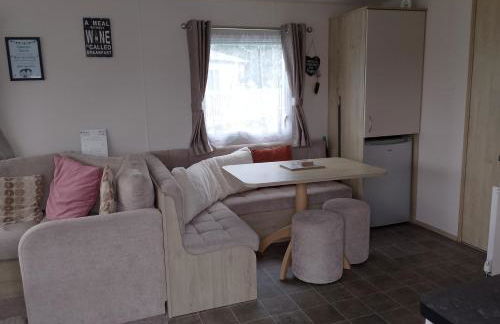
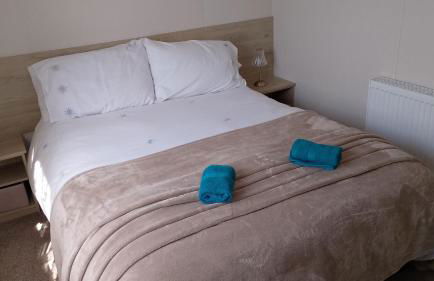
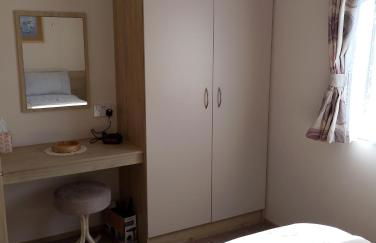
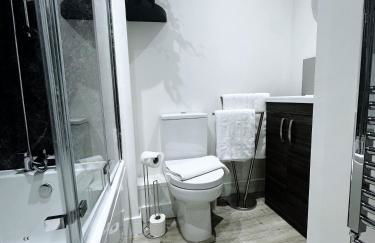
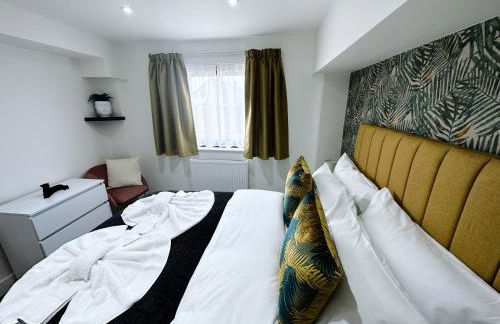
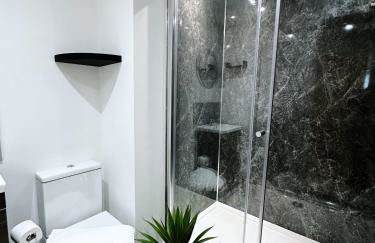
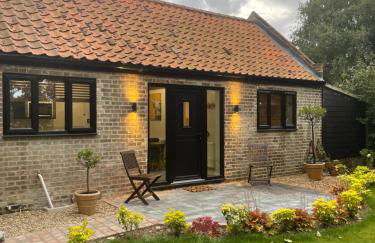
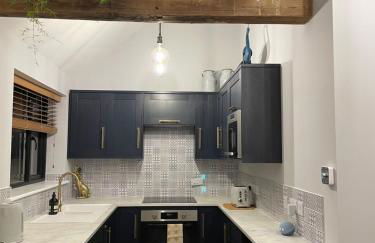
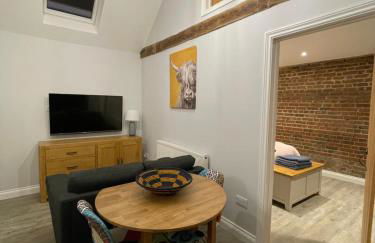
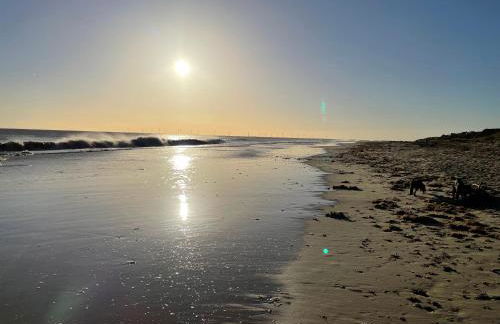
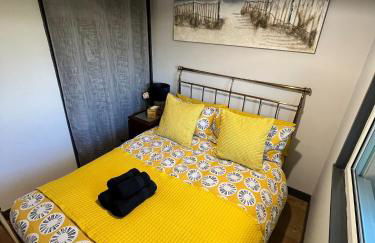
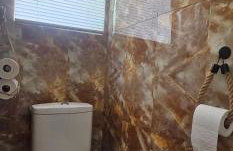
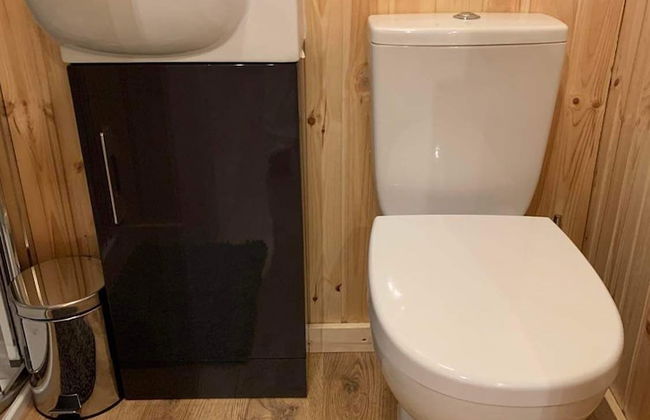
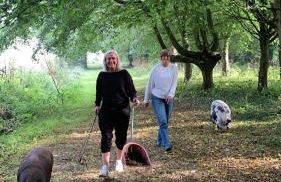
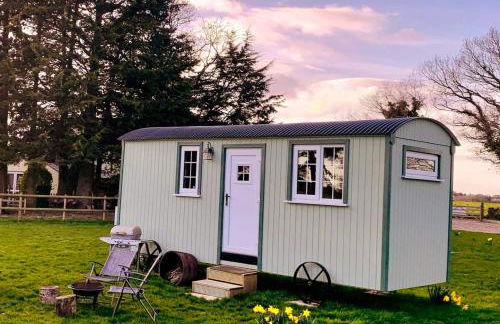
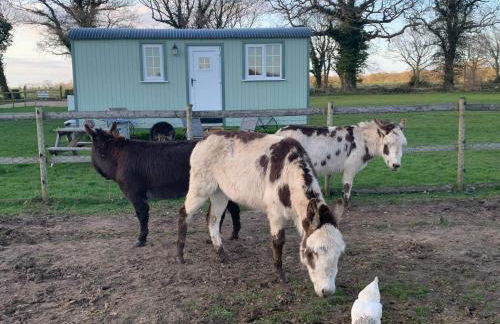
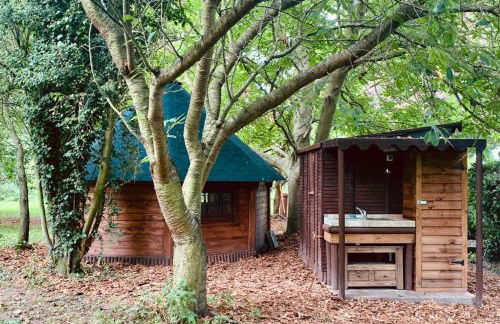
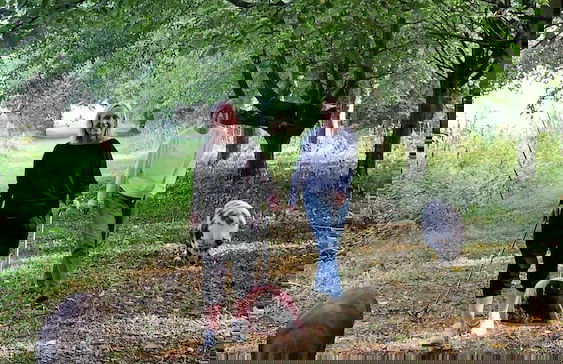
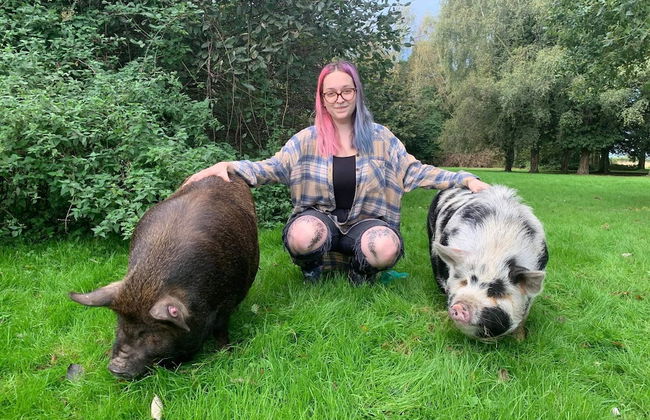
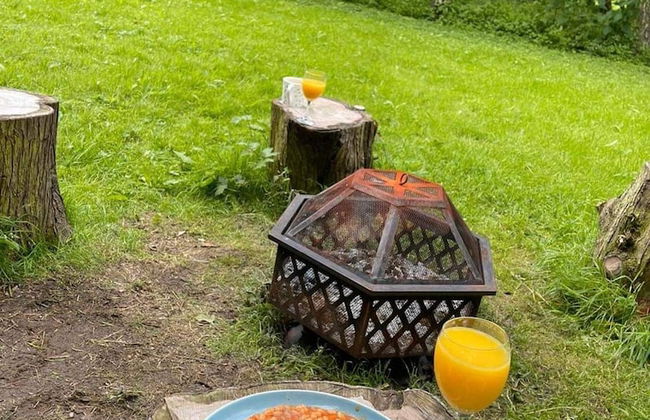
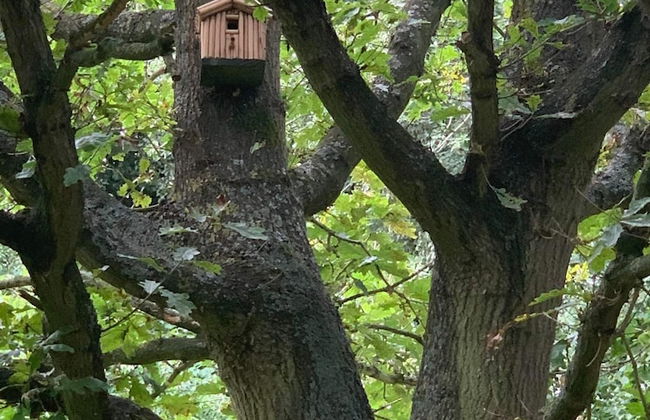
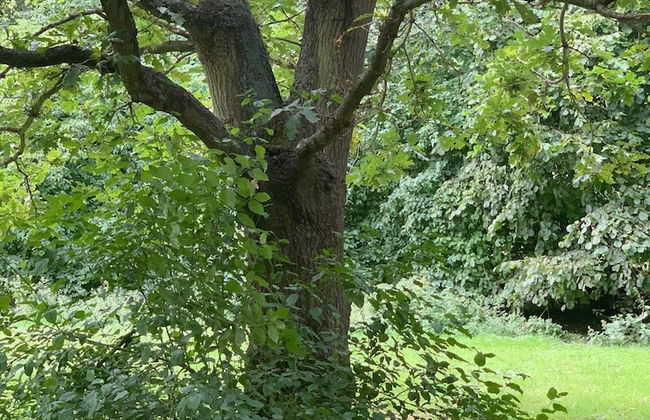
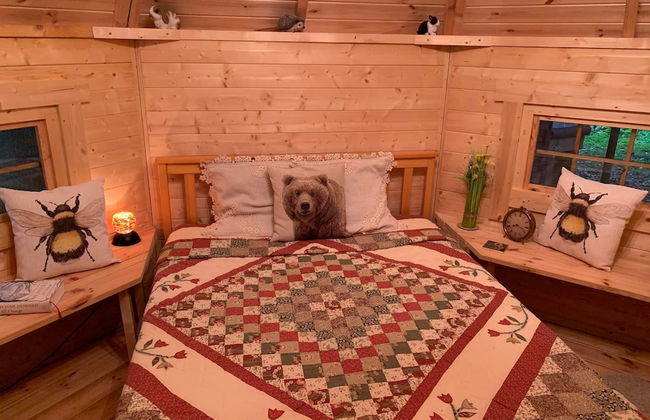
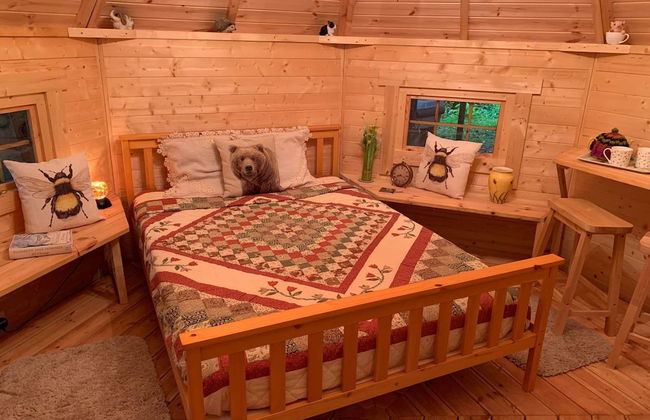
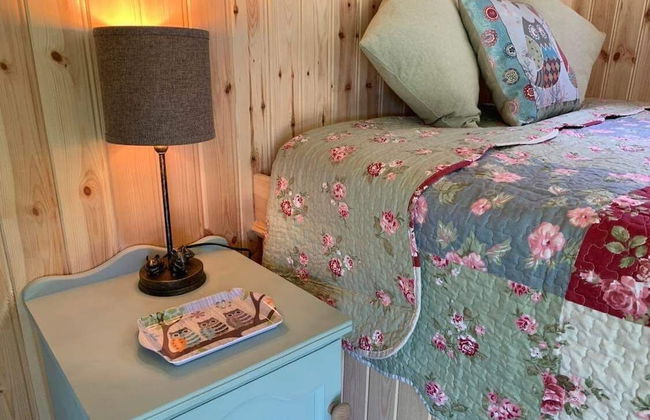
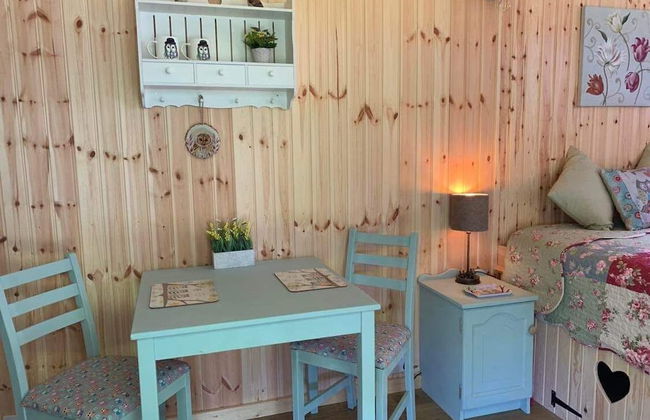
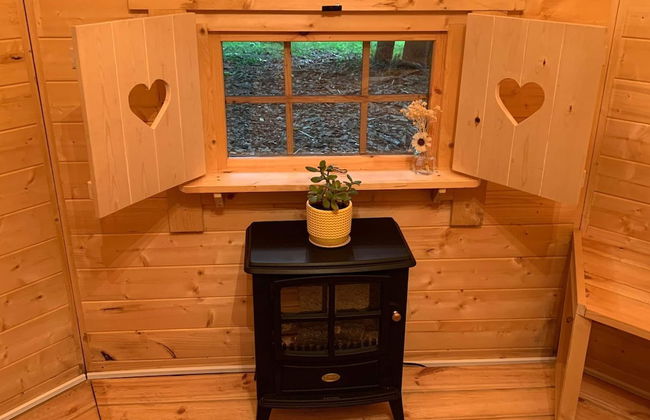
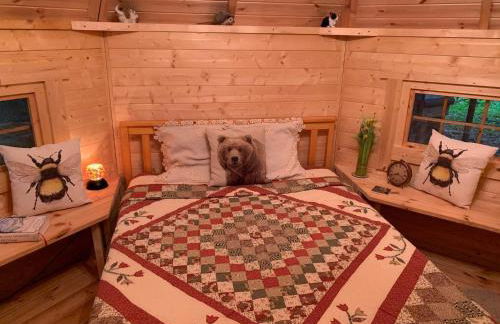
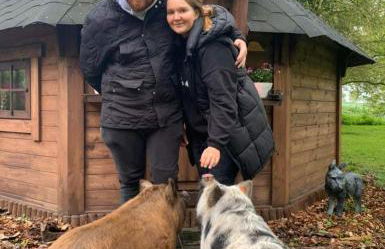
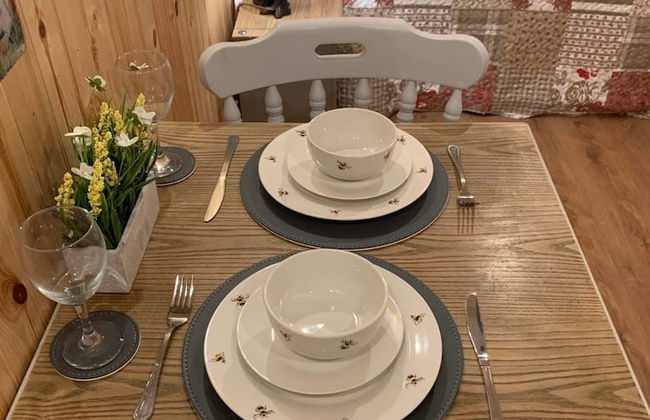
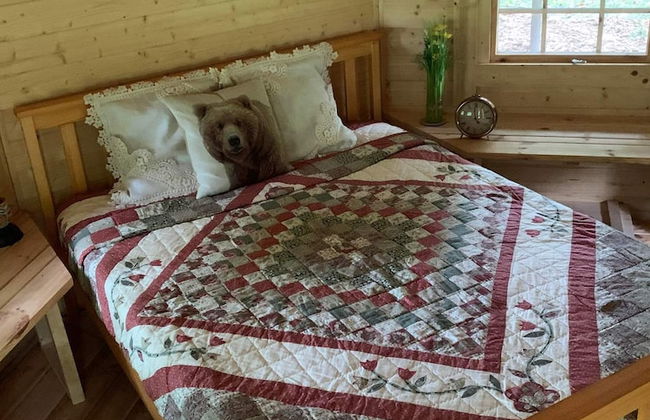
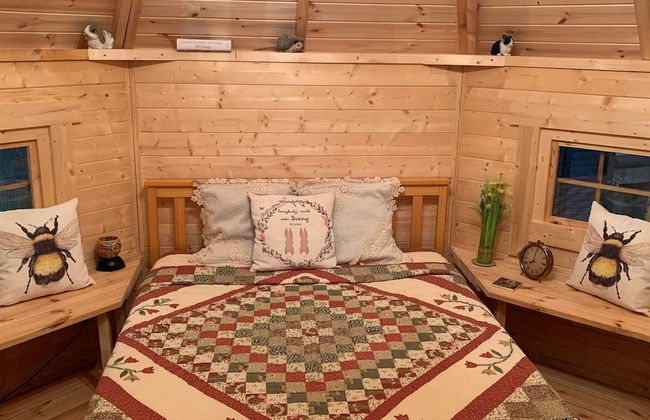
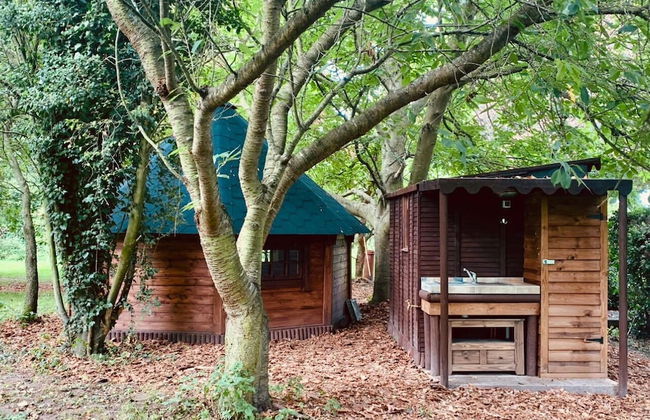
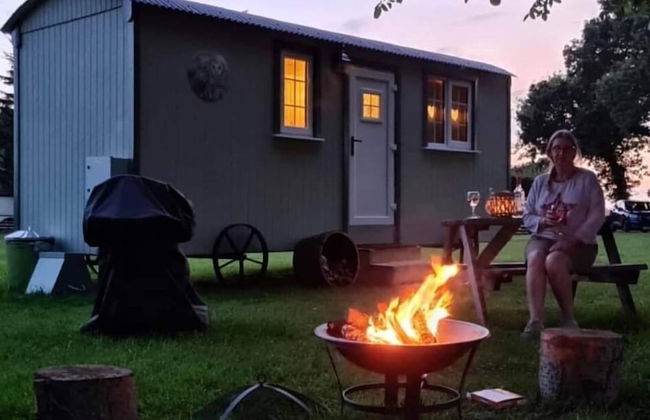
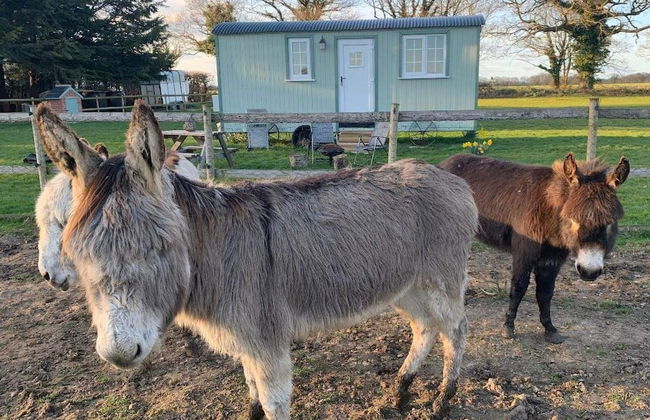
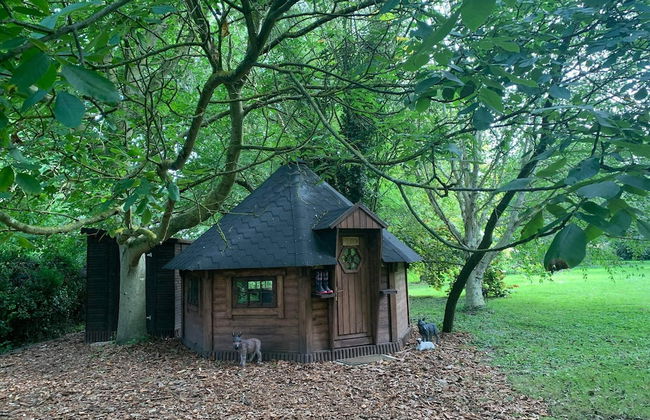
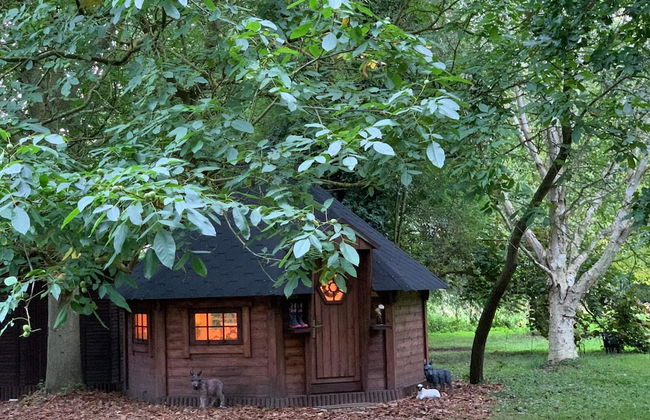
Starry Meadow & Rescued Animal Experiences - Foto 2
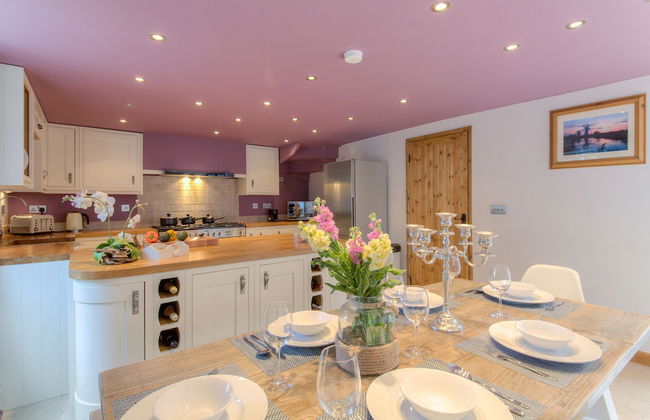
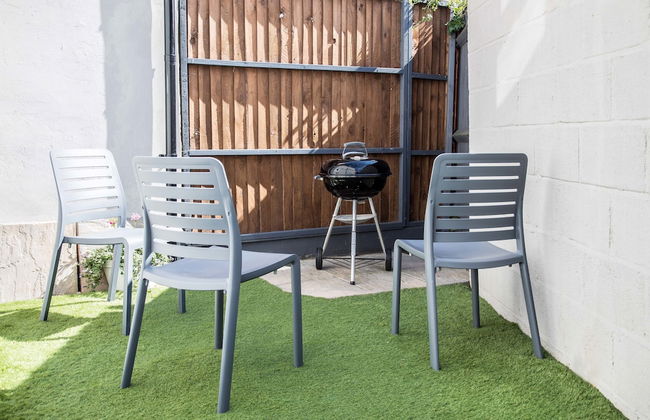
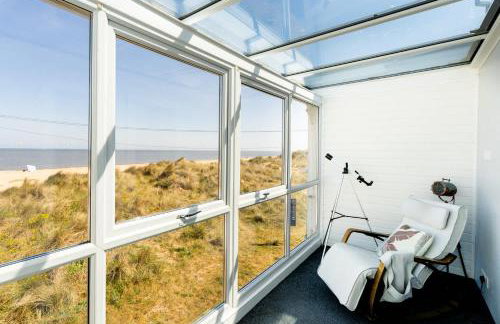
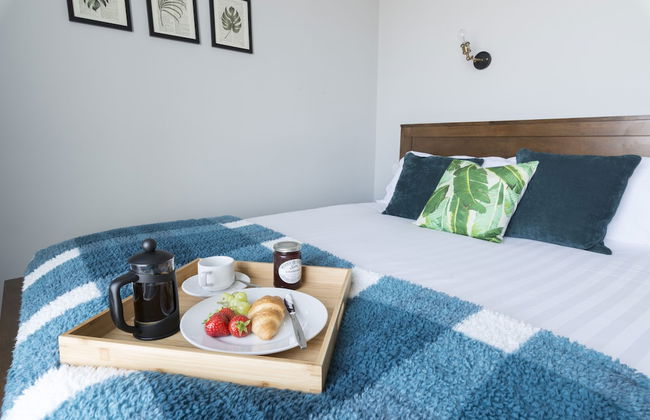
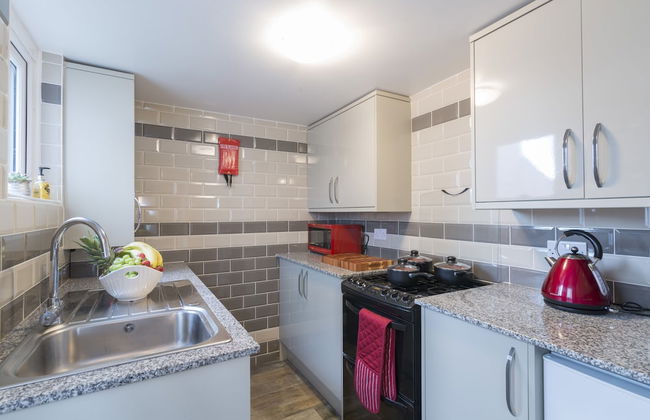
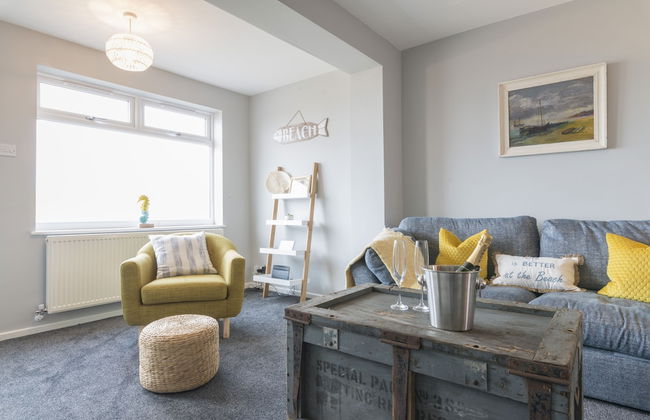
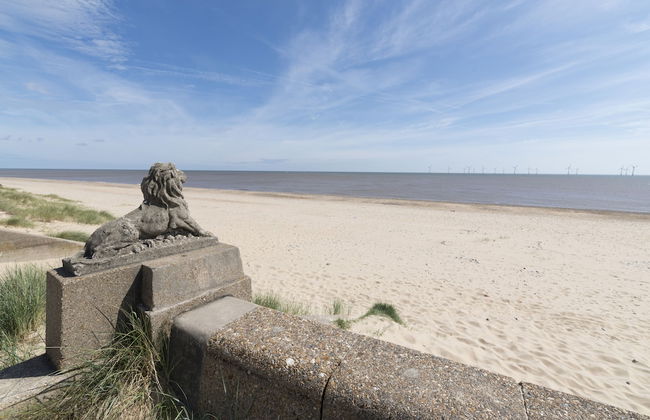
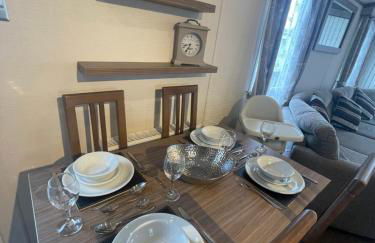
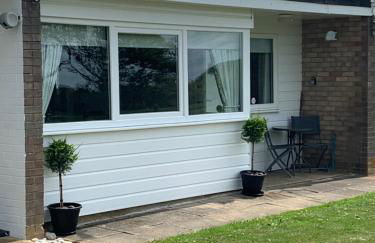
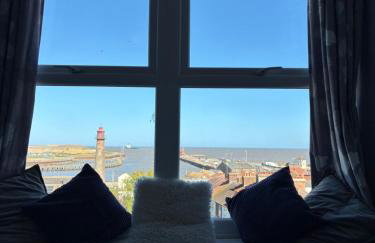
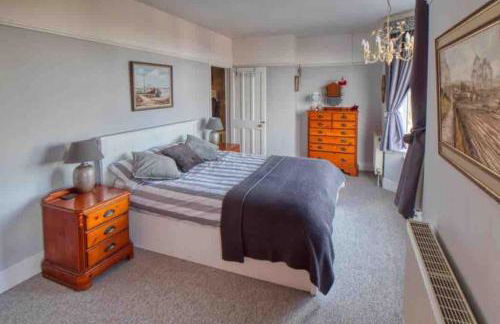
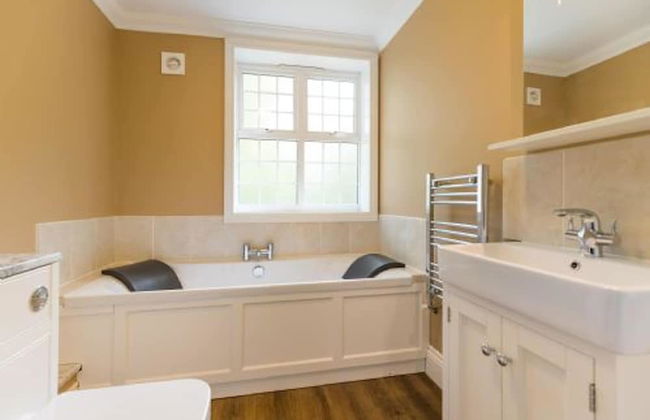
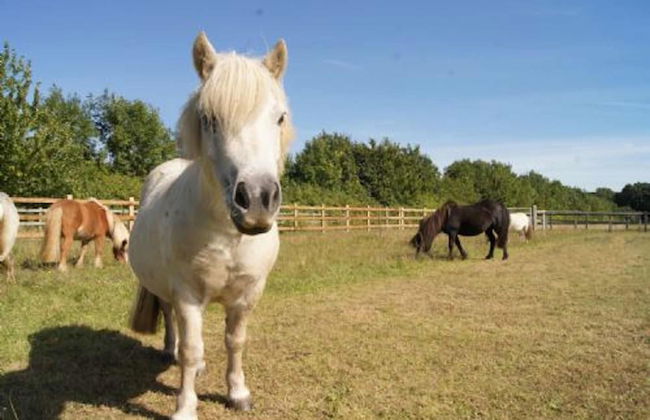
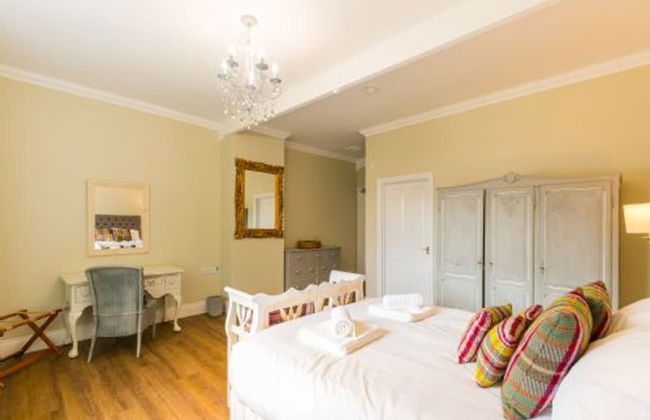
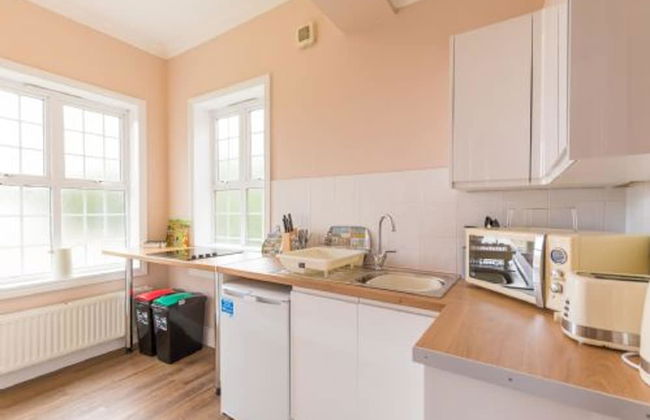
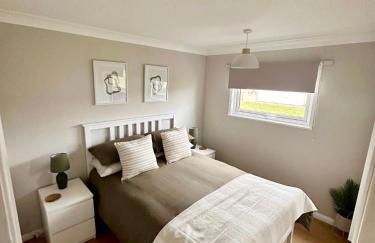
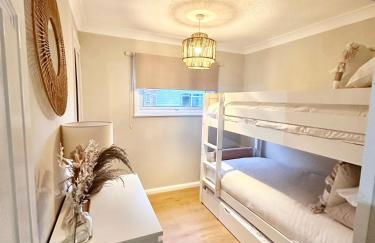
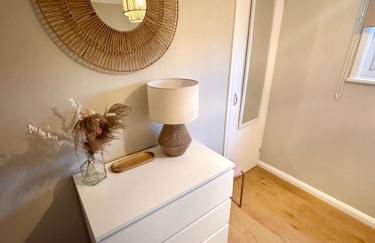
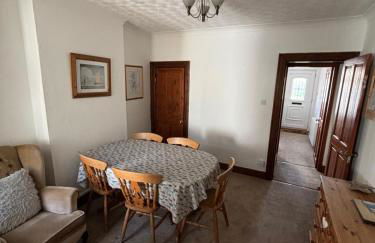
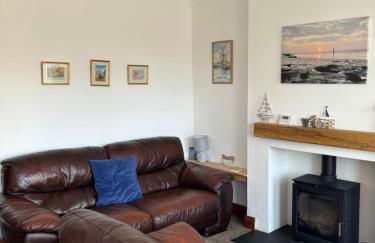
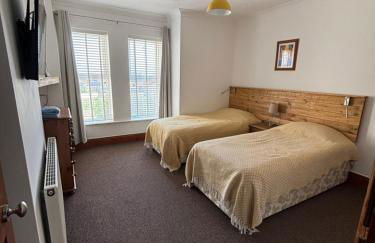
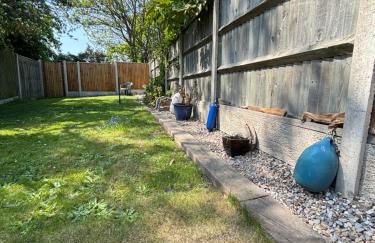
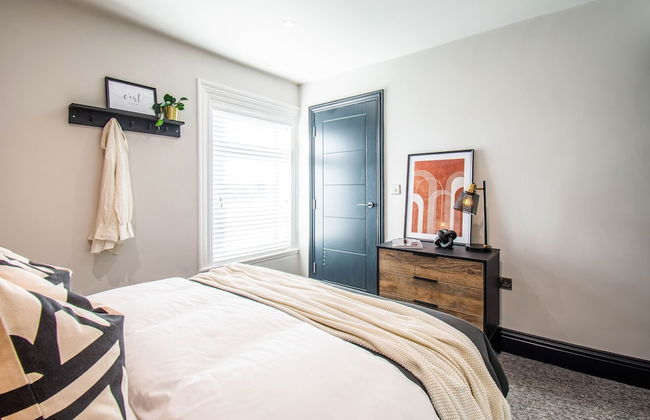
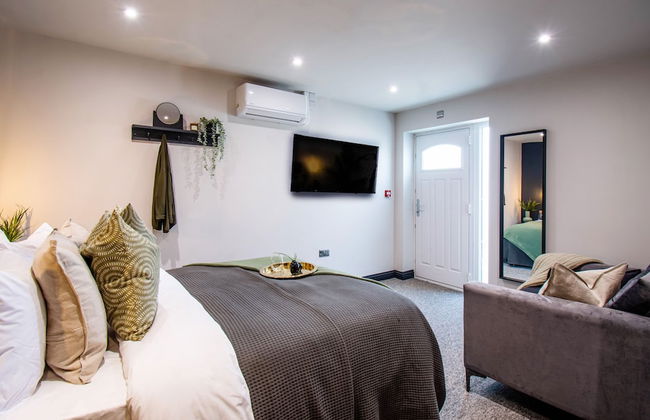
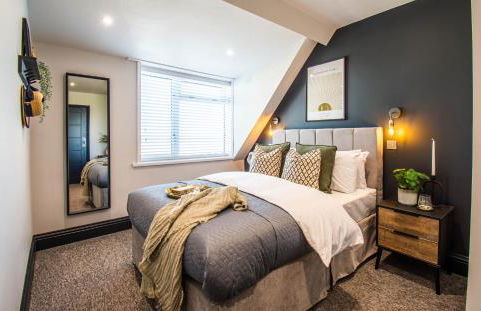
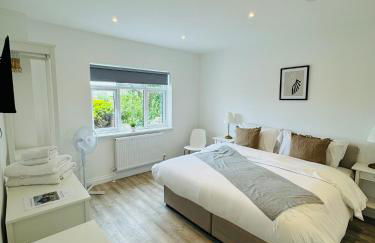
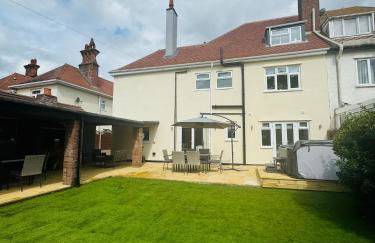
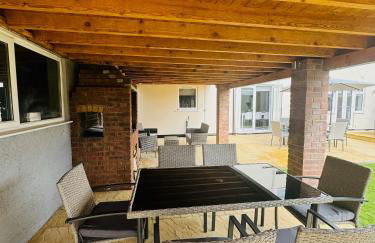
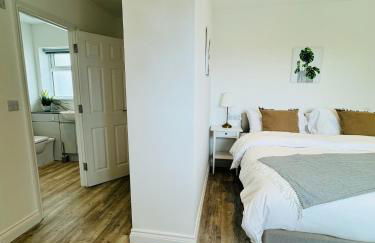
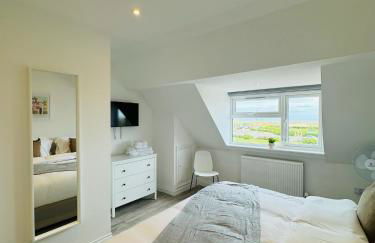
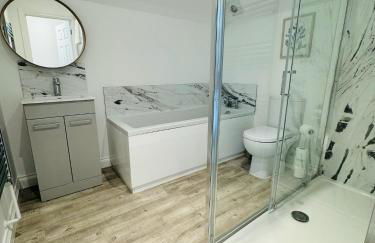
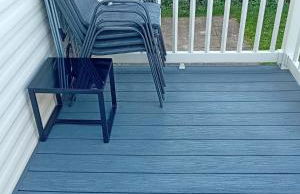
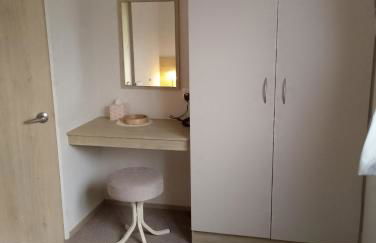
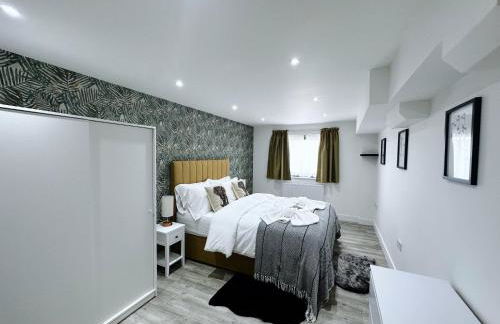
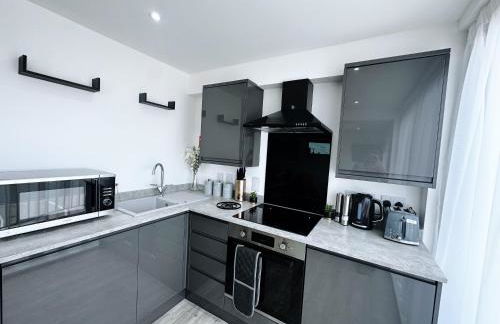
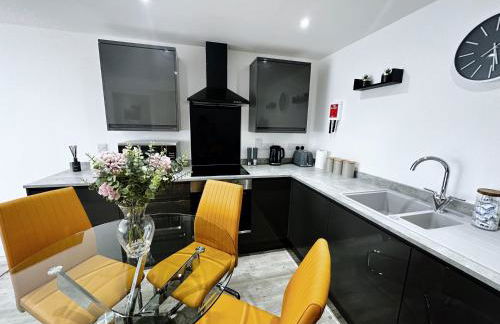
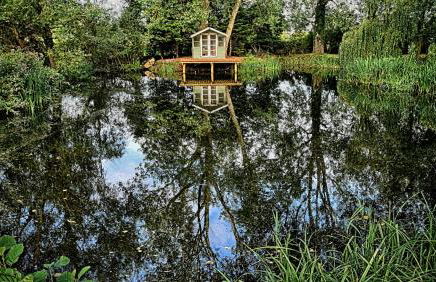
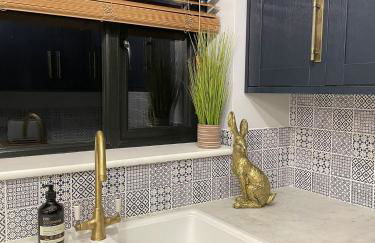
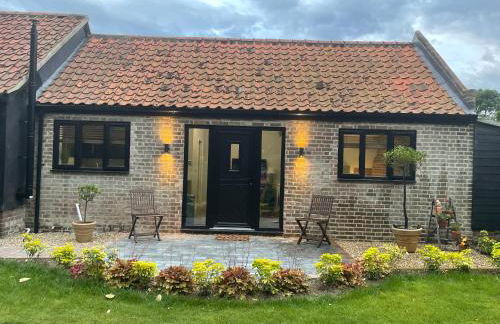
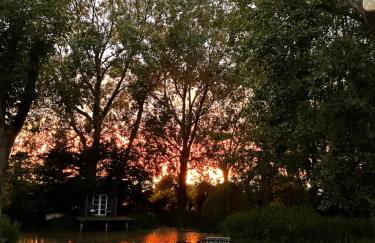
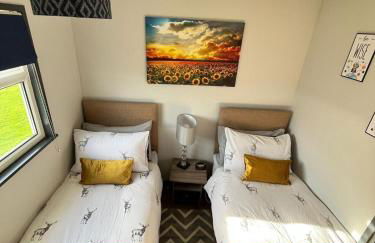
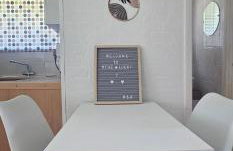
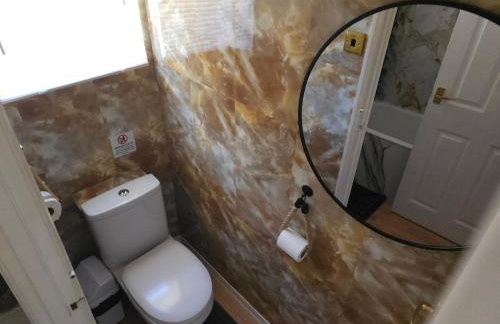
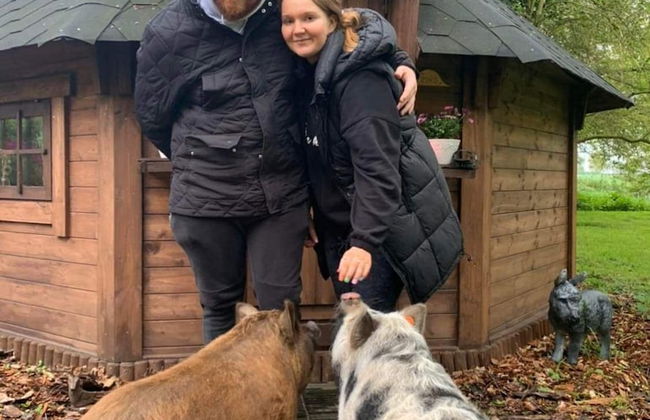
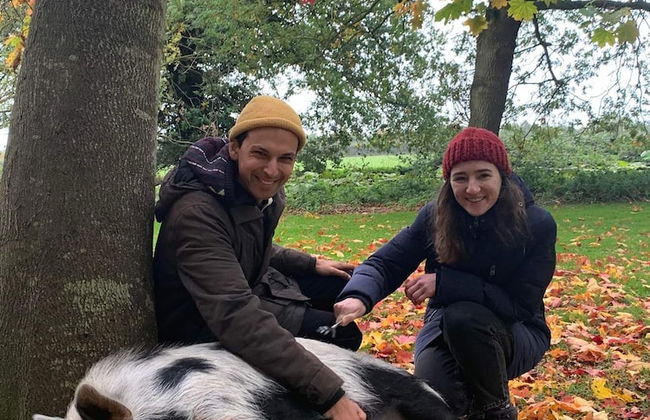
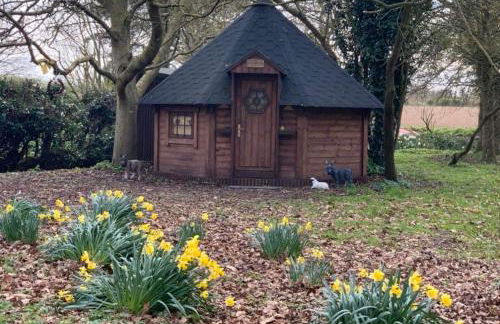
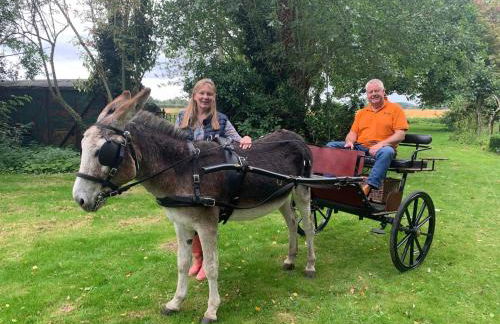
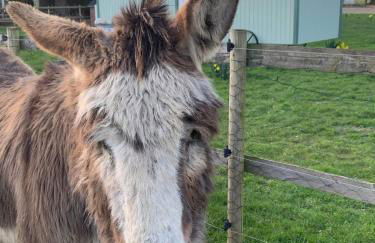
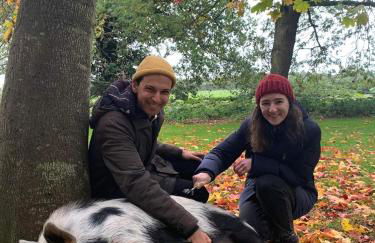
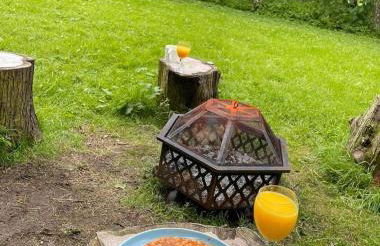
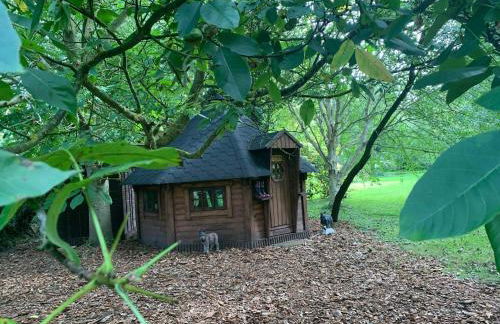
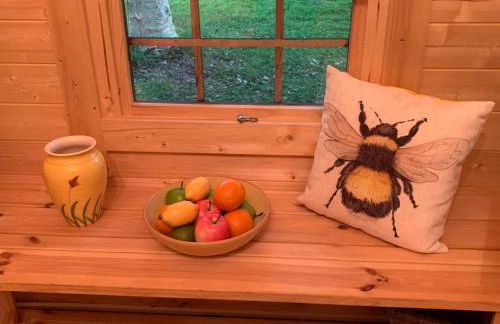
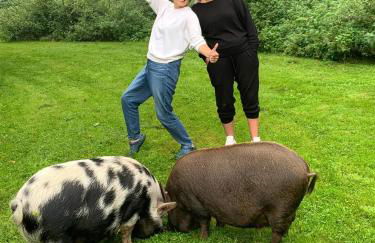
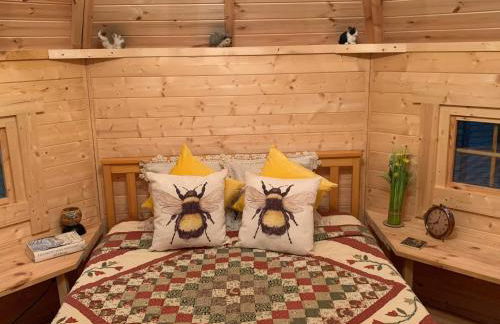
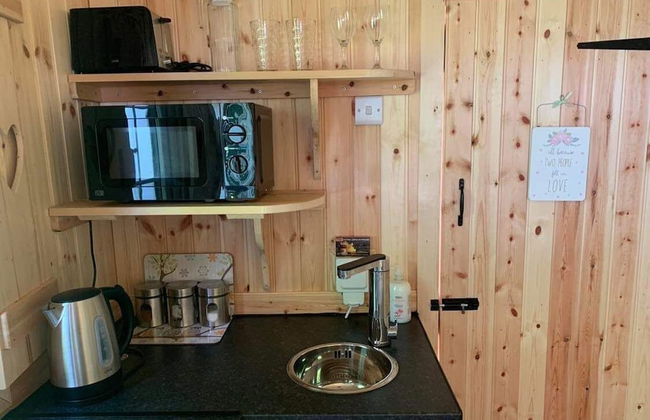
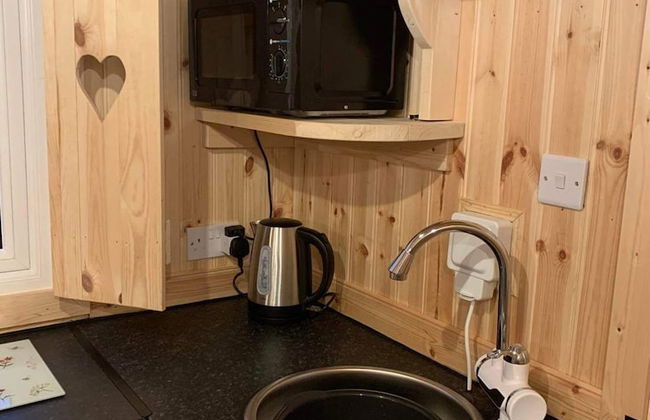
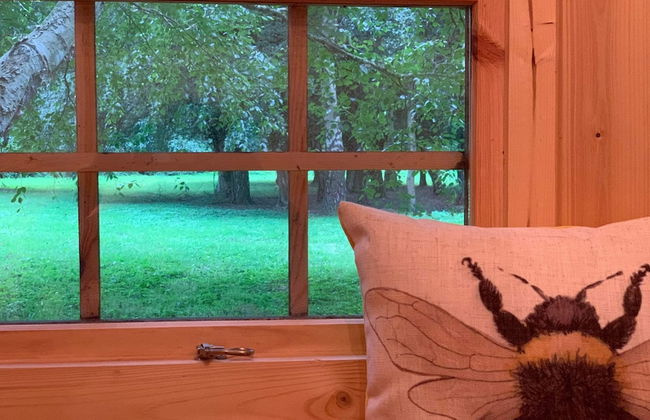
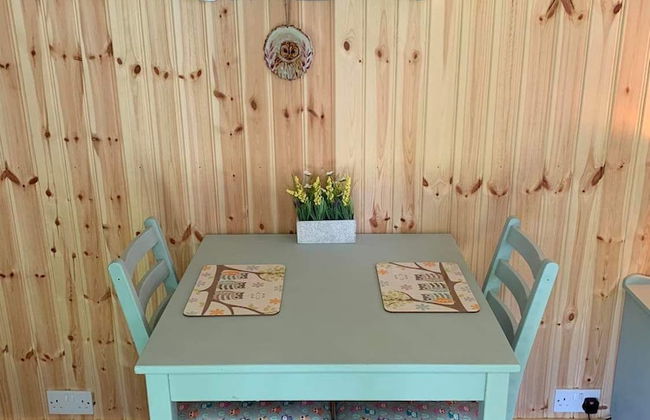
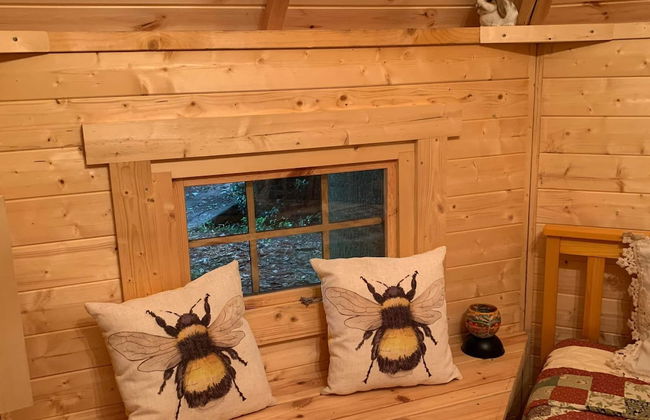
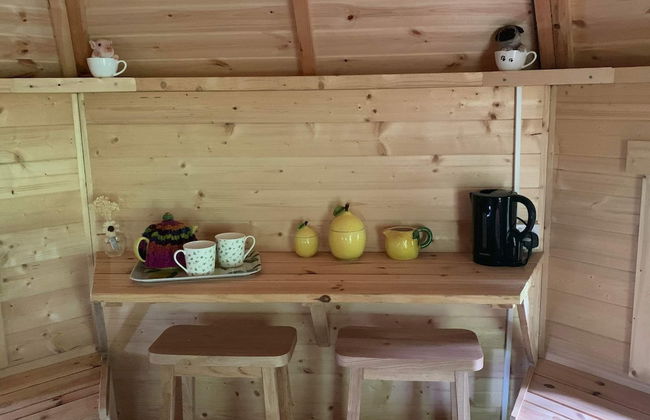
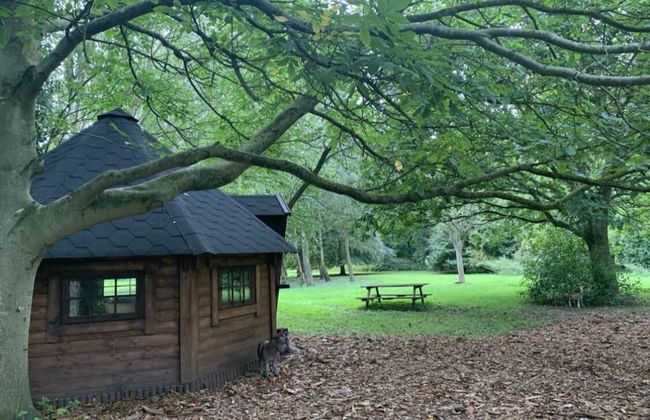
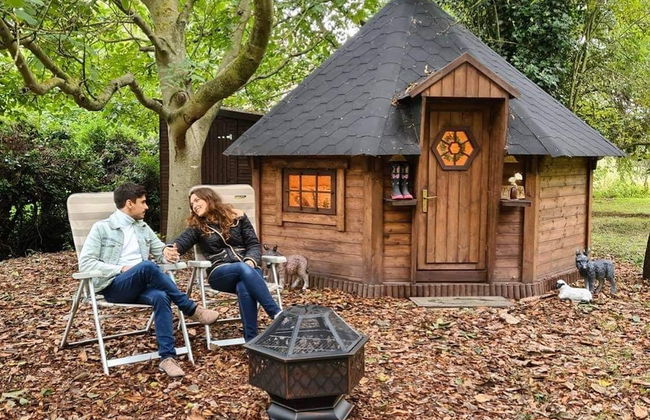
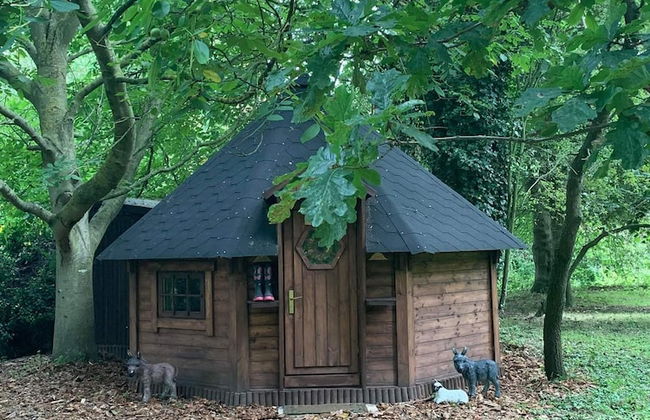
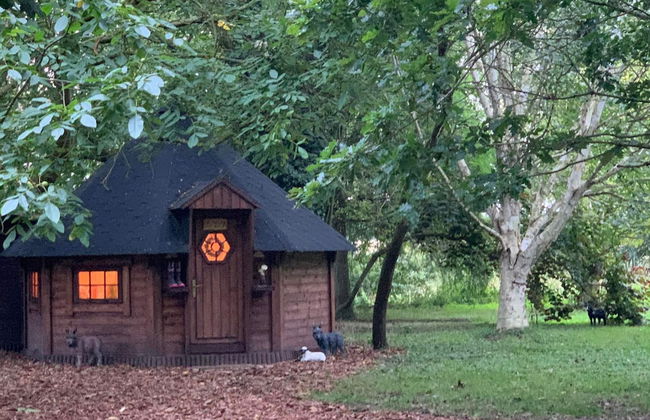
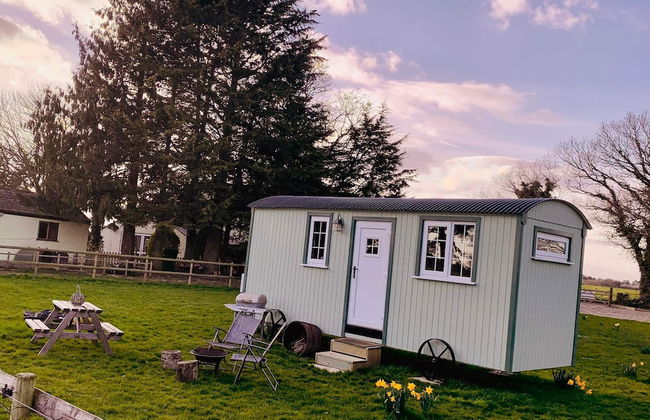
Starry Meadow & Rescued Animal Experiences - Foto 3
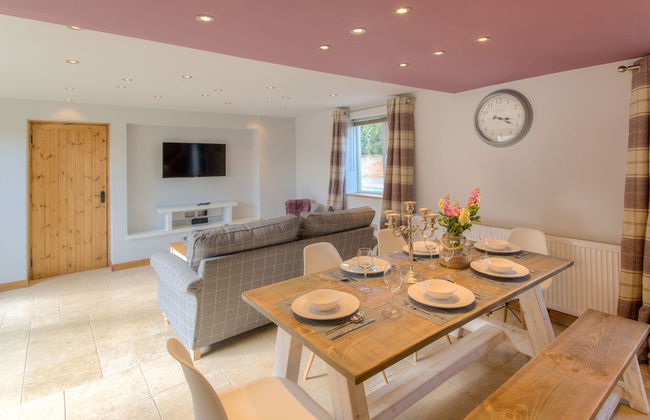
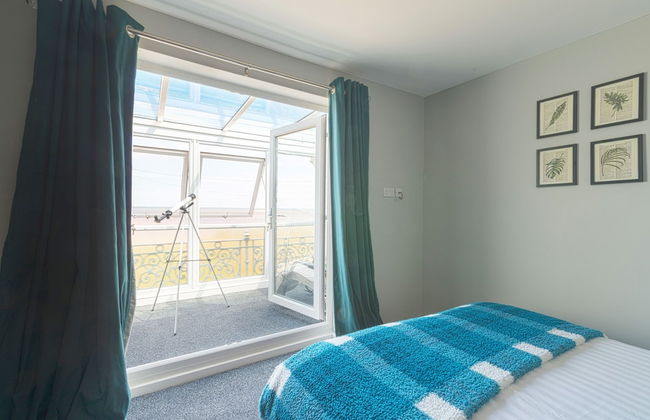
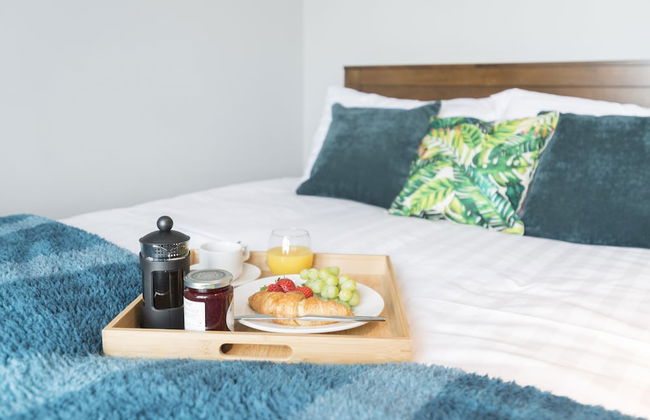
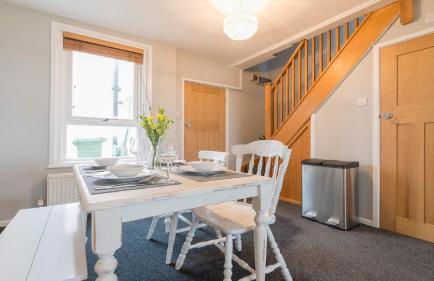
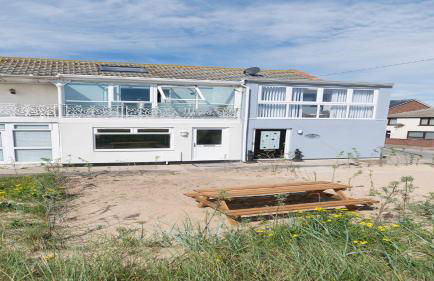
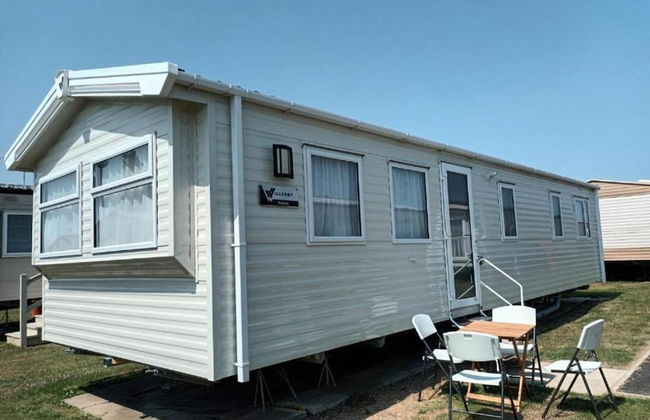
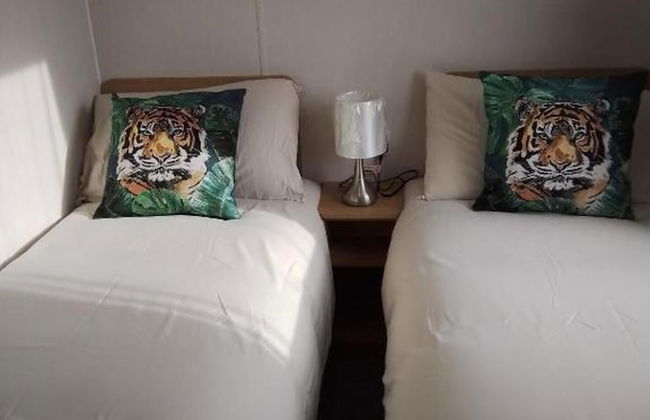
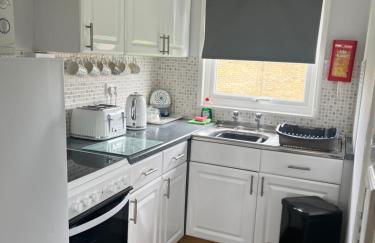
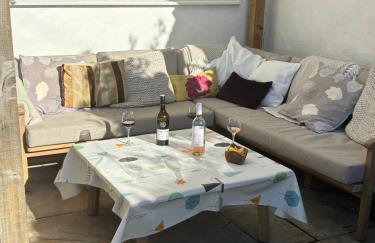
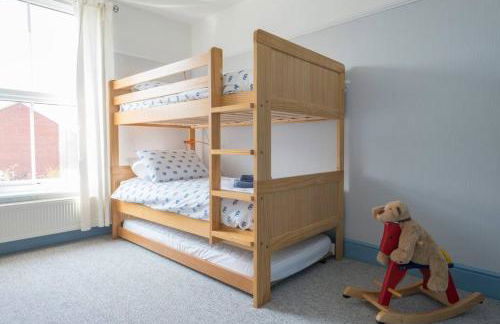
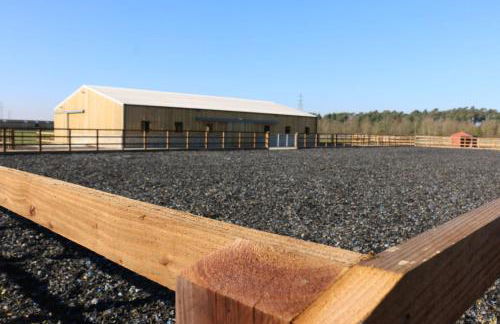
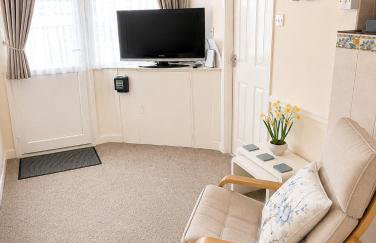
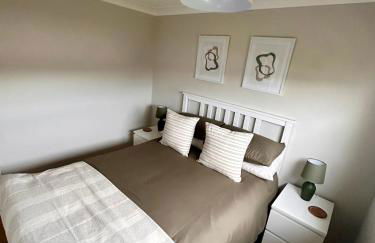
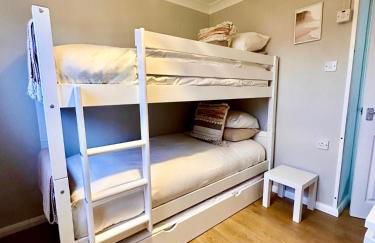
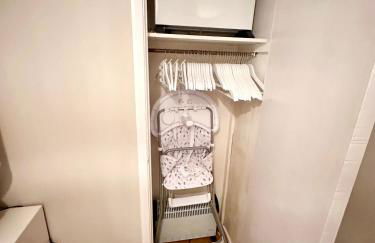
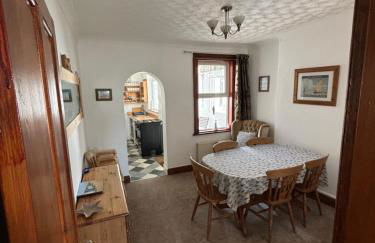
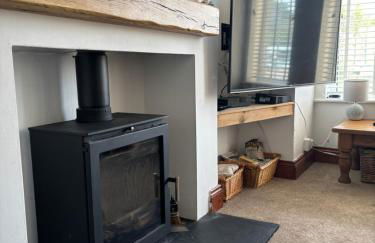
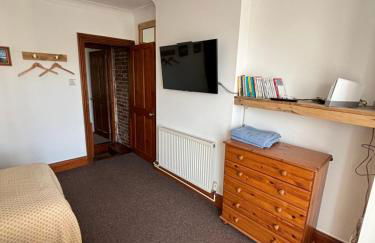
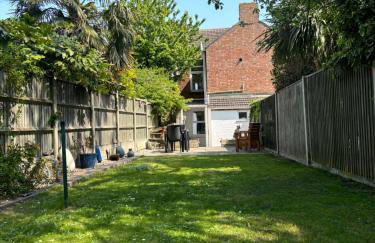
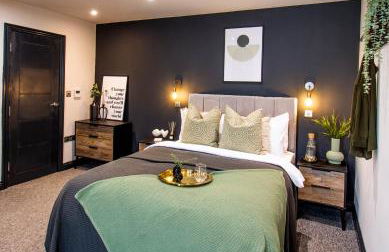
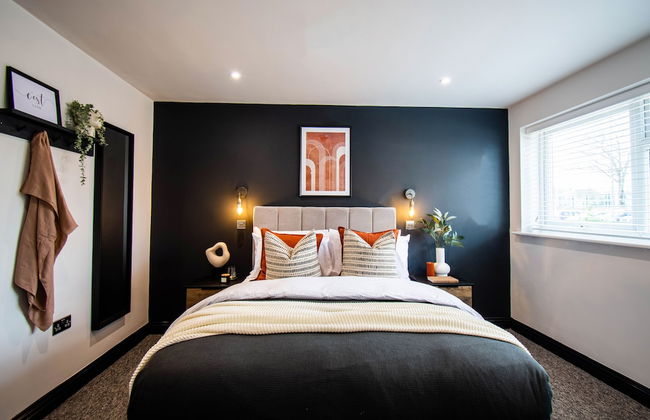
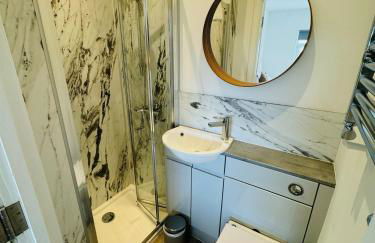
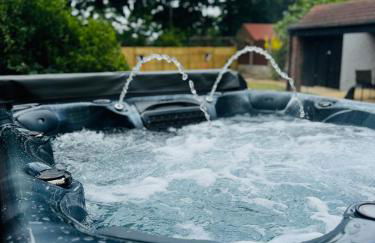
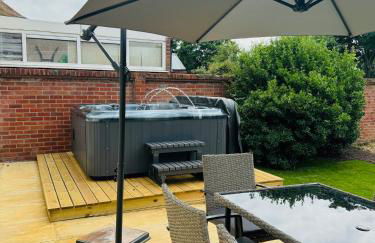
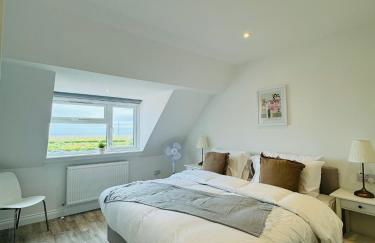
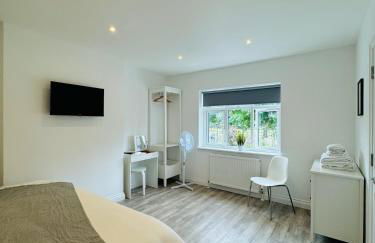
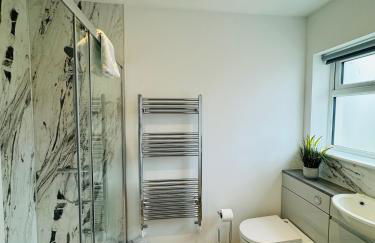
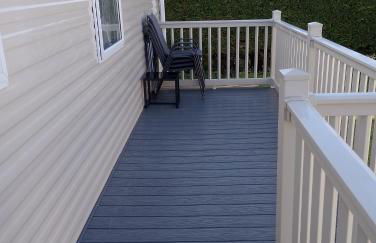
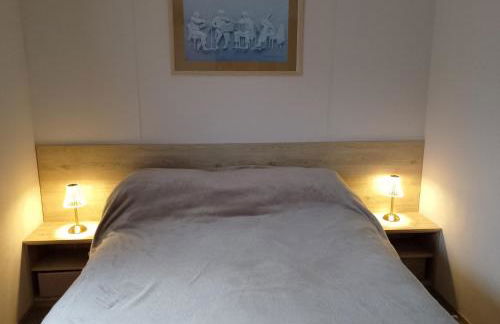
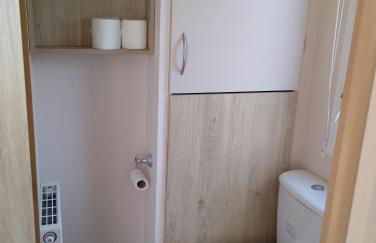
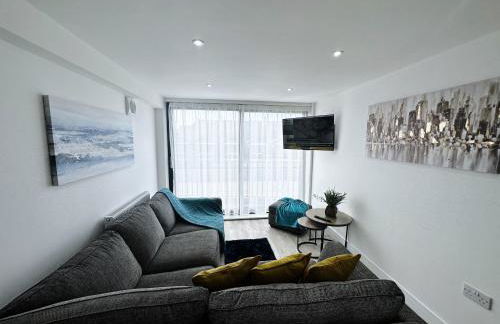
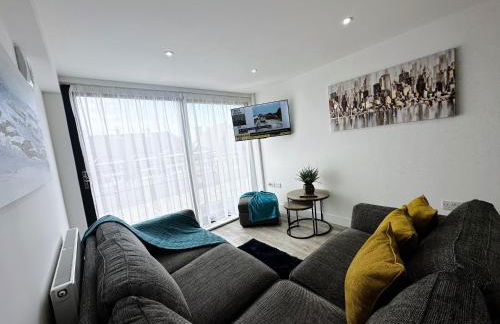
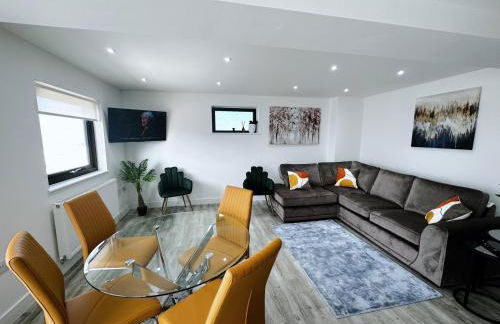
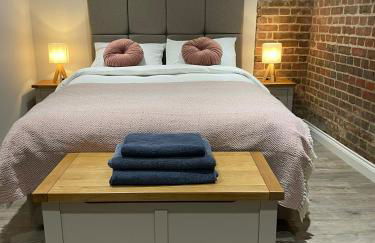
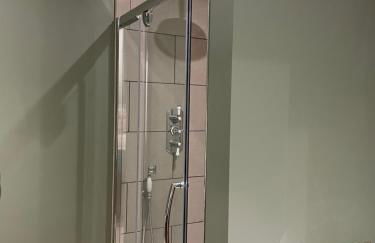
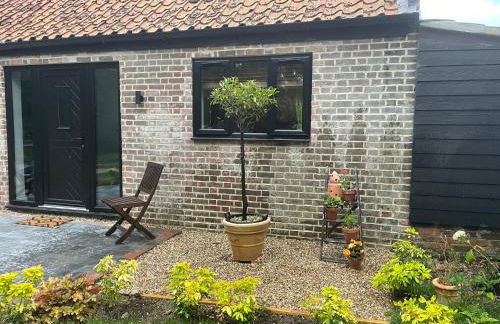
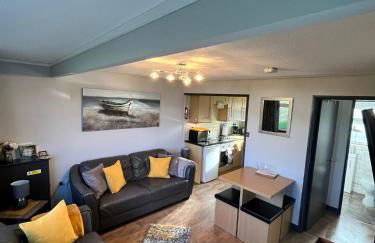
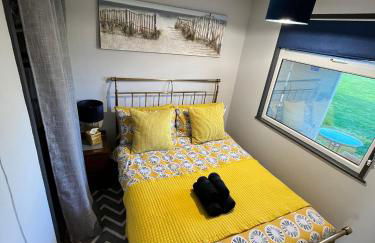
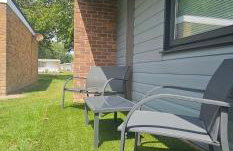
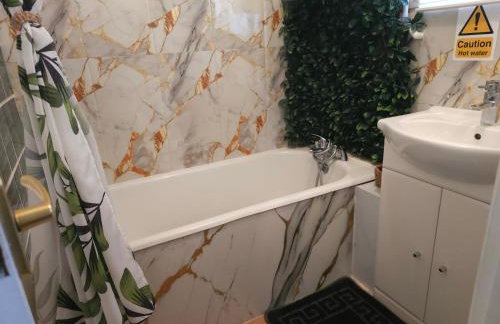
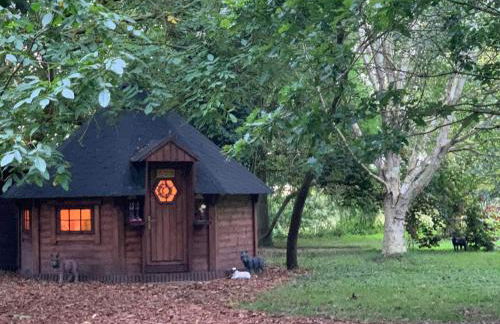
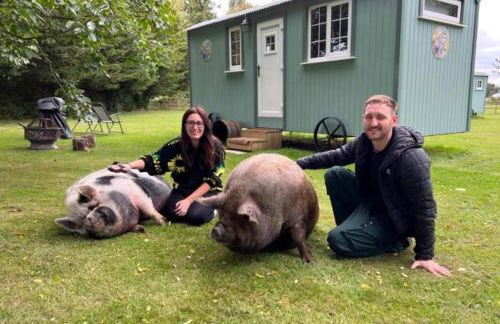
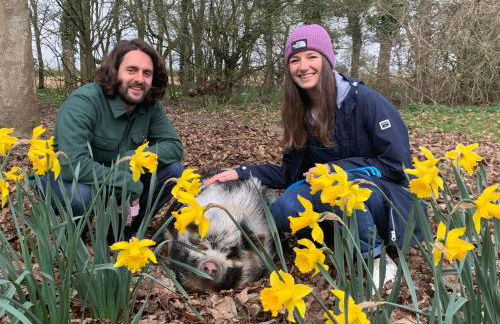
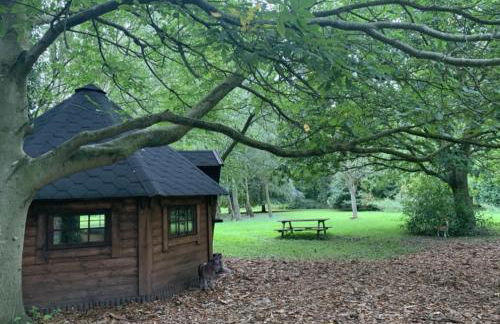
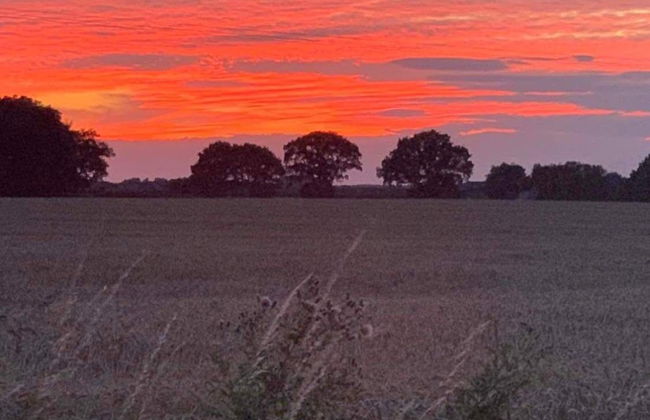
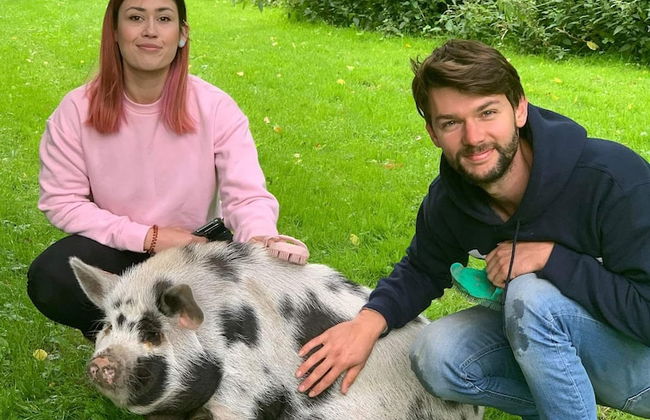
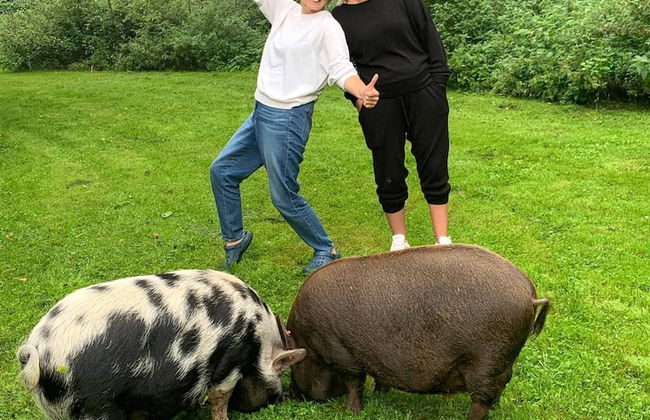
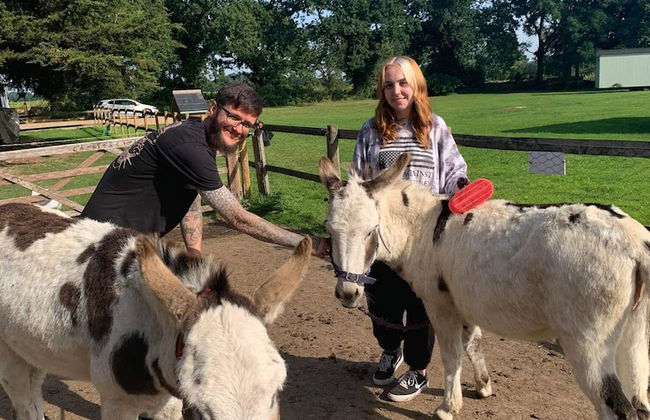
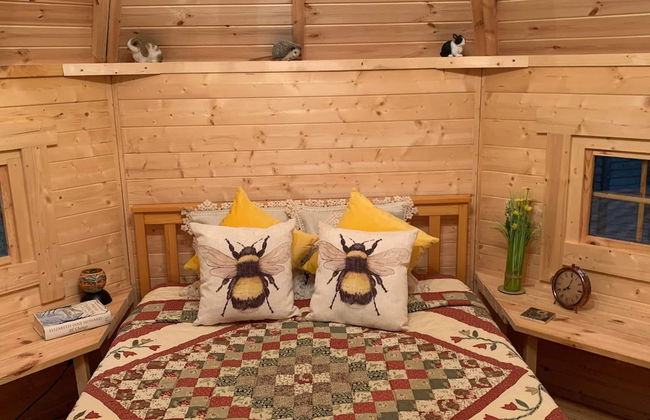
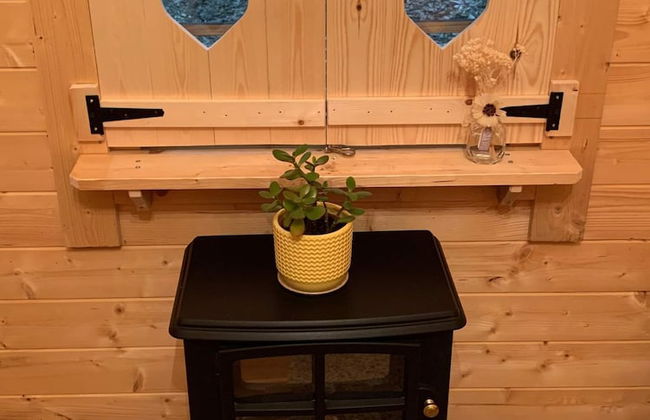
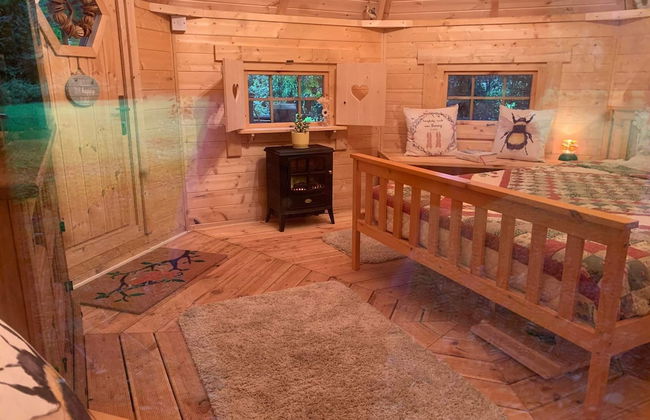
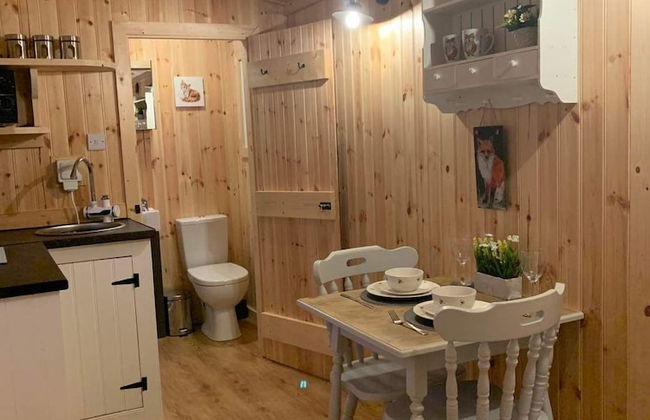
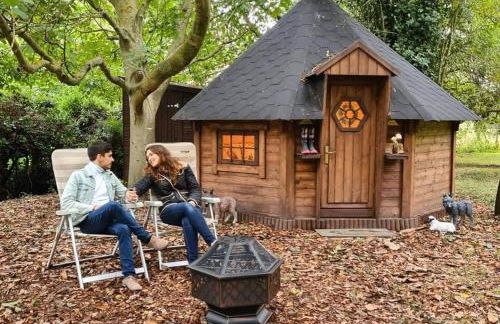
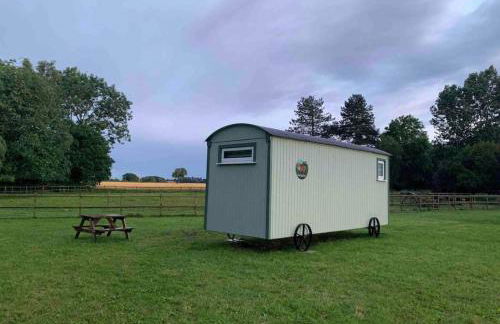
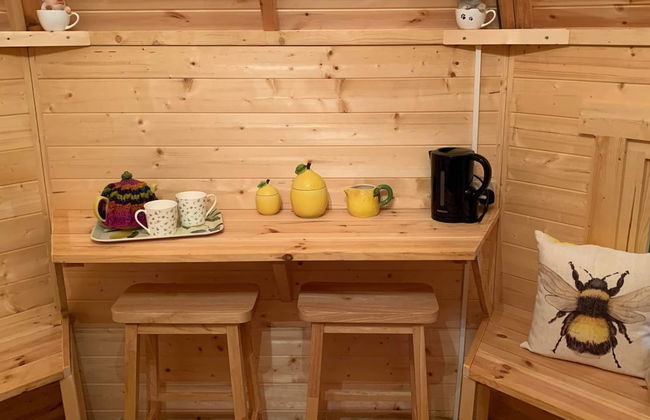
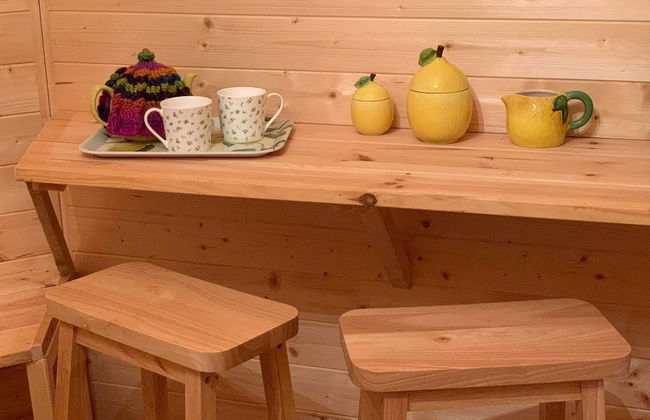
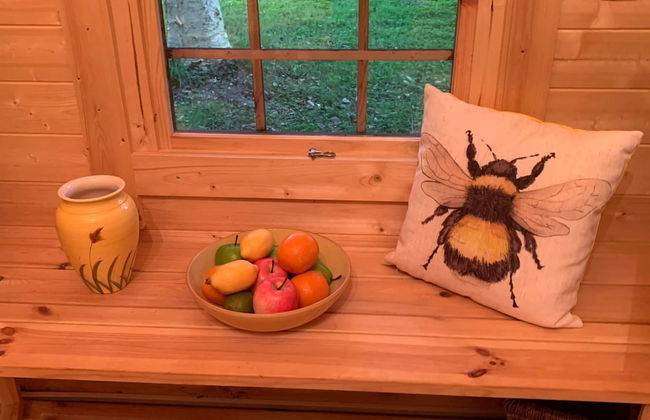
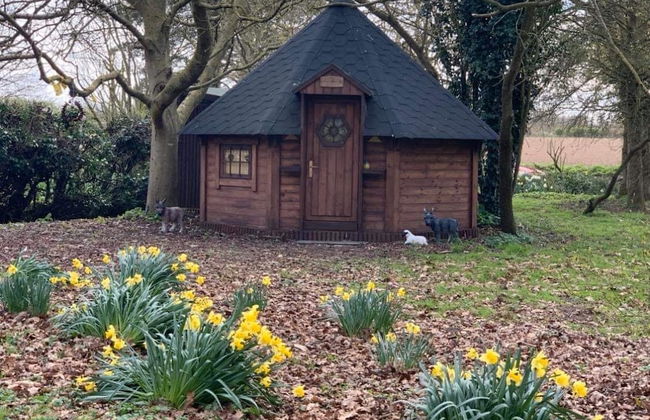
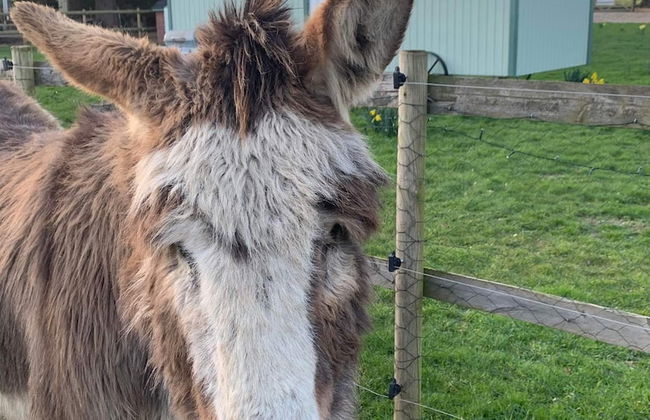
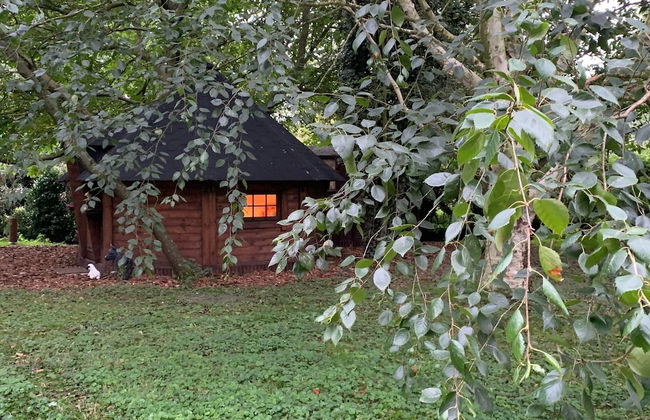
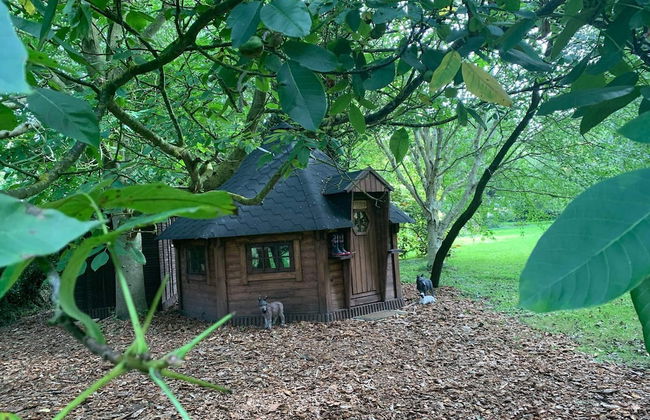
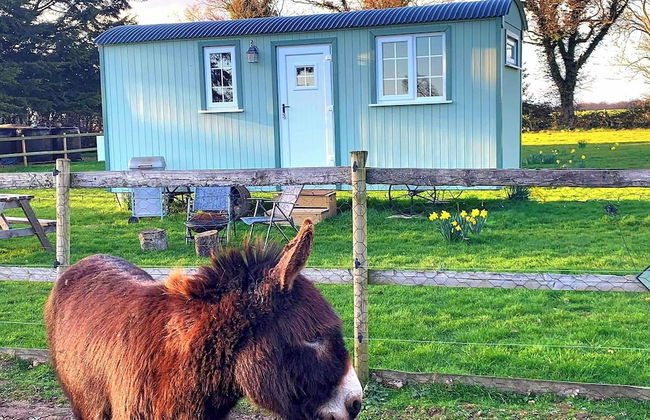
Starry Meadow & Rescued Animal Experiences - Foto 4
Starry Meadow & Rescued Animal Experiences - Foto 5
Starry Meadow & Rescued Animal Experiences - Foto 6
Starry Meadow & Rescued Animal Experiences - Foto 7
Starry Meadow & Rescued Animal Experiences - Foto 8
Starry Meadow & Rescued Animal Experiences - Foto 9
Starry Meadow & Rescued Animal Experiences - Foto 10
Starry Meadow & Rescued Animal Experiences - Foto 11
Starry Meadow & Rescued Animal Experiences - Foto 12
Starry Meadow & Rescued Animal Experiences - Foto 13
Starry Meadow & Rescued Animal Experiences - Foto 14
Starry Meadow & Rescued Animal Experiences - Foto 15
Starry Meadow & Rescued Animal Experiences - Foto 16
Starry Meadow & Rescued Animal Experiences - Foto 17
Starry Meadow & Rescued Animal Experiences - Foto 18
Starry Meadow & Rescued Animal Experiences - Foto 19
Starry Meadow & Rescued Animal Experiences - Foto 20
Starry Meadow & Rescued Animal Experiences - Foto 21
Starry Meadow & Rescued Animal Experiences - Foto 22
Starry Meadow & Rescued Animal Experiences - Foto 23
Starry Meadow & Rescued Animal Experiences - Foto 24
Starry Meadow & Rescued Animal Experiences - Foto 25
Starry Meadow & Rescued Animal Experiences - Foto 26
Starry Meadow & Rescued Animal Experiences - Foto 27
Starry Meadow & Rescued Animal Experiences - Foto 28
Starry Meadow & Rescued Animal Experiences - Foto 29
Starry Meadow & Rescued Animal Experiences - Foto 30
Starry Meadow & Rescued Animal Experiences - Foto 31
Starry Meadow & Rescued Animal Experiences - Foto 32
Starry Meadow & Rescued Animal Experiences - Foto 33
Starry Meadow & Rescued Animal Experiences - Foto 34
Starry Meadow & Rescued Animal Experiences - Foto 35
Starry Meadow & Rescued Animal Experiences - Foto 36
Starry Meadow & Rescued Animal Experiences - Foto 37
Starry Meadow & Rescued Animal Experiences - Foto 38
Starry Meadow & Rescued Animal Experiences - Foto 39
Starry Meadow & Rescued Animal Experiences - Foto 40
Starry Meadow & Rescued Animal Experiences - Foto 41
Starry Meadow & Rescued Animal Experiences - Foto 42
Starry Meadow & Rescued Animal Experiences - Foto 43
Starry Meadow & Rescued Animal Experiences - Foto 44
Starry Meadow & Rescued Animal Experiences - Foto 45
Starry Meadow & Rescued Animal Experiences - Foto 46
Starry Meadow & Rescued Animal Experiences - Foto 47
Starry Meadow & Rescued Animal Experiences - Foto 48
Starry Meadow & Rescued Animal Experiences - Foto 49
Starry Meadow & Rescued Animal Experiences - Foto 50
Starry Meadow & Rescued Animal Experiences - Foto 51
Starry Meadow & Rescued Animal Experiences - Foto 52
Starry Meadow & Rescued Animal Experiences - Foto 53
Starry Meadow & Rescued Animal Experiences - Foto 54
Starry Meadow & Rescued Animal Experiences - Foto 55
Starry Meadow & Rescued Animal Experiences - Foto 56
Starry Meadow & Rescued Animal Experiences - Foto 57
Starry Meadow & Rescued Animal Experiences - Foto 58
Starry Meadow & Rescued Animal Experiences - Foto 59
Starry Meadow & Rescued Animal Experiences - Foto 60
Starry Meadow & Rescued Animal Experiences - Foto 61
Starry Meadow & Rescued Animal Experiences - Foto 62
Starry Meadow & Rescued Animal Experiences - Foto 63
Starry Meadow & Rescued Animal Experiences - Foto 64
Starry Meadow & Rescued Animal Experiences - Foto 65
Starry Meadow & Rescued Animal Experiences - Foto 66
Starry Meadow & Rescued Animal Experiences - Foto 67
Starry Meadow & Rescued Animal Experiences - Foto 68
Starry Meadow & Rescued Animal Experiences - Foto 69
Starry Meadow & Rescued Animal Experiences - Foto 70
Starry Meadow & Rescued Animal Experiences - Foto 71
Starry Meadow & Rescued Animal Experiences - Foto 72
Starry Meadow & Rescued Animal Experiences - Foto 73
Starry Meadow & Rescued Animal Experiences - Foto 74
Starry Meadow & Rescued Animal Experiences - Foto 75
Starry Meadow & Rescued Animal Experiences - Foto 76
Starry Meadow & Rescued Animal Experiences - Foto 77
Starry Meadow & Rescued Animal Experiences - Foto 78
Starry Meadow & Rescued Animal Experiences - Foto 79
Starry Meadow & Rescued Animal Experiences - Foto 80
Starry Meadow & Rescued Animal Experiences - Foto 81
Starry Meadow & Rescued Animal Experiences - Foto 82
Starry Meadow & Rescued Animal Experiences - Foto 83
Starry Meadow & Rescued Animal Experiences - Foto 84
Starry Meadow & Rescued Animal Experiences - Foto 85
Starry Meadow & Rescued Animal Experiences - Foto 86
Starry Meadow & Rescued Animal Experiences - Foto 87
Starry Meadow & Rescued Animal Experiences - Foto 88
Starry Meadow & Rescued Animal Experiences - Foto 89
Starry Meadow & Rescued Animal Experiences - Foto 90
Starry Meadow & Rescued Animal Experiences - Foto 91
Starry Meadow & Rescued Animal Experiences - Foto 92
Starry Meadow & Rescued Animal Experiences - Foto 93
Starry Meadow & Rescued Animal Experiences - Foto 94
Starry Meadow & Rescued Animal Experiences - Foto 95
Starry Meadow & Rescued Animal Experiences - Foto 96
Starry Meadow & Rescued Animal Experiences - Foto 97
Starry Meadow & Rescued Animal Experiences - Foto 98
Starry Meadow & Rescued Animal Experiences - Foto 99
Starry Meadow & Rescued Animal Experiences - Foto 100
Starry Meadow & Rescued Animal Experiences - Foto 101
Starry Meadow & Rescued Animal Experiences - Foto 102
Starry Meadow & Rescued Animal Experiences - Foto 103
Starry Meadow & Rescued Animal Experiences - Foto 104
Starry Meadow & Rescued Animal Experiences - Foto 105
Starry Meadow & Rescued Animal Experiences - Foto 106
Starry Meadow & Rescued Animal Experiences - Foto 107
Starry Meadow & Rescued Animal Experiences - Foto 108
Starry Meadow & Rescued Animal Experiences - Foto 109
Starry Meadow & Rescued Animal Experiences - Foto 110
Starry Meadow & Rescued Animal Experiences - Foto 111
Starry Meadow & Rescued Animal Experiences - Foto 112
Starry Meadow & Rescued Animal Experiences - Foto 113
Starry Meadow & Rescued Animal Experiences - Foto 114
Starry Meadow & Rescued Animal Experiences - Foto 115
Starry Meadow & Rescued Animal Experiences - Foto 116
Starry Meadow & Rescued Animal Experiences - Foto 117
Starry Meadow & Rescued Animal Experiences - Foto 118
Starry Meadow & Rescued Animal Experiences - Foto 119
Starry Meadow & Rescued Animal Experiences - Foto 120
Starry Meadow & Rescued Animal Experiences - Foto 121
Starry Meadow & Rescued Animal Experiences - Foto 122
Starry Meadow & Rescued Animal Experiences - Foto 123

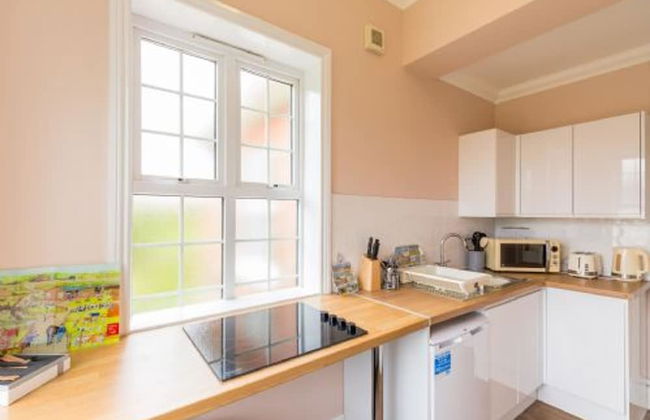
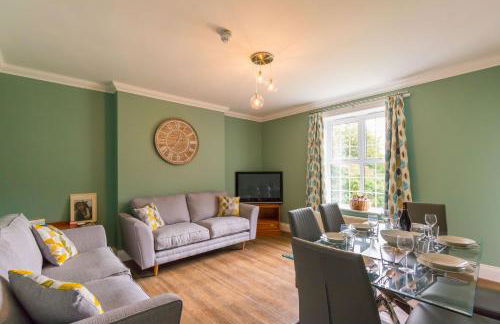
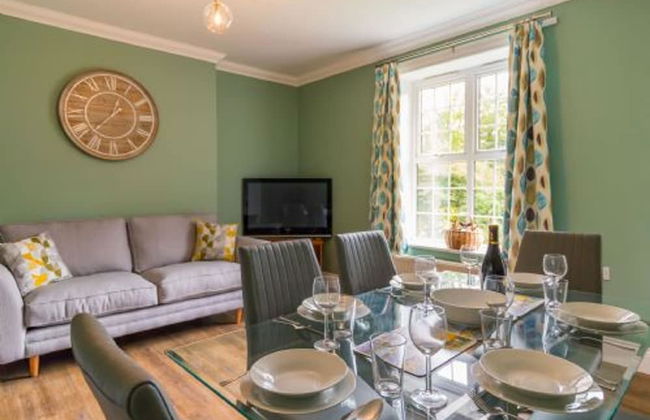
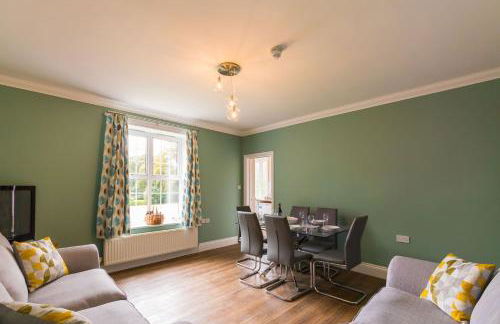
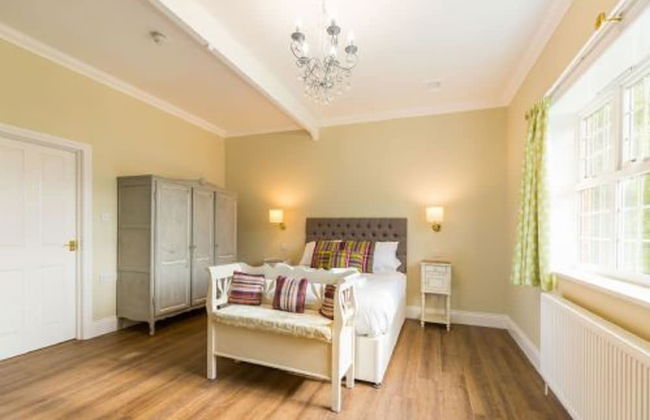
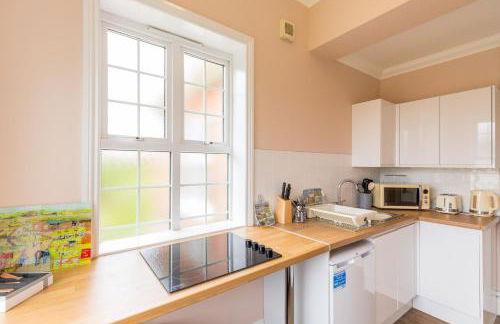
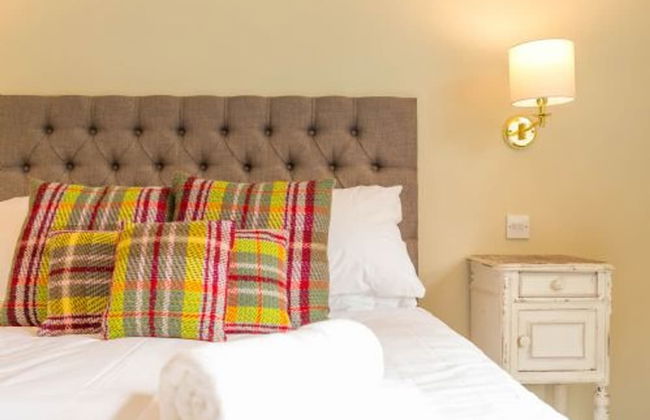
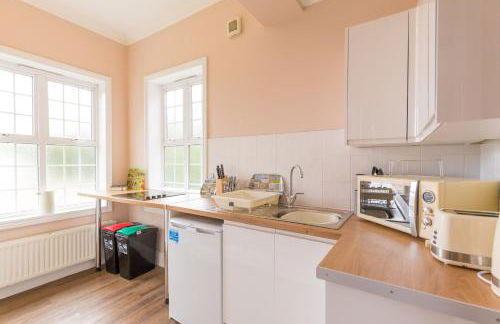
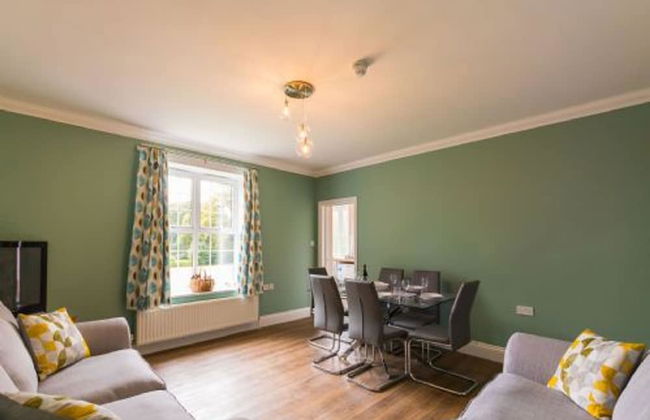
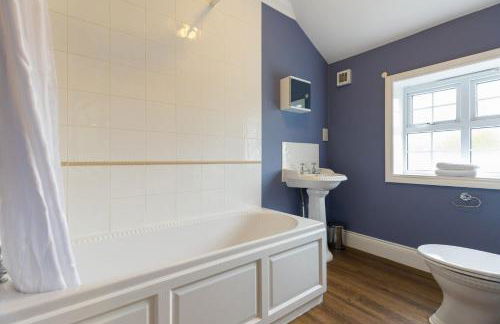
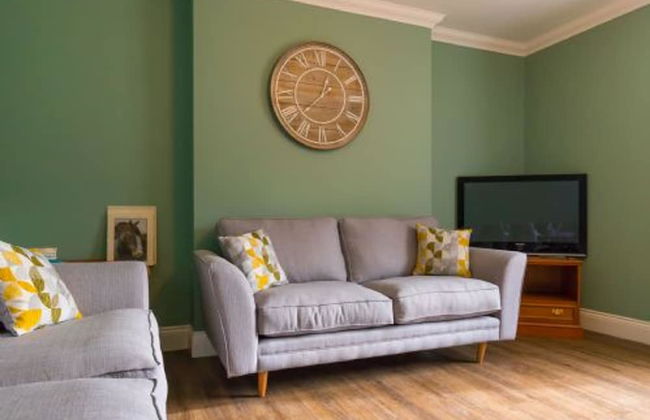
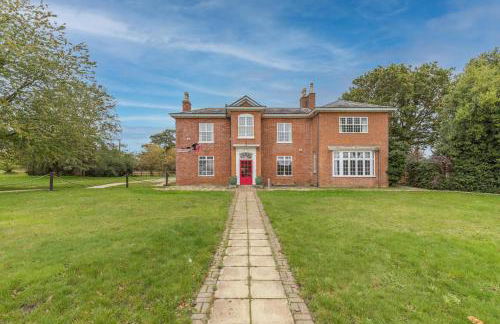
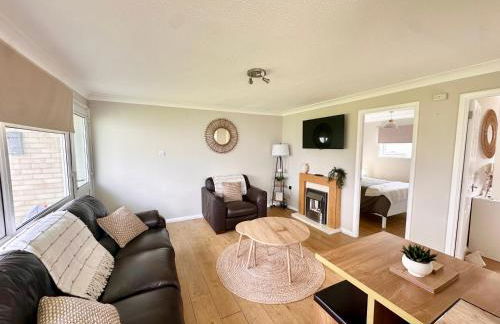
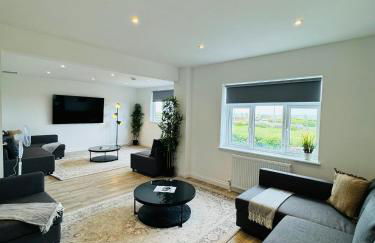
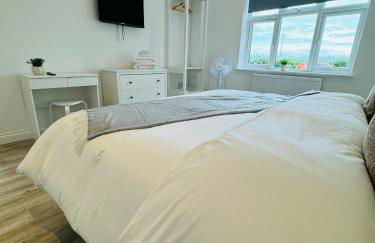
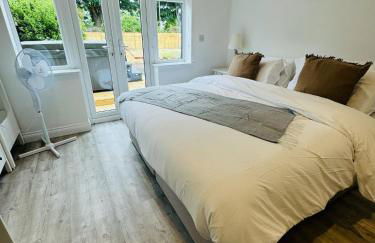
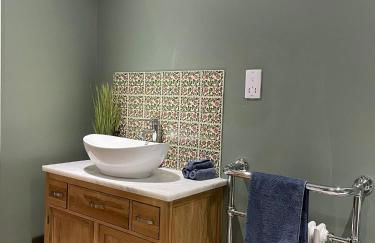
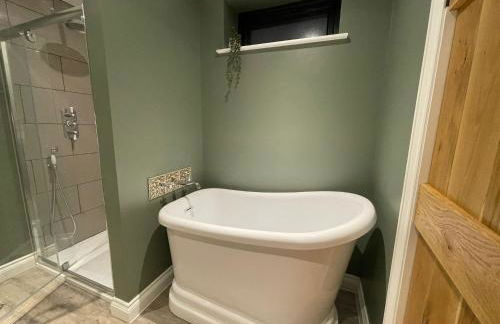
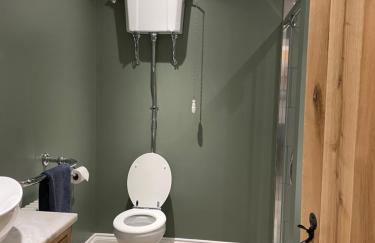
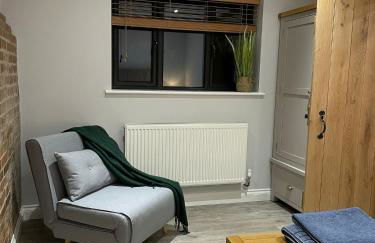
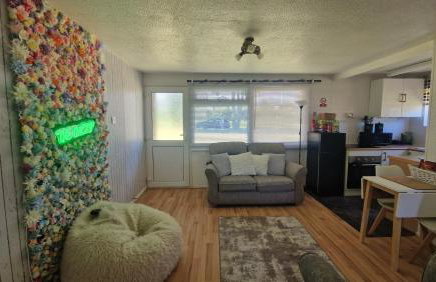
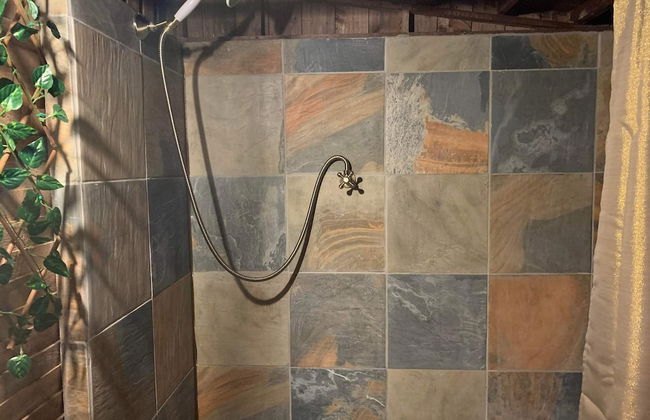
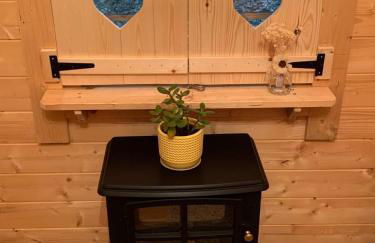
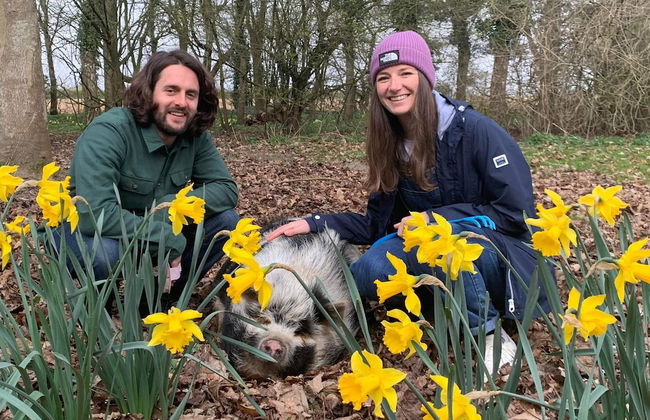
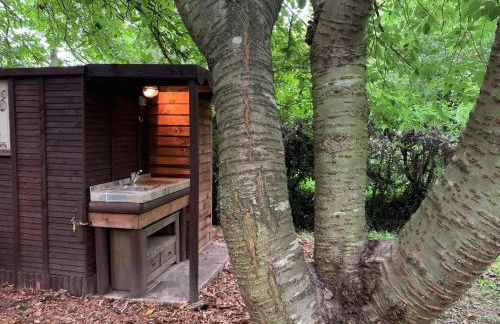
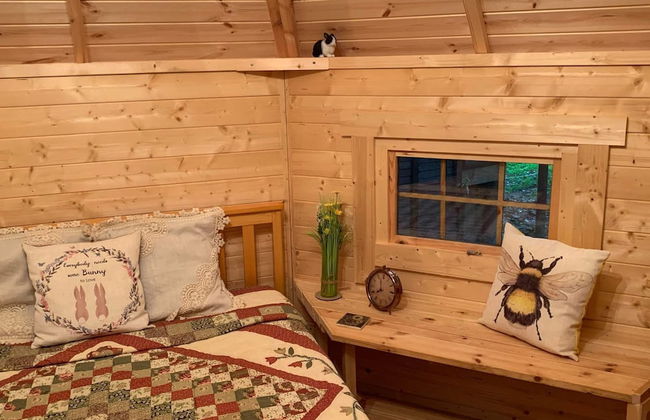
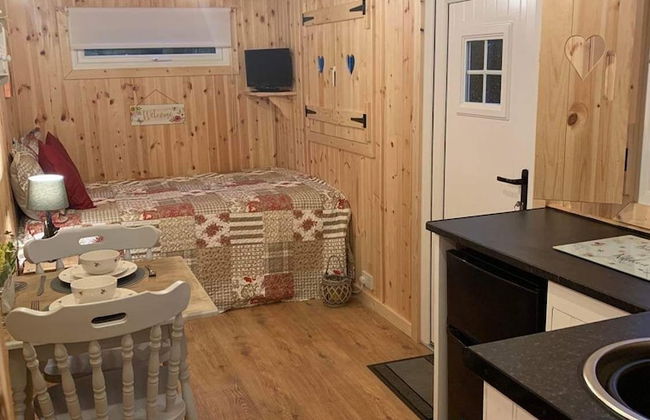
Starry Meadow & Rescued Animal Experiences

Great Yarmouth - Catfield - A 19.5 km del centro

  • 20 M2
  • 2 personas
  • Calefacción
  • Terraza
  • Parking
  • Televisión
  • Toallas
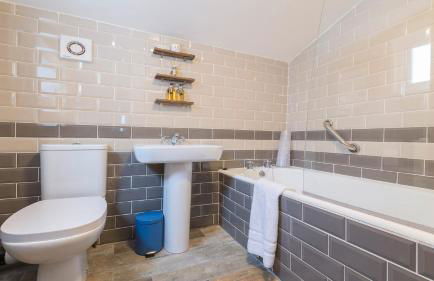
  • Sábanas
10Magnífico | 16 reseñas
Beach Breeze Cottage - Foto 1
Beach Breeze Cottage - Foto 2
Beach Breeze Cottage - Foto 3
Beach Breeze Cottage - Foto 4
Beach Breeze Cottage - Foto 5
Beach Breeze Cottage - Foto 6
Beach Breeze Cottage - Foto 7
Beach Breeze Cottage - Foto 8
Beach Breeze Cottage - Foto 9
Beach Breeze Cottage - Foto 10
Beach Breeze Cottage - Foto 11
Beach Breeze Cottage - Foto 12
Beach Breeze Cottage - Foto 13
Beach Breeze Cottage - Foto 14
Beach Breeze Cottage - Foto 15
Beach Breeze Cottage - Foto 16
Beach Breeze Cottage - Foto 17
Beach Breeze Cottage - Foto 18
Beach Breeze Cottage - Foto 19
Beach Breeze Cottage - Foto 20
Beach Breeze Cottage - Foto 21

Beach Breeze Cottage

Great Yarmouth - Caister on Sea - A 3.4 km del centro

  • 105 M2
  • 8 personas
  • Calefacción
  • Terraza
  • Parking
  • Jardín
  • Televisión
  • Lavadora
  • Barbacoa
  • Toallas
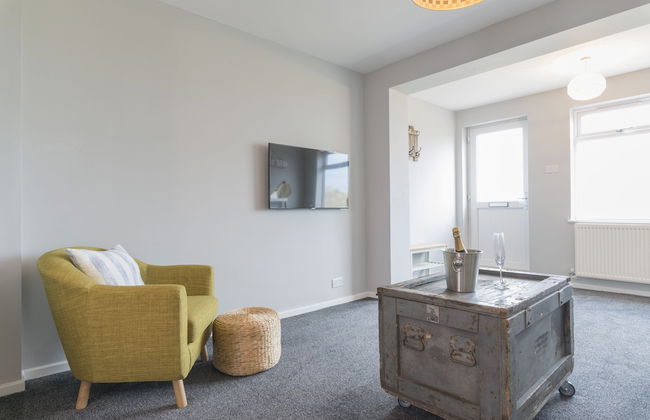
9.4Excepcional | 17 reseñas
Marina Beach House - Foto 1
Marina Beach House - Foto 2
Marina Beach House - Foto 3
Marina Beach House - Foto 4
Marina Beach House - Foto 5
Marina Beach House - Foto 6
Marina Beach House - Foto 7
Marina Beach House - Foto 8
Marina Beach House - Foto 9
Marina Beach House - Foto 10
Marina Beach House - Foto 11
Marina Beach House - Foto 12
Marina Beach House - Foto 13
Marina Beach House - Foto 14
Marina Beach House - Foto 15
Marina Beach House - Foto 16
Marina Beach House - Foto 17
Marina Beach House - Foto 18
Marina Beach House - Foto 19
Marina Beach House - Foto 20
Marina Beach House - Foto 21
Marina Beach House - Foto 22
Marina Beach House - Foto 23
Marina Beach House - Foto 24
Marina Beach House - Foto 25
Marina Beach House - Foto 26
Marina Beach House - Foto 27
Marina Beach House - Foto 28
Marina Beach House - Foto 29
Marina Beach House - Foto 30
Marina Beach House - Foto 31
Marina Beach House - Foto 32
Marina Beach House - Foto 33
Marina Beach House - Foto 34
Marina Beach House - Foto 35
Marina Beach House - Foto 36
Marina Beach House - Foto 37
Marina Beach House - Foto 38
Marina Beach House - Foto 39
Marina Beach House - Foto 40
Marina Beach House - Foto 41
Marina Beach House - Foto 42
Marina Beach House - Foto 43
Marina Beach House - Foto 44
Marina Beach House - Foto 45
Marina Beach House - Foto 46
Marina Beach House - Foto 47
Marina Beach House - Foto 48
Marina Beach House - Foto 49
Marina Beach House - Foto 50
Marina Beach House - Foto 51
Marina Beach House - Foto 52
Marina Beach House - Foto 53
Marina Beach House - Foto 54
Marina Beach House - Foto 55
Marina Beach House - Foto 56
Marina Beach House - Foto 57
Marina Beach House - Foto 58
Marina Beach House - Foto 59
Marina Beach House - Foto 60
Marina Beach House - Foto 61
Marina Beach House - Foto 62
Marina Beach House - Foto 63
Marina Beach House - Foto 64
Marina Beach House - Foto 65
Marina Beach House - Foto 66
Marina Beach House - Foto 67
Marina Beach House - Foto 68
Marina Beach House - Foto 69
Marina Beach House - Foto 70
Marina Beach House - Foto 71
Marina Beach House - Foto 72
Marina Beach House - Foto 73
Marina Beach House - Foto 74
Marina Beach House - Foto 75
Marina Beach House - Foto 76
Marina Beach House - Foto 77
Marina Beach House - Foto 78
Marina Beach House - Foto 79
Marina Beach House - Foto 80
Marina Beach House - Foto 81

Marina Beach House

Great Yarmouth - Caister on Sea - A 3.4 km del centro

  • 92 M2
  • 3 habitaciones
  • 7 personas
  • Calefacción
  • Terraza
  • Parking
  • Balcón
  • Jardín
  • Televisión
  • Toallas
  • Sábanas
10Magnífico | 8 reseñas
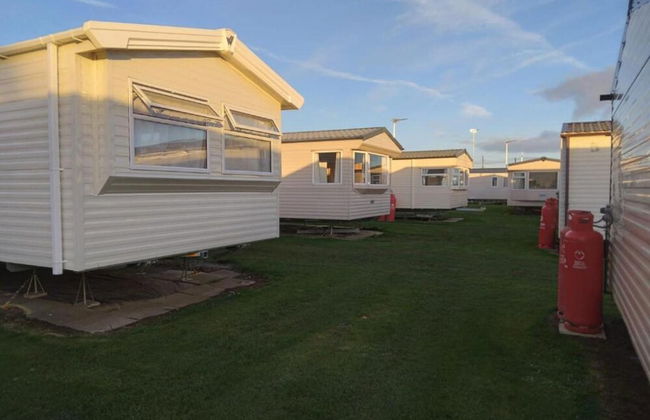
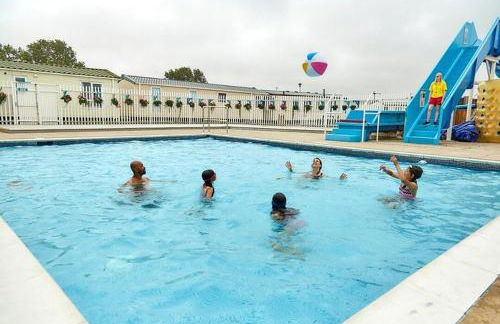
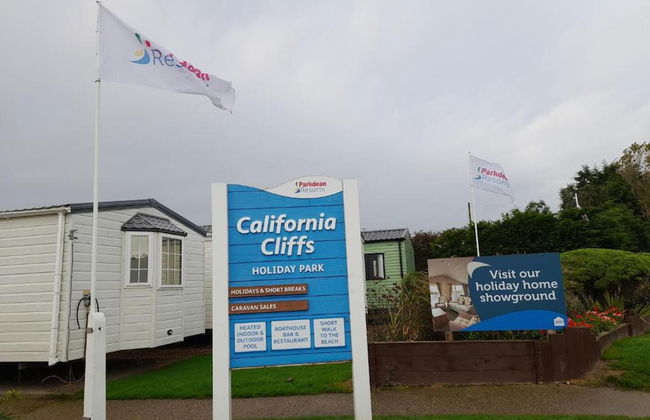
3 Bed, Sleeps 8 Caravan, California Cliffs Park - Foto 1
3 Bed, Sleeps 8 Caravan, California Cliffs Park - Foto 2
3 Bed, Sleeps 8 Caravan, California Cliffs Park - Foto 3
3 Bed, Sleeps 8 Caravan, California Cliffs Park - Foto 4
3 Bed, Sleeps 8 Caravan, California Cliffs Park - Foto 5
3 Bed, Sleeps 8 Caravan, California Cliffs Park - Foto 6
3 Bed, Sleeps 8 Caravan, California Cliffs Park - Foto 7
3 Bed, Sleeps 8 Caravan, California Cliffs Park - Foto 8
3 Bed, Sleeps 8 Caravan, California Cliffs Park - Foto 9
3 Bed, Sleeps 8 Caravan, California Cliffs Park - Foto 10
3 Bed, Sleeps 8 Caravan, California Cliffs Park - Foto 11
3 Bed, Sleeps 8 Caravan, California Cliffs Park - Foto 12
3 Bed, Sleeps 8 Caravan, California Cliffs Park - Foto 13
3 Bed, Sleeps 8 Caravan, California Cliffs Park - Foto 14
3 Bed, Sleeps 8 Caravan, California Cliffs Park - Foto 15
3 Bed, Sleeps 8 Caravan, California Cliffs Park - Foto 16
3 Bed, Sleeps 8 Caravan, California Cliffs Park - Foto 17
3 Bed, Sleeps 8 Caravan, California Cliffs Park - Foto 18
3 Bed, Sleeps 8 Caravan, California Cliffs Park - Foto 19
3 Bed, Sleeps 8 Caravan, California Cliffs Park - Foto 20
3 Bed, Sleeps 8 Caravan, California Cliffs Park - Foto 21
3 Bed, Sleeps 8 Caravan, California Cliffs Park - Foto 22
3 Bed, Sleeps 8 Caravan, California Cliffs Park - Foto 23
3 Bed, Sleeps 8 Caravan, California Cliffs Park - Foto 24
3 Bed, Sleeps 8 Caravan, California Cliffs Park - Foto 25
3 Bed, Sleeps 8 Caravan, California Cliffs Park - Foto 26
3 Bed, Sleeps 8 Caravan, California Cliffs Park - Foto 27
3 Bed, Sleeps 8 Caravan, California Cliffs Park - Foto 28
3 Bed, Sleeps 8 Caravan, California Cliffs Park - Foto 29
3 Bed, Sleeps 8 Caravan, California Cliffs Park - Foto 30
3 Bed, Sleeps 8 Caravan, California Cliffs Park - Foto 31
3 Bed, Sleeps 8 Caravan, California Cliffs Park - Foto 32
3 Bed, Sleeps 8 Caravan, California Cliffs Park - Foto 33
3 Bed, Sleeps 8 Caravan, California Cliffs Park - Foto 34
3 Bed, Sleeps 8 Caravan, California Cliffs Park - Foto 35
3 Bed, Sleeps 8 Caravan, California Cliffs Park - Foto 36
3 Bed, Sleeps 8 Caravan, California Cliffs Park - Foto 37
3 Bed, Sleeps 8 Caravan, California Cliffs Park - Foto 38
3 Bed, Sleeps 8 Caravan, California Cliffs Park - Foto 39
3 Bed, Sleeps 8 Caravan, California Cliffs Park - Foto 40
3 Bed, Sleeps 8 Caravan, California Cliffs Park - Foto 41
3 Bed, Sleeps 8 Caravan, California Cliffs Park - Foto 42
3 Bed, Sleeps 8 Caravan, California Cliffs Park - Foto 43
3 Bed, Sleeps 8 Caravan, California Cliffs Park - Foto 44
3 Bed, Sleeps 8 Caravan, California Cliffs Park - Foto 45
3 Bed, Sleeps 8 Caravan, California Cliffs Park - Foto 46
3 Bed, Sleeps 8 Caravan, California Cliffs Park - Foto 47
3 Bed, Sleeps 8 Caravan, California Cliffs Park - Foto 48
3 Bed, Sleeps 8 Caravan, California Cliffs Park - Foto 49
3 Bed, Sleeps 8 Caravan, California Cliffs Park - Foto 50
3 Bed, Sleeps 8 Caravan, California Cliffs Park - Foto 51
3 Bed, Sleeps 8 Caravan, California Cliffs Park - Foto 52
3 Bed, Sleeps 8 Caravan, California Cliffs Park - Foto 53
3 Bed, Sleeps 8 Caravan, California Cliffs Park - Foto 54
3 Bed, Sleeps 8 Caravan, California Cliffs Park - Foto 55
3 Bed, Sleeps 8 Caravan, California Cliffs Park - Foto 56
3 Bed, Sleeps 8 Caravan, California Cliffs Park - Foto 57
3 Bed, Sleeps 8 Caravan, California Cliffs Park - Foto 58
3 Bed, Sleeps 8 Caravan, California Cliffs Park - Foto 59
3 Bed, Sleeps 8 Caravan, California Cliffs Park - Foto 60
3 Bed, Sleeps 8 Caravan, California Cliffs Park - Foto 61
3 Bed, Sleeps 8 Caravan, California Cliffs Park - Foto 62
3 Bed, Sleeps 8 Caravan, California Cliffs Park - Foto 63

3 Bed, Sleeps 8 Caravan, California Cliffs Park

Great Yarmouth - Scratby - A 6.5 km del centro

  • 44 M2
  • 2 habitaciones
  • 6 personas
  • Calefacción
  • Terraza
  • Piscina
  • Parking
  • Jardín
  • Barbacoa
8.9Muy bueno | 149 reseñas
Dragon Chalet 1 , 155 Sunbeach Holiday Village, Scratby - Foto 1
Dragon Chalet 1 , 155 Sunbeach Holiday Village, Scratby - Foto 2
Dragon Chalet 1 , 155 Sunbeach Holiday Village, Scratby - Foto 3
Dragon Chalet 1 , 155 Sunbeach Holiday Village, Scratby - Foto 4
Dragon Chalet 1 , 155 Sunbeach Holiday Village, Scratby - Foto 5
Dragon Chalet 1 , 155 Sunbeach Holiday Village, Scratby - Foto 6
Dragon Chalet 1 , 155 Sunbeach Holiday Village, Scratby - Foto 7
Dragon Chalet 1 , 155 Sunbeach Holiday Village, Scratby - Foto 8
Dragon Chalet 1 , 155 Sunbeach Holiday Village, Scratby - Foto 9
Dragon Chalet 1 , 155 Sunbeach Holiday Village, Scratby - Foto 10
Dragon Chalet 1 , 155 Sunbeach Holiday Village, Scratby - Foto 11
Dragon Chalet 1 , 155 Sunbeach Holiday Village, Scratby - Foto 12
Dragon Chalet 1 , 155 Sunbeach Holiday Village, Scratby - Foto 13
Dragon Chalet 1 , 155 Sunbeach Holiday Village, Scratby - Foto 14

Dragon Chalet 1 , 155 Sunbeach Holiday Village, Scratby

Great Yarmouth - California - A 6.2 km del centro

  • 36 M2
  • 2 habitaciones
  • 4 personas
  • Calefacción
  • Terraza
  • Piscina
  • Parking
  • Jardín
9.6Excepcional | 38 reseñas
Large family home, sea view, hot tub, beach 5 min walk, dog friendly - Foto 1
Large family home, sea view, hot tub, beach 5 min walk, dog friendly - Foto 2
Large family home, sea view, hot tub, beach 5 min walk, dog friendly - Foto 3
Large family home, sea view, hot tub, beach 5 min walk, dog friendly - Foto 4
Large family home, sea view, hot tub, beach 5 min walk, dog friendly - Foto 5
Large family home, sea view, hot tub, beach 5 min walk, dog friendly - Foto 6
Large family home, sea view, hot tub, beach 5 min walk, dog friendly - Foto 7
Large family home, sea view, hot tub, beach 5 min walk, dog friendly - Foto 8
Large family home, sea view, hot tub, beach 5 min walk, dog friendly - Foto 9
Large family home, sea view, hot tub, beach 5 min walk, dog friendly - Foto 10
Large family home, sea view, hot tub, beach 5 min walk, dog friendly - Foto 11
Large family home, sea view, hot tub, beach 5 min walk, dog friendly - Foto 12
Large family home, sea view, hot tub, beach 5 min walk, dog friendly - Foto 13
Large family home, sea view, hot tub, beach 5 min walk, dog friendly - Foto 14
Large family home, sea view, hot tub, beach 5 min walk, dog friendly - Foto 15
Large family home, sea view, hot tub, beach 5 min walk, dog friendly - Foto 16
Large family home, sea view, hot tub, beach 5 min walk, dog friendly - Foto 17
Large family home, sea view, hot tub, beach 5 min walk, dog friendly - Foto 18
Large family home, sea view, hot tub, beach 5 min walk, dog friendly - Foto 19
Large family home, sea view, hot tub, beach 5 min walk, dog friendly - Foto 20
Large family home, sea view, hot tub, beach 5 min walk, dog friendly - Foto 21
Large family home, sea view, hot tub, beach 5 min walk, dog friendly - Foto 22
Large family home, sea view, hot tub, beach 5 min walk, dog friendly - Foto 23
Large family home, sea view, hot tub, beach 5 min walk, dog friendly - Foto 24
Large family home, sea view, hot tub, beach 5 min walk, dog friendly - Foto 25
Large family home, sea view, hot tub, beach 5 min walk, dog friendly - Foto 26
Large family home, sea view, hot tub, beach 5 min walk, dog friendly - Foto 27
Large family home, sea view, hot tub, beach 5 min walk, dog friendly - Foto 28
Large family home, sea view, hot tub, beach 5 min walk, dog friendly - Foto 29
Large family home, sea view, hot tub, beach 5 min walk, dog friendly - Foto 30
Large family home, sea view, hot tub, beach 5 min walk, dog friendly - Foto 31
Large family home, sea view, hot tub, beach 5 min walk, dog friendly - Foto 32
Large family home, sea view, hot tub, beach 5 min walk, dog friendly - Foto 33
Large family home, sea view, hot tub, beach 5 min walk, dog friendly - Foto 34
Large family home, sea view, hot tub, beach 5 min walk, dog friendly - Foto 35
Large family home, sea view, hot tub, beach 5 min walk, dog friendly - Foto 36
Large family home, sea view, hot tub, beach 5 min walk, dog friendly - Foto 37
Large family home, sea view, hot tub, beach 5 min walk, dog friendly - Foto 38
Large family home, sea view, hot tub, beach 5 min walk, dog friendly - Foto 39
Large family home, sea view, hot tub, beach 5 min walk, dog friendly - Foto 40
Large family home, sea view, hot tub, beach 5 min walk, dog friendly - Foto 41
Large family home, sea view, hot tub, beach 5 min walk, dog friendly - Foto 42
Large family home, sea view, hot tub, beach 5 min walk, dog friendly - Foto 43
Large family home, sea view, hot tub, beach 5 min walk, dog friendly - Foto 44
Large family home, sea view, hot tub, beach 5 min walk, dog friendly - Foto 45

Large family home, sea view, hot tub, beach 5 min walk, dog friendly

Great Yarmouth - Gorleston - A 4.1 km del centro

  • 193 M2
  • 5 habitaciones
  • 11 personas
  • Calefacción
  • Terraza
  • Parking
  • Jardín
  • Barbacoa
9.9Excepcional | 35 reseñas
Host & Stay - Redwings Sanctuary Rooms - Foto 1
Host & Stay - Redwings Sanctuary Rooms - Foto 2
Host & Stay - Redwings Sanctuary Rooms - Foto 3
Host & Stay - Redwings Sanctuary Rooms - Foto 4
Host & Stay - Redwings Sanctuary Rooms - Foto 5
Host & Stay - Redwings Sanctuary Rooms - Foto 6
Host & Stay - Redwings Sanctuary Rooms - Foto 7
Host & Stay - Redwings Sanctuary Rooms - Foto 8
Host & Stay - Redwings Sanctuary Rooms - Foto 9
Host & Stay - Redwings Sanctuary Rooms - Foto 10
Host & Stay - Redwings Sanctuary Rooms - Foto 11
Host & Stay - Redwings Sanctuary Rooms - Foto 12
Host & Stay - Redwings Sanctuary Rooms - Foto 13
Host & Stay - Redwings Sanctuary Rooms - Foto 14
Host & Stay - Redwings Sanctuary Rooms - Foto 15
Host & Stay - Redwings Sanctuary Rooms - Foto 16
Host & Stay - Redwings Sanctuary Rooms - Foto 17
Host & Stay - Redwings Sanctuary Rooms - Foto 18
Host & Stay - Redwings Sanctuary Rooms - Foto 19
Host & Stay - Redwings Sanctuary Rooms - Foto 20
Host & Stay - Redwings Sanctuary Rooms - Foto 21
Host & Stay - Redwings Sanctuary Rooms - Foto 22
Host & Stay - Redwings Sanctuary Rooms - Foto 23
Host & Stay - Redwings Sanctuary Rooms - Foto 24
Host & Stay - Redwings Sanctuary Rooms - Foto 25
Host & Stay - Redwings Sanctuary Rooms - Foto 26
Host & Stay - Redwings Sanctuary Rooms - Foto 27
Host & Stay - Redwings Sanctuary Rooms - Foto 28
Host & Stay - Redwings Sanctuary Rooms - Foto 29
Host & Stay - Redwings Sanctuary Rooms - Foto 30
Host & Stay - Redwings Sanctuary Rooms - Foto 31
Host & Stay - Redwings Sanctuary Rooms - Foto 32
Host & Stay - Redwings Sanctuary Rooms - Foto 33
Host & Stay - Redwings Sanctuary Rooms - Foto 34
Host & Stay - Redwings Sanctuary Rooms - Foto 35
Host & Stay - Redwings Sanctuary Rooms - Foto 36
Host & Stay - Redwings Sanctuary Rooms - Foto 37
Host & Stay - Redwings Sanctuary Rooms - Foto 38
Host & Stay - Redwings Sanctuary Rooms - Foto 39
Host & Stay - Redwings Sanctuary Rooms - Foto 40
Host & Stay - Redwings Sanctuary Rooms - Foto 41
Host & Stay - Redwings Sanctuary Rooms - Foto 42
Host & Stay - Redwings Sanctuary Rooms - Foto 43
Host & Stay - Redwings Sanctuary Rooms - Foto 44
Host & Stay - Redwings Sanctuary Rooms - Foto 45
Host & Stay - Redwings Sanctuary Rooms - Foto 46
Host & Stay - Redwings Sanctuary Rooms - Foto 47
Host & Stay - Redwings Sanctuary Rooms - Foto 48
Host & Stay - Redwings Sanctuary Rooms - Foto 49
Host & Stay - Redwings Sanctuary Rooms - Foto 50
Host & Stay - Redwings Sanctuary Rooms - Foto 51
Host & Stay - Redwings Sanctuary Rooms - Foto 52
Host & Stay - Redwings Sanctuary Rooms - Foto 53
Host & Stay - Redwings Sanctuary Rooms - Foto 54
Host & Stay - Redwings Sanctuary Rooms - Foto 55
Host & Stay - Redwings Sanctuary Rooms - Foto 56
Host & Stay - Redwings Sanctuary Rooms - Foto 57
Host & Stay - Redwings Sanctuary Rooms - Foto 58
Host & Stay - Redwings Sanctuary Rooms - Foto 59
Host & Stay - Redwings Sanctuary Rooms - Foto 60

Host & Stay - Redwings Sanctuary Rooms

Great Yarmouth - Fritton - A 7.8 km del centro

  • 60 M2
  • 3 habitaciones
  • 6 personas
  • Calefacción
  • Parking
  • Jardín
  • Televisión
  • Toallas
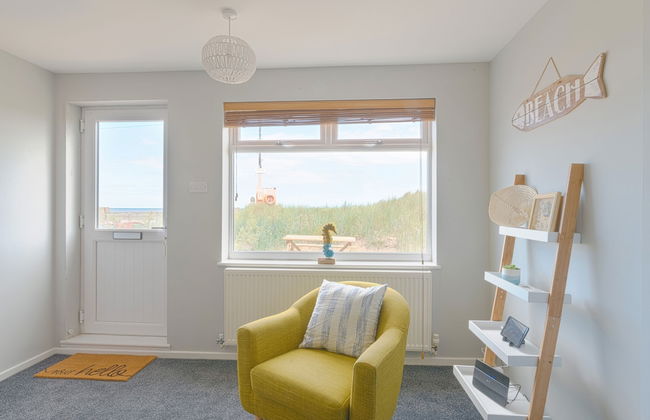
  • Sábanas
9.2Excepcional | 22 reseñas
Belle Aire Beach Retreat at Hemsby with FREE WIFI Bed linen included Freely tvs in bedrooms and FREE onsite entertainment - Foto 1
Belle Aire Beach Retreat at Hemsby with FREE WIFI Bed linen included Freely tvs in bedrooms and FREE onsite entertainment - Foto 2
Belle Aire Beach Retreat at Hemsby with FREE WIFI Bed linen included Freely tvs in bedrooms and FREE onsite entertainment - Foto 3
Belle Aire Beach Retreat at Hemsby with FREE WIFI Bed linen included Freely tvs in bedrooms and FREE onsite entertainment - Foto 4
Belle Aire Beach Retreat at Hemsby with FREE WIFI Bed linen included Freely tvs in bedrooms and FREE onsite entertainment - Foto 5
Belle Aire Beach Retreat at Hemsby with FREE WIFI Bed linen included Freely tvs in bedrooms and FREE onsite entertainment - Foto 6
Belle Aire Beach Retreat at Hemsby with FREE WIFI Bed linen included Freely tvs in bedrooms and FREE onsite entertainment - Foto 7
Belle Aire Beach Retreat at Hemsby with FREE WIFI Bed linen included Freely tvs in bedrooms and FREE onsite entertainment - Foto 8
Belle Aire Beach Retreat at Hemsby with FREE WIFI Bed linen included Freely tvs in bedrooms and FREE onsite entertainment - Foto 9
Belle Aire Beach Retreat at Hemsby with FREE WIFI Bed linen included Freely tvs in bedrooms and FREE onsite entertainment - Foto 10
Belle Aire Beach Retreat at Hemsby with FREE WIFI Bed linen included Freely tvs in bedrooms and FREE onsite entertainment - Foto 11
Belle Aire Beach Retreat at Hemsby with FREE WIFI Bed linen included Freely tvs in bedrooms and FREE onsite entertainment - Foto 12
Belle Aire Beach Retreat at Hemsby with FREE WIFI Bed linen included Freely tvs in bedrooms and FREE onsite entertainment - Foto 13
Belle Aire Beach Retreat at Hemsby with FREE WIFI Bed linen included Freely tvs in bedrooms and FREE onsite entertainment - Foto 14
Belle Aire Beach Retreat at Hemsby with FREE WIFI Bed linen included Freely tvs in bedrooms and FREE onsite entertainment - Foto 15
Belle Aire Beach Retreat at Hemsby with FREE WIFI Bed linen included Freely tvs in bedrooms and FREE onsite entertainment - Foto 16
Belle Aire Beach Retreat at Hemsby with FREE WIFI Bed linen included Freely tvs in bedrooms and FREE onsite entertainment - Foto 17
Belle Aire Beach Retreat at Hemsby with FREE WIFI Bed linen included Freely tvs in bedrooms and FREE onsite entertainment - Foto 18

Belle Aire Beach Retreat at Hemsby with FREE WIFI Bed linen included Freely tvs in bedrooms and FREE onsite entertainment

Great Yarmouth - Hemsby - A 8.7 km del centro

  • 60 M2
  • 2 habitaciones
  • 4 personas
  • Calefacción
  • Terraza
  • Parking
  • Jardín
9.5Excepcional | 17 reseñas
Rogers Retreat - Foto 1
Rogers Retreat - Foto 2
Rogers Retreat - Foto 3
Rogers Retreat - Foto 4
Rogers Retreat - Foto 5

Rogers Retreat

Great Yarmouth - Scratby - A 6.7 km del centro

  • 2 habitaciones
  • 5 personas
  • Terraza
  • Piscina
  • Parking
9.3Excepcional | 27 reseñas
186 Sundowner Holiday Park Sleeps 4 with Bedding and Towels provided Plus Free WiFi - Foto 1
186 Sundowner Holiday Park Sleeps 4 with Bedding and Towels provided Plus Free WiFi - Foto 2
186 Sundowner Holiday Park Sleeps 4 with Bedding and Towels provided Plus Free WiFi - Foto 3
186 Sundowner Holiday Park Sleeps 4 with Bedding and Towels provided Plus Free WiFi - Foto 4
186 Sundowner Holiday Park Sleeps 4 with Bedding and Towels provided Plus Free WiFi - Foto 5
186 Sundowner Holiday Park Sleeps 4 with Bedding and Towels provided Plus Free WiFi - Foto 6
186 Sundowner Holiday Park Sleeps 4 with Bedding and Towels provided Plus Free WiFi - Foto 7
186 Sundowner Holiday Park Sleeps 4 with Bedding and Towels provided Plus Free WiFi - Foto 8
186 Sundowner Holiday Park Sleeps 4 with Bedding and Towels provided Plus Free WiFi - Foto 9
186 Sundowner Holiday Park Sleeps 4 with Bedding and Towels provided Plus Free WiFi - Foto 10
186 Sundowner Holiday Park Sleeps 4 with Bedding and Towels provided Plus Free WiFi - Foto 11
186 Sundowner Holiday Park Sleeps 4 with Bedding and Towels provided Plus Free WiFi - Foto 12

186 Sundowner Holiday Park Sleeps 4 with Bedding and Towels provided Plus Free WiFi

Great Yarmouth - Hemsby - A 8.2 km del centro

  • 44 M2
  • 2 habitaciones
  • 4 personas
  • Parking
9.9Excepcional | 12 reseñas
55 Florida Park Hemsby - Foto 1
55 Florida Park Hemsby - Foto 2
55 Florida Park Hemsby - Foto 3
55 Florida Park Hemsby - Foto 4
55 Florida Park Hemsby - Foto 5
55 Florida Park Hemsby - Foto 6
55 Florida Park Hemsby - Foto 7
55 Florida Park Hemsby - Foto 8
55 Florida Park Hemsby - Foto 9
55 Florida Park Hemsby - Foto 10
55 Florida Park Hemsby - Foto 11
55 Florida Park Hemsby - Foto 12
55 Florida Park Hemsby - Foto 13
55 Florida Park Hemsby - Foto 14
55 Florida Park Hemsby - Foto 15
55 Florida Park Hemsby - Foto 16
55 Florida Park Hemsby - Foto 17
55 Florida Park Hemsby - Foto 18
55 Florida Park Hemsby - Foto 19
55 Florida Park Hemsby - Foto 20
55 Florida Park Hemsby - Foto 21
55 Florida Park Hemsby - Foto 22
55 Florida Park Hemsby - Foto 23
55 Florida Park Hemsby - Foto 24
55 Florida Park Hemsby - Foto 25
55 Florida Park Hemsby - Foto 26
55 Florida Park Hemsby - Foto 27
55 Florida Park Hemsby - Foto 28
55 Florida Park Hemsby - Foto 29
55 Florida Park Hemsby - Foto 30

55 Florida Park Hemsby

Great Yarmouth - Hemsby - A 8.8 km del centro

  • 3 M2
  • 2 habitaciones
  • 5 personas
  • Terraza
  • Jardín
9.5Excepcional | 13 reseñas
“The Reach” Lovely 2 bed house in Gorleston on Sea - Foto 1
“The Reach” Lovely 2 bed house in Gorleston on Sea - Foto 2
“The Reach” Lovely 2 bed house in Gorleston on Sea - Foto 3
“The Reach” Lovely 2 bed house in Gorleston on Sea - Foto 4
“The Reach” Lovely 2 bed house in Gorleston on Sea - Foto 5
“The Reach” Lovely 2 bed house in Gorleston on Sea - Foto 6
“The Reach” Lovely 2 bed house in Gorleston on Sea - Foto 7
“The Reach” Lovely 2 bed house in Gorleston on Sea - Foto 8
“The Reach” Lovely 2 bed house in Gorleston on Sea - Foto 9
“The Reach” Lovely 2 bed house in Gorleston on Sea - Foto 10
“The Reach” Lovely 2 bed house in Gorleston on Sea - Foto 11
“The Reach” Lovely 2 bed house in Gorleston on Sea - Foto 12
“The Reach” Lovely 2 bed house in Gorleston on Sea - Foto 13
“The Reach” Lovely 2 bed house in Gorleston on Sea - Foto 14
“The Reach” Lovely 2 bed house in Gorleston on Sea - Foto 15
“The Reach” Lovely 2 bed house in Gorleston on Sea - Foto 16
“The Reach” Lovely 2 bed house in Gorleston on Sea - Foto 17
“The Reach” Lovely 2 bed house in Gorleston on Sea - Foto 18
“The Reach” Lovely 2 bed house in Gorleston on Sea - Foto 19
“The Reach” Lovely 2 bed house in Gorleston on Sea - Foto 20

“The Reach” Lovely 2 bed house in Gorleston on Sea

Great Yarmouth - Gorleston - A 3.4 km del centro

  • 73 M2
  • 2 habitaciones
  • 5 personas
  • Terraza
  • Parking
  • Jardín
9.5Excepcional | 90 reseñas
The Rampart - Foto 1
The Rampart - Foto 2
The Rampart - Foto 3
The Rampart - Foto 4
The Rampart - Foto 5
The Rampart - Foto 6
The Rampart - Foto 7
The Rampart - Foto 8
The Rampart - Foto 9
The Rampart - Foto 10
The Rampart - Foto 11
The Rampart - Foto 12
The Rampart - Foto 13
The Rampart - Foto 14
The Rampart - Foto 15
The Rampart - Foto 16
The Rampart - Foto 17
The Rampart - Foto 18
The Rampart - Foto 19
The Rampart - Foto 20
The Rampart - Foto 21
The Rampart - Foto 22
The Rampart - Foto 23
The Rampart - Foto 24
The Rampart - Foto 25
The Rampart - Foto 26
The Rampart - Foto 27
The Rampart - Foto 28
The Rampart - Foto 29
The Rampart - Foto 30
The Rampart - Foto 31
The Rampart - Foto 32
The Rampart - Foto 33
The Rampart - Foto 34
The Rampart - Foto 35
The Rampart - Foto 36
The Rampart - Foto 37
The Rampart - Foto 38
The Rampart - Foto 39
The Rampart - Foto 40
The Rampart - Foto 41
The Rampart - Foto 42
The Rampart - Foto 43
The Rampart - Foto 44
The Rampart - Foto 45
The Rampart - Foto 46
The Rampart - Foto 47
The Rampart - Foto 48
The Rampart - Foto 49
The Rampart - Foto 50
The Rampart - Foto 51
The Rampart - Foto 52
The Rampart - Foto 53
The Rampart - Foto 54
The Rampart - Foto 55
The Rampart - Foto 56
The Rampart - Foto 57
The Rampart - Foto 58
The Rampart - Foto 59
The Rampart - Foto 60
The Rampart - Foto 61
The Rampart - Foto 62
The Rampart - Foto 63
The Rampart - Foto 64
The Rampart - Foto 65
The Rampart - Foto 66
The Rampart - Foto 67
The Rampart - Foto 68
The Rampart - Foto 69
The Rampart - Foto 70
The Rampart - Foto 71
The Rampart - Foto 72
The Rampart - Foto 73
The Rampart - Foto 74
The Rampart - Foto 75
The Rampart - Foto 76
The Rampart - Foto 77
The Rampart - Foto 78
The Rampart - Foto 79
The Rampart - Foto 80
The Rampart - Foto 81
The Rampart - Foto 82
The Rampart - Foto 83
The Rampart - Foto 84
The Rampart - Foto 85
The Rampart - Foto 86
The Rampart - Foto 87
The Rampart - Foto 88
The Rampart - Foto 89
The Rampart - Foto 90
The Rampart - Foto 91
The Rampart - Foto 92
The Rampart - Foto 93
The Rampart - Foto 94
The Rampart - Foto 95
The Rampart - Foto 96
The Rampart - Foto 97
The Rampart - Foto 98
The Rampart - Foto 99
The Rampart - Foto 100
The Rampart - Foto 101
The Rampart - Foto 102
The Rampart - Foto 103
The Rampart - Foto 104
The Rampart - Foto 105
The Rampart - Foto 106
The Rampart - Foto 107
The Rampart - Foto 108
The Rampart - Foto 109
The Rampart - Foto 110
The Rampart - Foto 111
The Rampart - Foto 112
The Rampart - Foto 113
The Rampart - Foto 114
The Rampart - Foto 115
The Rampart - Foto 116
The Rampart - Foto 117
The Rampart - Foto 118
The Rampart - Foto 119
The Rampart - Foto 120
The Rampart - Foto 121
The Rampart - Foto 122
The Rampart - Foto 123
The Rampart - Foto 124
The Rampart - Foto 125
The Rampart - Foto 126
The Rampart - Foto 127
The Rampart - Foto 128
The Rampart - Foto 129
The Rampart - Foto 130
The Rampart - Foto 131
The Rampart - Foto 132
The Rampart - Foto 133
The Rampart - Foto 134
The Rampart - Foto 135
The Rampart - Foto 136
The Rampart - Foto 137
The Rampart - Foto 138
The Rampart - Foto 139
The Rampart - Foto 140
The Rampart - Foto 141
The Rampart - Foto 142
The Rampart - Foto 143
The Rampart - Foto 144
The Rampart - Foto 145

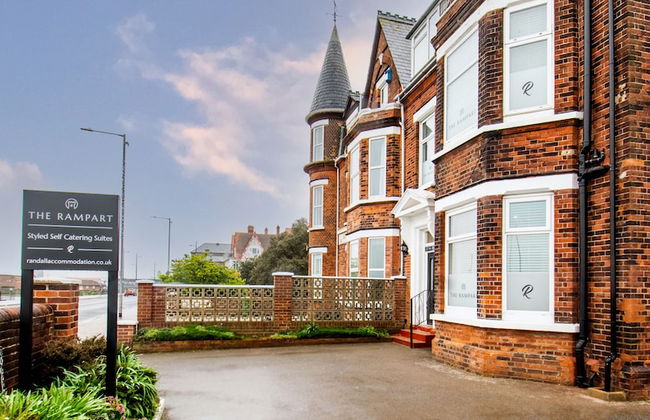
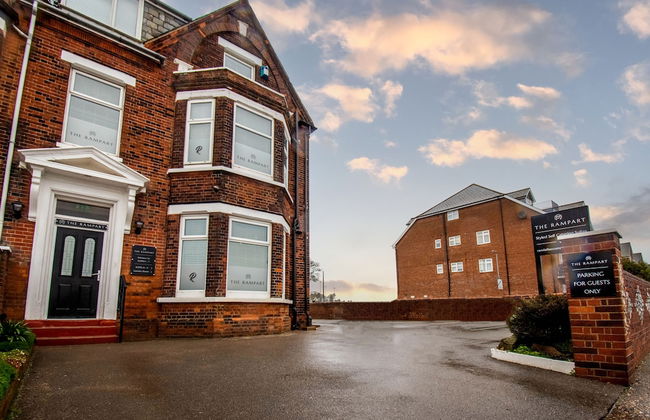
The Rampart

Great Yarmouth - Great Yarmouth - A 420 m del centro

  • 27 M2
  • 1 habitación
  • 2 personas
  • Aire acondicionado
  • Calefacción
  • Piscina
  • Parking
  • Televisión
  • Lavadora
  • Toallas
  • Sábanas

10Magnífico | 17 reseñas
The Crescent - Foto 1
The Crescent - Foto 2
The Crescent - Foto 3
The Crescent - Foto 4
The Crescent - Foto 5
The Crescent - Foto 6
The Crescent - Foto 7
The Crescent - Foto 8
The Crescent - Foto 9
The Crescent - Foto 10
The Crescent - Foto 11
The Crescent - Foto 12
The Crescent - Foto 13
The Crescent - Foto 14
The Crescent - Foto 15
The Crescent - Foto 16
The Crescent - Foto 17
The Crescent - Foto 18
The Crescent - Foto 19
The Crescent - Foto 20
The Crescent - Foto 21
The Crescent - Foto 22
The Crescent - Foto 23
The Crescent - Foto 24
The Crescent - Foto 25
The Crescent - Foto 26
The Crescent - Foto 27
The Crescent - Foto 28
The Crescent - Foto 29
The Crescent - Foto 30
The Crescent - Foto 31
The Crescent - Foto 32
The Crescent - Foto 33
The Crescent - Foto 34
The Crescent - Foto 35
The Crescent - Foto 36
The Crescent - Foto 37
The Crescent - Foto 38
The Crescent - Foto 39
The Crescent - Foto 40
The Crescent - Foto 41
The Crescent - Foto 42
The Crescent - Foto 43
The Crescent - Foto 44
The Crescent - Foto 45
The Crescent - Foto 46
The Crescent - Foto 47
The Crescent - Foto 48
The Crescent - Foto 49
The Crescent - Foto 50

The Crescent

Great Yarmouth - Great Yarmouth - A 540 m del centro

  • 10000 M2
  • 7 habitaciones
  • 16 personas
  • Calefacción
  • Terraza
  • Parking
  • Jardín
  • Barbacoa
9.3Excepcional | 54 reseñas
Happy Havan - Foto 1
Happy Havan - Foto 2
Happy Havan - Foto 3
Happy Havan - Foto 4
Happy Havan - Foto 5
Happy Havan - Foto 6
Happy Havan - Foto 7
Happy Havan - Foto 8
Happy Havan - Foto 9
Happy Havan - Foto 10
Happy Havan - Foto 11
Happy Havan - Foto 12
Happy Havan - Foto 13
Happy Havan - Foto 14
Happy Havan - Foto 15
Happy Havan - Foto 16
Happy Havan - Foto 17
Happy Havan - Foto 18
Happy Havan - Foto 19
Happy Havan - Foto 20
Happy Havan - Foto 21
Happy Havan - Foto 22
Happy Havan - Foto 23
Happy Havan - Foto 24
Happy Havan - Foto 25
Happy Havan - Foto 26
Happy Havan - Foto 27
Happy Havan - Foto 28
Happy Havan - Foto 29
Happy Havan - Foto 30
Happy Havan - Foto 31
Happy Havan - Foto 32
Happy Havan - Foto 33
Happy Havan - Foto 34
Happy Havan - Foto 35
Happy Havan - Foto 36
Happy Havan - Foto 37
Happy Havan - Foto 38
Happy Havan - Foto 39
Happy Havan - Foto 40
Happy Havan - Foto 41
Happy Havan - Foto 42
Happy Havan - Foto 43

Happy Havan

Great Yarmouth - Belton - A 5.2 km del centro

  • 3 M2
  • 2 habitaciones
  • 4 personas
  • Calefacción
  • Terraza
  • Piscina
  • Parking
  • Jardín
9.8Excepcional | 18 reseñas
The Atlantis - Tower Apartments - Foto 1
The Atlantis - Tower Apartments - Foto 2
The Atlantis - Tower Apartments - Foto 3
The Atlantis - Tower Apartments - Foto 4
The Atlantis - Tower Apartments - Foto 5
The Atlantis - Tower Apartments - Foto 6
The Atlantis - Tower Apartments - Foto 7
The Atlantis - Tower Apartments - Foto 8
The Atlantis - Tower Apartments - Foto 9
The Atlantis - Tower Apartments - Foto 10
The Atlantis - Tower Apartments - Foto 11
The Atlantis - Tower Apartments - Foto 12
The Atlantis - Tower Apartments - Foto 13
The Atlantis - Tower Apartments - Foto 14
The Atlantis - Tower Apartments - Foto 15
The Atlantis - Tower Apartments - Foto 16
The Atlantis - Tower Apartments - Foto 17
The Atlantis - Tower Apartments - Foto 18
The Atlantis - Tower Apartments - Foto 19
The Atlantis - Tower Apartments - Foto 20
The Atlantis - Tower Apartments - Foto 21
The Atlantis - Tower Apartments - Foto 22
The Atlantis - Tower Apartments - Foto 23
The Atlantis - Tower Apartments - Foto 24
The Atlantis - Tower Apartments - Foto 25
The Atlantis - Tower Apartments - Foto 26
The Atlantis - Tower Apartments - Foto 27
The Atlantis - Tower Apartments - Foto 28
The Atlantis - Tower Apartments - Foto 29
The Atlantis - Tower Apartments - Foto 30
The Atlantis - Tower Apartments - Foto 31
The Atlantis - Tower Apartments - Foto 32
The Atlantis - Tower Apartments - Foto 33
The Atlantis - Tower Apartments - Foto 34
The Atlantis - Tower Apartments - Foto 35
The Atlantis - Tower Apartments - Foto 36
The Atlantis - Tower Apartments - Foto 37
The Atlantis - Tower Apartments - Foto 38
The Atlantis - Tower Apartments - Foto 39
The Atlantis - Tower Apartments - Foto 40
The Atlantis - Tower Apartments - Foto 41
The Atlantis - Tower Apartments - Foto 42
The Atlantis - Tower Apartments - Foto 43
The Atlantis - Tower Apartments - Foto 44
The Atlantis - Tower Apartments - Foto 45
The Atlantis - Tower Apartments - Foto 46
The Atlantis - Tower Apartments - Foto 47
The Atlantis - Tower Apartments - Foto 48
The Atlantis - Tower Apartments - Foto 49
The Atlantis - Tower Apartments - Foto 50
The Atlantis - Tower Apartments - Foto 51
The Atlantis - Tower Apartments - Foto 52
The Atlantis - Tower Apartments - Foto 53

The Atlantis - Tower Apartments

Great Yarmouth - Great Yarmouth - A 750 m del centro

  • 2 habitaciones
  • 6 personas
  • Calefacción
  • Terraza
  • Parking
  • Jardín
9.3Excepcional | 1120 reseñas
The Parlour - Foto 1
The Parlour - Foto 2
The Parlour - Foto 3
The Parlour - Foto 4
The Parlour - Foto 5
The Parlour - Foto 6
The Parlour - Foto 7
The Parlour - Foto 8
The Parlour - Foto 9
The Parlour - Foto 10
The Parlour - Foto 11
The Parlour - Foto 12
The Parlour - Foto 13
The Parlour - Foto 14
The Parlour - Foto 15
The Parlour - Foto 16
The Parlour - Foto 17
The Parlour - Foto 18
The Parlour - Foto 19
The Parlour - Foto 20
The Parlour - Foto 21
The Parlour - Foto 22

The Parlour

Great Yarmouth - Scratby - A 6.8 km del centro

  • 55 M2
  • 2 personas
  • Terraza
  • Parking
  • Jardín
9.8Excepcional | 54 reseñas
44 Sundowner Hemsby - Foto 1
44 Sundowner Hemsby - Foto 2
44 Sundowner Hemsby - Foto 3
44 Sundowner Hemsby - Foto 4
44 Sundowner Hemsby - Foto 5
44 Sundowner Hemsby - Foto 6
44 Sundowner Hemsby - Foto 7
44 Sundowner Hemsby - Foto 8
44 Sundowner Hemsby - Foto 9
44 Sundowner Hemsby - Foto 10
44 Sundowner Hemsby - Foto 11
44 Sundowner Hemsby - Foto 12
44 Sundowner Hemsby - Foto 13
44 Sundowner Hemsby - Foto 14

44 Sundowner Hemsby

Great Yarmouth - Hemsby - A 8.7 km del centro

  • 60 M2
  • 2 habitaciones
  • 4 personas
  • Calefacción
  • Terraza
  • Parking
  • Jardín

9.6Excepcional | 26 reseñas
The Lucky 7 - Foto 1
The Lucky 7 - Foto 2
The Lucky 7 - Foto 3
The Lucky 7 - Foto 4
The Lucky 7 - Foto 5
The Lucky 7 - Foto 6
The Lucky 7 - Foto 7
The Lucky 7 - Foto 8
The Lucky 7 - Foto 9
The Lucky 7 - Foto 10
The Lucky 7 - Foto 11
The Lucky 7 - Foto 12
The Lucky 7 - Foto 13
The Lucky 7 - Foto 14
The Lucky 7 - Foto 15
The Lucky 7 - Foto 16
The Lucky 7 - Foto 17
The Lucky 7 - Foto 18
The Lucky 7 - Foto 19
The Lucky 7 - Foto 20
The Lucky 7 - Foto 21

The Lucky 7

Great Yarmouth - Hemsby - A 8.7 km del centro

  • 38 M2
  • 2 habitaciones
  • 4 personas
  • Calefacción
  • Terraza
  • Parking
  • Jardín

9.6Excepcional | 27 reseñas
159 Summerfields - Foto 1
159 Summerfields - Foto 2
159 Summerfields - Foto 3
159 Summerfields - Foto 4
159 Summerfields - Foto 5
159 Summerfields - Foto 6
159 Summerfields - Foto 7
159 Summerfields - Foto 8
159 Summerfields - Foto 9
159 Summerfields - Foto 10
159 Summerfields - Foto 11
159 Summerfields - Foto 12
159 Summerfields - Foto 13
159 Summerfields - Foto 14
159 Summerfields - Foto 15
159 Summerfields - Foto 16
159 Summerfields - Foto 17
159 Summerfields - Foto 18
159 Summerfields - Foto 19
159 Summerfields - Foto 20
159 Summerfields - Foto 21
159 Summerfields - Foto 22
159 Summerfields - Foto 23
159 Summerfields - Foto 24
159 Summerfields - Foto 25
159 Summerfields - Foto 26
159 Summerfields - Foto 27

159 Summerfields

Great Yarmouth - Scratby - A 6.8 km del centro

  • 26 M2
  • 2 habitaciones
  • 6 personas
  • Aire acondicionado
  • Piscina
  • Parking
  • Jardín

9.2Excepcional | 11 reseñas
Destinos relacionados