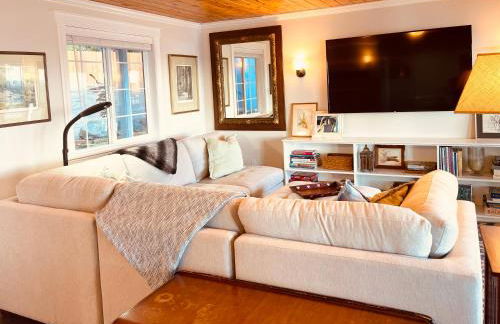
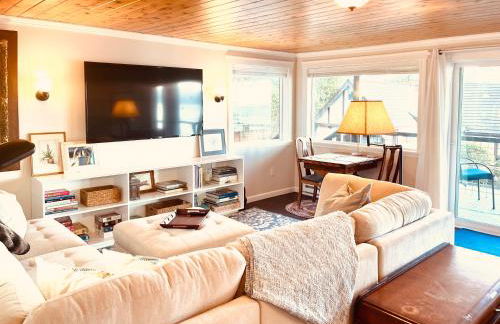
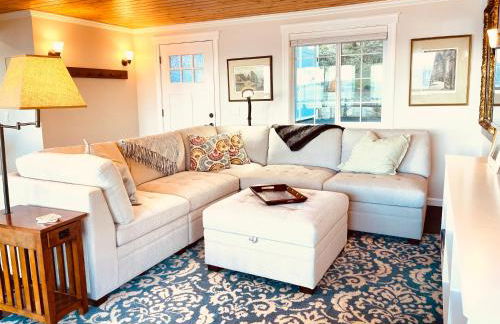
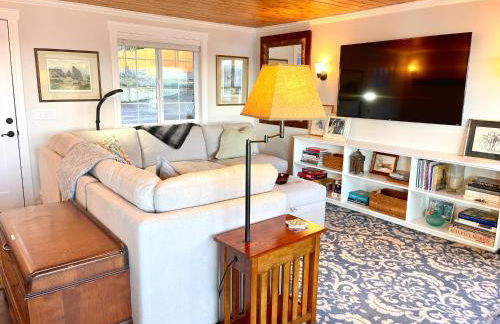
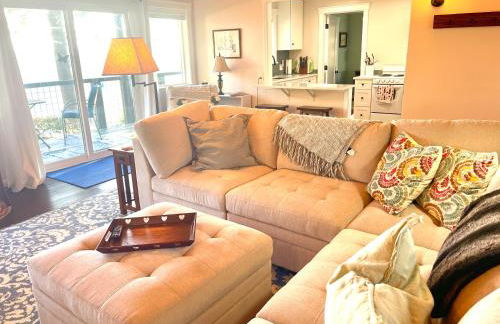
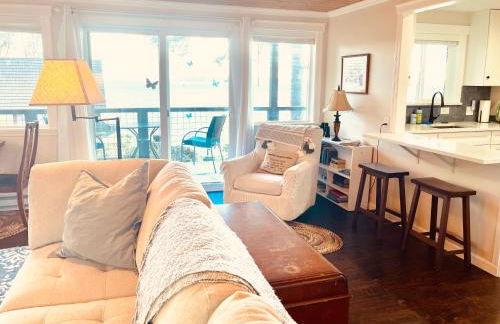
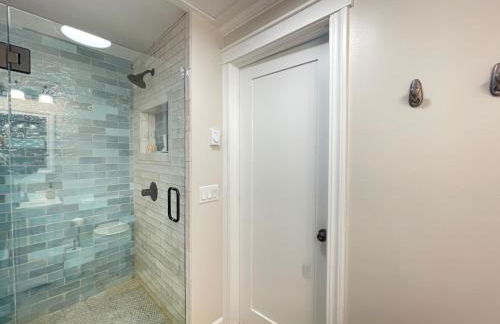
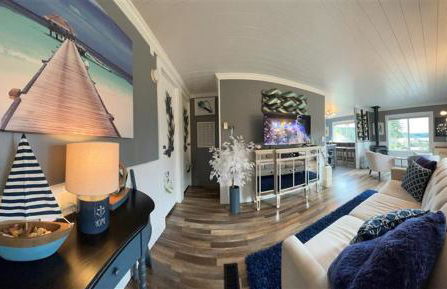
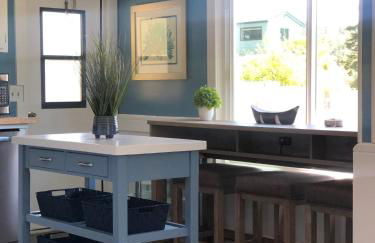
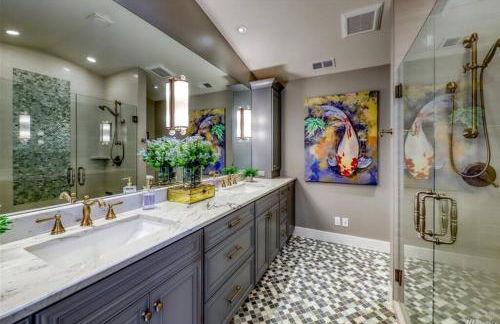
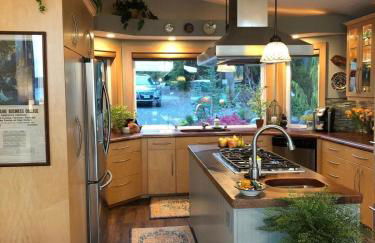
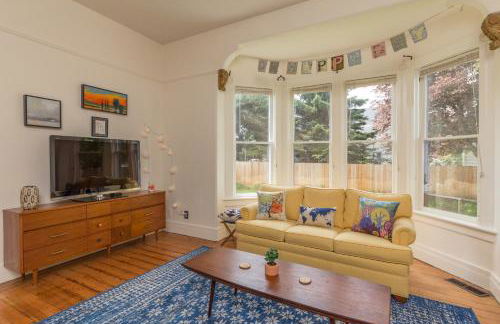
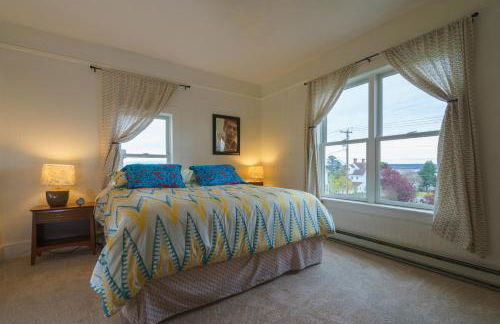
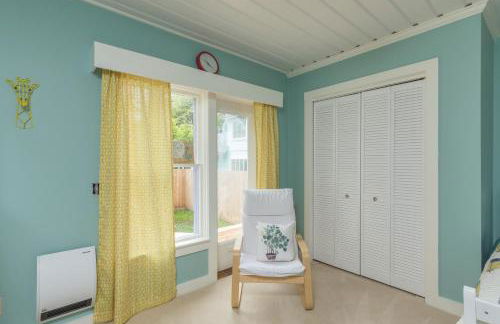
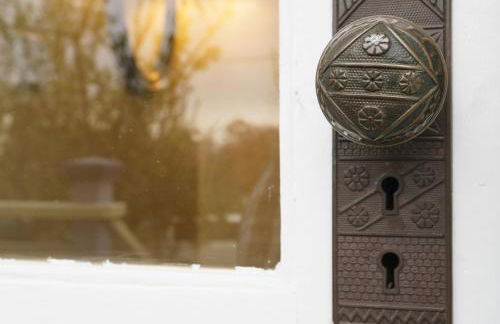
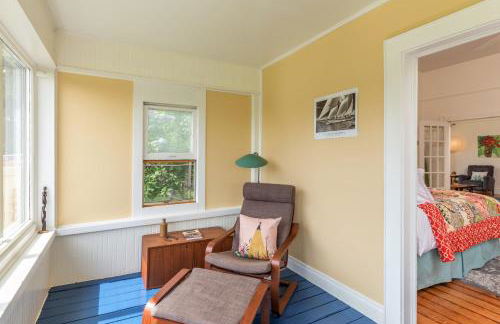
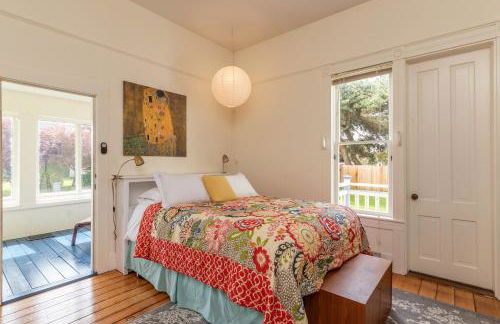
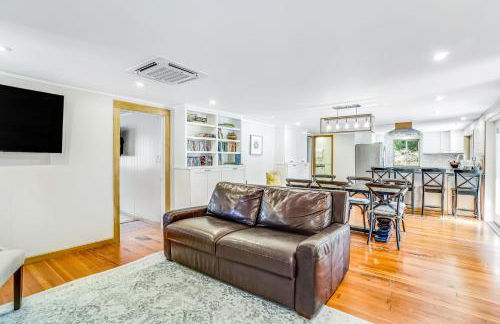
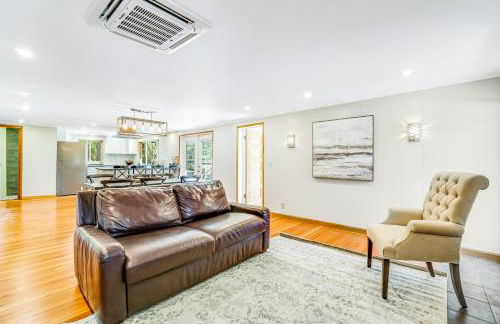
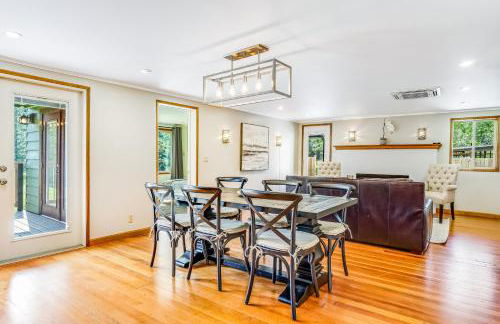
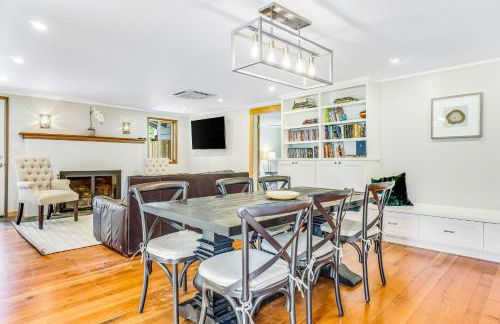
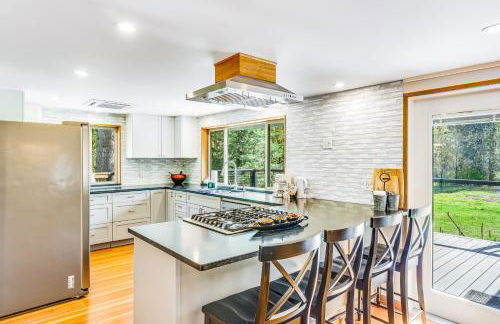
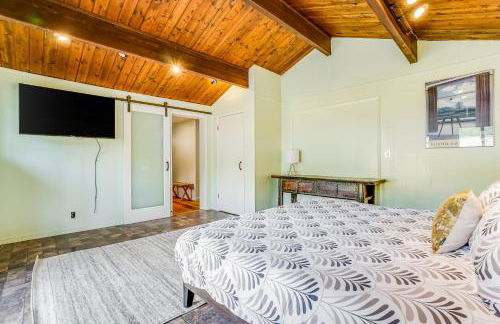
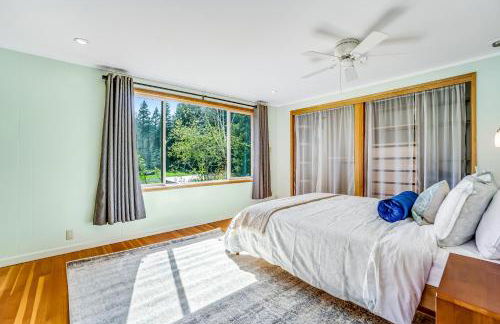
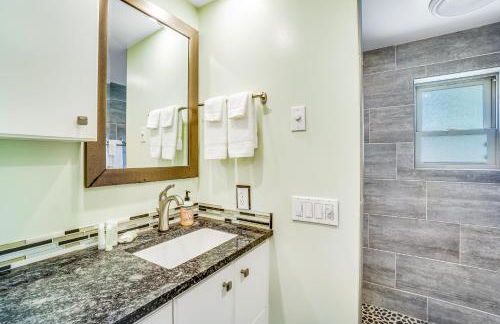
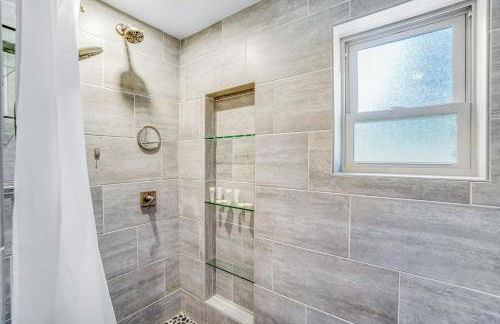
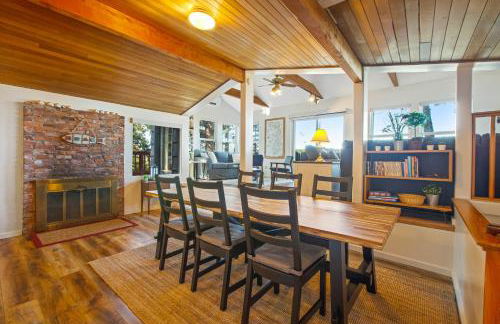
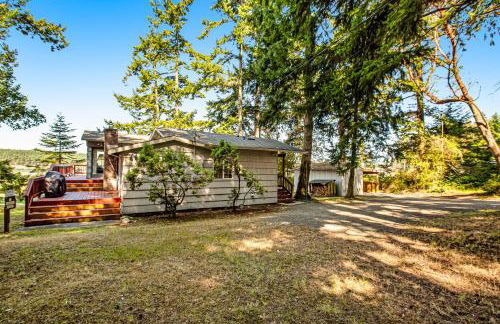
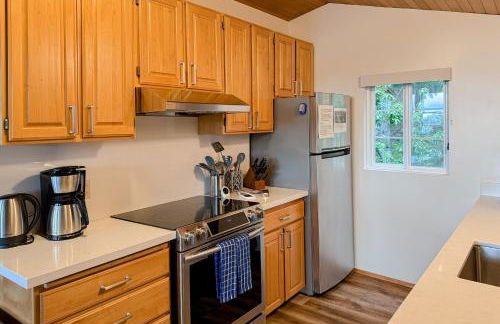
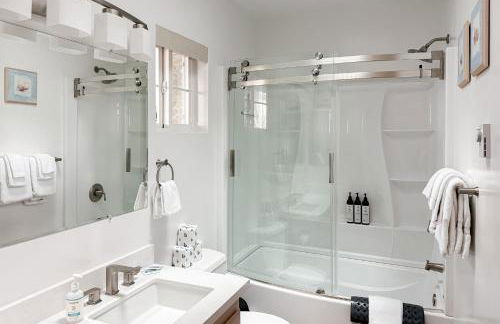
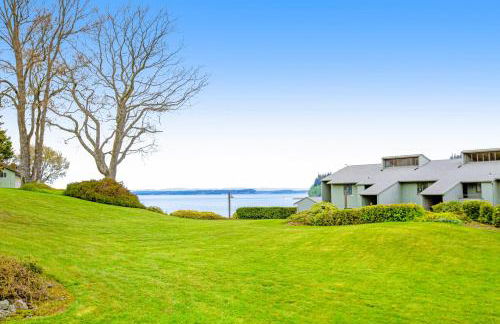
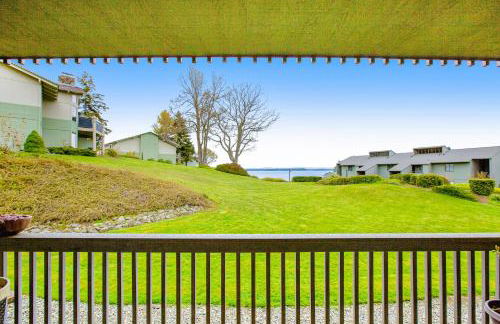
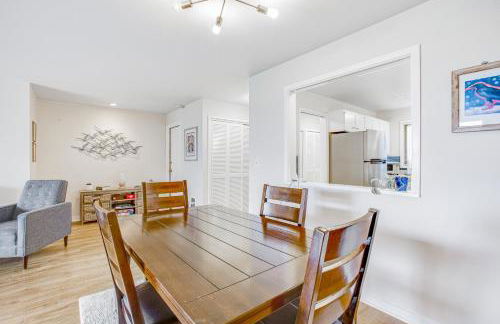
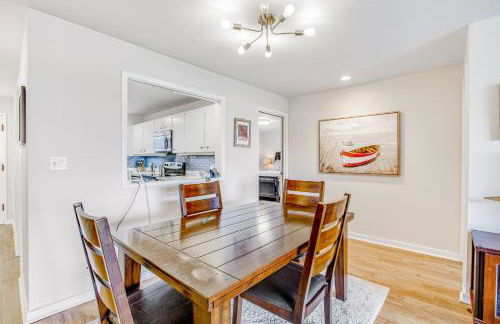
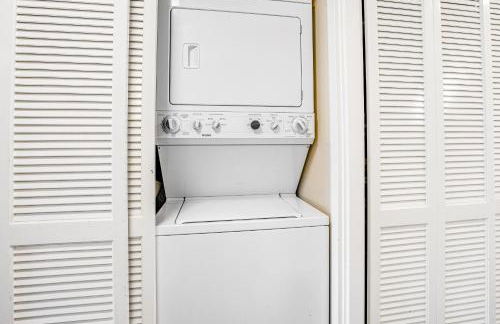
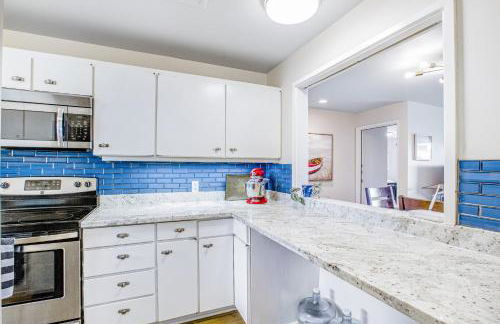
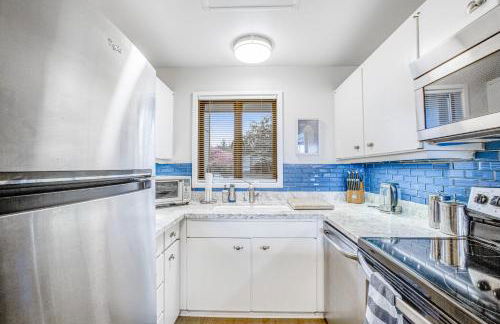
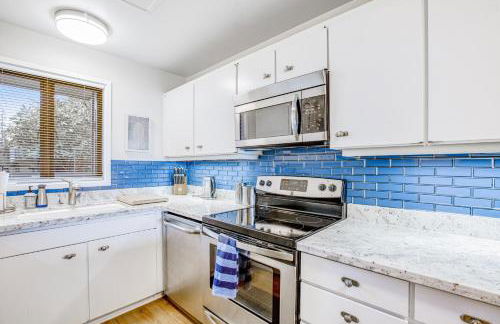
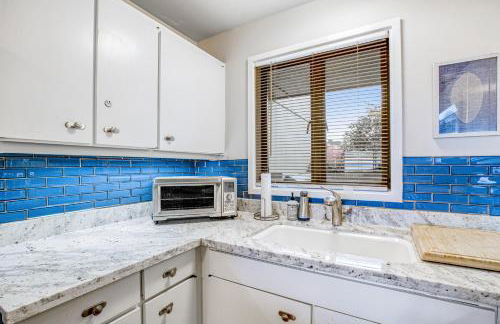
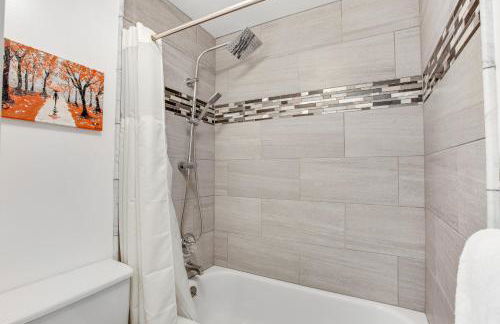
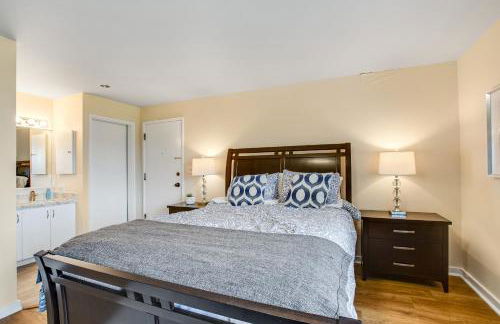
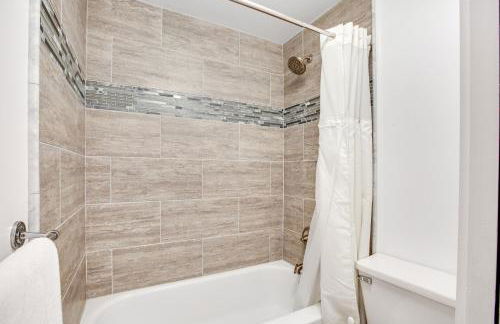
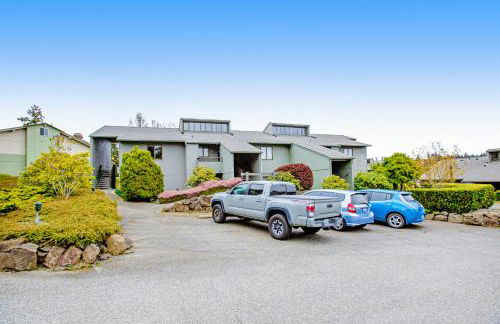
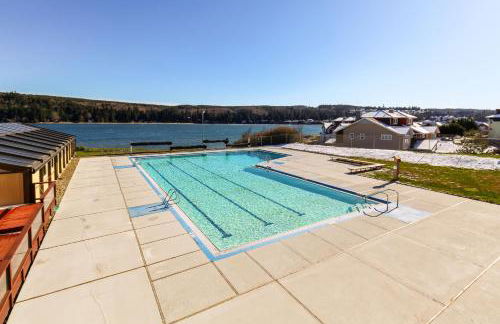
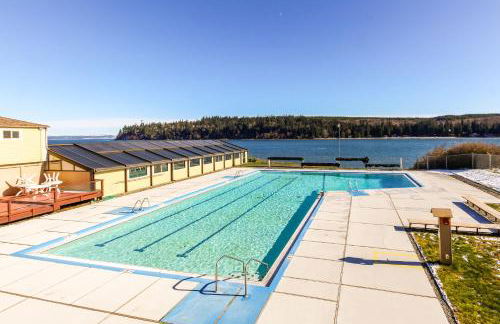
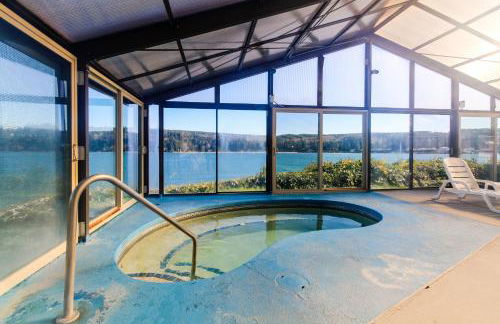
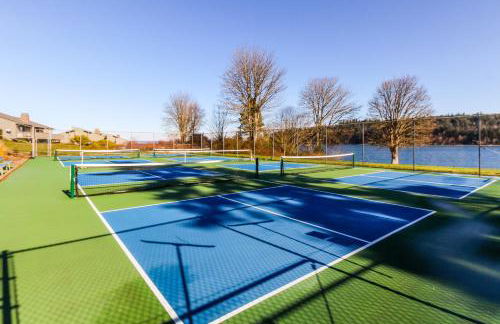
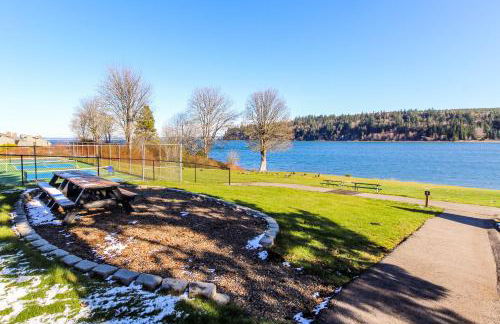
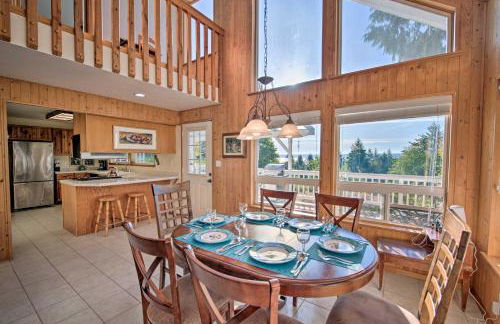
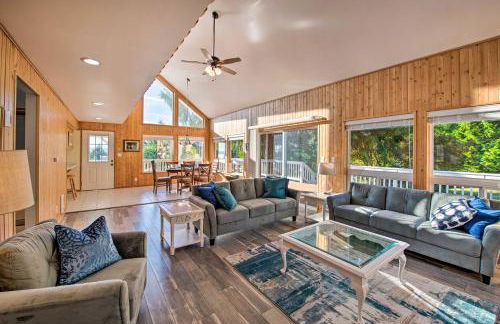
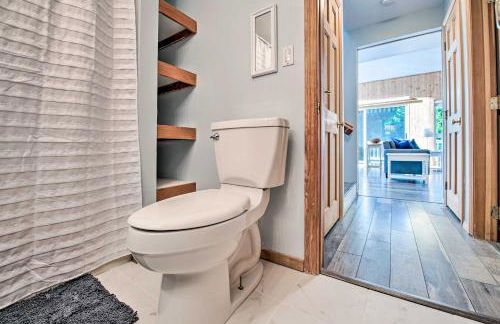
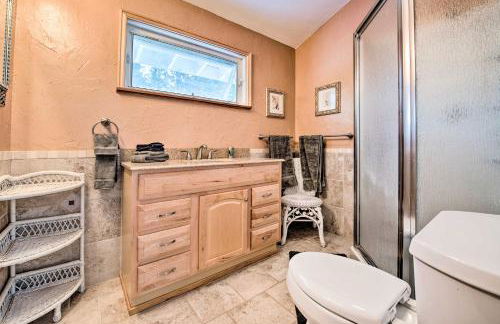
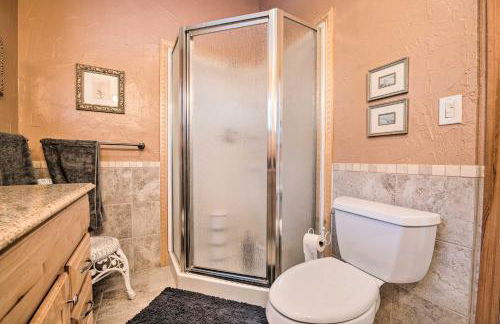
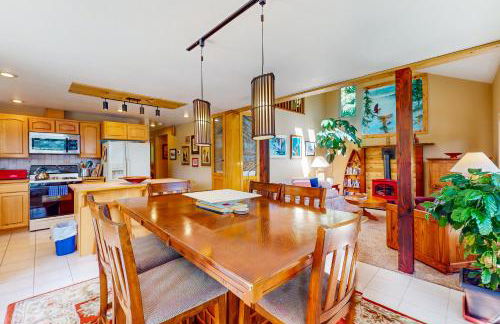
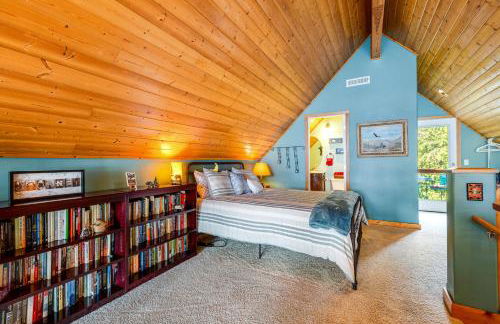
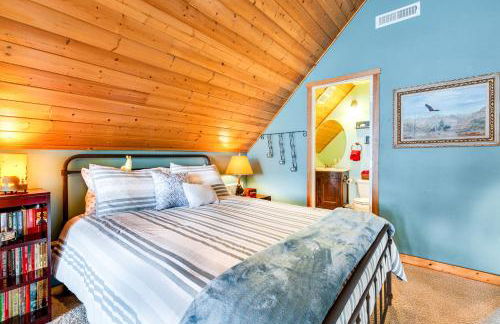
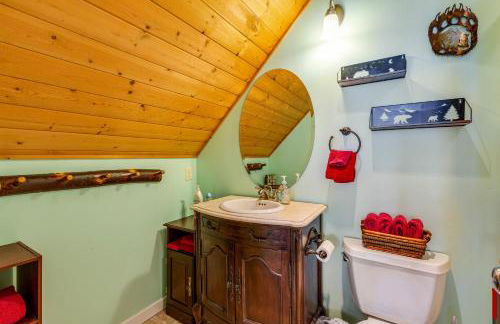
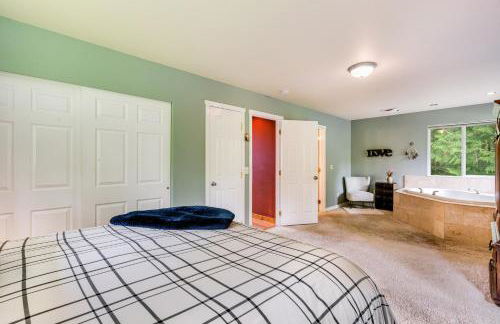
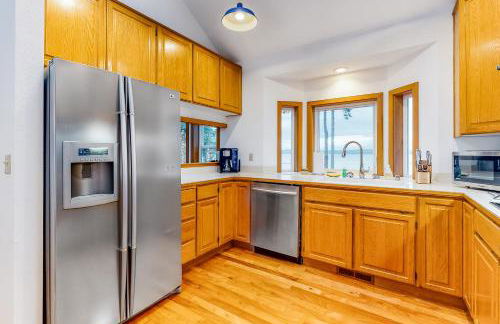
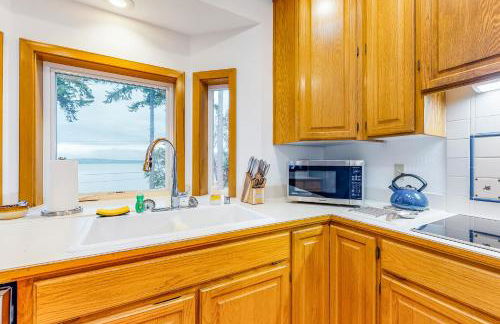
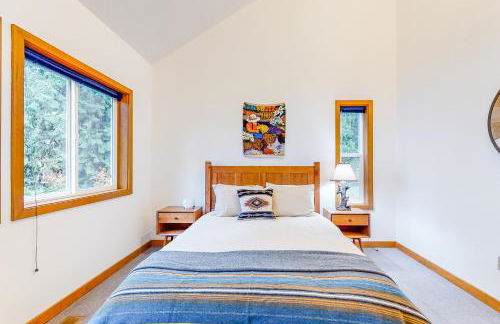
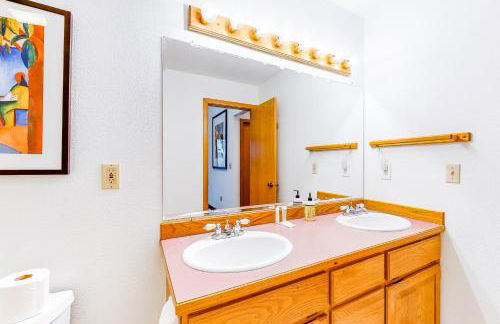
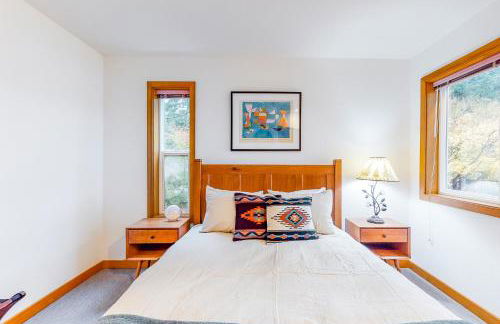
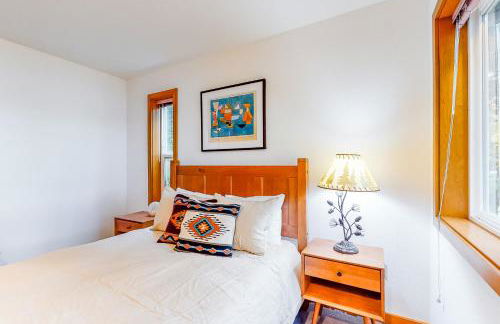
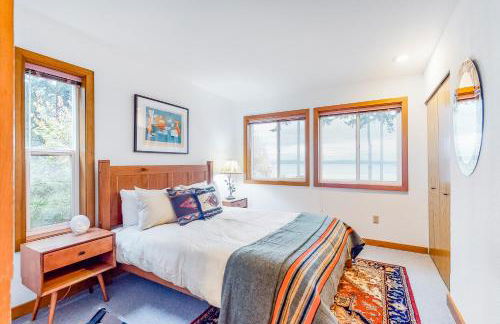
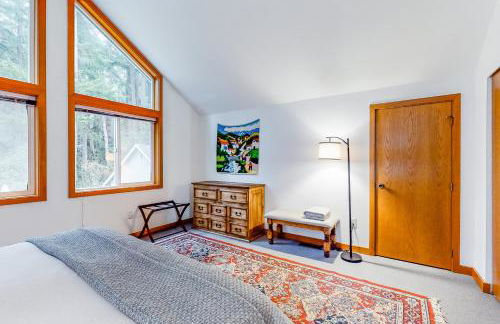
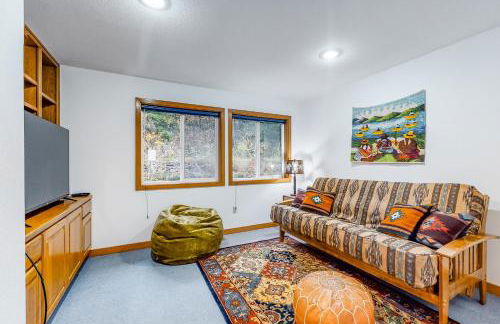
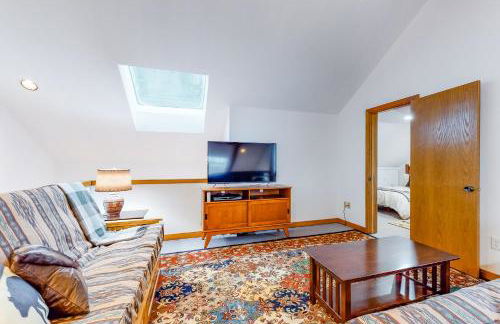
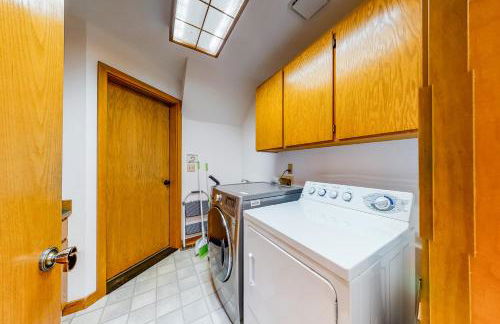
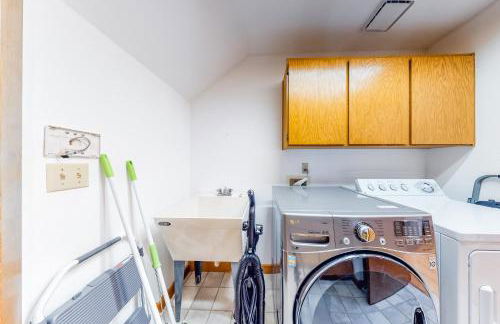
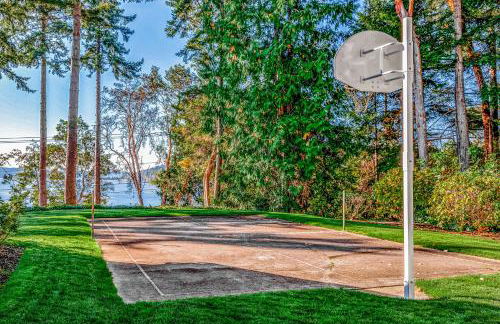
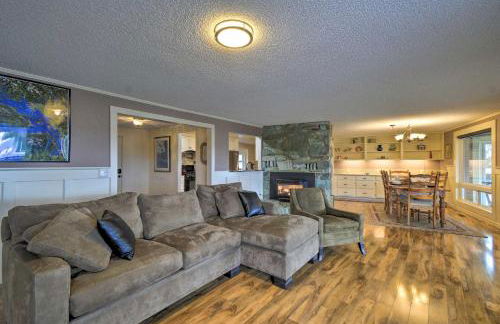
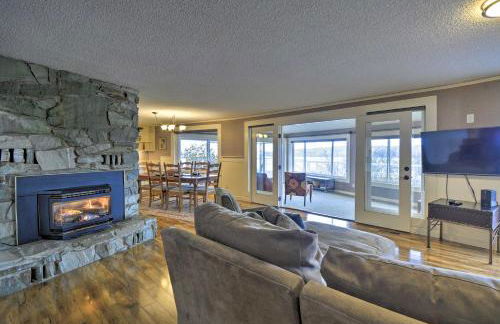
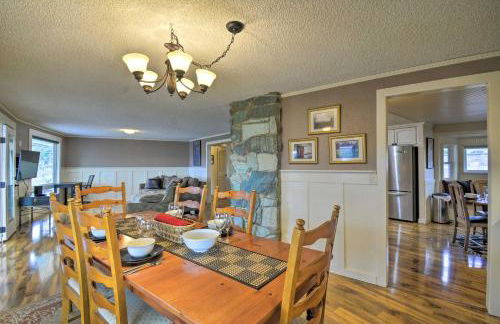
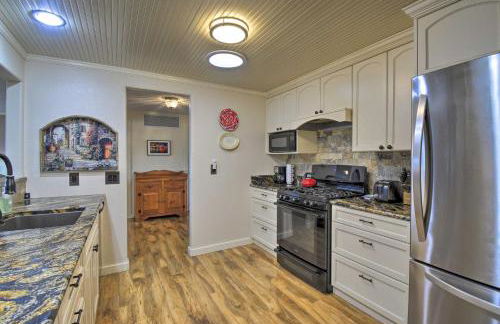
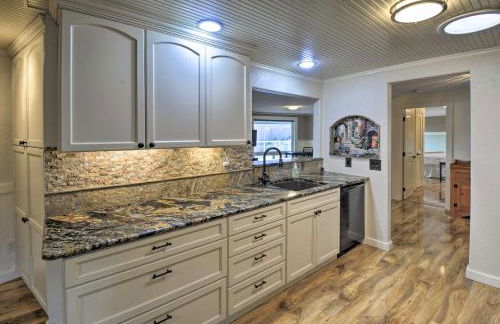
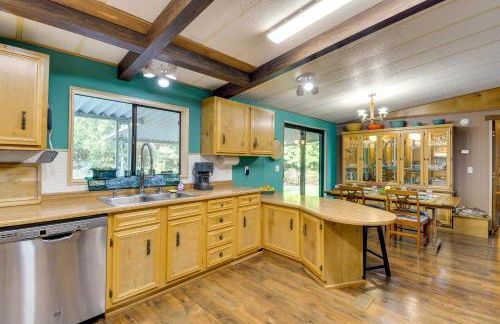
72 Apartamentos en Jefferson


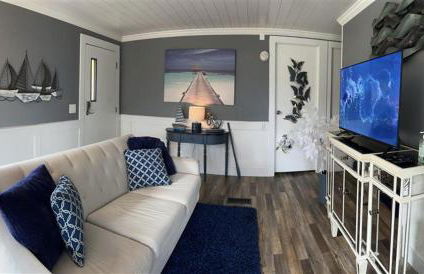
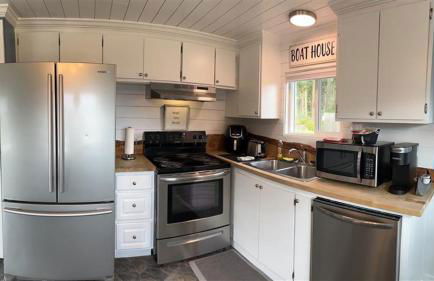
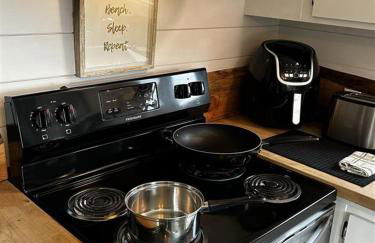
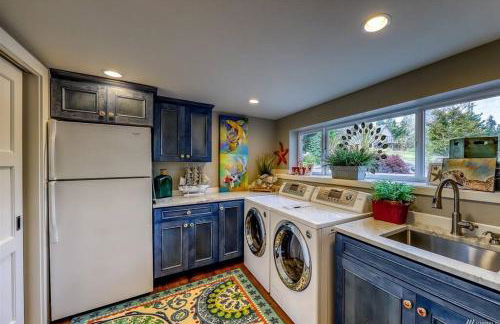
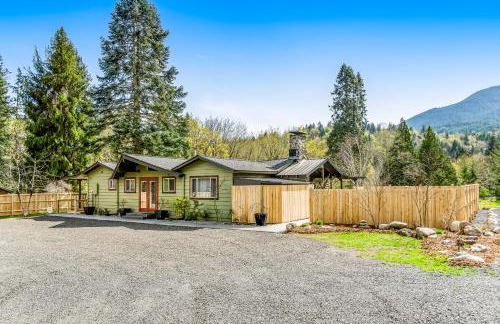
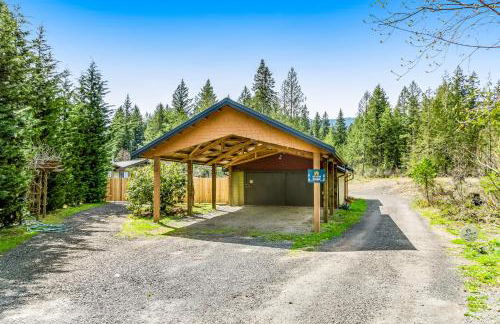
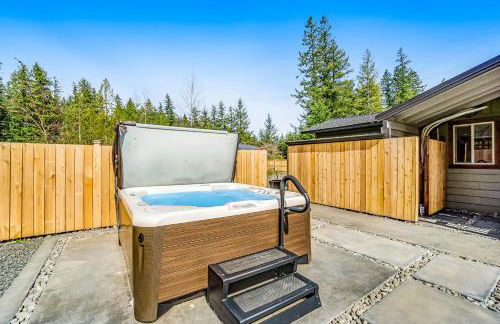
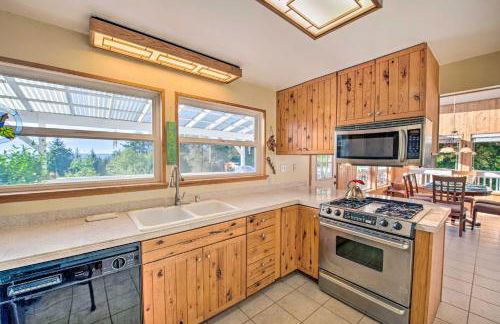
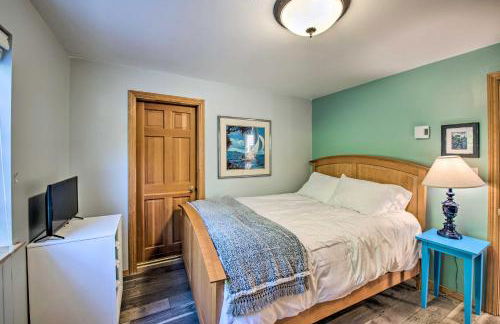
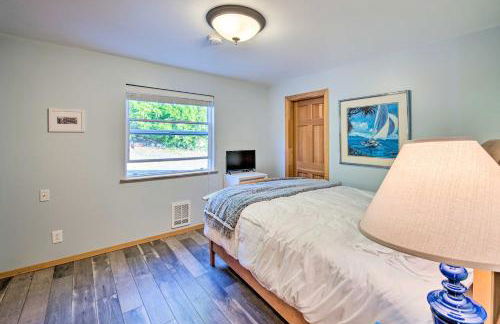
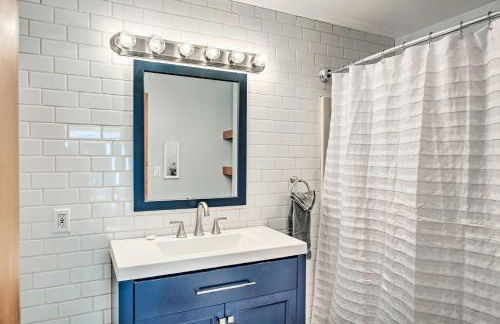
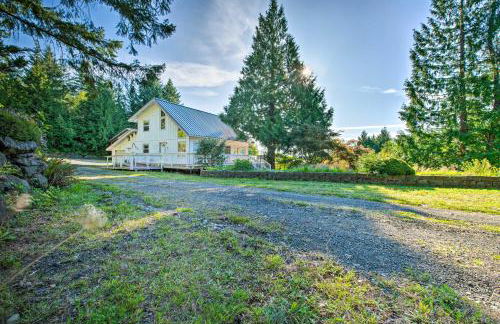
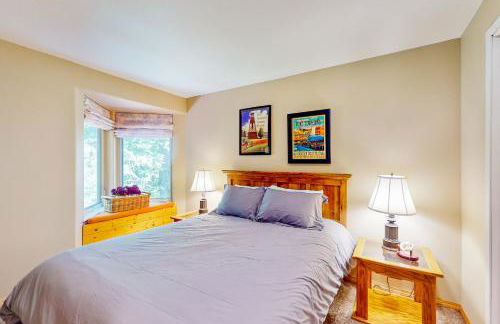
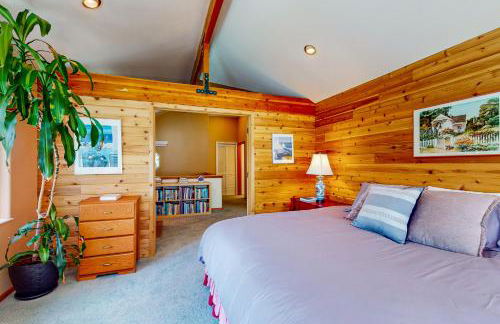
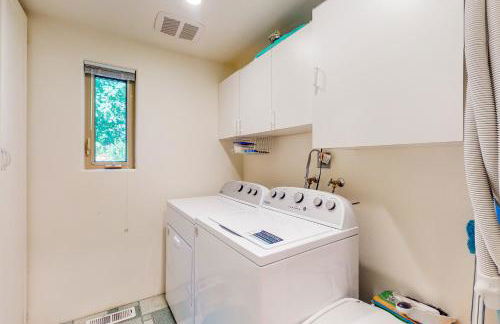
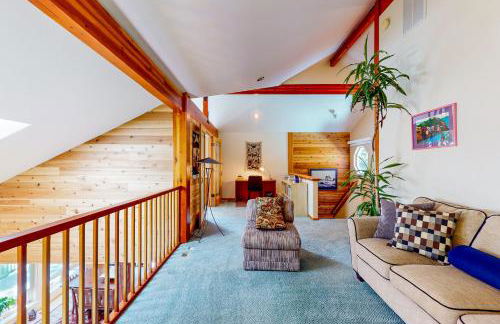
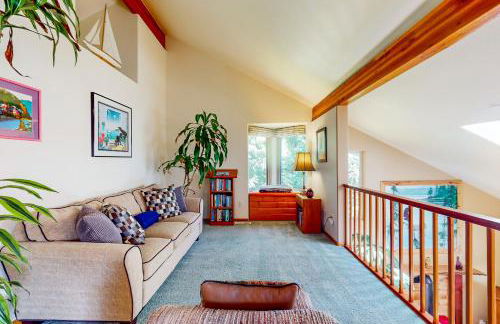
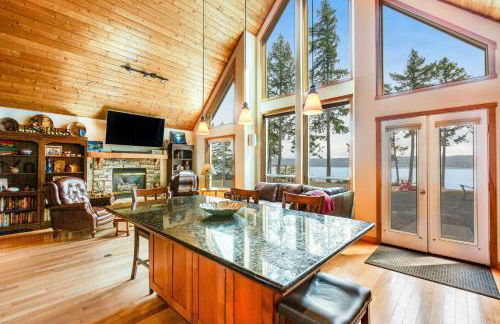
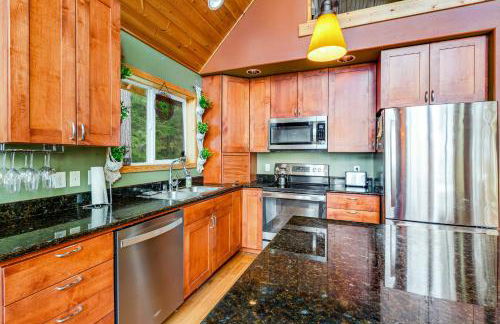
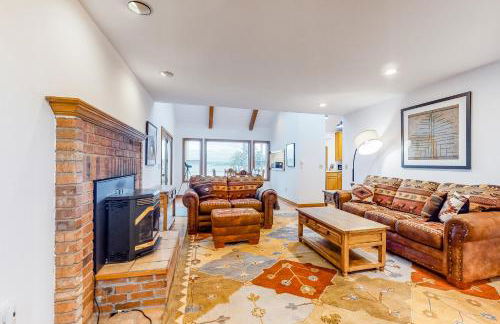
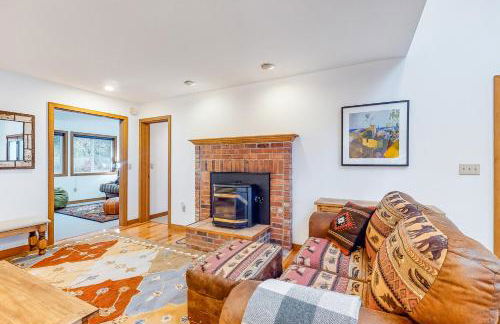
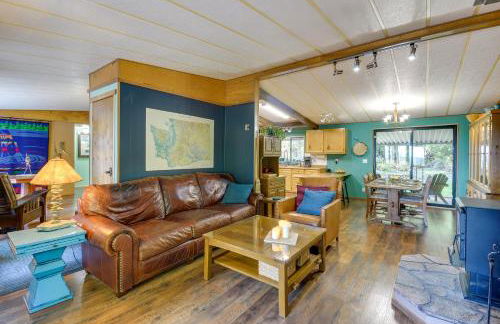
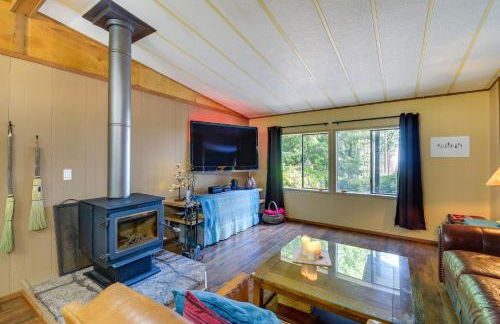
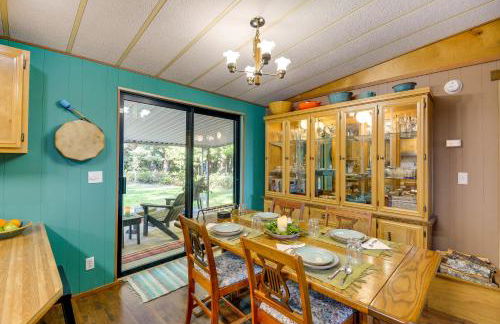
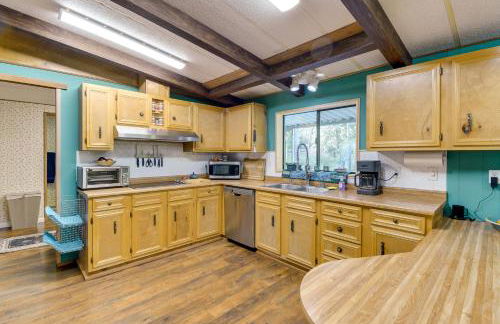
Multi Resorts at Kala Point
Port Townsend - A 6.6 km del centro
- 109 M2
- 3 habitaciones
- 8 personas
- Calefacción
- Piscina
- Parking
- Jardín
- Televisión
- Lavadora
- Chimenea
- Barbacoa
- Toallas
10 reseñas


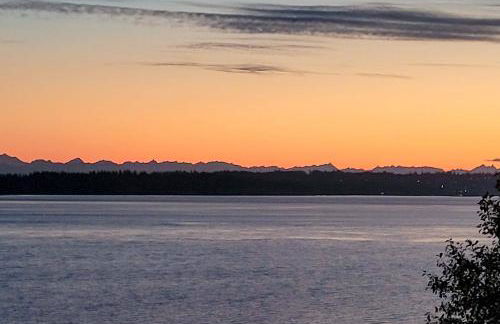
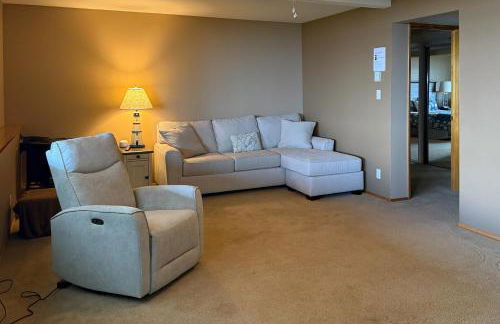
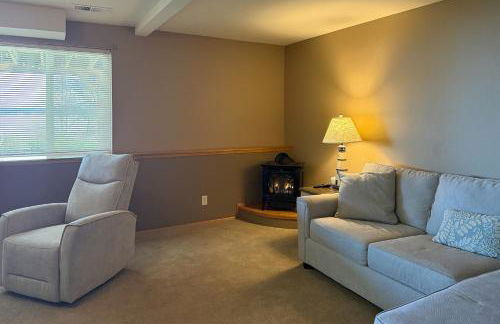
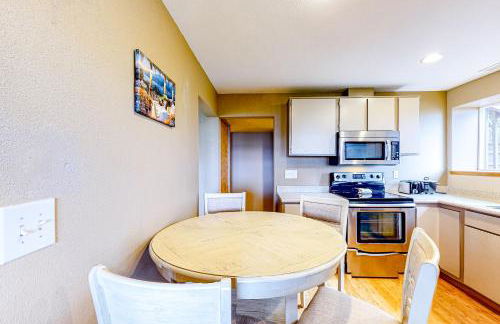
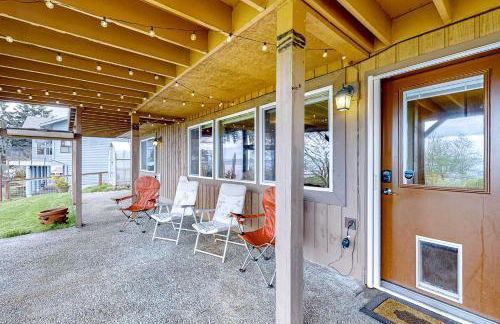
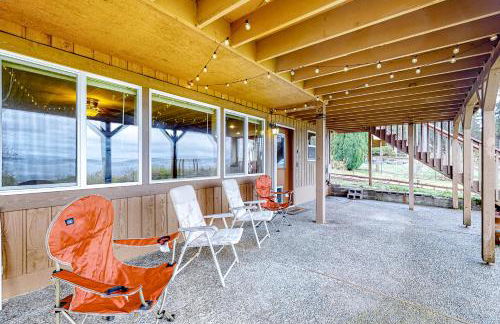
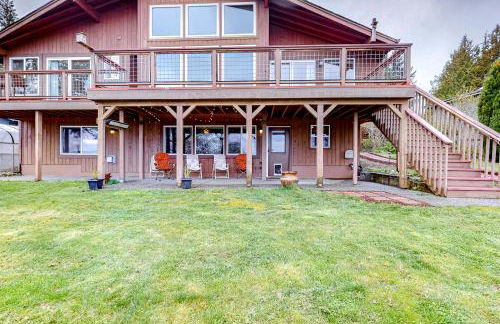
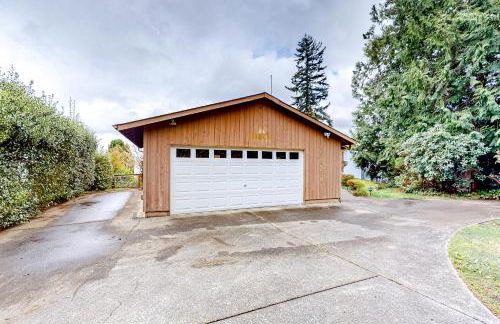
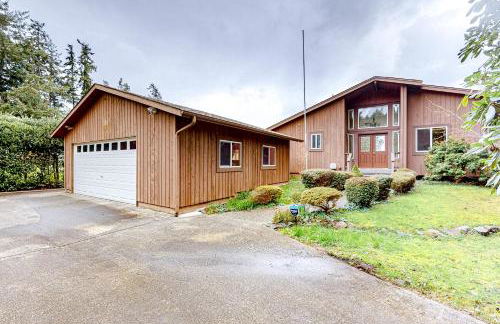
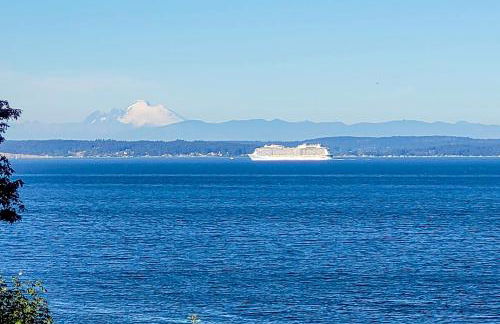
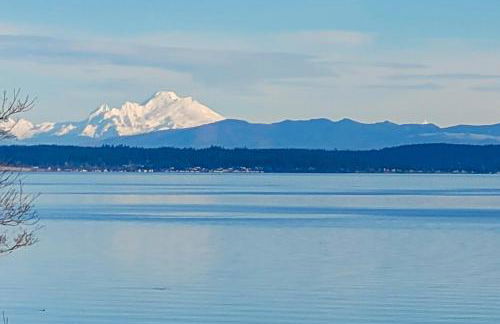
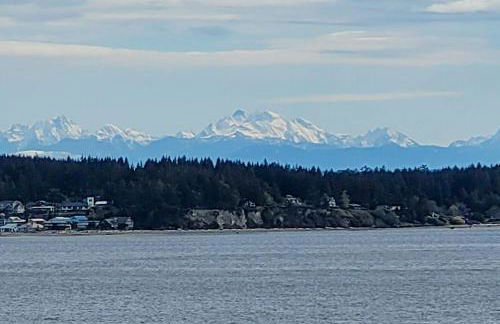
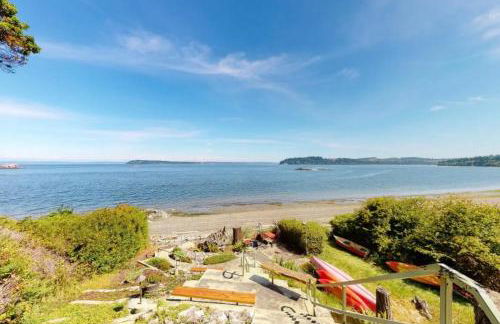
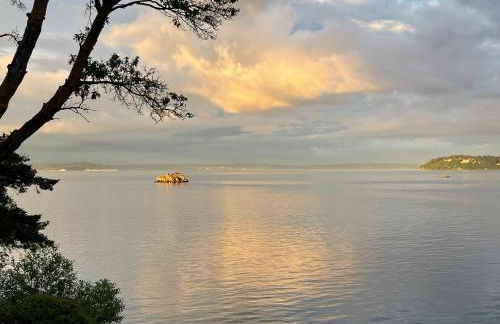
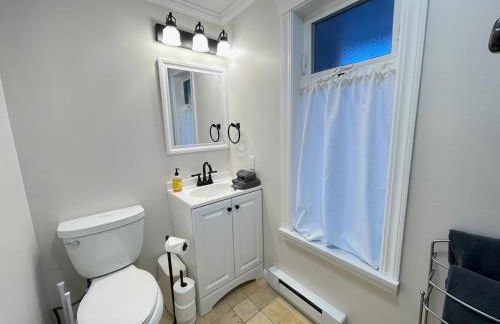
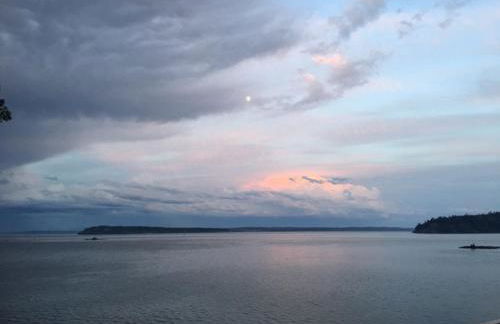
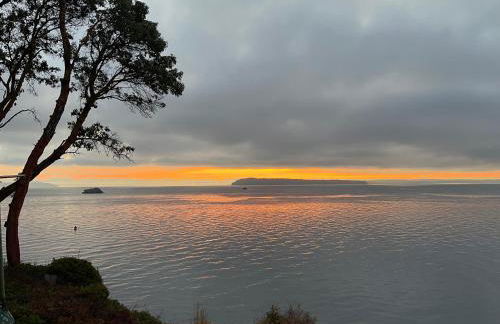
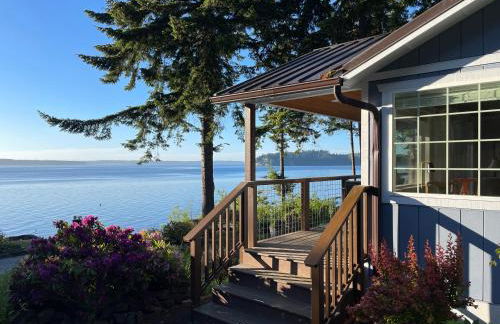
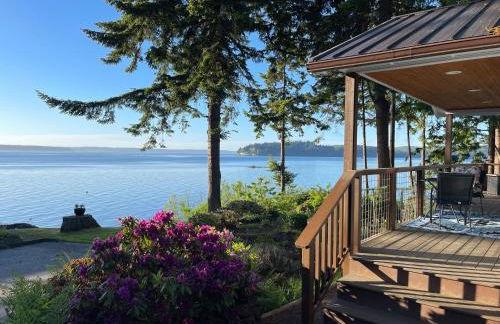
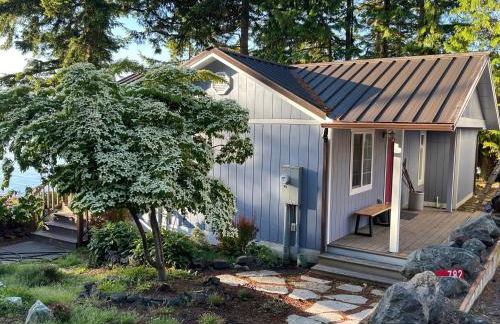
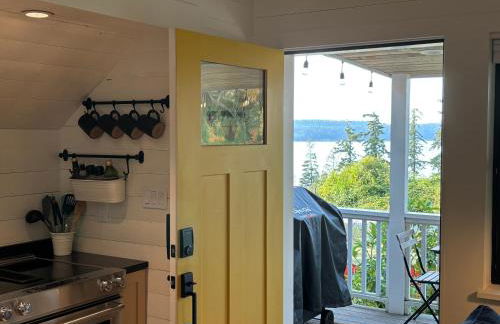
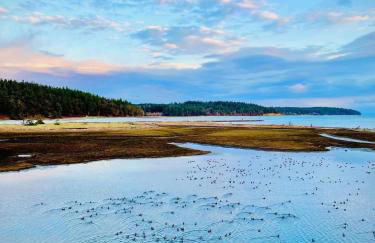
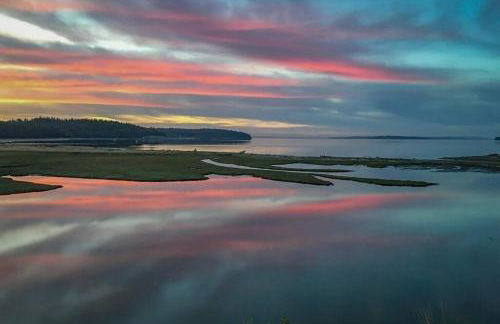
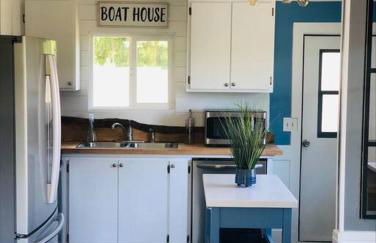
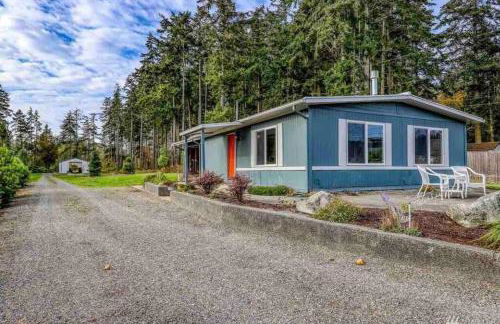
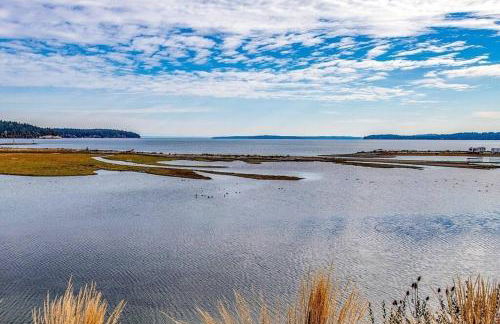
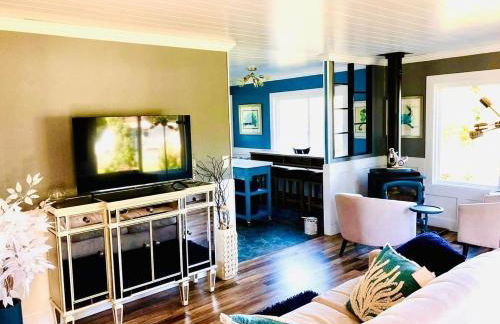
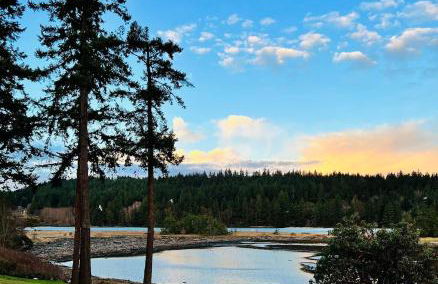
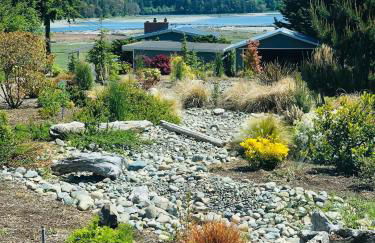
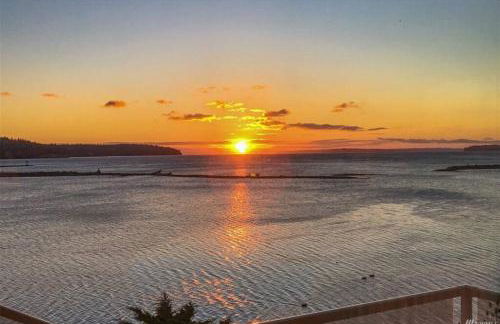
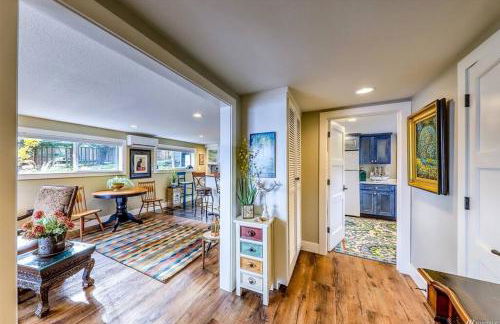
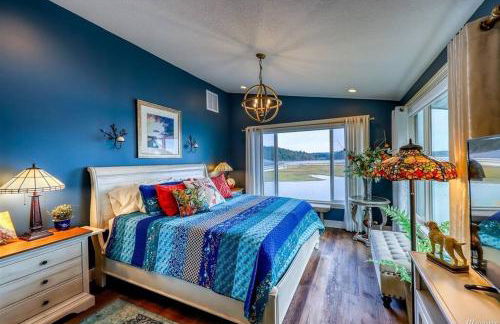
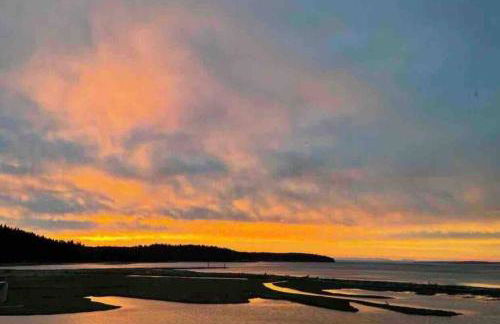
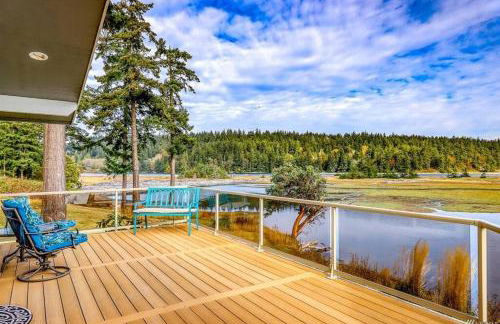
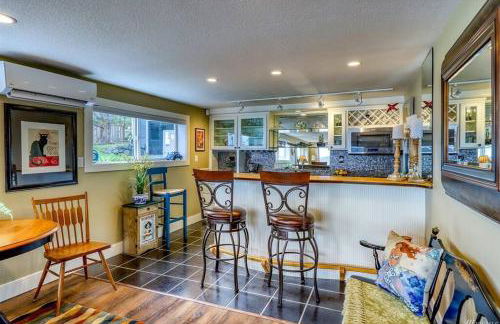
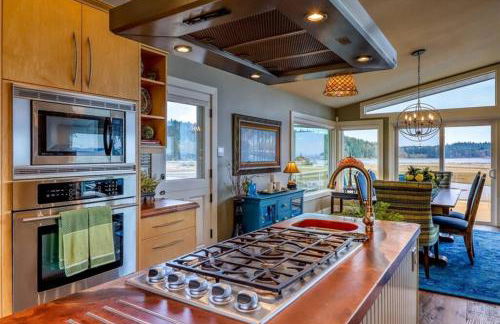
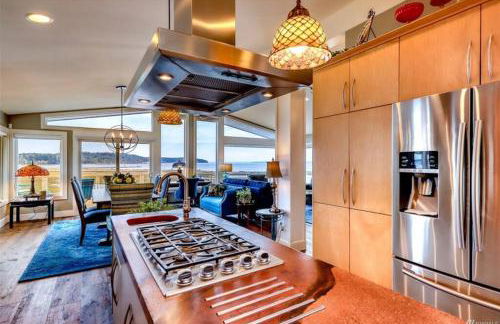
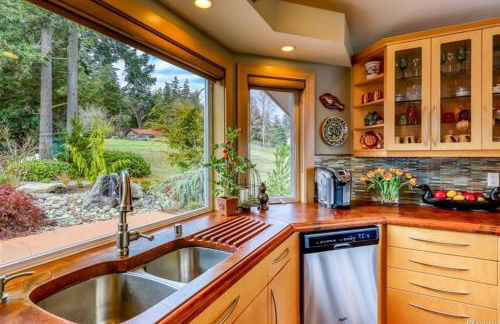
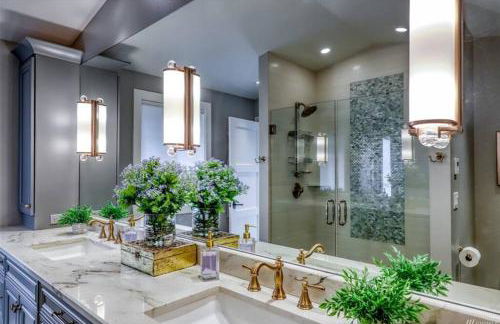
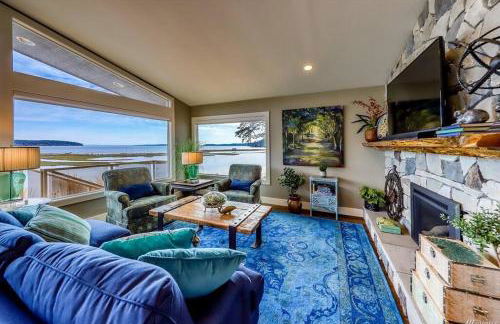
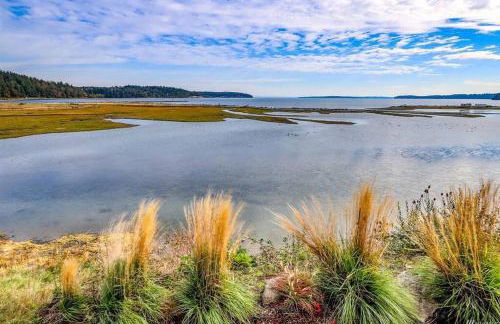
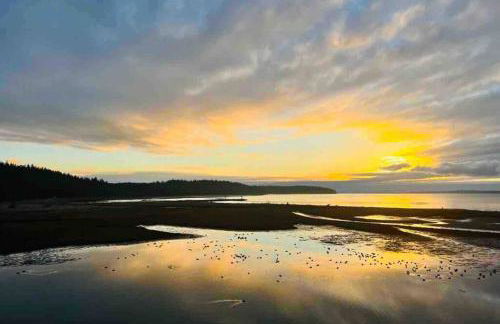
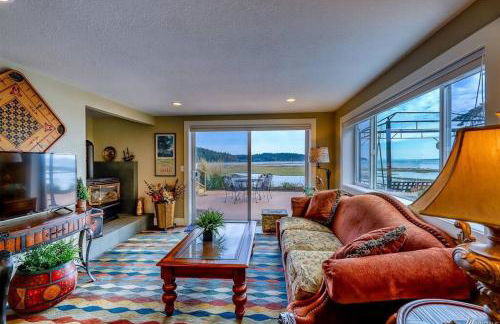
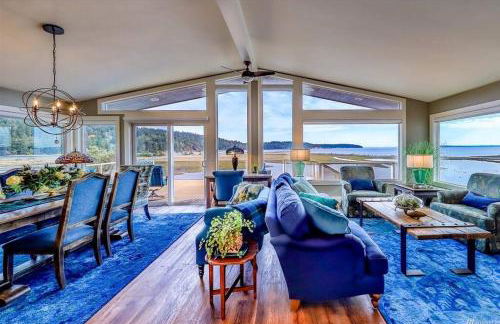
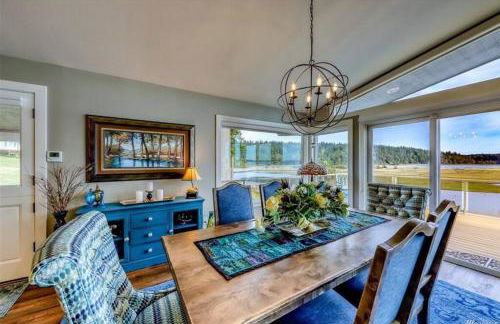
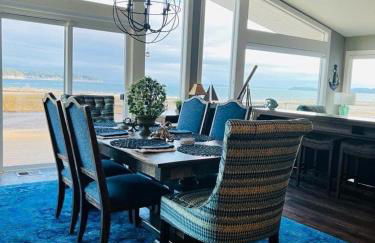
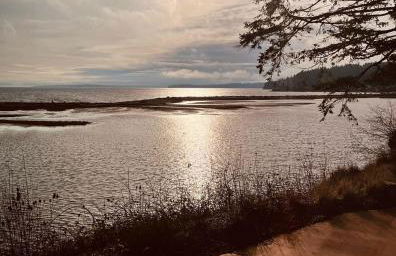
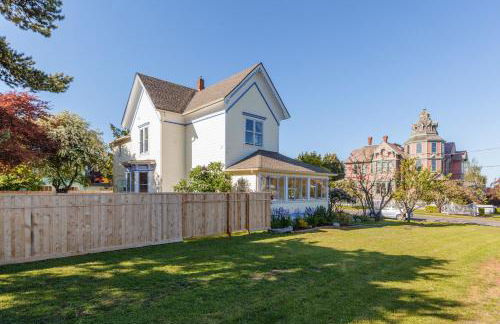
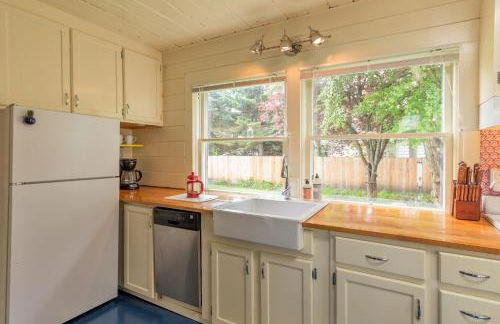
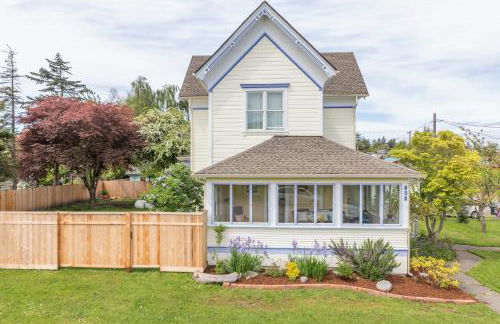
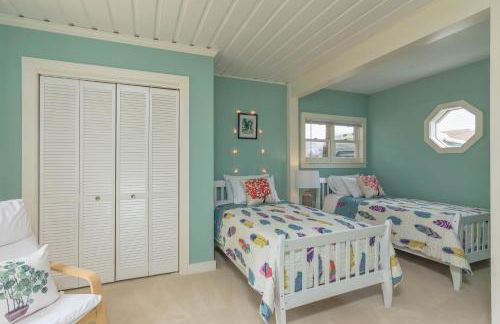
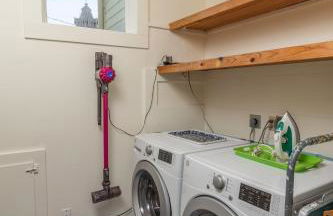
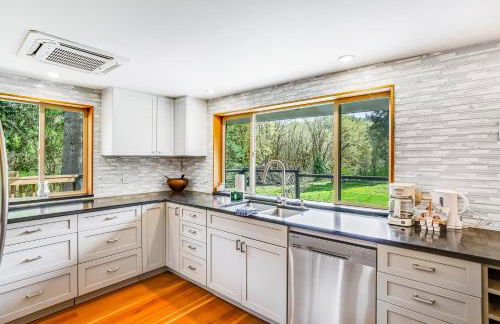
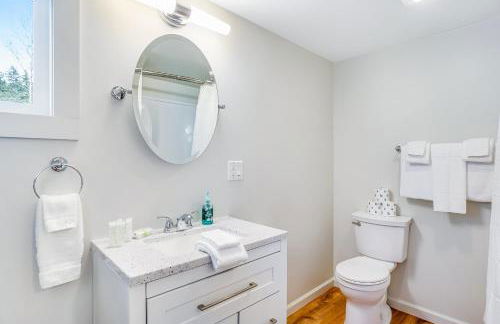
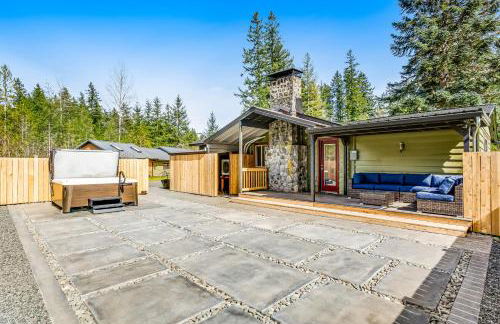
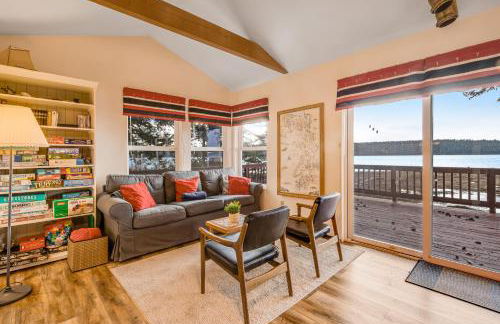
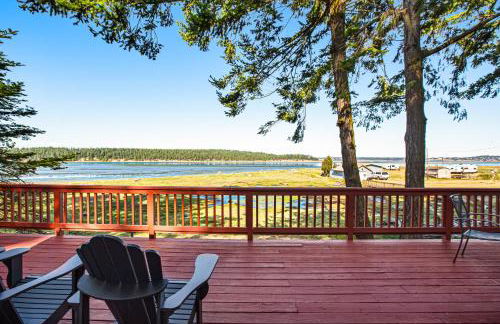
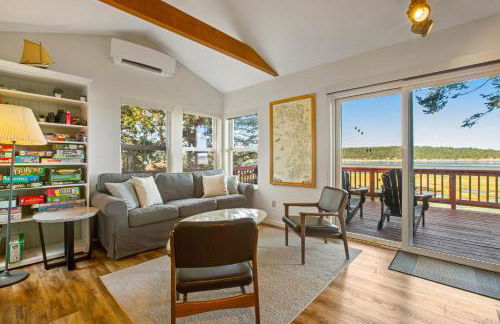
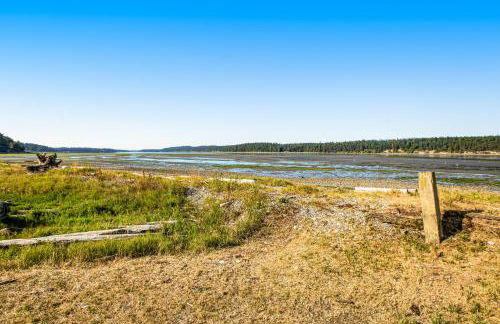
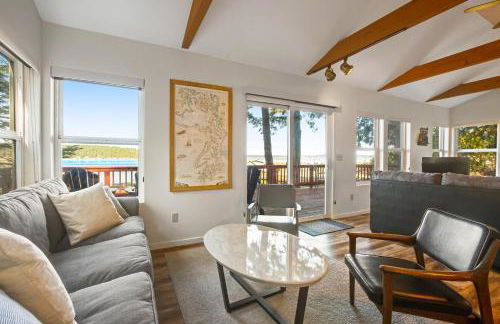
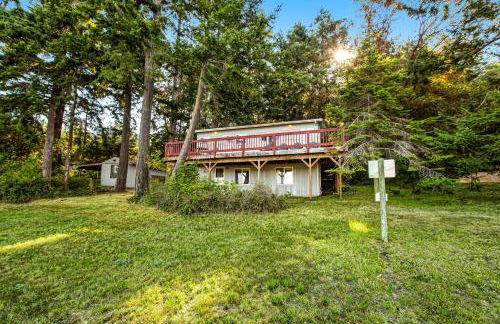
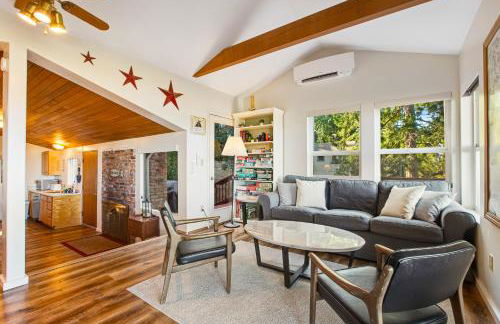
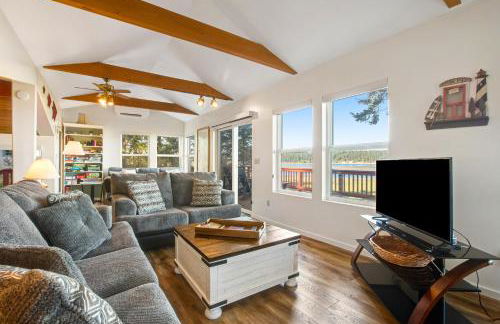
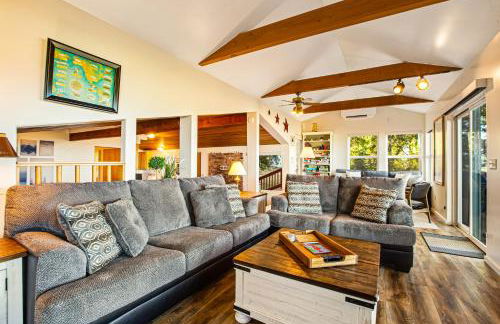
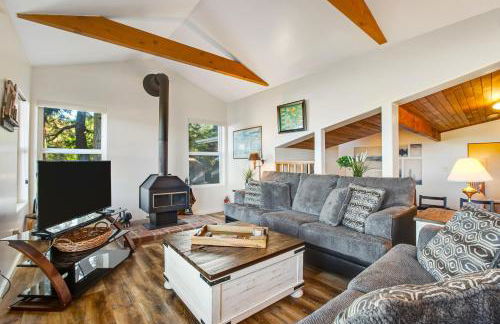
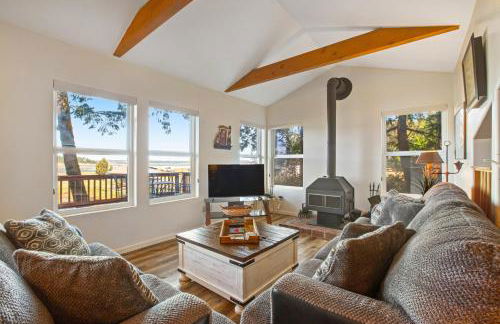
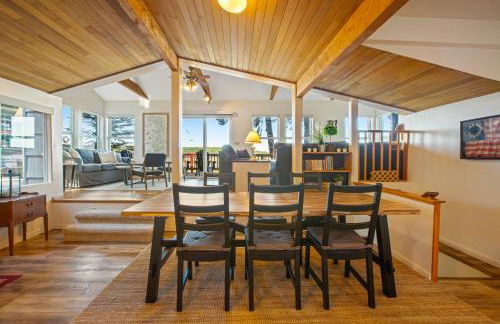
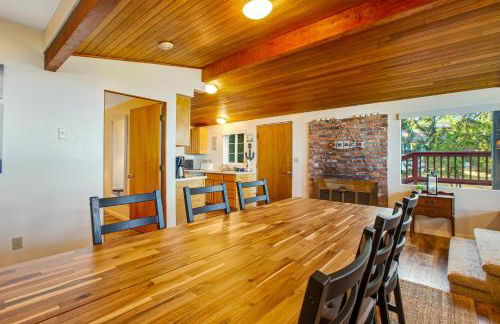
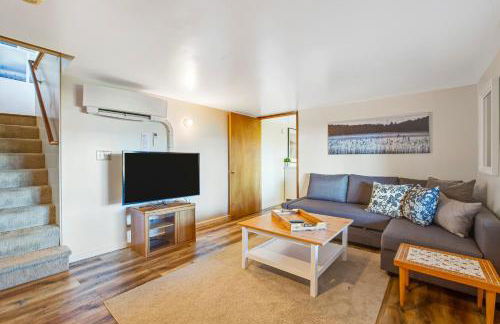
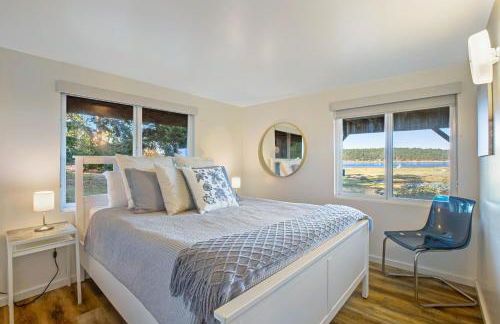
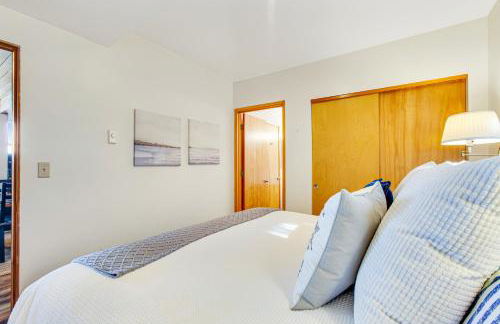
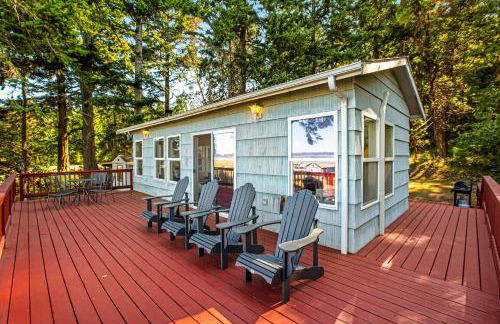
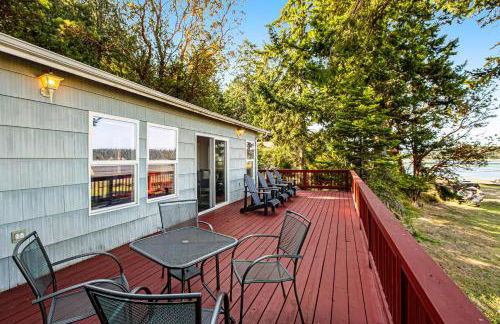
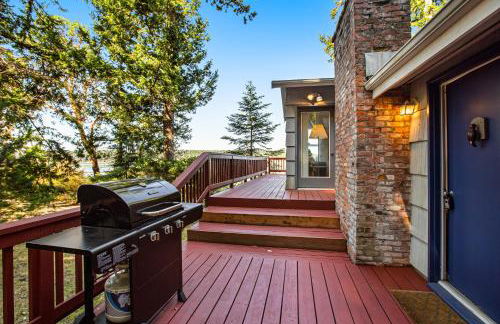
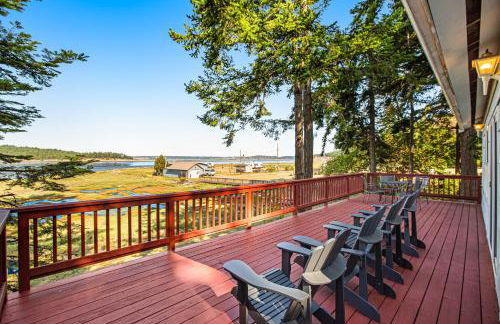
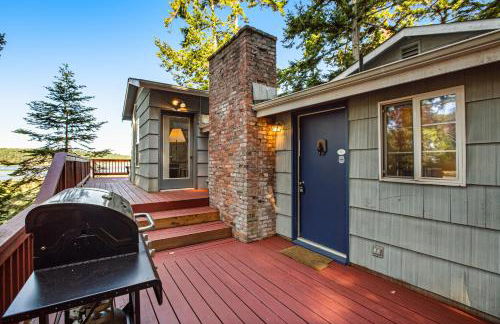
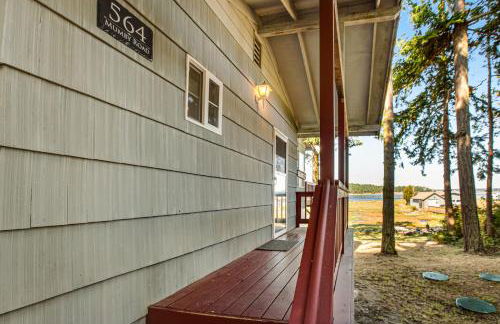
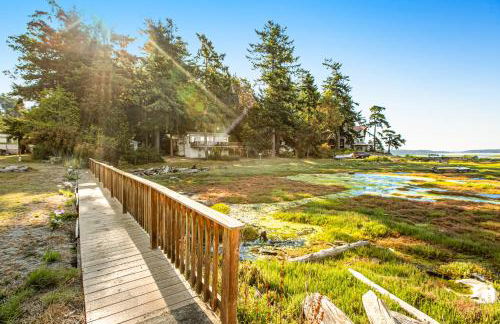
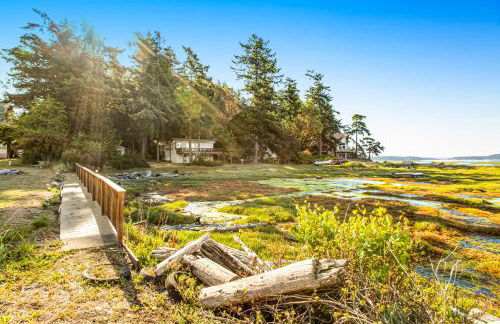
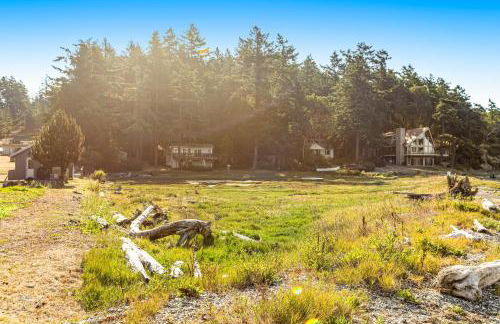
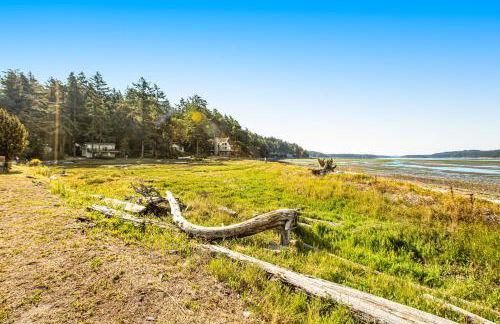
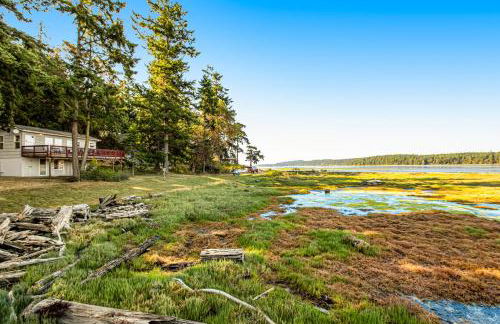
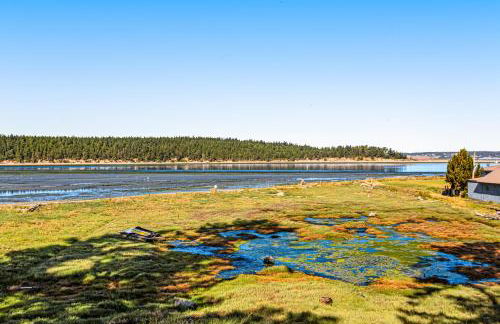
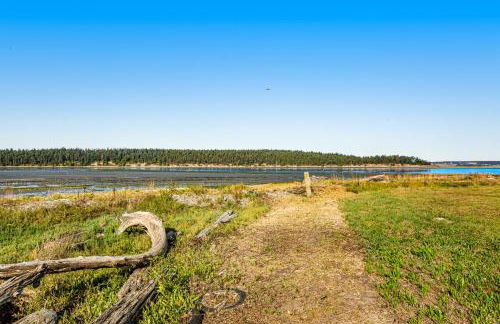
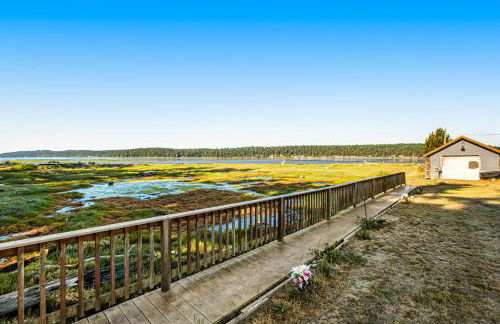
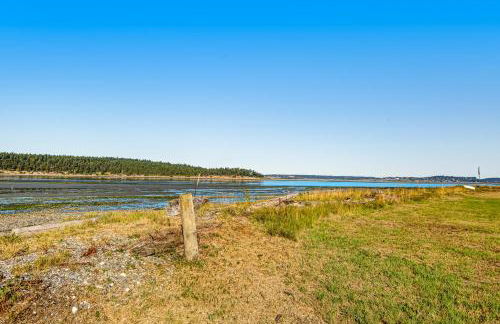
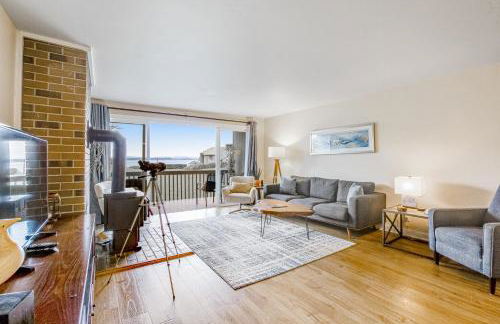
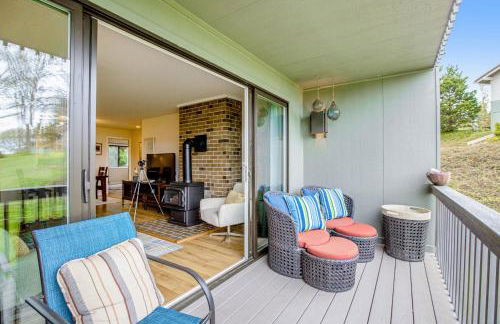
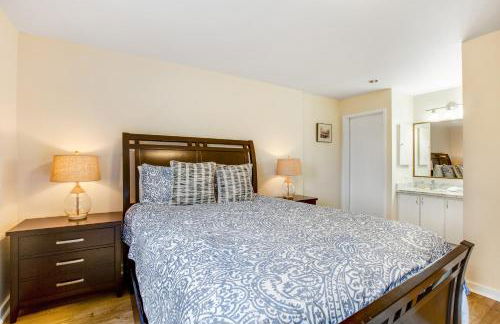
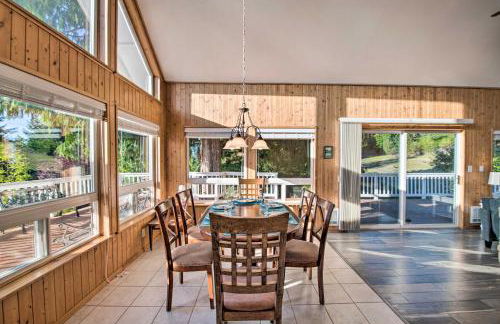
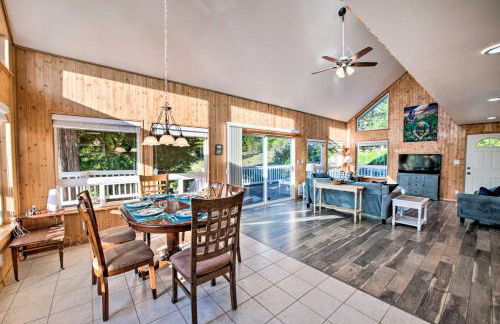
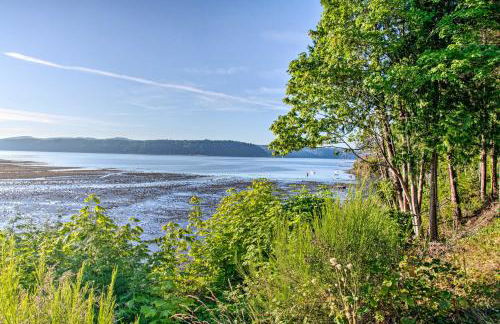
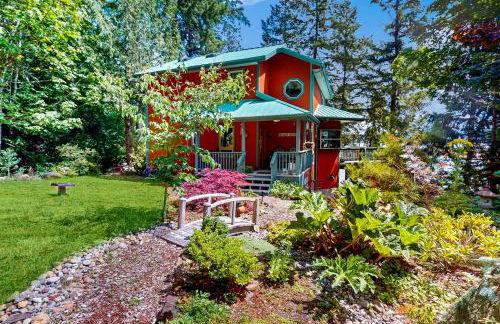
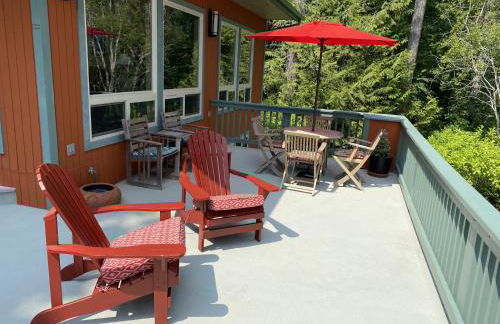
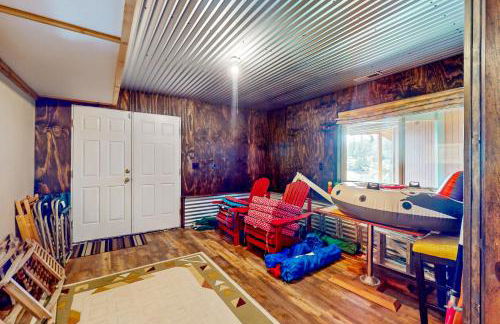
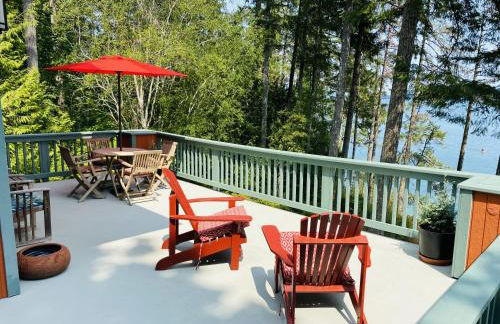
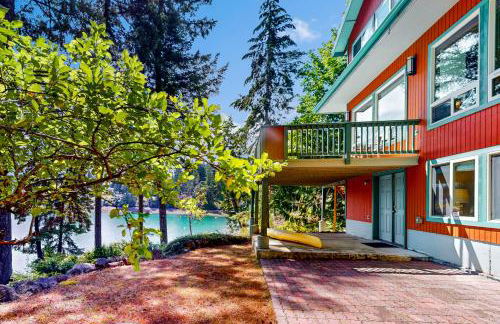
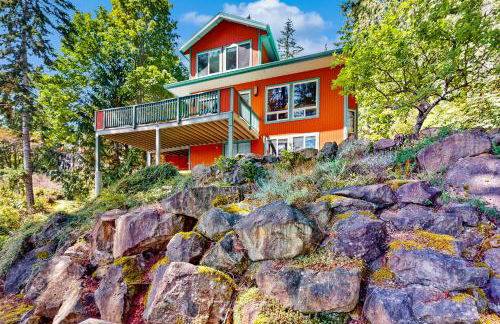
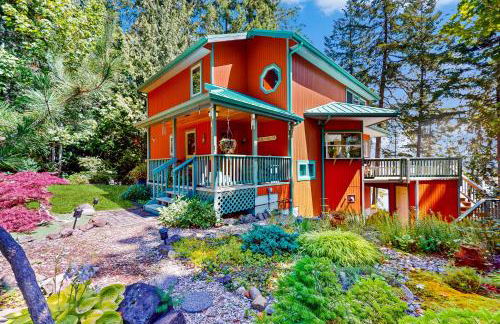
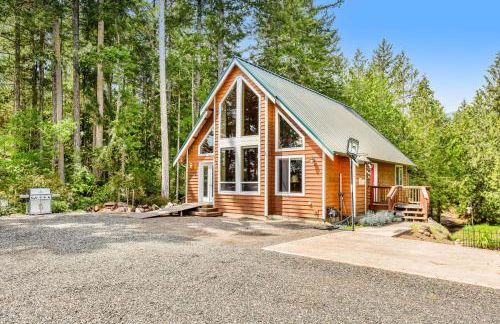
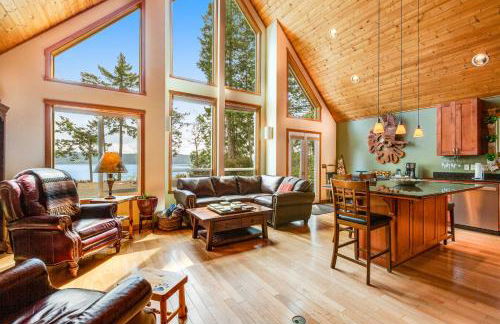
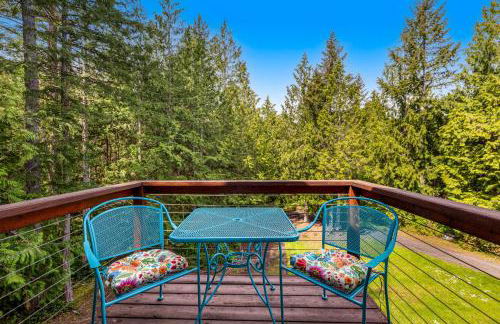
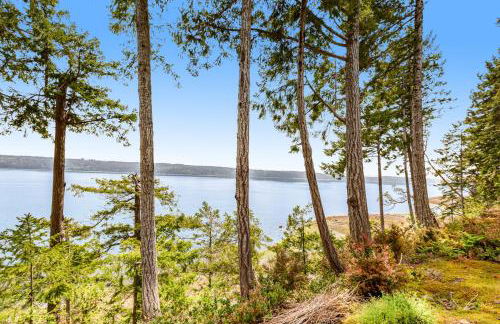
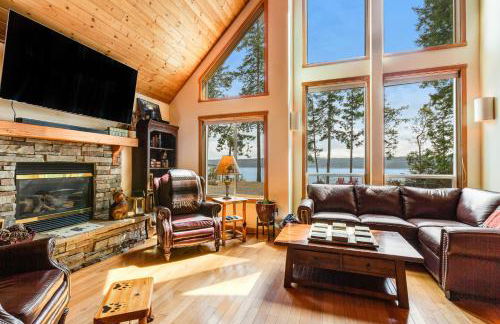
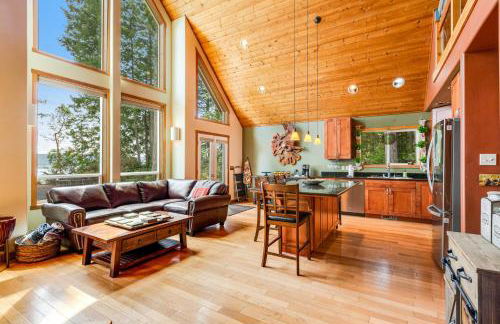
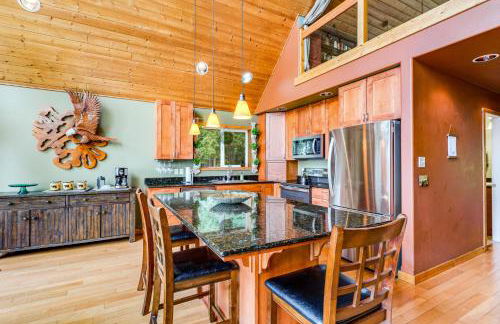
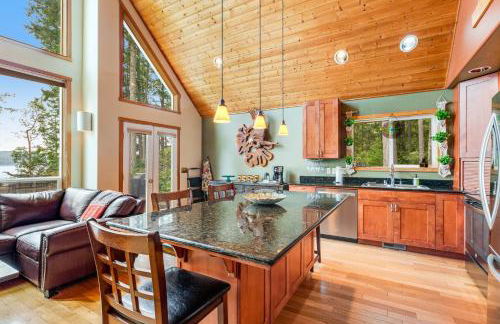
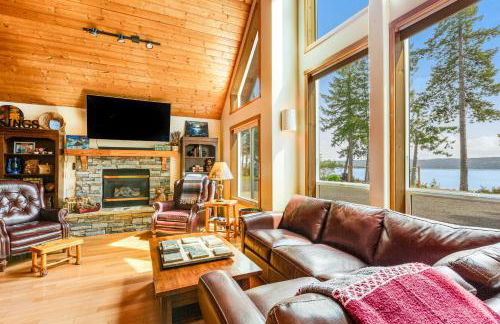
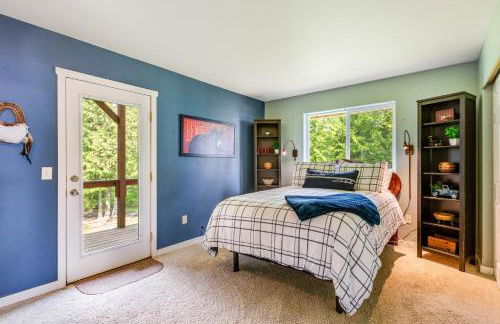
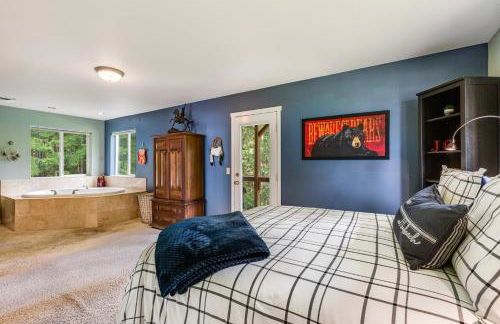
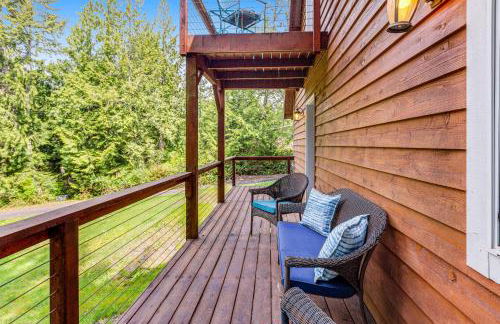
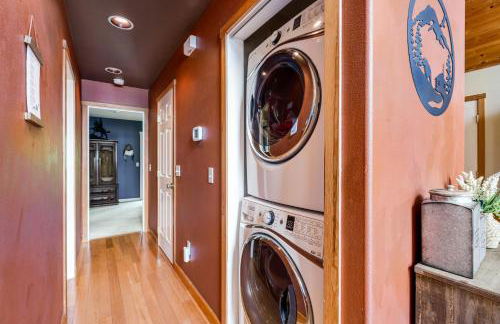
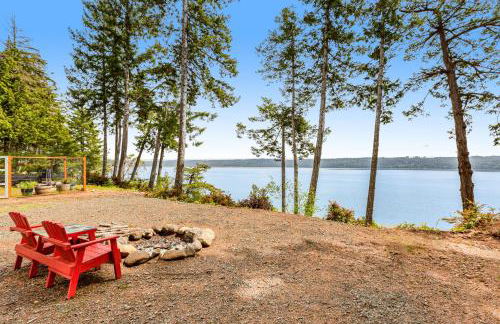
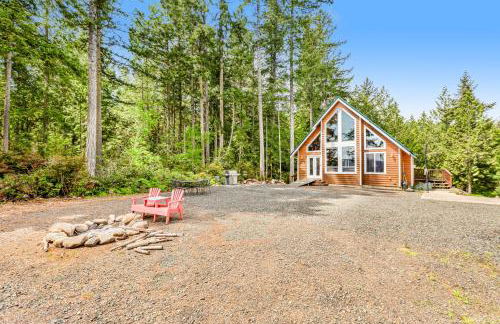
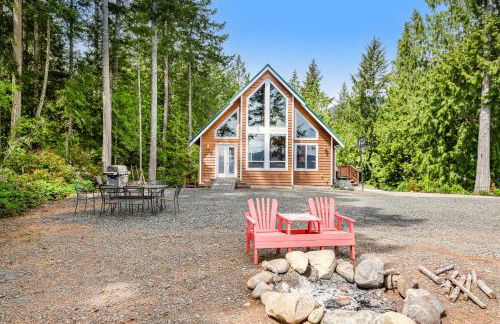
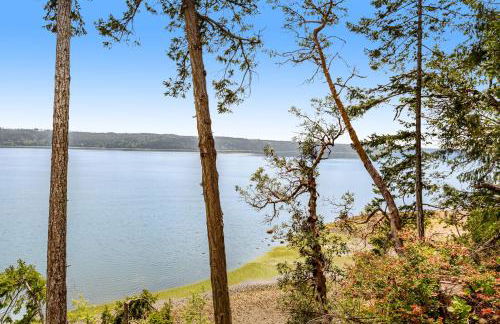
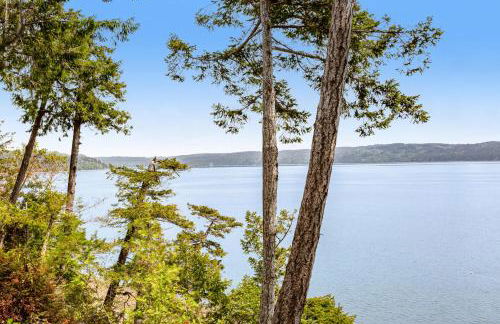
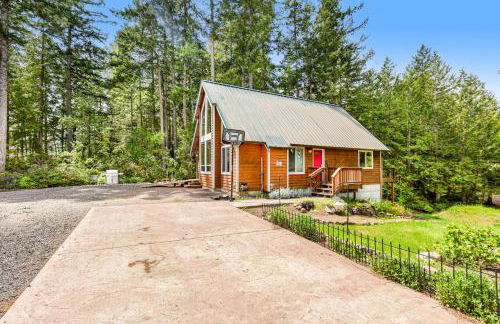
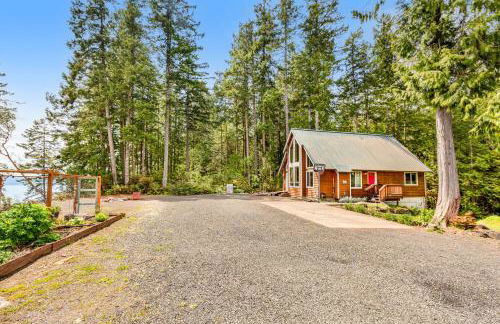
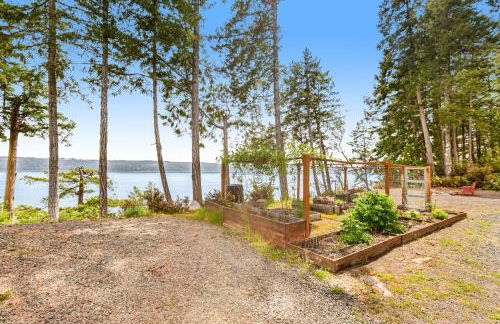
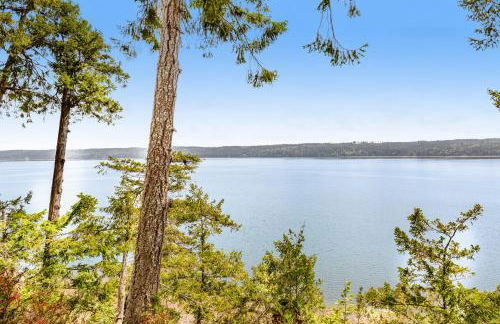
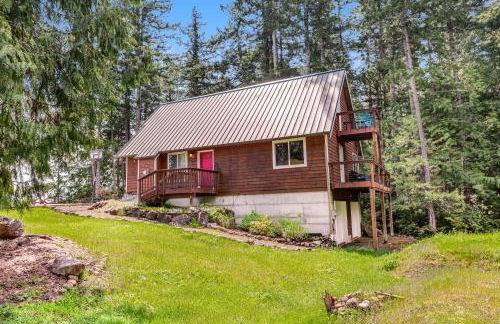
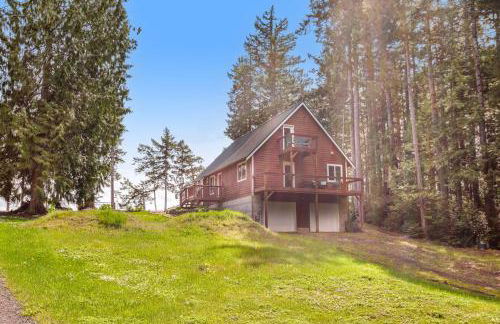
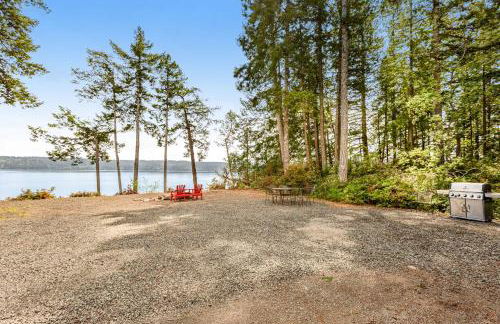
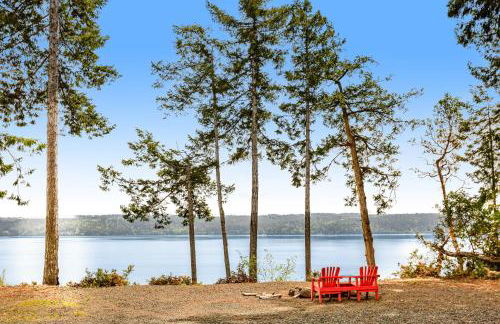
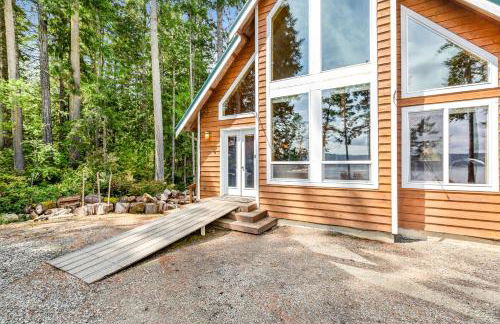
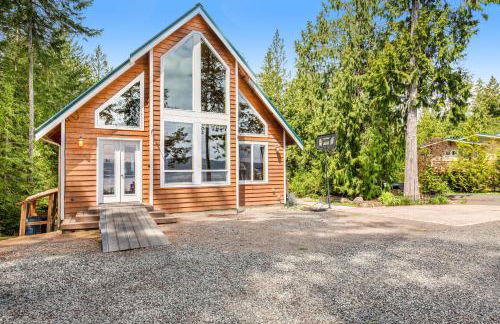
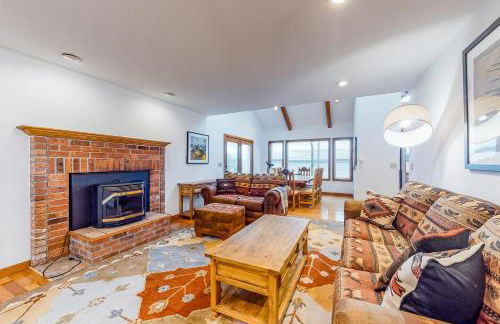
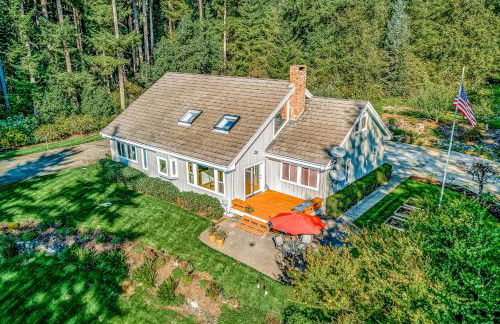
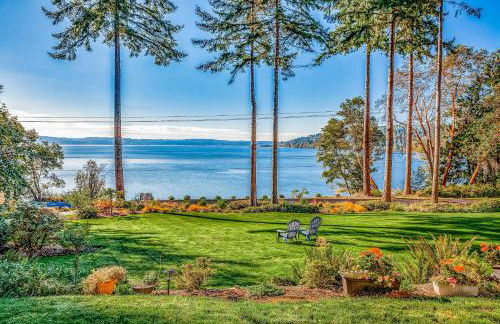
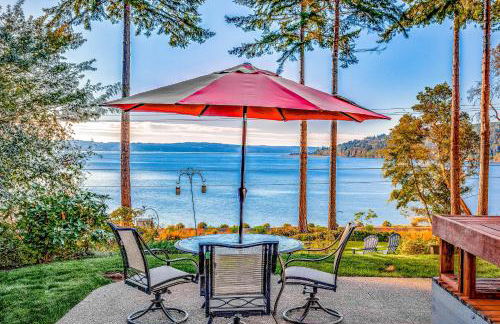
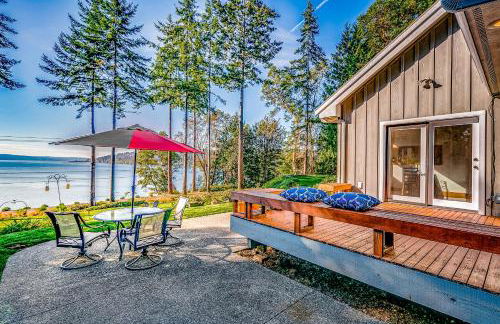
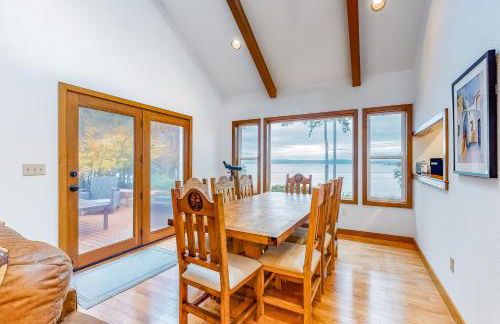
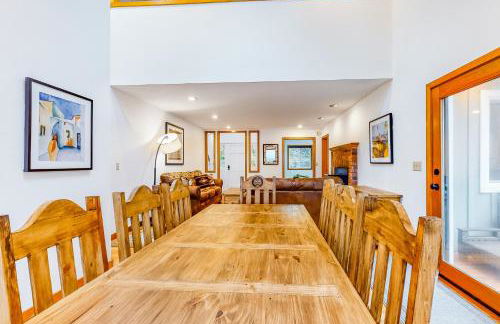
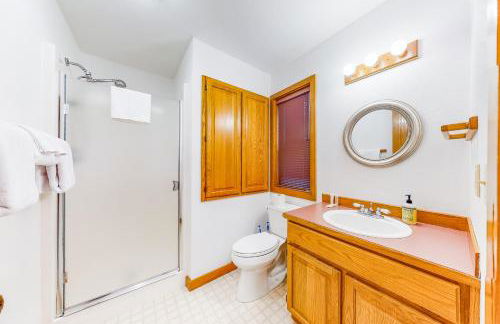
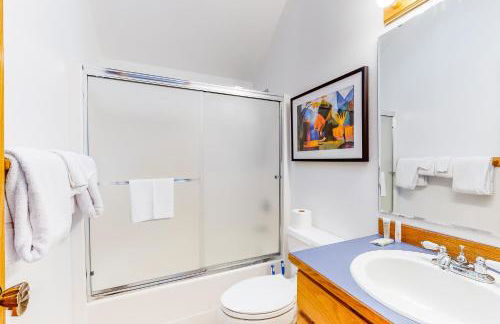
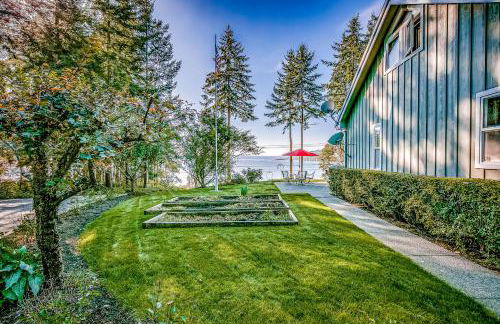
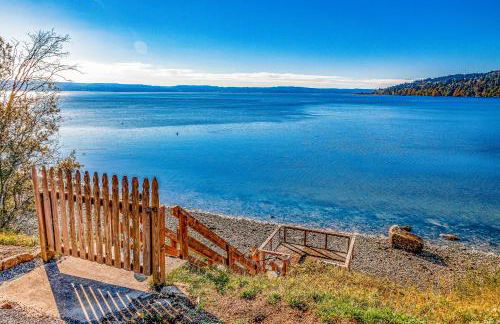
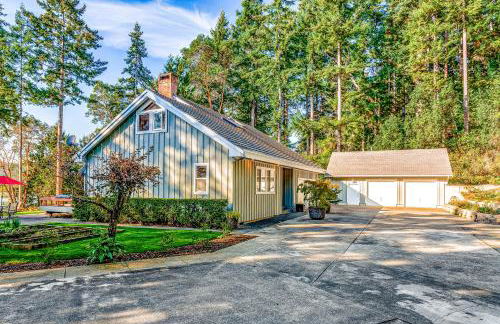
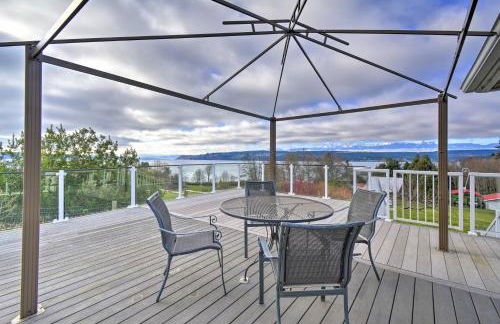
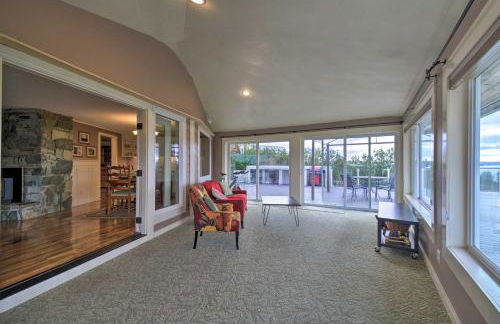
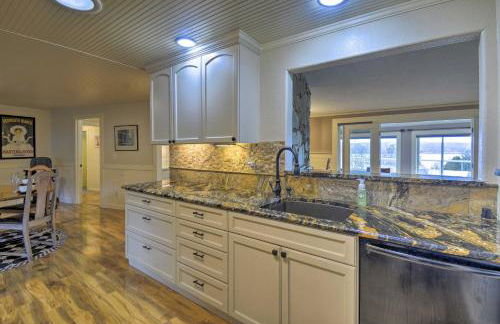
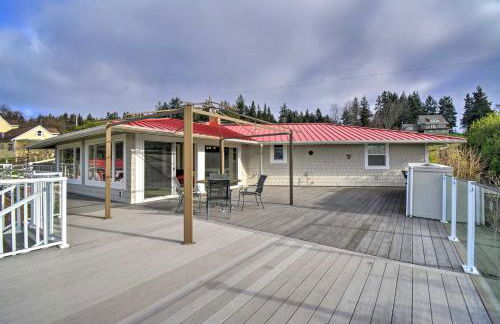
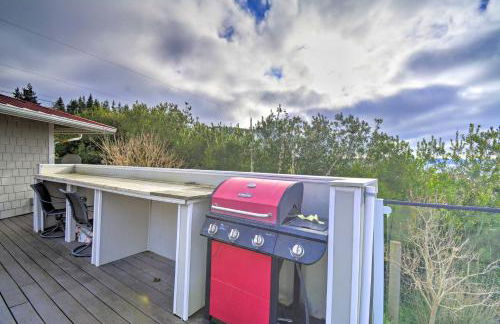
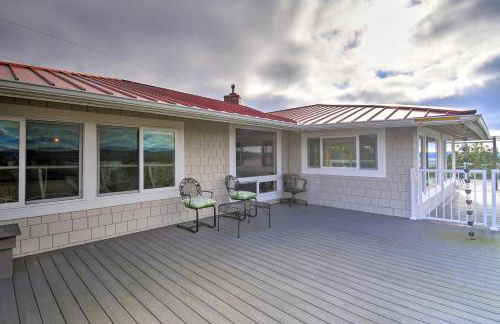
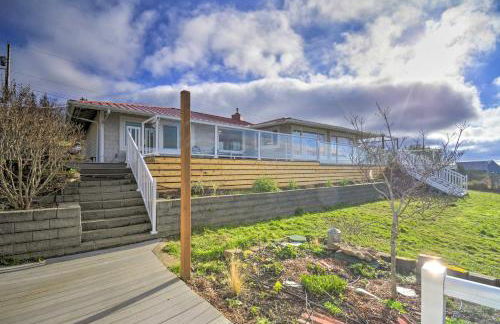
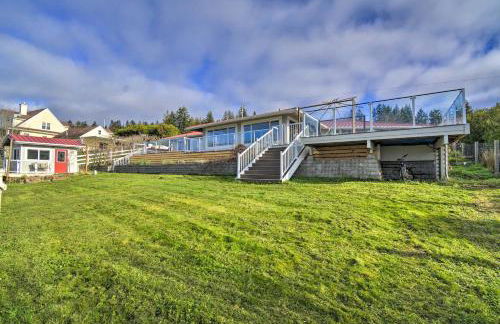
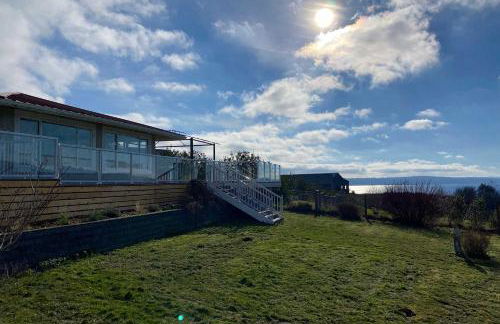
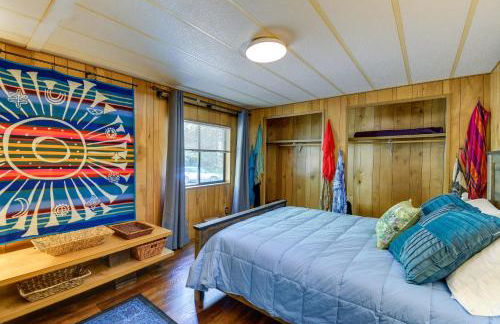
Waterfront, Sunsets and Mountains
Port Townsend - A 7.8 km del centro
- 223 M2
- 2 habitaciones
- 6 personas
- Aire acondicionado
- Calefacción
- Terraza
- Parking
- Jardín
- Barbacoa
17 reseñas
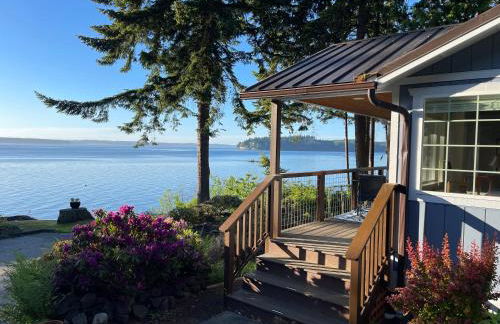
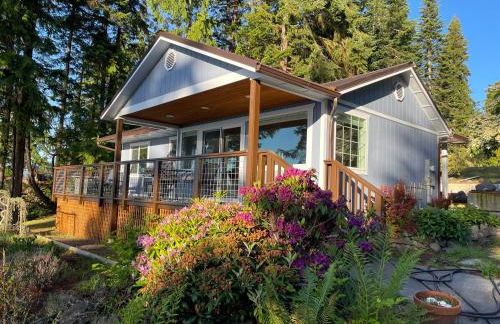
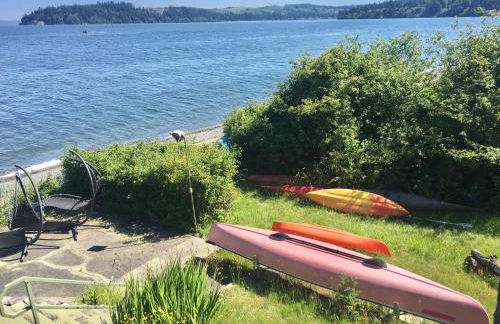


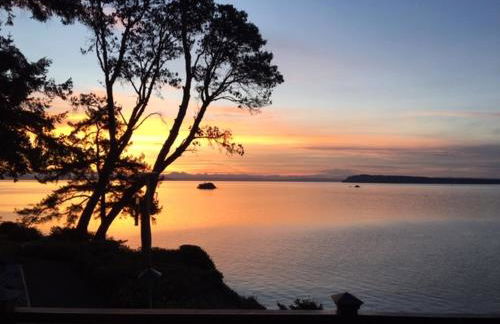


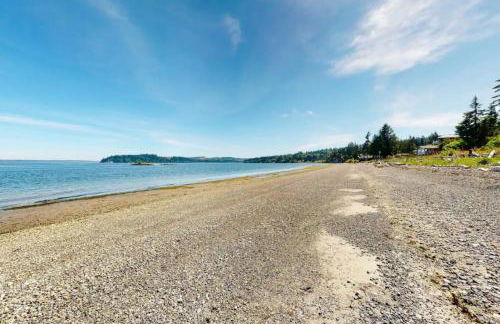


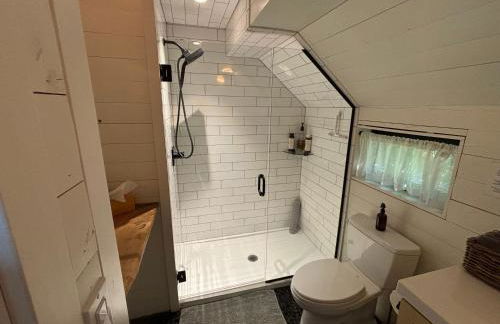
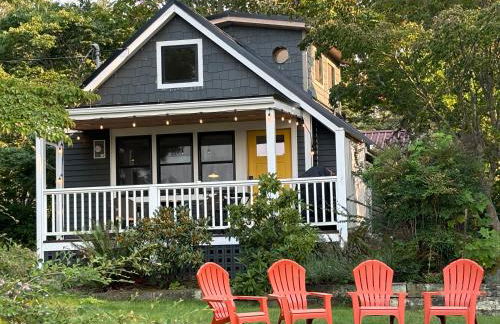
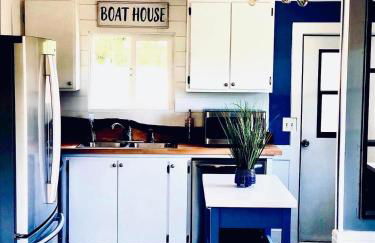
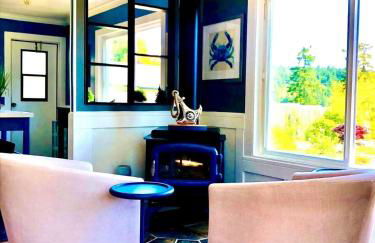
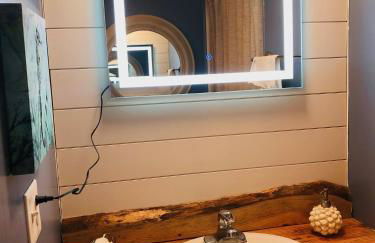
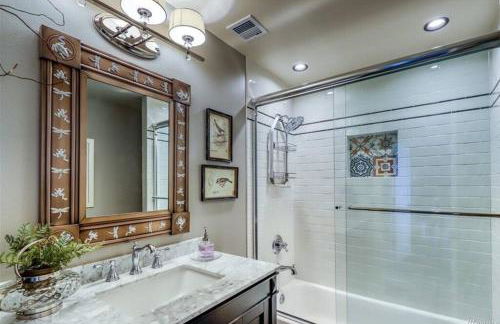
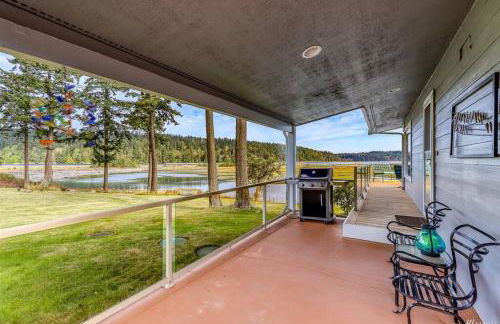
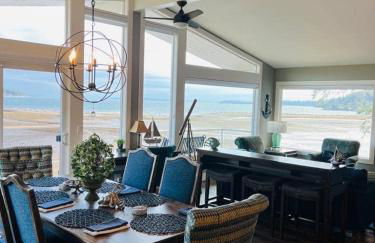
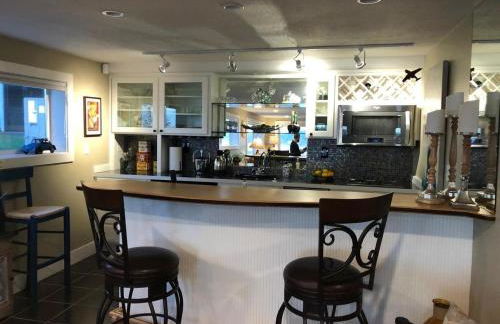
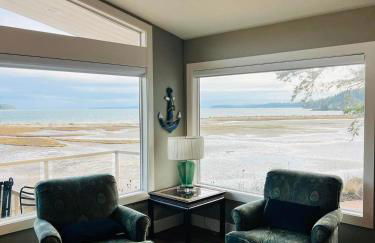
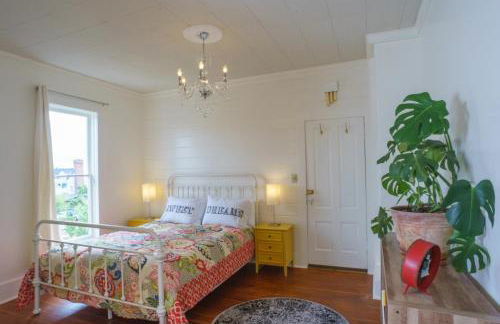
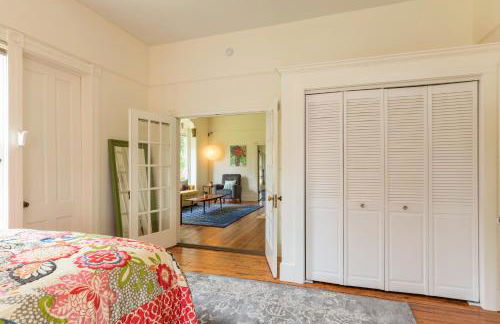
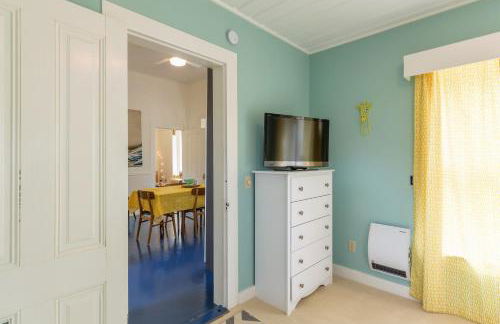
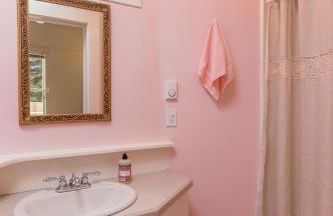
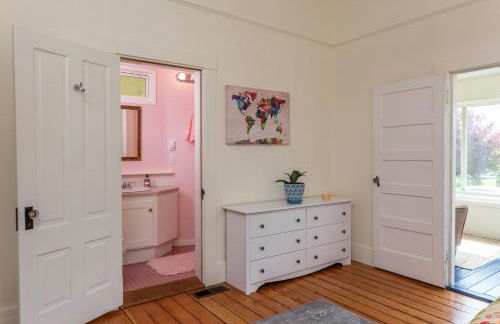
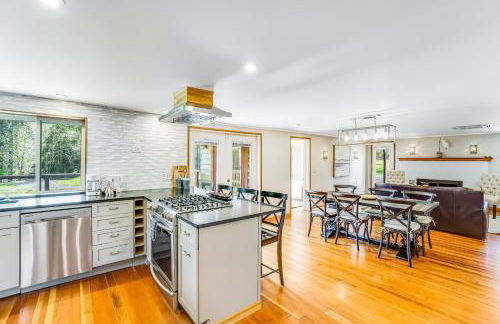
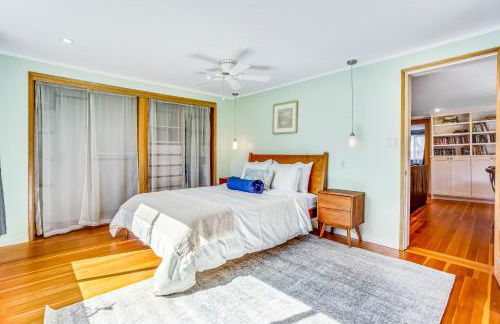
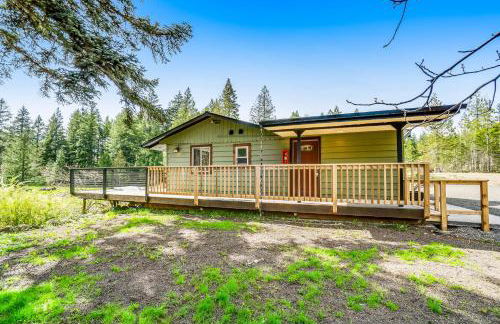
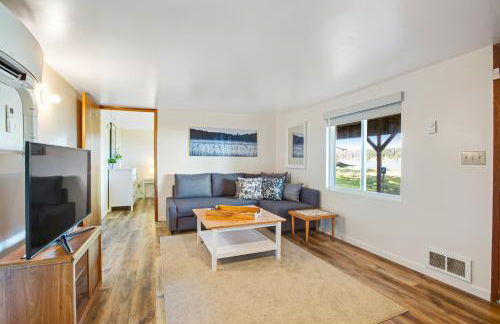
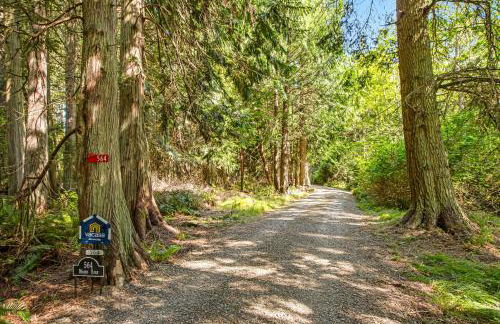
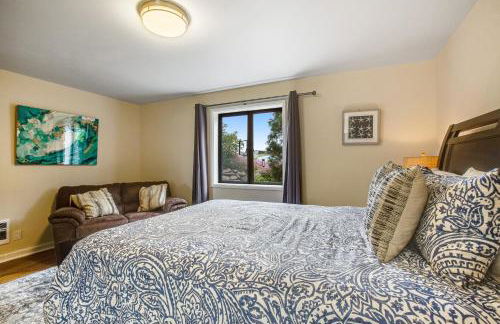
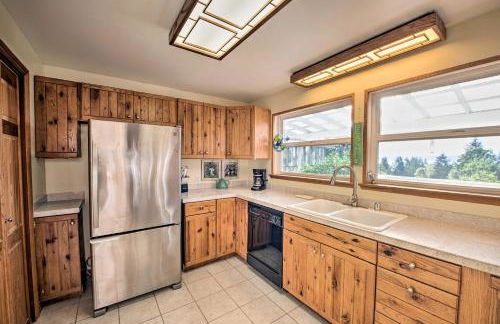
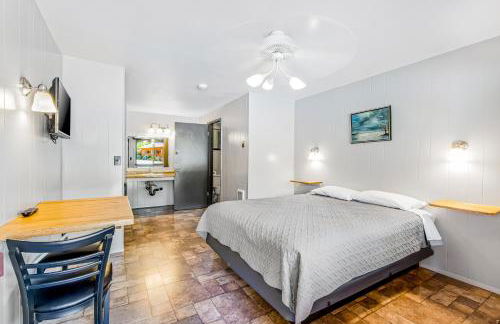
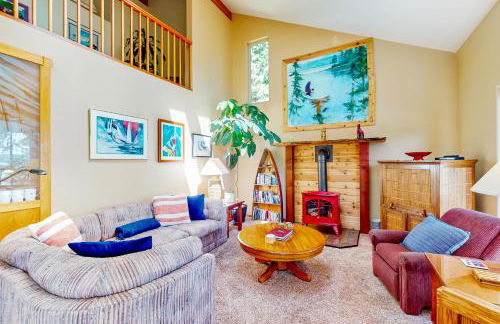
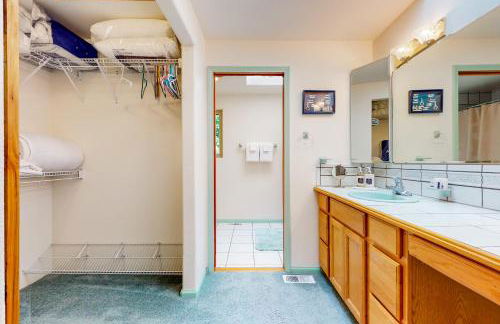
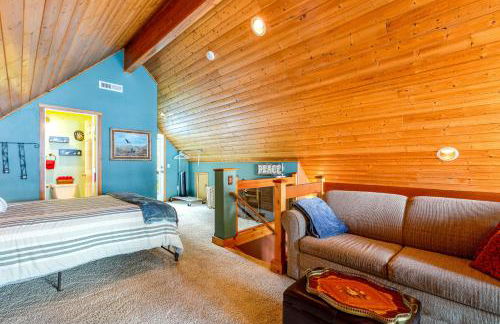
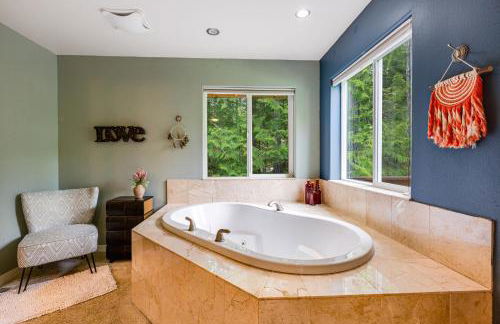
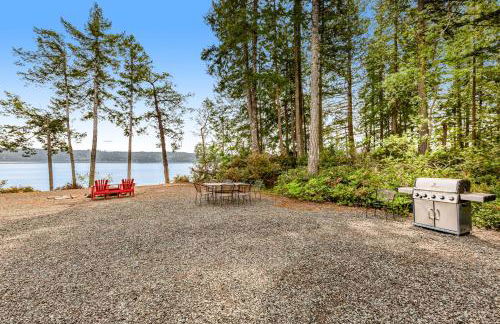
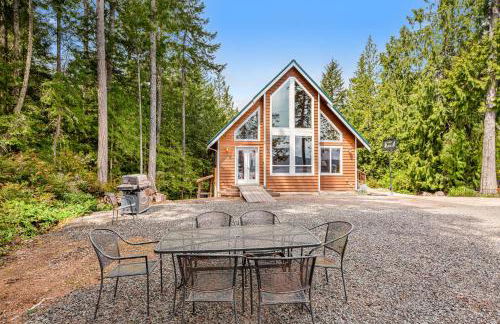
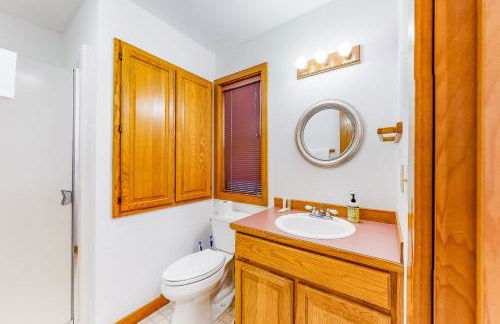
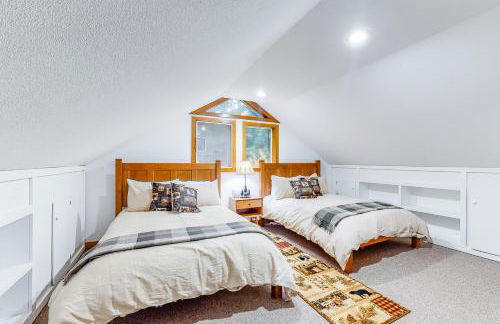
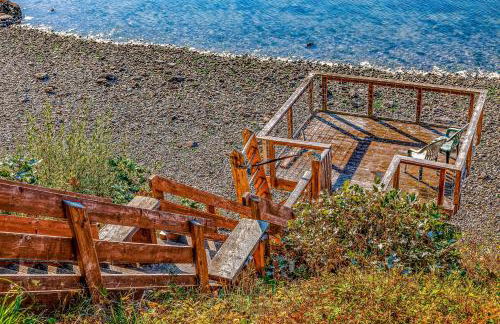
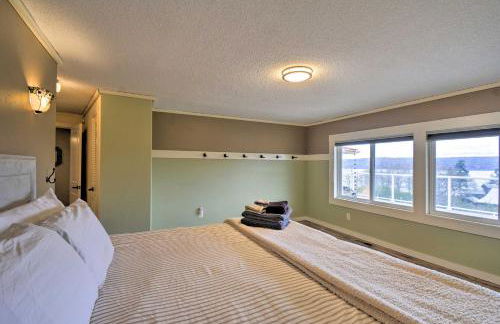
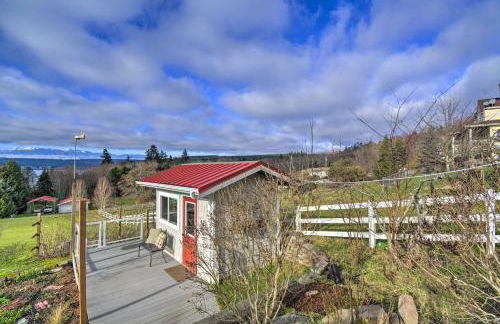
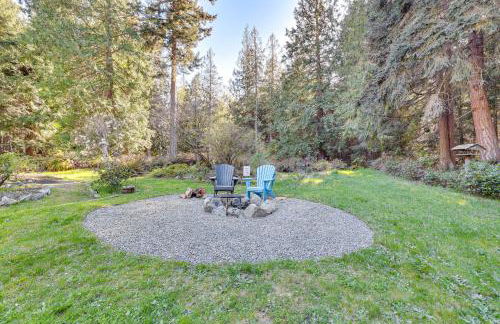
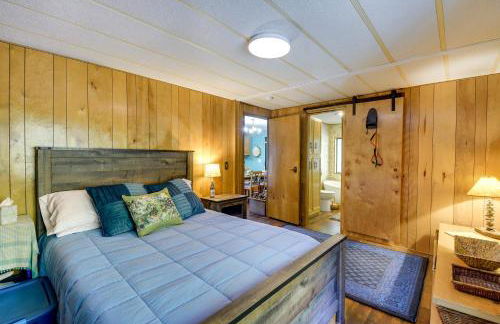
Puget Sound Chic Romantic Cottage with Private Beach Access & Gated Entry
Port Ludlow
- 56 M2
- 2 personas
- Calefacción
- Terraza
- Parking
- Jardín
22 reseñas


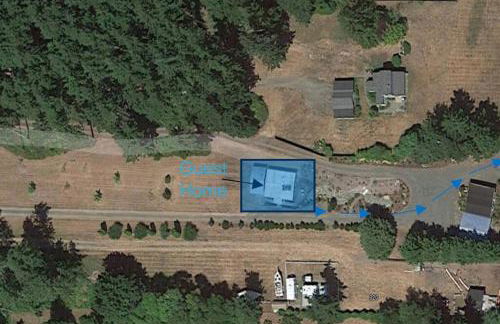


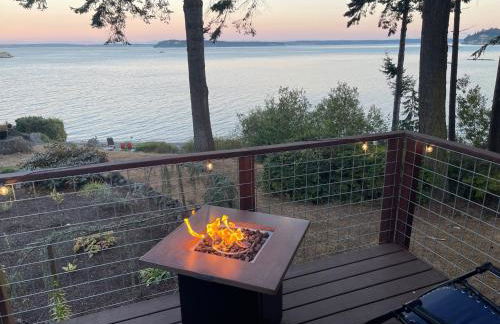
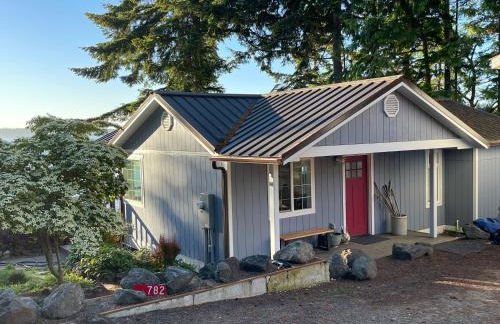
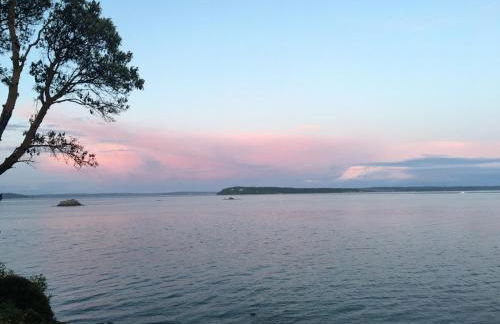
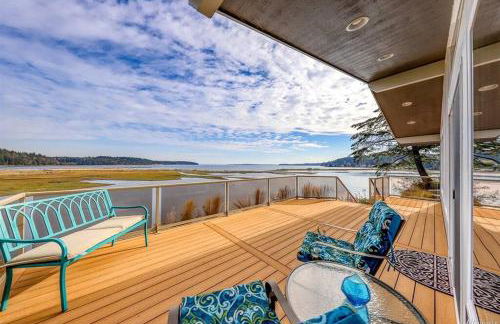
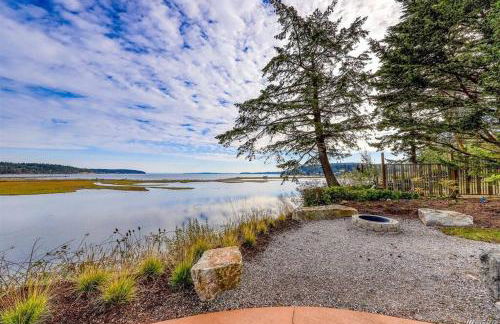
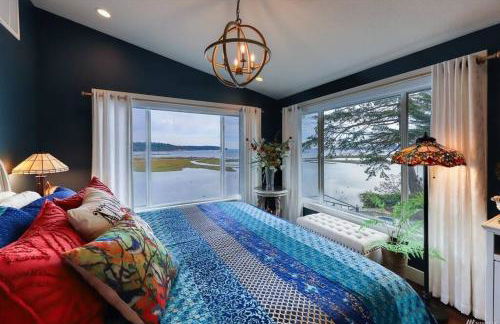
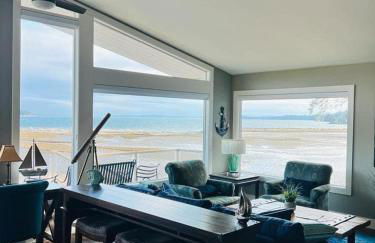
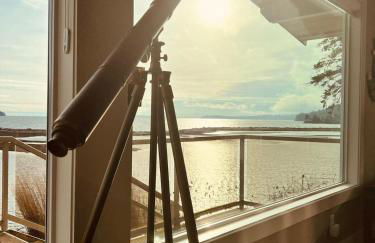
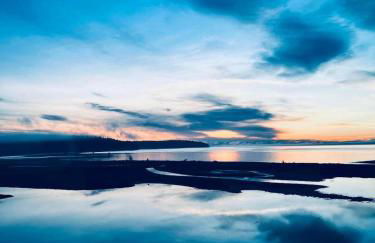
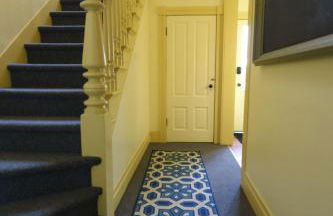
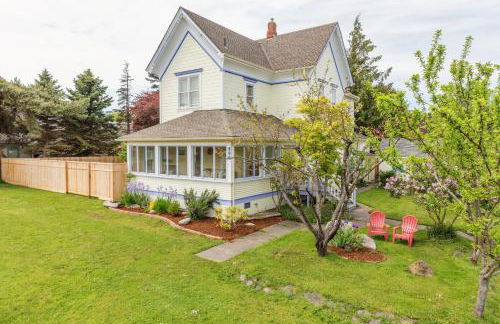
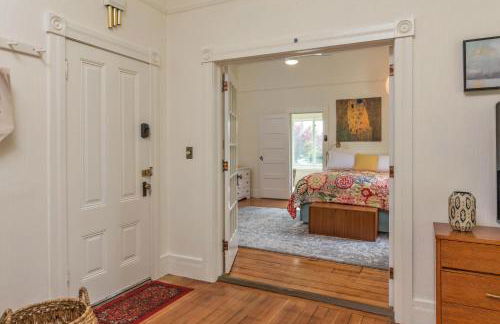
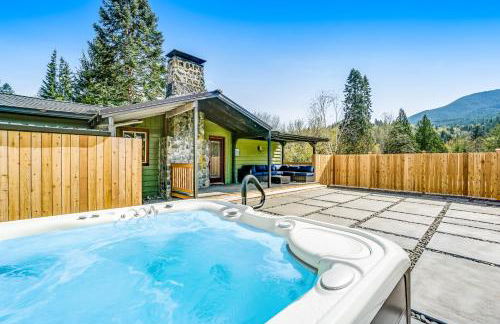
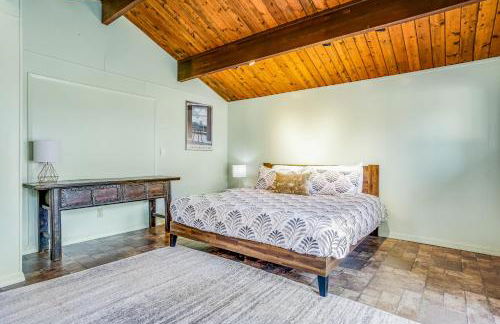
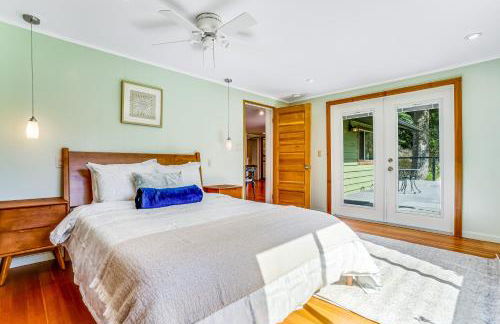
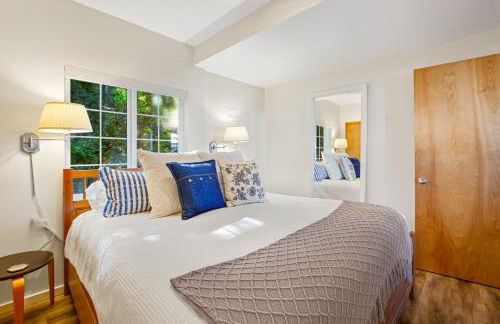
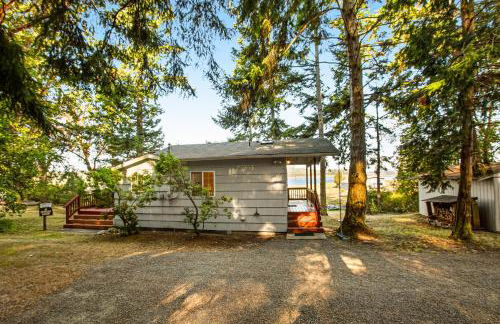
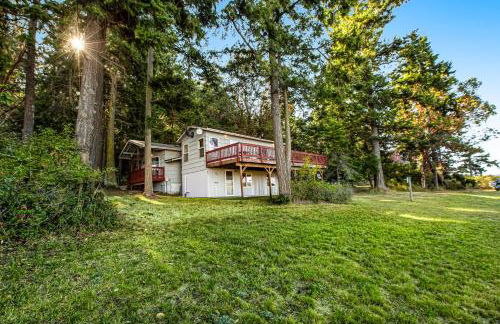
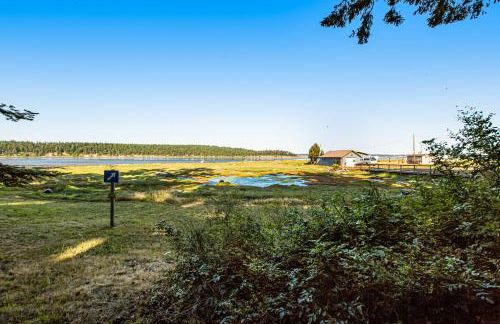
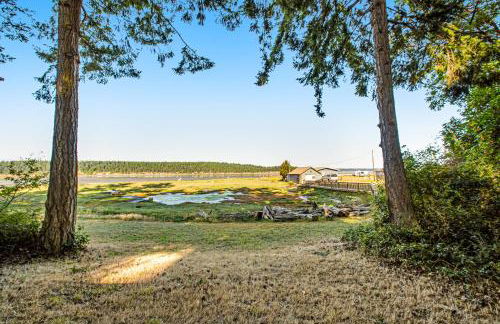
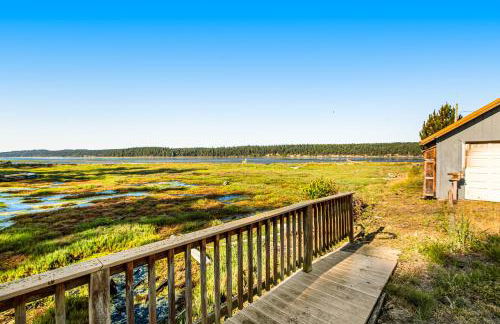
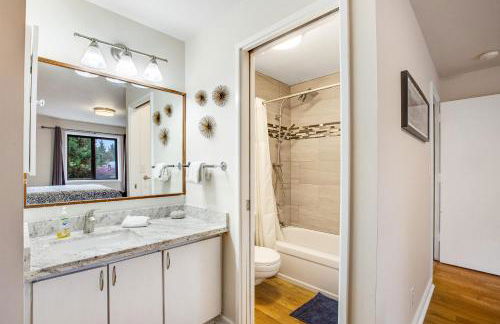
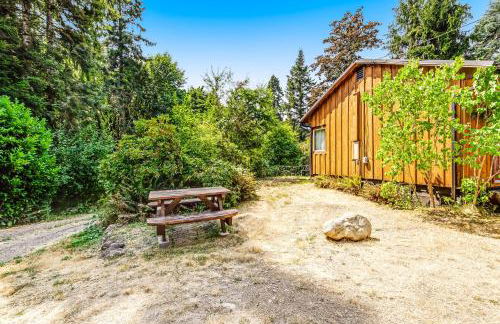
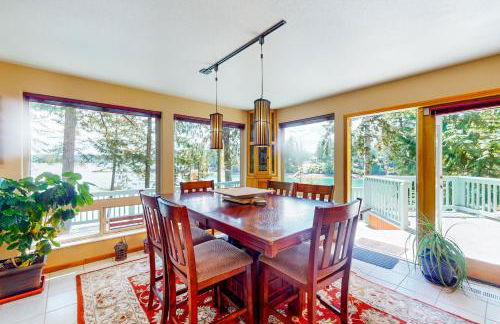
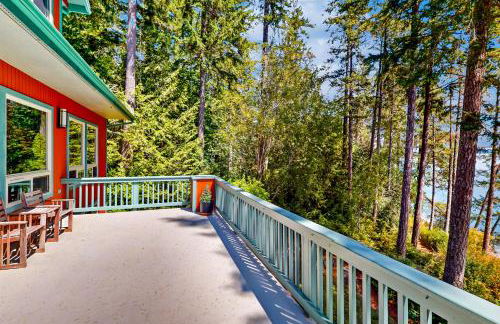
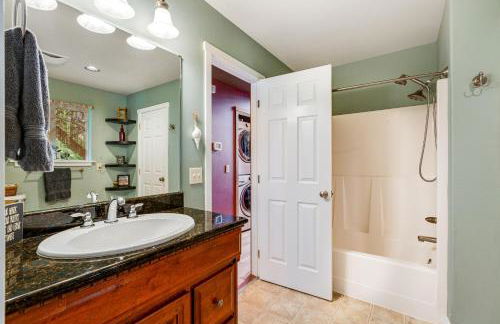
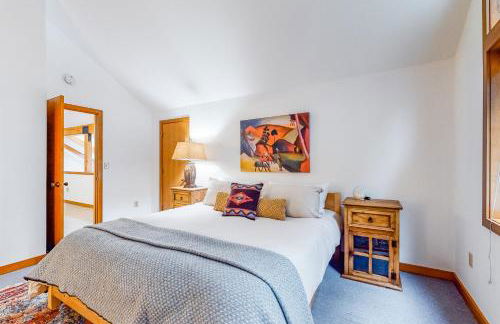
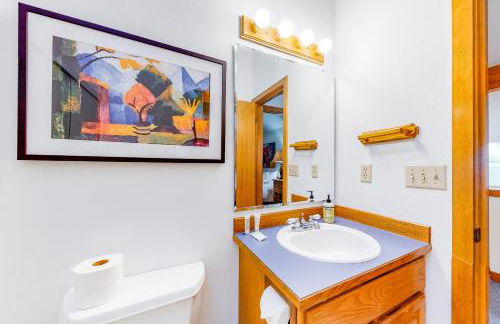
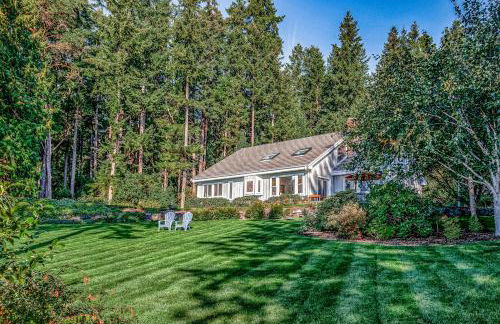
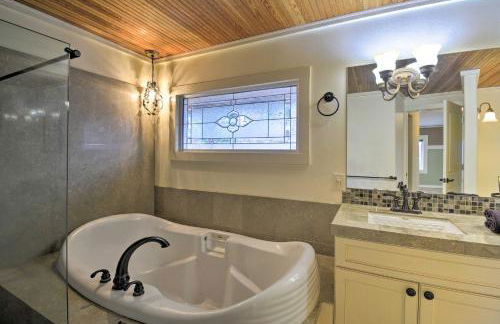
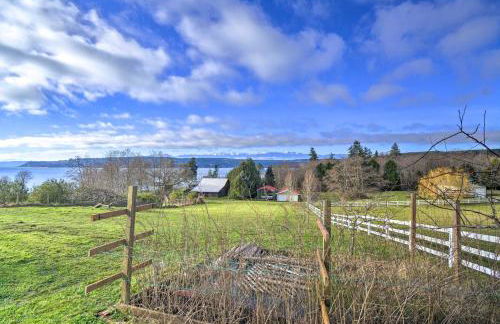
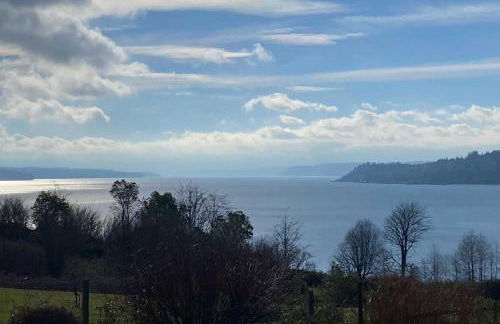
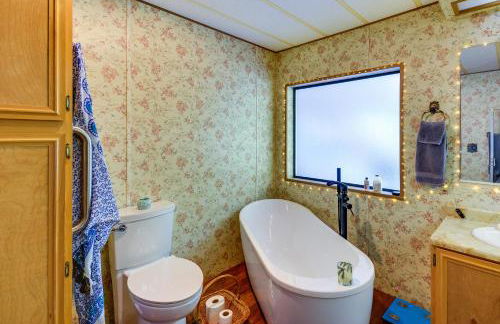
Beautiful Oceanview Retreat 2 Bedroom Home
Port Hadlock
- 56 M2
- 2 habitaciones
- 5 personas
- Terraza
- Parking
- Jardín
87 reseñas


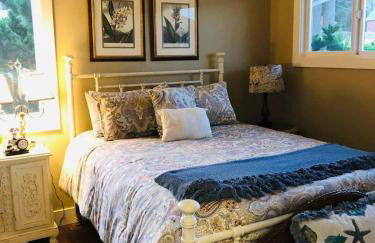

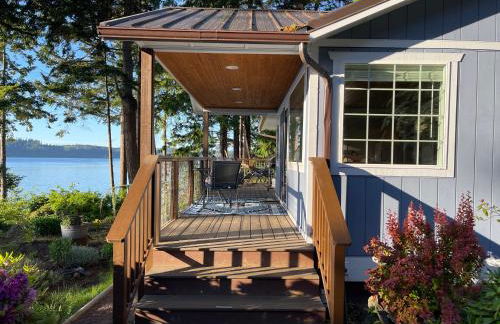
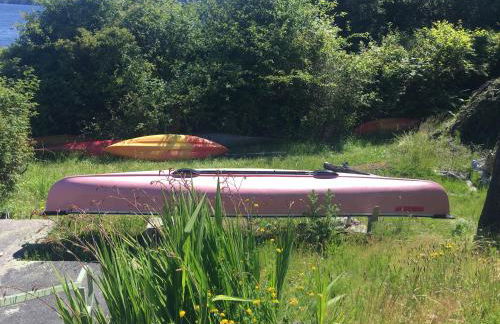
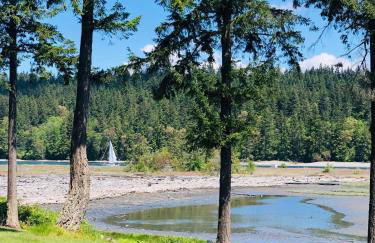
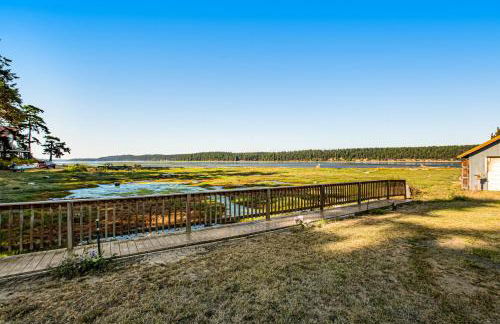
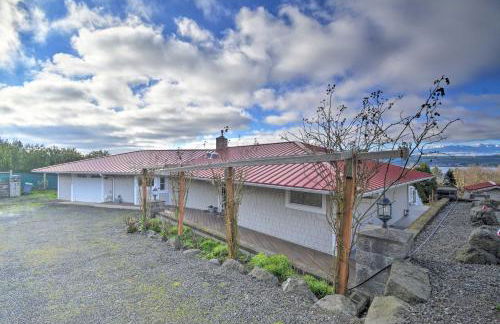
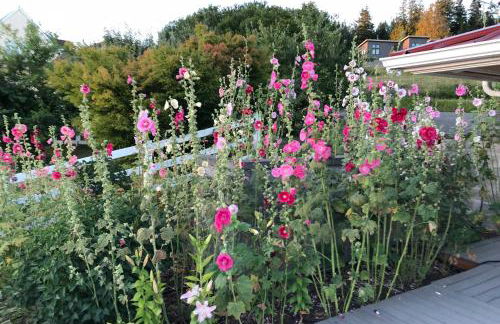
Oasis By The Sea
Port Hadlock
- 206 M2
- 2 habitaciones
- 4 personas
- Aire acondicionado
- Calefacción
- Terraza
- Parking
- Jardín
55 reseñas


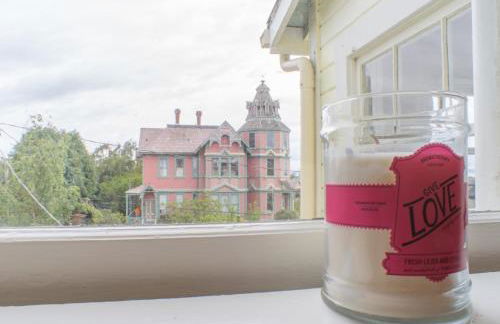

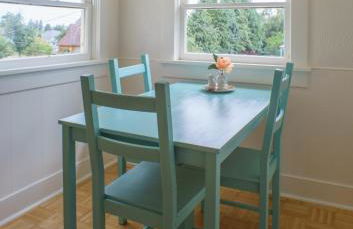
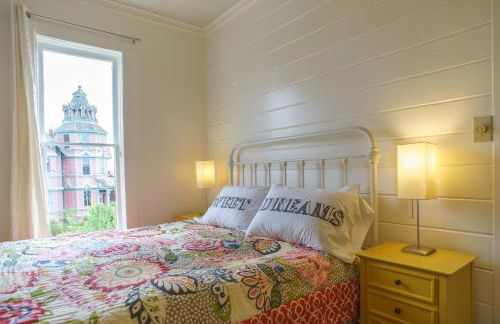
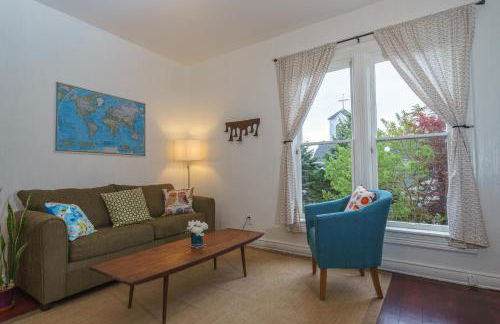


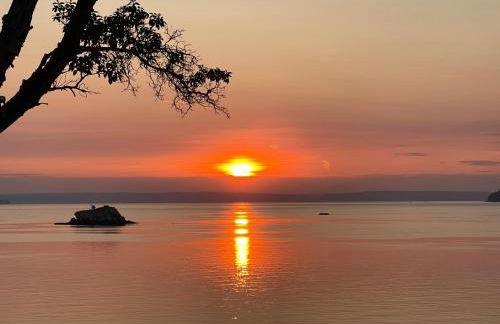
People’s House
Port Townsend - A 630 m del centro
- 149 M2
- 3 habitaciones
- 6 personas
- Aire acondicionado
- Parking
- Jardín
36 reseñas


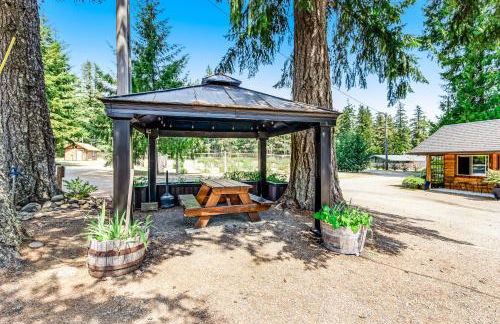
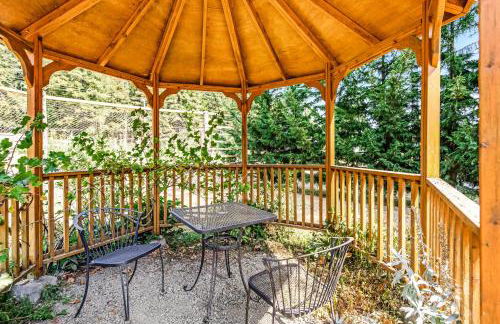
Innkeeper's Lodge at Mount Walker Inn
Quilcene
- 118 M2
- 3 habitaciones
- 6 personas
- Aire acondicionado
- Calefacción
- Jardín
- Barbacoa
13 reseñas


Sq Orca Oasis
Port Townsend - A 13.6 km del centro
- 134 M2
- 2 habitaciones
- 8 personas
- Calefacción
- Parking
6 reseñas


Marrowstone Island Beach Cabin
Nordland
- 131 M2
- 2 habitaciones
- 4 personas
- Calefacción
- Jardín
- Barbacoa
16 reseñas


Hood Canal Home with Views - Bordering Olympic NP!
Brinnon
- 172 M2
- 3 habitaciones
- 6 personas
- Calefacción
- Parking
- Jardín
4 reseñas


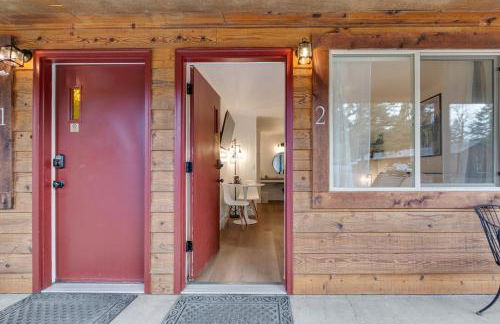

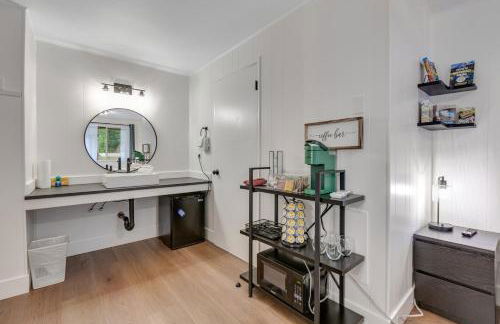


Mount Washington Room 2 at Mount Walker Inn
Quilcene
- 21 M2
- 2 personas
- Aire acondicionado
- Calefacción
- Jardín
- Barbacoa
18 reseñas


Triton Treasure
Brinnon
- 159 M2
- 3 habitaciones
- 6 personas
- Aire acondicionado
- Calefacción
- Jardín
- Barbacoa
2 reseñas


Breathtaking Port Ludlow Home with Deck and Yard
Port Ludlow
- 158 M2
- 2 habitaciones
- 3 personas
- Calefacción
- Parking
3 reseñas
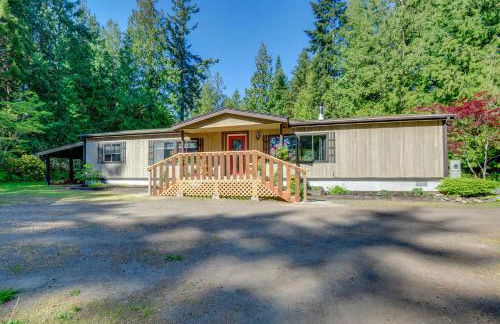
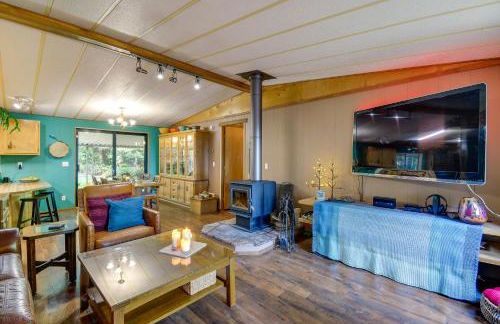


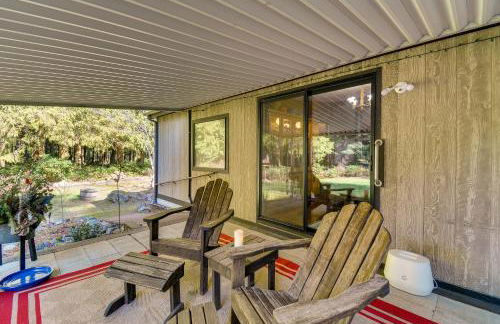

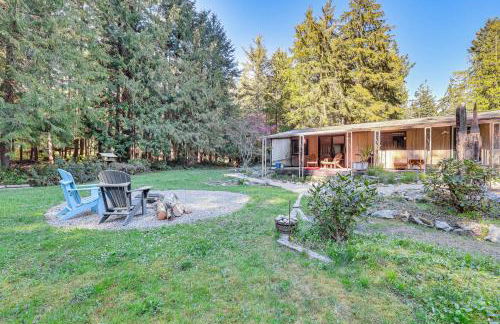
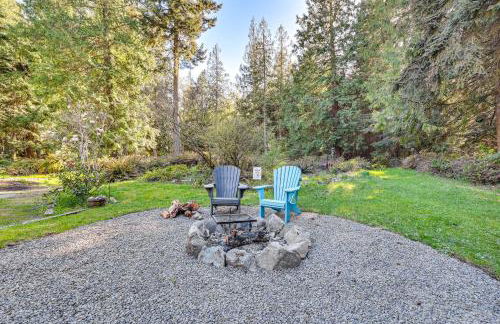
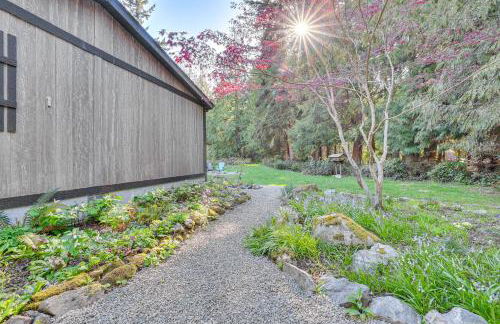
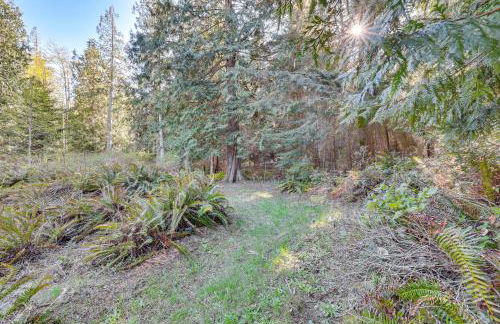

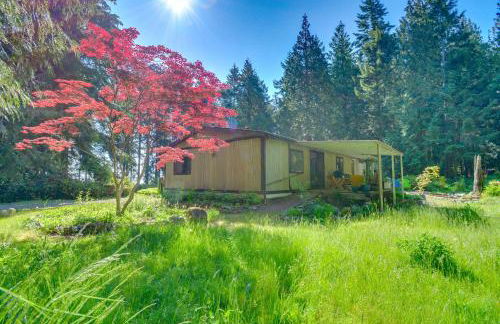
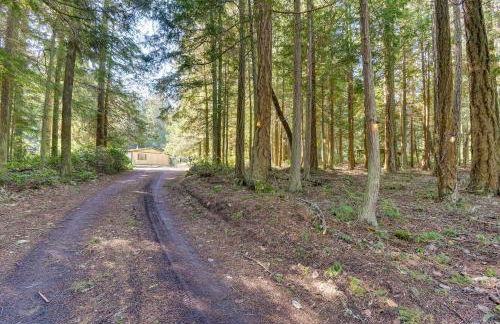
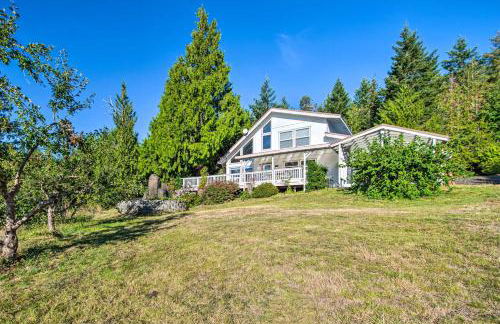
Secluded Port Townsend Retreat Pets Welcome!
Port Townsend - A 6.7 km del centro
- 139 M2
- 2 habitaciones
- 4 personas
- Calefacción
- Parking
4 reseñas