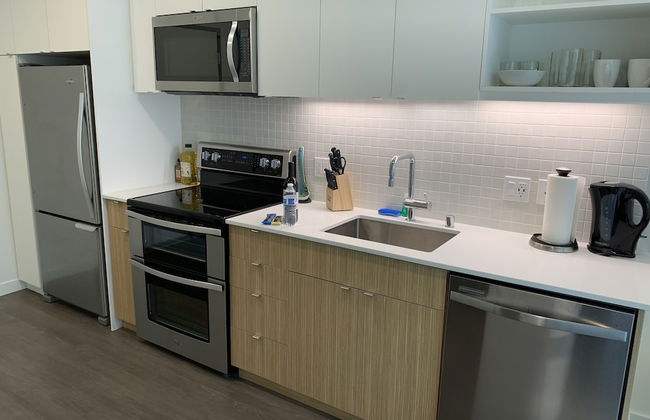
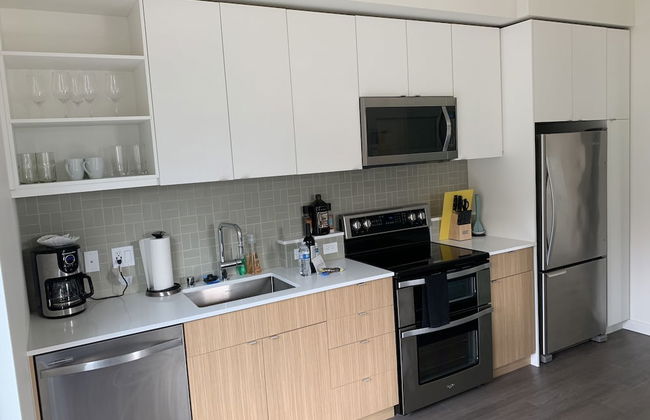
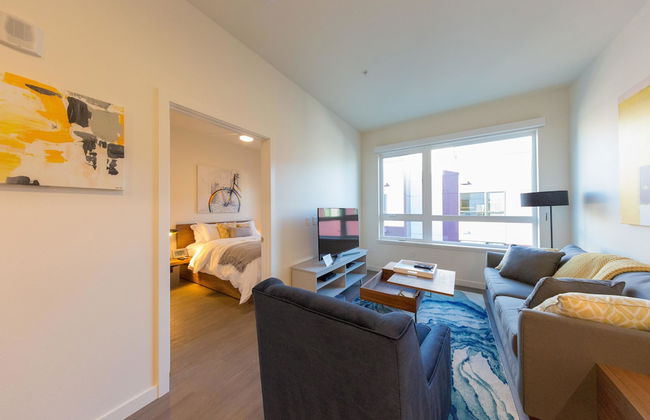
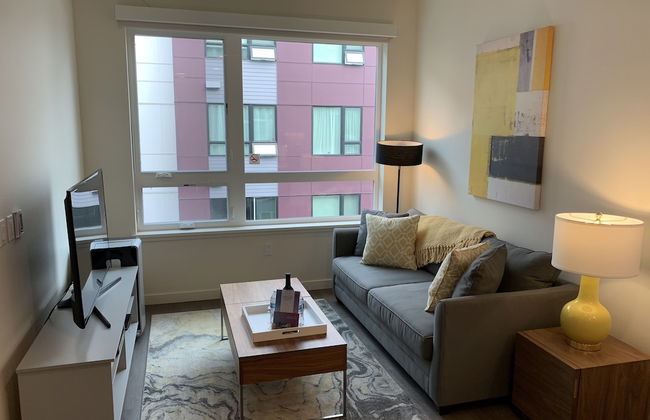
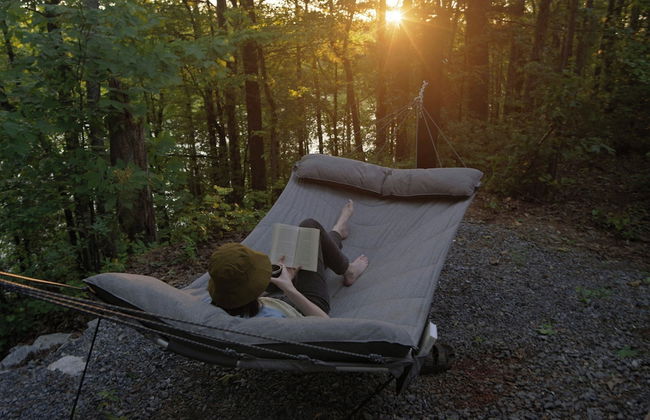
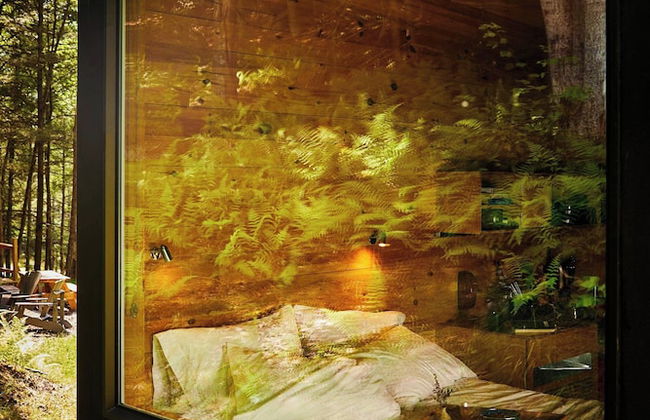
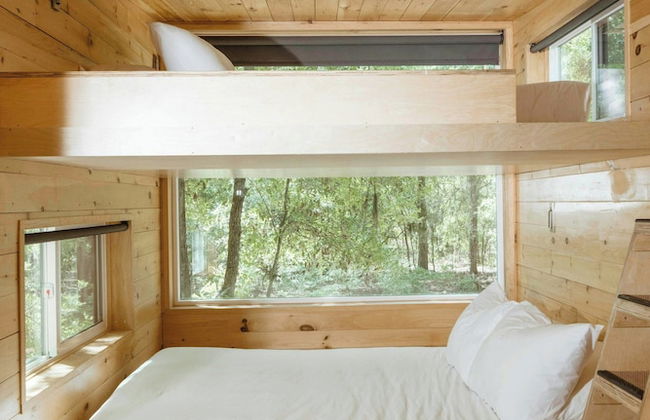
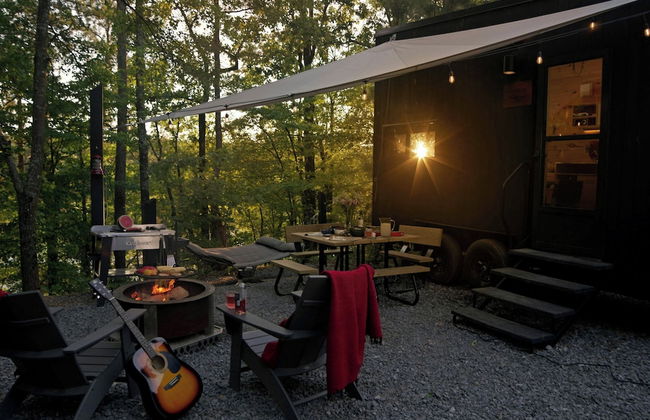
3766 Apartamentos en Washington
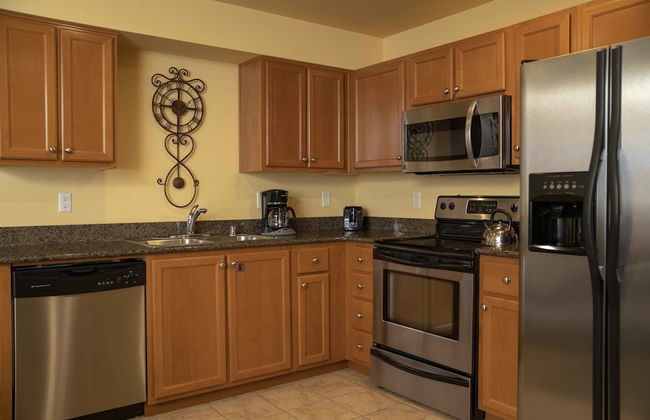
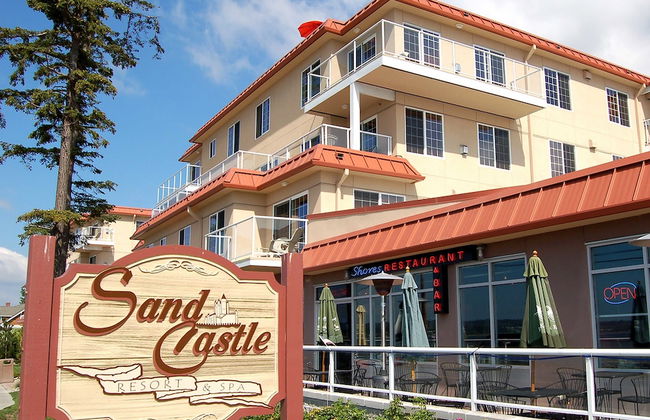
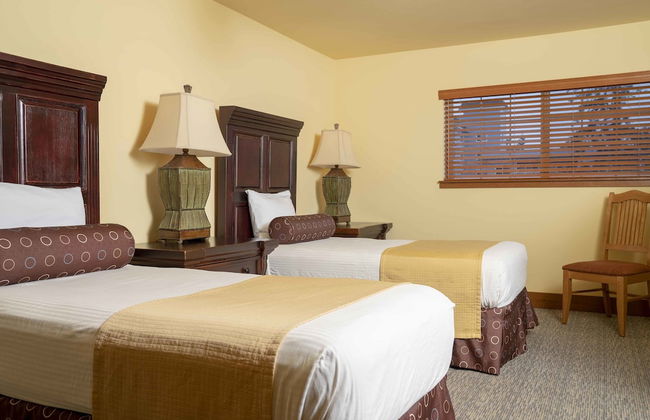
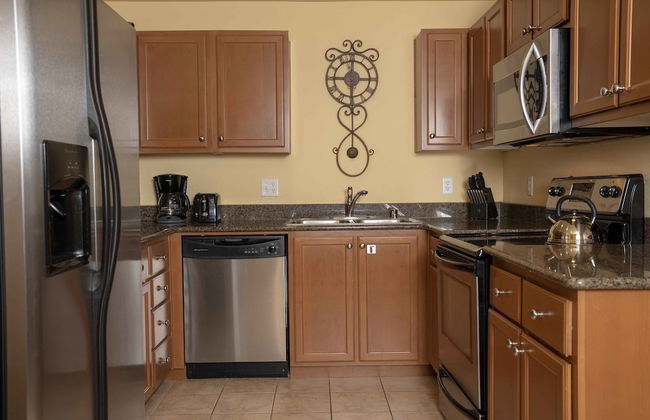
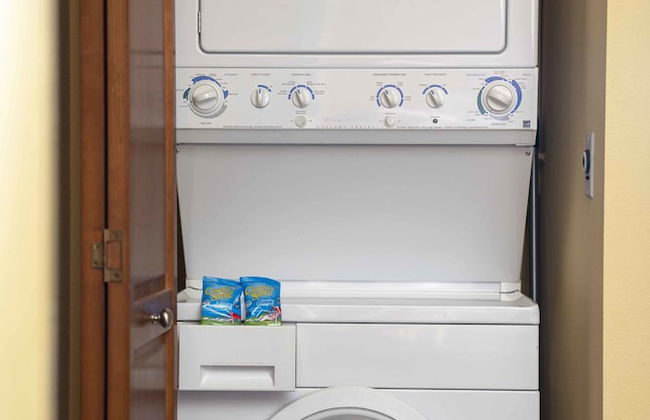
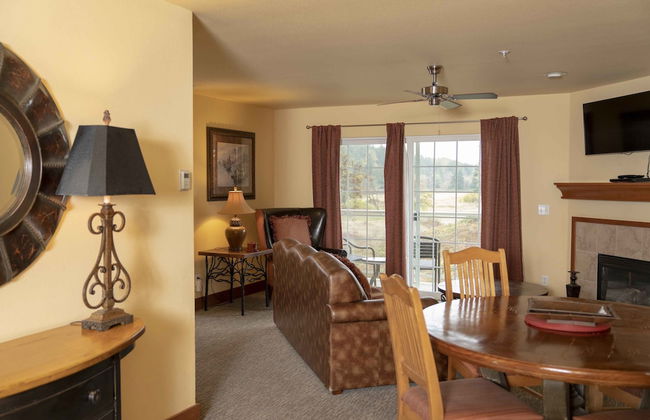
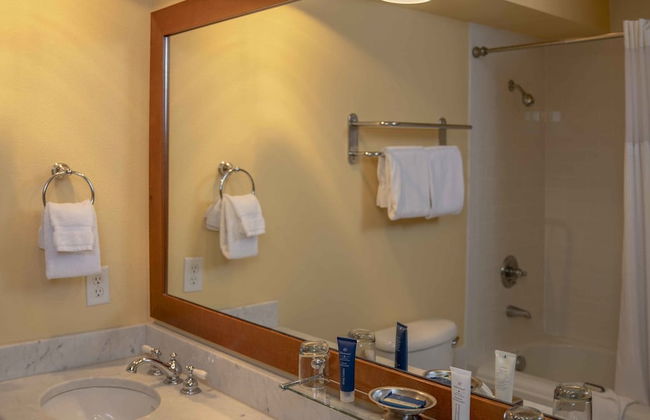
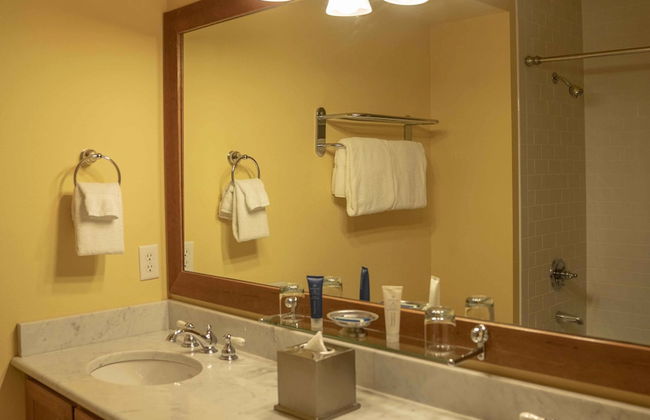
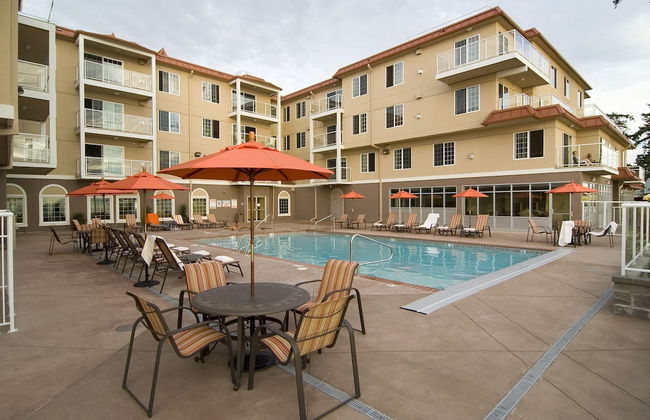
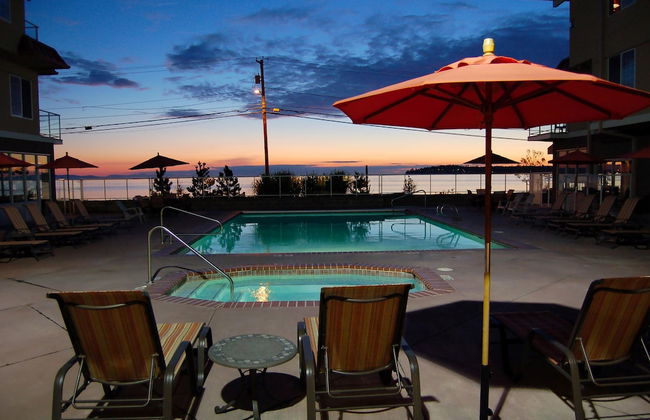
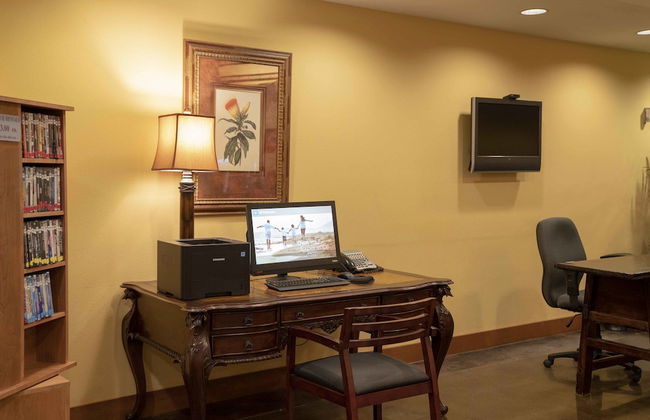
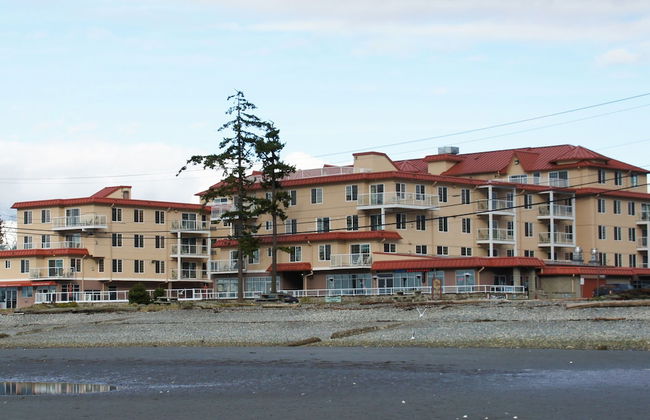
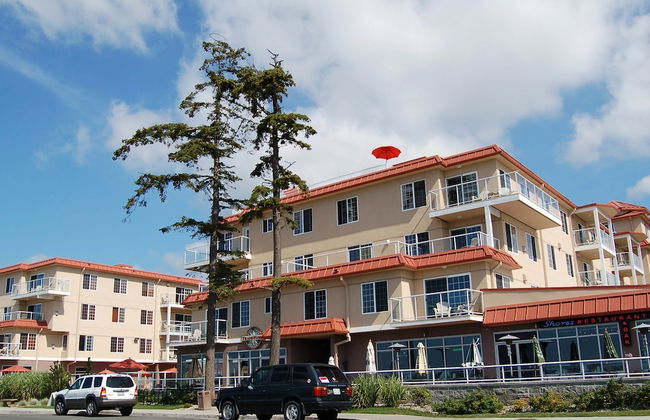
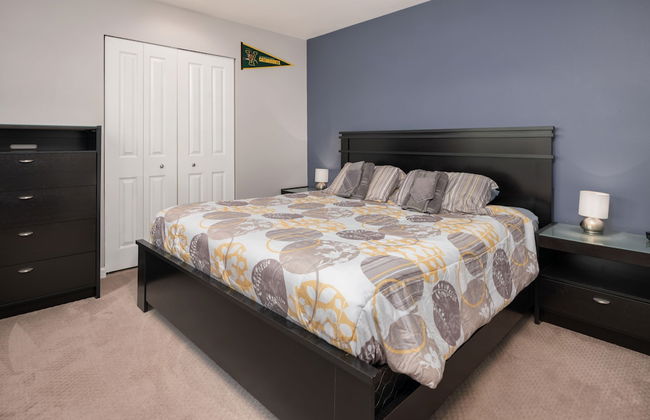
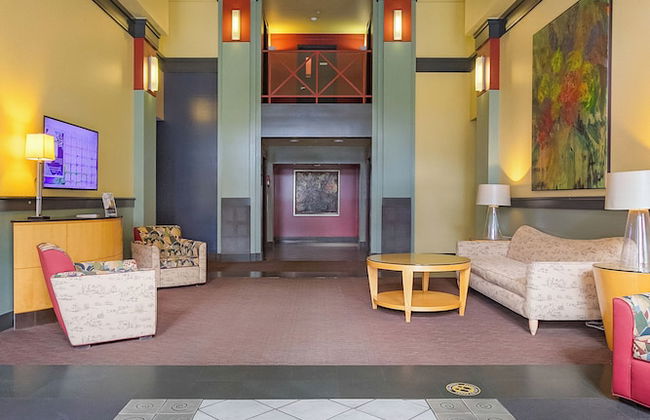
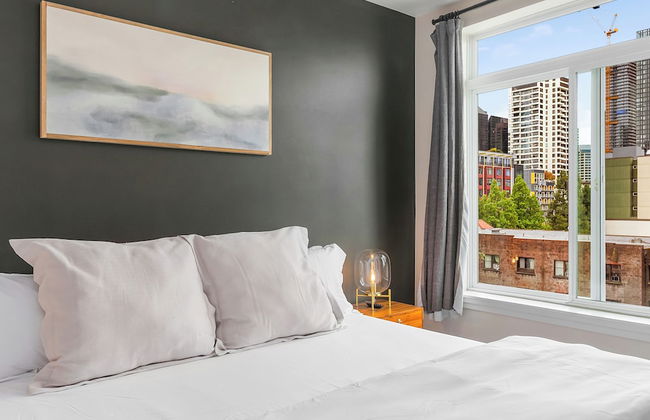
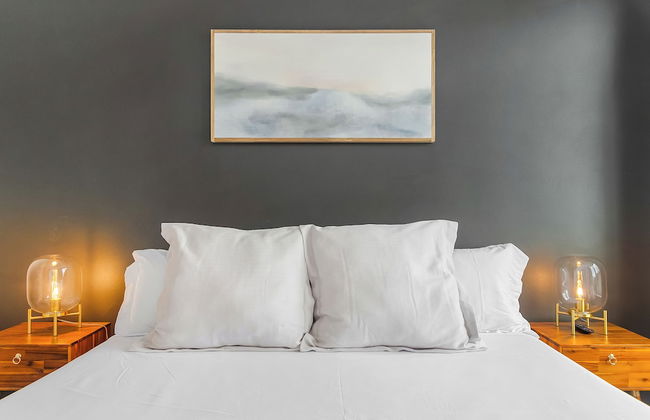
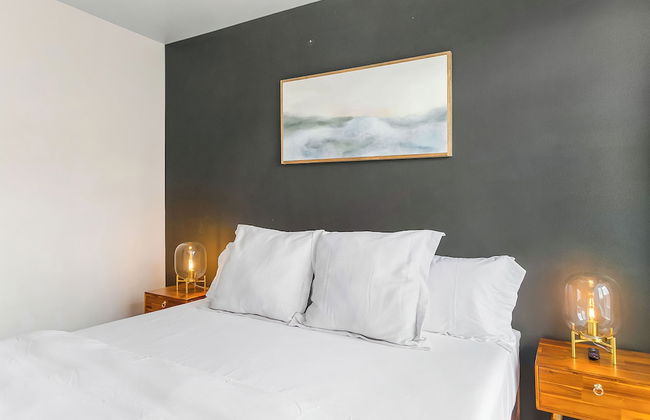
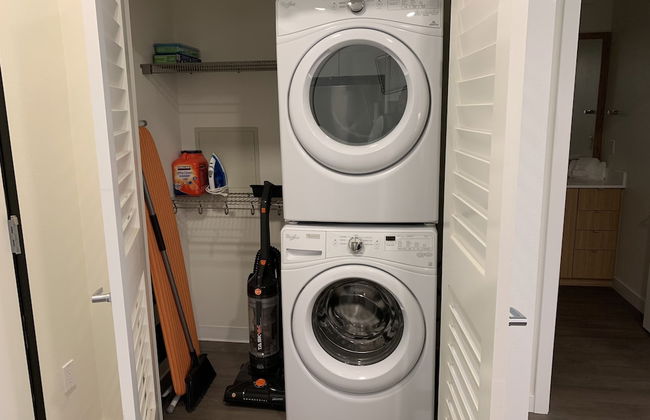
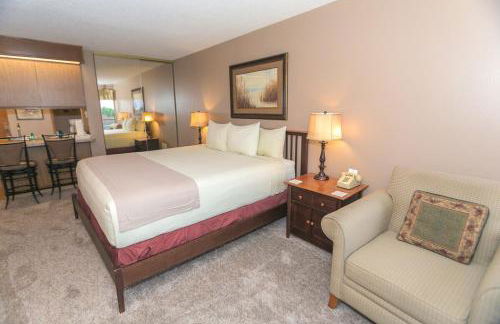
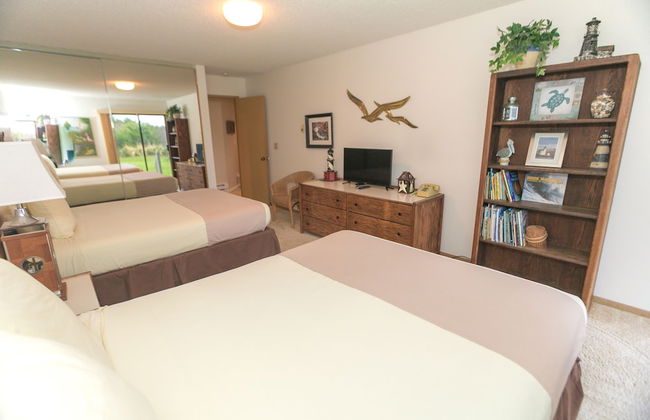
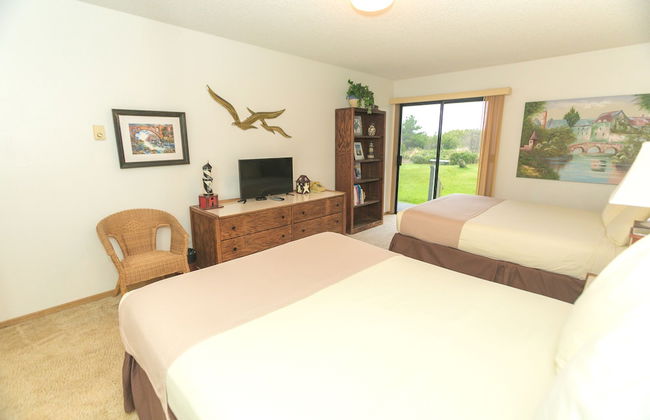
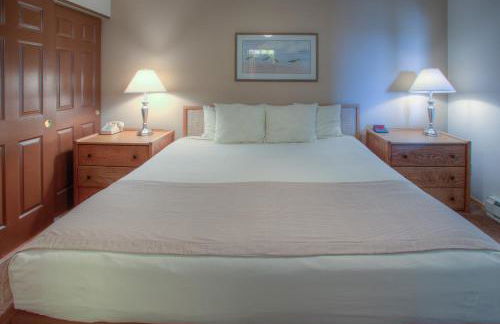
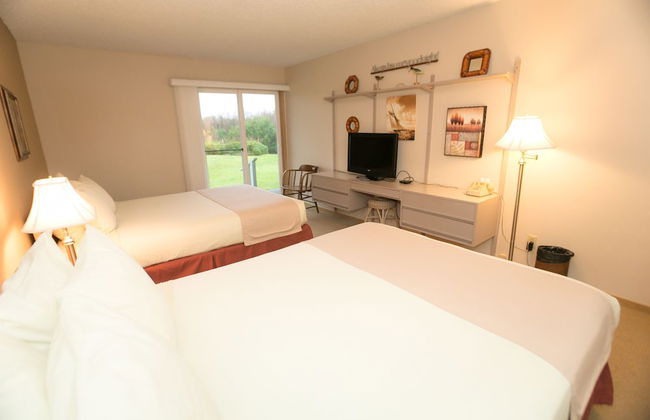
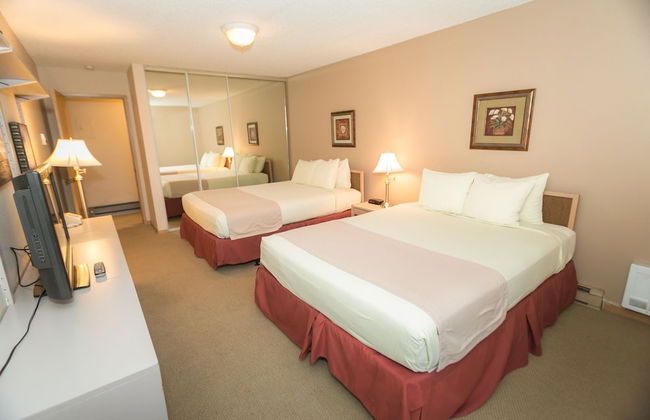
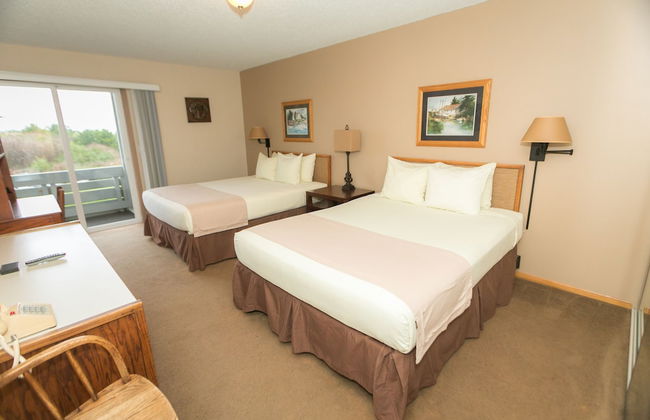
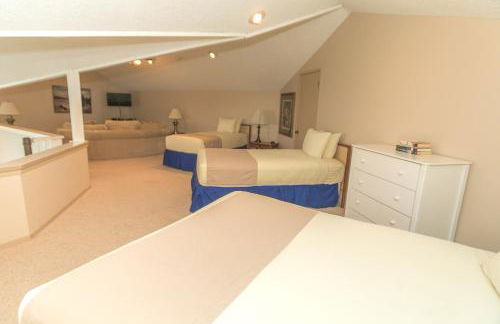
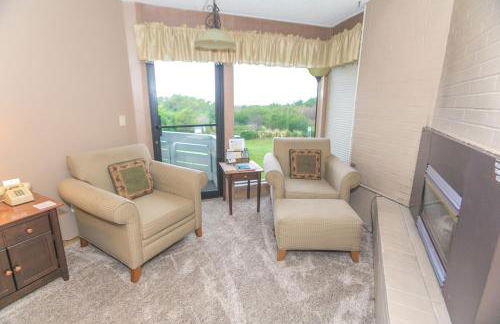
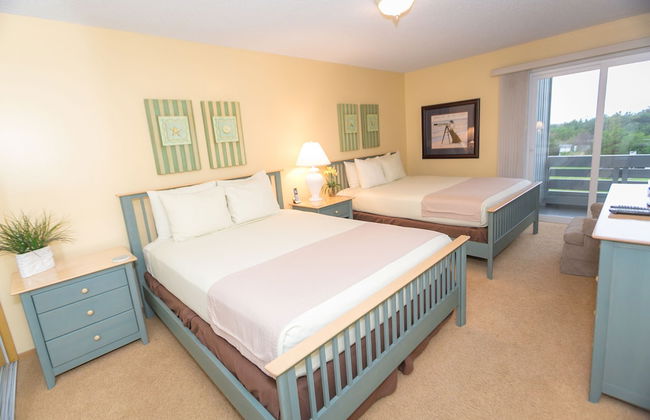
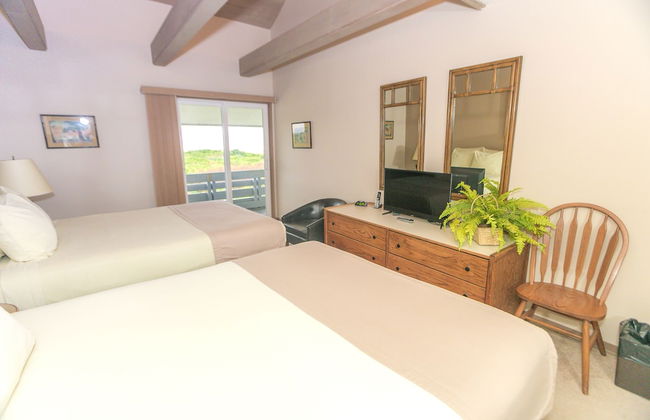
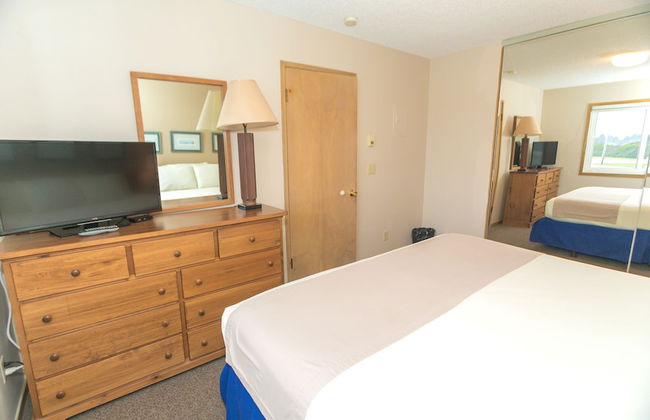
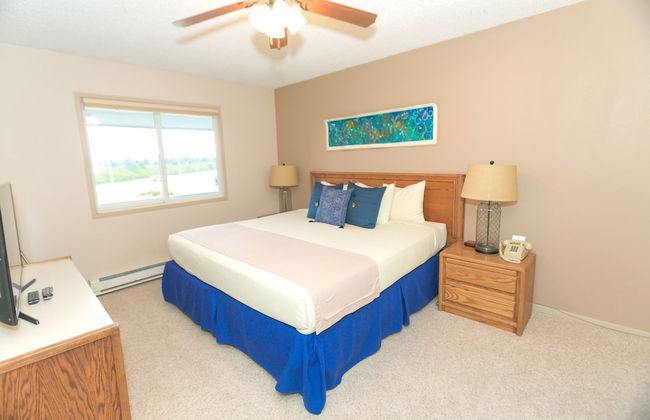
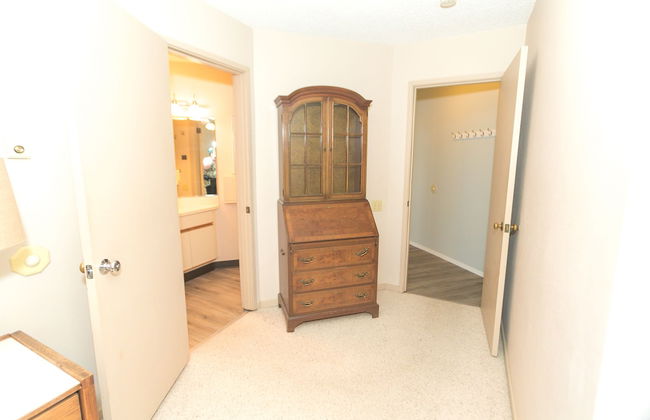
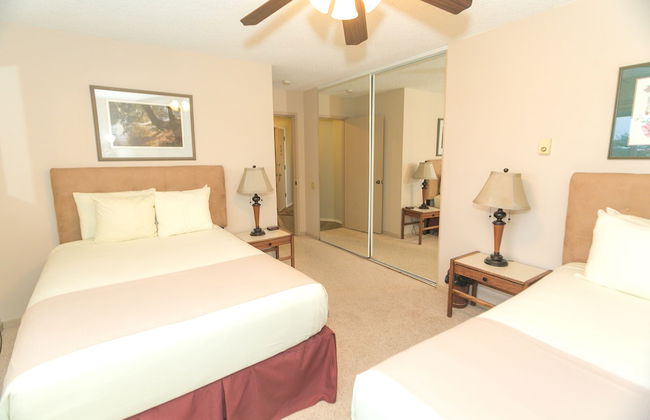
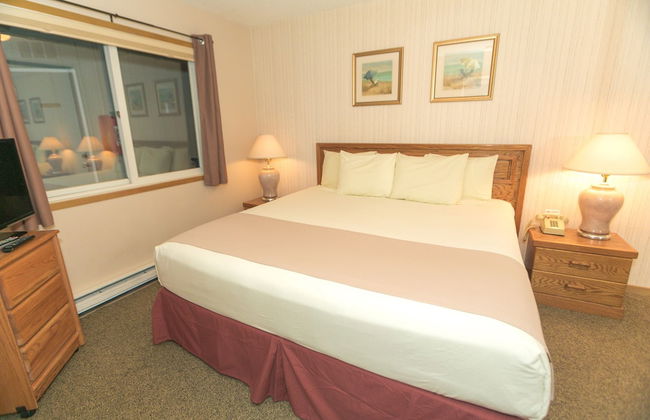
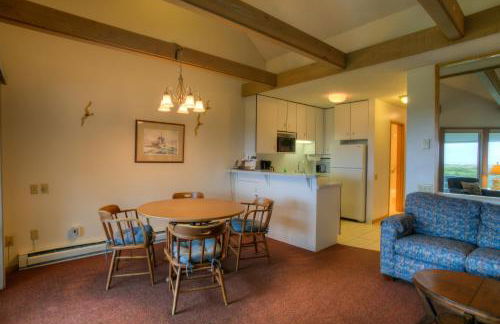
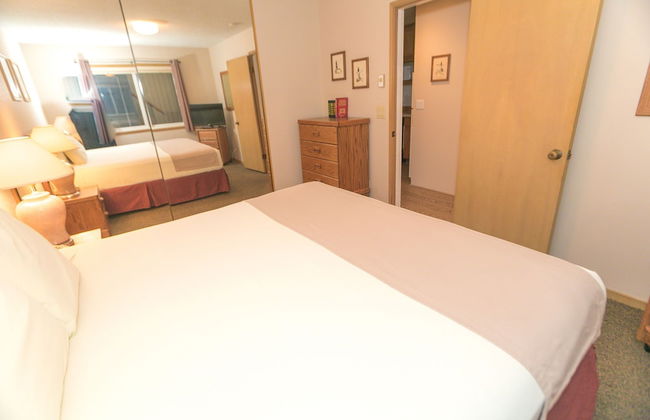
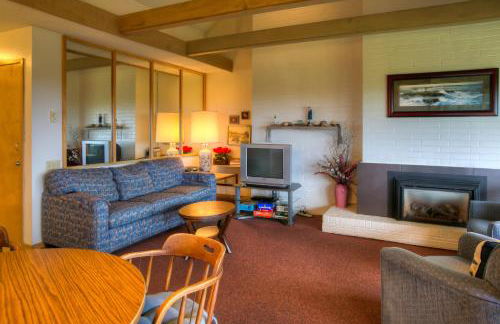
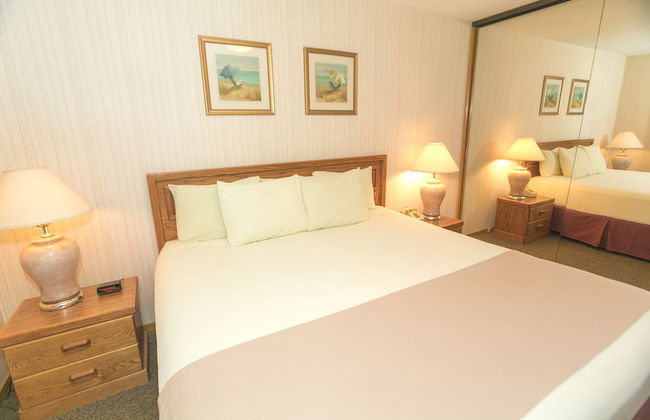
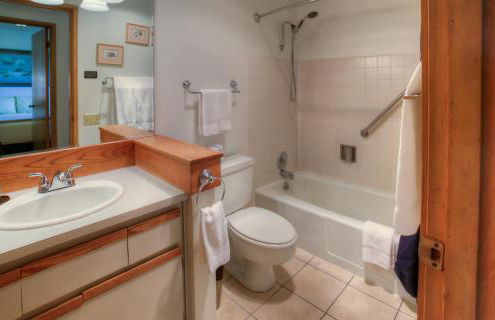
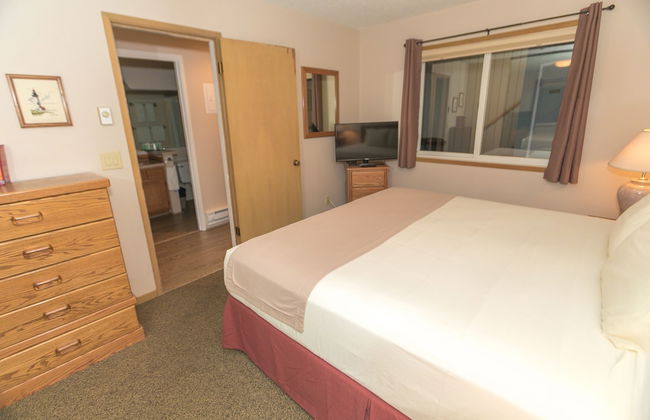
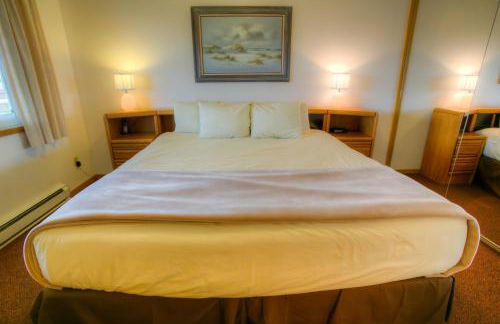
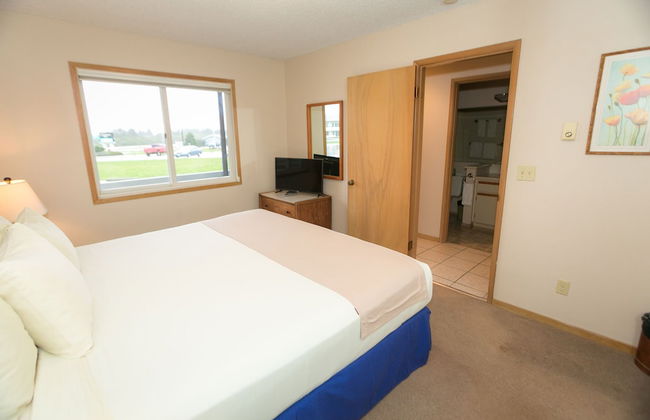
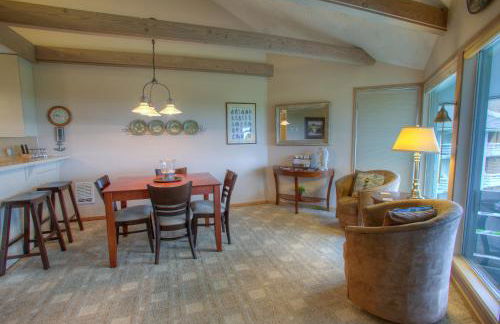
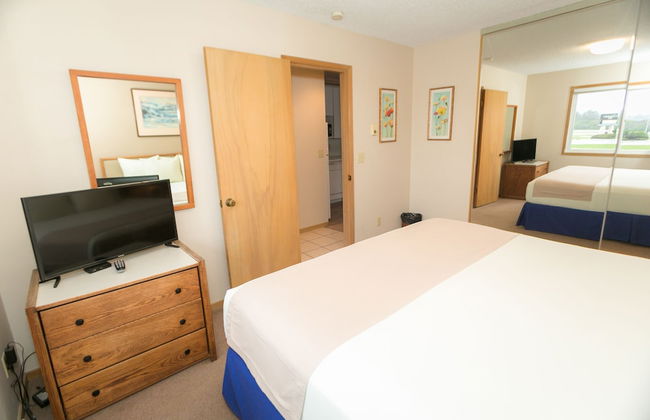
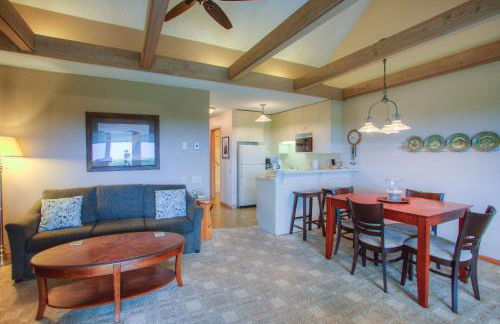
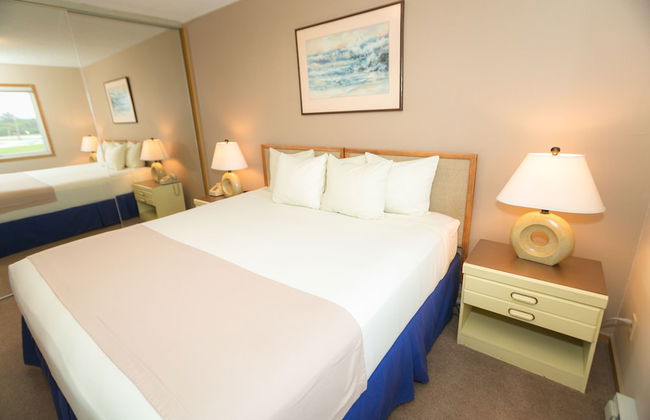
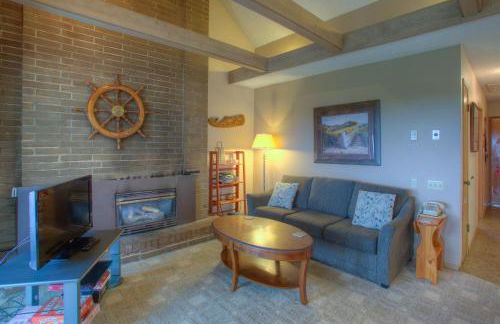
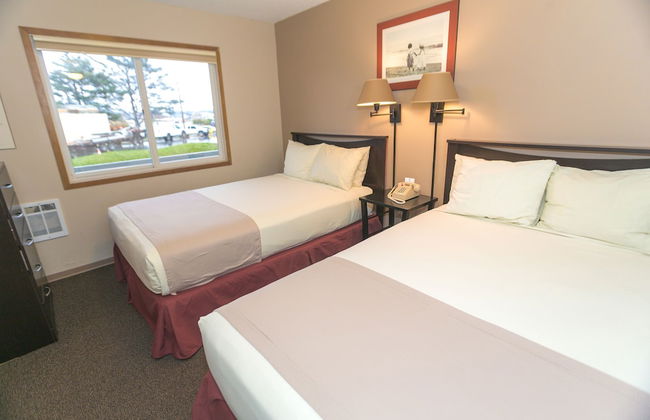
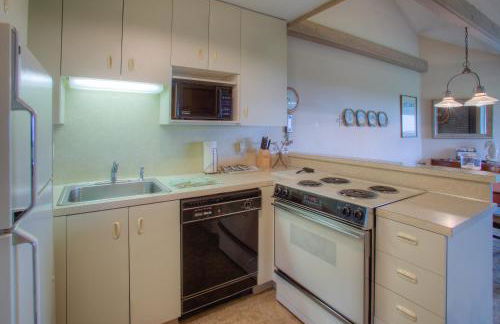
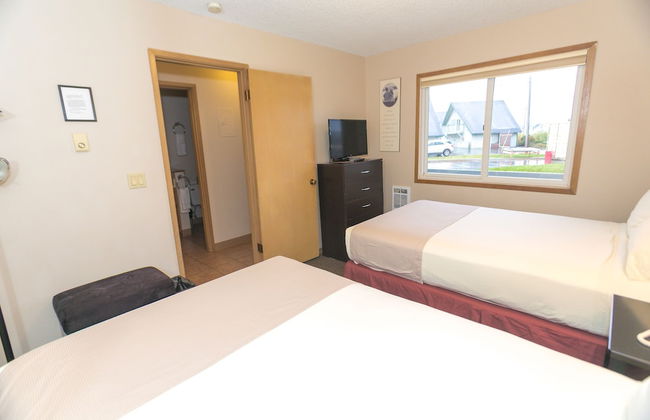
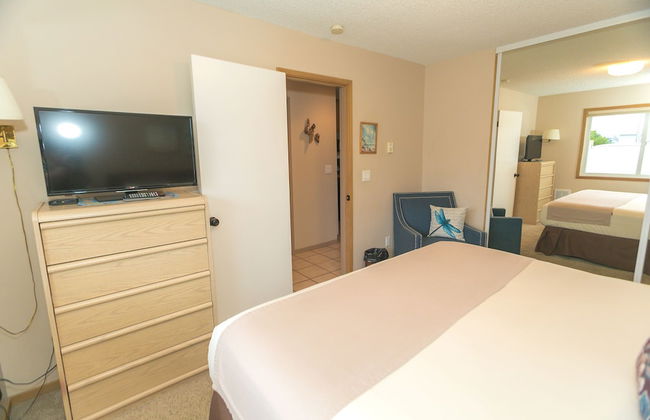
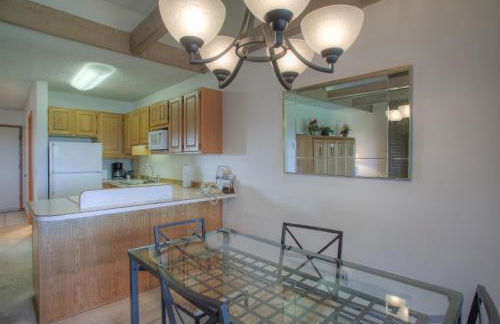
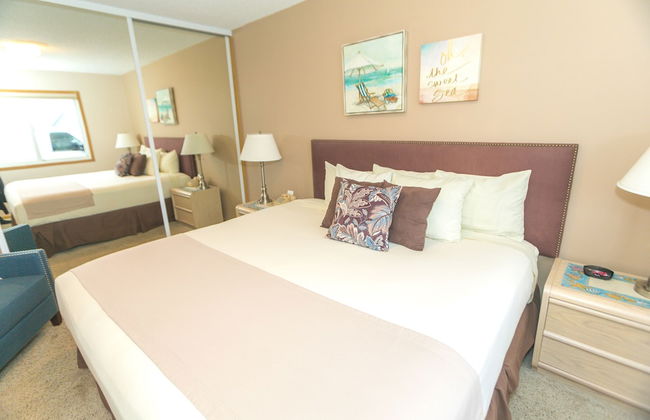
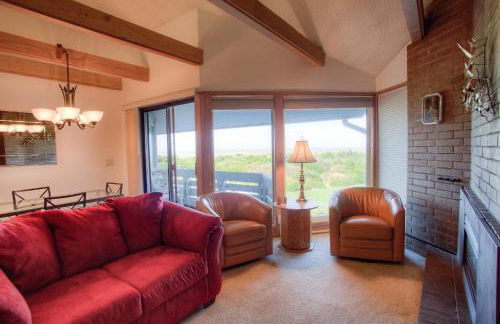
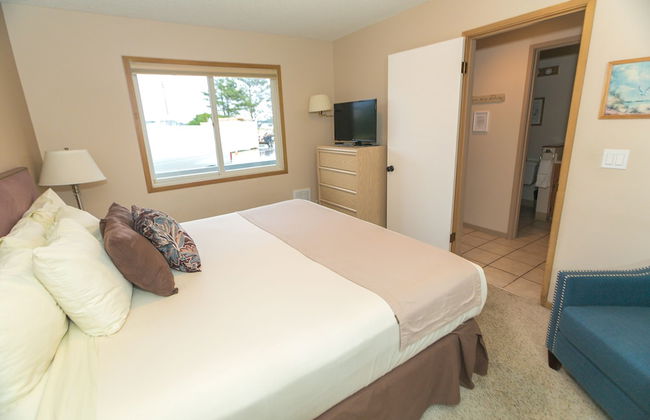
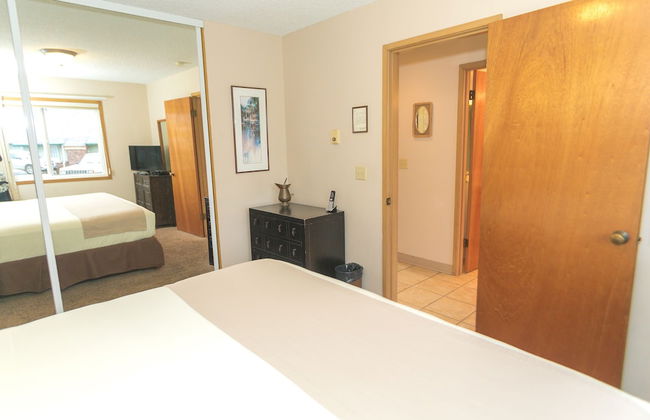
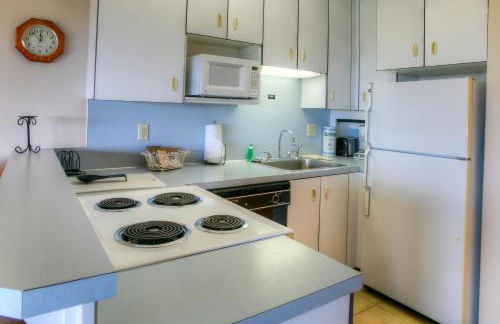
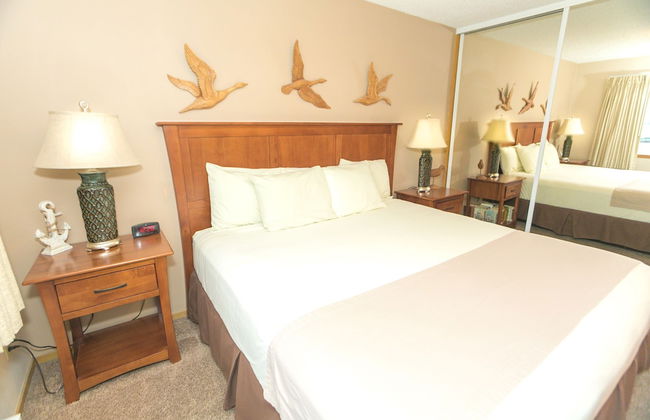
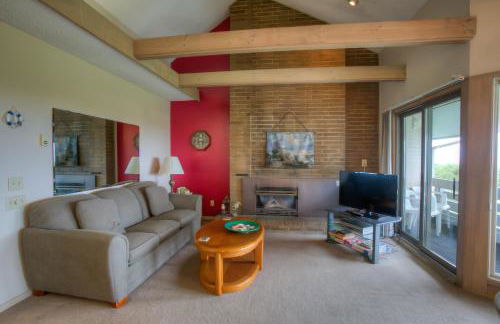
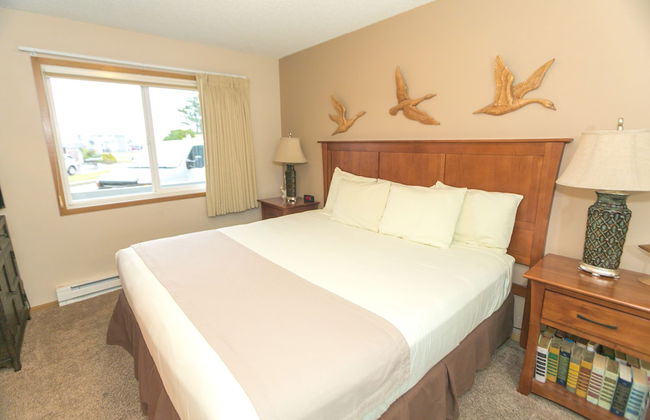
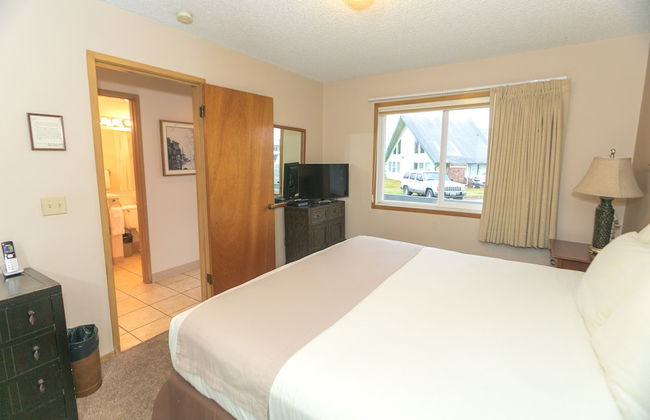
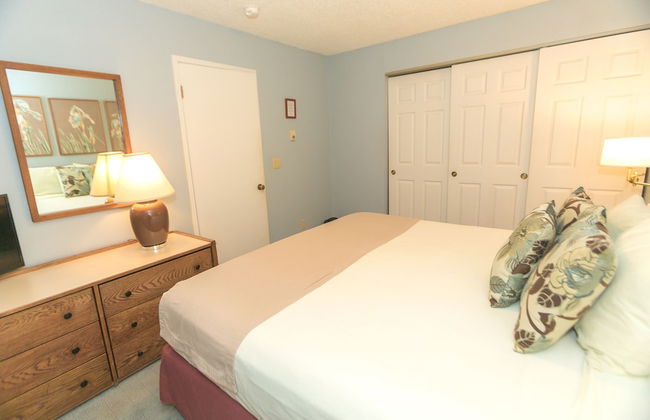
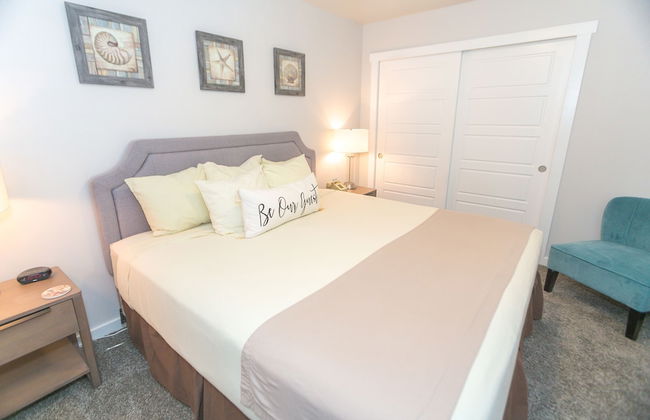
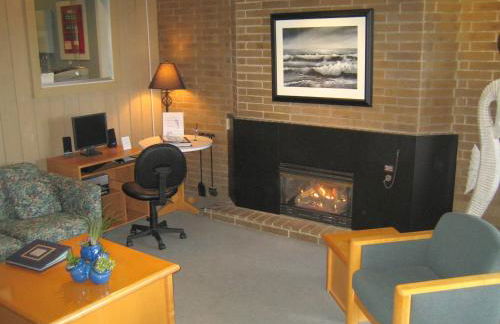
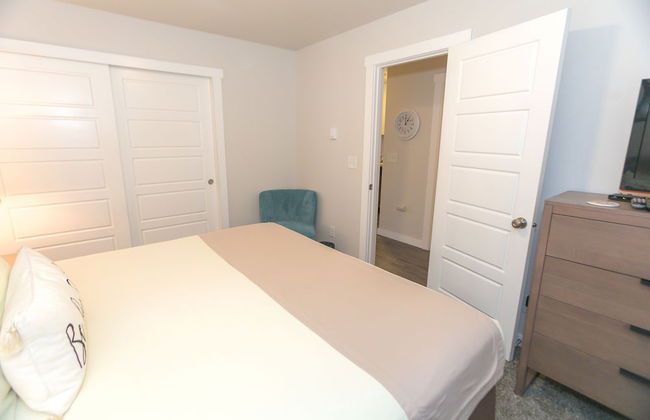
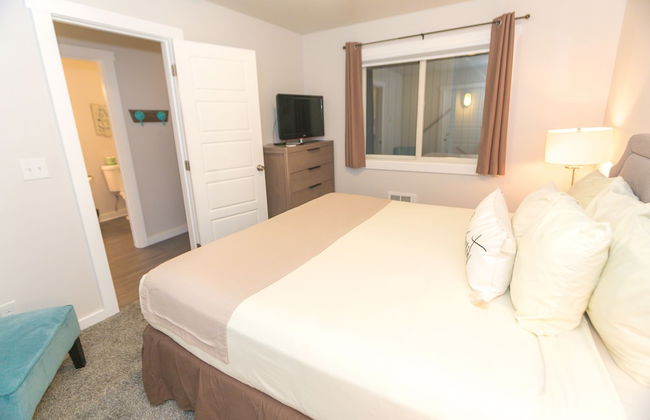
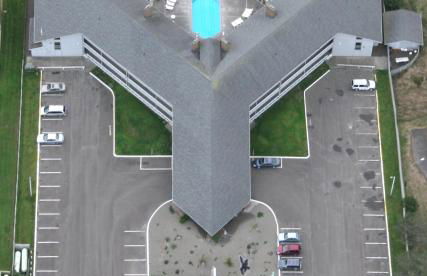
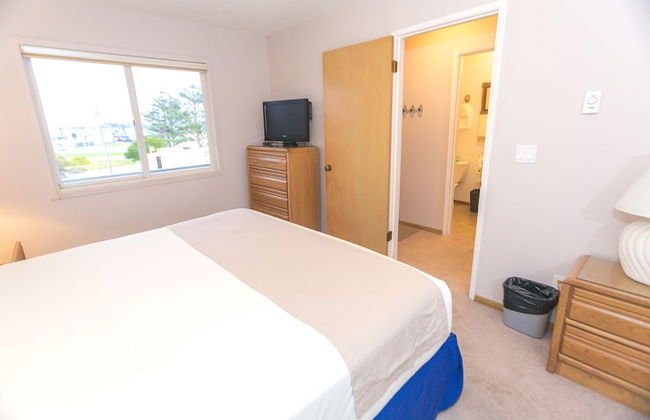
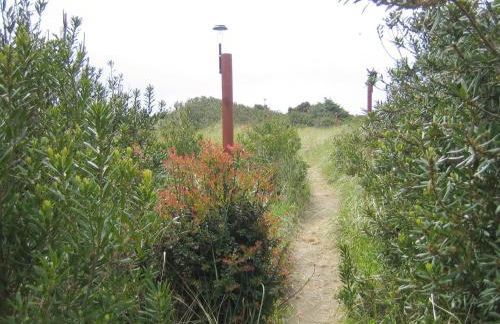
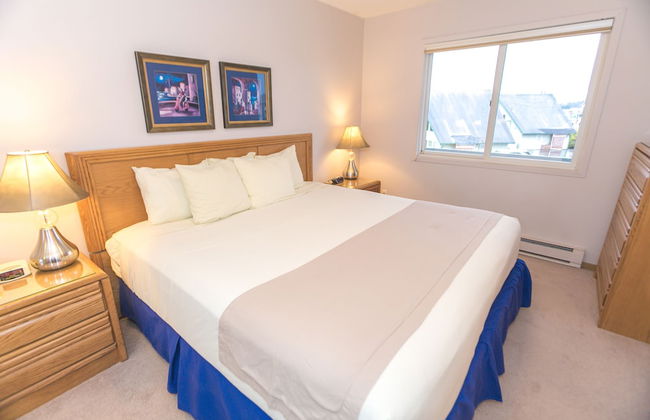
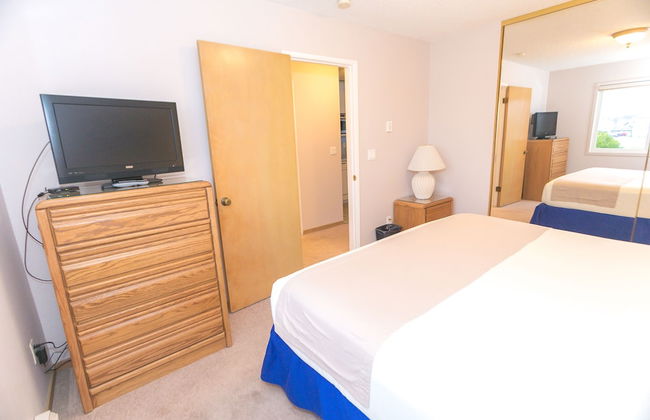
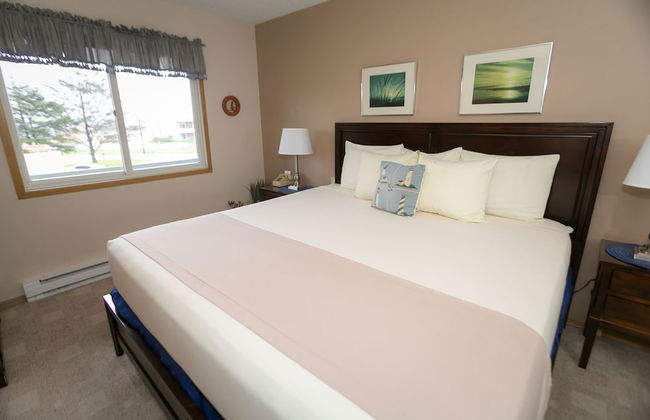
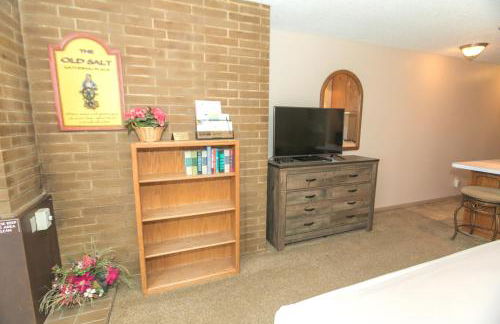
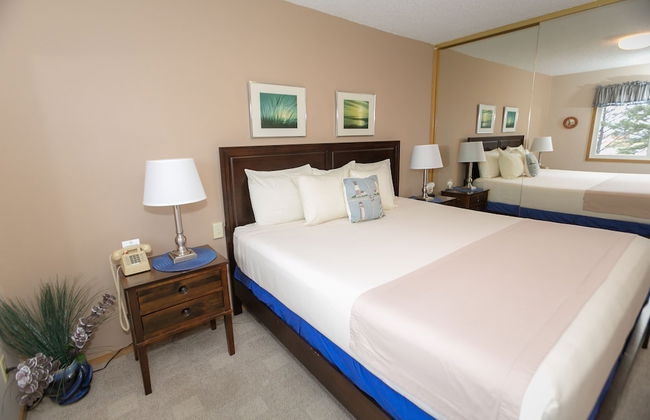
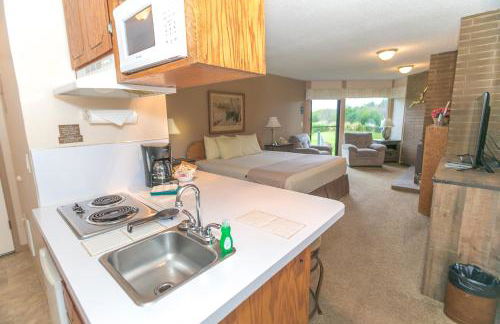
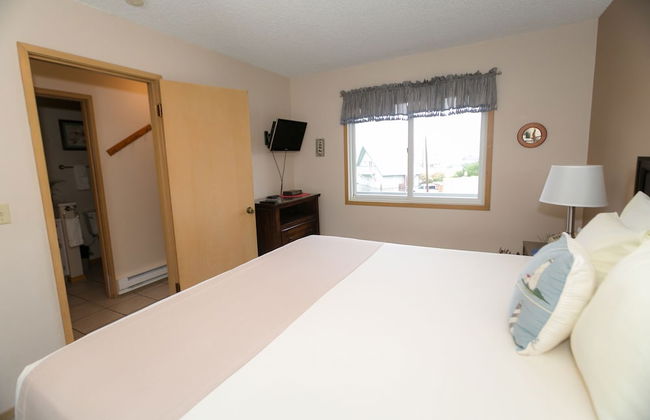
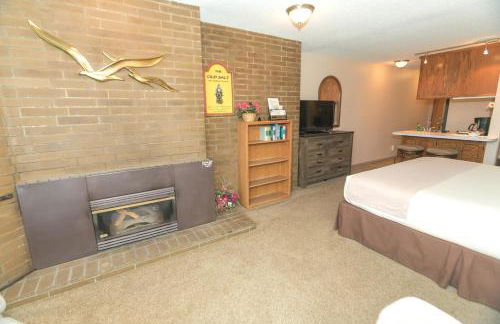
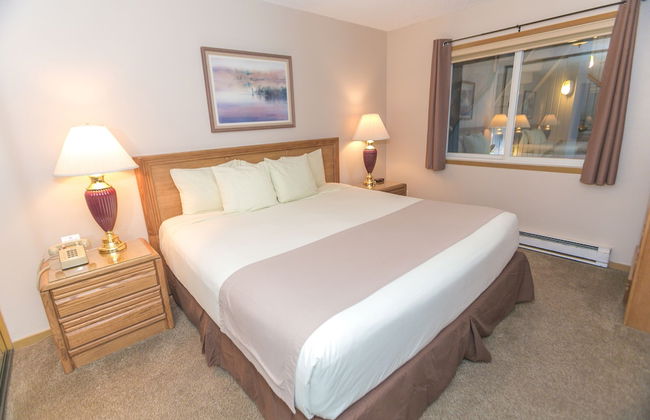
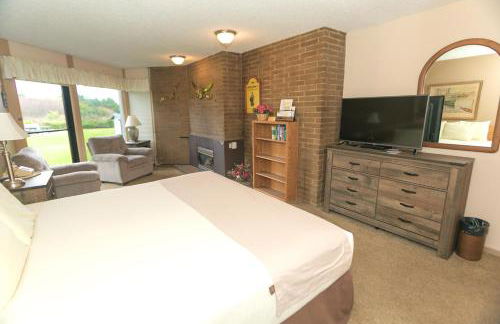
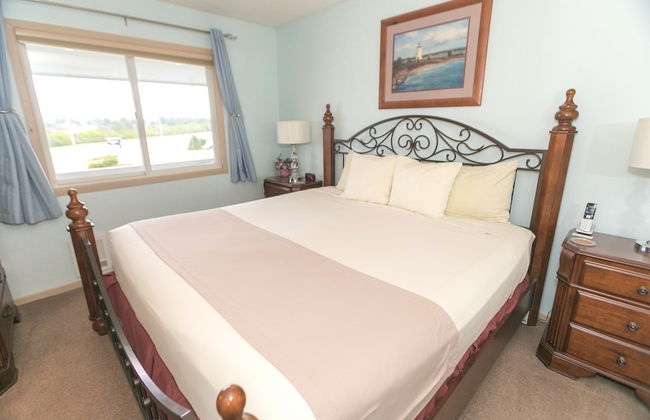
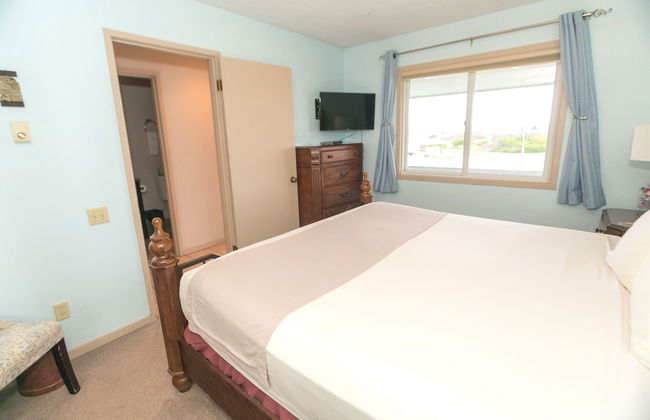
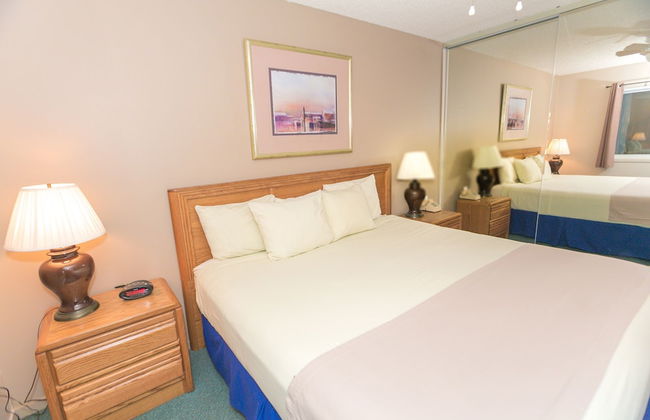
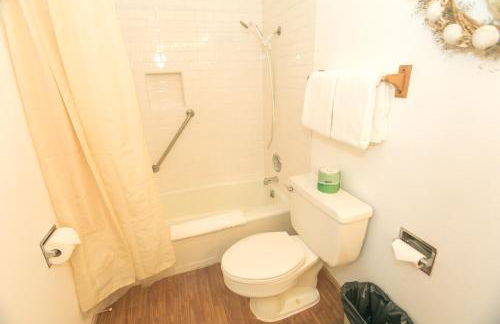
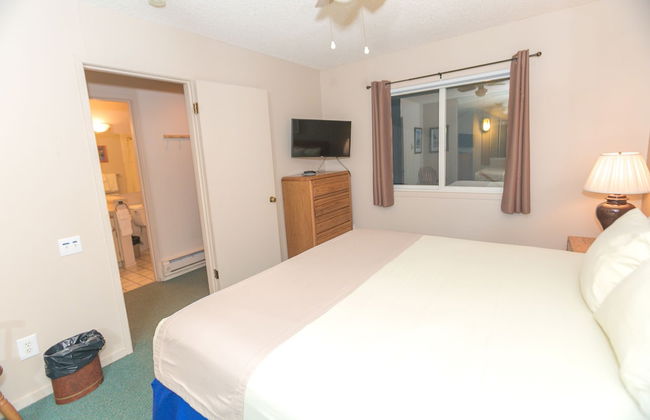
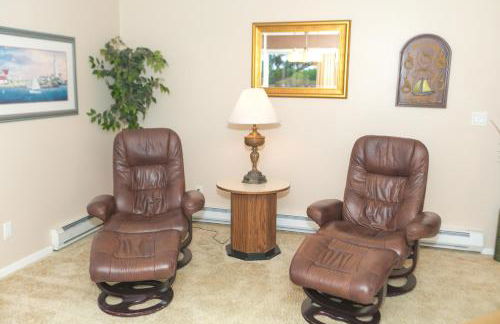
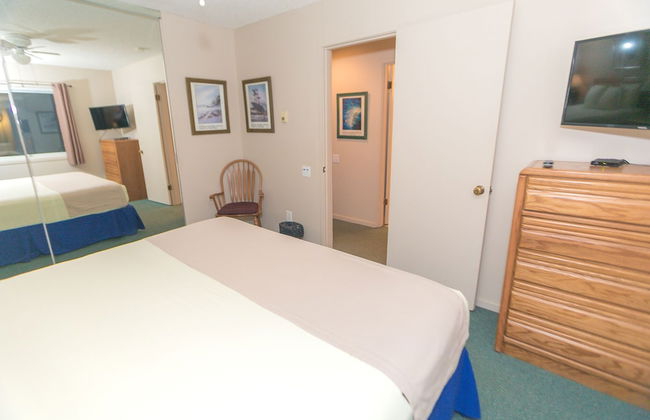
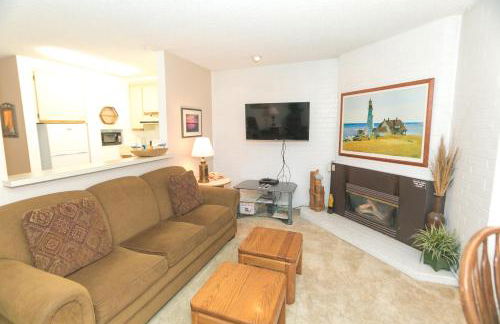
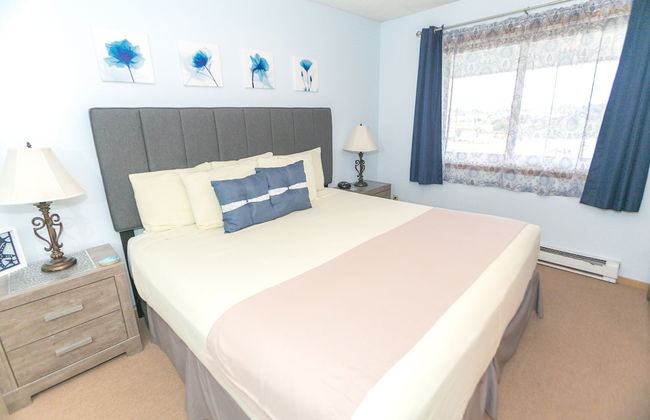
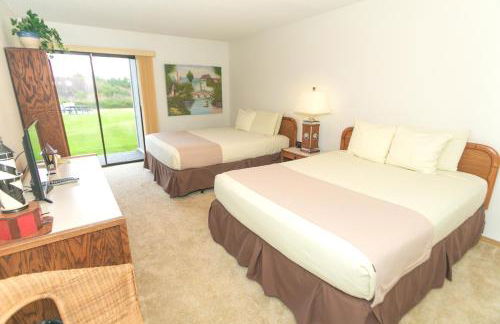
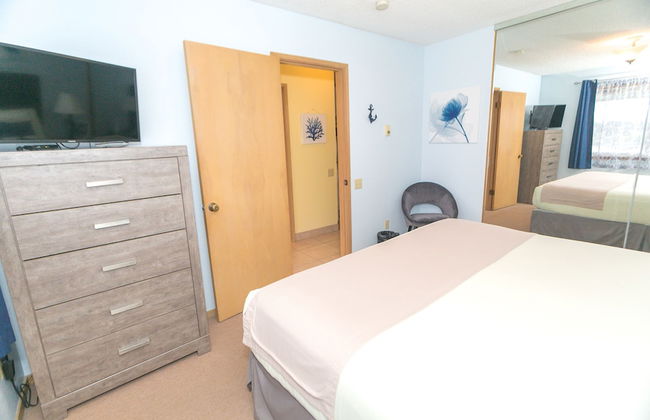
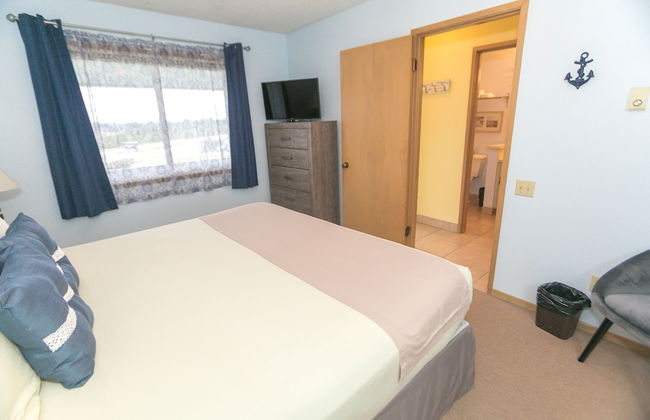
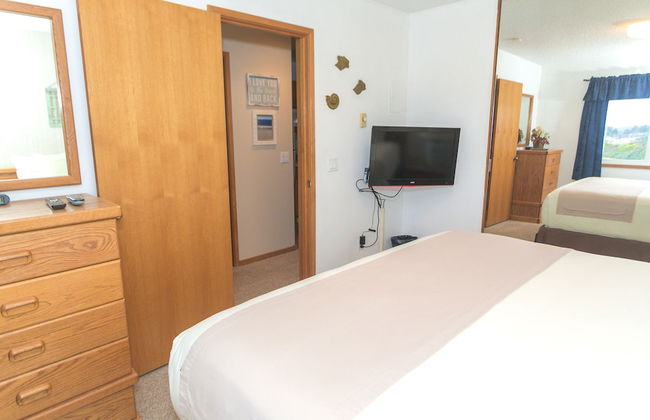
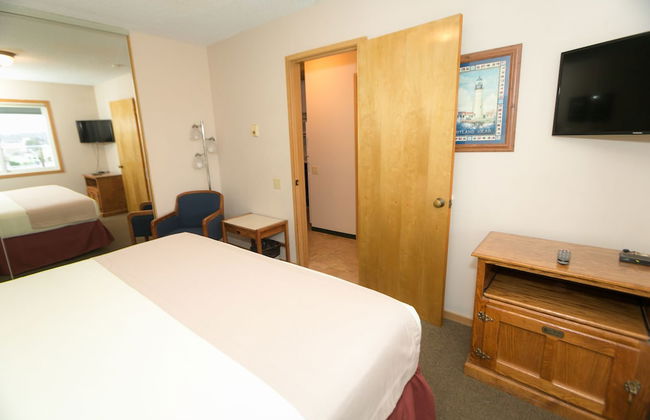
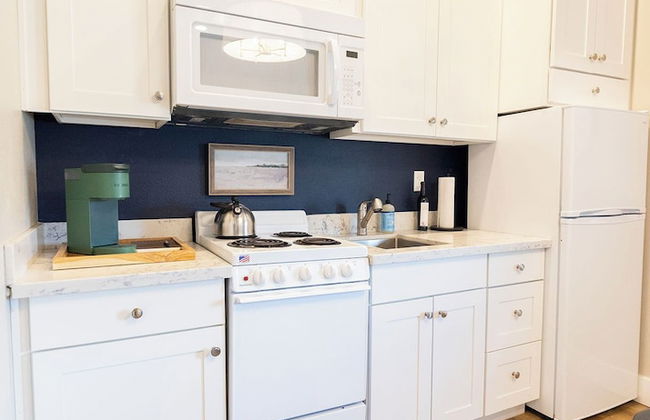
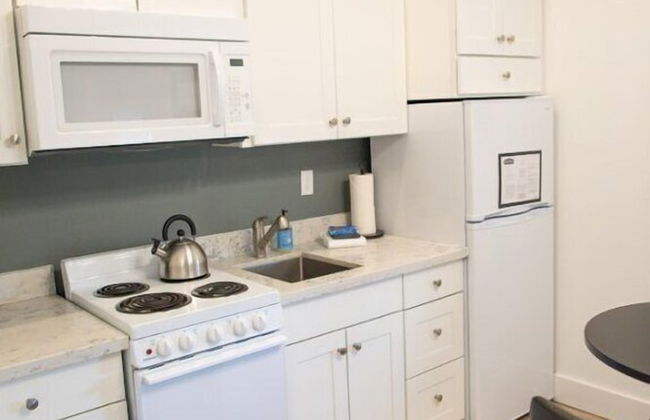
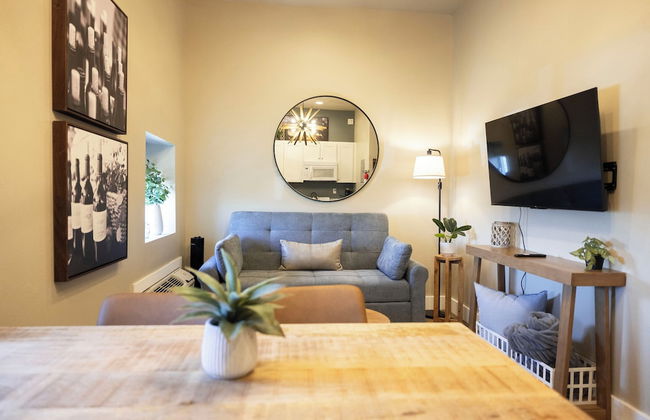
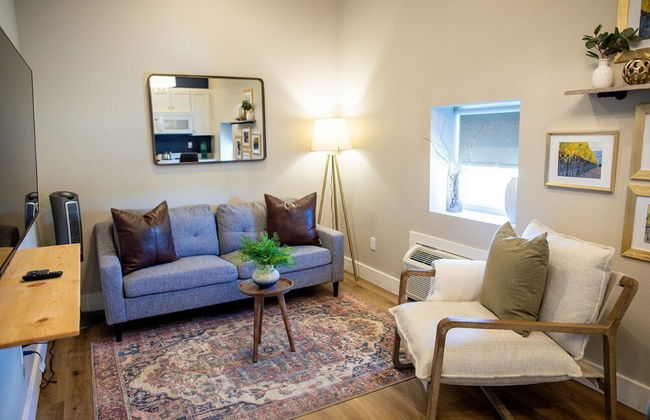
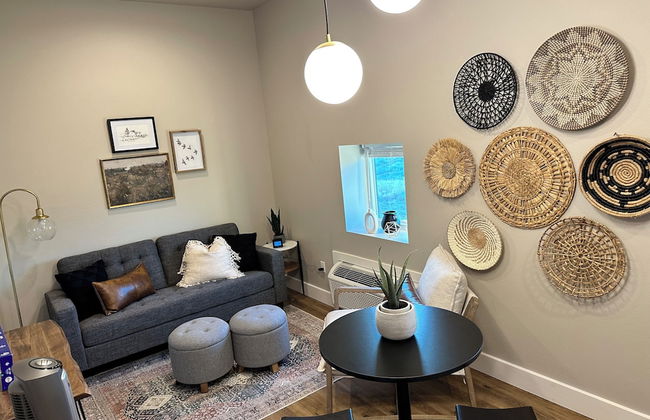
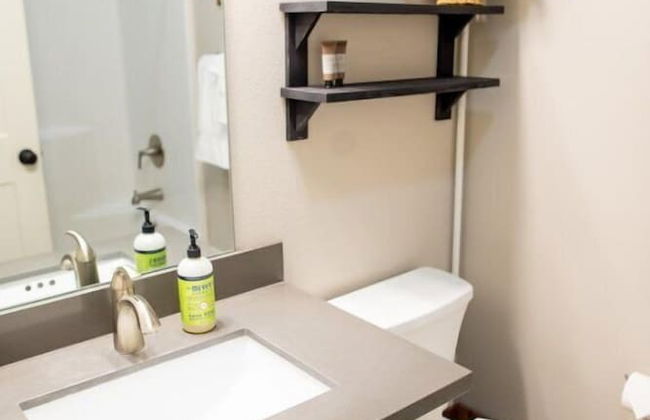
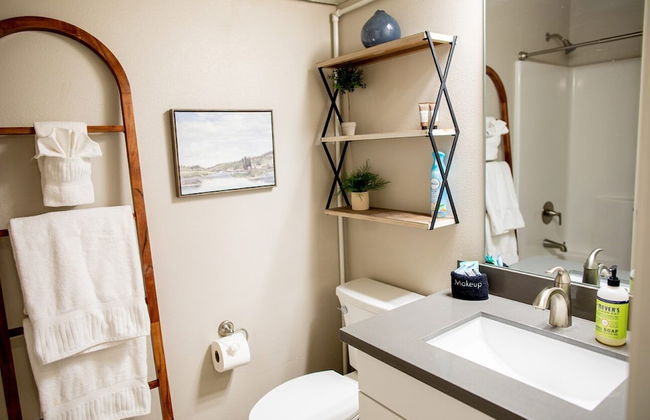
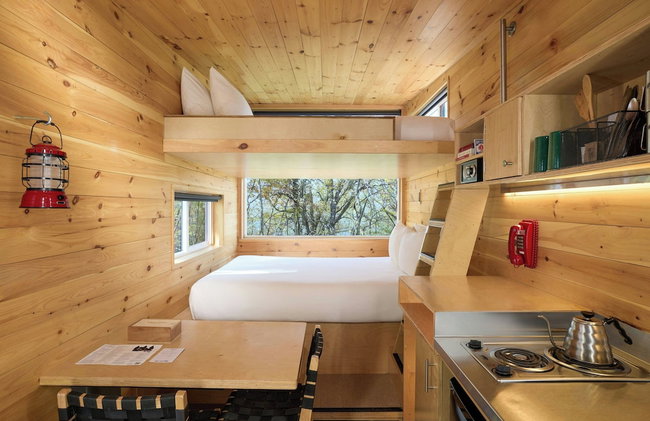
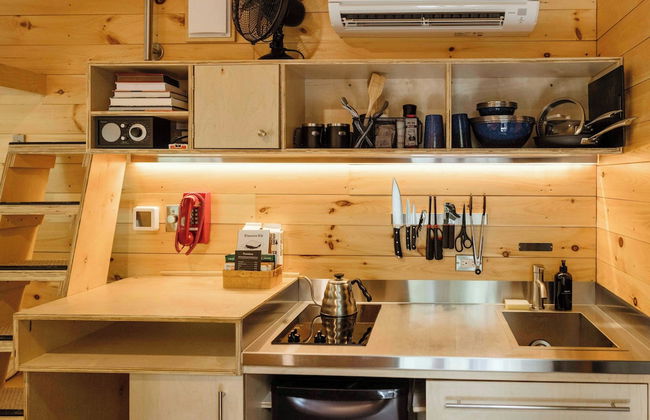
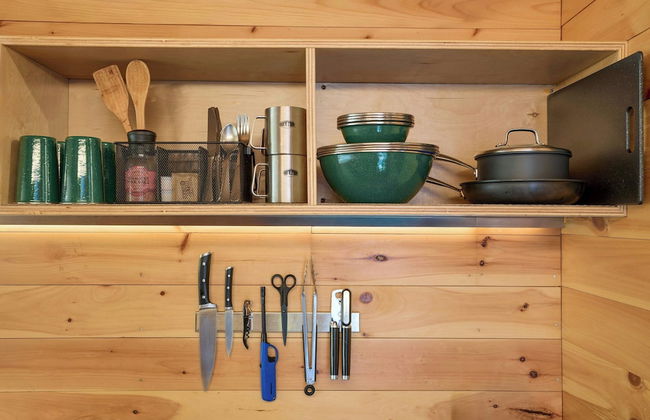
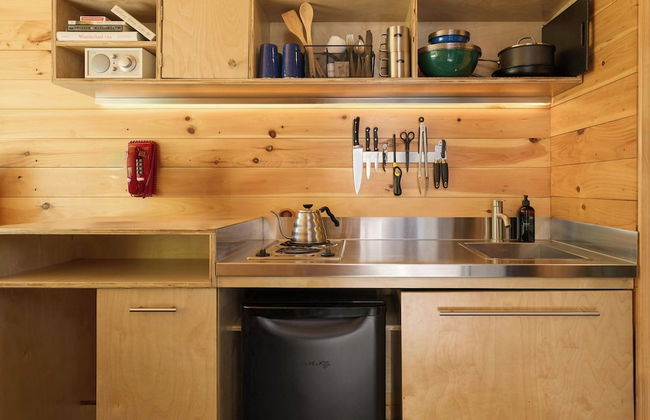
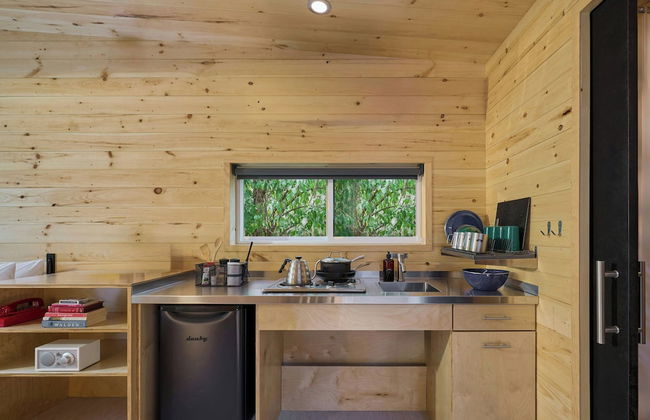
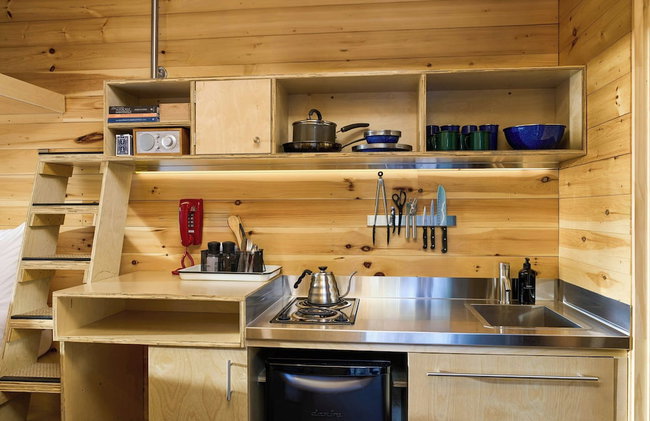
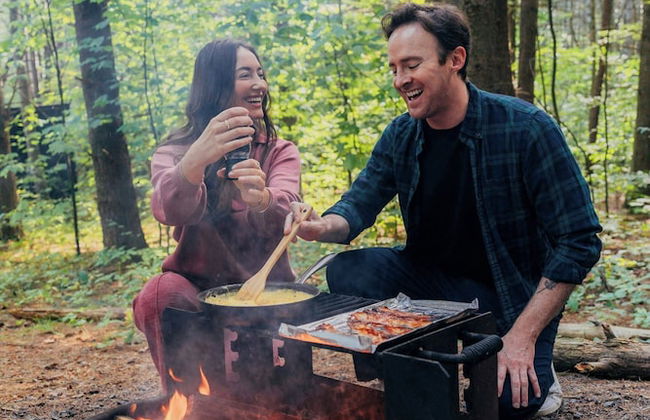
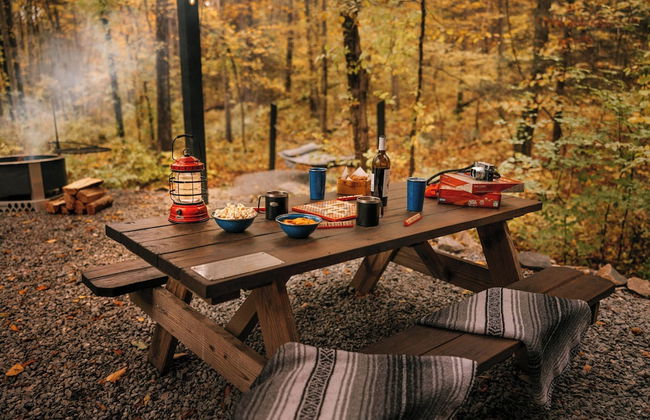
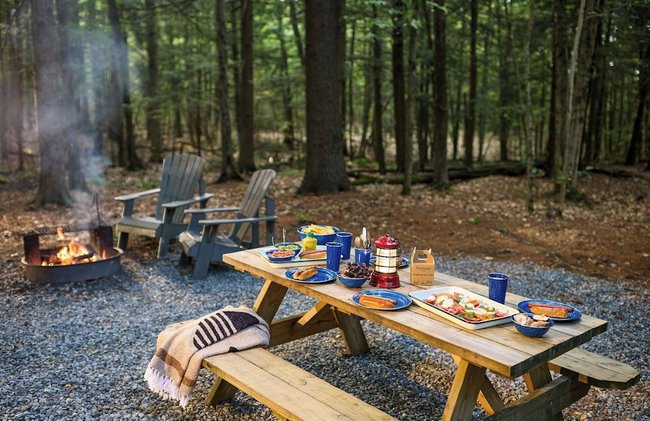
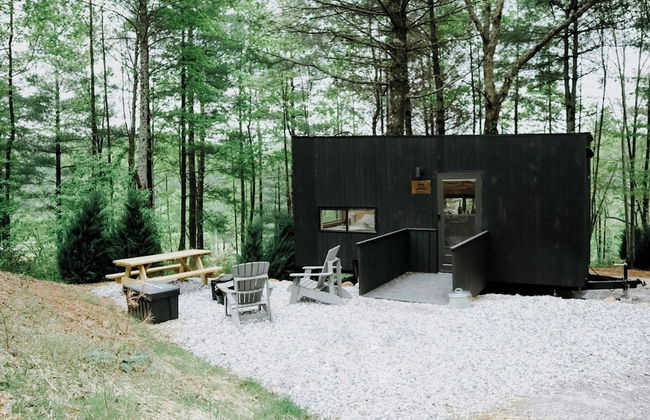
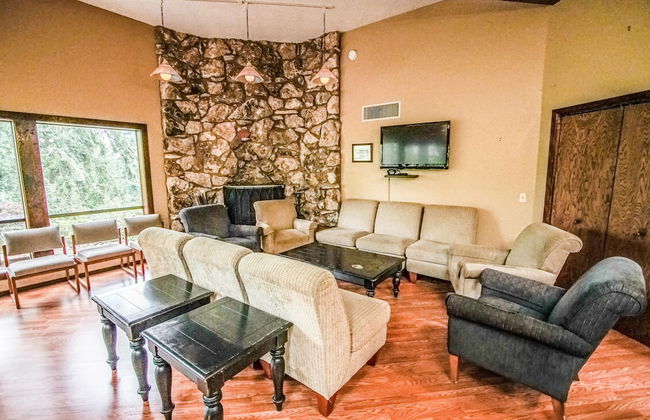
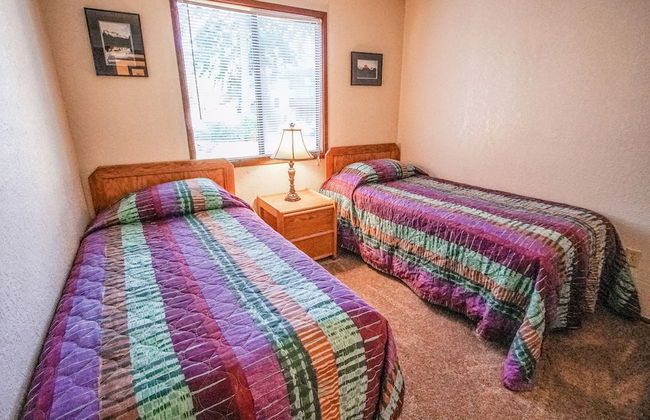
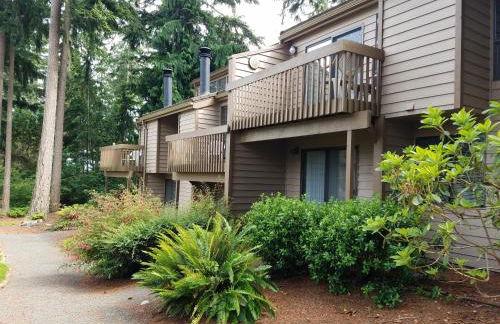
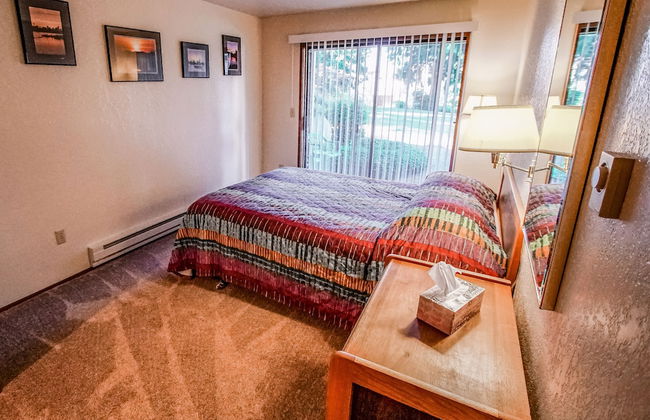
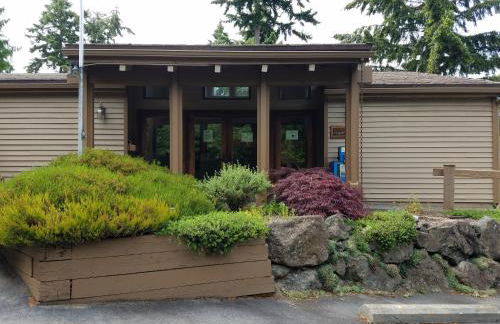
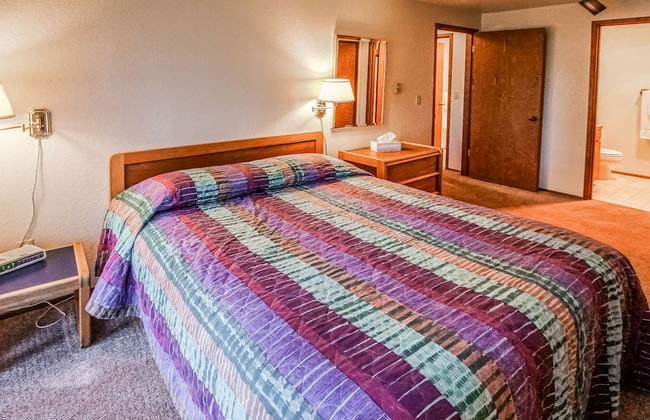
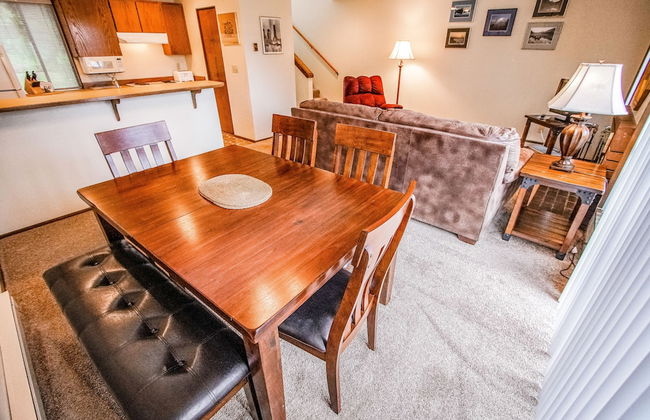
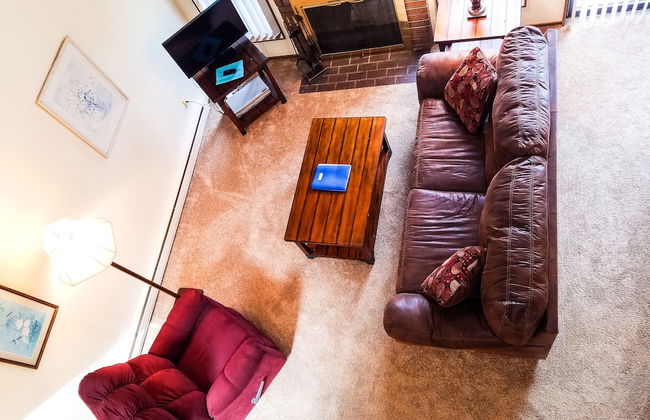
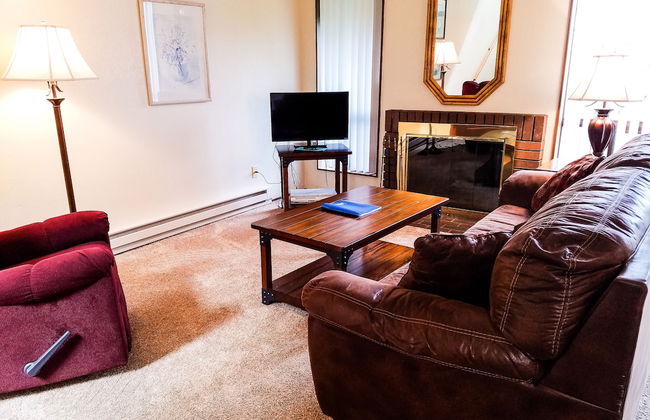
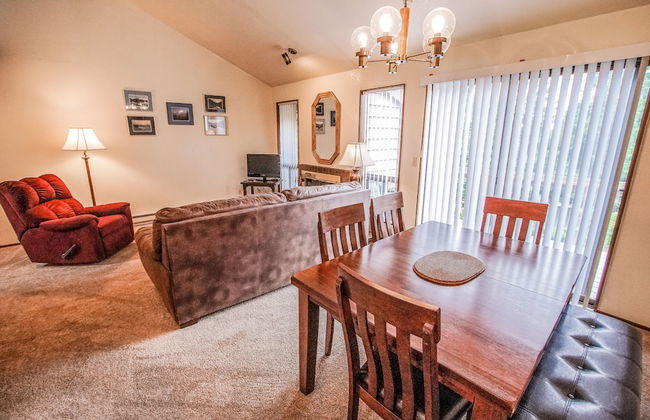
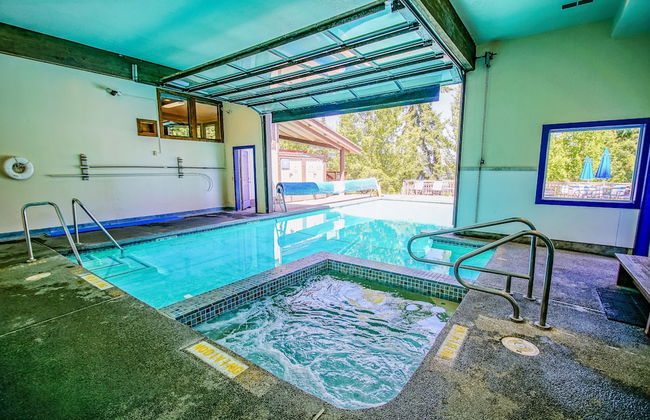
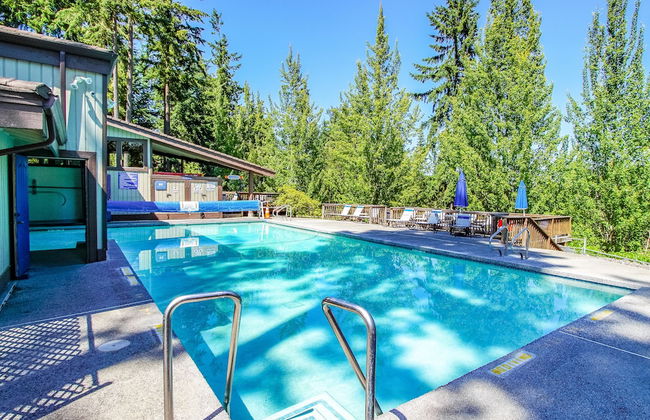
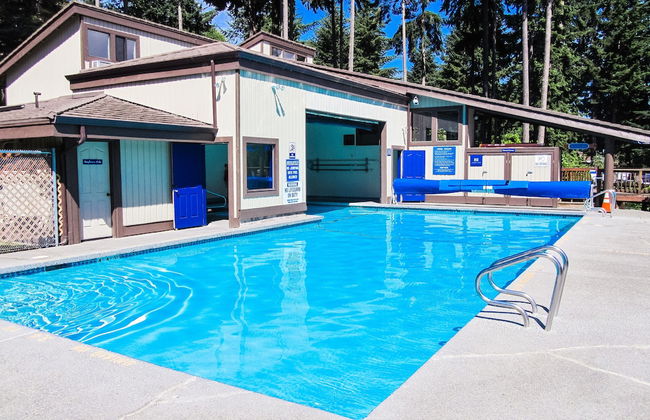
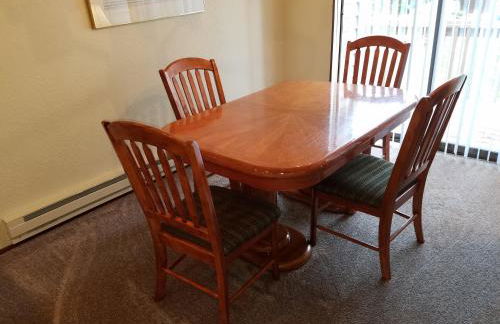
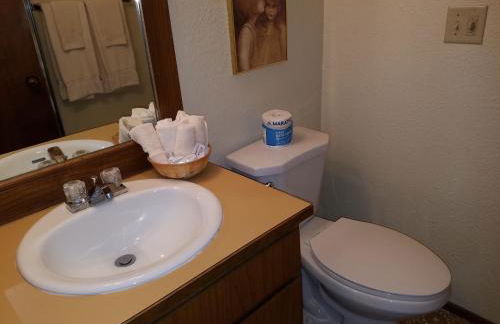
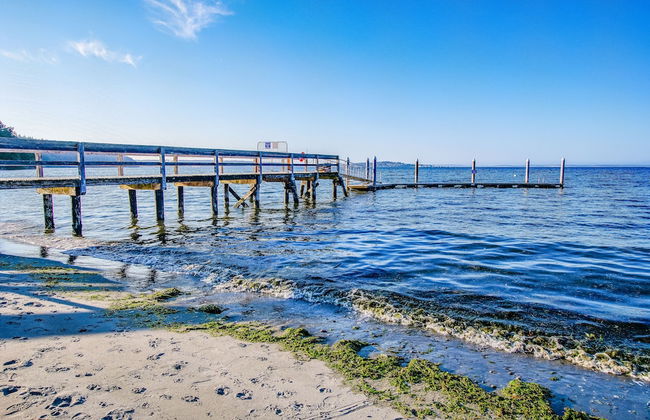
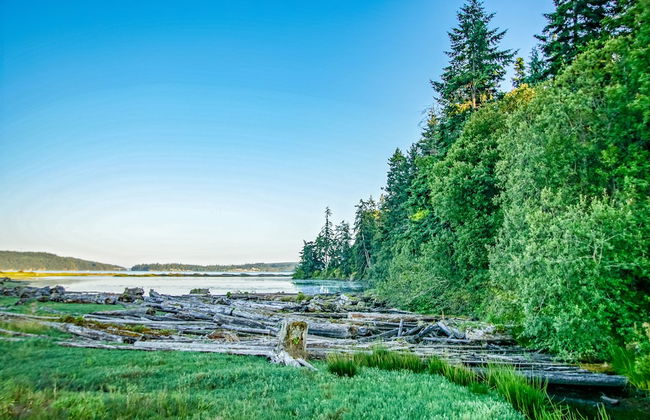
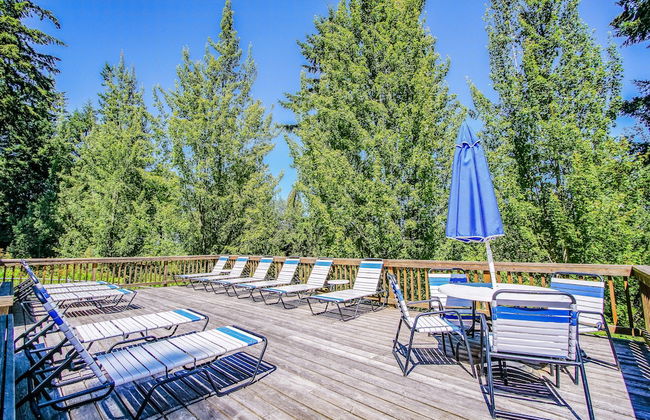
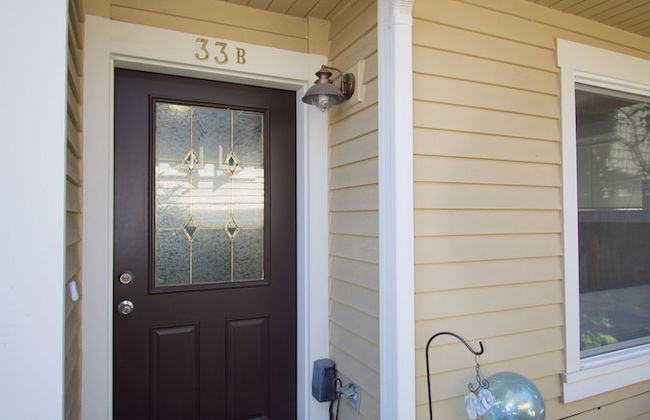
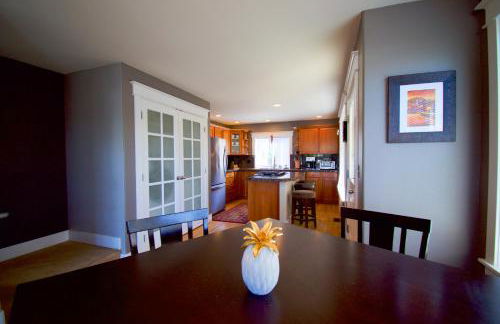
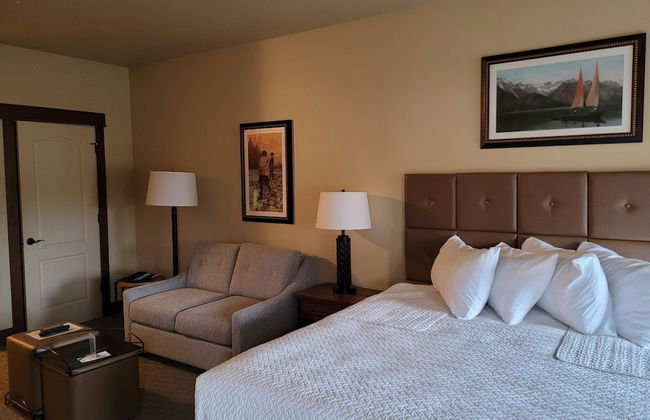
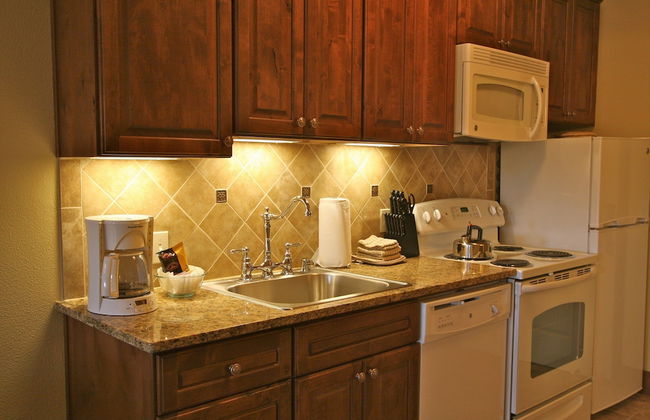
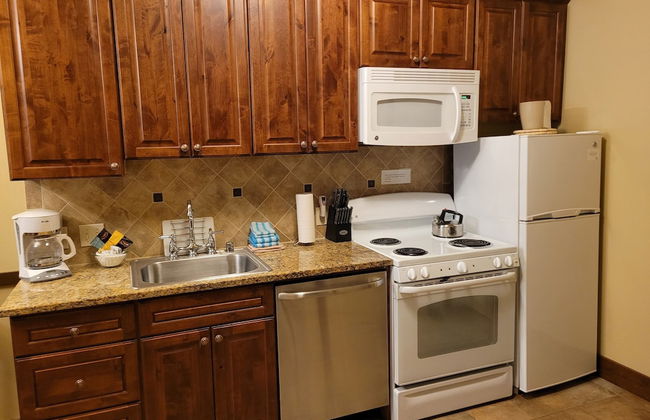
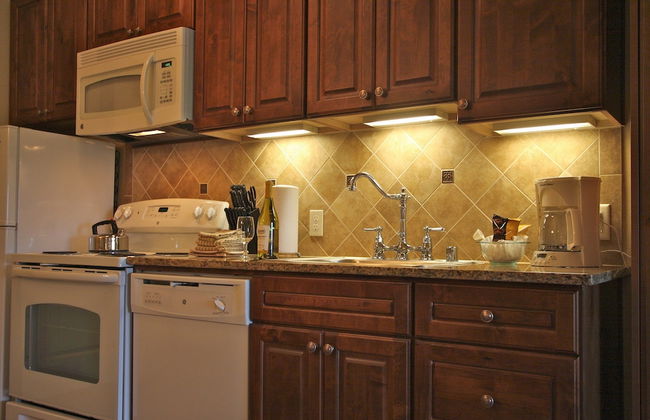
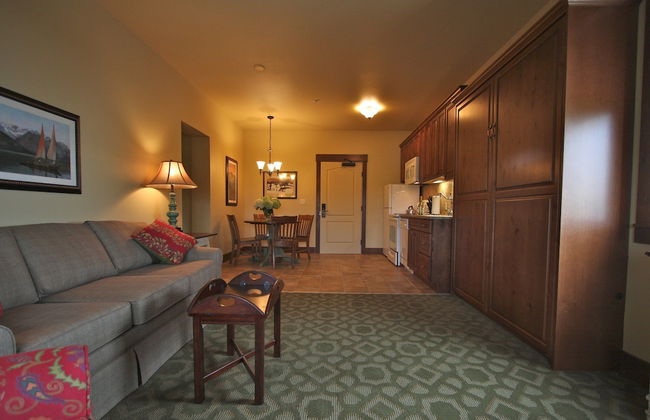
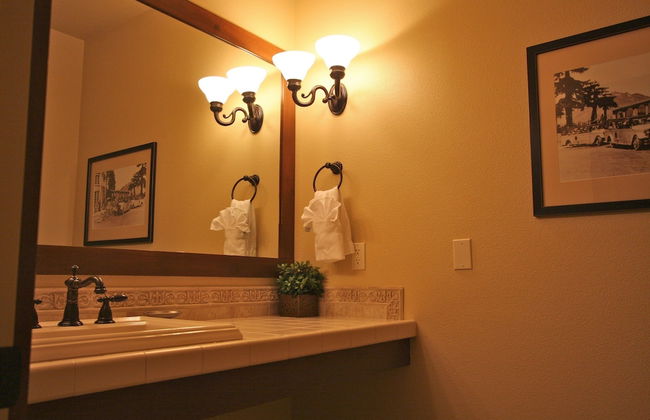
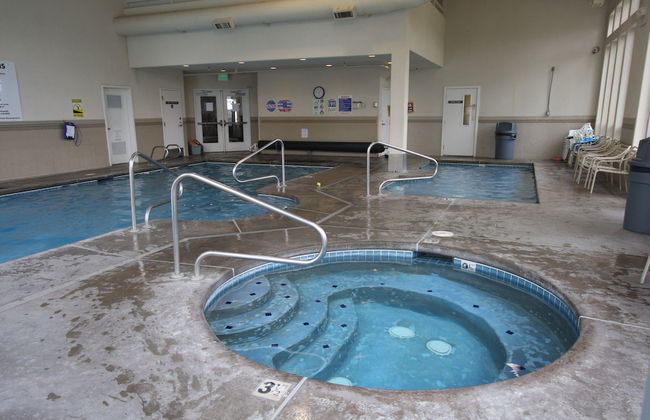
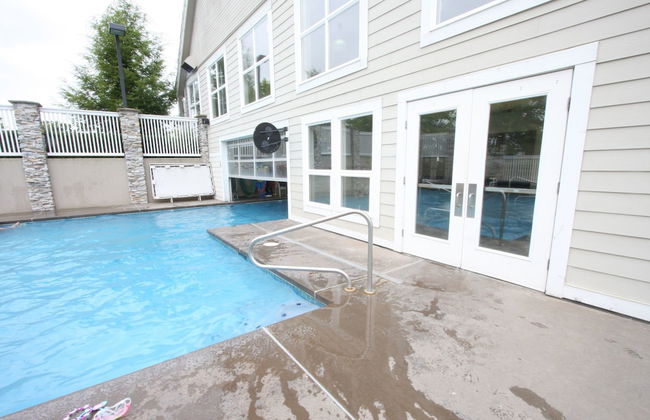
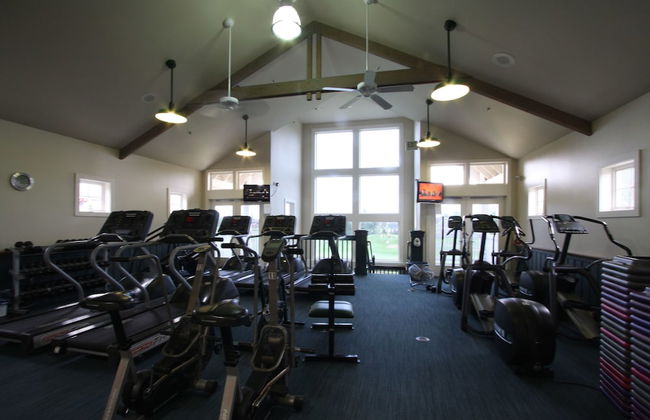
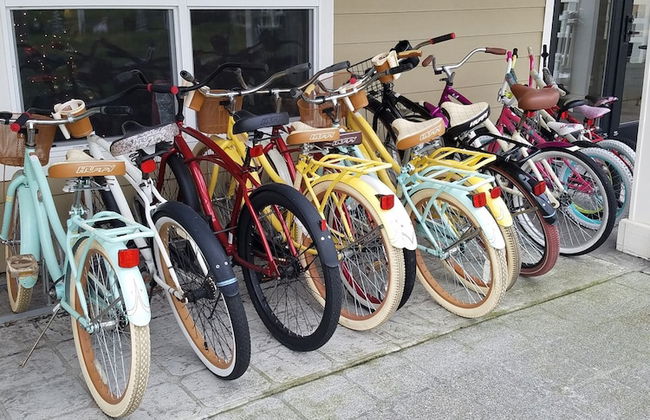
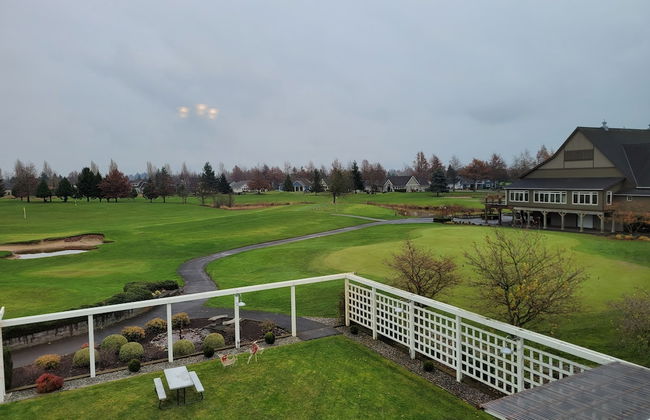
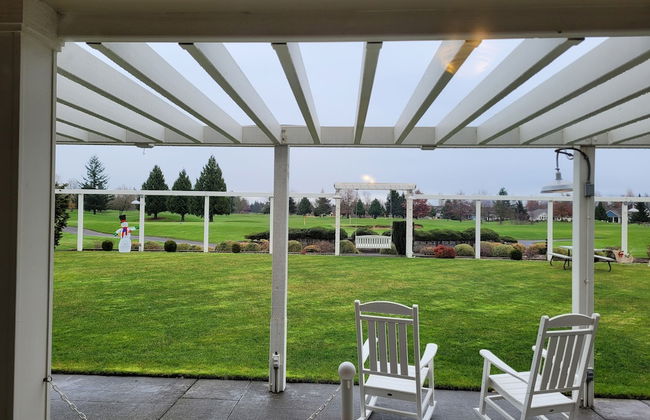
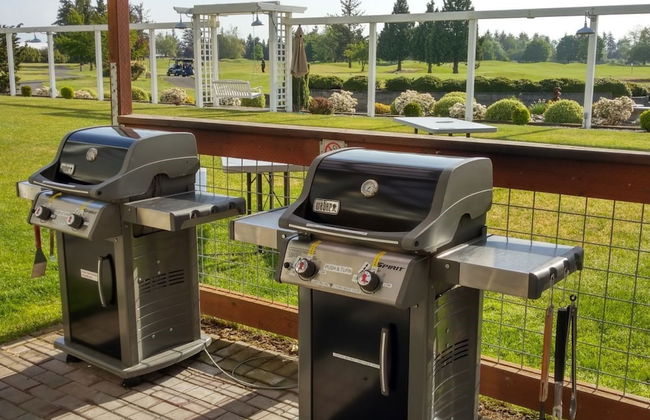
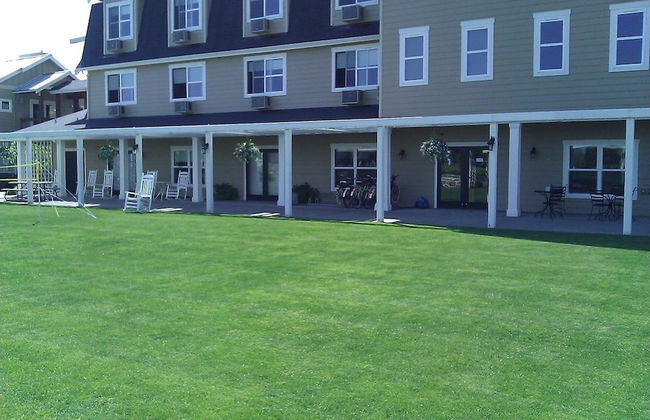
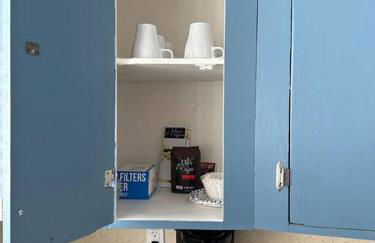
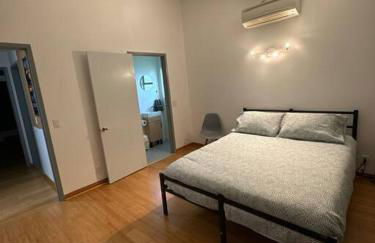
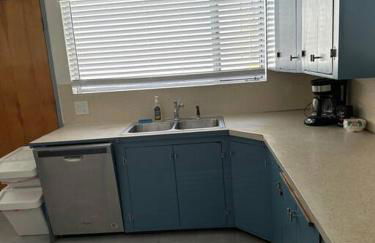
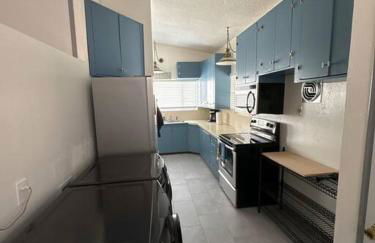
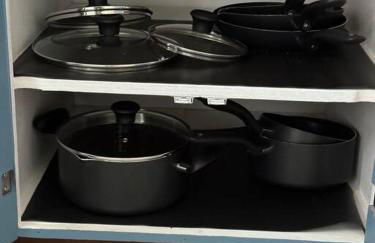
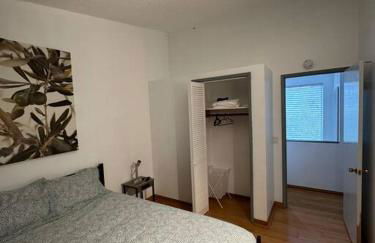
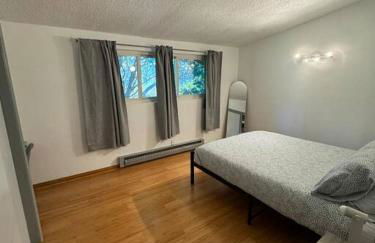
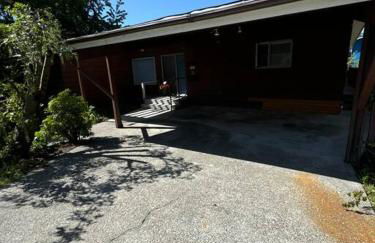
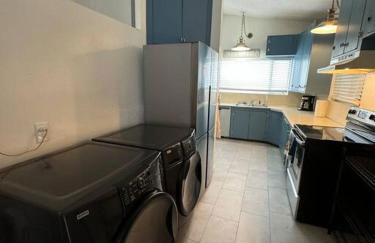
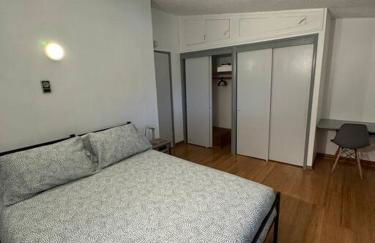
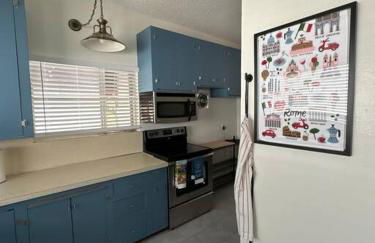
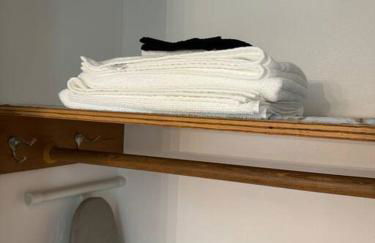
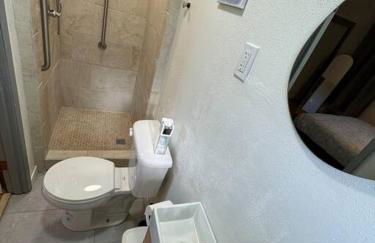
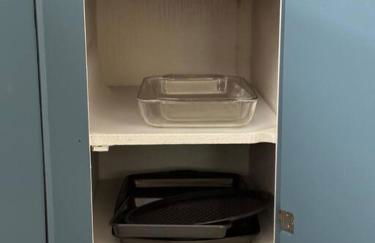
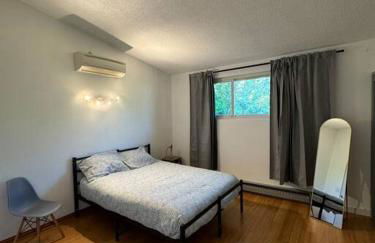
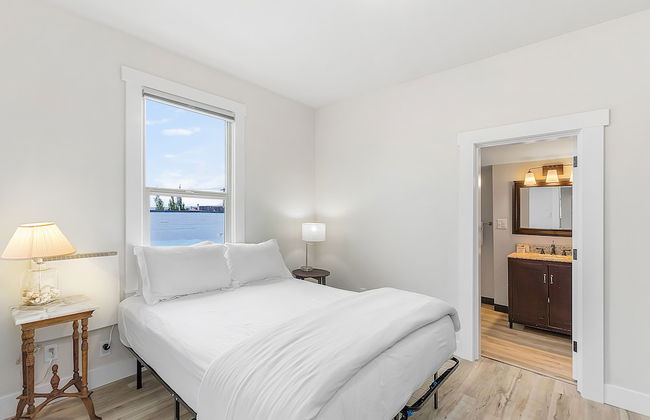
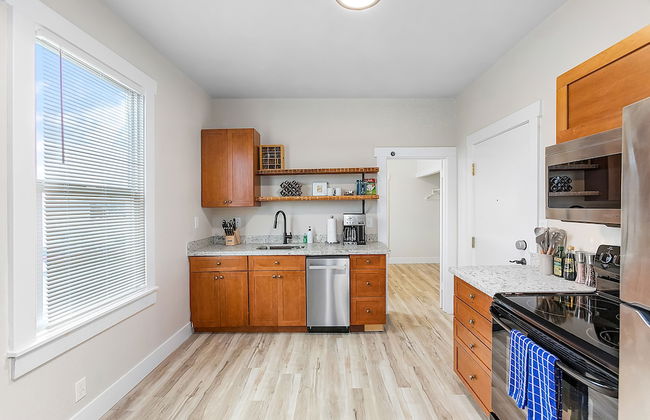
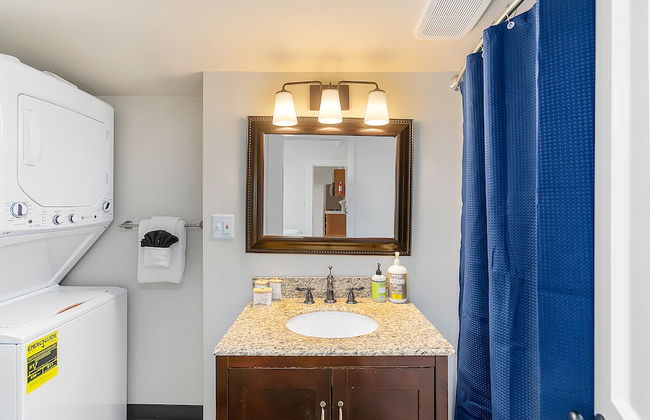
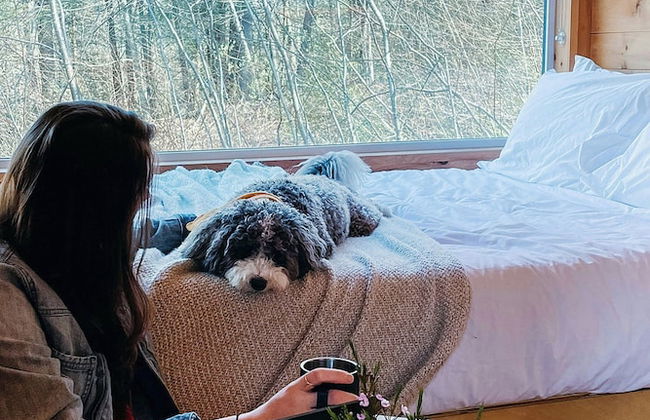
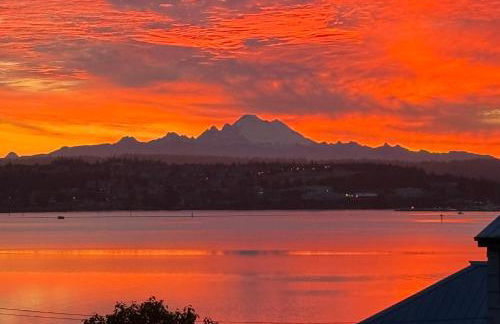
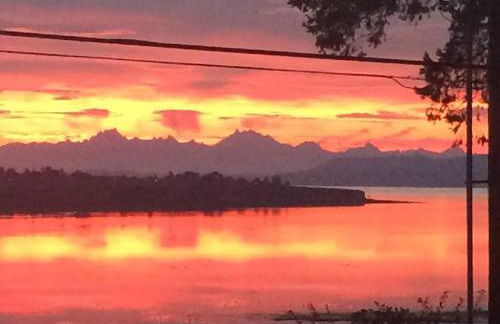
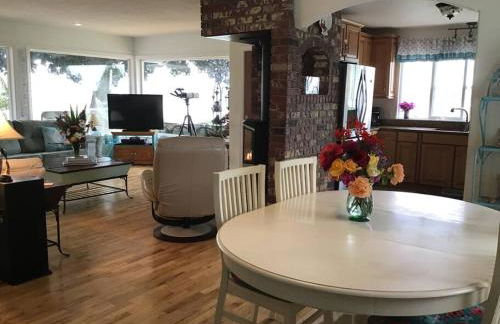
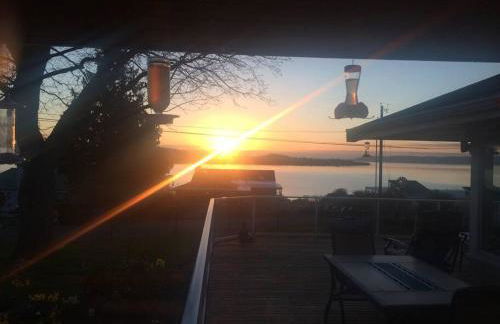
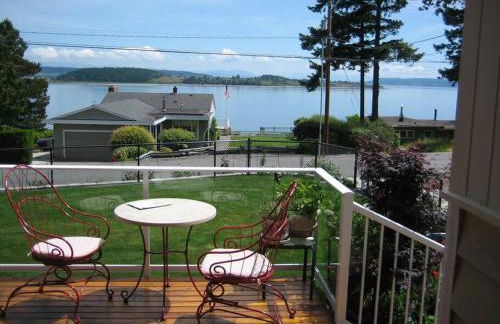
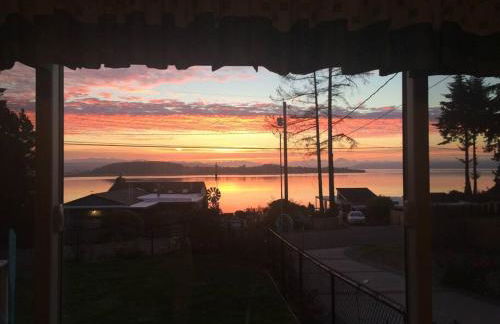
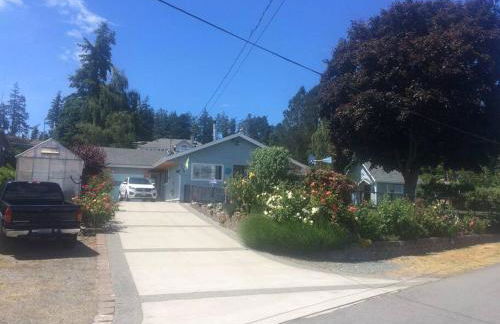
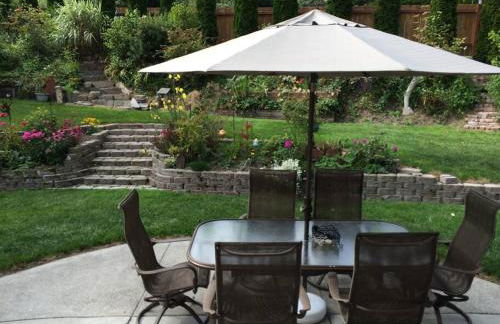
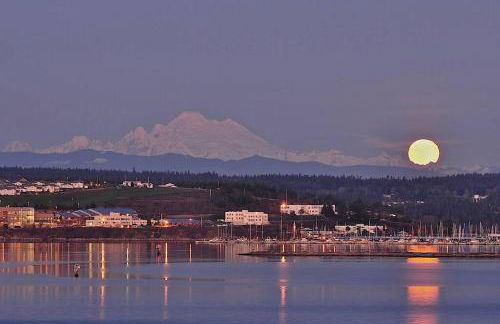
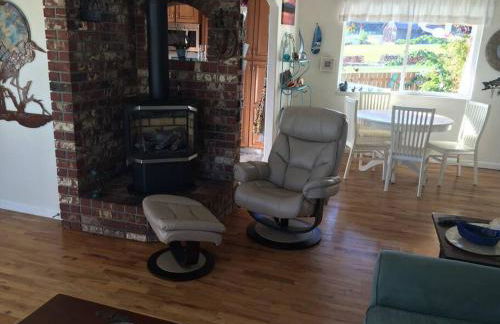
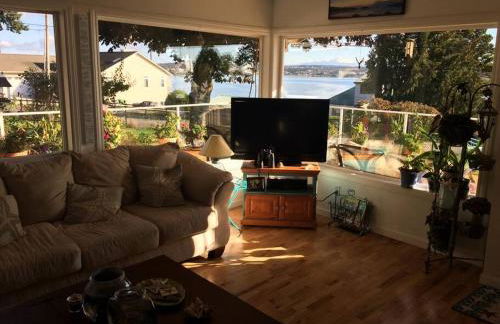
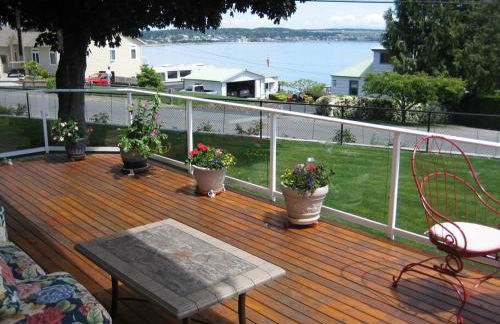
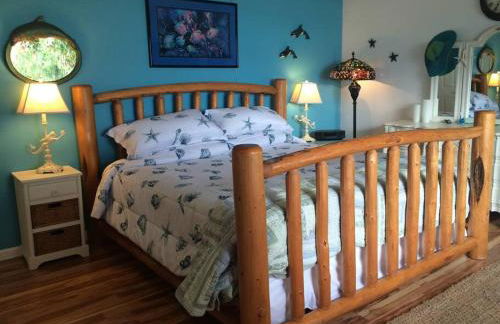
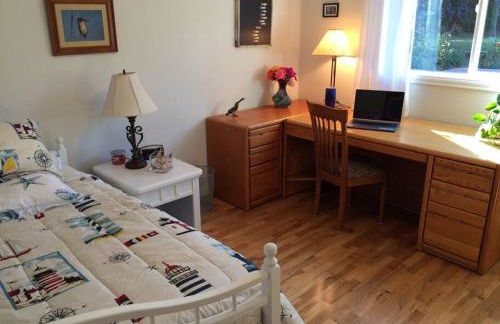
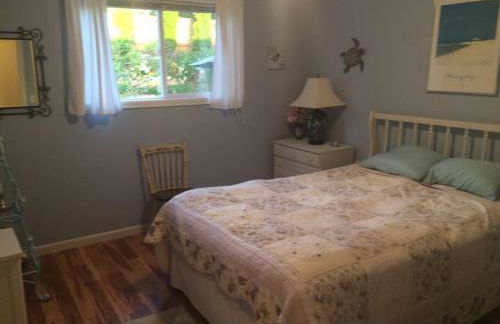
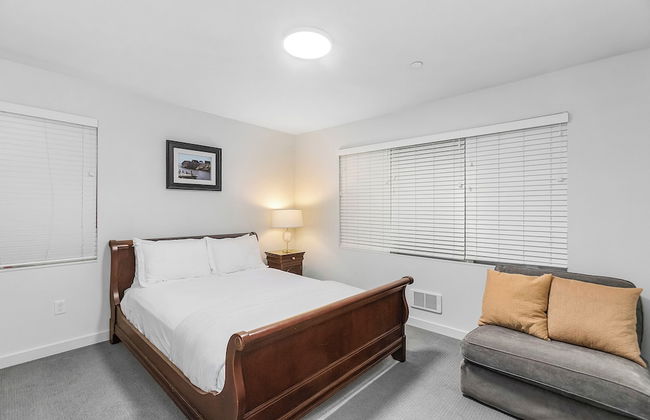
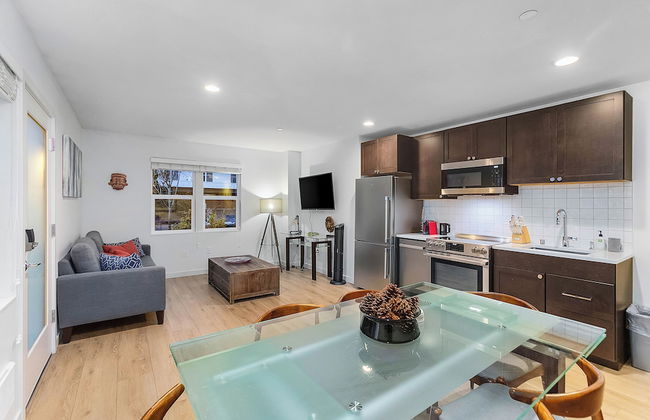
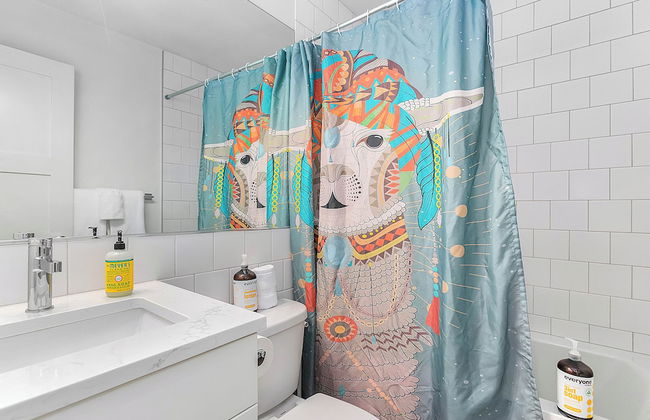
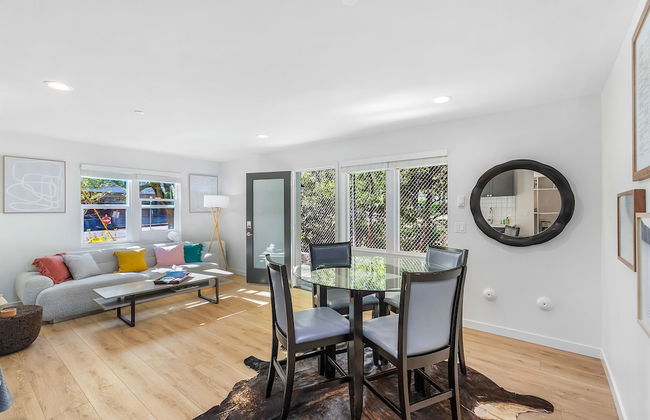
Raintree's Sandcastle - Foto 1
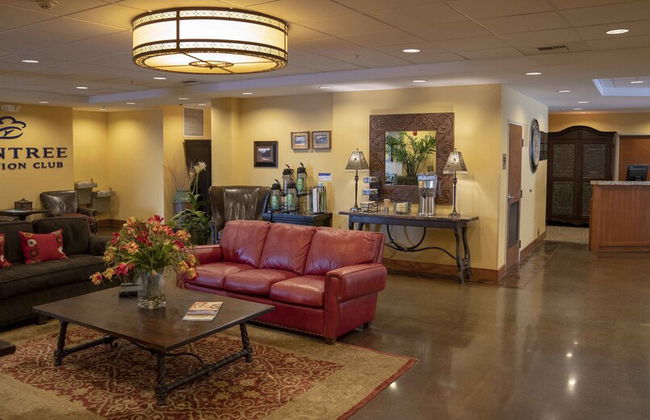
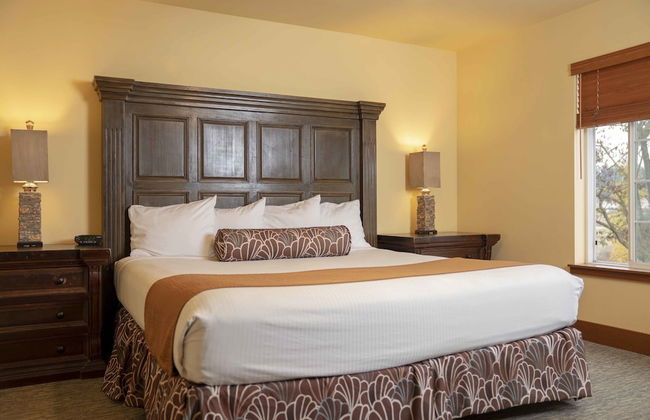
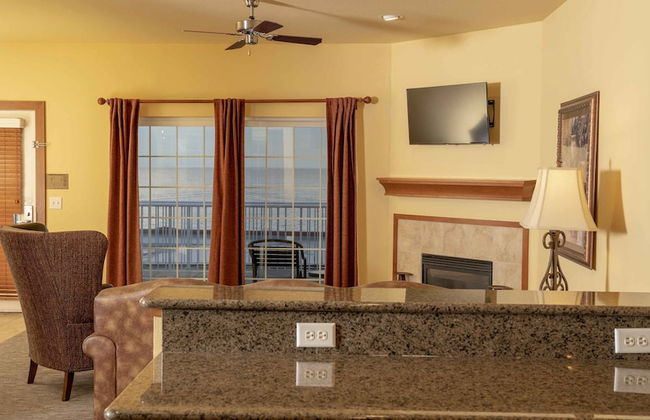
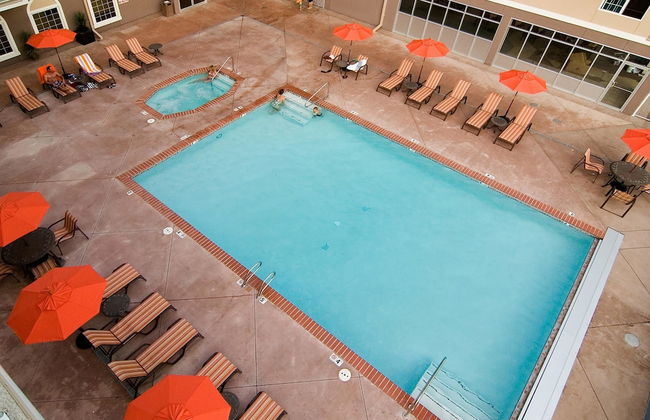
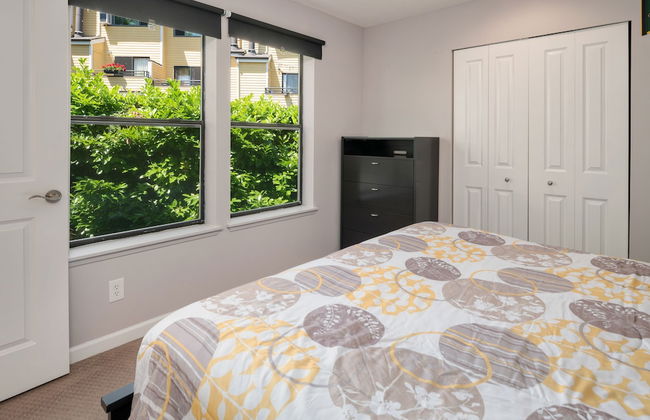
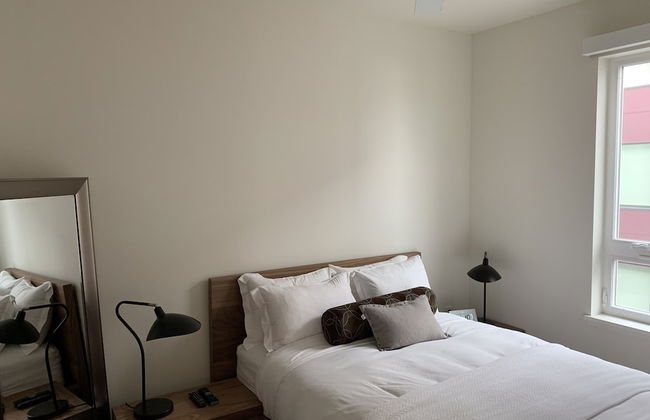
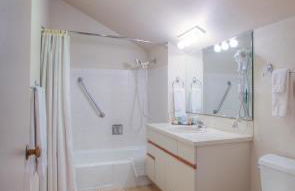
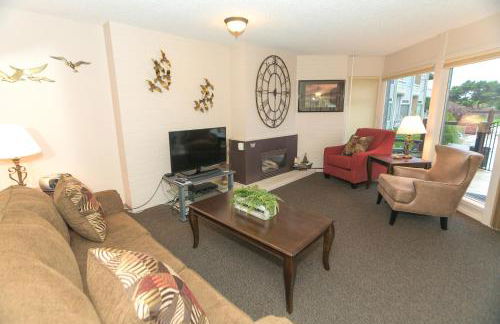
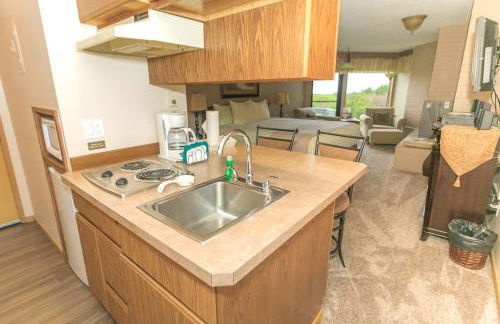
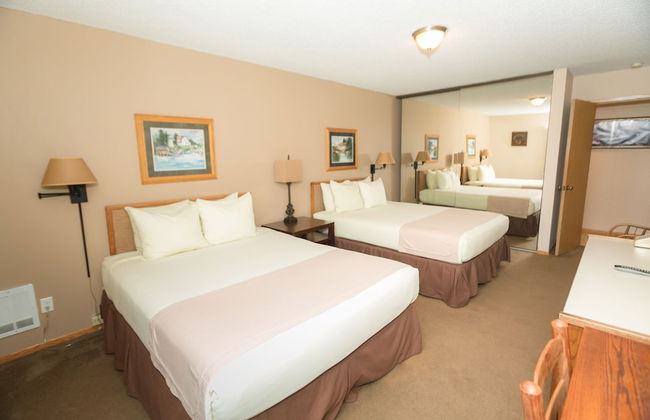
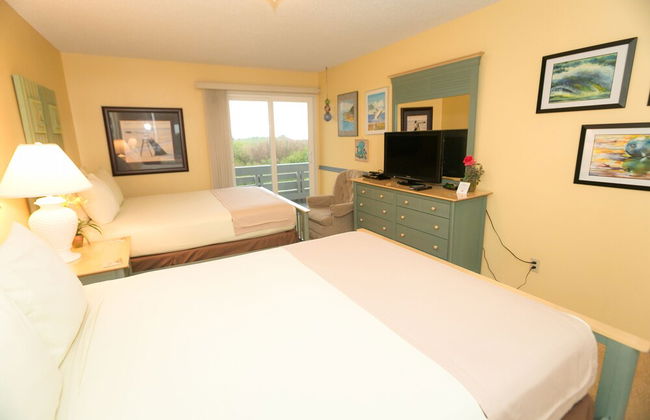
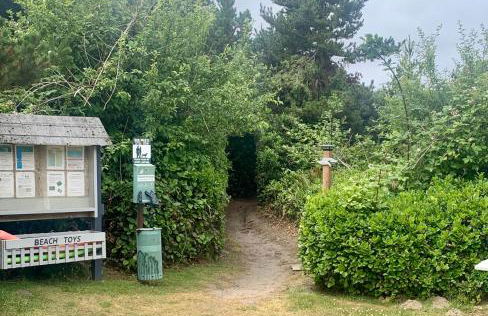
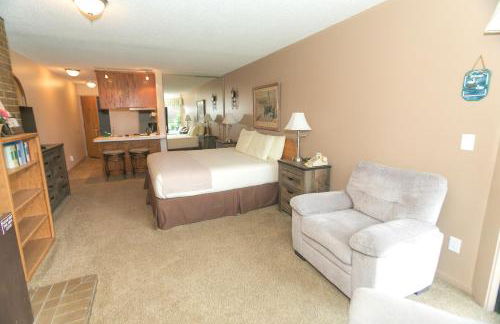
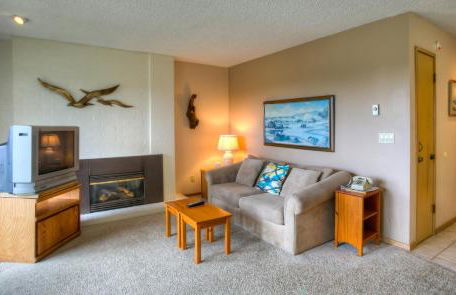
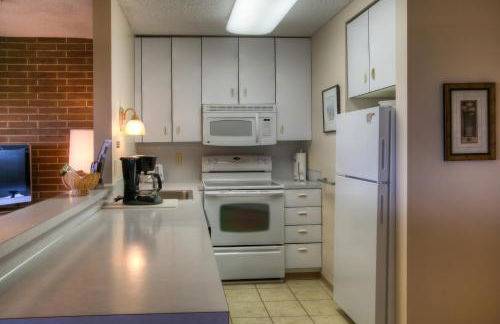
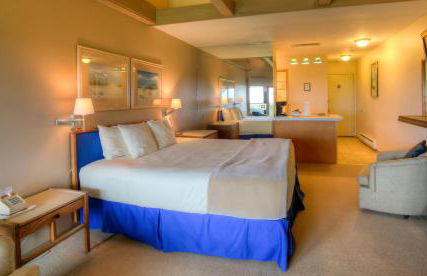
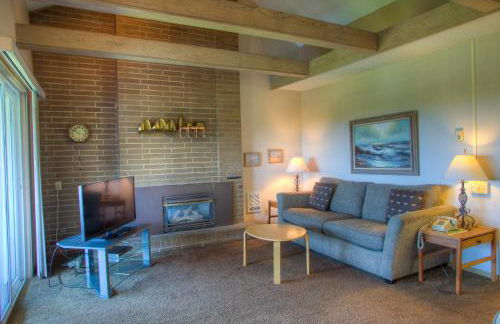
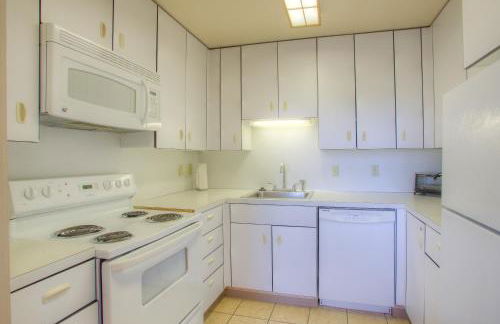
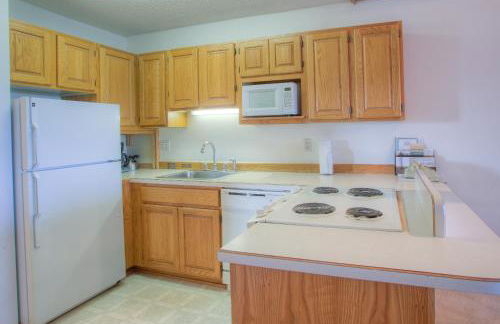
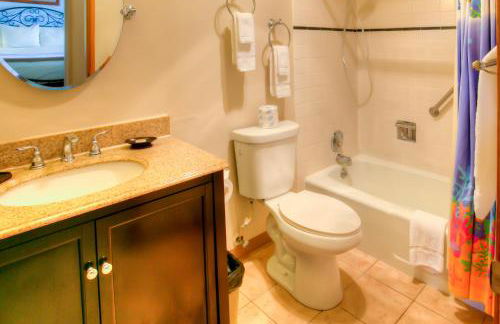
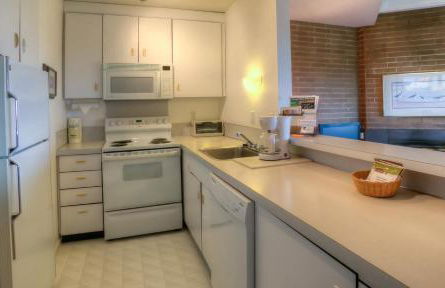
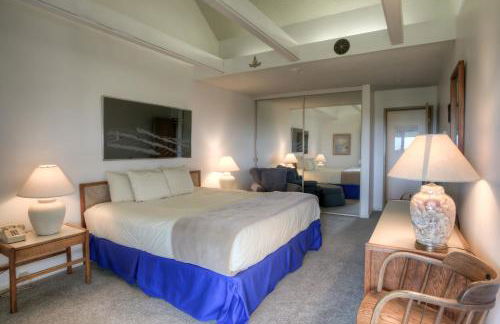
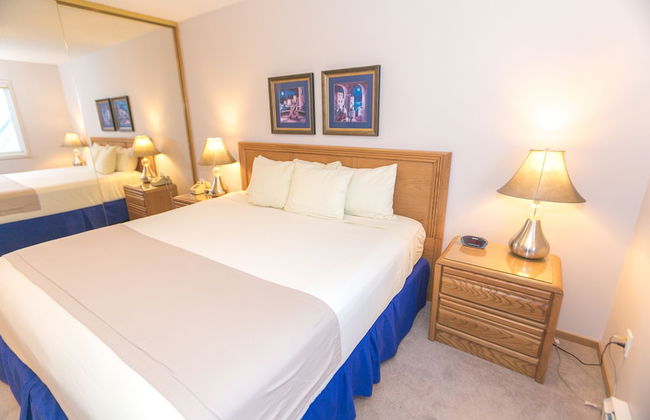
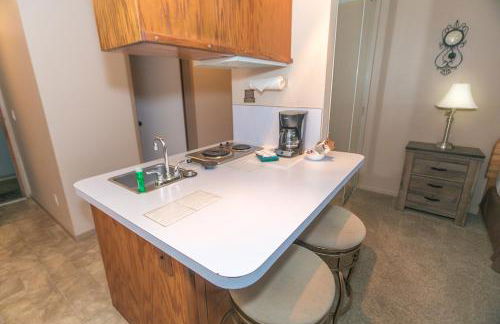
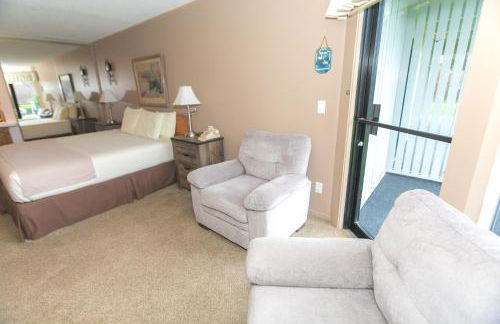
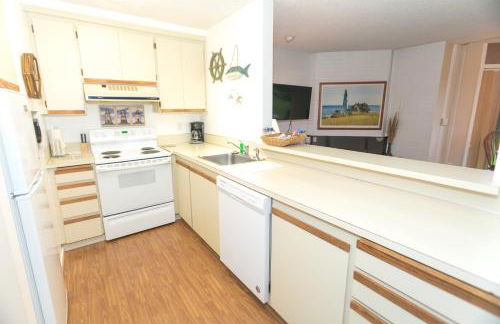
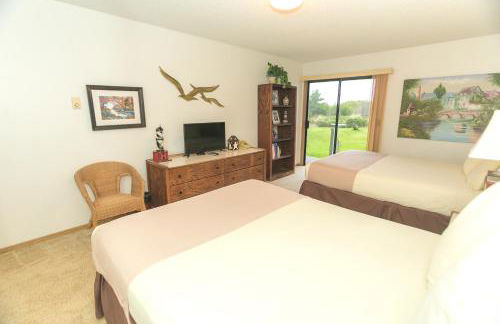
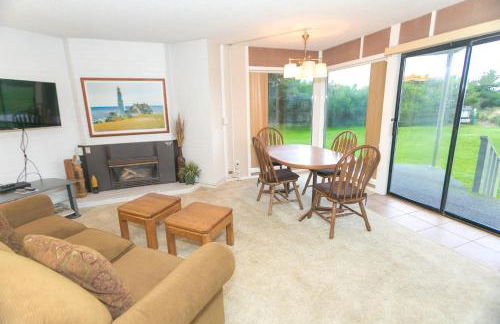
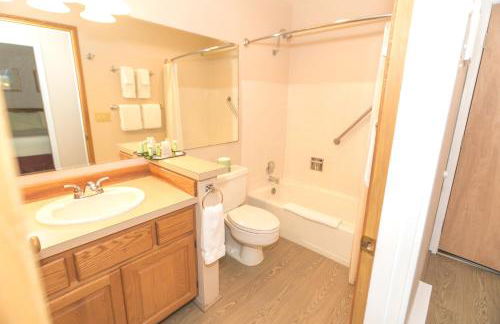
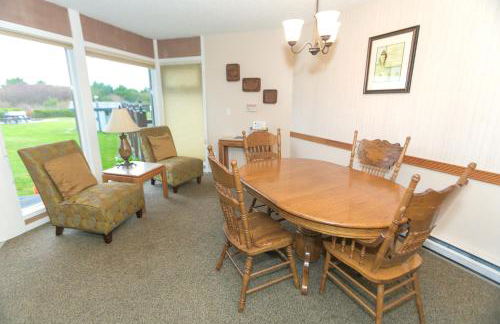
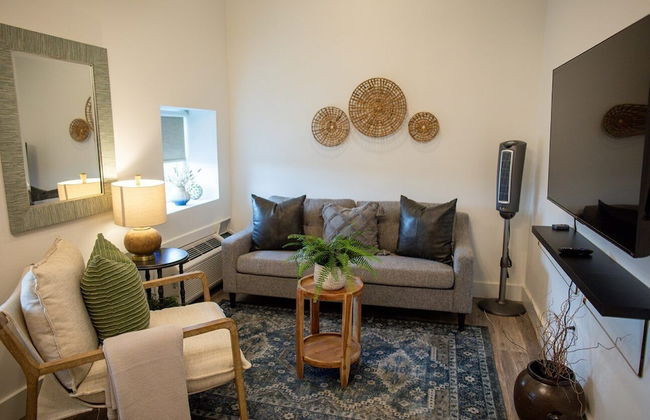
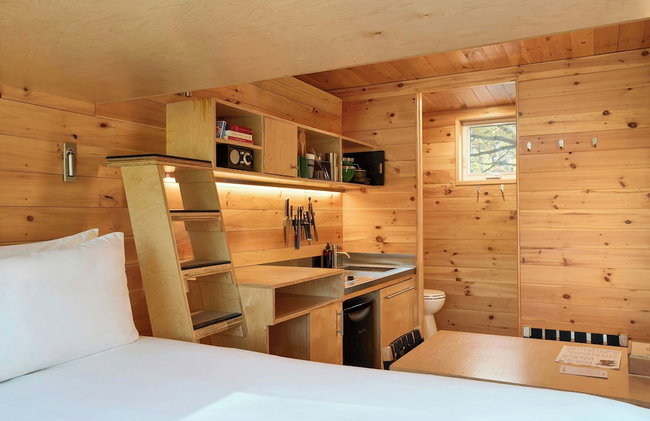
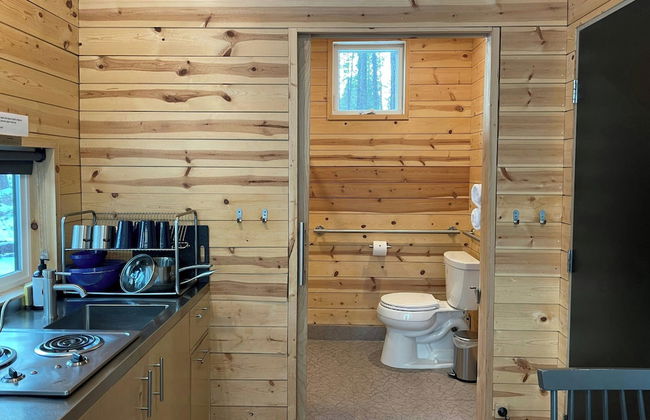
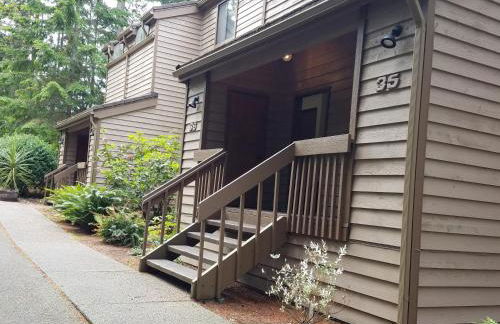
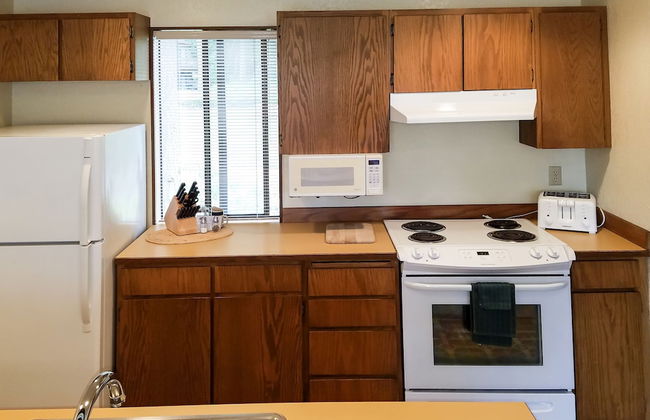
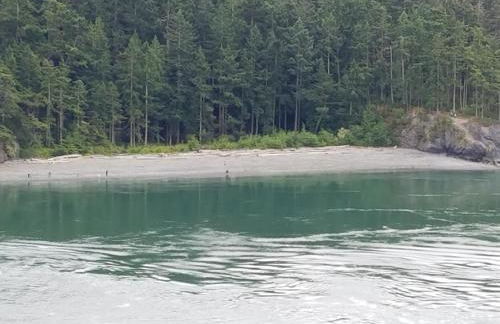
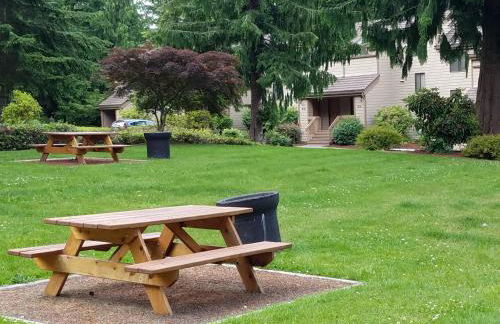
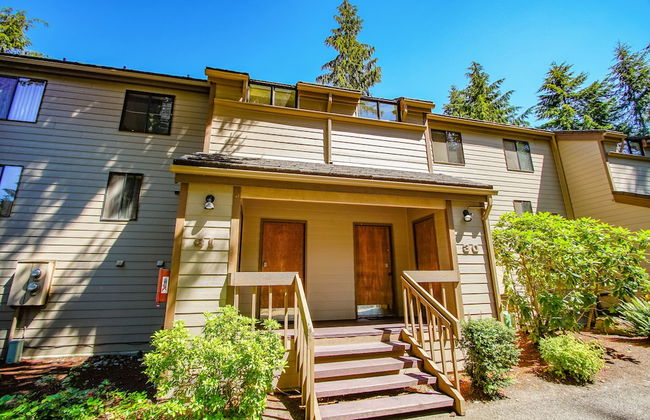
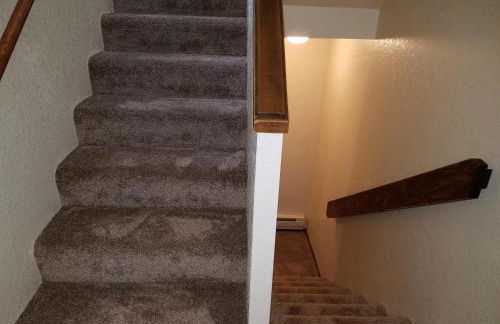
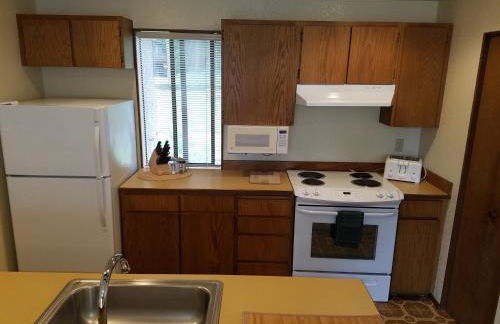
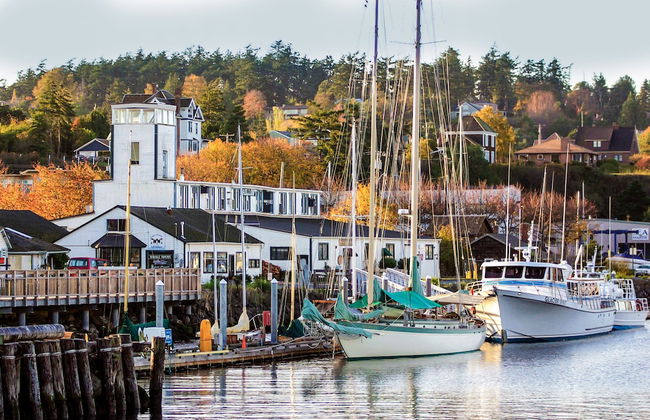
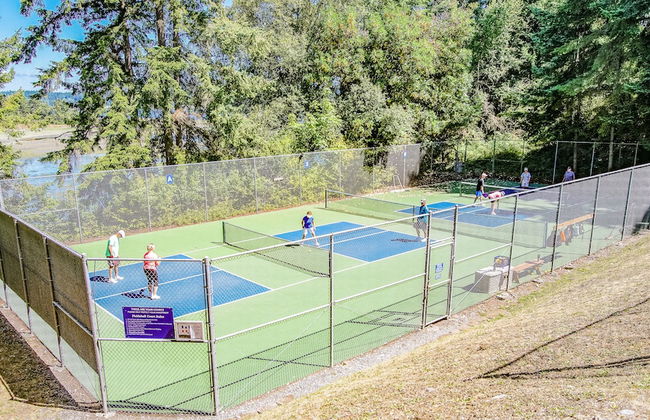
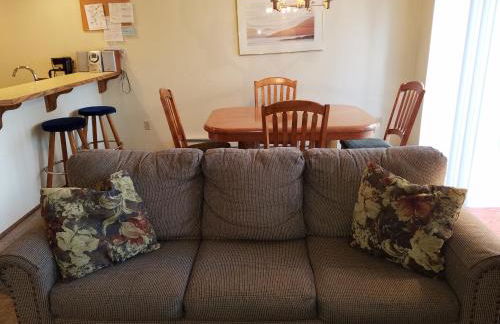
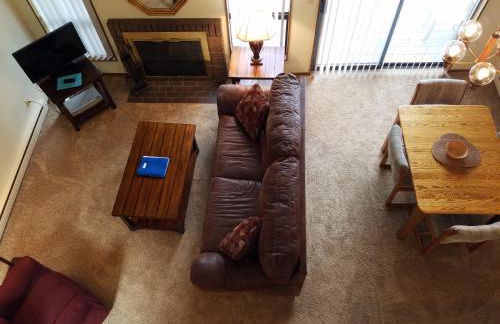
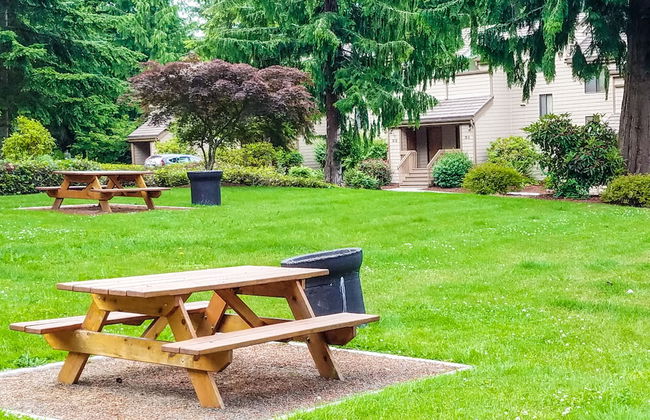
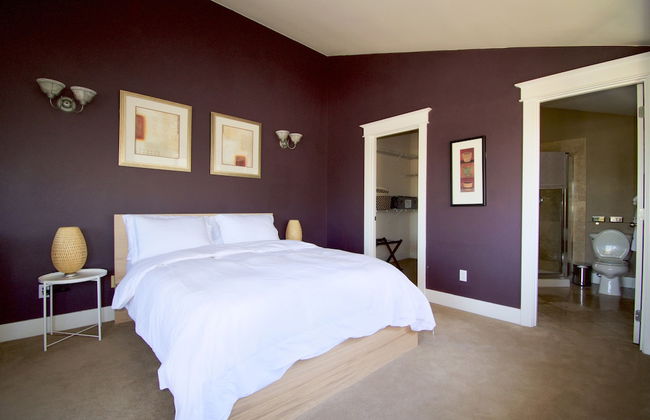
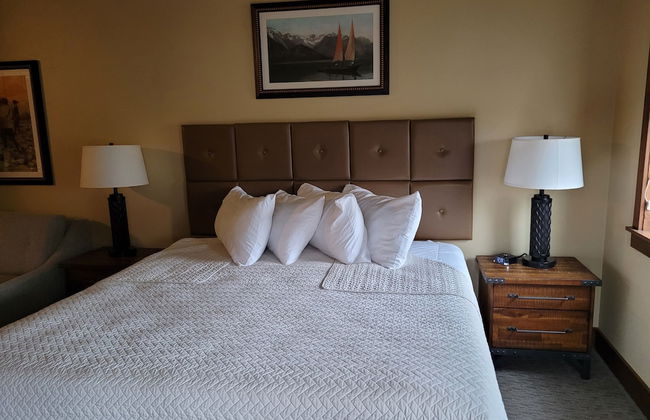
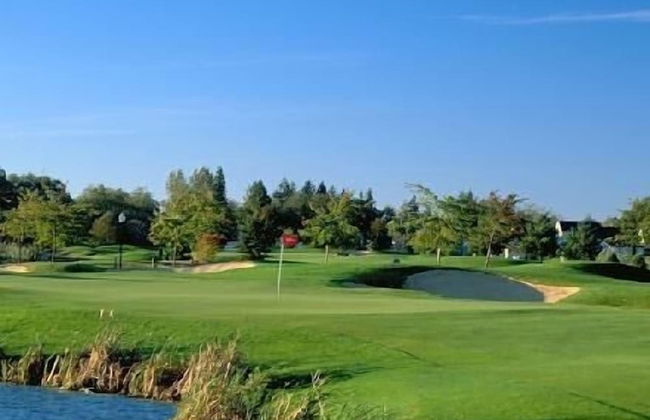
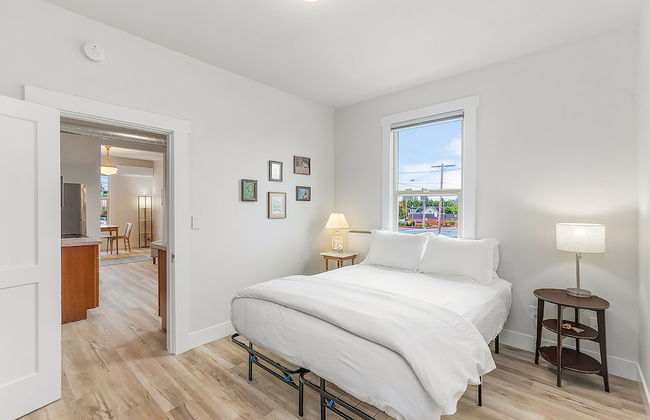
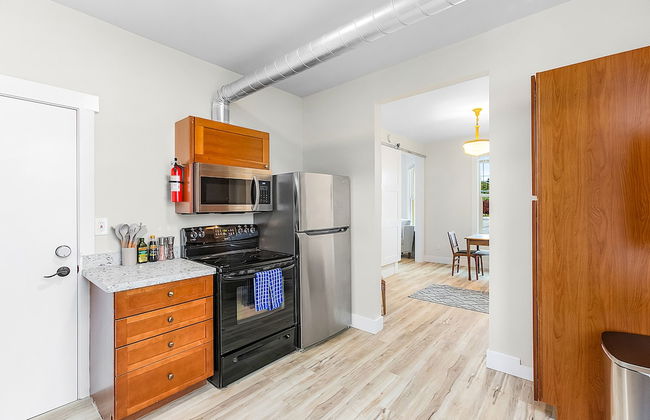
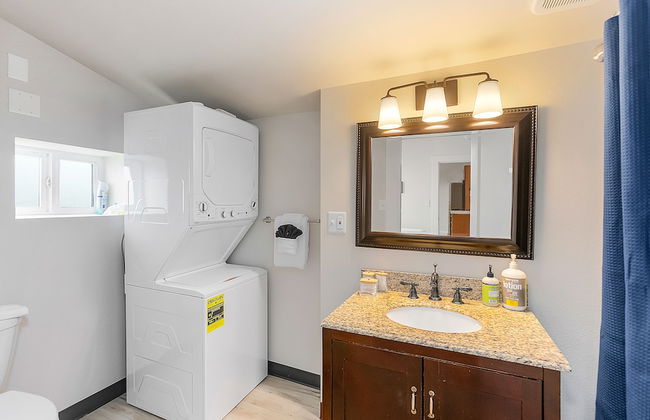
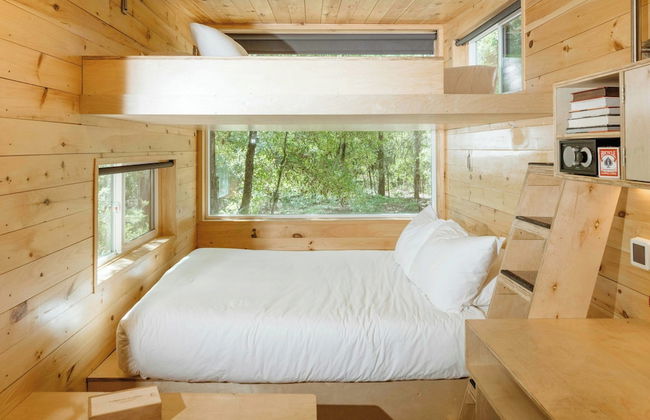
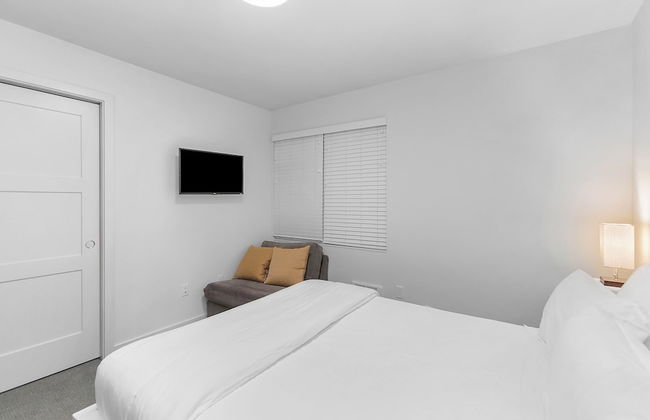
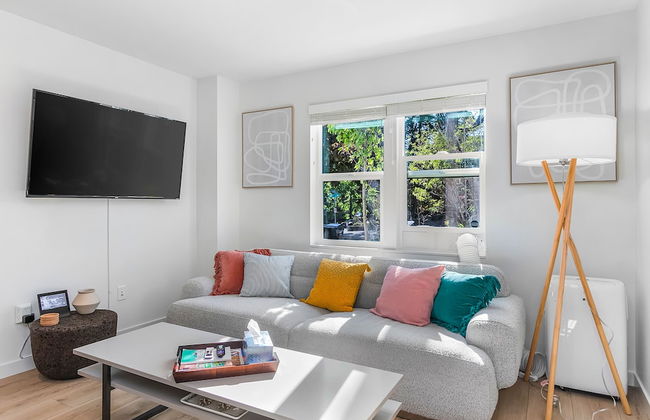
Raintree's Sandcastle - Foto 2
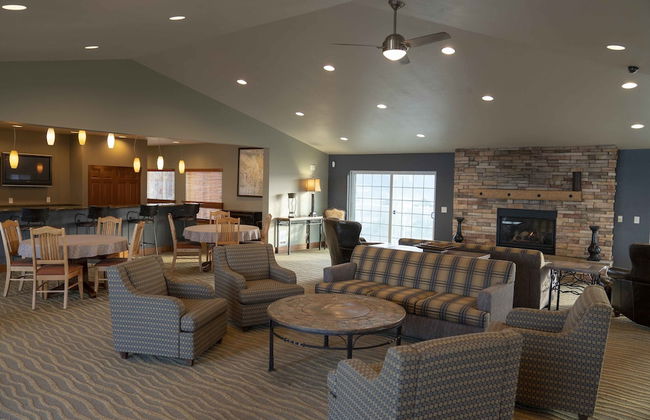
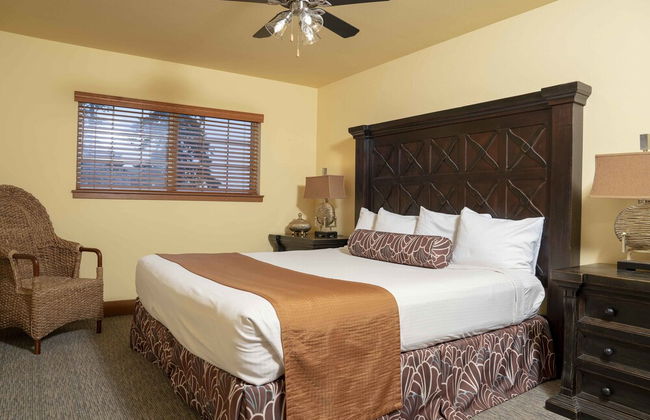
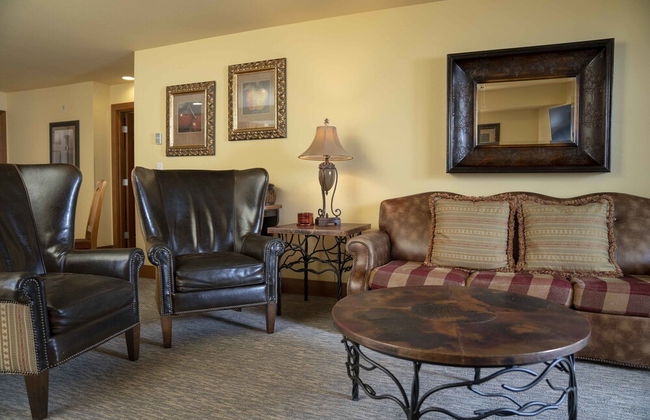
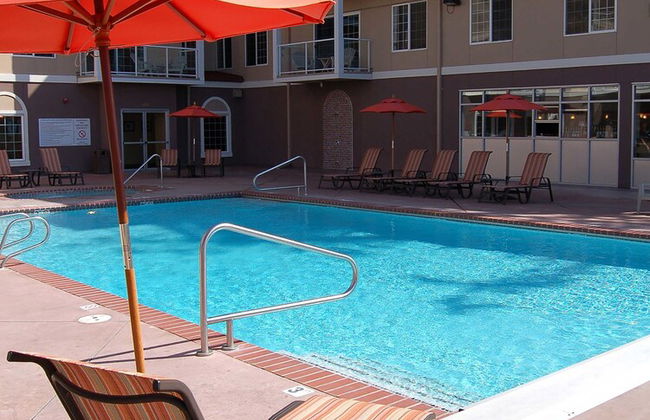
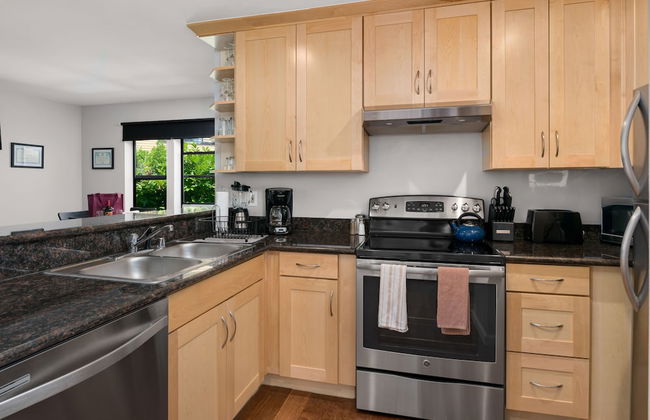
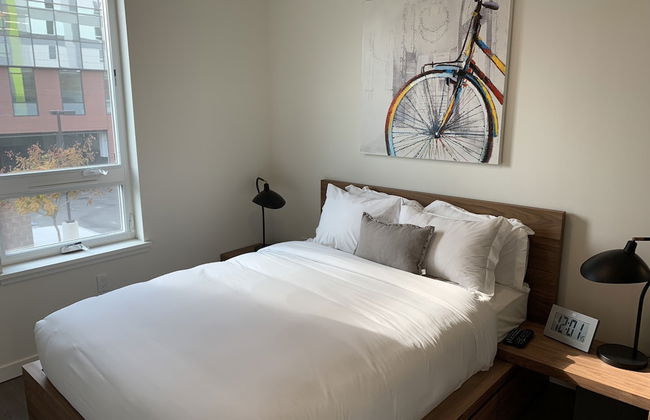
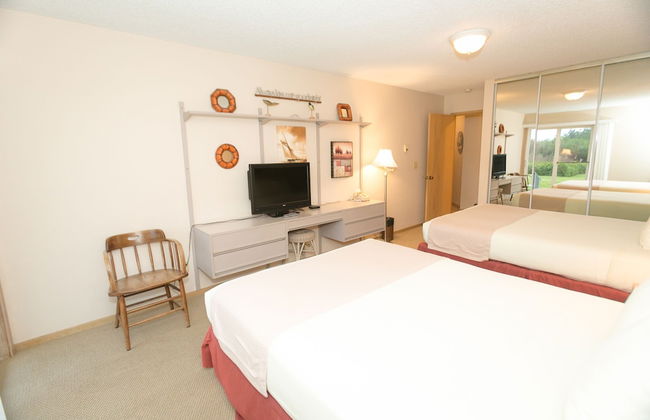
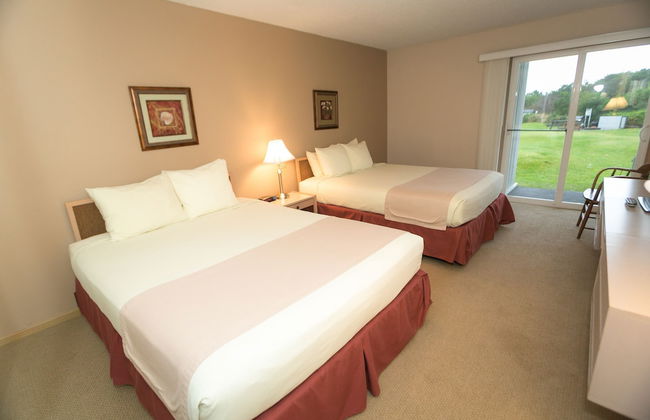
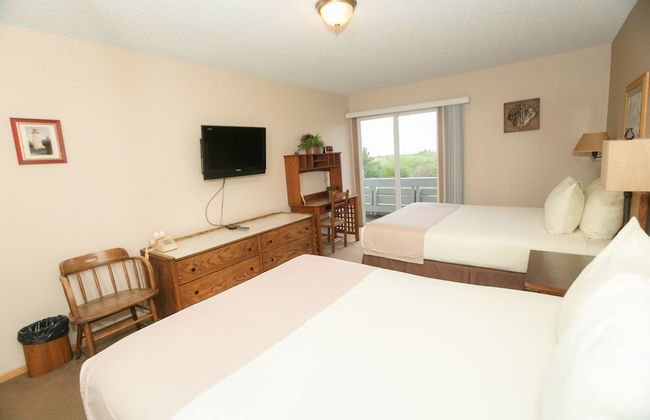
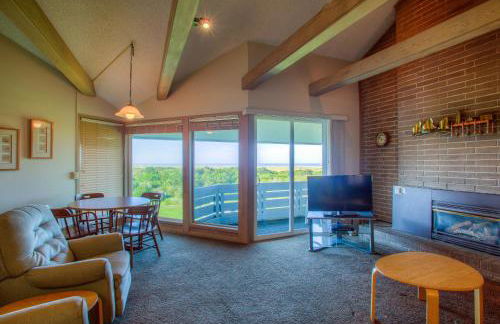
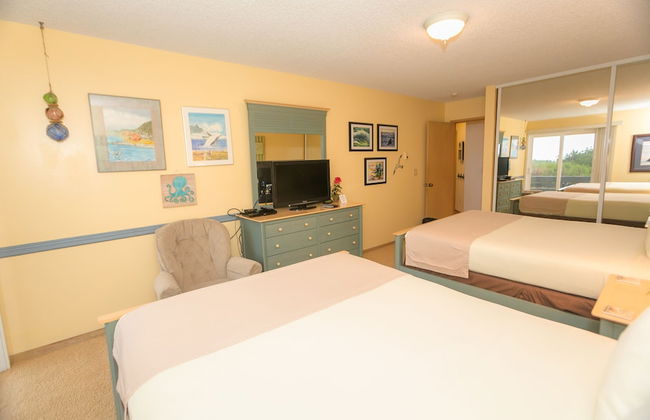
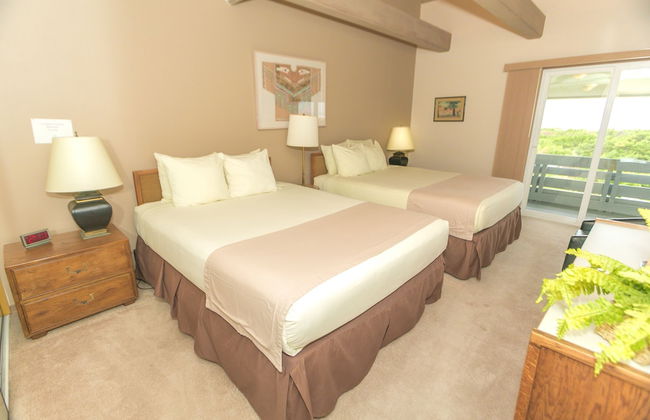
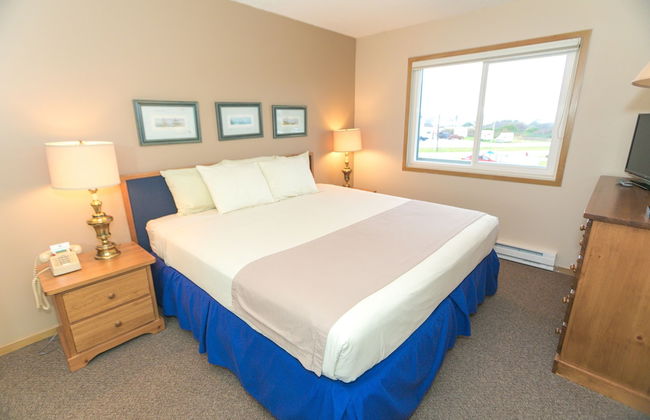
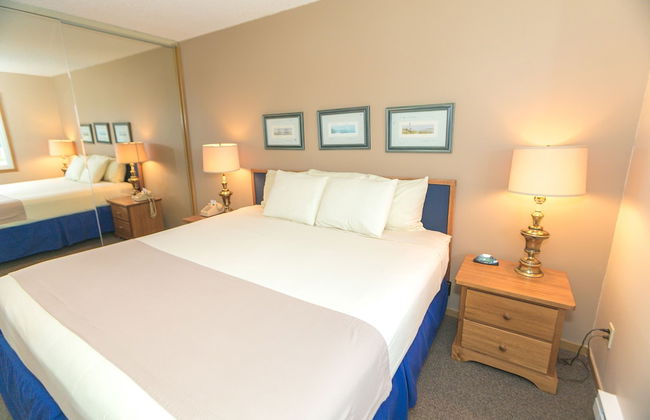
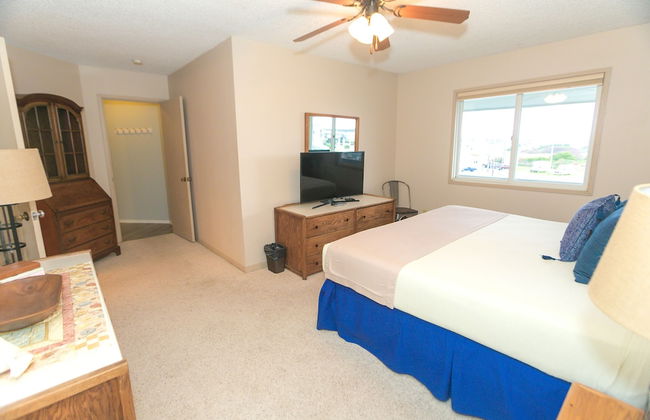
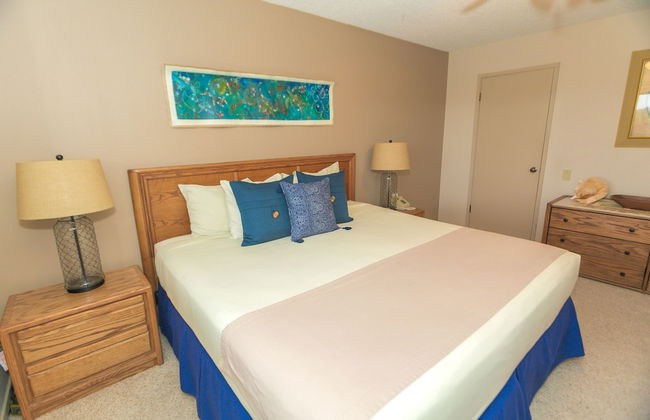
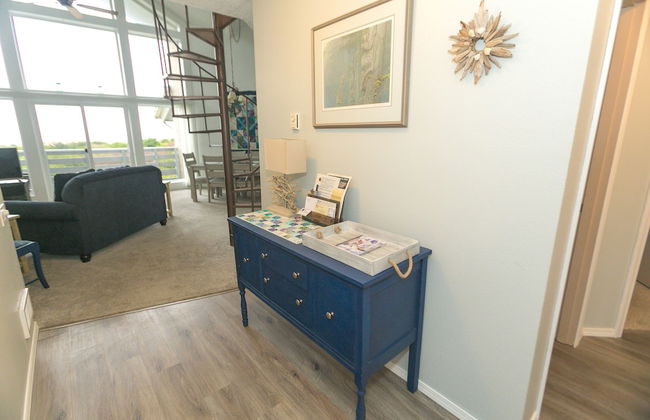
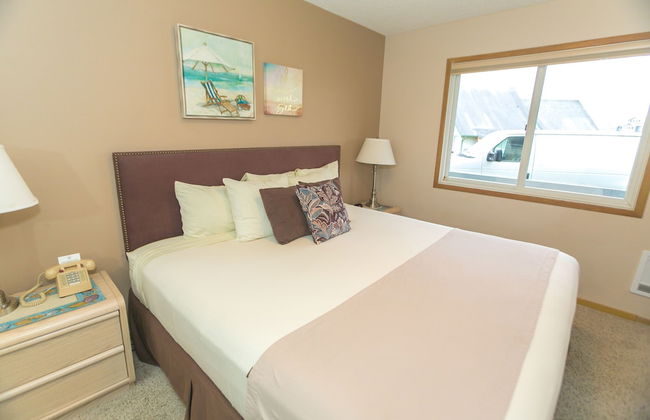
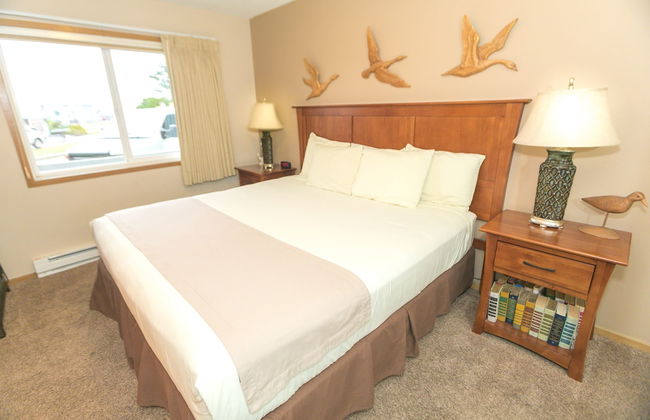
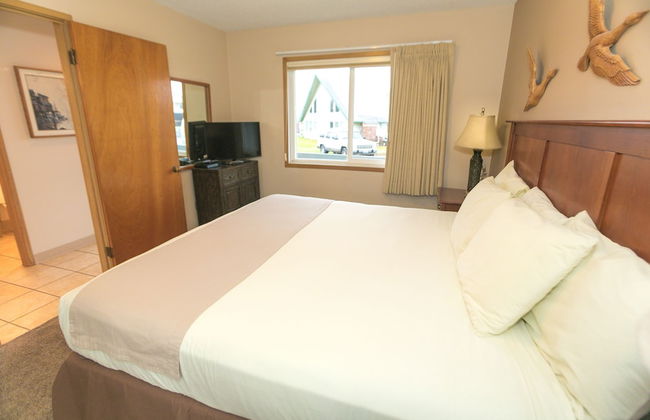
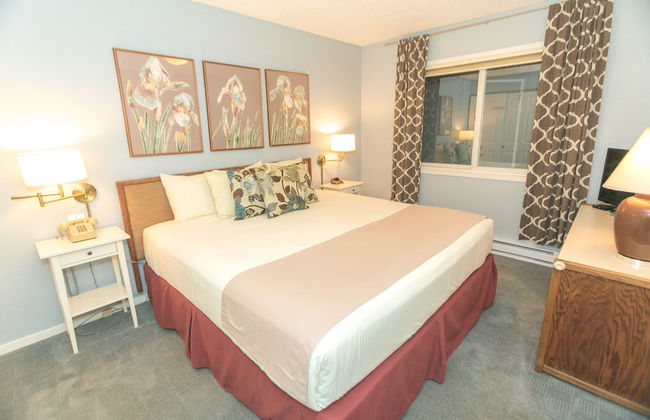
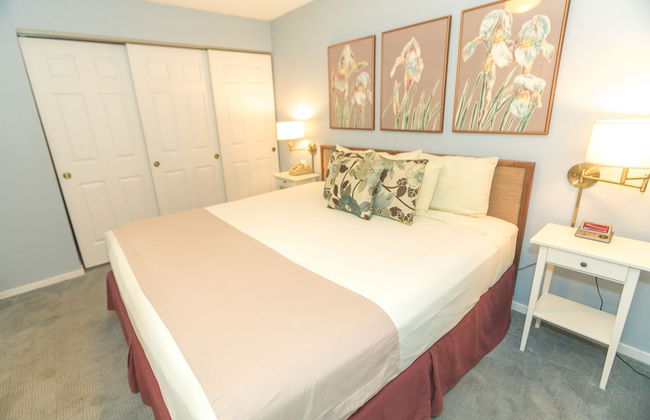
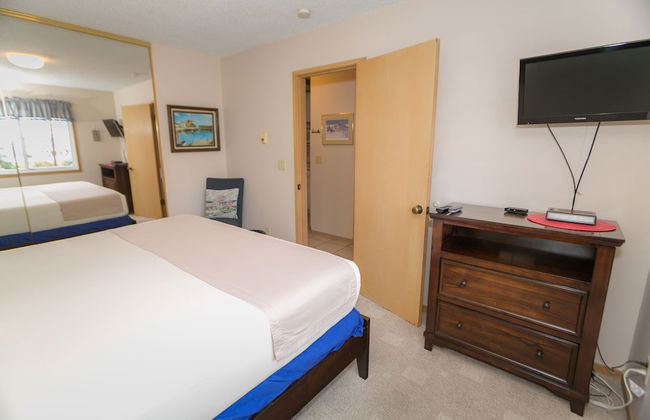
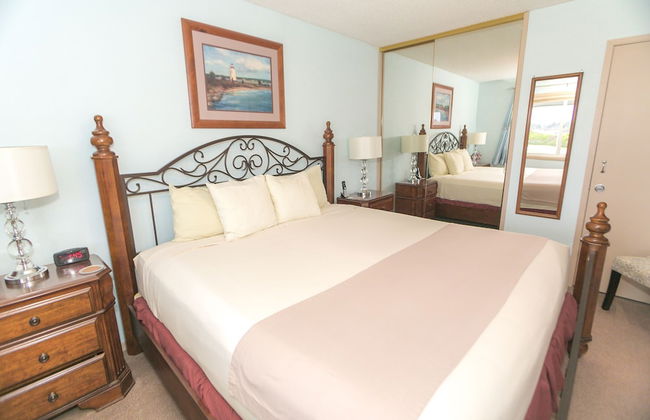
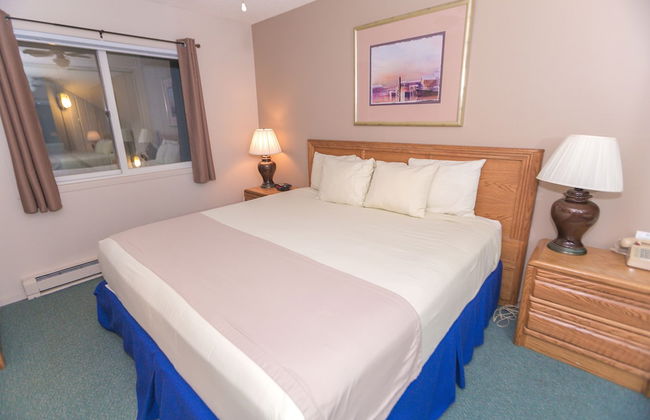
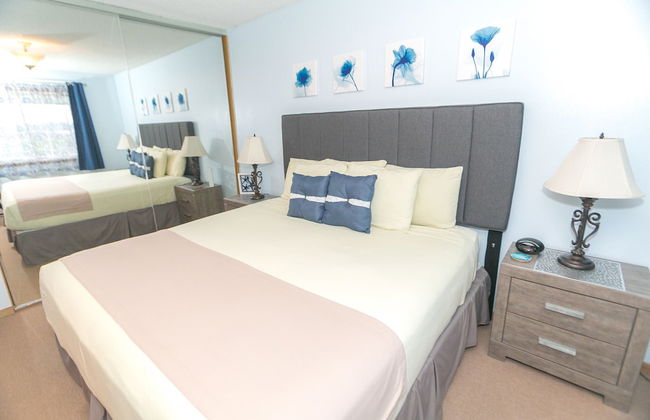
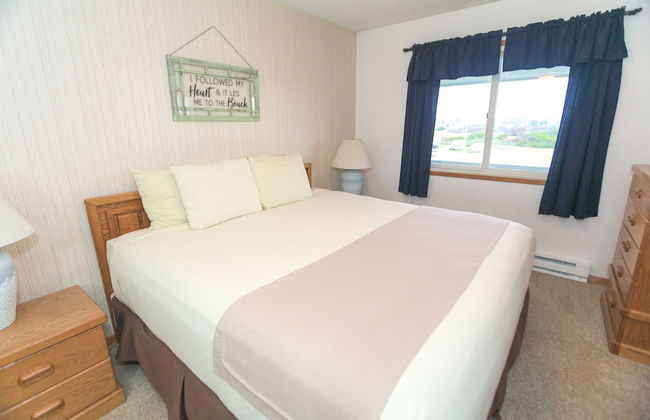
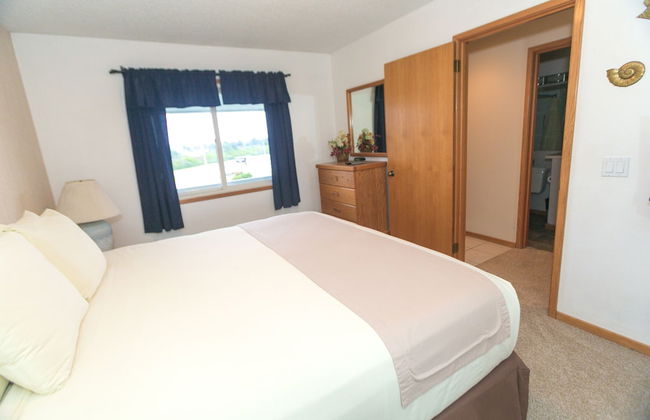
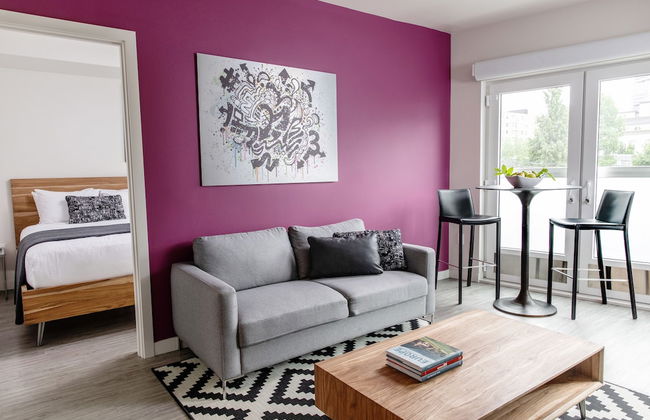
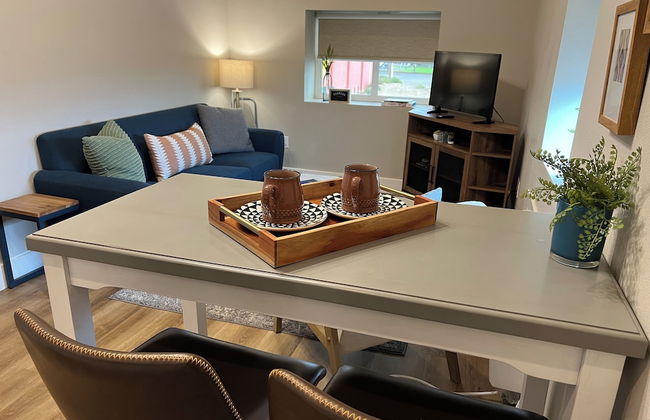
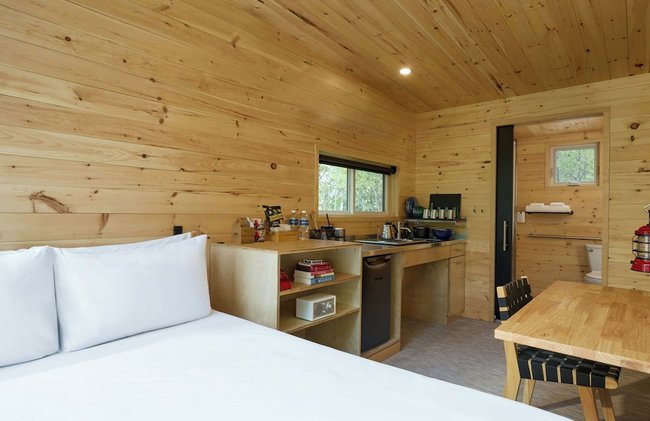
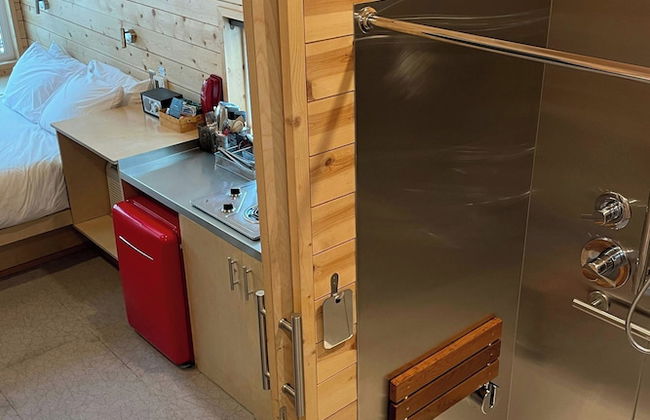
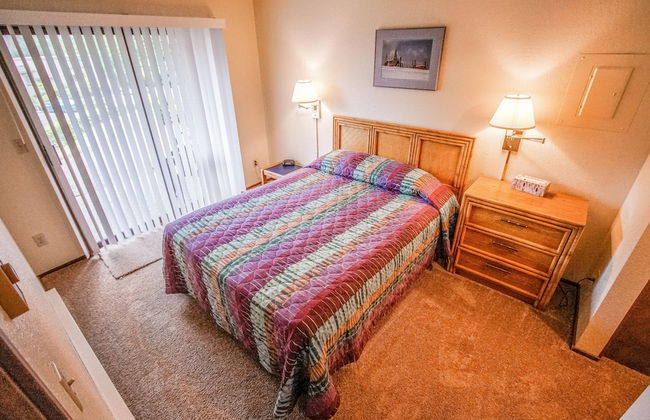
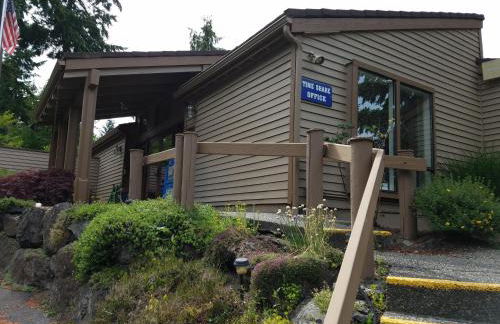
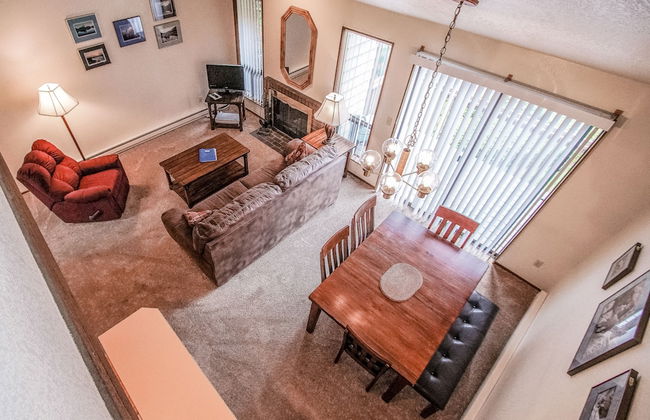
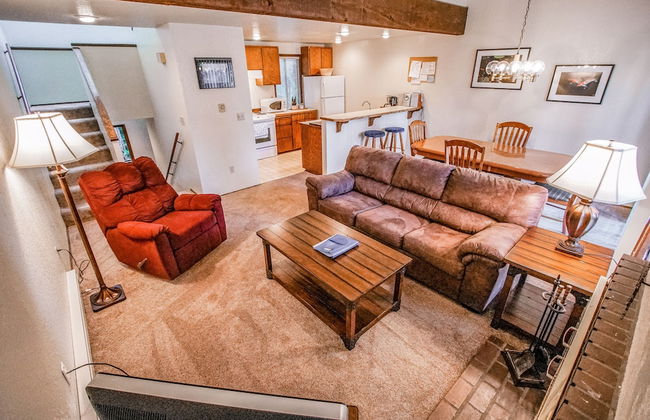
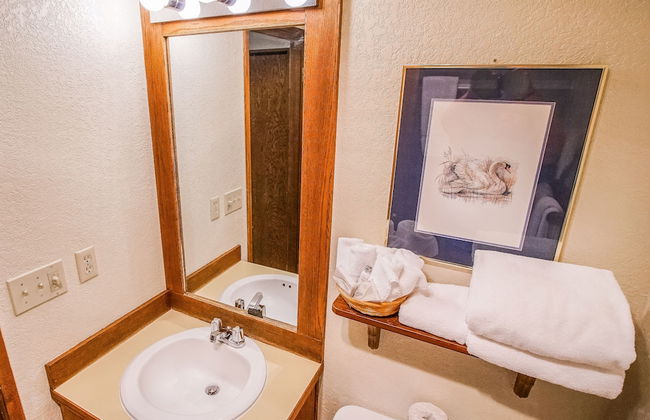
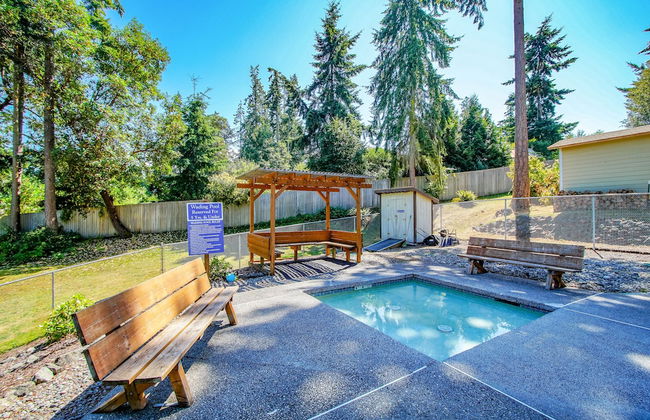
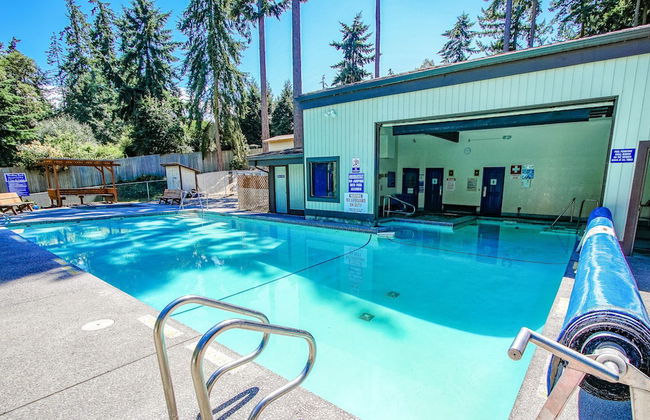
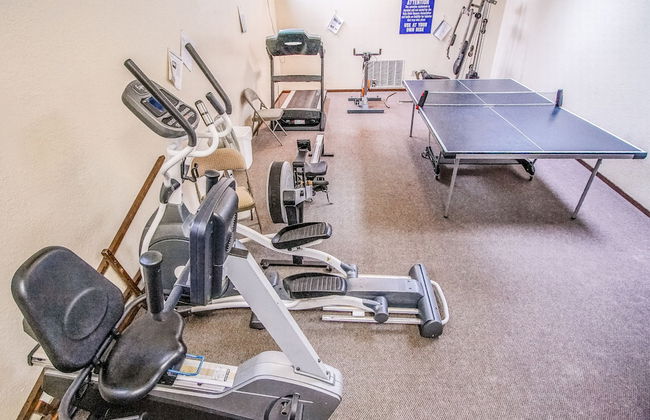
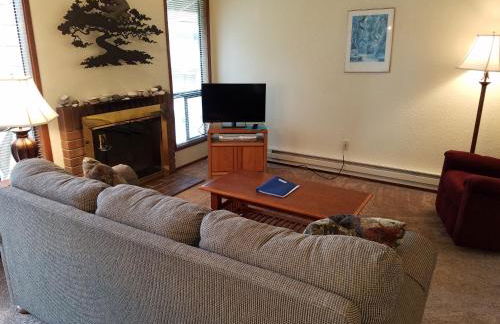
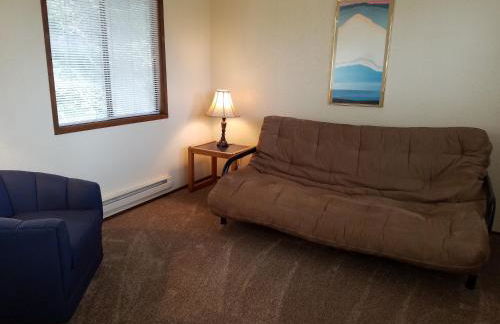
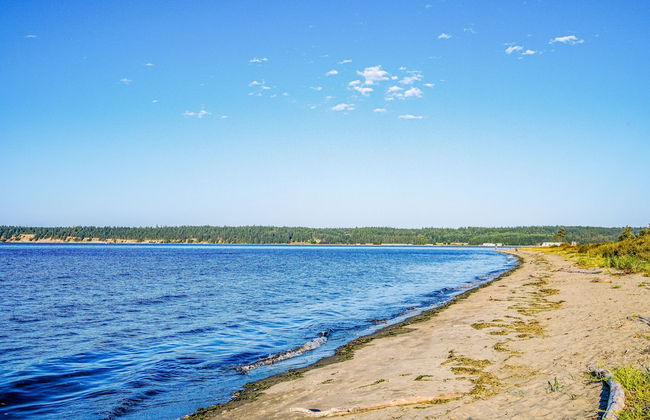
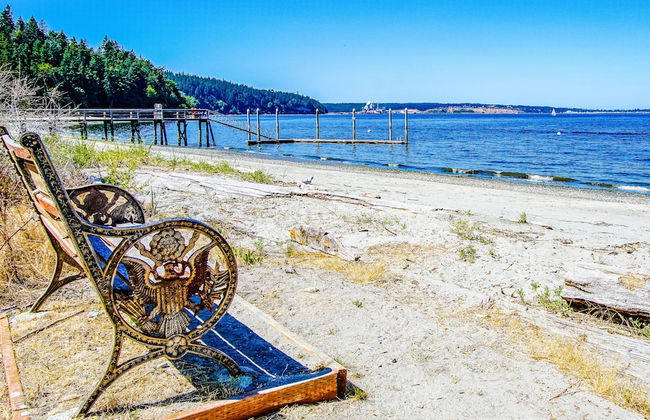
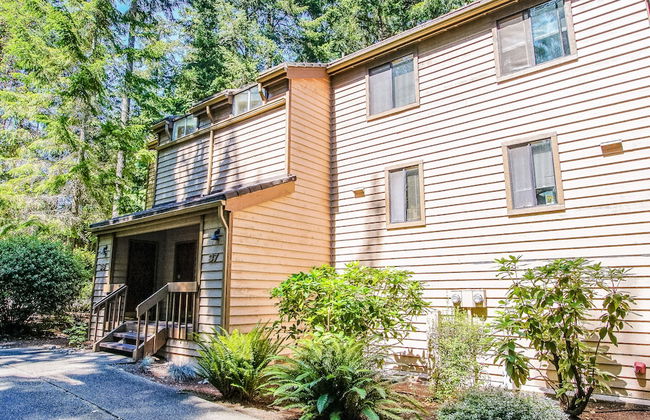
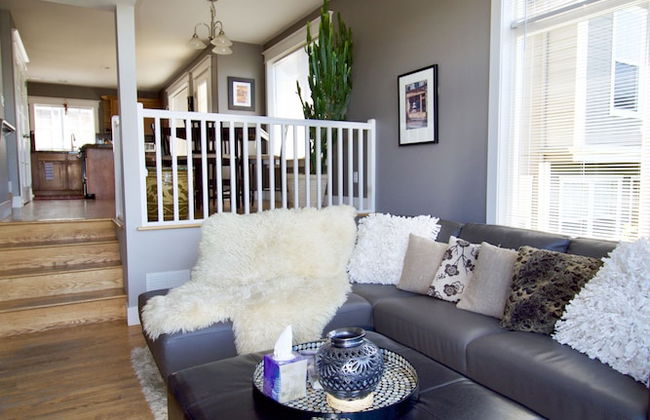
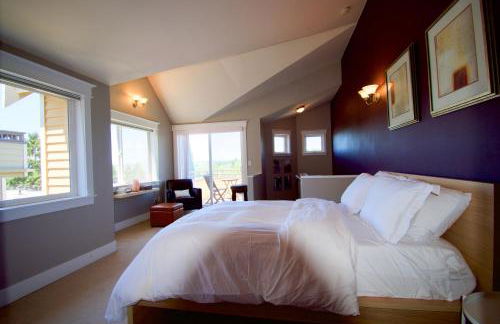
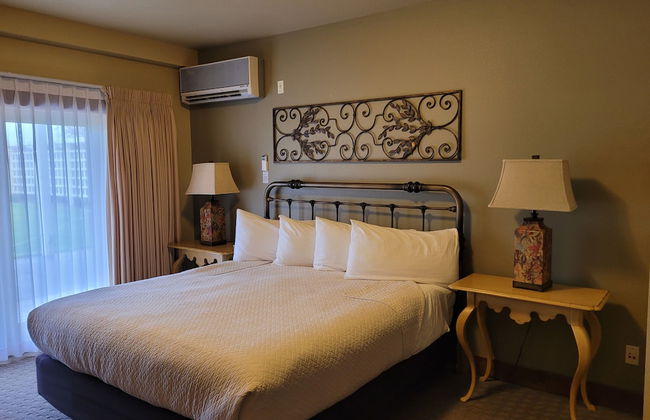
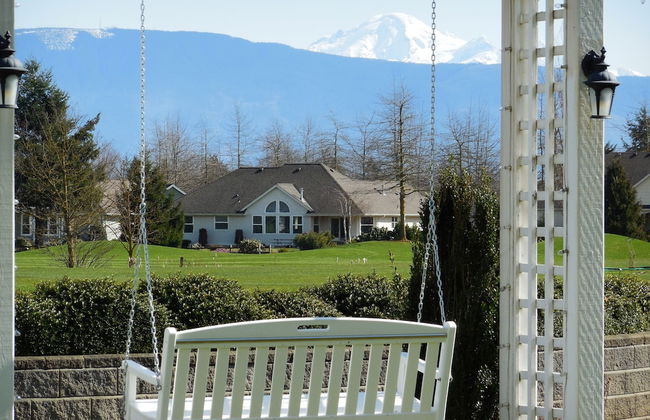
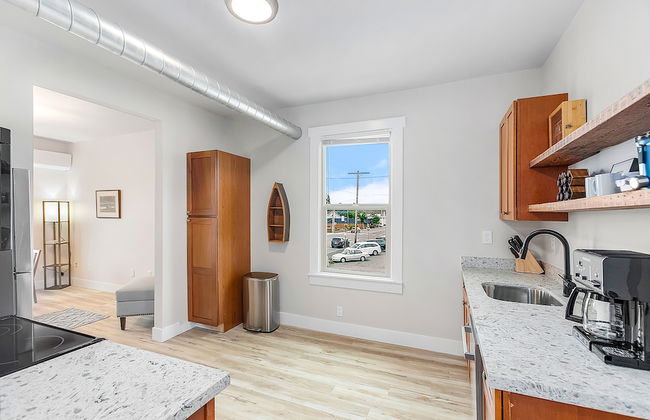
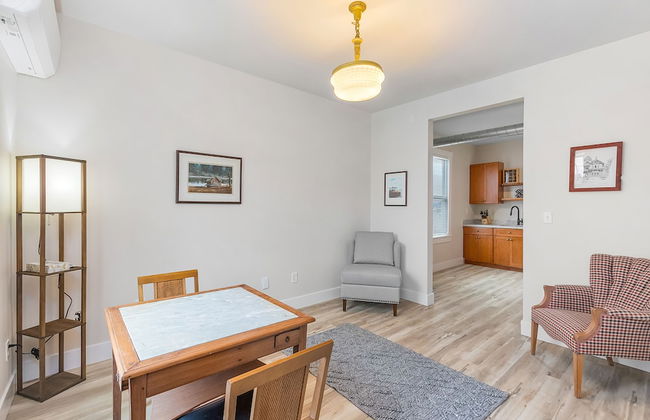
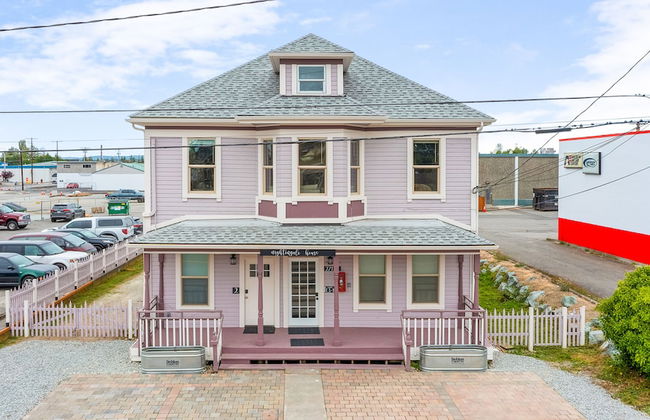
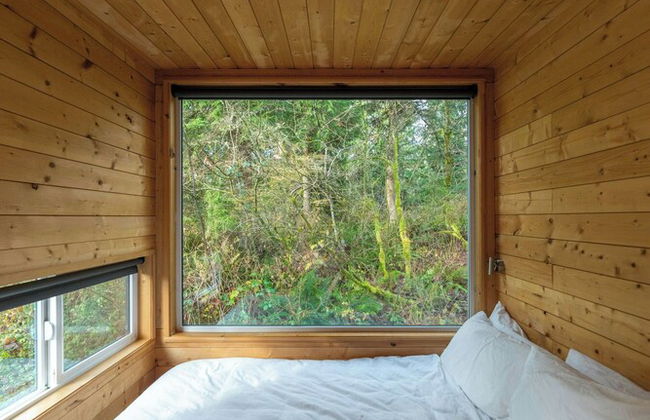
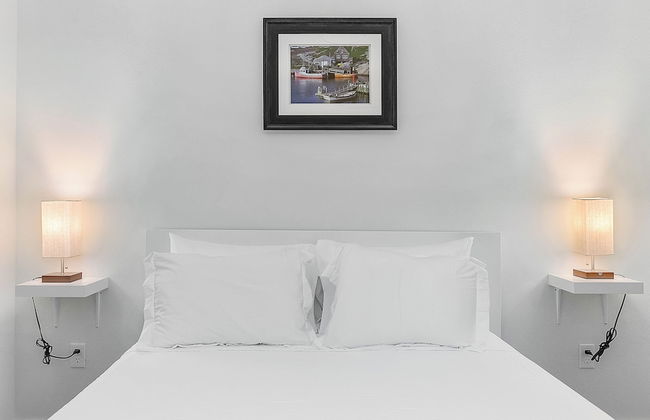
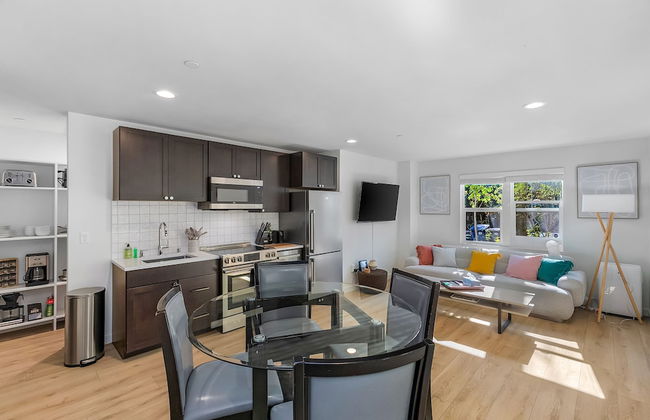
Raintree's Sandcastle - Foto 3
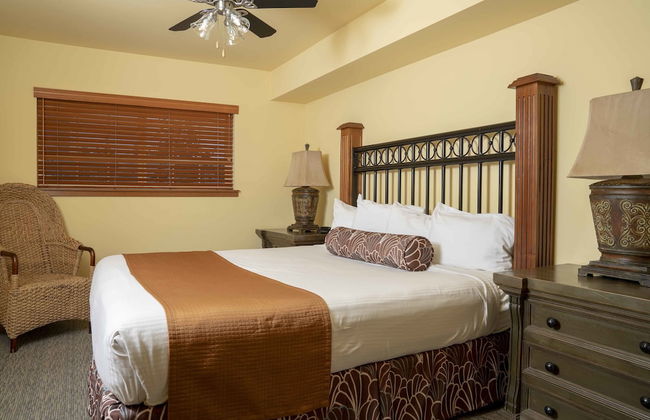
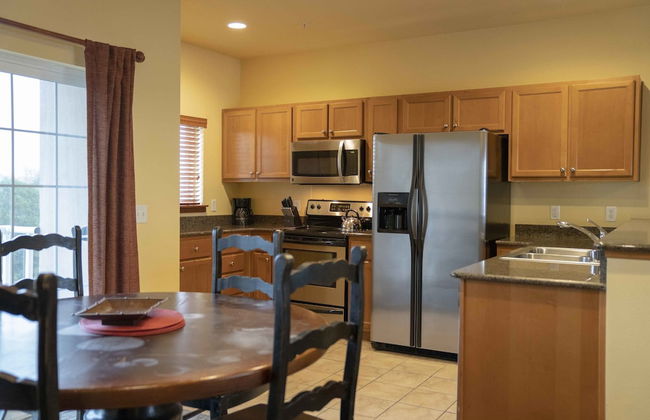
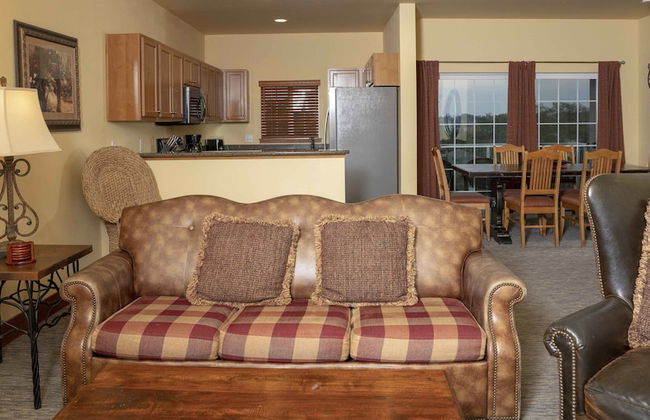
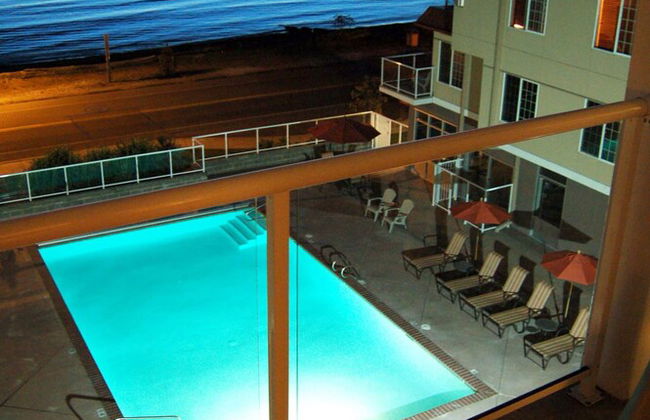
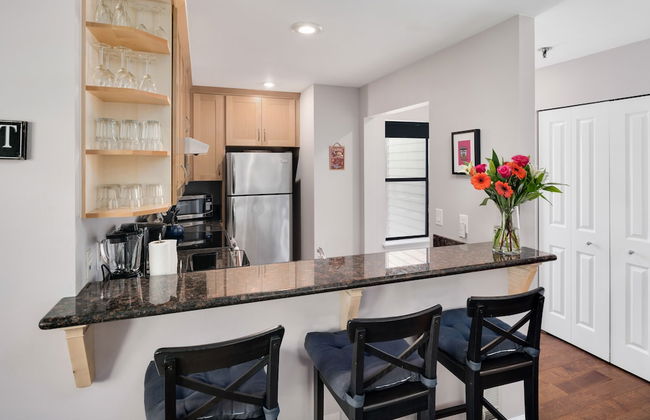
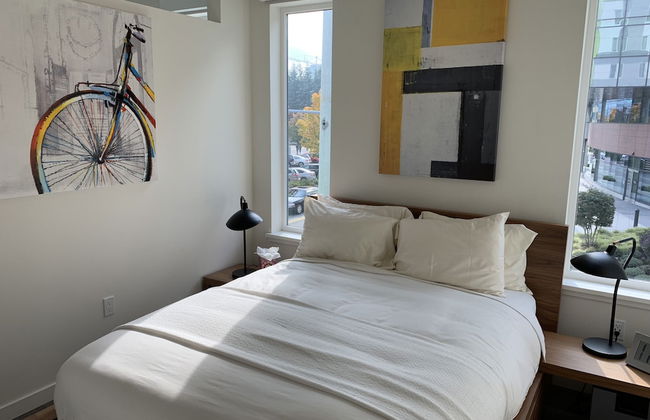
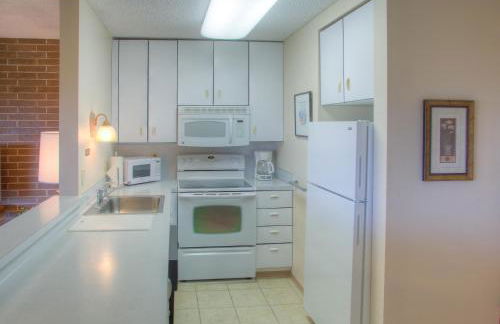
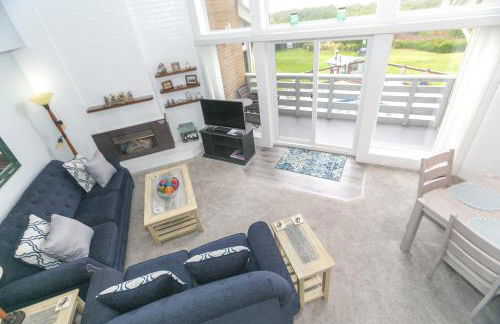
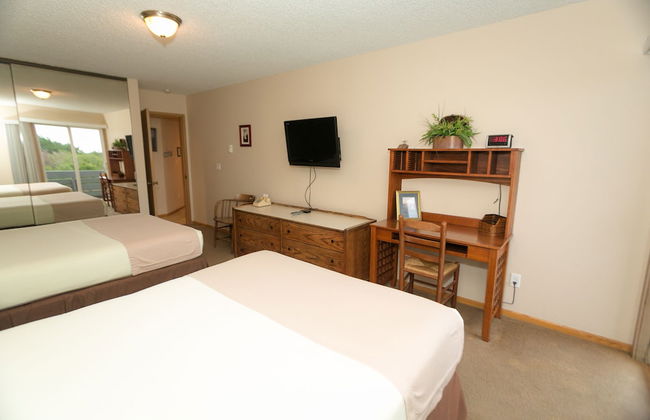
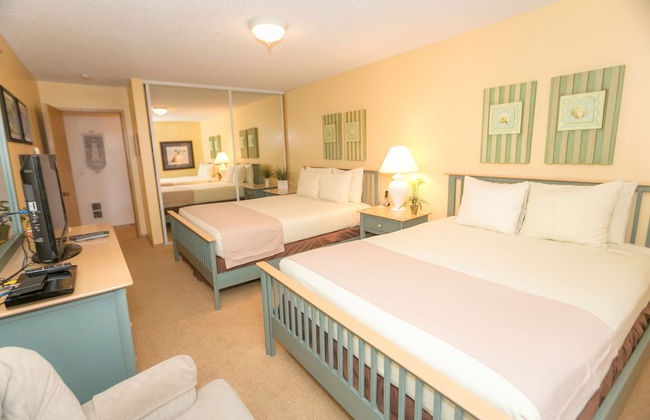
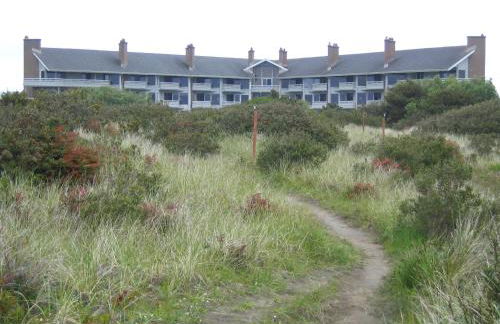
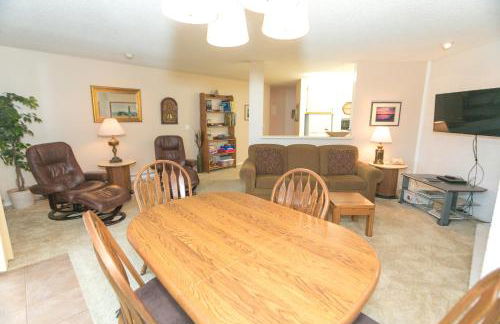
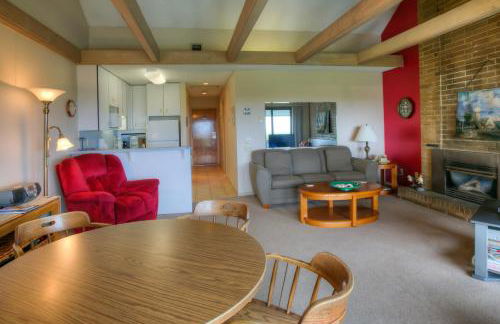
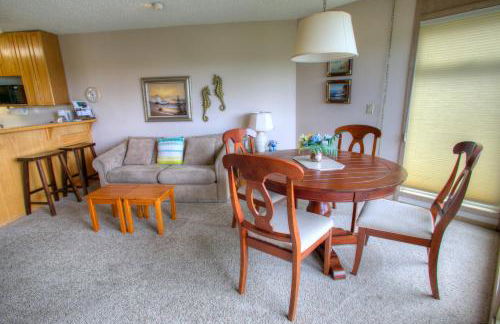
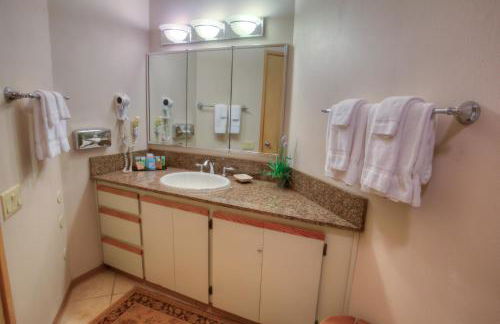
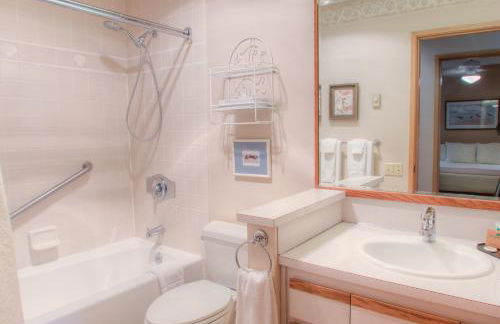
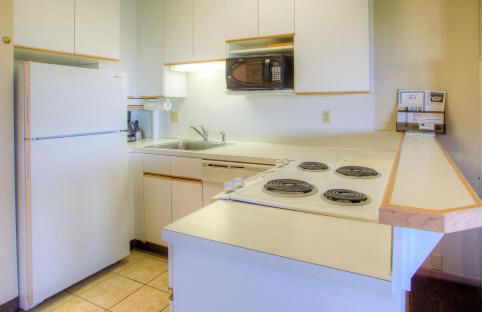
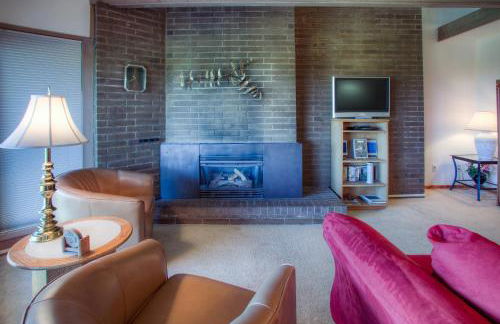
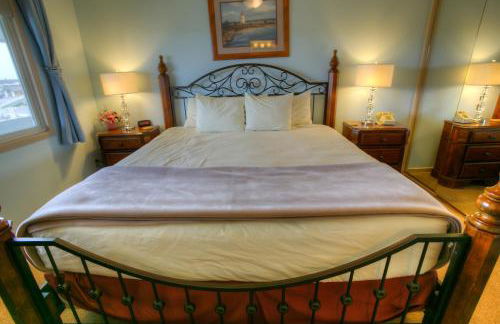
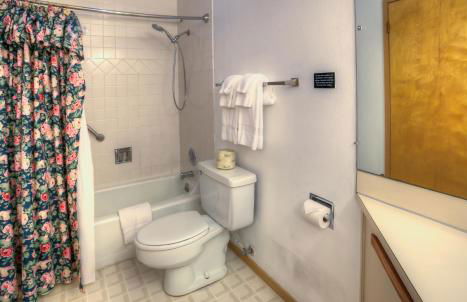
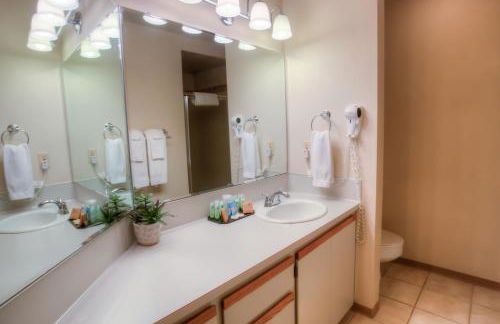
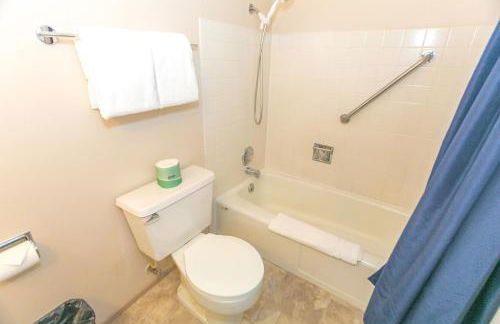
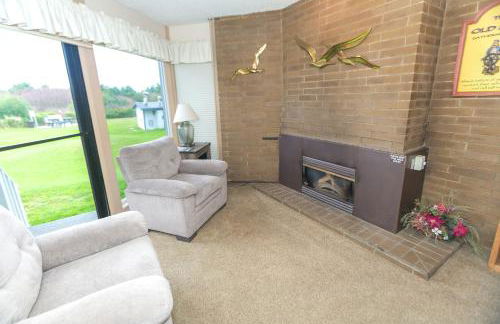
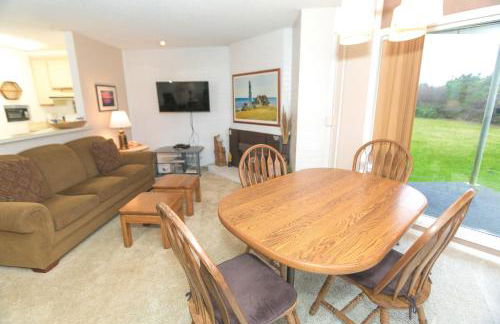
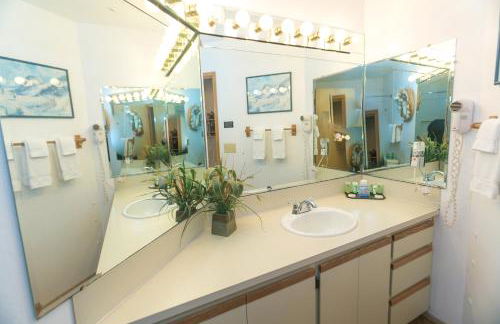
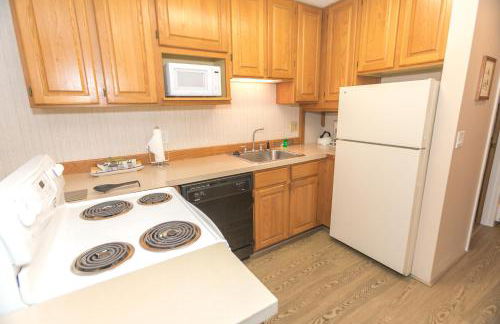
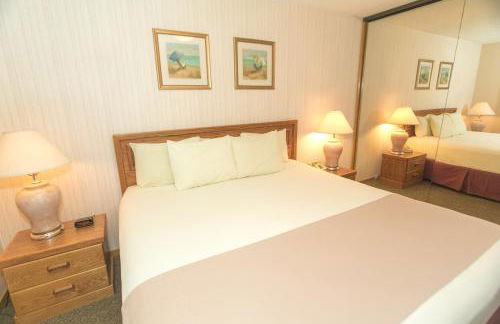
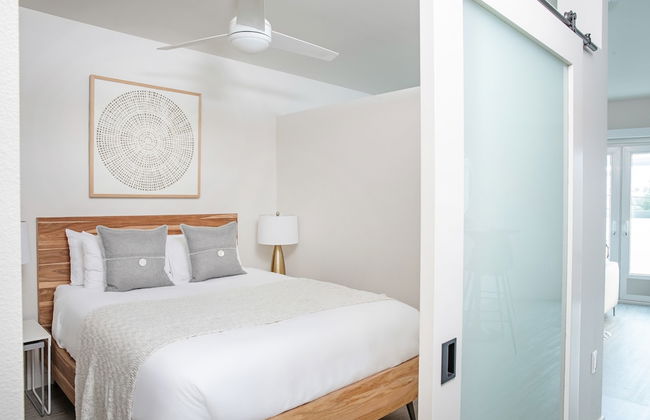
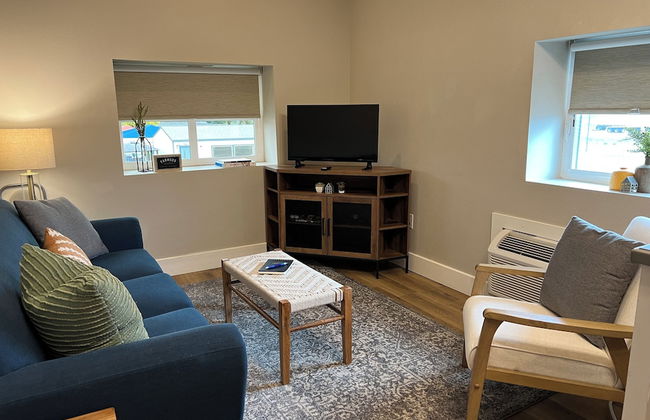
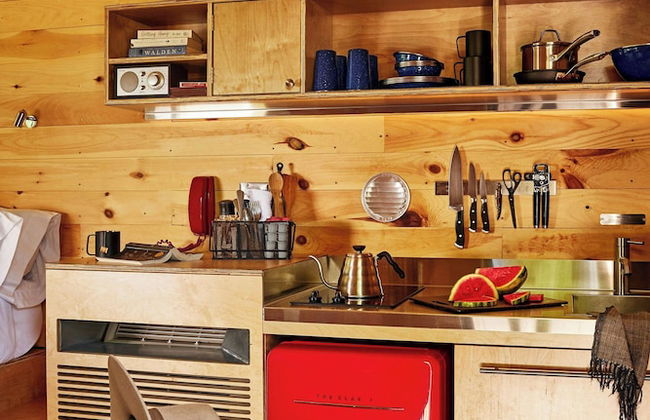
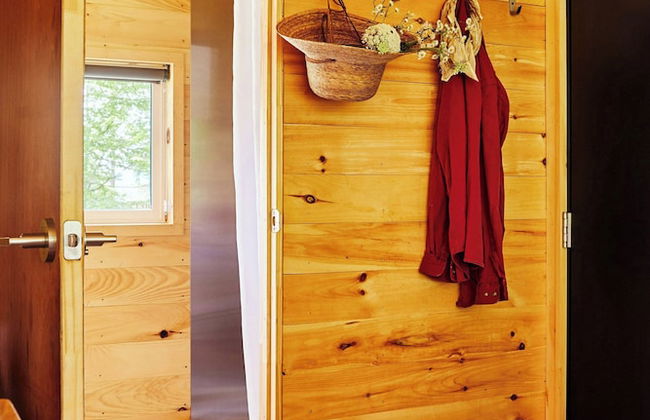
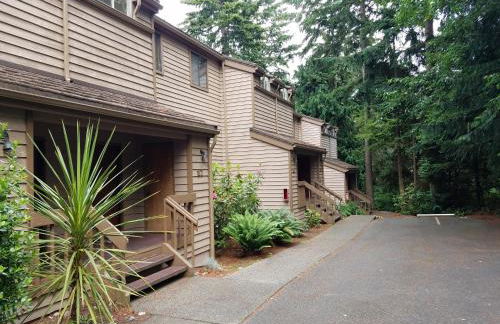
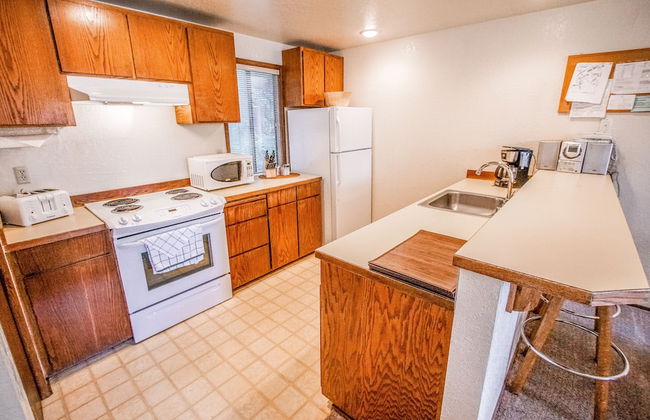
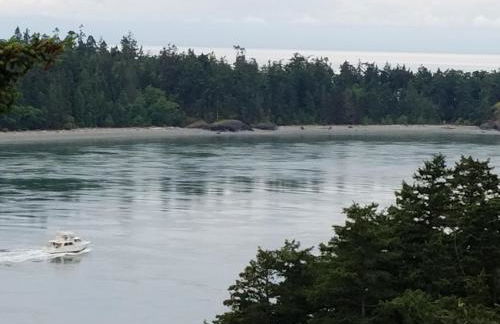
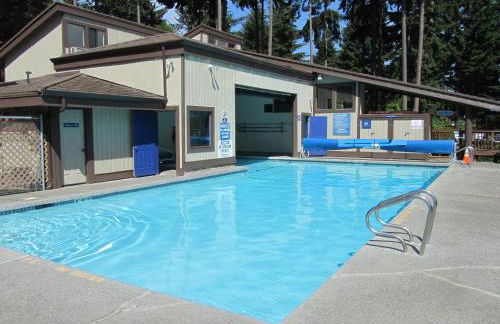
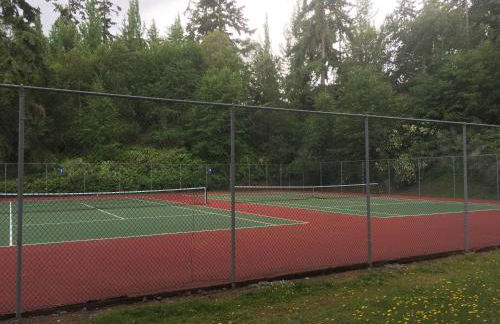
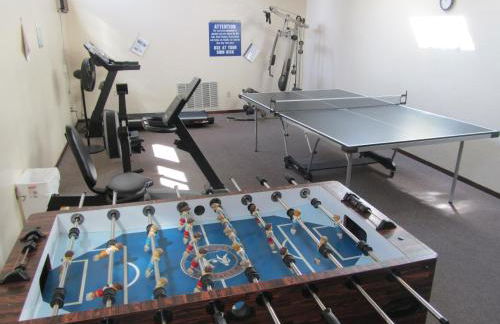
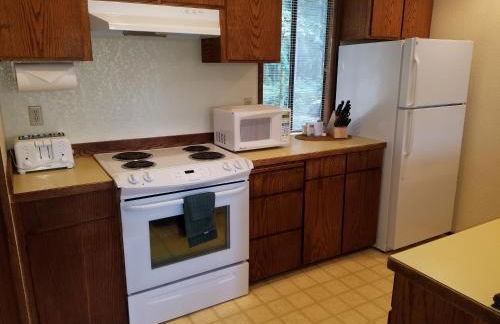
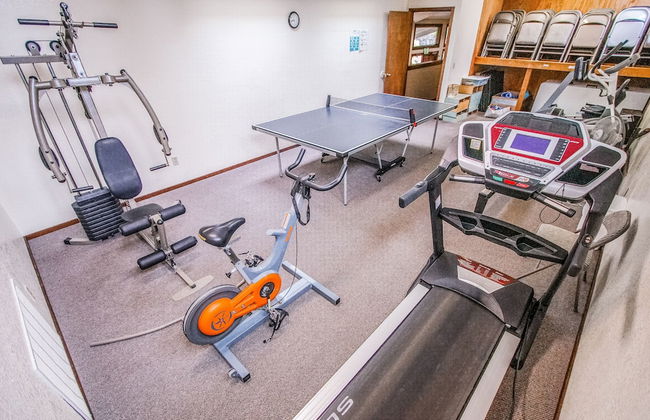
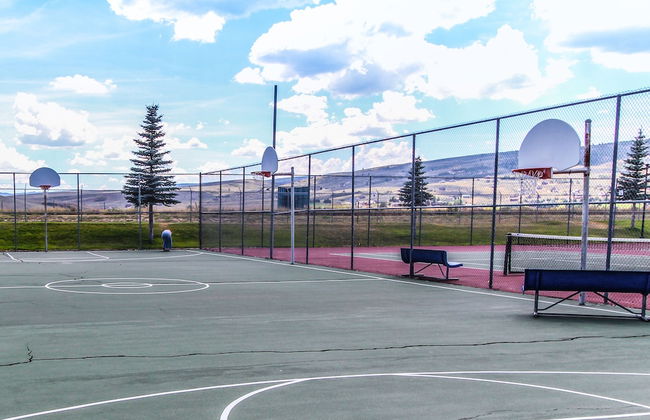
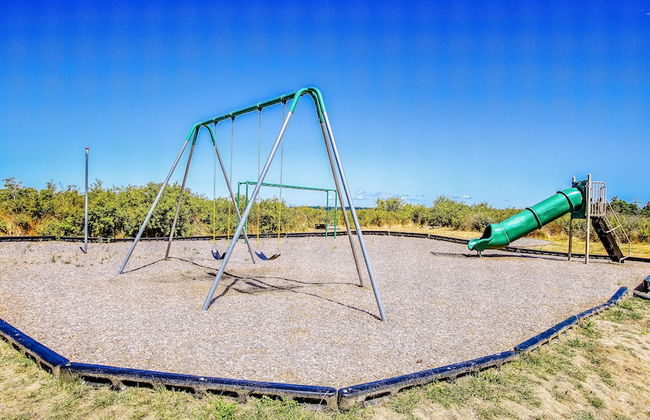
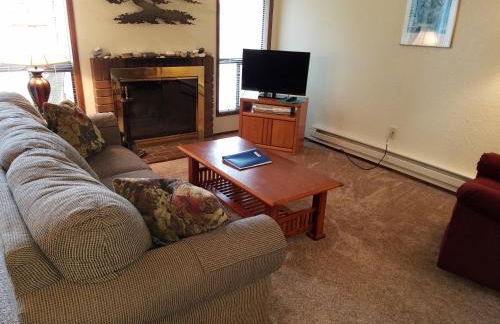
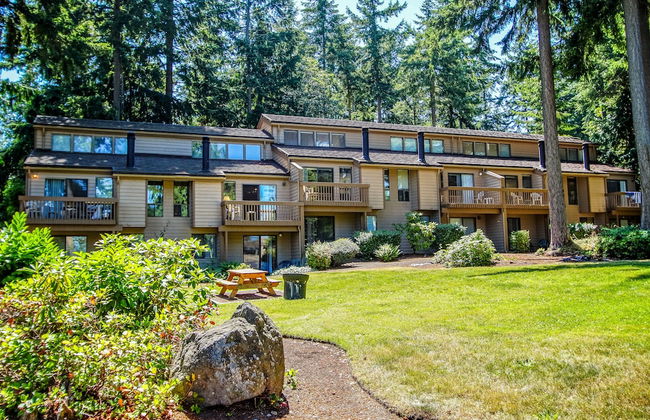
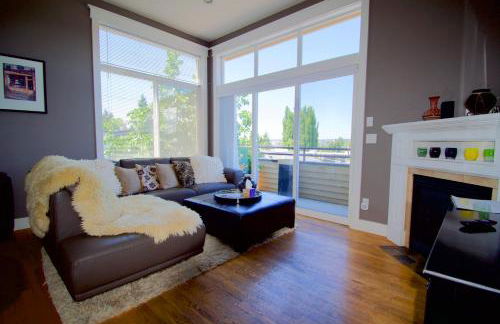
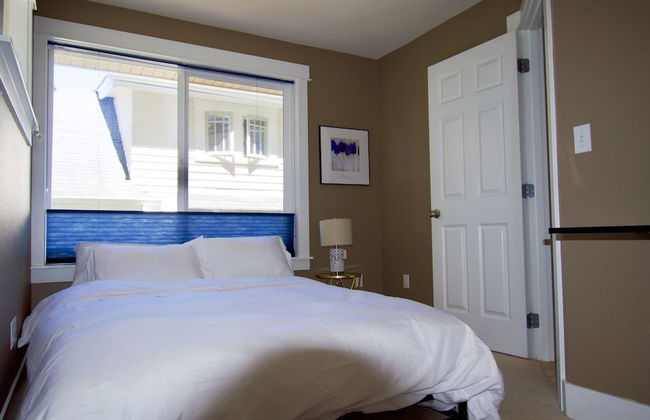
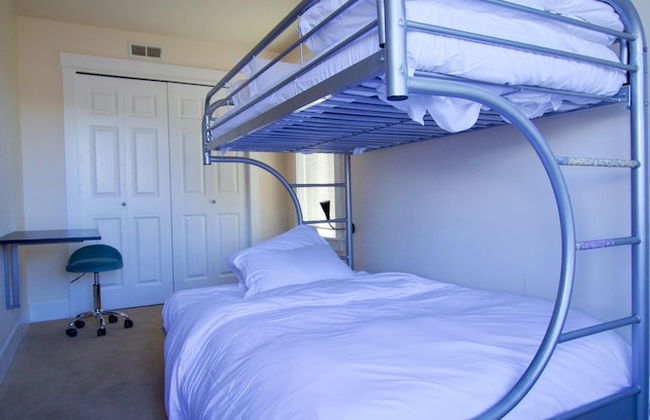
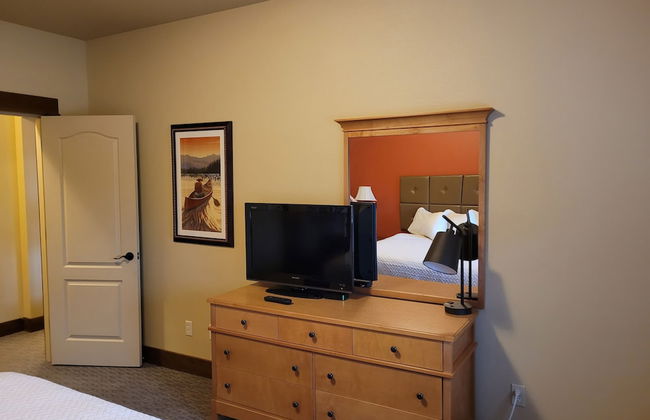
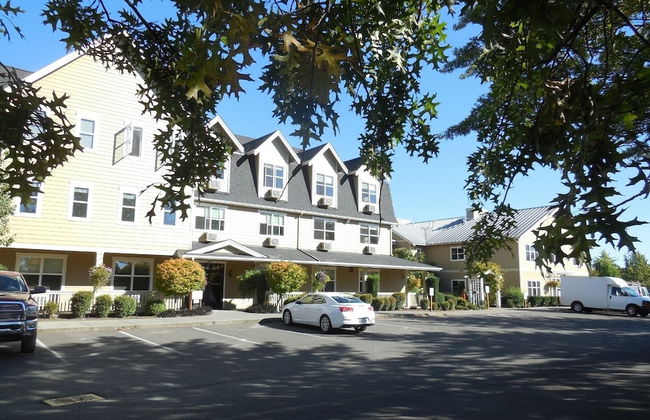
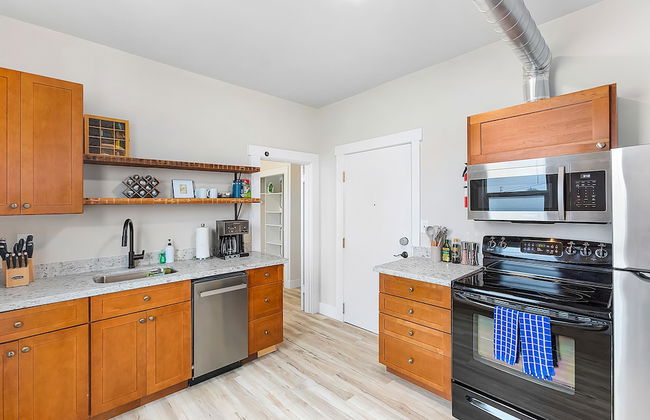
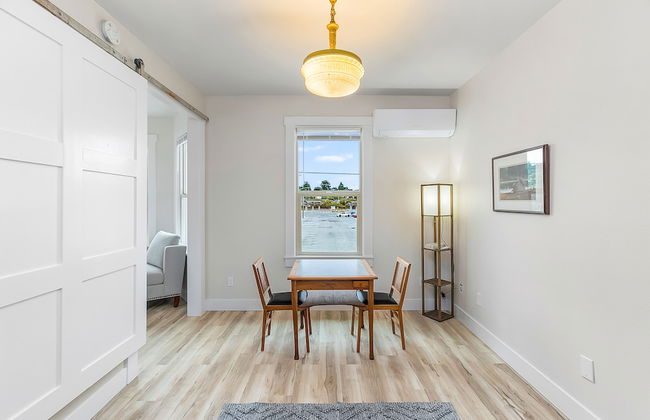
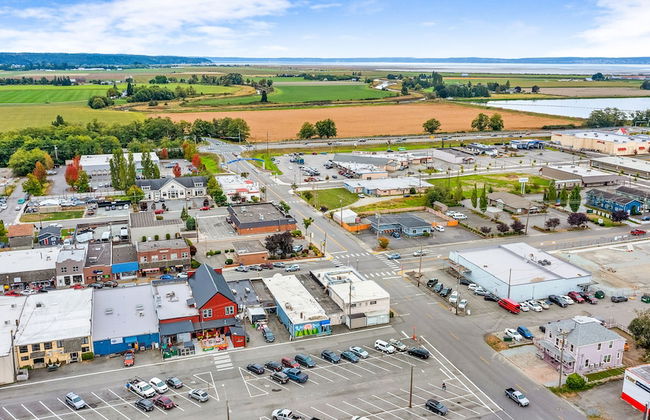
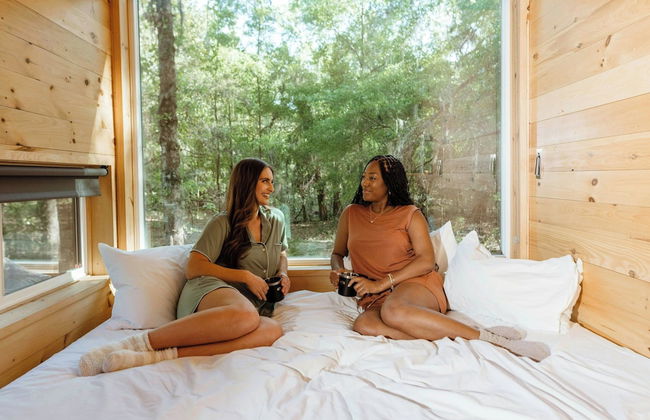
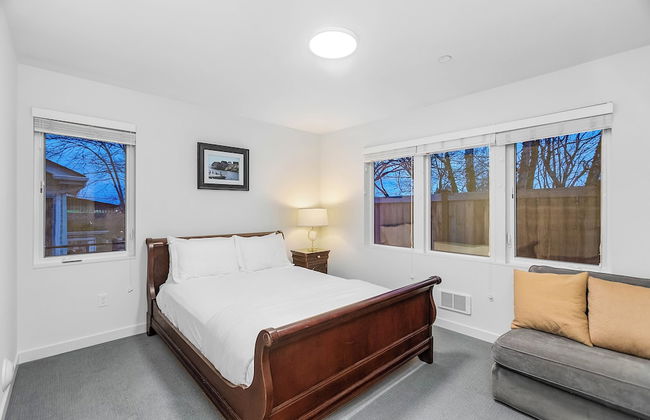
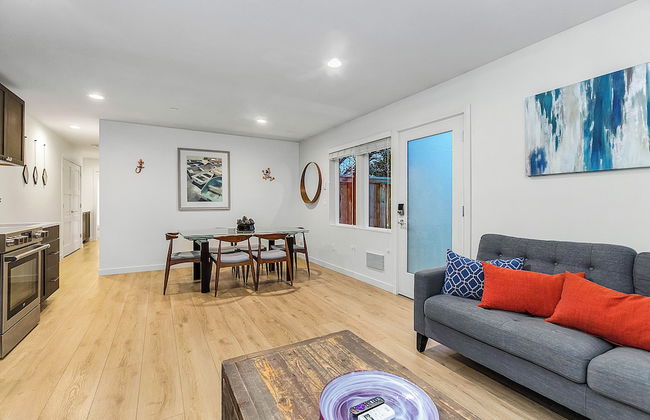
Raintree's Sandcastle - Foto 4
Raintree's Sandcastle - Foto 5
Raintree's Sandcastle - Foto 6
Raintree's Sandcastle - Foto 7
Raintree's Sandcastle - Foto 8
Raintree's Sandcastle - Foto 9
Raintree's Sandcastle - Foto 10
Raintree's Sandcastle - Foto 11
Raintree's Sandcastle - Foto 12
Raintree's Sandcastle - Foto 13
Raintree's Sandcastle - Foto 14
Raintree's Sandcastle - Foto 15
Raintree's Sandcastle - Foto 16
Raintree's Sandcastle - Foto 17
Raintree's Sandcastle - Foto 18
Raintree's Sandcastle - Foto 19
Raintree's Sandcastle - Foto 20
Raintree's Sandcastle - Foto 21
Raintree's Sandcastle - Foto 22
Raintree's Sandcastle - Foto 23
Raintree's Sandcastle - Foto 24
Raintree's Sandcastle - Foto 25
Raintree's Sandcastle - Foto 26
Raintree's Sandcastle - Foto 27
Raintree's Sandcastle - Foto 28
Raintree's Sandcastle - Foto 29
Raintree's Sandcastle - Foto 30
Raintree's Sandcastle - Foto 31
Raintree's Sandcastle - Foto 32
Raintree's Sandcastle - Foto 33

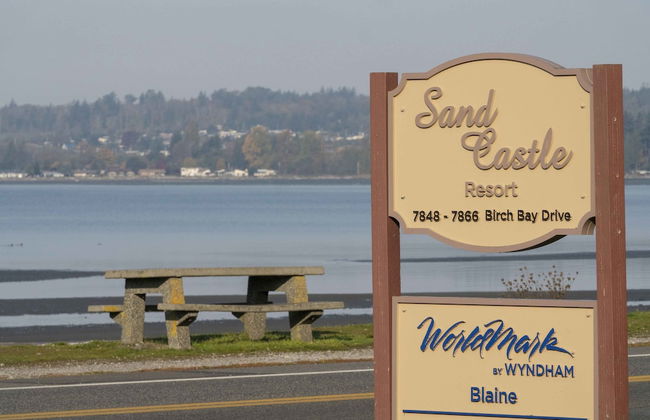
Raintree's Sandcastle

Blaine - A 7 km del centro

  • 6 personas
  • Terraza
  • Piscina
  • Parking
  • Ascensor
  • Balcón
  • Televisión
  • Lavadora
  • Chimenea
  • Barbacoa
  • Toallas
  • Sábanas
9.4Excepcional | 687 reseñas
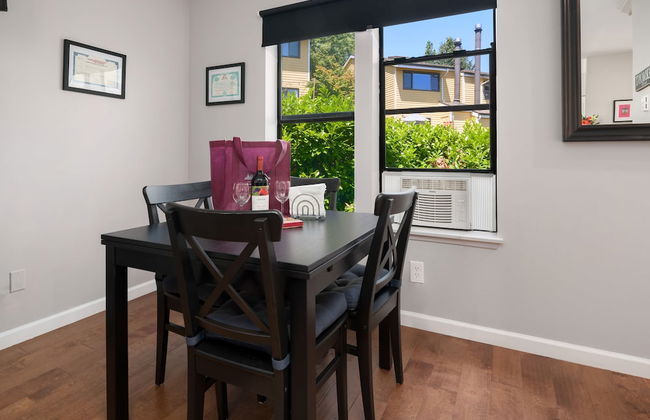
Seattle Vacation Home: Thomas Lodge Vermont - Foto 1
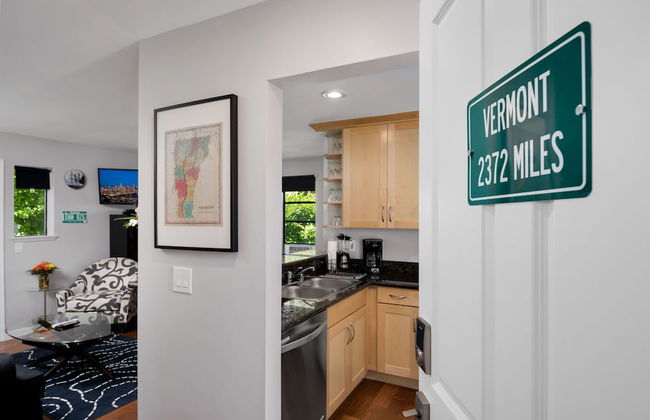
Seattle Vacation Home: Thomas Lodge Vermont - Foto 2
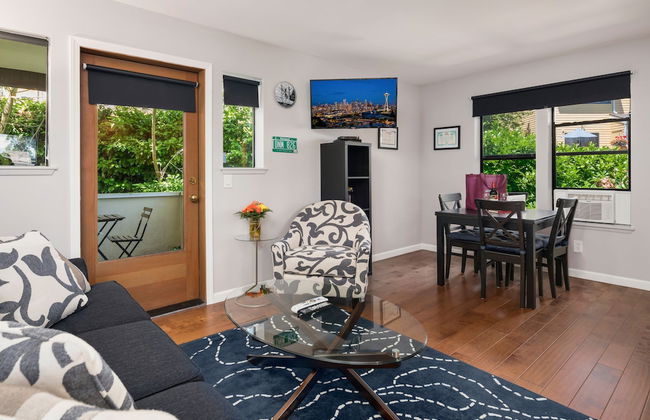
Seattle Vacation Home: Thomas Lodge Vermont - Foto 3
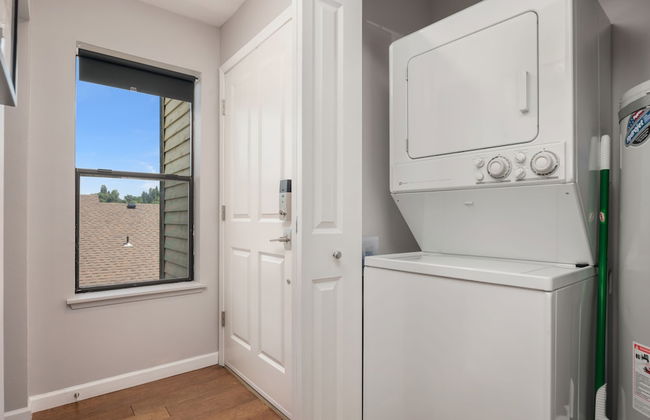
Seattle Vacation Home: Thomas Lodge Vermont - Foto 4
Seattle Vacation Home: Thomas Lodge Vermont - Foto 5
Seattle Vacation Home: Thomas Lodge Vermont - Foto 6
Seattle Vacation Home: Thomas Lodge Vermont - Foto 7
Seattle Vacation Home: Thomas Lodge Vermont - Foto 8
Seattle Vacation Home: Thomas Lodge Vermont - Foto 9
Seattle Vacation Home: Thomas Lodge Vermont - Foto 10
Seattle Vacation Home: Thomas Lodge Vermont - Foto 11
Seattle Vacation Home: Thomas Lodge Vermont - Foto 12

Seattle Vacation Home: Thomas Lodge Vermont

Seattle - Mann - A 2.6 km del centro

  • 51 M2
  • 4 personas
  • Aire acondicionado
  • Calefacción
  • Terraza
  • Parking
  • Balcón
  • Televisión
  • Lavadora
  • Toallas
  • Sábanas
9.6Excepcional | 11 reseñas
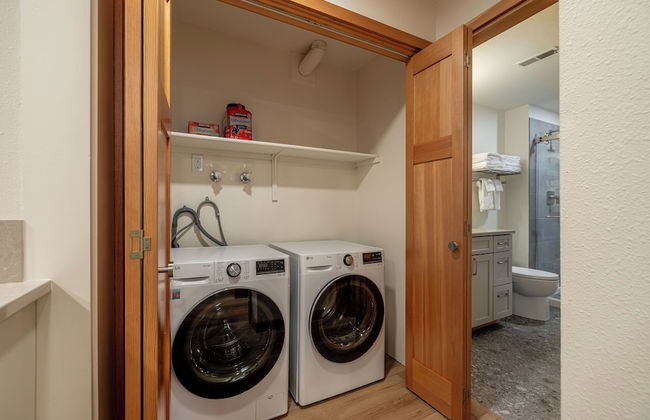
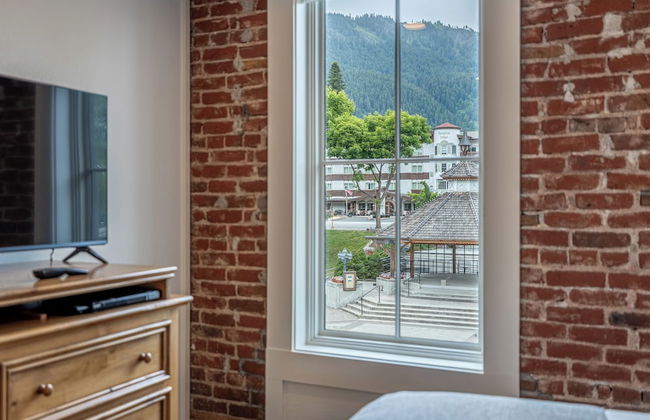
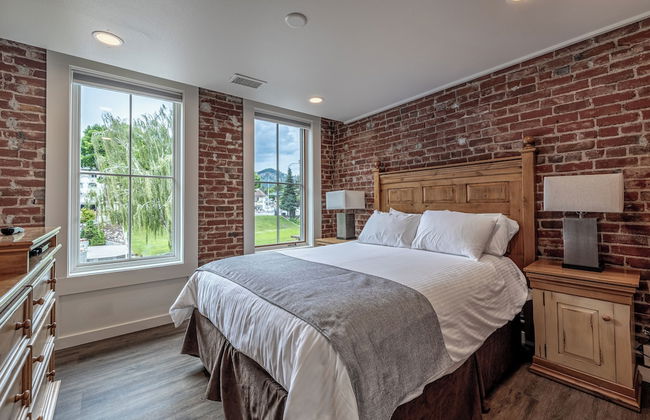
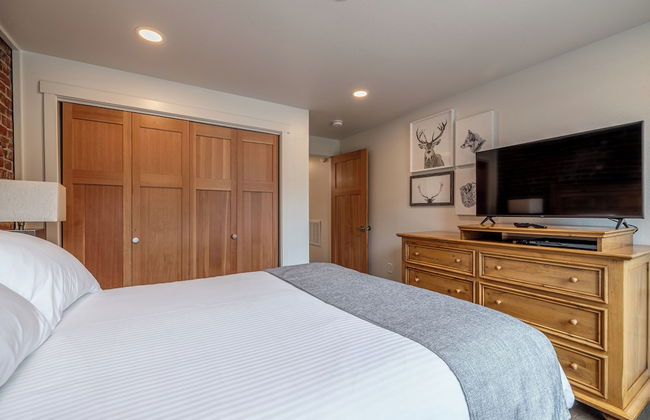
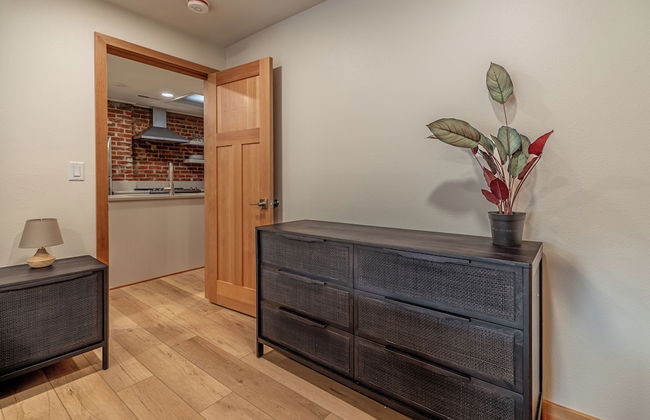
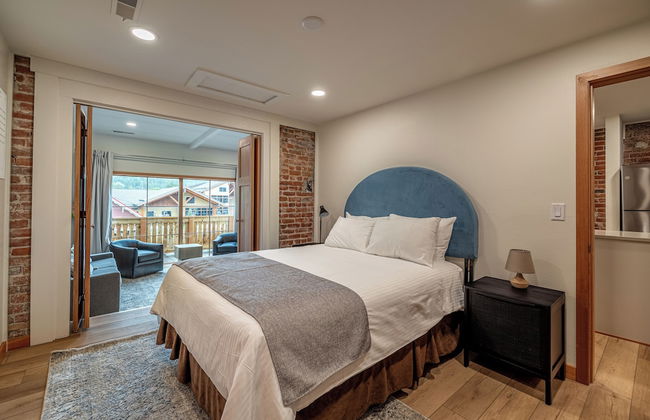
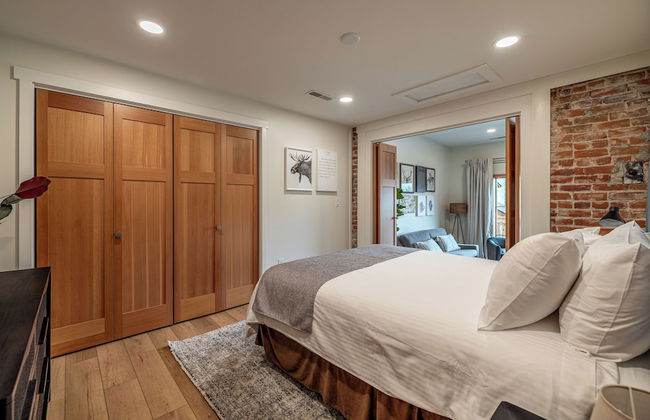
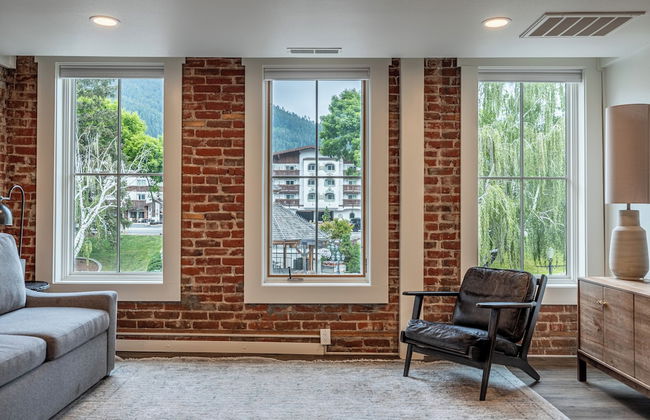
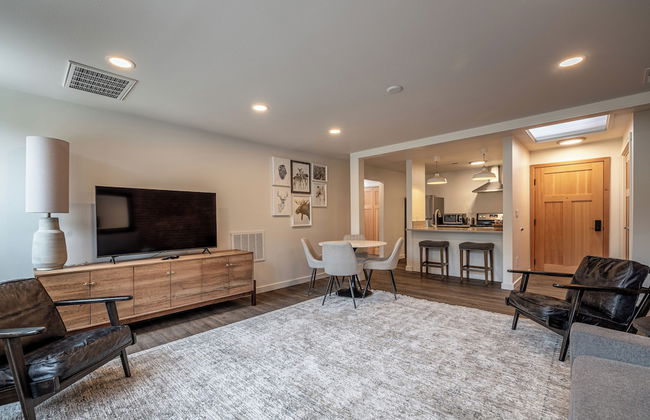
Bavarian Lodge Suites - Foto 1
Bavarian Lodge Suites - Foto 2
Bavarian Lodge Suites - Foto 3
Bavarian Lodge Suites - Foto 4
Bavarian Lodge Suites - Foto 5
Bavarian Lodge Suites - Foto 6
Bavarian Lodge Suites - Foto 7
Bavarian Lodge Suites - Foto 8
Bavarian Lodge Suites - Foto 9
Bavarian Lodge Suites - Foto 10
Bavarian Lodge Suites - Foto 11
Bavarian Lodge Suites - Foto 12
Bavarian Lodge Suites - Foto 13
Bavarian Lodge Suites - Foto 14
Bavarian Lodge Suites - Foto 15
Bavarian Lodge Suites - Foto 16
Bavarian Lodge Suites - Foto 17
Bavarian Lodge Suites - Foto 18
Bavarian Lodge Suites - Foto 19
Bavarian Lodge Suites - Foto 20
Bavarian Lodge Suites - Foto 21
Bavarian Lodge Suites - Foto 22
Bavarian Lodge Suites - Foto 23
Bavarian Lodge Suites - Foto 24
Bavarian Lodge Suites - Foto 25
Bavarian Lodge Suites - Foto 26
Bavarian Lodge Suites - Foto 27
Bavarian Lodge Suites - Foto 28
Bavarian Lodge Suites - Foto 29
Bavarian Lodge Suites - Foto 30
Bavarian Lodge Suites - Foto 31
Bavarian Lodge Suites - Foto 32
Bavarian Lodge Suites - Foto 33

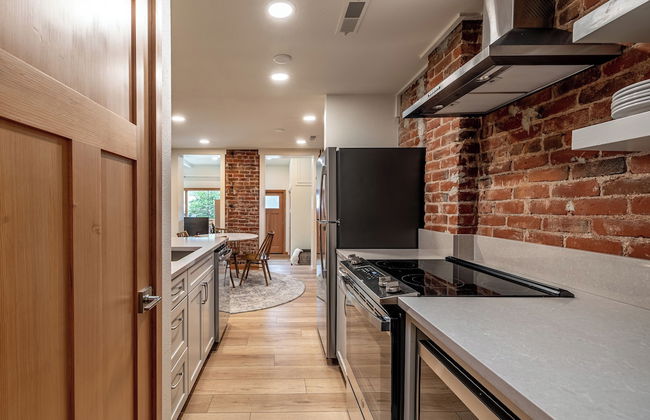
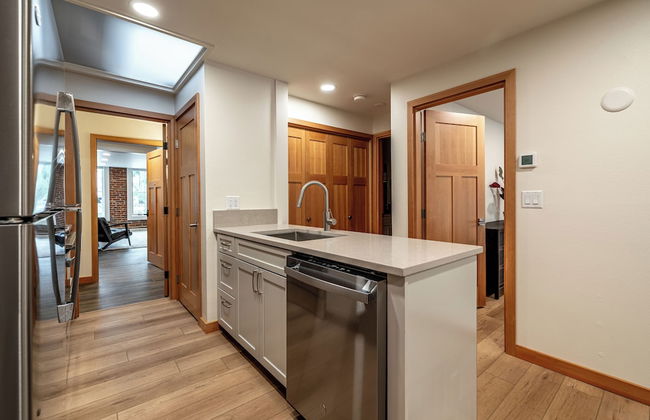
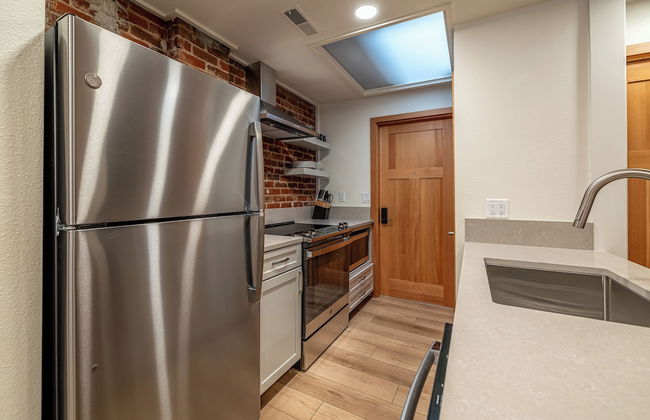
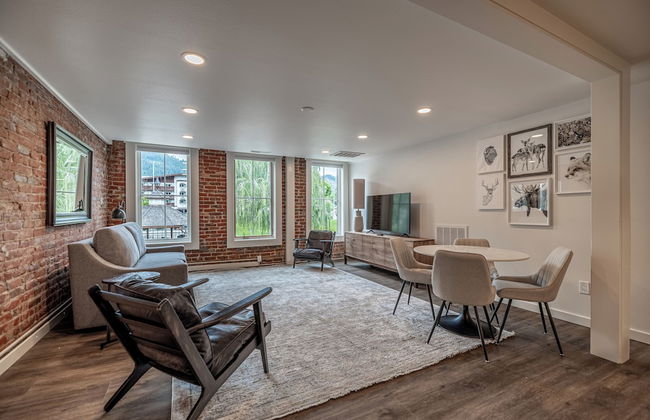
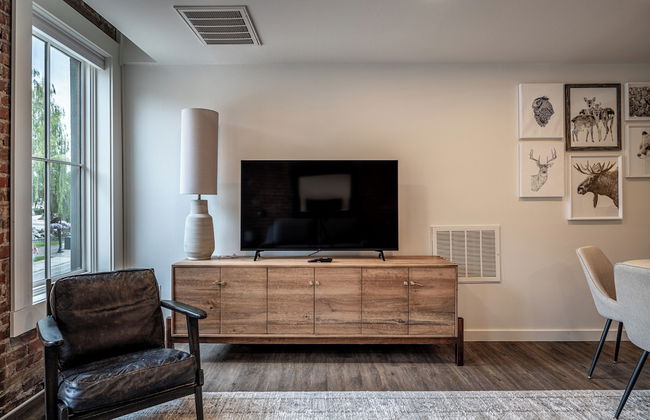
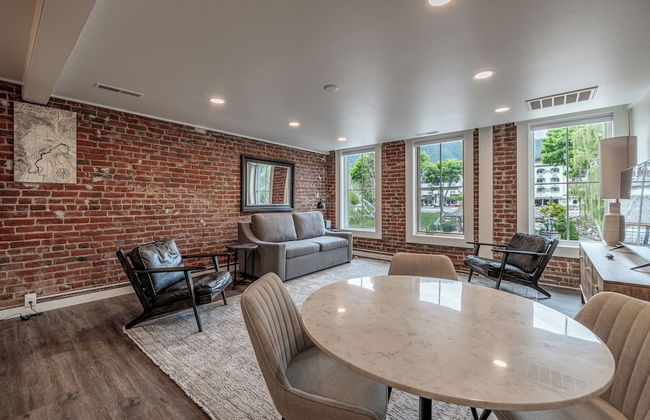
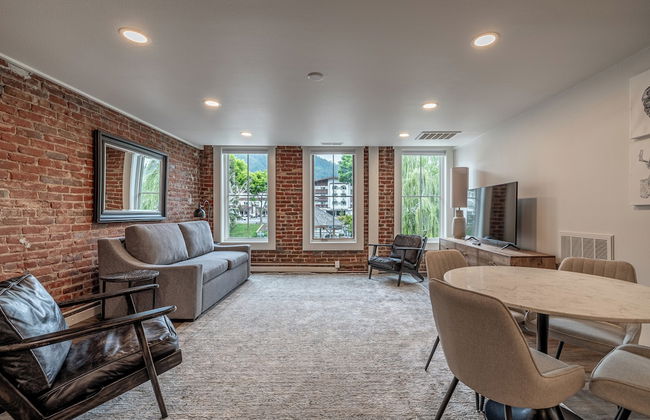
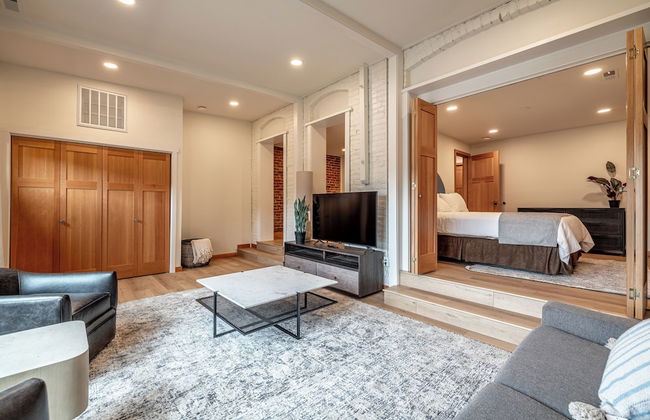
Bavarian Lodge Suites

Leavenworth - A 2.1 km de Leavenworth Ski

  • 4 personas
  • Aire acondicionado
  • Calefacción
  • Parking
  • Televisión
  • Lavadora
  • Toallas
  • Sábanas
9.8Excepcional | 15 reseñas
Belltown Perch explore like a local - Foto 1
Belltown Perch explore like a local - Foto 2
Belltown Perch explore like a local - Foto 3
Belltown Perch explore like a local - Foto 4
Belltown Perch explore like a local - Foto 5
Belltown Perch explore like a local - Foto 6
Belltown Perch explore like a local - Foto 7
Belltown Perch explore like a local - Foto 8
Belltown Perch explore like a local - Foto 9
Belltown Perch explore like a local - Foto 10
Belltown Perch explore like a local - Foto 11
Belltown Perch explore like a local - Foto 12
Belltown Perch explore like a local - Foto 13
Belltown Perch explore like a local - Foto 14
Belltown Perch explore like a local - Foto 15
Belltown Perch explore like a local - Foto 16
Belltown Perch explore like a local - Foto 17
Belltown Perch explore like a local - Foto 18
Belltown Perch explore like a local - Foto 19
Belltown Perch explore like a local - Foto 20
Belltown Perch explore like a local - Foto 21
Belltown Perch explore like a local - Foto 22
Belltown Perch explore like a local - Foto 23
Belltown Perch explore like a local - Foto 24
Belltown Perch explore like a local - Foto 25
Belltown Perch explore like a local - Foto 26
Belltown Perch explore like a local - Foto 27
Belltown Perch explore like a local - Foto 28
Belltown Perch explore like a local - Foto 29
Belltown Perch explore like a local - Foto 30
Belltown Perch explore like a local - Foto 31
Belltown Perch explore like a local - Foto 32
Belltown Perch explore like a local - Foto 33
Belltown Perch explore like a local - Foto 34
Belltown Perch explore like a local - Foto 35
Belltown Perch explore like a local - Foto 36

Belltown Perch explore like a local

Seattle - Belltown - A 1.4 km del centro

  • 4 personas
  • Aire acondicionado
  • Calefacción
  • Piscina
  • Parking
  • Balcón
  • Televisión
  • Lavadora
  • Toallas
9.4Excepcional | 27 reseñas
Domicile Suites at Marina SLU - Foto 1
Domicile Suites at Marina SLU - Foto 2
Domicile Suites at Marina SLU - Foto 3
Domicile Suites at Marina SLU - Foto 4
Domicile Suites at Marina SLU - Foto 5
Domicile Suites at Marina SLU - Foto 6
Domicile Suites at Marina SLU - Foto 7
Domicile Suites at Marina SLU - Foto 8
Domicile Suites at Marina SLU - Foto 9
Domicile Suites at Marina SLU - Foto 10
Domicile Suites at Marina SLU - Foto 11
Domicile Suites at Marina SLU - Foto 12
Domicile Suites at Marina SLU - Foto 13
Domicile Suites at Marina SLU - Foto 14
Domicile Suites at Marina SLU - Foto 15
Domicile Suites at Marina SLU - Foto 16
Domicile Suites at Marina SLU - Foto 17
Domicile Suites at Marina SLU - Foto 18
Domicile Suites at Marina SLU - Foto 19
Domicile Suites at Marina SLU - Foto 20
Domicile Suites at Marina SLU - Foto 21
Domicile Suites at Marina SLU - Foto 22
Domicile Suites at Marina SLU - Foto 23
Domicile Suites at Marina SLU - Foto 24
Domicile Suites at Marina SLU - Foto 25
Domicile Suites at Marina SLU - Foto 26
Domicile Suites at Marina SLU - Foto 27
Domicile Suites at Marina SLU - Foto 28
Domicile Suites at Marina SLU - Foto 29
Domicile Suites at Marina SLU - Foto 30
Domicile Suites at Marina SLU - Foto 31
Domicile Suites at Marina SLU - Foto 32
Domicile Suites at Marina SLU - Foto 33
Domicile Suites at Marina SLU - Foto 34
Domicile Suites at Marina SLU - Foto 35
Domicile Suites at Marina SLU - Foto 36
Domicile Suites at Marina SLU - Foto 37
Domicile Suites at Marina SLU - Foto 38
Domicile Suites at Marina SLU - Foto 39
Domicile Suites at Marina SLU - Foto 40
Domicile Suites at Marina SLU - Foto 41
Domicile Suites at Marina SLU - Foto 42
Domicile Suites at Marina SLU - Foto 43
Domicile Suites at Marina SLU - Foto 44
Domicile Suites at Marina SLU - Foto 45
Domicile Suites at Marina SLU - Foto 46
Domicile Suites at Marina SLU - Foto 47
Domicile Suites at Marina SLU - Foto 48
Domicile Suites at Marina SLU - Foto 49
Domicile Suites at Marina SLU - Foto 50
Domicile Suites at Marina SLU - Foto 51
Domicile Suites at Marina SLU - Foto 52
Domicile Suites at Marina SLU - Foto 53
Domicile Suites at Marina SLU - Foto 54
Domicile Suites at Marina SLU - Foto 55
Domicile Suites at Marina SLU - Foto 56
Domicile Suites at Marina SLU - Foto 57
Domicile Suites at Marina SLU - Foto 58
Domicile Suites at Marina SLU - Foto 59
Domicile Suites at Marina SLU - Foto 60
Domicile Suites at Marina SLU - Foto 61

Domicile Suites at Marina SLU

Seattle - Westlake - A 2.6 km del centro

  • 47 M2
  • 2 personas
  • Calefacción
  • Terraza
  • Parking
  • Ascensor
  • Jardín
  • Televisión
  • Barbacoa
  • Toallas
9.2Excepcional | 179 reseñas
The Grey Gull - Foto 1
The Grey Gull - Foto 2
The Grey Gull - Foto 3
The Grey Gull - Foto 4
The Grey Gull - Foto 5
The Grey Gull - Foto 6
The Grey Gull - Foto 7
The Grey Gull - Foto 8
The Grey Gull - Foto 9
The Grey Gull - Foto 10
The Grey Gull - Foto 11
The Grey Gull - Foto 12
The Grey Gull - Foto 13
The Grey Gull - Foto 14
The Grey Gull - Foto 15
The Grey Gull - Foto 16
The Grey Gull - Foto 17
The Grey Gull - Foto 18
The Grey Gull - Foto 19
The Grey Gull - Foto 20
The Grey Gull - Foto 21
The Grey Gull - Foto 22
The Grey Gull - Foto 23
The Grey Gull - Foto 24
The Grey Gull - Foto 25
The Grey Gull - Foto 26
The Grey Gull - Foto 27
The Grey Gull - Foto 28
The Grey Gull - Foto 29
The Grey Gull - Foto 30
The Grey Gull - Foto 31
The Grey Gull - Foto 32
The Grey Gull - Foto 33
The Grey Gull - Foto 34
The Grey Gull - Foto 35
The Grey Gull - Foto 36
The Grey Gull - Foto 37
The Grey Gull - Foto 38
The Grey Gull - Foto 39
The Grey Gull - Foto 40
The Grey Gull - Foto 41
The Grey Gull - Foto 42
The Grey Gull - Foto 43
The Grey Gull - Foto 44
The Grey Gull - Foto 45
The Grey Gull - Foto 46
The Grey Gull - Foto 47
The Grey Gull - Foto 48
The Grey Gull - Foto 49
The Grey Gull - Foto 50
The Grey Gull - Foto 51
The Grey Gull - Foto 52
The Grey Gull - Foto 53
The Grey Gull - Foto 54
The Grey Gull - Foto 55
The Grey Gull - Foto 56
The Grey Gull - Foto 57
The Grey Gull - Foto 58
The Grey Gull - Foto 59
The Grey Gull - Foto 60
The Grey Gull - Foto 61
The Grey Gull - Foto 62
The Grey Gull - Foto 63
The Grey Gull - Foto 64
The Grey Gull - Foto 65
The Grey Gull - Foto 66
The Grey Gull - Foto 67
The Grey Gull - Foto 68
The Grey Gull - Foto 69
The Grey Gull - Foto 70
The Grey Gull - Foto 71
The Grey Gull - Foto 72
The Grey Gull - Foto 73
The Grey Gull - Foto 74
The Grey Gull - Foto 75
The Grey Gull - Foto 76
The Grey Gull - Foto 77
The Grey Gull - Foto 78
The Grey Gull - Foto 79
The Grey Gull - Foto 80
The Grey Gull - Foto 81
The Grey Gull - Foto 82
The Grey Gull - Foto 83
The Grey Gull - Foto 84
The Grey Gull - Foto 85
The Grey Gull - Foto 86
The Grey Gull - Foto 87
The Grey Gull - Foto 88
The Grey Gull - Foto 89
The Grey Gull - Foto 90
The Grey Gull - Foto 91
The Grey Gull - Foto 92
The Grey Gull - Foto 93
The Grey Gull - Foto 94
The Grey Gull - Foto 95
The Grey Gull - Foto 96
The Grey Gull - Foto 97
The Grey Gull - Foto 98
The Grey Gull - Foto 99
The Grey Gull - Foto 100
The Grey Gull - Foto 101
The Grey Gull - Foto 102
The Grey Gull - Foto 103
The Grey Gull - Foto 104
The Grey Gull - Foto 105
The Grey Gull - Foto 106
The Grey Gull - Foto 107
The Grey Gull - Foto 108
The Grey Gull - Foto 109
The Grey Gull - Foto 110
The Grey Gull - Foto 111
The Grey Gull - Foto 112
The Grey Gull - Foto 113
The Grey Gull - Foto 114
The Grey Gull - Foto 115
The Grey Gull - Foto 116
The Grey Gull - Foto 117
The Grey Gull - Foto 118
The Grey Gull - Foto 119
The Grey Gull - Foto 120
The Grey Gull - Foto 121
The Grey Gull - Foto 122
The Grey Gull - Foto 123
The Grey Gull - Foto 124
The Grey Gull - Foto 125
The Grey Gull - Foto 126
The Grey Gull - Foto 127
The Grey Gull - Foto 128
The Grey Gull - Foto 129
The Grey Gull - Foto 130
The Grey Gull - Foto 131
The Grey Gull - Foto 132
The Grey Gull - Foto 133
The Grey Gull - Foto 134
The Grey Gull - Foto 135
The Grey Gull - Foto 136
The Grey Gull - Foto 137
The Grey Gull - Foto 138
The Grey Gull - Foto 139
The Grey Gull - Foto 140
The Grey Gull - Foto 141
The Grey Gull - Foto 142
The Grey Gull - Foto 143
The Grey Gull - Foto 144
The Grey Gull - Foto 145
The Grey Gull - Foto 146
The Grey Gull - Foto 147
The Grey Gull - Foto 148
The Grey Gull - Foto 149
The Grey Gull - Foto 150
The Grey Gull - Foto 151
The Grey Gull - Foto 152
The Grey Gull - Foto 153
The Grey Gull - Foto 154
The Grey Gull - Foto 155
The Grey Gull - Foto 156
The Grey Gull - Foto 157
The Grey Gull - Foto 158
The Grey Gull - Foto 159
The Grey Gull - Foto 160

The Grey Gull

Ocean Shores - A 390 m del centro

  • 109 M2
  • 3 habitaciones
  • 10 personas
  • Cocina pequeña
  • Calefacción
  • Piscina
  • Parking
  • Ascensor
  • Jardín
  • Televisión
  • Chimenea
  • Barbacoa
  • Toallas
  • Sábanas
9.2Excepcional | 1400 reseñas
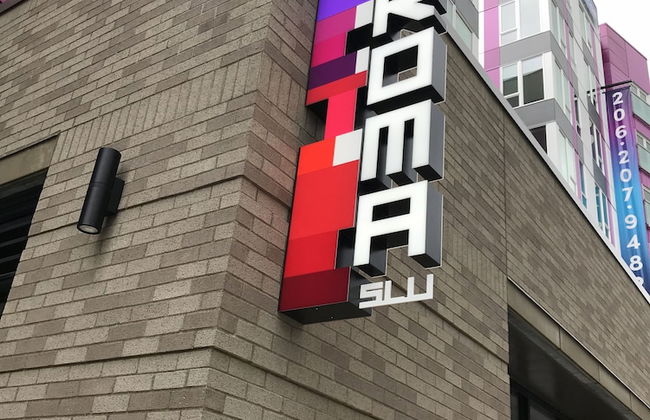
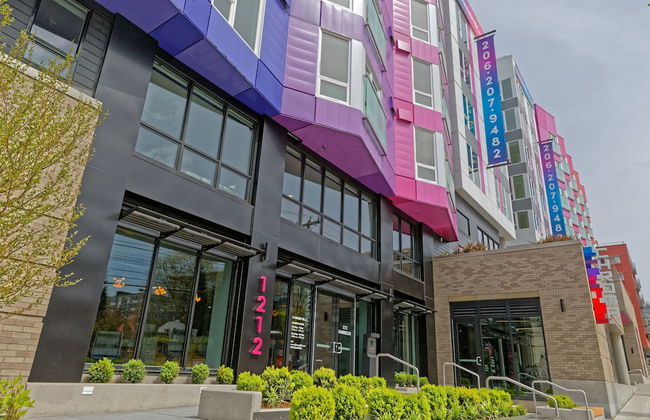
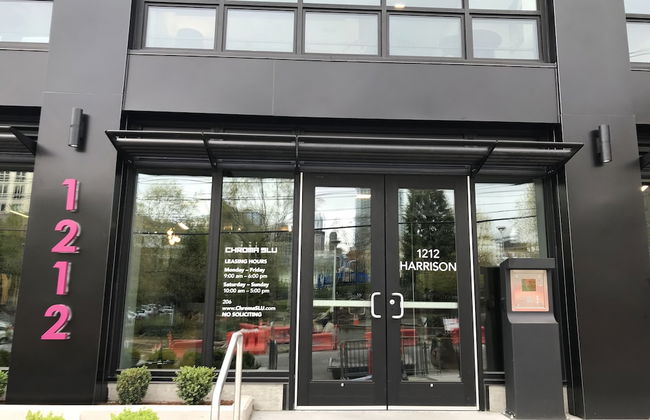
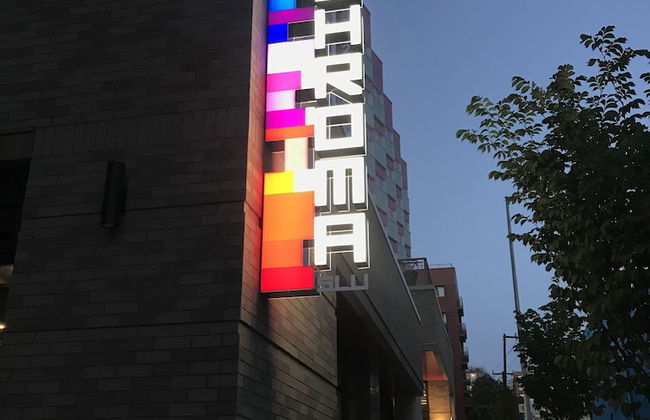
Domicile Suites at Chroma SLU - Foto 1
Domicile Suites at Chroma SLU - Foto 2
Domicile Suites at Chroma SLU - Foto 3
Domicile Suites at Chroma SLU - Foto 4
Domicile Suites at Chroma SLU - Foto 5
Domicile Suites at Chroma SLU - Foto 6
Domicile Suites at Chroma SLU - Foto 7
Domicile Suites at Chroma SLU - Foto 8
Domicile Suites at Chroma SLU - Foto 9
Domicile Suites at Chroma SLU - Foto 10
Domicile Suites at Chroma SLU - Foto 11
Domicile Suites at Chroma SLU - Foto 12
Domicile Suites at Chroma SLU - Foto 13
Domicile Suites at Chroma SLU - Foto 14
Domicile Suites at Chroma SLU - Foto 15
Domicile Suites at Chroma SLU - Foto 16
Domicile Suites at Chroma SLU - Foto 17
Domicile Suites at Chroma SLU - Foto 18
Domicile Suites at Chroma SLU - Foto 19
Domicile Suites at Chroma SLU - Foto 20
Domicile Suites at Chroma SLU - Foto 21
Domicile Suites at Chroma SLU - Foto 22
Domicile Suites at Chroma SLU - Foto 23
Domicile Suites at Chroma SLU - Foto 24
Domicile Suites at Chroma SLU - Foto 25
Domicile Suites at Chroma SLU - Foto 26
Domicile Suites at Chroma SLU - Foto 27
Domicile Suites at Chroma SLU - Foto 28
Domicile Suites at Chroma SLU - Foto 29
Domicile Suites at Chroma SLU - Foto 30
Domicile Suites at Chroma SLU - Foto 31
Domicile Suites at Chroma SLU - Foto 32
Domicile Suites at Chroma SLU - Foto 33
Domicile Suites at Chroma SLU - Foto 34
Domicile Suites at Chroma SLU - Foto 35
Domicile Suites at Chroma SLU - Foto 36
Domicile Suites at Chroma SLU - Foto 37
Domicile Suites at Chroma SLU - Foto 38
Domicile Suites at Chroma SLU - Foto 39
Domicile Suites at Chroma SLU - Foto 40
Domicile Suites at Chroma SLU - Foto 41
Domicile Suites at Chroma SLU - Foto 42

Domicile Suites at Chroma SLU

Seattle - South Lake Union - A 1.6 km del centro

  • 55 M2
  • 2 personas
  • Aire acondicionado
  • Calefacción
  • Terraza
  • Parking
  • Ascensor
  • Televisión
  • Lavadora
  • Barbacoa
  • Toallas
  • Sábanas
9Excepcional | 206 reseñas
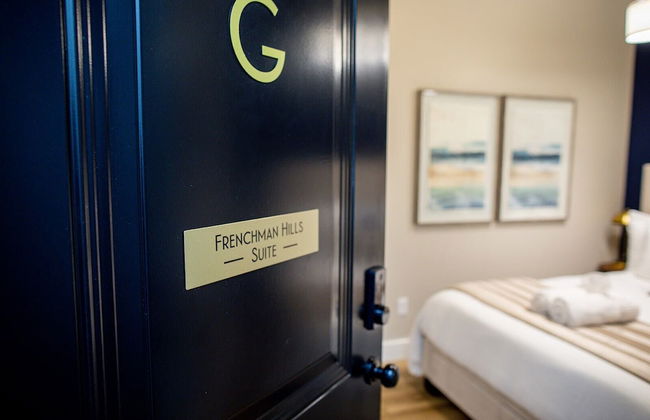
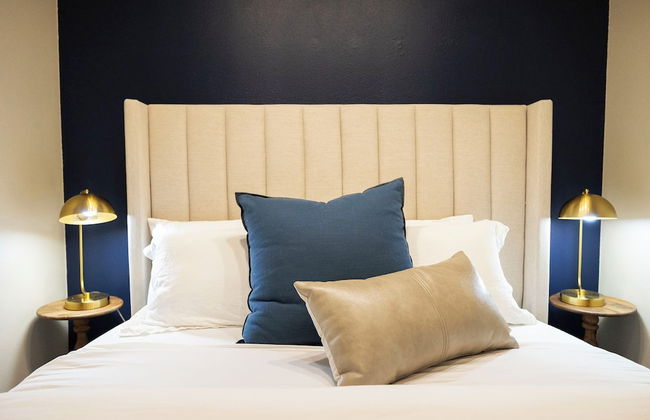
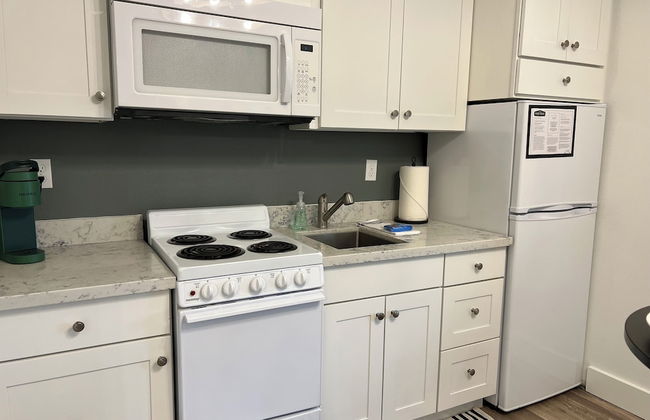
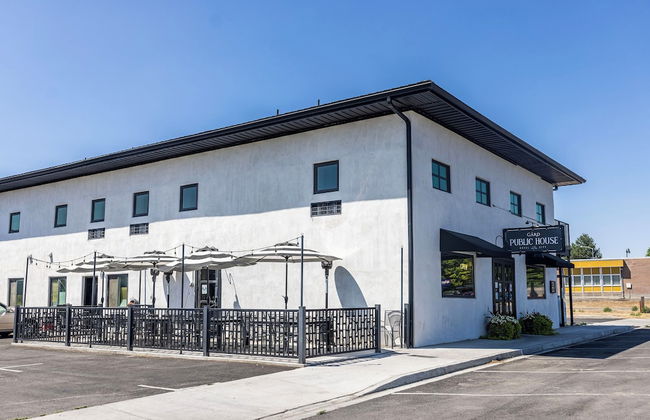
Gard Public House Inn & Restaurant - Foto 1
Gard Public House Inn & Restaurant - Foto 2
Gard Public House Inn & Restaurant - Foto 3
Gard Public House Inn & Restaurant - Foto 4
Gard Public House Inn & Restaurant - Foto 5
Gard Public House Inn & Restaurant - Foto 6
Gard Public House Inn & Restaurant - Foto 7
Gard Public House Inn & Restaurant - Foto 8
Gard Public House Inn & Restaurant - Foto 9
Gard Public House Inn & Restaurant - Foto 10
Gard Public House Inn & Restaurant - Foto 11
Gard Public House Inn & Restaurant - Foto 12
Gard Public House Inn & Restaurant - Foto 13
Gard Public House Inn & Restaurant - Foto 14
Gard Public House Inn & Restaurant - Foto 15
Gard Public House Inn & Restaurant - Foto 16
Gard Public House Inn & Restaurant - Foto 17
Gard Public House Inn & Restaurant - Foto 18
Gard Public House Inn & Restaurant - Foto 19
Gard Public House Inn & Restaurant - Foto 20
Gard Public House Inn & Restaurant - Foto 21
Gard Public House Inn & Restaurant - Foto 22
Gard Public House Inn & Restaurant - Foto 23
Gard Public House Inn & Restaurant - Foto 24
Gard Public House Inn & Restaurant - Foto 25
Gard Public House Inn & Restaurant - Foto 26
Gard Public House Inn & Restaurant - Foto 27
Gard Public House Inn & Restaurant - Foto 28
Gard Public House Inn & Restaurant - Foto 29
Gard Public House Inn & Restaurant - Foto 30
Gard Public House Inn & Restaurant - Foto 31
Gard Public House Inn & Restaurant - Foto 32
Gard Public House Inn & Restaurant - Foto 33
Gard Public House Inn & Restaurant - Foto 34
Gard Public House Inn & Restaurant - Foto 35
Gard Public House Inn & Restaurant - Foto 36
Gard Public House Inn & Restaurant - Foto 37
Gard Public House Inn & Restaurant - Foto 38
Gard Public House Inn & Restaurant - Foto 39
Gard Public House Inn & Restaurant - Foto 40
Gard Public House Inn & Restaurant - Foto 41
Gard Public House Inn & Restaurant - Foto 42
Gard Public House Inn & Restaurant - Foto 43
Gard Public House Inn & Restaurant - Foto 44
Gard Public House Inn & Restaurant - Foto 45
Gard Public House Inn & Restaurant - Foto 46
Gard Public House Inn & Restaurant - Foto 47
Gard Public House Inn & Restaurant - Foto 48
Gard Public House Inn & Restaurant - Foto 49
Gard Public House Inn & Restaurant - Foto 50
Gard Public House Inn & Restaurant - Foto 51
Gard Public House Inn & Restaurant - Foto 52
Gard Public House Inn & Restaurant - Foto 53
Gard Public House Inn & Restaurant - Foto 54

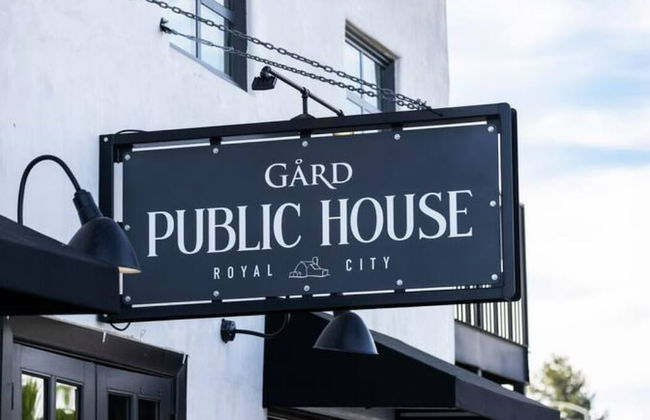
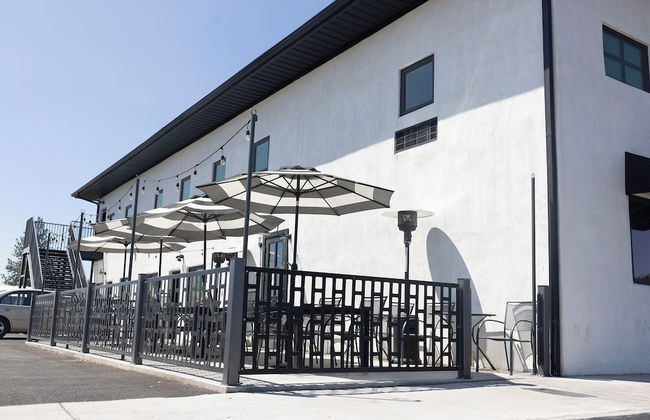
Gard Public House Inn & Restaurant

Royal City

  • 29 M2
  • 4 personas
  • Aire acondicionado
  • Calefacción
  • Parking
  • Televisión
  • Toallas
  • Sábanas
9.6Excepcional | 28 reseñas
Postcard Cabins Mount Adams, Outdoor Collection by Marriott Bonvoy - Foto 1
Postcard Cabins Mount Adams, Outdoor Collection by Marriott Bonvoy - Foto 2
Postcard Cabins Mount Adams, Outdoor Collection by Marriott Bonvoy - Foto 3
Postcard Cabins Mount Adams, Outdoor Collection by Marriott Bonvoy - Foto 4
Postcard Cabins Mount Adams, Outdoor Collection by Marriott Bonvoy - Foto 5
Postcard Cabins Mount Adams, Outdoor Collection by Marriott Bonvoy - Foto 6
Postcard Cabins Mount Adams, Outdoor Collection by Marriott Bonvoy - Foto 7
Postcard Cabins Mount Adams, Outdoor Collection by Marriott Bonvoy - Foto 8
Postcard Cabins Mount Adams, Outdoor Collection by Marriott Bonvoy - Foto 9
Postcard Cabins Mount Adams, Outdoor Collection by Marriott Bonvoy - Foto 10
Postcard Cabins Mount Adams, Outdoor Collection by Marriott Bonvoy - Foto 11
Postcard Cabins Mount Adams, Outdoor Collection by Marriott Bonvoy - Foto 12
Postcard Cabins Mount Adams, Outdoor Collection by Marriott Bonvoy - Foto 13
Postcard Cabins Mount Adams, Outdoor Collection by Marriott Bonvoy - Foto 14
Postcard Cabins Mount Adams, Outdoor Collection by Marriott Bonvoy - Foto 15
Postcard Cabins Mount Adams, Outdoor Collection by Marriott Bonvoy - Foto 16
Postcard Cabins Mount Adams, Outdoor Collection by Marriott Bonvoy - Foto 17
Postcard Cabins Mount Adams, Outdoor Collection by Marriott Bonvoy - Foto 18
Postcard Cabins Mount Adams, Outdoor Collection by Marriott Bonvoy - Foto 19
Postcard Cabins Mount Adams, Outdoor Collection by Marriott Bonvoy - Foto 20
Postcard Cabins Mount Adams, Outdoor Collection by Marriott Bonvoy - Foto 21
Postcard Cabins Mount Adams, Outdoor Collection by Marriott Bonvoy - Foto 22
Postcard Cabins Mount Adams, Outdoor Collection by Marriott Bonvoy - Foto 23
Postcard Cabins Mount Adams, Outdoor Collection by Marriott Bonvoy - Foto 24
Postcard Cabins Mount Adams, Outdoor Collection by Marriott Bonvoy - Foto 25
Postcard Cabins Mount Adams, Outdoor Collection by Marriott Bonvoy - Foto 26
Postcard Cabins Mount Adams, Outdoor Collection by Marriott Bonvoy - Foto 27
Postcard Cabins Mount Adams, Outdoor Collection by Marriott Bonvoy - Foto 28
Postcard Cabins Mount Adams, Outdoor Collection by Marriott Bonvoy - Foto 29
Postcard Cabins Mount Adams, Outdoor Collection by Marriott Bonvoy - Foto 30
Postcard Cabins Mount Adams, Outdoor Collection by Marriott Bonvoy - Foto 31
Postcard Cabins Mount Adams, Outdoor Collection by Marriott Bonvoy - Foto 32
Postcard Cabins Mount Adams, Outdoor Collection by Marriott Bonvoy - Foto 33
Postcard Cabins Mount Adams, Outdoor Collection by Marriott Bonvoy - Foto 34
Postcard Cabins Mount Adams, Outdoor Collection by Marriott Bonvoy - Foto 35
Postcard Cabins Mount Adams, Outdoor Collection by Marriott Bonvoy - Foto 36
Postcard Cabins Mount Adams, Outdoor Collection by Marriott Bonvoy - Foto 37
Postcard Cabins Mount Adams, Outdoor Collection by Marriott Bonvoy - Foto 38
Postcard Cabins Mount Adams, Outdoor Collection by Marriott Bonvoy - Foto 39
Postcard Cabins Mount Adams, Outdoor Collection by Marriott Bonvoy - Foto 40
Postcard Cabins Mount Adams, Outdoor Collection by Marriott Bonvoy - Foto 41
Postcard Cabins Mount Adams, Outdoor Collection by Marriott Bonvoy - Foto 42
Postcard Cabins Mount Adams, Outdoor Collection by Marriott Bonvoy - Foto 43
Postcard Cabins Mount Adams, Outdoor Collection by Marriott Bonvoy - Foto 44
Postcard Cabins Mount Adams, Outdoor Collection by Marriott Bonvoy - Foto 45
Postcard Cabins Mount Adams, Outdoor Collection by Marriott Bonvoy - Foto 46
Postcard Cabins Mount Adams, Outdoor Collection by Marriott Bonvoy - Foto 47
Postcard Cabins Mount Adams, Outdoor Collection by Marriott Bonvoy - Foto 48
Postcard Cabins Mount Adams, Outdoor Collection by Marriott Bonvoy - Foto 49
Postcard Cabins Mount Adams, Outdoor Collection by Marriott Bonvoy - Foto 50
Postcard Cabins Mount Adams, Outdoor Collection by Marriott Bonvoy - Foto 51
Postcard Cabins Mount Adams, Outdoor Collection by Marriott Bonvoy - Foto 52
Postcard Cabins Mount Adams, Outdoor Collection by Marriott Bonvoy - Foto 53
Postcard Cabins Mount Adams, Outdoor Collection by Marriott Bonvoy - Foto 54

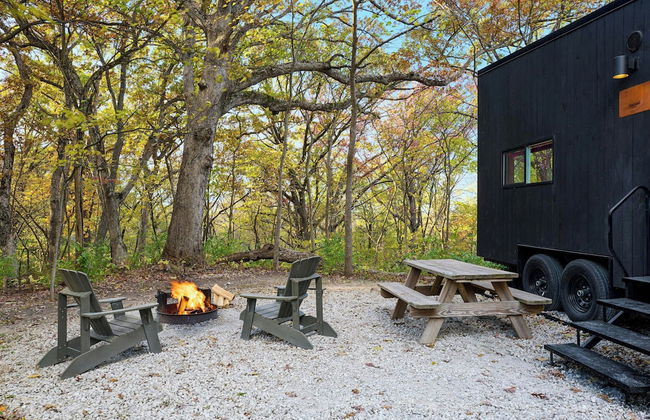
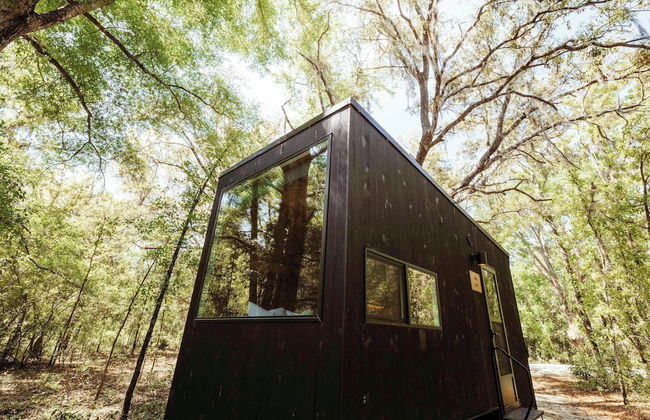
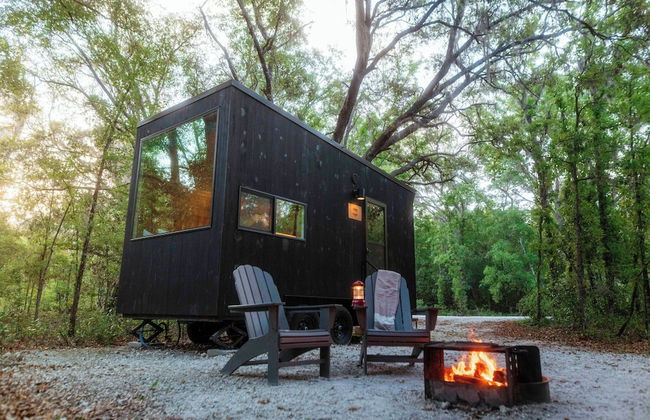
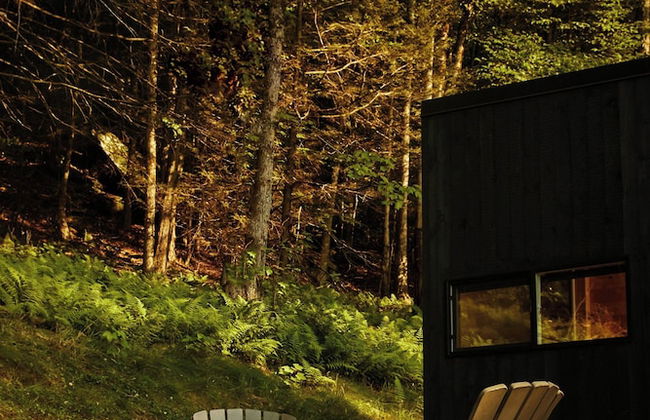
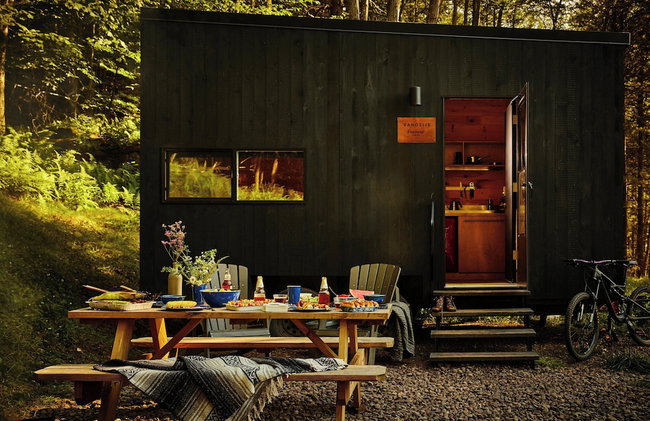
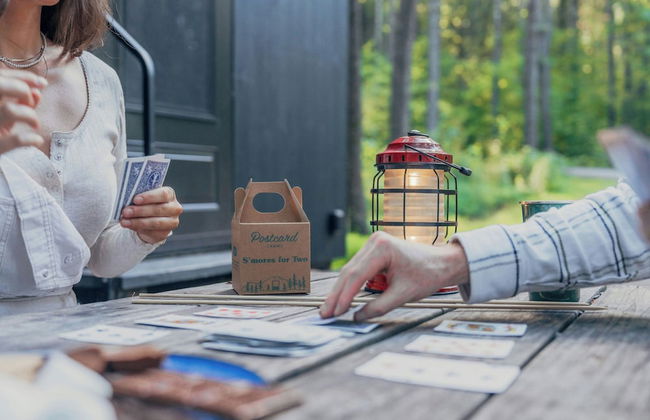
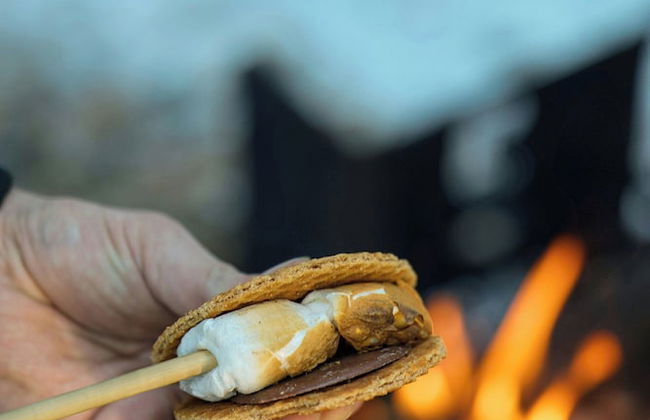
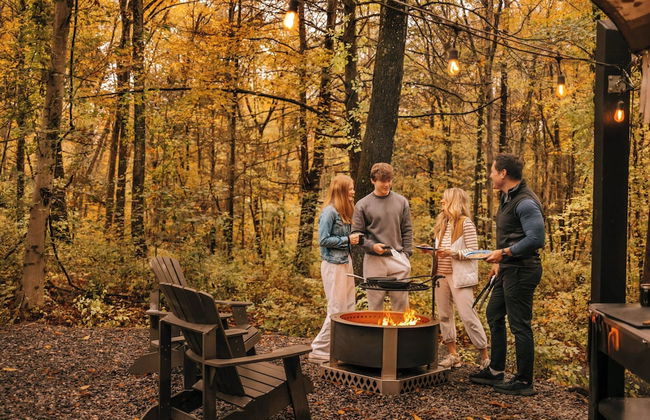
Postcard Cabins Mount Adams, Outdoor Collection by Marriott Bonvoy

Glenwood - A 520 m del centro

  • 15 M2
  • 4 personas
  • Cocina pequeña
  • Aire acondicionado
  • Calefacción
  • Terraza
  • Parking
  • Chimenea
  • Toallas
  • Sábanas
9.6Excepcional | 95 reseñas
Multi Resorts at Kala Point - Foto 1
Multi Resorts at Kala Point - Foto 2
Multi Resorts at Kala Point - Foto 3
Multi Resorts at Kala Point - Foto 4
Multi Resorts at Kala Point - Foto 5
Multi Resorts at Kala Point - Foto 6
Multi Resorts at Kala Point - Foto 7
Multi Resorts at Kala Point - Foto 8
Multi Resorts at Kala Point - Foto 9
Multi Resorts at Kala Point - Foto 10
Multi Resorts at Kala Point - Foto 11
Multi Resorts at Kala Point - Foto 12
Multi Resorts at Kala Point - Foto 13
Multi Resorts at Kala Point - Foto 14
Multi Resorts at Kala Point - Foto 15
Multi Resorts at Kala Point - Foto 16
Multi Resorts at Kala Point - Foto 17
Multi Resorts at Kala Point - Foto 18
Multi Resorts at Kala Point - Foto 19
Multi Resorts at Kala Point - Foto 20
Multi Resorts at Kala Point - Foto 21
Multi Resorts at Kala Point - Foto 22
Multi Resorts at Kala Point - Foto 23
Multi Resorts at Kala Point - Foto 24
Multi Resorts at Kala Point - Foto 25
Multi Resorts at Kala Point - Foto 26
Multi Resorts at Kala Point - Foto 27
Multi Resorts at Kala Point - Foto 28
Multi Resorts at Kala Point - Foto 29
Multi Resorts at Kala Point - Foto 30
Multi Resorts at Kala Point - Foto 31
Multi Resorts at Kala Point - Foto 32
Multi Resorts at Kala Point - Foto 33
Multi Resorts at Kala Point - Foto 34
Multi Resorts at Kala Point - Foto 35
Multi Resorts at Kala Point - Foto 36
Multi Resorts at Kala Point - Foto 37
Multi Resorts at Kala Point - Foto 38
Multi Resorts at Kala Point - Foto 39
Multi Resorts at Kala Point - Foto 40
Multi Resorts at Kala Point - Foto 41
Multi Resorts at Kala Point - Foto 42
Multi Resorts at Kala Point - Foto 43
Multi Resorts at Kala Point - Foto 44
Multi Resorts at Kala Point - Foto 45
Multi Resorts at Kala Point - Foto 46
Multi Resorts at Kala Point - Foto 47
Multi Resorts at Kala Point - Foto 48
Multi Resorts at Kala Point - Foto 49
Multi Resorts at Kala Point - Foto 50
Multi Resorts at Kala Point - Foto 51
Multi Resorts at Kala Point - Foto 52
Multi Resorts at Kala Point - Foto 53
Multi Resorts at Kala Point - Foto 54
Multi Resorts at Kala Point - Foto 55
Multi Resorts at Kala Point - Foto 56
Multi Resorts at Kala Point - Foto 57
Multi Resorts at Kala Point - Foto 58
Multi Resorts at Kala Point - Foto 59
Multi Resorts at Kala Point - Foto 60
Multi Resorts at Kala Point - Foto 61
Multi Resorts at Kala Point - Foto 62
Multi Resorts at Kala Point - Foto 63
Multi Resorts at Kala Point - Foto 64
Multi Resorts at Kala Point - Foto 65
Multi Resorts at Kala Point - Foto 66
Multi Resorts at Kala Point - Foto 67
Multi Resorts at Kala Point - Foto 68
Multi Resorts at Kala Point - Foto 69
Multi Resorts at Kala Point - Foto 70
Multi Resorts at Kala Point - Foto 71
Multi Resorts at Kala Point - Foto 72
Multi Resorts at Kala Point - Foto 73

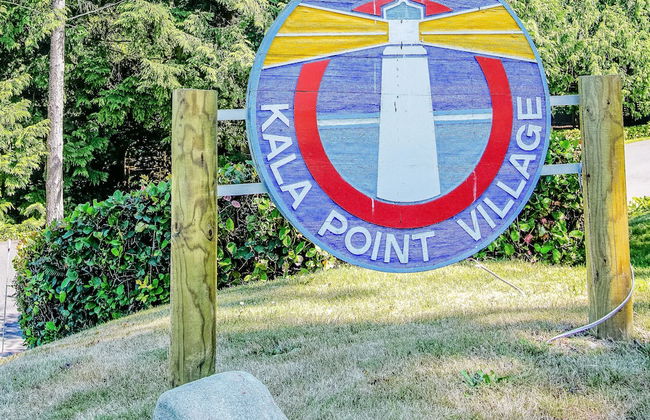
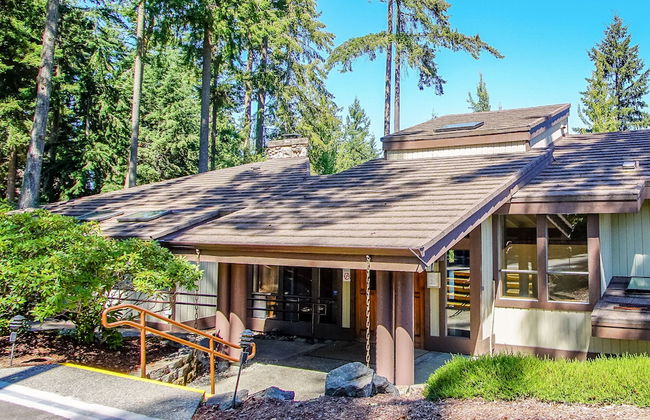
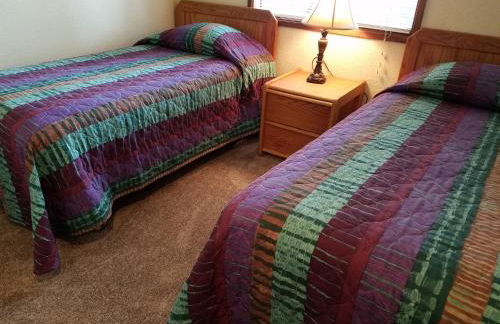
Multi Resorts at Kala Point

Port Townsend - A 6.6 km del centro

  • 109 M2
  • 3 habitaciones
  • 8 personas
  • Calefacción
  • Piscina
  • Parking
  • Jardín
  • Televisión
  • Lavadora
  • Chimenea
  • Barbacoa
  • Toallas
  • Sábanas
9.4Excepcional | 11 reseñas
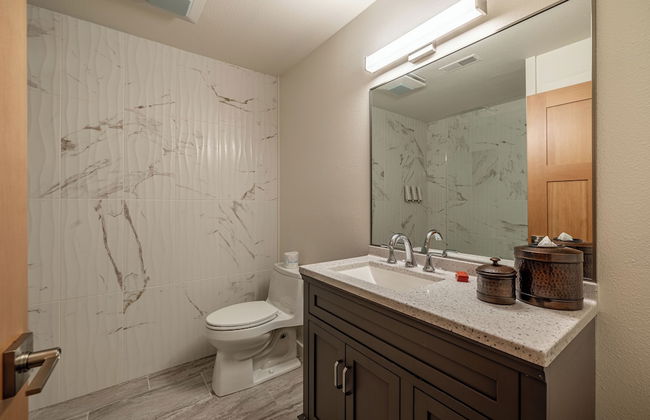
Comfort and Grace Perched on Queen Anne Hill - Foto 1
Comfort and Grace Perched on Queen Anne Hill - Foto 2
Comfort and Grace Perched on Queen Anne Hill - Foto 3
Comfort and Grace Perched on Queen Anne Hill - Foto 4
Comfort and Grace Perched on Queen Anne Hill - Foto 5
Comfort and Grace Perched on Queen Anne Hill - Foto 6
Comfort and Grace Perched on Queen Anne Hill - Foto 7
Comfort and Grace Perched on Queen Anne Hill - Foto 8
Comfort and Grace Perched on Queen Anne Hill - Foto 9
Comfort and Grace Perched on Queen Anne Hill - Foto 10
Comfort and Grace Perched on Queen Anne Hill - Foto 11
Comfort and Grace Perched on Queen Anne Hill - Foto 12
Comfort and Grace Perched on Queen Anne Hill - Foto 13
Comfort and Grace Perched on Queen Anne Hill - Foto 14
Comfort and Grace Perched on Queen Anne Hill - Foto 15
Comfort and Grace Perched on Queen Anne Hill - Foto 16
Comfort and Grace Perched on Queen Anne Hill - Foto 17
Comfort and Grace Perched on Queen Anne Hill - Foto 18
Comfort and Grace Perched on Queen Anne Hill - Foto 19
Comfort and Grace Perched on Queen Anne Hill - Foto 20
Comfort and Grace Perched on Queen Anne Hill - Foto 21
Comfort and Grace Perched on Queen Anne Hill - Foto 22
Comfort and Grace Perched on Queen Anne Hill - Foto 23
Comfort and Grace Perched on Queen Anne Hill - Foto 24
Comfort and Grace Perched on Queen Anne Hill - Foto 25
Comfort and Grace Perched on Queen Anne Hill - Foto 26
Comfort and Grace Perched on Queen Anne Hill - Foto 27
Comfort and Grace Perched on Queen Anne Hill - Foto 28
Comfort and Grace Perched on Queen Anne Hill - Foto 29
Comfort and Grace Perched on Queen Anne Hill - Foto 30
Comfort and Grace Perched on Queen Anne Hill - Foto 31
Comfort and Grace Perched on Queen Anne Hill - Foto 32
Comfort and Grace Perched on Queen Anne Hill - Foto 33
Comfort and Grace Perched on Queen Anne Hill - Foto 34
Comfort and Grace Perched on Queen Anne Hill - Foto 35
Comfort and Grace Perched on Queen Anne Hill - Foto 36
Comfort and Grace Perched on Queen Anne Hill - Foto 37
Comfort and Grace Perched on Queen Anne Hill - Foto 38
Comfort and Grace Perched on Queen Anne Hill - Foto 39

Comfort and Grace Perched on Queen Anne Hill

Seattle - North Queen Anne - A 4.8 km del centro

  • 167 M2
  • 3 habitaciones
  • 8 personas
  • Aire acondicionado
  • Calefacción
  • Terraza
  • Parking
  • Balcón
  • Jardín
  • Televisión
  • Lavadora
  • Chimenea
  • Toallas
  • Sábanas
9.2Excepcional | 13 reseñas
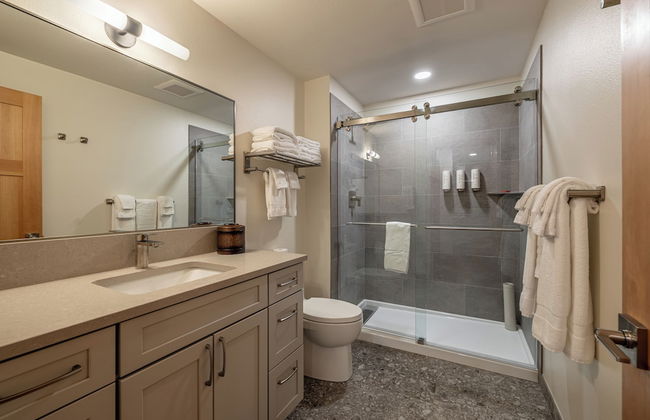
Kasa Capitol Hill Seattle - Foto 1
Kasa Capitol Hill Seattle - Foto 2
Kasa Capitol Hill Seattle - Foto 3
Kasa Capitol Hill Seattle - Foto 4
Kasa Capitol Hill Seattle - Foto 5
Kasa Capitol Hill Seattle - Foto 6
Kasa Capitol Hill Seattle - Foto 7
Kasa Capitol Hill Seattle - Foto 8
Kasa Capitol Hill Seattle - Foto 9
Kasa Capitol Hill Seattle - Foto 10
Kasa Capitol Hill Seattle - Foto 11
Kasa Capitol Hill Seattle - Foto 12
Kasa Capitol Hill Seattle - Foto 13
Kasa Capitol Hill Seattle - Foto 14
Kasa Capitol Hill Seattle - Foto 15
Kasa Capitol Hill Seattle - Foto 16
Kasa Capitol Hill Seattle - Foto 17
Kasa Capitol Hill Seattle - Foto 18
Kasa Capitol Hill Seattle - Foto 19
Kasa Capitol Hill Seattle - Foto 20
Kasa Capitol Hill Seattle - Foto 21
Kasa Capitol Hill Seattle - Foto 22
Kasa Capitol Hill Seattle - Foto 23
Kasa Capitol Hill Seattle - Foto 24
Kasa Capitol Hill Seattle - Foto 25
Kasa Capitol Hill Seattle - Foto 26
Kasa Capitol Hill Seattle - Foto 27
Kasa Capitol Hill Seattle - Foto 28
Kasa Capitol Hill Seattle - Foto 29
Kasa Capitol Hill Seattle - Foto 30
Kasa Capitol Hill Seattle - Foto 31
Kasa Capitol Hill Seattle - Foto 32
Kasa Capitol Hill Seattle - Foto 33
Kasa Capitol Hill Seattle - Foto 34
Kasa Capitol Hill Seattle - Foto 35
Kasa Capitol Hill Seattle - Foto 36
Kasa Capitol Hill Seattle - Foto 37
Kasa Capitol Hill Seattle - Foto 38
Kasa Capitol Hill Seattle - Foto 39
Kasa Capitol Hill Seattle - Foto 40
Kasa Capitol Hill Seattle - Foto 41
Kasa Capitol Hill Seattle - Foto 42

Kasa Capitol Hill Seattle

Seattle - Broadway - A 810 m del centro

  • 2 personas
  • Cocina pequeña
  • Aire acondicionado
  • Calefacción
  • Terraza
  • Ascensor
  • Televisión
  • Toallas
  • Sábanas
8.8Muy bueno | 233 reseñas
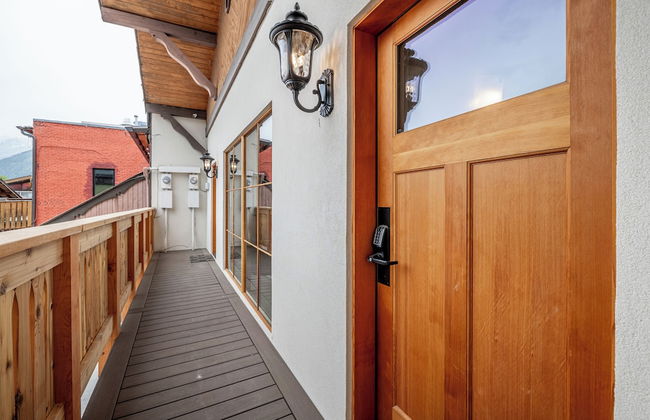
VI at Homestead - Foto 1
VI at Homestead - Foto 2
VI at Homestead - Foto 3
VI at Homestead - Foto 4
VI at Homestead - Foto 5
VI at Homestead - Foto 6
VI at Homestead - Foto 7
VI at Homestead - Foto 8
VI at Homestead - Foto 9
VI at Homestead - Foto 10
VI at Homestead - Foto 11
VI at Homestead - Foto 12
VI at Homestead - Foto 13
VI at Homestead - Foto 14
VI at Homestead - Foto 15
VI at Homestead - Foto 16
VI at Homestead - Foto 17
VI at Homestead - Foto 18
VI at Homestead - Foto 19
VI at Homestead - Foto 20
VI at Homestead - Foto 21
VI at Homestead - Foto 22
VI at Homestead - Foto 23
VI at Homestead - Foto 24
VI at Homestead - Foto 25
VI at Homestead - Foto 26
VI at Homestead - Foto 27
VI at Homestead - Foto 28

VI at Homestead

Lynden

  • 4 personas
  • Aire acondicionado
  • Terraza
  • Piscina
  • Parking
  • Ascensor
  • Jardín
  • Televisión
  • Chimenea
  • Barbacoa
  • Toallas
  • Sábanas
8.6Muy bueno | 272 reseñas
Entire Home 3 bds 2 bats - Foto 1
Entire Home 3 bds 2 bats - Foto 2
Entire Home 3 bds 2 bats - Foto 3
Entire Home 3 bds 2 bats - Foto 4
Entire Home 3 bds 2 bats - Foto 5
Entire Home 3 bds 2 bats - Foto 6
Entire Home 3 bds 2 bats - Foto 7
Entire Home 3 bds 2 bats - Foto 8
Entire Home 3 bds 2 bats - Foto 9
Entire Home 3 bds 2 bats - Foto 10
Entire Home 3 bds 2 bats - Foto 11
Entire Home 3 bds 2 bats - Foto 12
Entire Home 3 bds 2 bats - Foto 13
Entire Home 3 bds 2 bats - Foto 14
Entire Home 3 bds 2 bats - Foto 15
Entire Home 3 bds 2 bats - Foto 16
Entire Home 3 bds 2 bats - Foto 17
Entire Home 3 bds 2 bats - Foto 18
Entire Home 3 bds 2 bats - Foto 19
Entire Home 3 bds 2 bats - Foto 20
Entire Home 3 bds 2 bats - Foto 21
Entire Home 3 bds 2 bats - Foto 22
Entire Home 3 bds 2 bats - Foto 23
Entire Home 3 bds 2 bats - Foto 24
Entire Home 3 bds 2 bats - Foto 25
Entire Home 3 bds 2 bats - Foto 26
Entire Home 3 bds 2 bats - Foto 27
Entire Home 3 bds 2 bats - Foto 28
Entire Home 3 bds 2 bats - Foto 29
Entire Home 3 bds 2 bats - Foto 30
Entire Home 3 bds 2 bats - Foto 31
Entire Home 3 bds 2 bats - Foto 32
Entire Home 3 bds 2 bats - Foto 33
Entire Home 3 bds 2 bats - Foto 34
Entire Home 3 bds 2 bats - Foto 35
Entire Home 3 bds 2 bats - Foto 36
Entire Home 3 bds 2 bats - Foto 37
Entire Home 3 bds 2 bats - Foto 38
Entire Home 3 bds 2 bats - Foto 39
Entire Home 3 bds 2 bats - Foto 40
Entire Home 3 bds 2 bats - Foto 41
Entire Home 3 bds 2 bats - Foto 42
Entire Home 3 bds 2 bats - Foto 43
Entire Home 3 bds 2 bats - Foto 44
Entire Home 3 bds 2 bats - Foto 45
Entire Home 3 bds 2 bats - Foto 46
Entire Home 3 bds 2 bats - Foto 47
Entire Home 3 bds 2 bats - Foto 48
Entire Home 3 bds 2 bats - Foto 49
Entire Home 3 bds 2 bats - Foto 50

Entire Home 3 bds 2 bats

Seattle - Highland Park - A 8.6 km del centro

  • 177 M2
  • 3 habitaciones
  • 6 personas
  • Aire acondicionado
  • Calefacción
  • Terraza
  • Parking
  • Jardín
9.9Excepcional | 15 reseñas
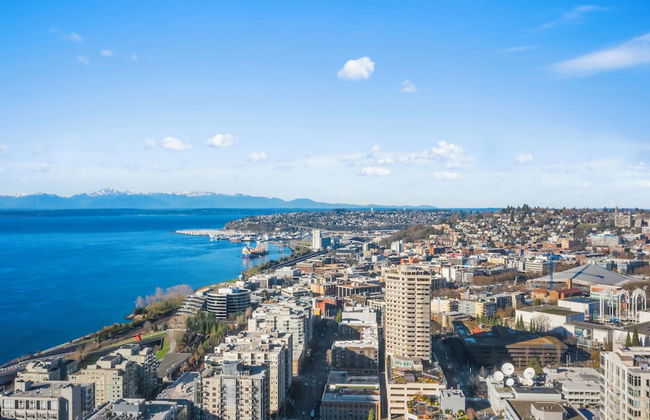
The Night Owl Perch - Foto 1
The Night Owl Perch - Foto 2
The Night Owl Perch - Foto 3
The Night Owl Perch - Foto 4
The Night Owl Perch - Foto 5
The Night Owl Perch - Foto 6
The Night Owl Perch - Foto 7
The Night Owl Perch - Foto 8
The Night Owl Perch - Foto 9
The Night Owl Perch - Foto 10
The Night Owl Perch - Foto 11
The Night Owl Perch - Foto 12
The Night Owl Perch - Foto 13
The Night Owl Perch - Foto 14
The Night Owl Perch - Foto 15
The Night Owl Perch - Foto 16
The Night Owl Perch - Foto 17
The Night Owl Perch - Foto 18
The Night Owl Perch - Foto 19
The Night Owl Perch - Foto 20
The Night Owl Perch - Foto 21

The Night Owl Perch

Stanwood

  • 2 personas
  • Aire acondicionado
  • Calefacción
  • Parking
  • Televisión
  • Lavadora
  • Toallas
9.4Excepcional | 23 reseñas
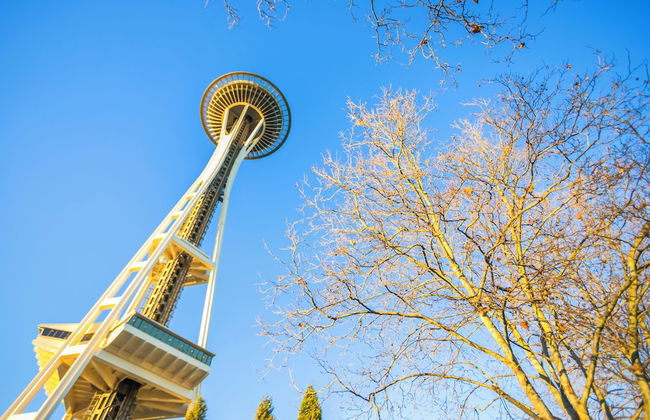
Postcard Cabins Skagit Valley, Outdoor Collection by Marriott Bonvoy - Foto 1
Postcard Cabins Skagit Valley, Outdoor Collection by Marriott Bonvoy - Foto 2
Postcard Cabins Skagit Valley, Outdoor Collection by Marriott Bonvoy - Foto 3
Postcard Cabins Skagit Valley, Outdoor Collection by Marriott Bonvoy - Foto 4
Postcard Cabins Skagit Valley, Outdoor Collection by Marriott Bonvoy - Foto 5
Postcard Cabins Skagit Valley, Outdoor Collection by Marriott Bonvoy - Foto 6
Postcard Cabins Skagit Valley, Outdoor Collection by Marriott Bonvoy - Foto 7
Postcard Cabins Skagit Valley, Outdoor Collection by Marriott Bonvoy - Foto 8
Postcard Cabins Skagit Valley, Outdoor Collection by Marriott Bonvoy - Foto 9
Postcard Cabins Skagit Valley, Outdoor Collection by Marriott Bonvoy - Foto 10
Postcard Cabins Skagit Valley, Outdoor Collection by Marriott Bonvoy - Foto 11
Postcard Cabins Skagit Valley, Outdoor Collection by Marriott Bonvoy - Foto 12
Postcard Cabins Skagit Valley, Outdoor Collection by Marriott Bonvoy - Foto 13
Postcard Cabins Skagit Valley, Outdoor Collection by Marriott Bonvoy - Foto 14
Postcard Cabins Skagit Valley, Outdoor Collection by Marriott Bonvoy - Foto 15
Postcard Cabins Skagit Valley, Outdoor Collection by Marriott Bonvoy - Foto 16
Postcard Cabins Skagit Valley, Outdoor Collection by Marriott Bonvoy - Foto 17
Postcard Cabins Skagit Valley, Outdoor Collection by Marriott Bonvoy - Foto 18
Postcard Cabins Skagit Valley, Outdoor Collection by Marriott Bonvoy - Foto 19
Postcard Cabins Skagit Valley, Outdoor Collection by Marriott Bonvoy - Foto 20
Postcard Cabins Skagit Valley, Outdoor Collection by Marriott Bonvoy - Foto 21
Postcard Cabins Skagit Valley, Outdoor Collection by Marriott Bonvoy - Foto 22
Postcard Cabins Skagit Valley, Outdoor Collection by Marriott Bonvoy - Foto 23
Postcard Cabins Skagit Valley, Outdoor Collection by Marriott Bonvoy - Foto 24
Postcard Cabins Skagit Valley, Outdoor Collection by Marriott Bonvoy - Foto 25
Postcard Cabins Skagit Valley, Outdoor Collection by Marriott Bonvoy - Foto 26
Postcard Cabins Skagit Valley, Outdoor Collection by Marriott Bonvoy - Foto 27
Postcard Cabins Skagit Valley, Outdoor Collection by Marriott Bonvoy - Foto 28
Postcard Cabins Skagit Valley, Outdoor Collection by Marriott Bonvoy - Foto 29
Postcard Cabins Skagit Valley, Outdoor Collection by Marriott Bonvoy - Foto 30
Postcard Cabins Skagit Valley, Outdoor Collection by Marriott Bonvoy - Foto 31
Postcard Cabins Skagit Valley, Outdoor Collection by Marriott Bonvoy - Foto 32
Postcard Cabins Skagit Valley, Outdoor Collection by Marriott Bonvoy - Foto 33
Postcard Cabins Skagit Valley, Outdoor Collection by Marriott Bonvoy - Foto 34
Postcard Cabins Skagit Valley, Outdoor Collection by Marriott Bonvoy - Foto 35
Postcard Cabins Skagit Valley, Outdoor Collection by Marriott Bonvoy - Foto 36
Postcard Cabins Skagit Valley, Outdoor Collection by Marriott Bonvoy - Foto 37
Postcard Cabins Skagit Valley, Outdoor Collection by Marriott Bonvoy - Foto 38
Postcard Cabins Skagit Valley, Outdoor Collection by Marriott Bonvoy - Foto 39
Postcard Cabins Skagit Valley, Outdoor Collection by Marriott Bonvoy - Foto 40
Postcard Cabins Skagit Valley, Outdoor Collection by Marriott Bonvoy - Foto 41
Postcard Cabins Skagit Valley, Outdoor Collection by Marriott Bonvoy - Foto 42
Postcard Cabins Skagit Valley, Outdoor Collection by Marriott Bonvoy - Foto 43
Postcard Cabins Skagit Valley, Outdoor Collection by Marriott Bonvoy - Foto 44
Postcard Cabins Skagit Valley, Outdoor Collection by Marriott Bonvoy - Foto 45
Postcard Cabins Skagit Valley, Outdoor Collection by Marriott Bonvoy - Foto 46
Postcard Cabins Skagit Valley, Outdoor Collection by Marriott Bonvoy - Foto 47
Postcard Cabins Skagit Valley, Outdoor Collection by Marriott Bonvoy - Foto 48
Postcard Cabins Skagit Valley, Outdoor Collection by Marriott Bonvoy - Foto 49
Postcard Cabins Skagit Valley, Outdoor Collection by Marriott Bonvoy - Foto 50
Postcard Cabins Skagit Valley, Outdoor Collection by Marriott Bonvoy - Foto 51
Postcard Cabins Skagit Valley, Outdoor Collection by Marriott Bonvoy - Foto 52
Postcard Cabins Skagit Valley, Outdoor Collection by Marriott Bonvoy - Foto 53
Postcard Cabins Skagit Valley, Outdoor Collection by Marriott Bonvoy - Foto 54
Postcard Cabins Skagit Valley, Outdoor Collection by Marriott Bonvoy - Foto 55
Postcard Cabins Skagit Valley, Outdoor Collection by Marriott Bonvoy - Foto 56
Postcard Cabins Skagit Valley, Outdoor Collection by Marriott Bonvoy - Foto 57
Postcard Cabins Skagit Valley, Outdoor Collection by Marriott Bonvoy - Foto 58
Postcard Cabins Skagit Valley, Outdoor Collection by Marriott Bonvoy - Foto 59
Postcard Cabins Skagit Valley, Outdoor Collection by Marriott Bonvoy - Foto 60
Postcard Cabins Skagit Valley, Outdoor Collection by Marriott Bonvoy - Foto 61
Postcard Cabins Skagit Valley, Outdoor Collection by Marriott Bonvoy - Foto 62
Postcard Cabins Skagit Valley, Outdoor Collection by Marriott Bonvoy - Foto 63
Postcard Cabins Skagit Valley, Outdoor Collection by Marriott Bonvoy - Foto 64
Postcard Cabins Skagit Valley, Outdoor Collection by Marriott Bonvoy - Foto 65
Postcard Cabins Skagit Valley, Outdoor Collection by Marriott Bonvoy - Foto 66
Postcard Cabins Skagit Valley, Outdoor Collection by Marriott Bonvoy - Foto 67
Postcard Cabins Skagit Valley, Outdoor Collection by Marriott Bonvoy - Foto 68
Postcard Cabins Skagit Valley, Outdoor Collection by Marriott Bonvoy - Foto 69
Postcard Cabins Skagit Valley, Outdoor Collection by Marriott Bonvoy - Foto 70
Postcard Cabins Skagit Valley, Outdoor Collection by Marriott Bonvoy - Foto 71
Postcard Cabins Skagit Valley, Outdoor Collection by Marriott Bonvoy - Foto 72
Postcard Cabins Skagit Valley, Outdoor Collection by Marriott Bonvoy - Foto 73
Postcard Cabins Skagit Valley, Outdoor Collection by Marriott Bonvoy - Foto 74
Postcard Cabins Skagit Valley, Outdoor Collection by Marriott Bonvoy - Foto 75
Postcard Cabins Skagit Valley, Outdoor Collection by Marriott Bonvoy - Foto 76
Postcard Cabins Skagit Valley, Outdoor Collection by Marriott Bonvoy - Foto 77
Postcard Cabins Skagit Valley, Outdoor Collection by Marriott Bonvoy - Foto 78
Postcard Cabins Skagit Valley, Outdoor Collection by Marriott Bonvoy - Foto 79
Postcard Cabins Skagit Valley, Outdoor Collection by Marriott Bonvoy - Foto 80

Postcard Cabins Skagit Valley, Outdoor Collection by Marriott Bonvoy

Mt Vernon - A 12.7 km del centro

  • 15 M2
  • 4 personas
  • Cocina pequeña
  • Aire acondicionado
  • Calefacción
  • Terraza
  • Parking
  • Chimenea
  • Toallas
  • Sábanas
9.4Excepcional | 123 reseñas
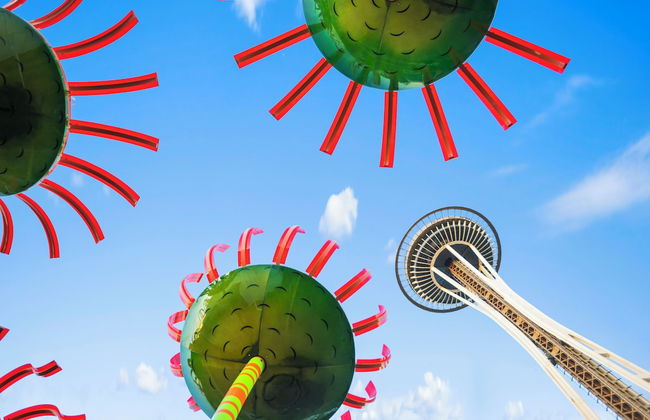
The Beach House - Foto 1
The Beach House - Foto 2
The Beach House - Foto 3
The Beach House - Foto 4
The Beach House - Foto 5
The Beach House - Foto 6
The Beach House - Foto 7
The Beach House - Foto 8
The Beach House - Foto 9
The Beach House - Foto 10
The Beach House - Foto 11
The Beach House - Foto 12
The Beach House - Foto 13
The Beach House - Foto 14
The Beach House - Foto 15
The Beach House - Foto 16
The Beach House - Foto 17
The Beach House - Foto 18
The Beach House - Foto 19
The Beach House - Foto 20
The Beach House - Foto 21
The Beach House - Foto 22
The Beach House - Foto 23
The Beach House - Foto 24
The Beach House - Foto 25

The Beach House

Oak Harbor - A 1.9 km del centro

  • 195 M2
  • 4 habitaciones
  • 8 personas
  • Aire acondicionado
  • Terraza
  • Parking
  • Jardín
  • Barbacoa
10Magnífico | 12 reseñas

Medallion Inn & Suites - Foto 1
Medallion Inn & Suites - Foto 2
Medallion Inn & Suites - Foto 3
Medallion Inn & Suites - Foto 4
Medallion Inn & Suites - Foto 5
Medallion Inn & Suites - Foto 6
Medallion Inn & Suites - Foto 7
Medallion Inn & Suites - Foto 8
Medallion Inn & Suites - Foto 9
Medallion Inn & Suites - Foto 10
Medallion Inn & Suites - Foto 11
Medallion Inn & Suites - Foto 12
Medallion Inn & Suites - Foto 13
Medallion Inn & Suites - Foto 14
Medallion Inn & Suites - Foto 15
Medallion Inn & Suites - Foto 16
Medallion Inn & Suites - Foto 17
Medallion Inn & Suites - Foto 18
Medallion Inn & Suites - Foto 19
Medallion Inn & Suites - Foto 20
Medallion Inn & Suites - Foto 21
Medallion Inn & Suites - Foto 22
Medallion Inn & Suites - Foto 23
Medallion Inn & Suites - Foto 24
Medallion Inn & Suites - Foto 25
Medallion Inn & Suites - Foto 26
Medallion Inn & Suites - Foto 27
Medallion Inn & Suites - Foto 28
Medallion Inn & Suites - Foto 29
Medallion Inn & Suites - Foto 30
Medallion Inn & Suites - Foto 31
Medallion Inn & Suites - Foto 32
Medallion Inn & Suites - Foto 33

Medallion Inn & Suites

Arlington - A 6.2 km del centro

  • 4 personas
  • Cocina pequeña
  • Aire acondicionado
  • Calefacción
  • Piscina
  • Parking
  • Ascensor
  • Jardín
  • Televisión
  • Chimenea
  • Toallas
  • Sábanas
8.6Muy bueno | 2653 reseñas
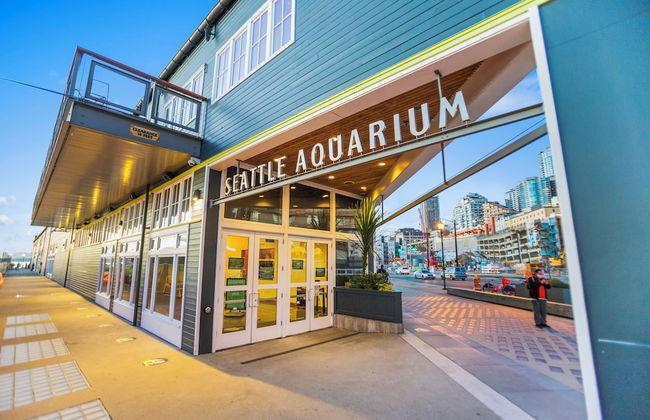
Ember & Glow Loft Retreat - Foto 1
Ember & Glow Loft Retreat - Foto 2
Ember & Glow Loft Retreat - Foto 3
Ember & Glow Loft Retreat - Foto 4
Ember & Glow Loft Retreat - Foto 5
Ember & Glow Loft Retreat - Foto 6
Ember & Glow Loft Retreat - Foto 7
Ember & Glow Loft Retreat - Foto 8
Ember & Glow Loft Retreat - Foto 9
Ember & Glow Loft Retreat - Foto 10
Ember & Glow Loft Retreat - Foto 11
Ember & Glow Loft Retreat - Foto 12
Ember & Glow Loft Retreat - Foto 13

Ember & Glow Loft Retreat

Seattle - Maple Leaf - A 8.8 km del centro

  • 2 personas
  • Aire acondicionado
  • Calefacción
  • Parking
  • Balcón
  • Televisión
  • Lavadora
10Magnífico | 6 reseñas
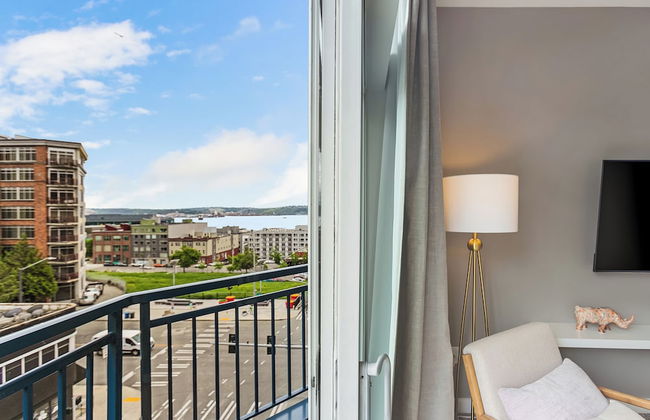
The Sweetest Hill - 81 Walkscore - Foto 1
The Sweetest Hill - 81 Walkscore - Foto 2
The Sweetest Hill - 81 Walkscore - Foto 3
The Sweetest Hill - 81 Walkscore - Foto 4
The Sweetest Hill - 81 Walkscore - Foto 5
The Sweetest Hill - 81 Walkscore - Foto 6
The Sweetest Hill - 81 Walkscore - Foto 7
The Sweetest Hill - 81 Walkscore - Foto 8
The Sweetest Hill - 81 Walkscore - Foto 9
The Sweetest Hill - 81 Walkscore - Foto 10
The Sweetest Hill - 81 Walkscore - Foto 11
The Sweetest Hill - 81 Walkscore - Foto 12
The Sweetest Hill - 81 Walkscore - Foto 13
The Sweetest Hill - 81 Walkscore - Foto 14
The Sweetest Hill - 81 Walkscore - Foto 15
The Sweetest Hill - 81 Walkscore - Foto 16
The Sweetest Hill - 81 Walkscore - Foto 17
The Sweetest Hill - 81 Walkscore - Foto 18
The Sweetest Hill - 81 Walkscore - Foto 19
The Sweetest Hill - 81 Walkscore - Foto 20
The Sweetest Hill - 81 Walkscore - Foto 21
The Sweetest Hill - 81 Walkscore - Foto 22
The Sweetest Hill - 81 Walkscore - Foto 23
The Sweetest Hill - 81 Walkscore - Foto 24
The Sweetest Hill - 81 Walkscore - Foto 25
The Sweetest Hill - 81 Walkscore - Foto 26
The Sweetest Hill - 81 Walkscore - Foto 27
The Sweetest Hill - 81 Walkscore - Foto 28
The Sweetest Hill - 81 Walkscore - Foto 29
The Sweetest Hill - 81 Walkscore - Foto 30
The Sweetest Hill - 81 Walkscore - Foto 31
The Sweetest Hill - 81 Walkscore - Foto 32
The Sweetest Hill - 81 Walkscore - Foto 33
The Sweetest Hill - 81 Walkscore - Foto 34
The Sweetest Hill - 81 Walkscore - Foto 35
The Sweetest Hill - 81 Walkscore - Foto 36

The Sweetest Hill - 81 Walkscore

Seattle - Minor - A 1.1 km del centro

  • 4 personas
  • Aire acondicionado
  • Calefacción
  • Televisión
  • Lavadora
  • Toallas
  • Sábanas
9.2Excepcional | 18 reseñas
Destinos relacionados