
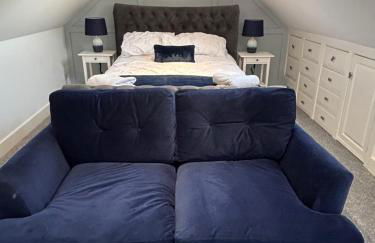
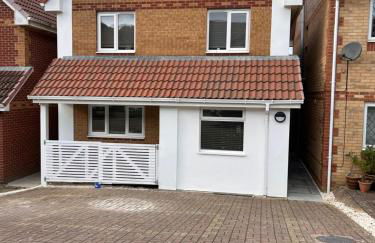
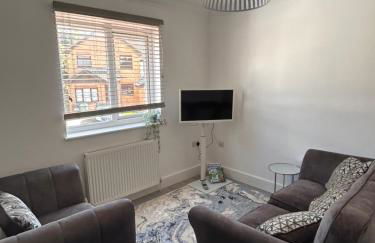
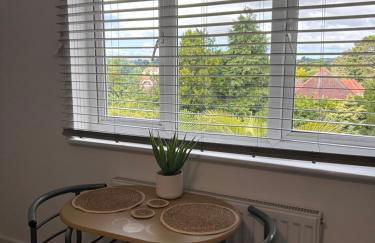
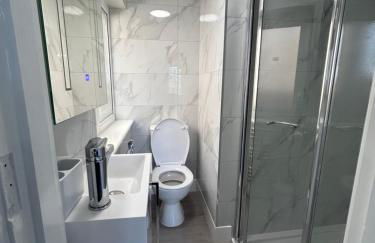
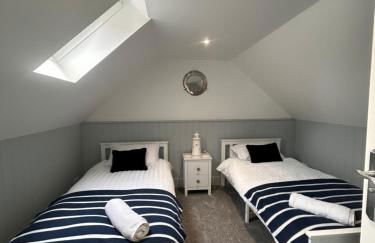
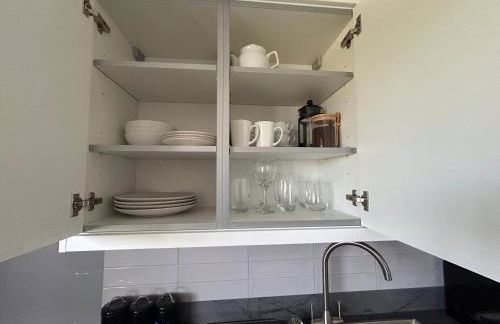
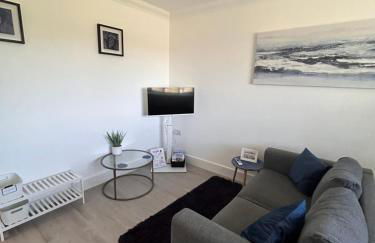
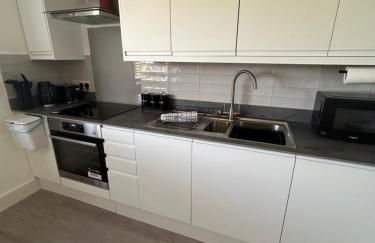
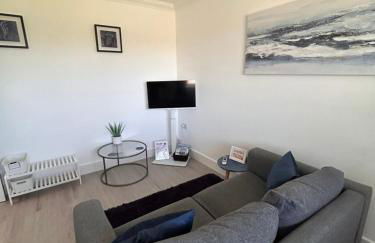
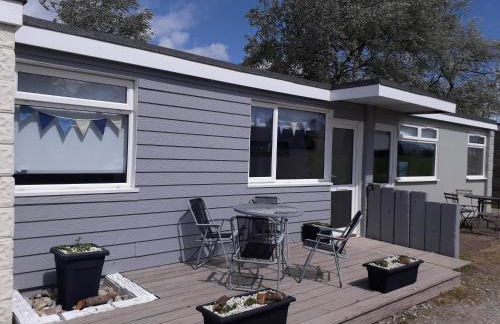
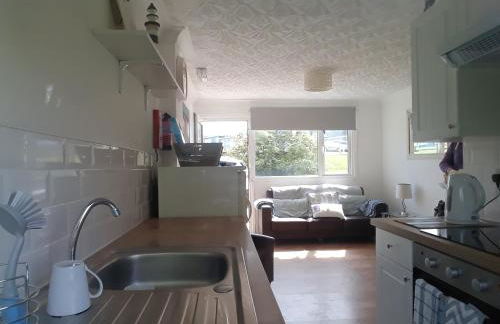
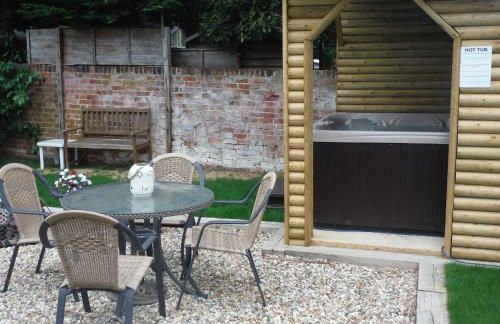
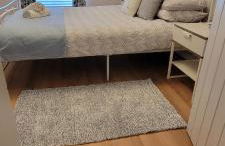
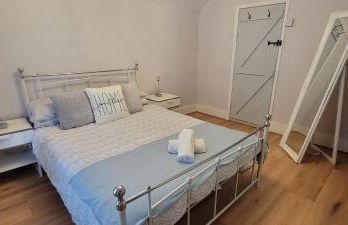
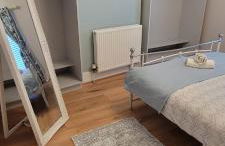
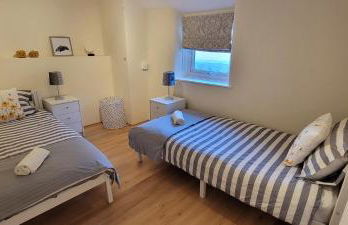
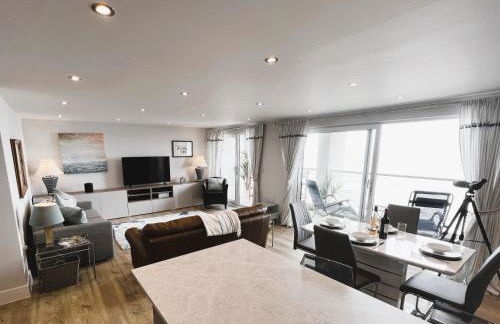
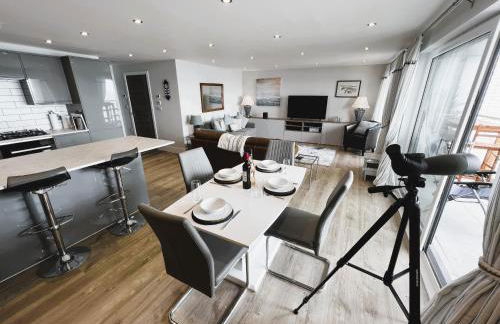
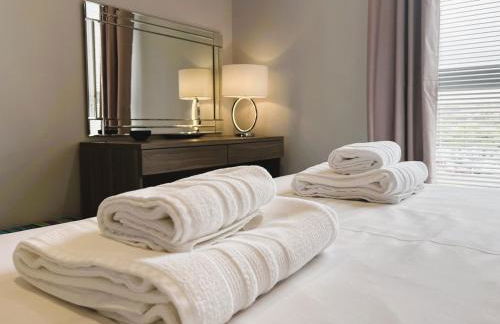
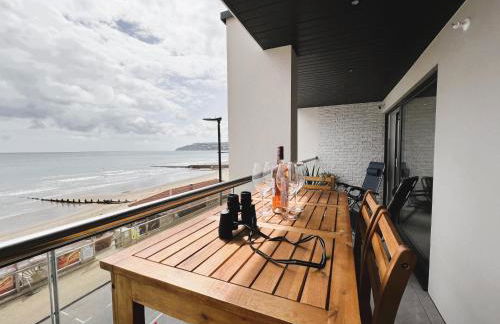
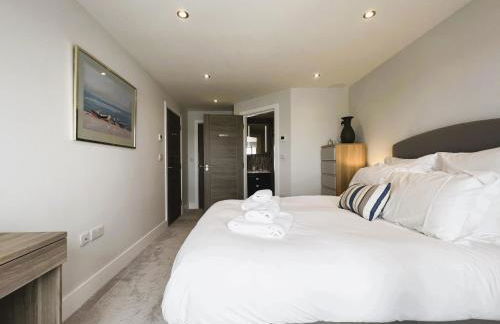
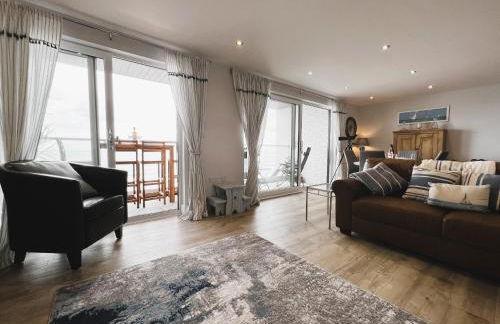
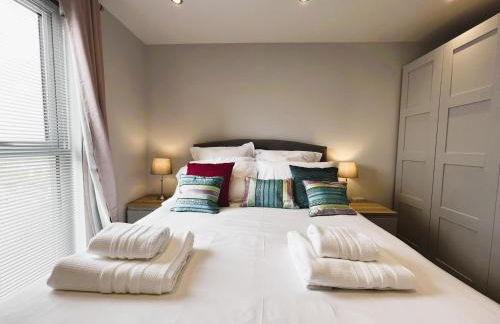
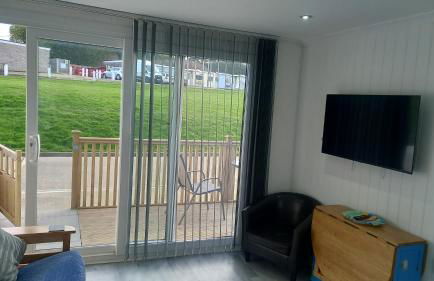
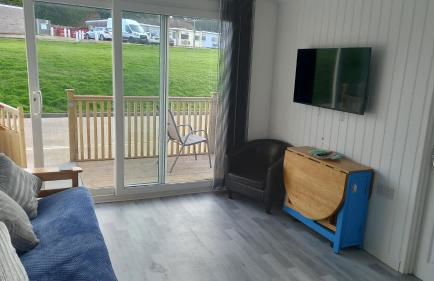
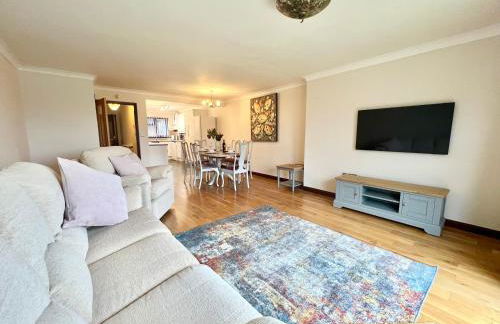
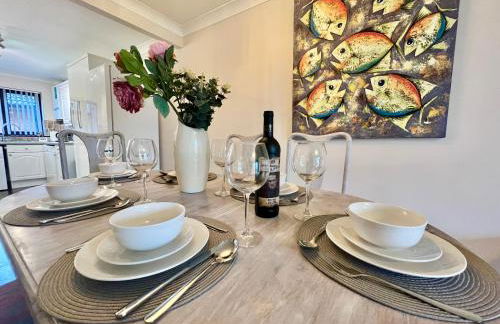
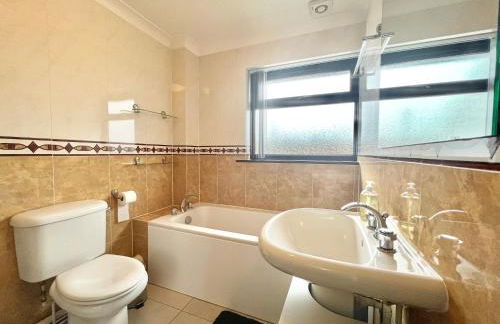
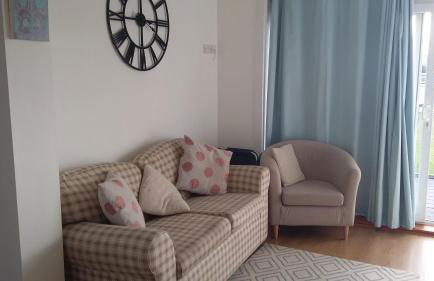
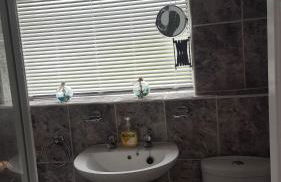
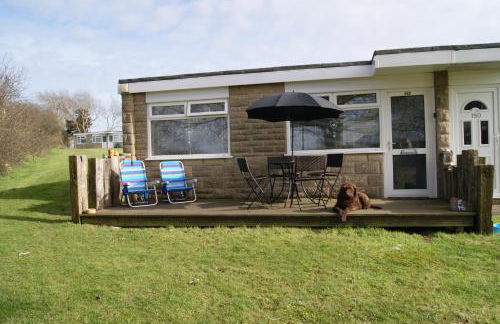
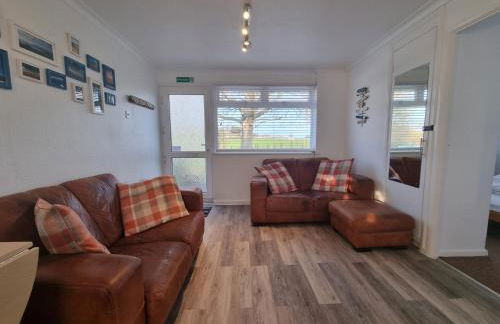
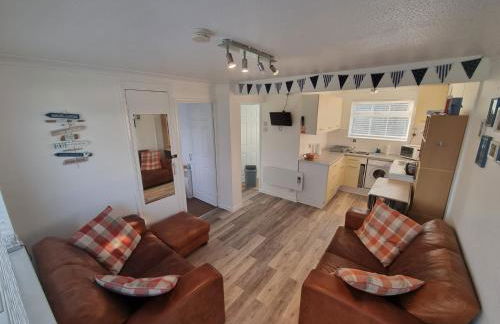
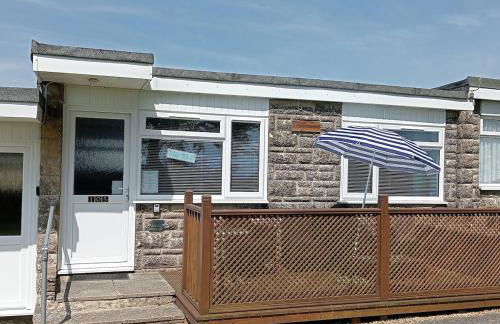
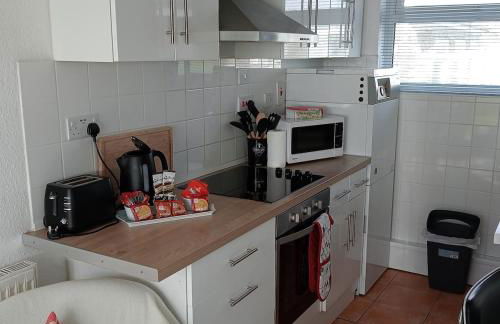
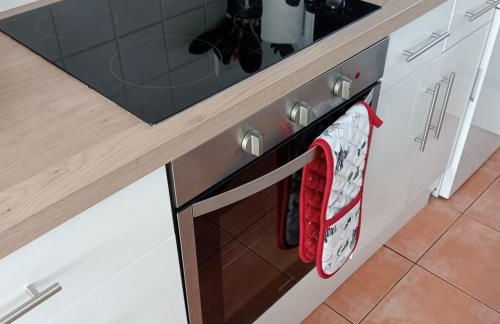
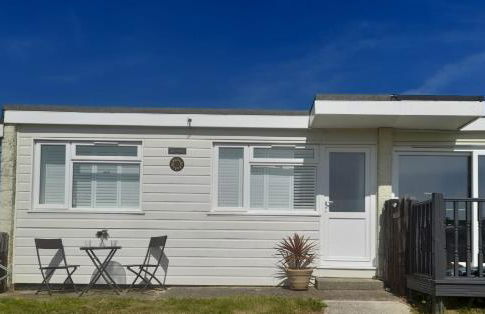
151 Apartamentos en Sandown

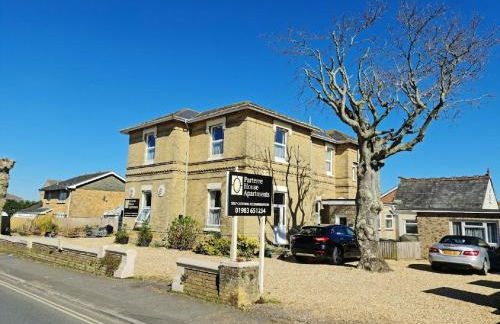


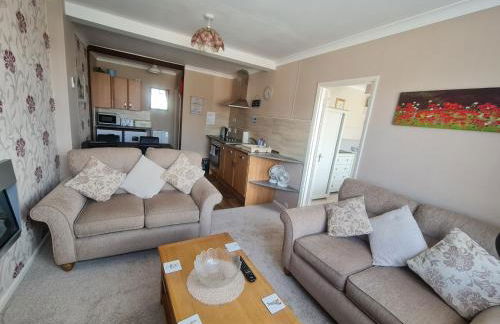


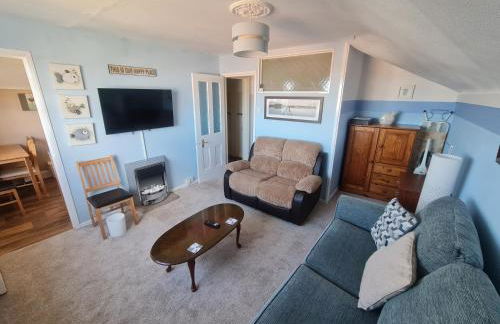


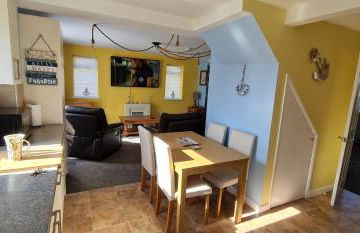

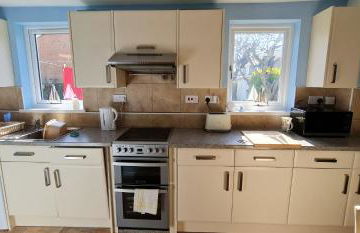

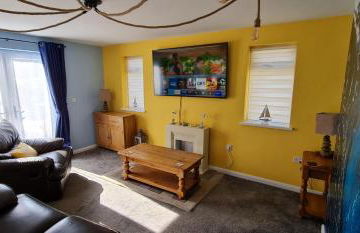


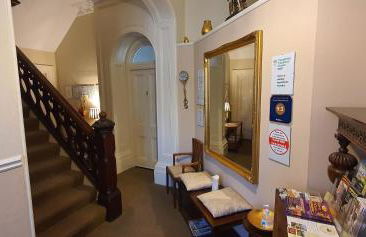

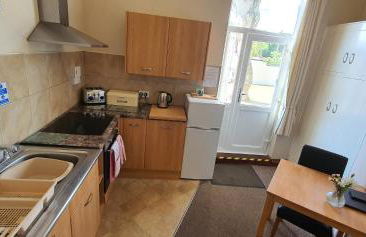

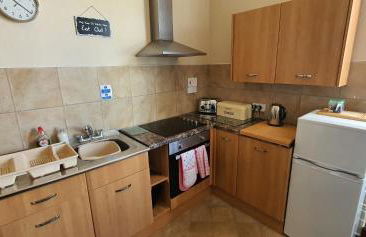

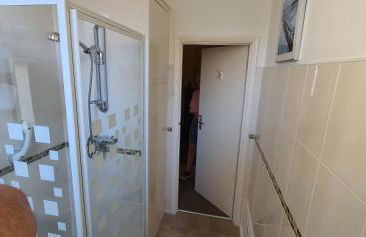

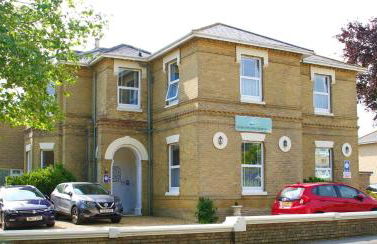

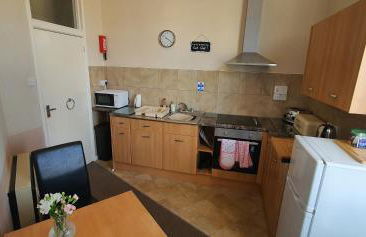

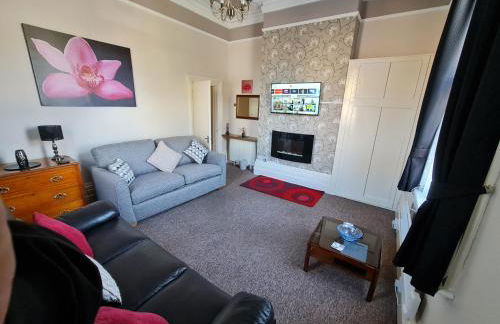

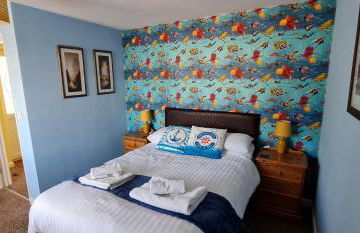

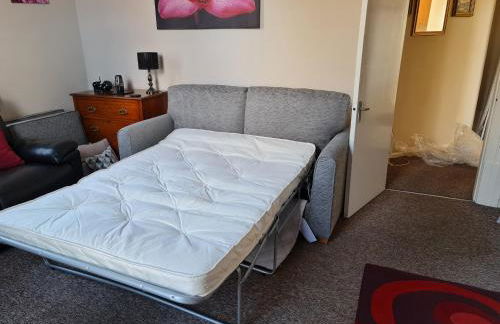

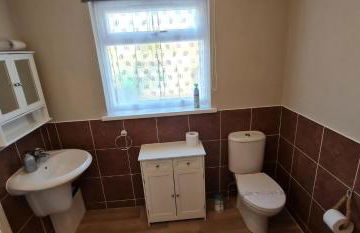

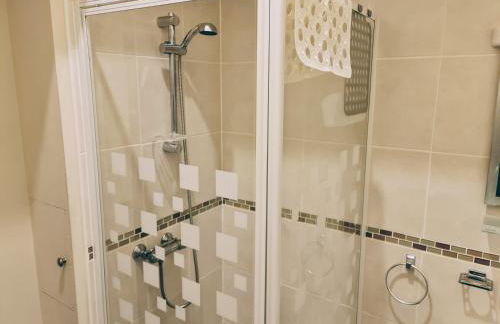


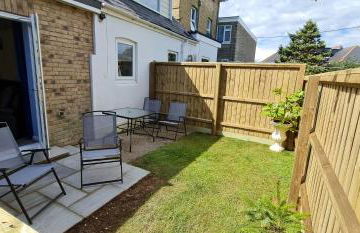

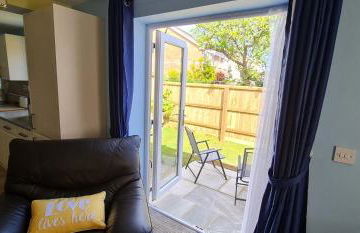


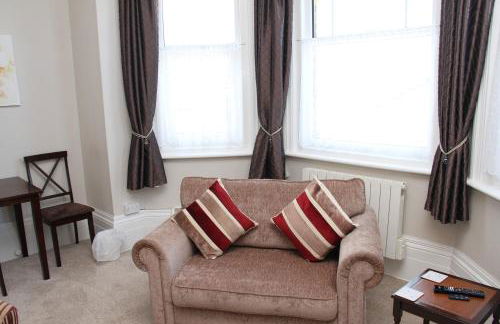

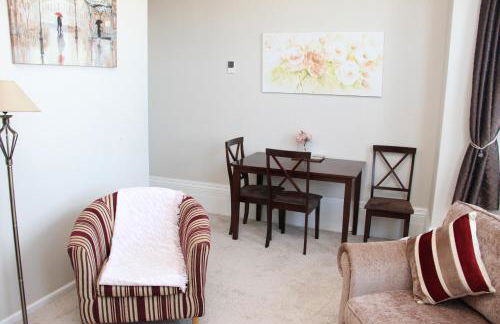

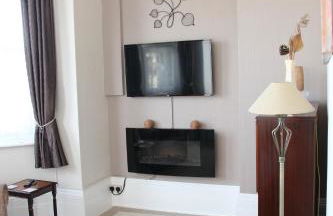

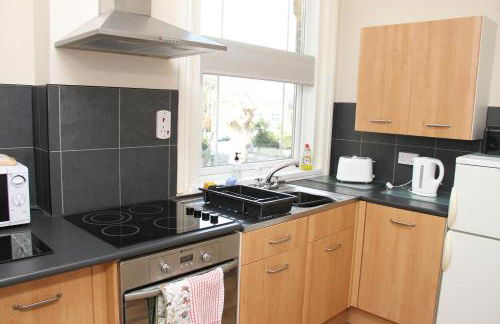

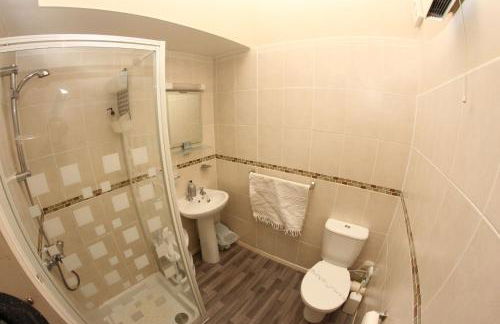

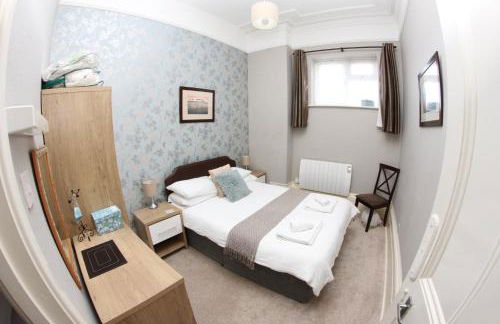

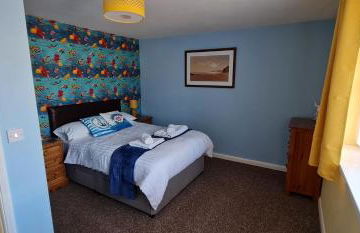

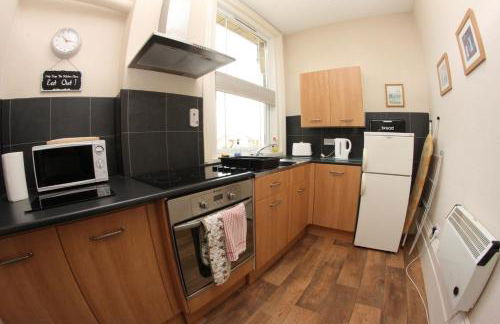

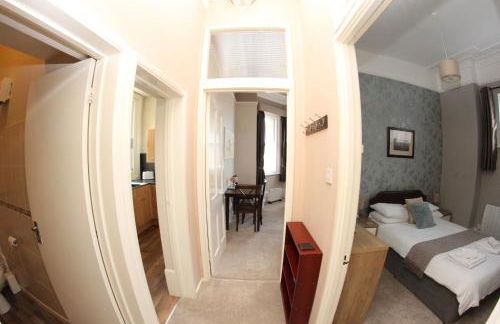

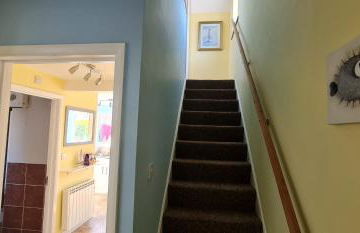

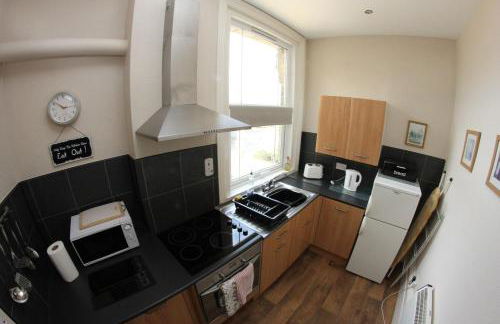

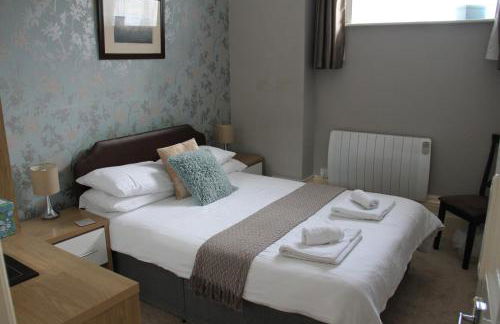

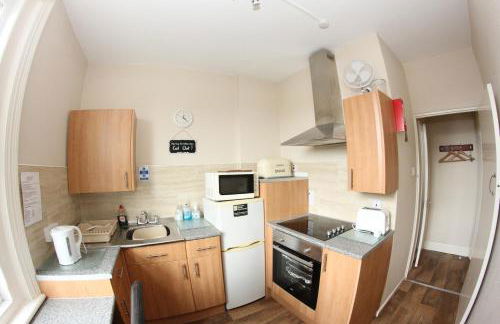


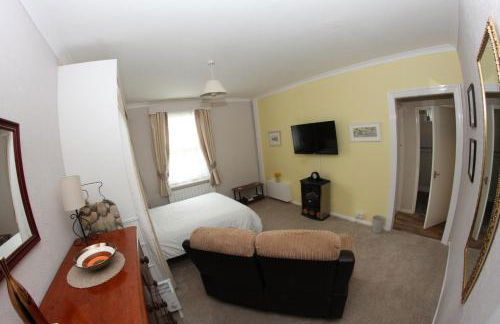

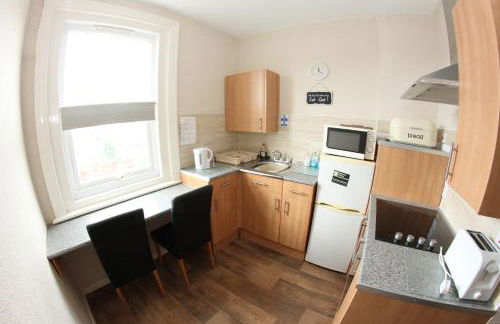

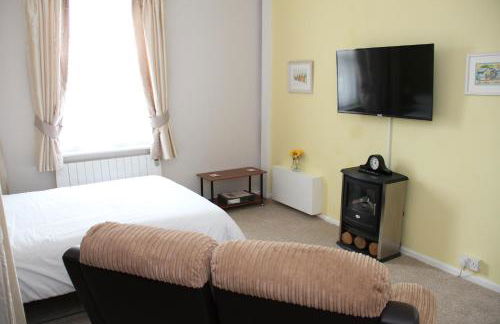

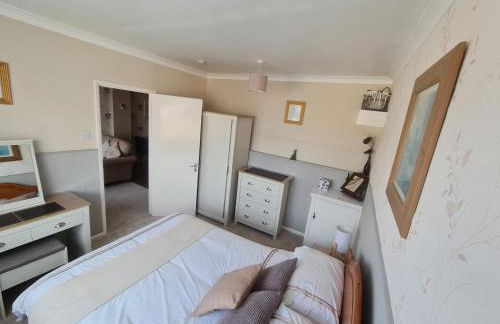

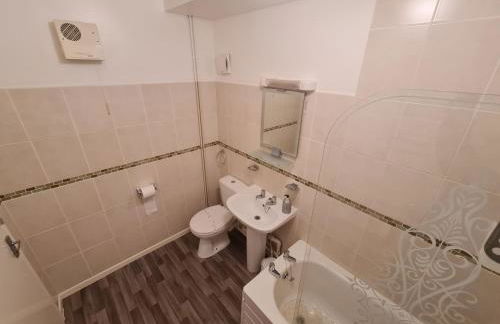

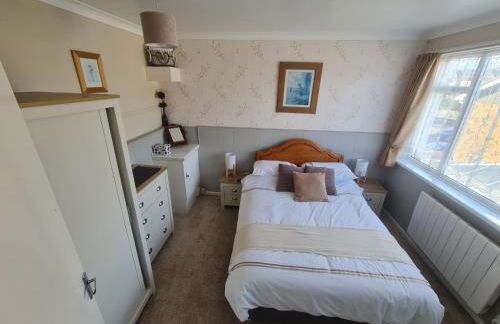

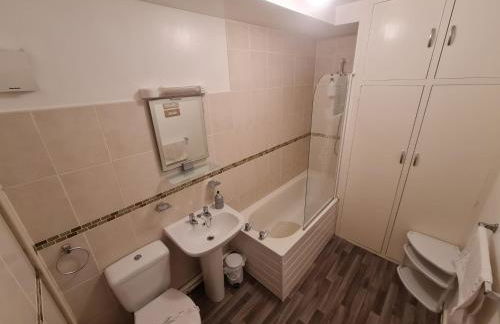

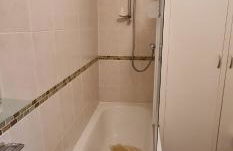


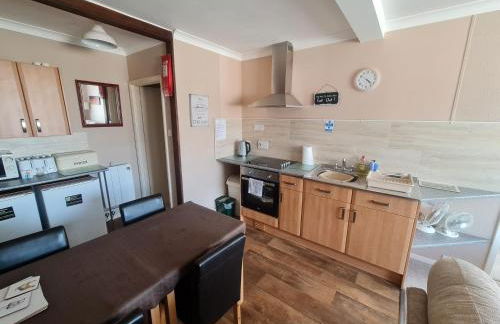

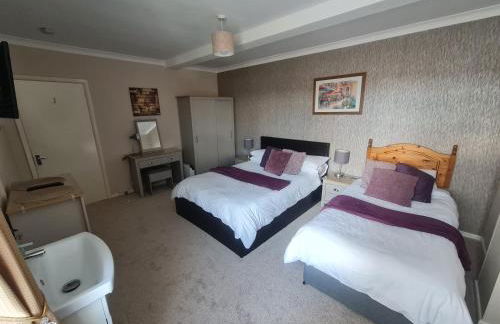

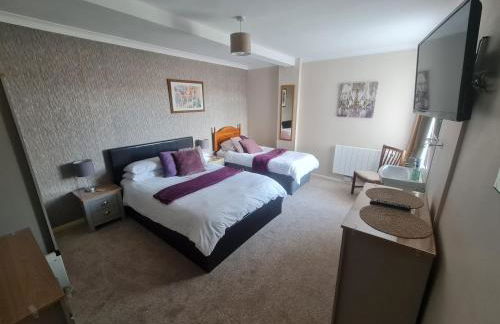

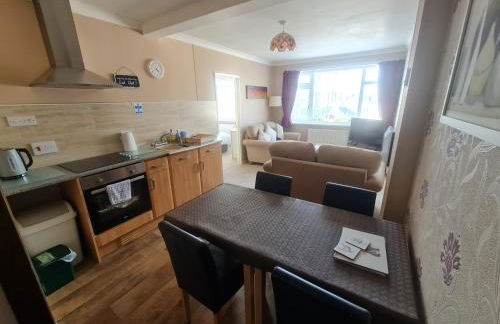

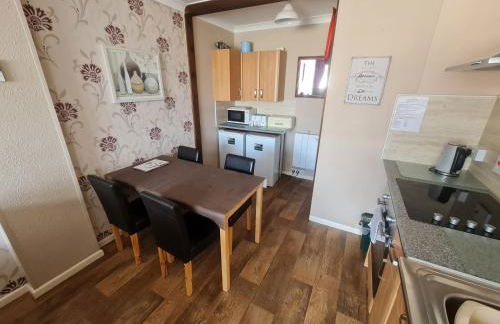

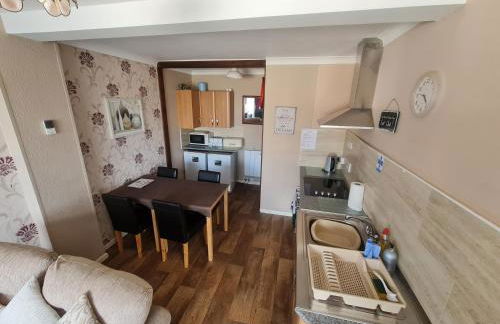

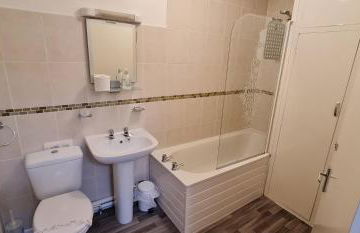

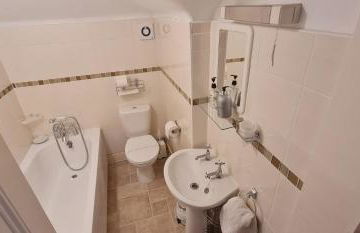

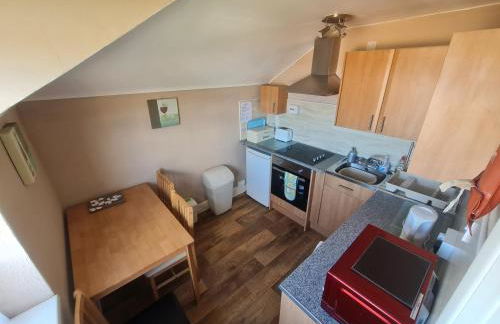

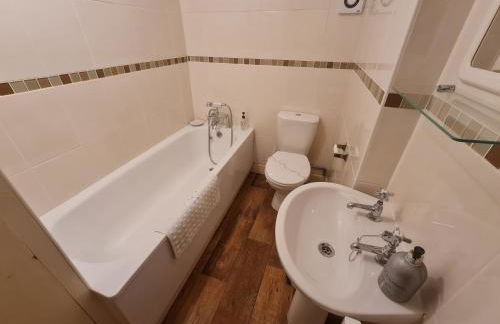

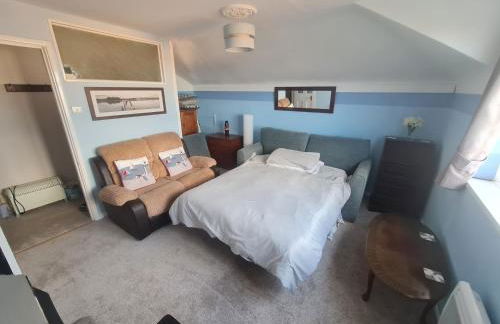

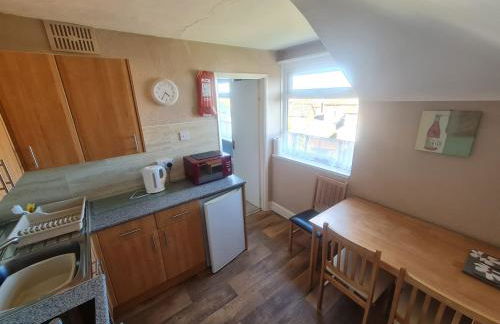

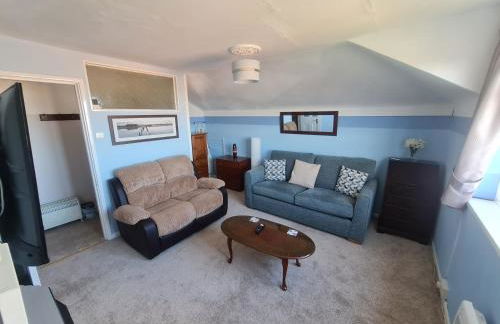

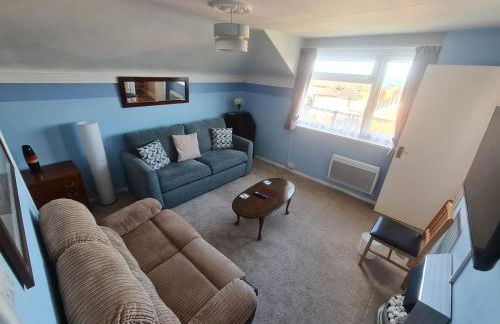

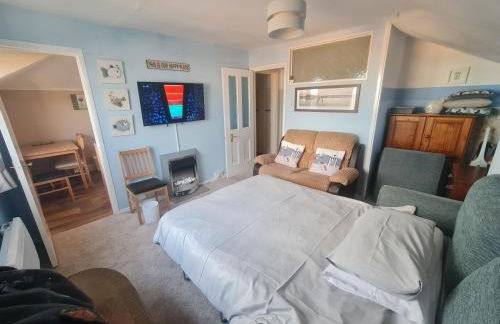

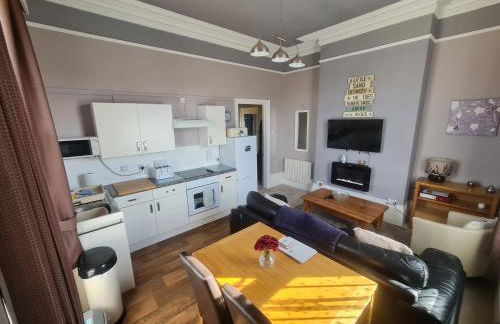

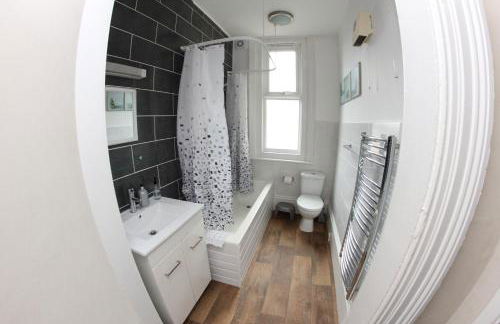

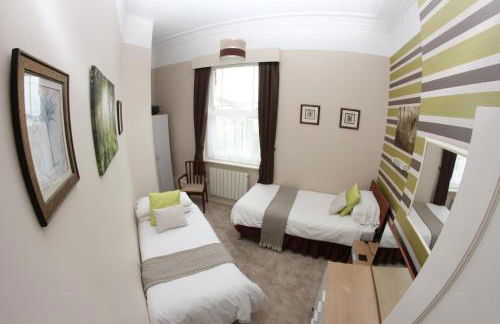


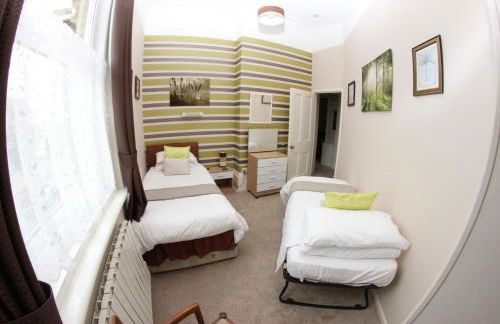

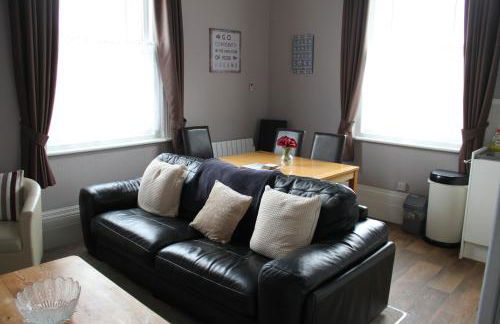

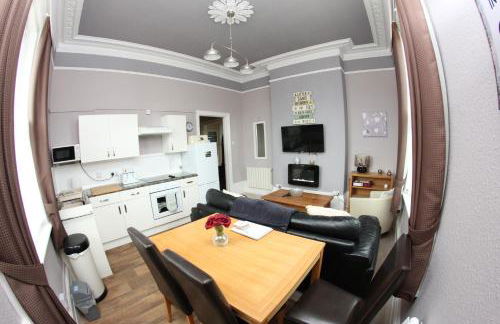

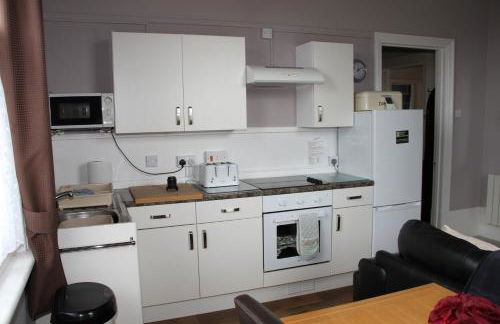

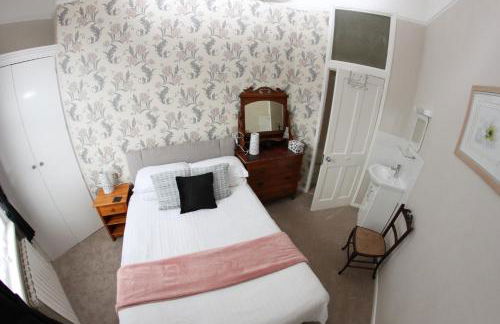

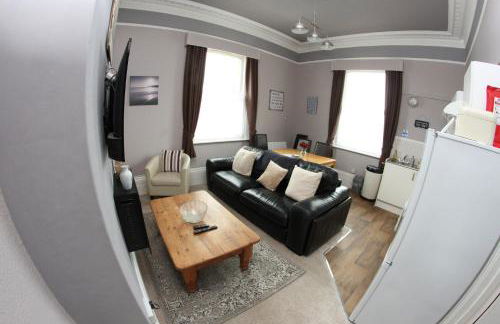

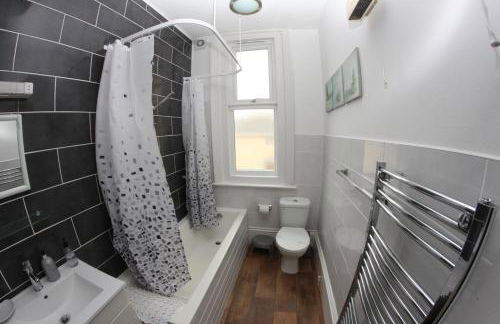
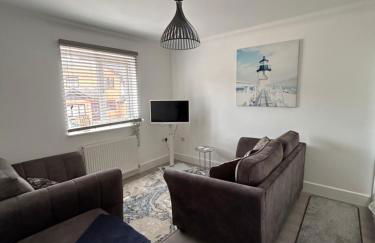
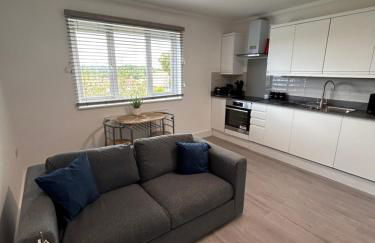
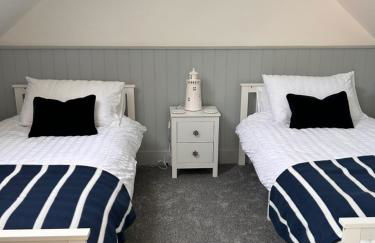
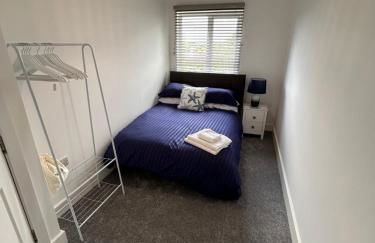
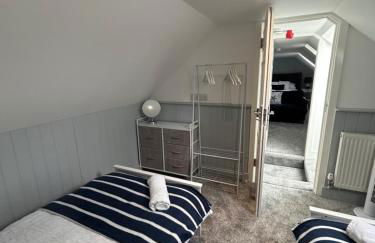
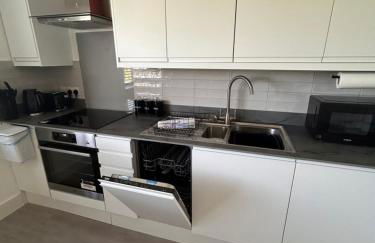
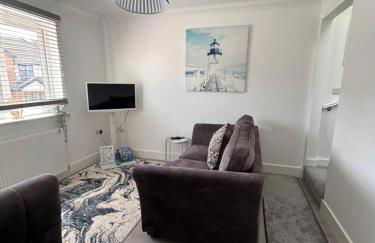
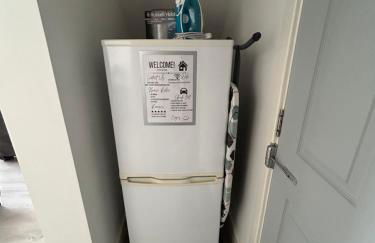
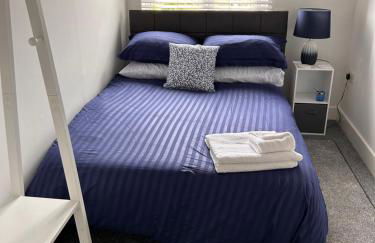
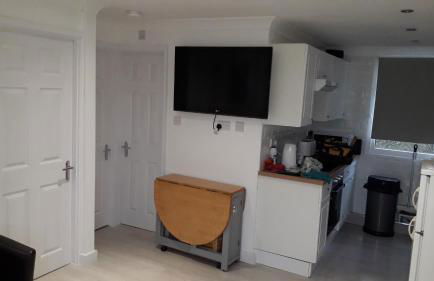
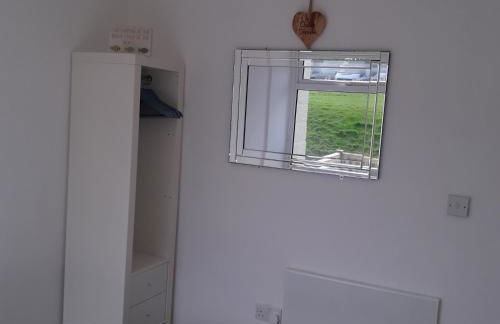
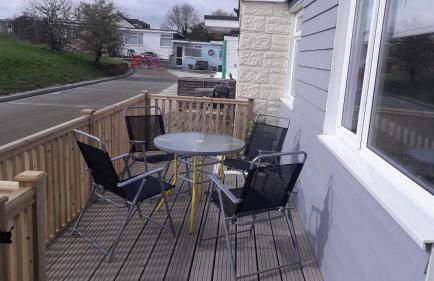
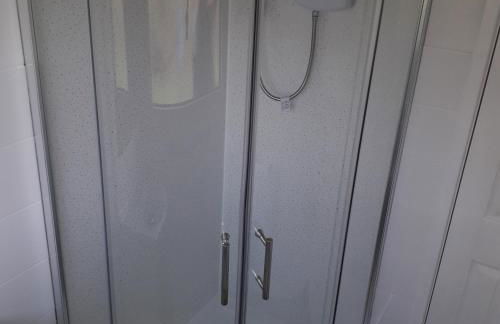
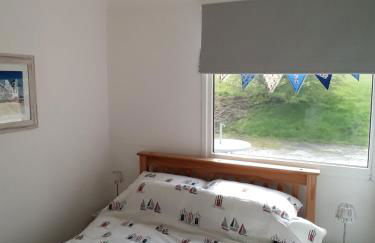
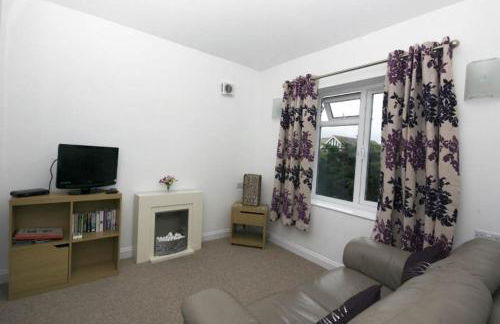
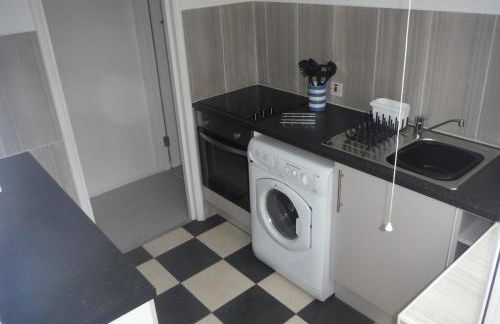
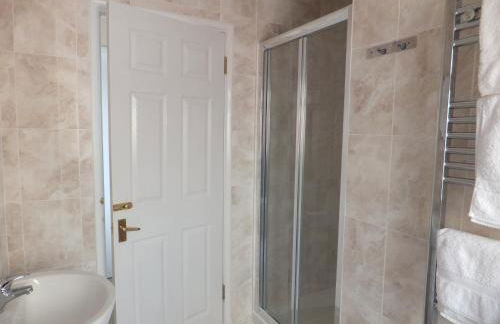
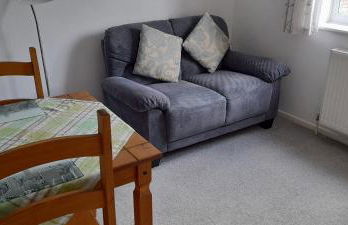
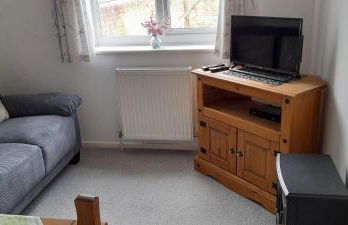
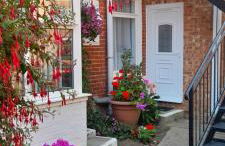
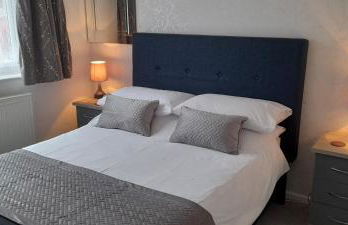
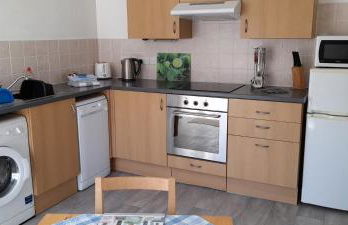
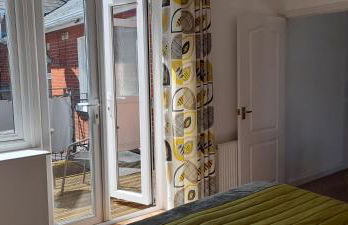
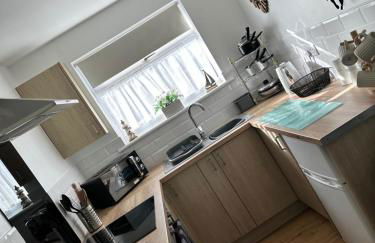
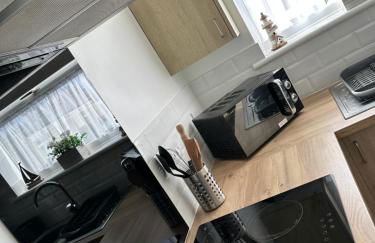
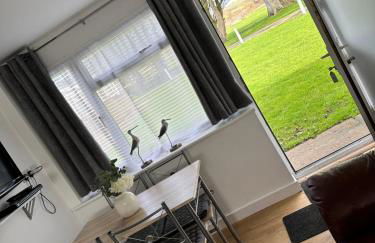
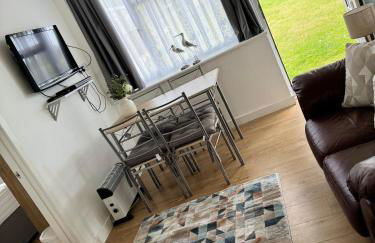
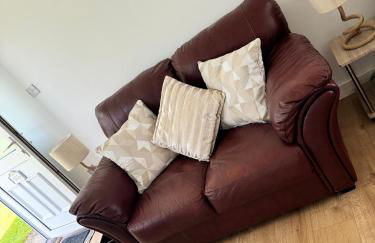
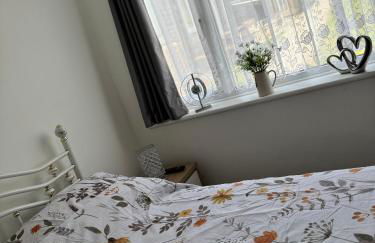
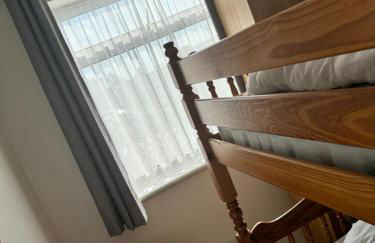
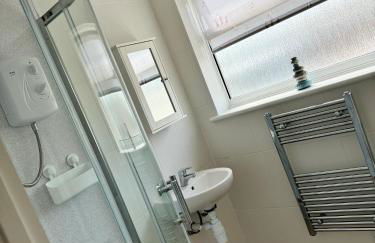
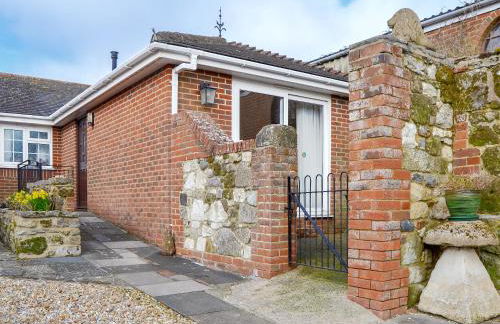
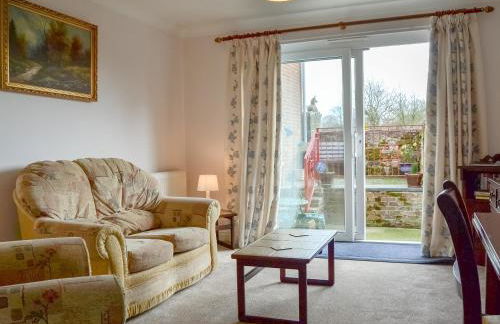
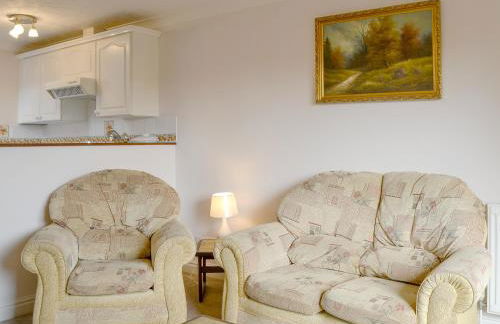
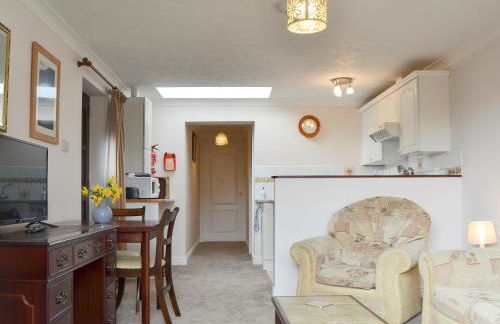
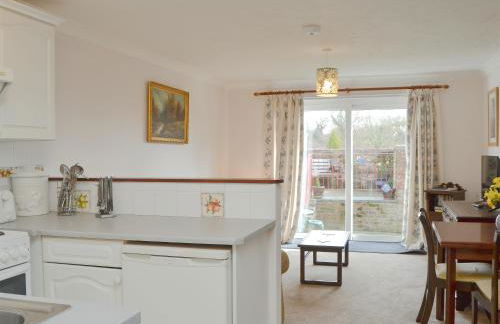
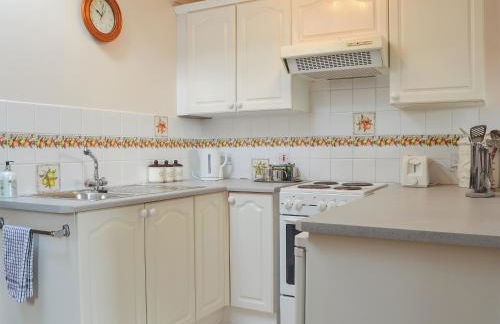
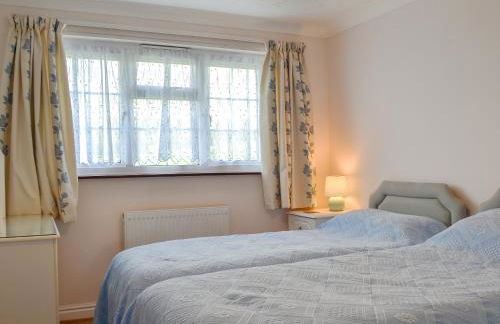
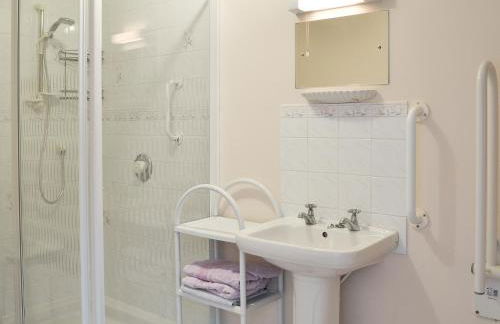
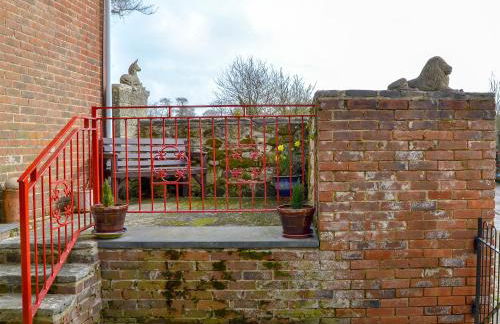
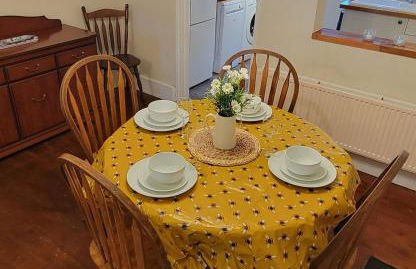
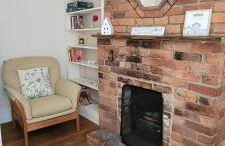
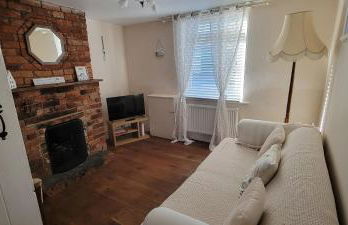
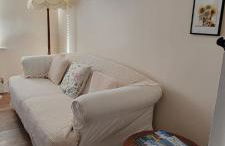
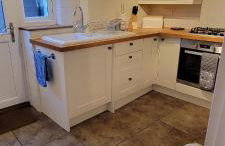
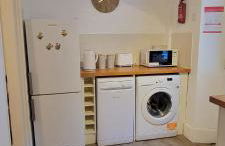
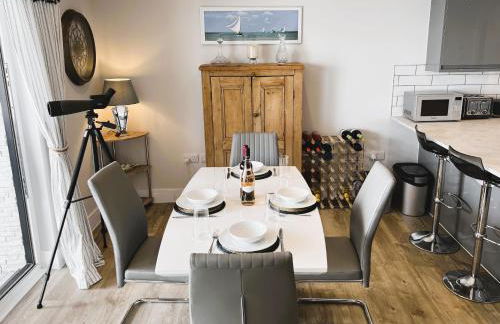
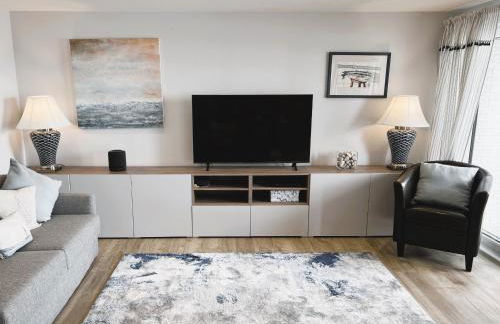
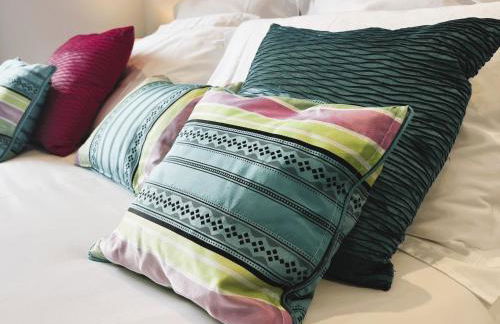
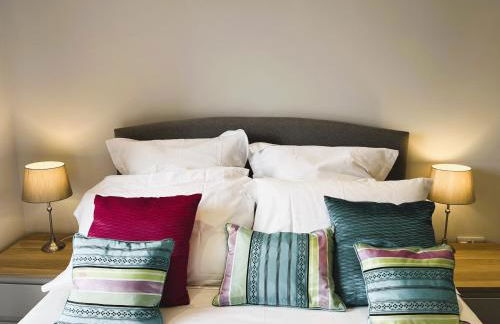
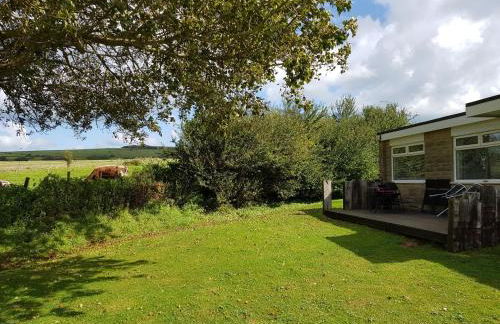
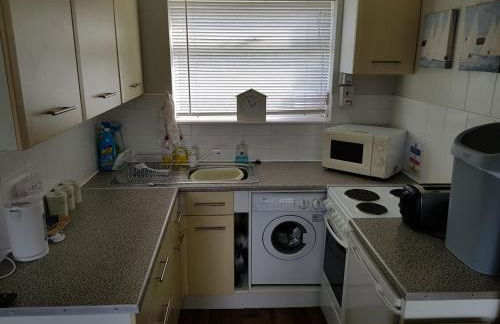
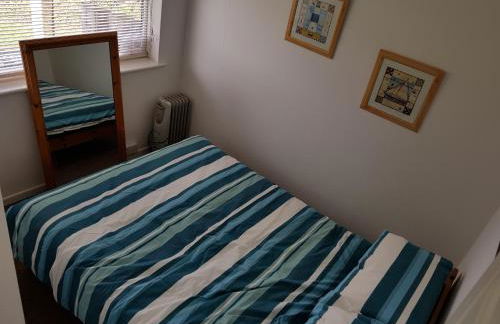
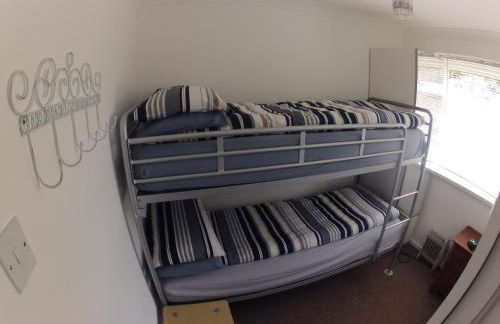
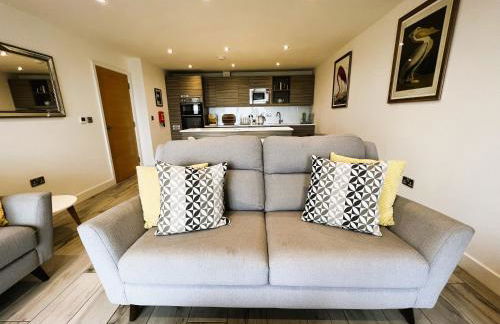
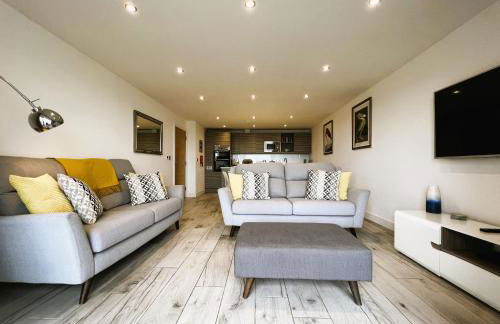
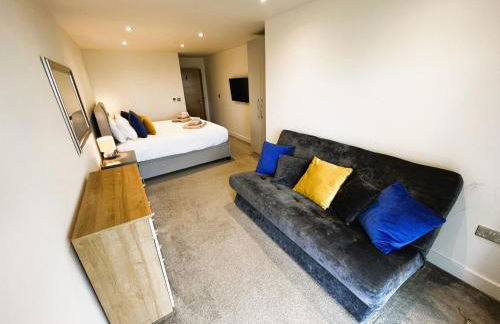
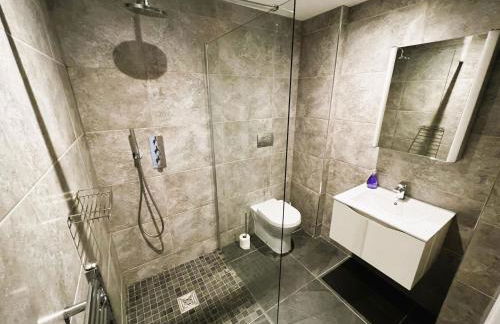
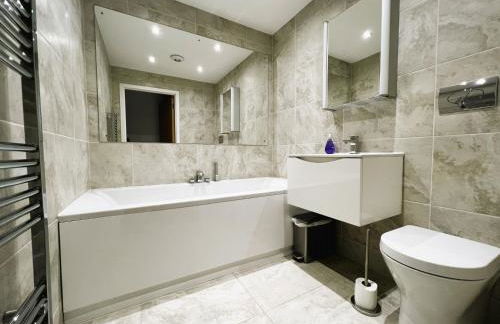
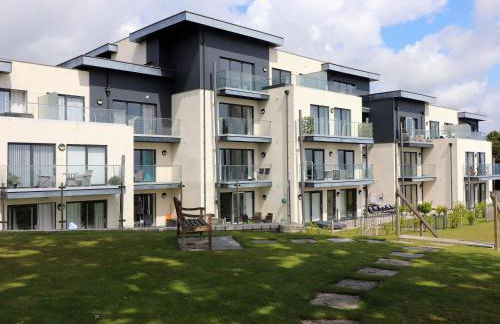
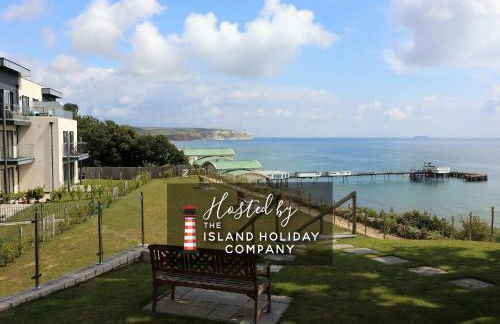
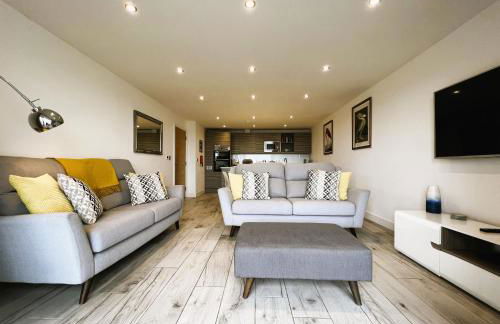
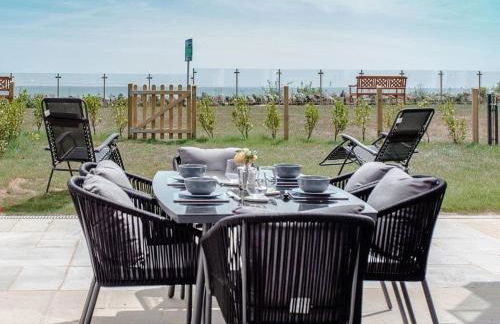
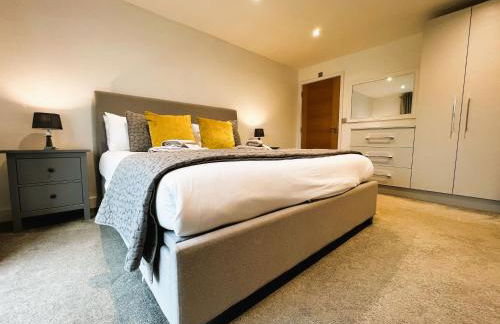
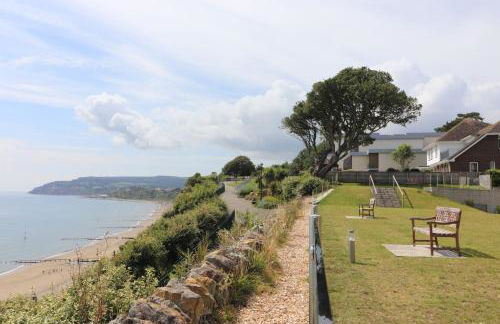
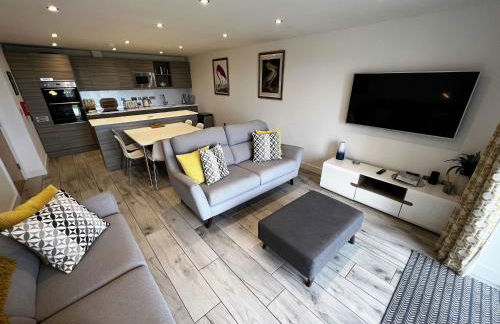
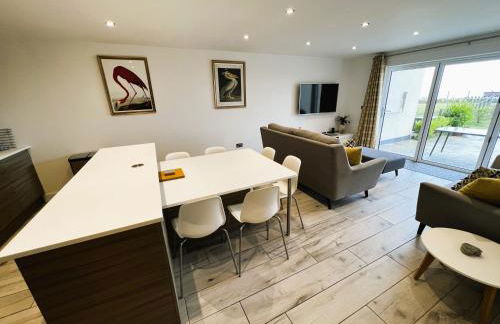
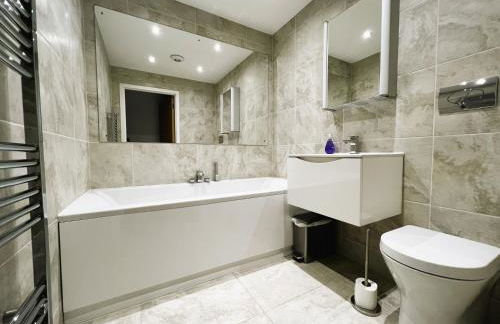
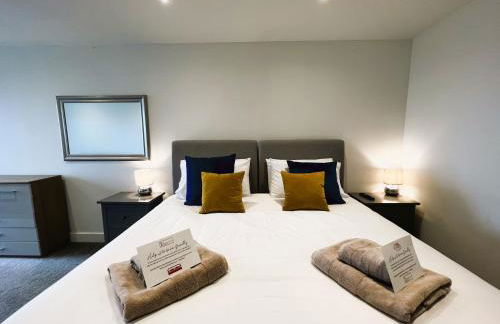
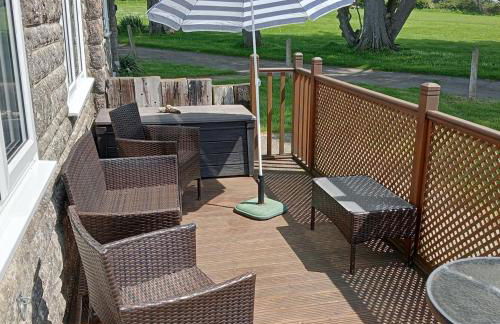
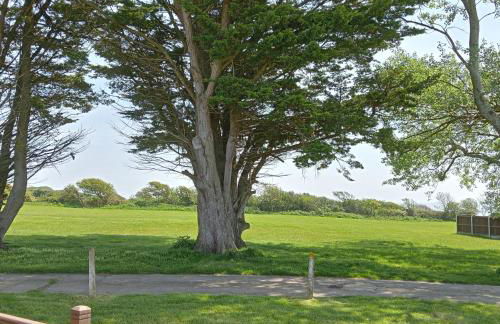
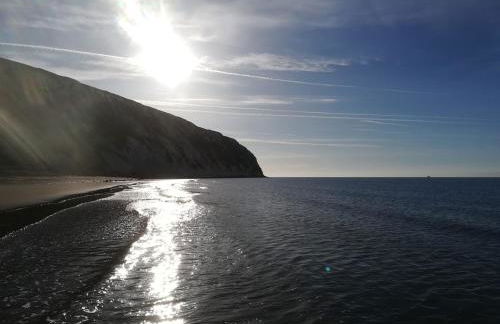
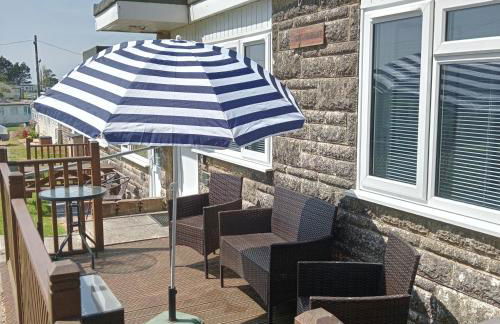
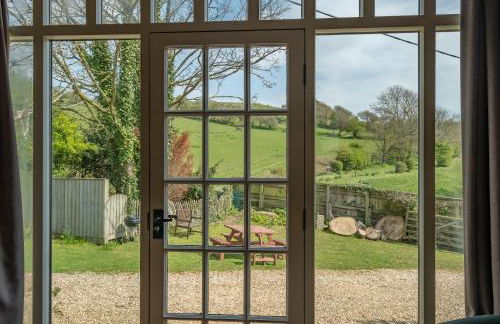
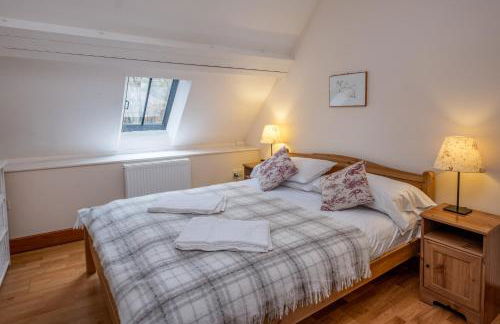
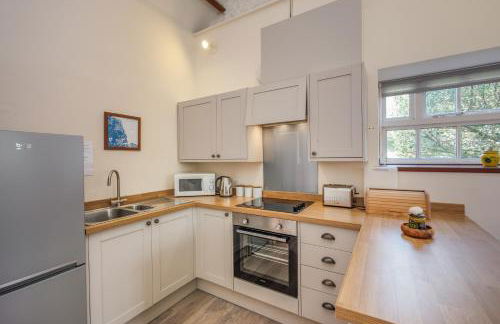
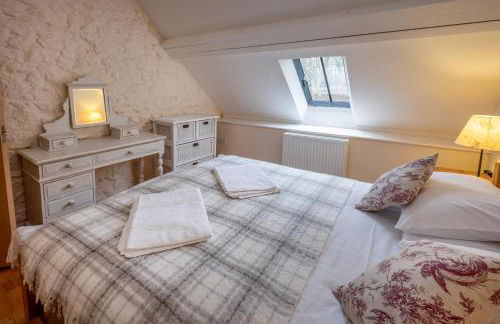
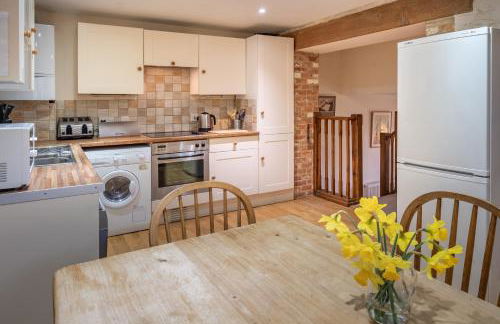
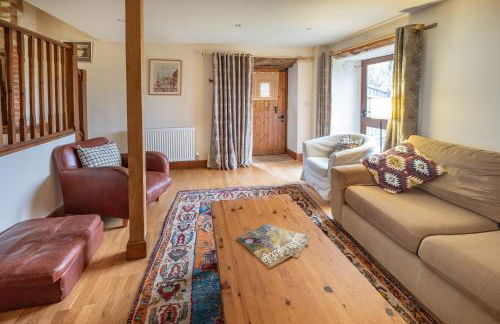
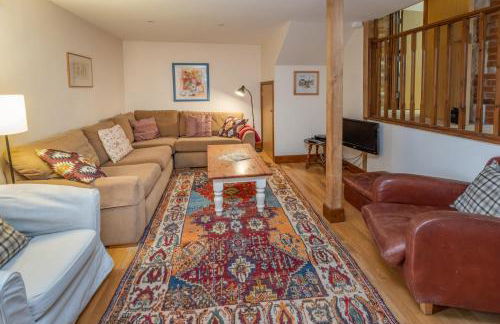
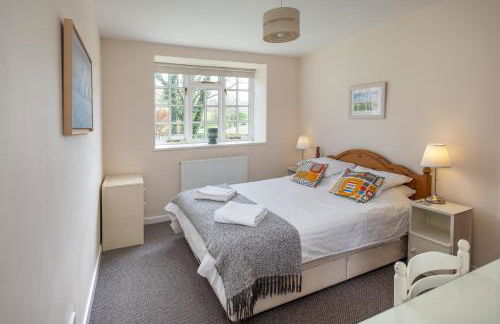
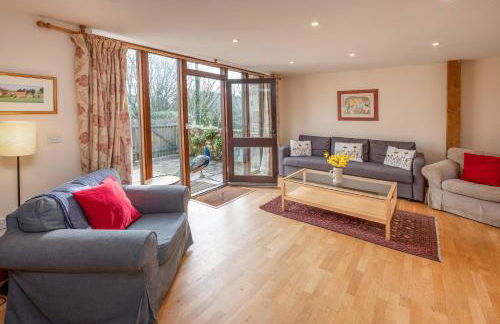
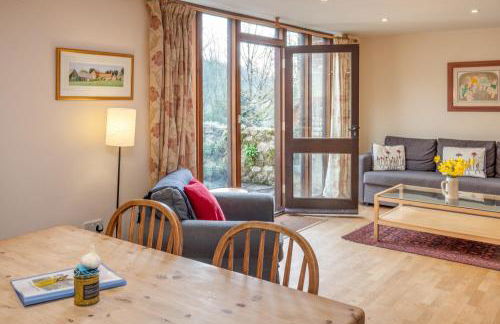
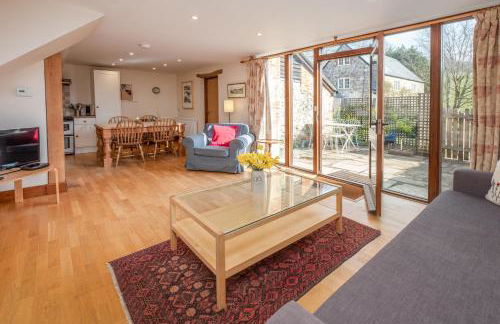
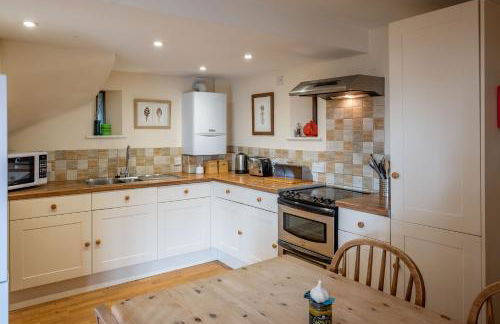
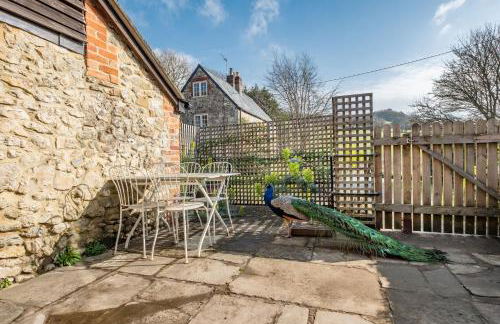
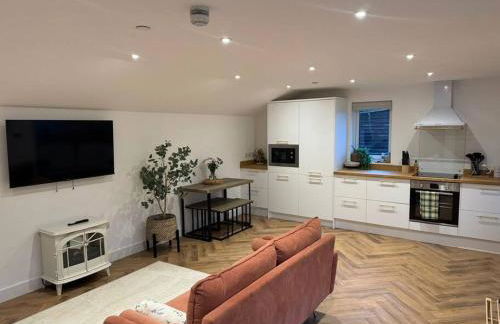
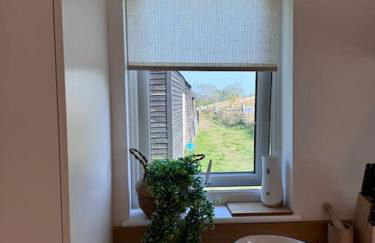
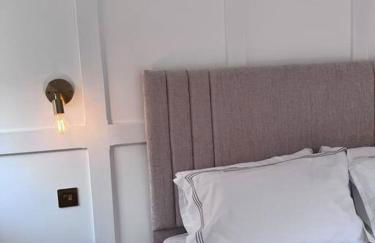
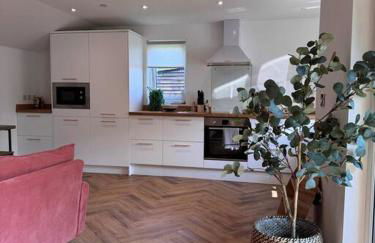
Parterre Holiday Apartments
Sandown - Sandown
- 88 M2
- 2 habitaciones
- 4 personas
- Calefacción
- Terraza
- Parking
- Jardín
- Televisión
- Lavadora
- Toallas
26 reseñas
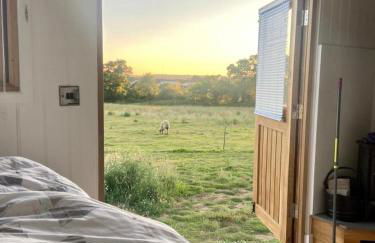
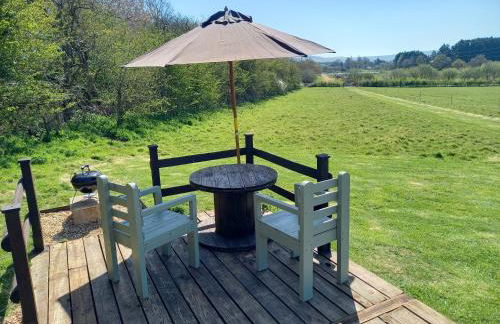
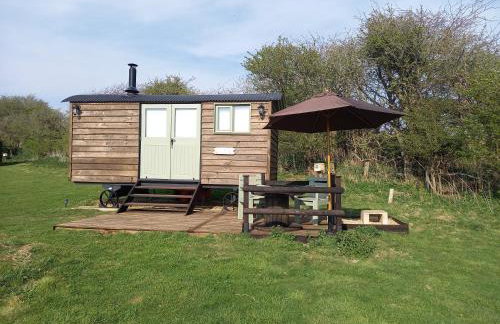
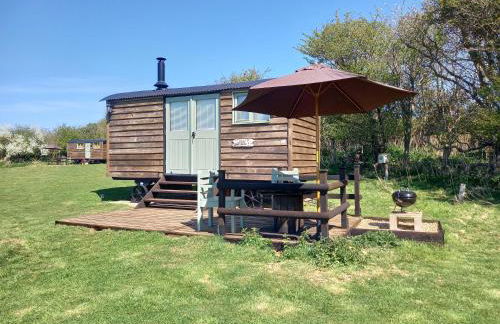

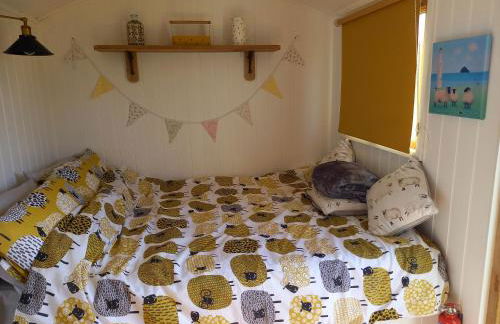
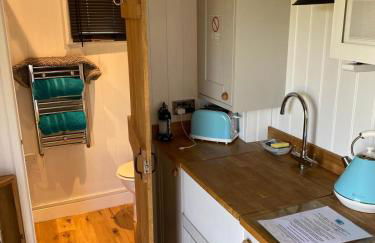

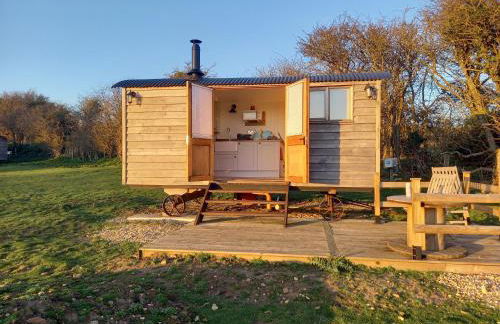
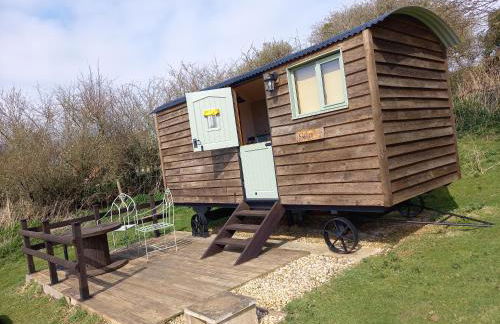
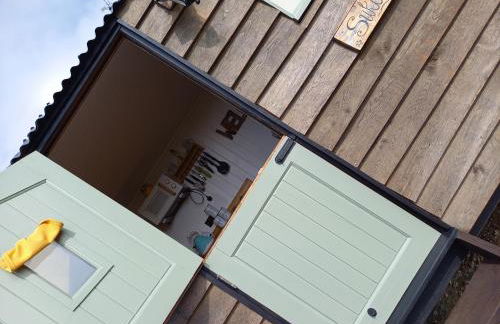

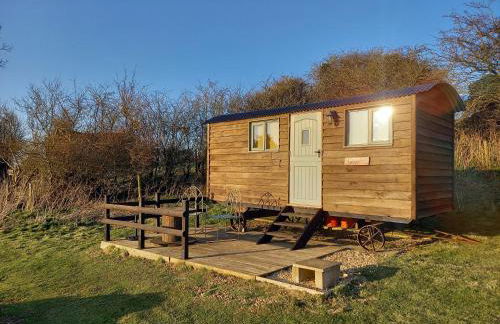
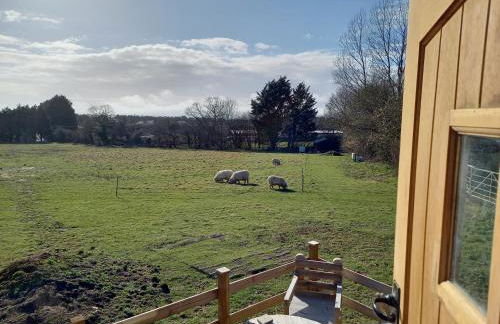
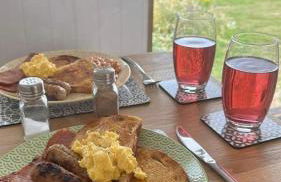
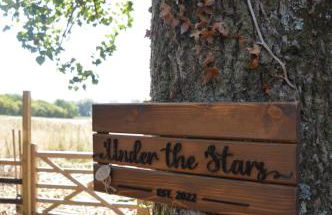
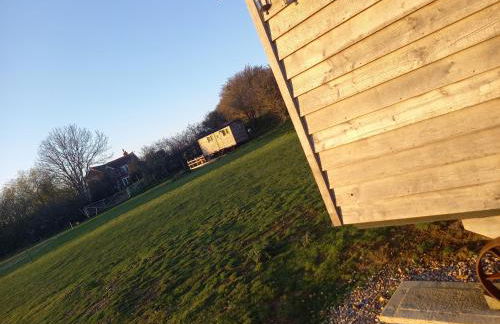
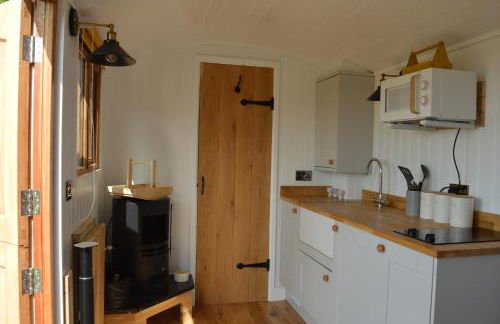
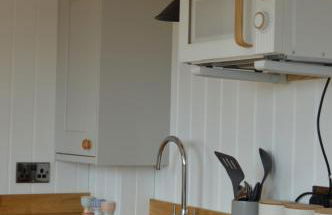
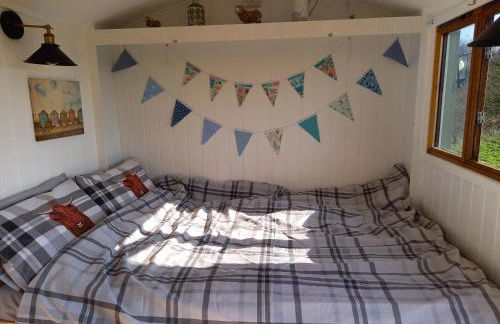


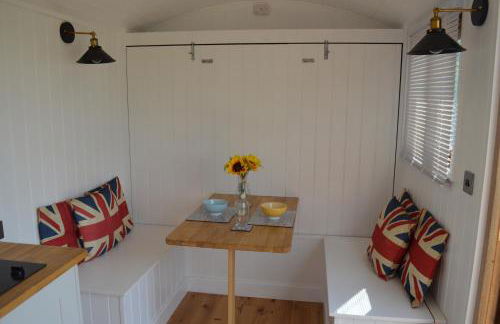
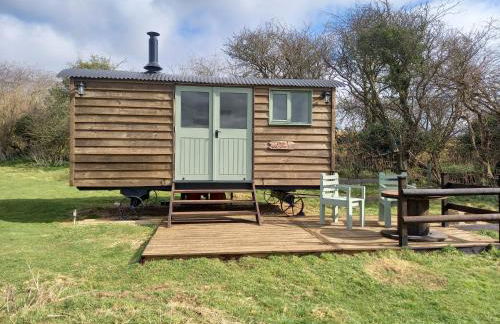
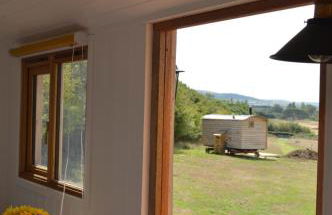
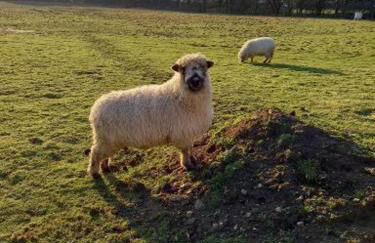
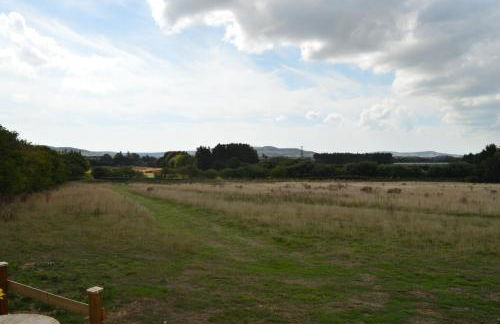
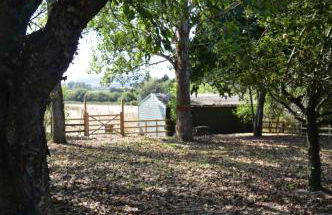
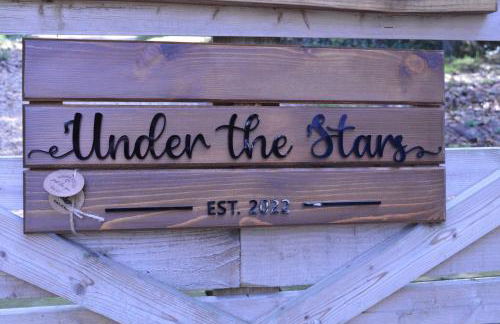

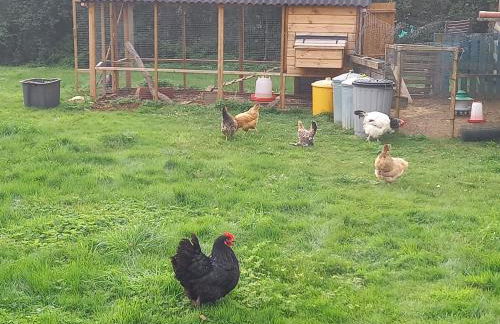
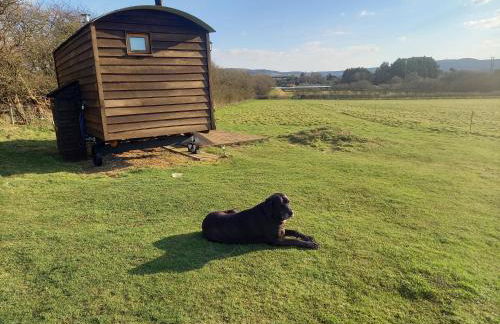
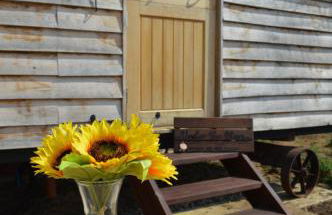
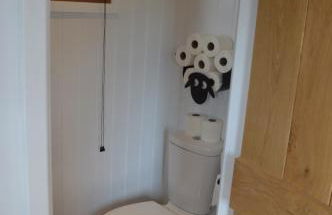
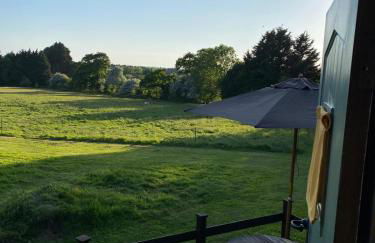
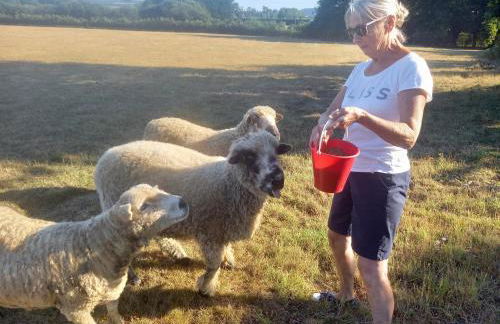

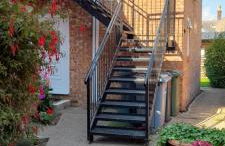
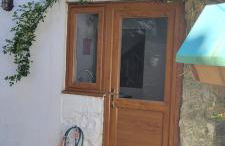
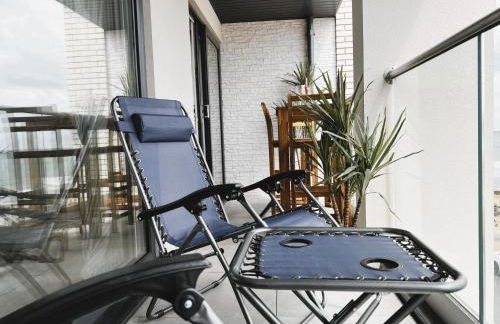
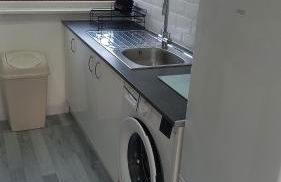
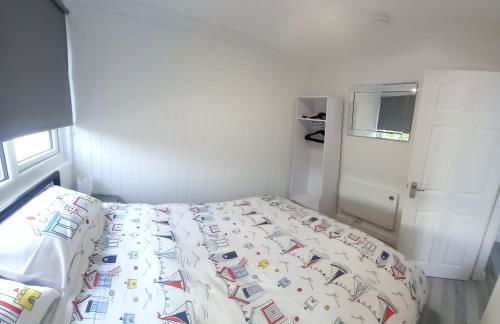
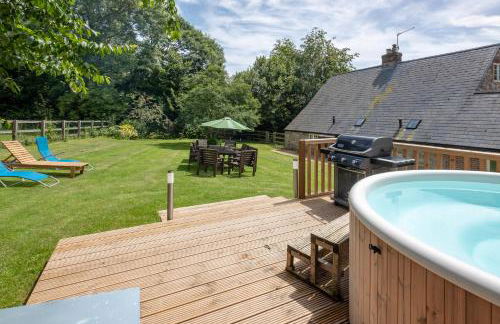
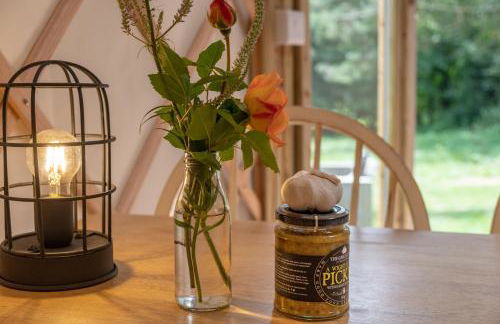
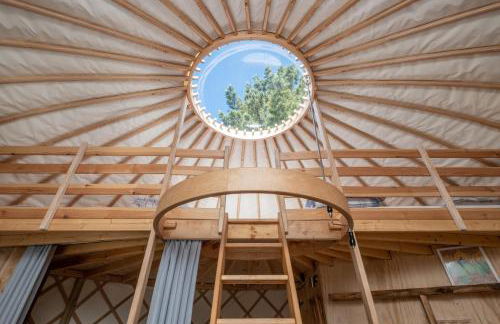
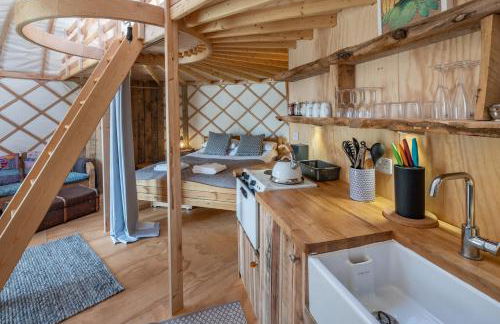
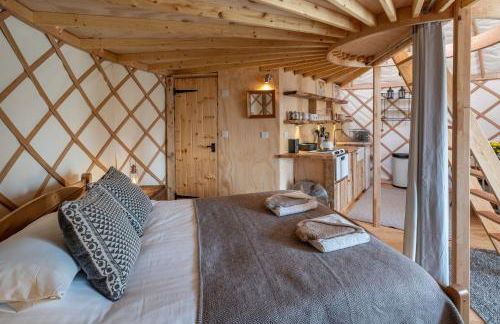
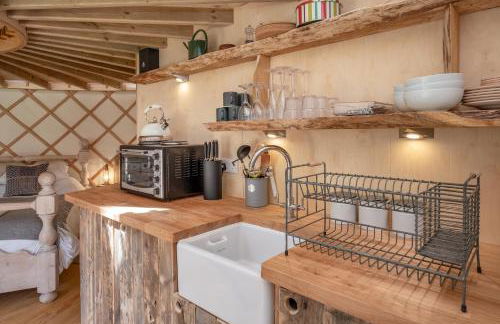
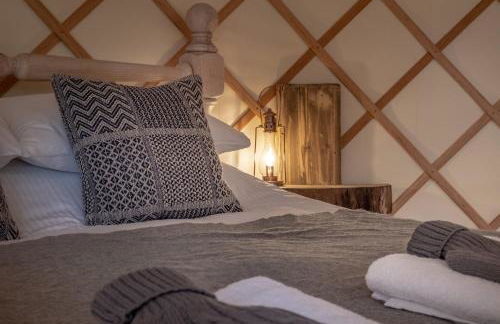
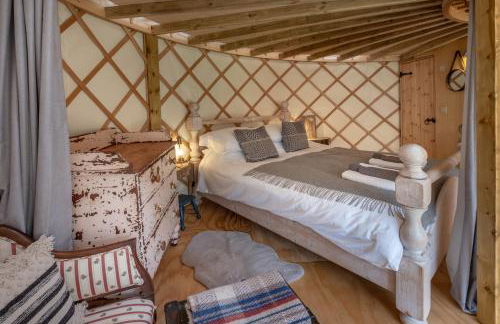
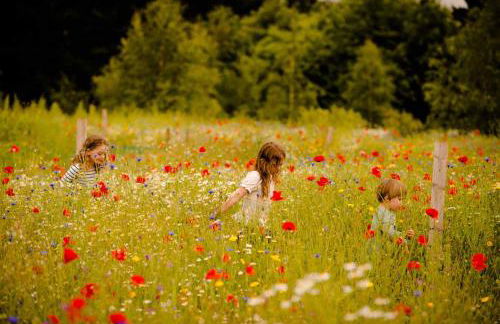
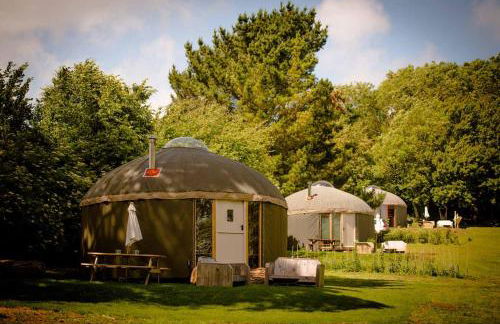
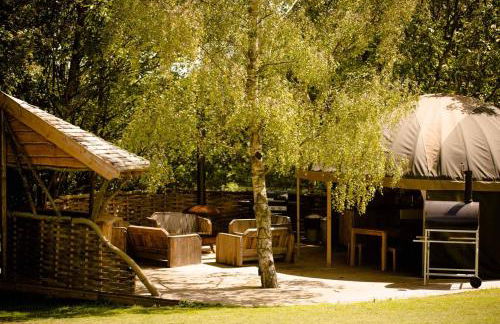
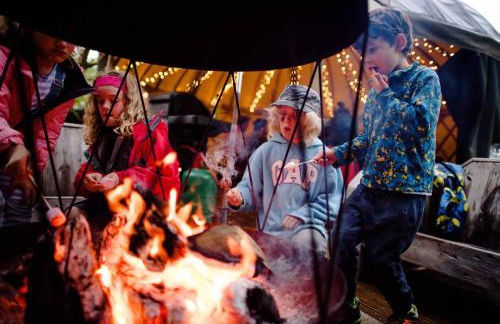
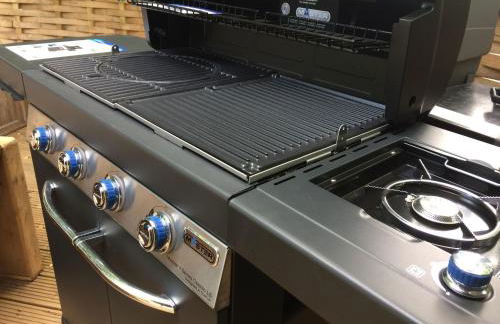
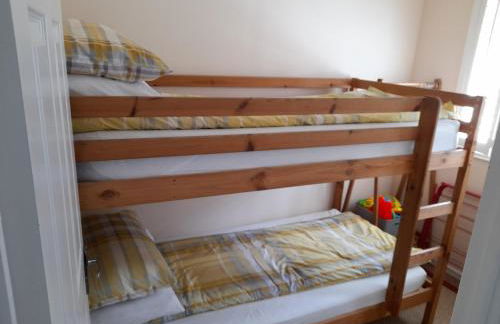
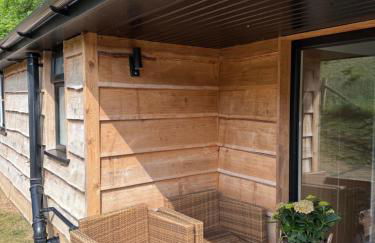
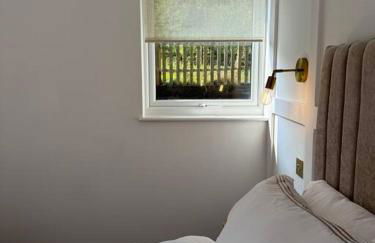
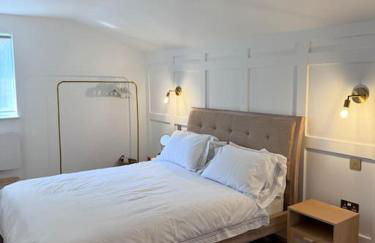
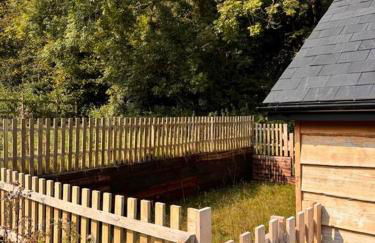
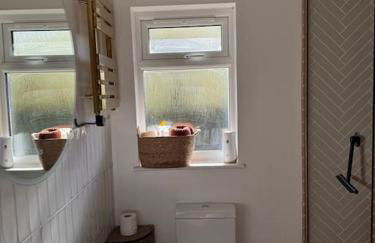
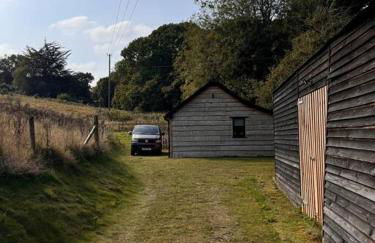
Under the Stars Shepherds Huts at Harbors Lake
Sandown - Newchurch
- 11 M2
- 2 personas
- Calefacción
- Terraza
- Parking
- Jardín
- Barbacoa
208 reseñas
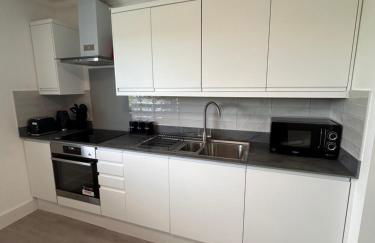

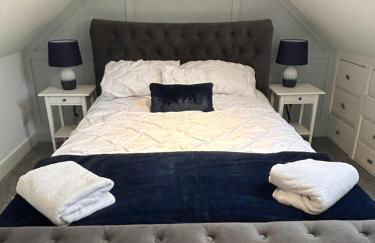

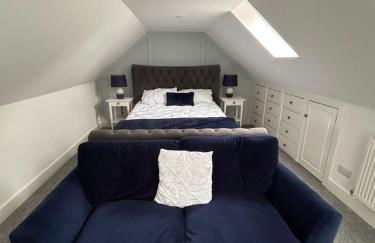
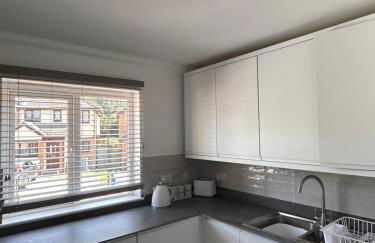
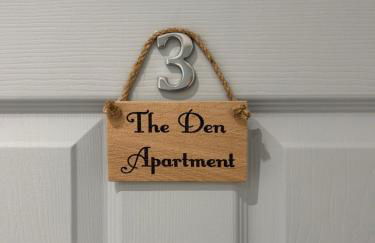

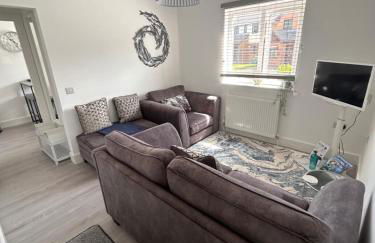
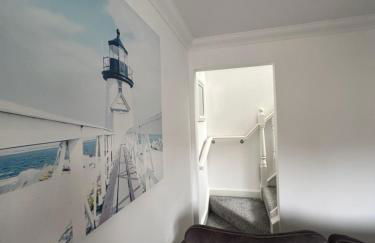
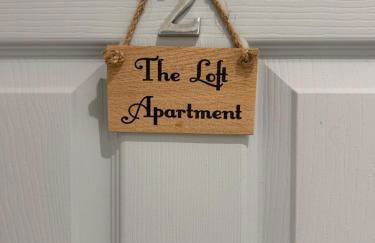
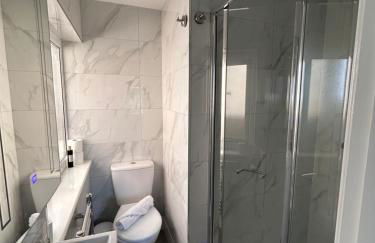
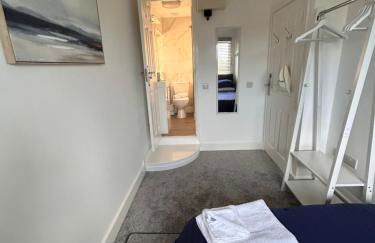

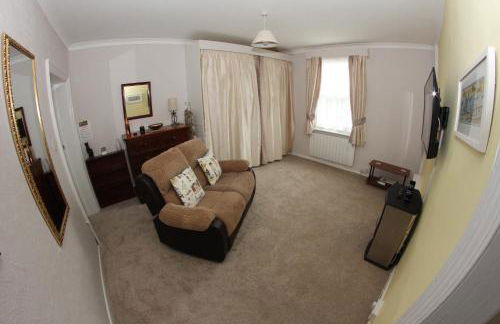
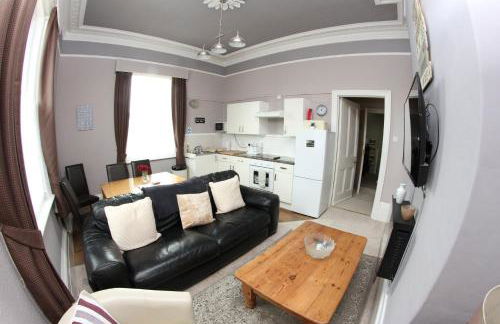
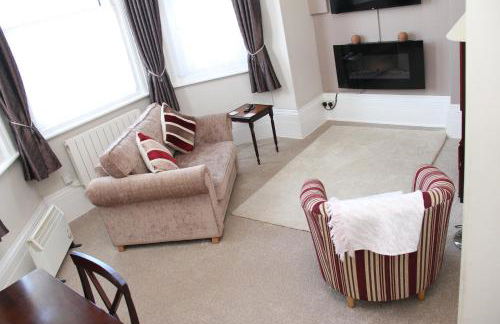
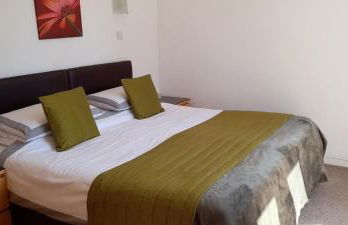
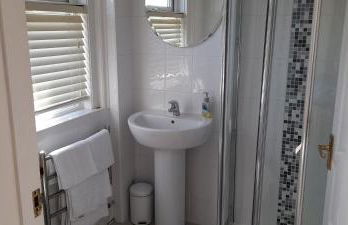
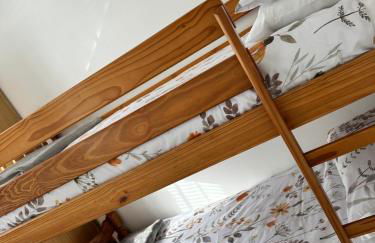
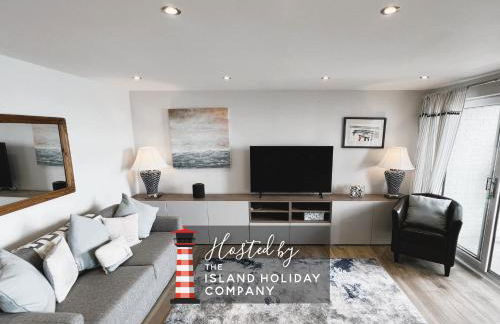
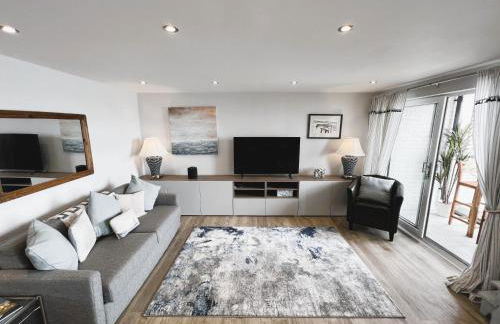
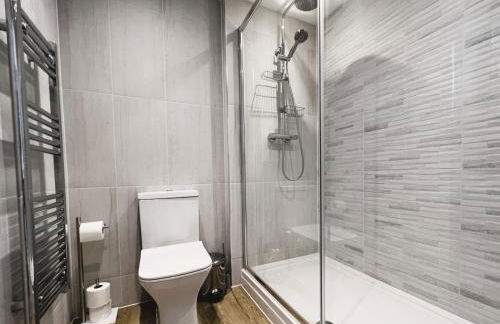
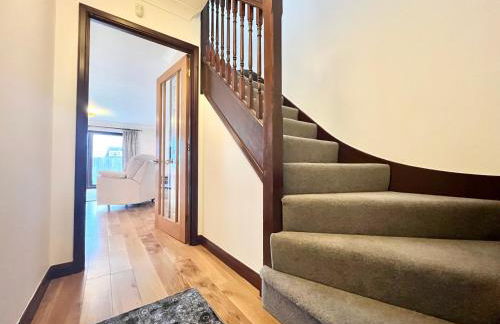
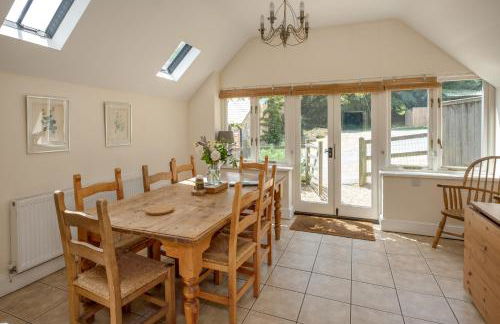
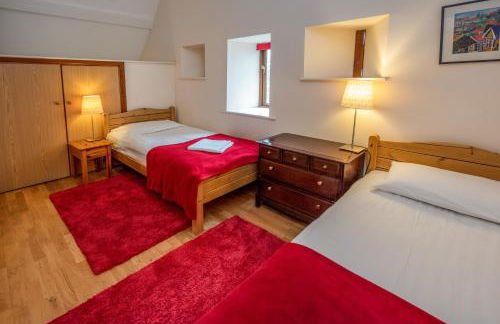
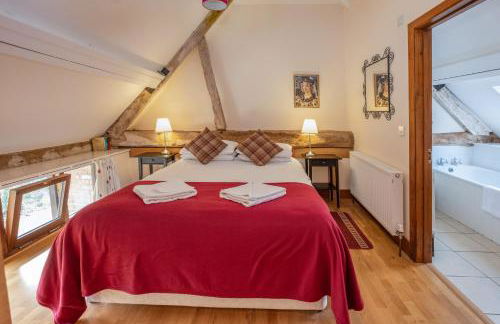
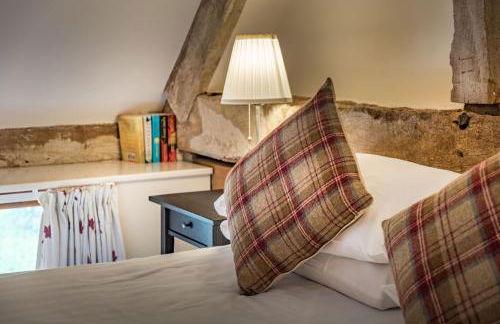
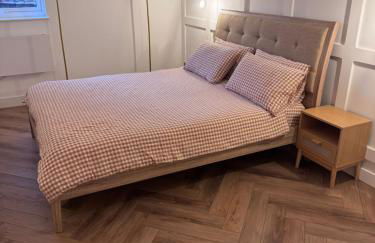
The Loft and The Den Apartments
Sandown - Sandown
- 111 M2
- 2 habitaciones
- 4 personas
- Calefacción
- Parking
44 reseñas


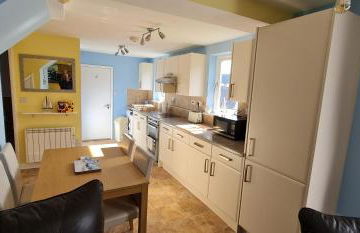
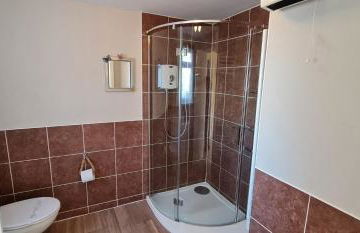
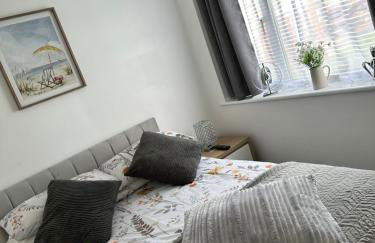
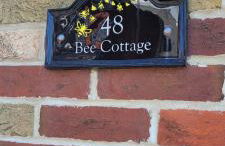
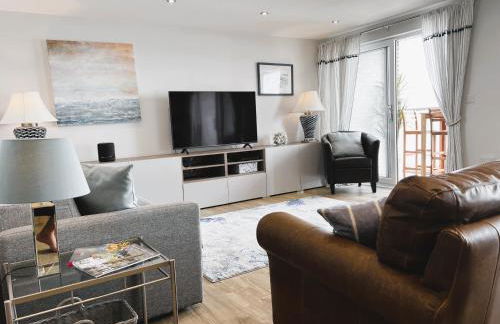
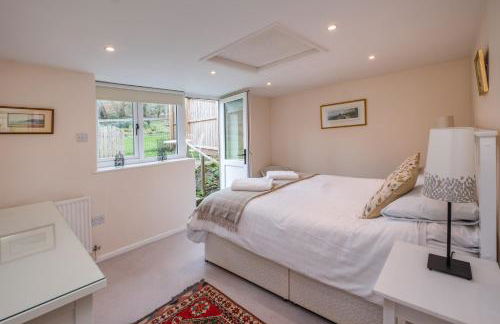
Little Parklands
Sandown - Sandown
- 37 M2
- 1 habitación
- 2 personas
- Calefacción
- Parking
- Jardín
- Barbacoa
100 reseñas


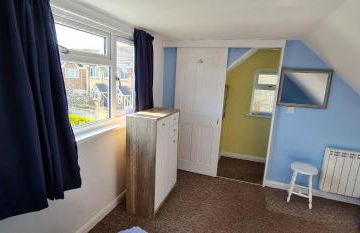
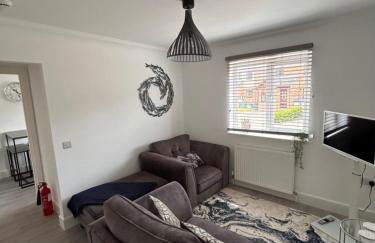
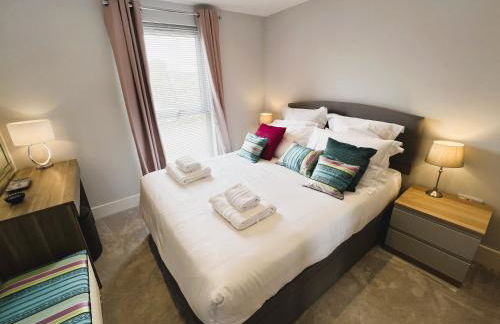
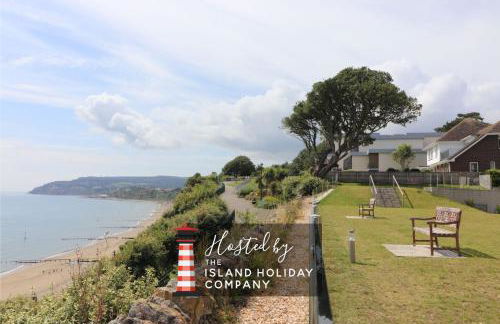
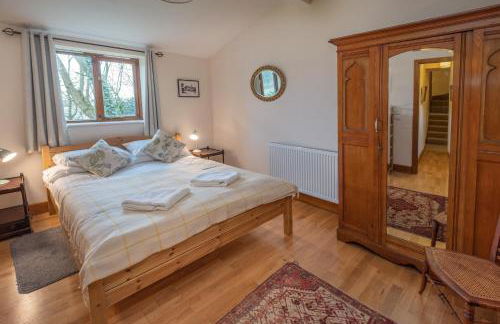
Tranquility at Sandown Bay
Sandown - Sandown
- 40 M2
- 2 habitaciones
- 4 personas
- Calefacción
- Terraza
- Parking
- Jardín
47 reseñas

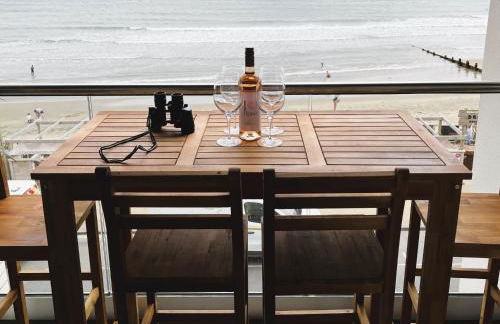
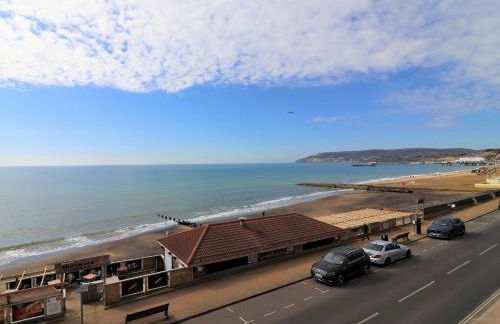


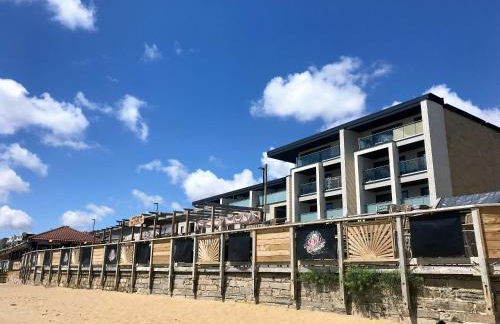

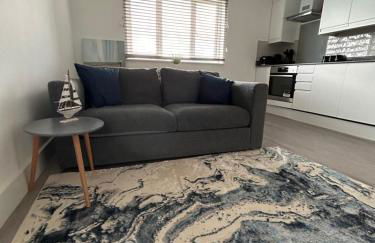
25 Breakwaters - Beach Hut is Included with this Pet Friendly Lux Apartment with Balcony, Stunning Sea Views over to Culver Cliffs & Free Parking
Sandown - Sandown
- 83 M2
- 2 habitaciones
- 4 personas
- Calefacción
- Parking
- Ascensor
17 reseñas


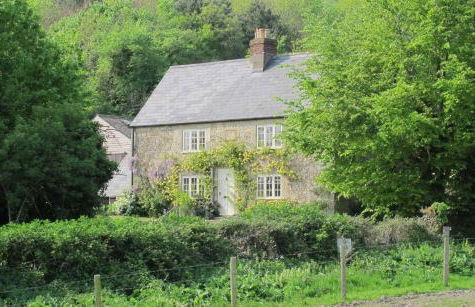
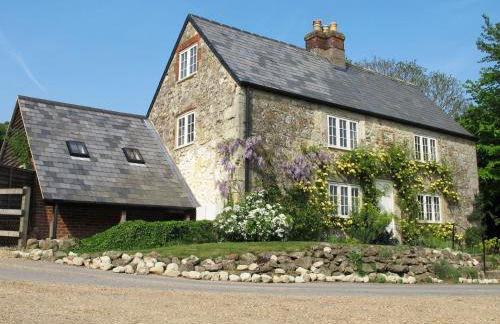
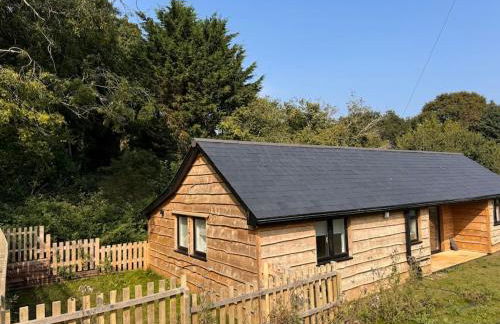
Queen Bower Farm Lodge
Sandown - Queen
- 2 M2
- 3 habitaciones
- 5 personas
- Calefacción
- Parking
- Jardín
- Televisión
- Lavadora
- Barbacoa
- Sábanas
4 reseñas


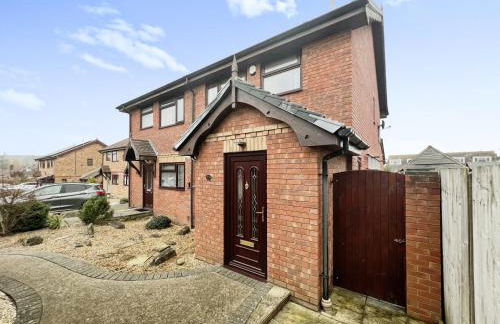
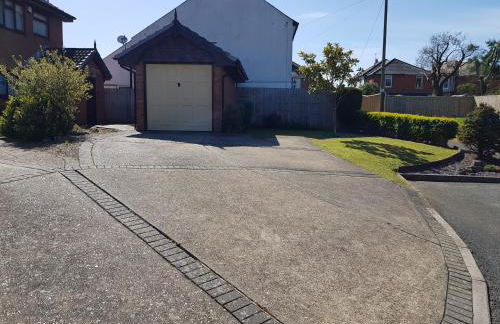
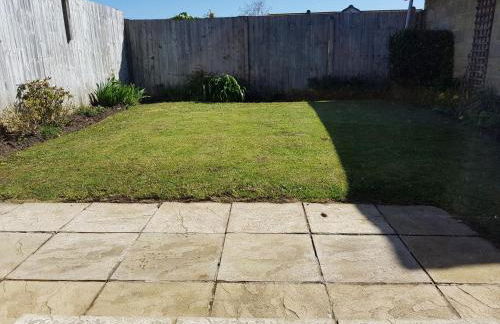
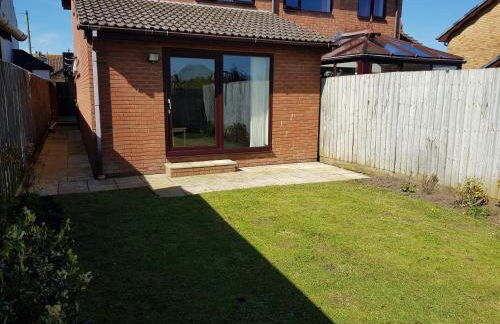
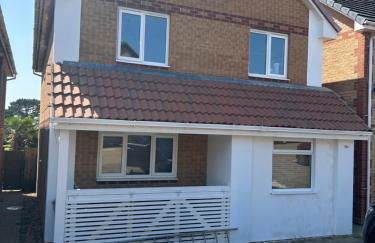
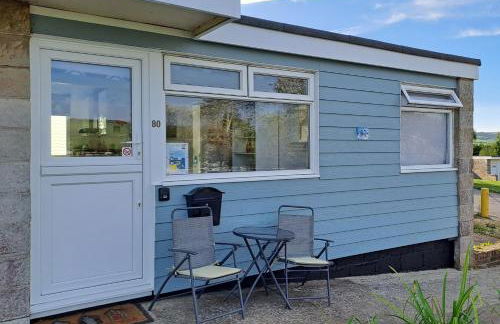
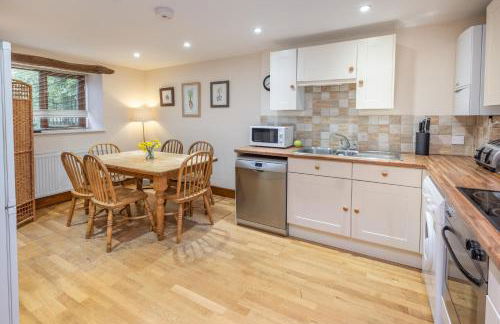
3 Bedroom house - Sandown
Sandown - Sandown
- 86 M2
- 3 habitaciones
- 5 personas
- Calefacción
- Parking
- Jardín
38 reseñas


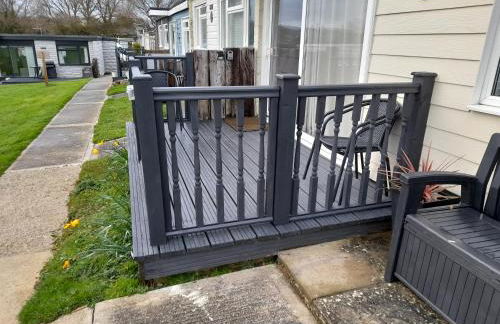
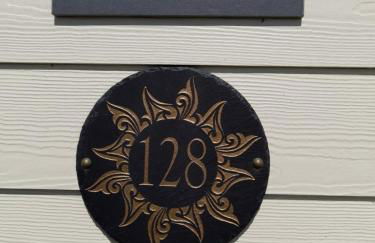
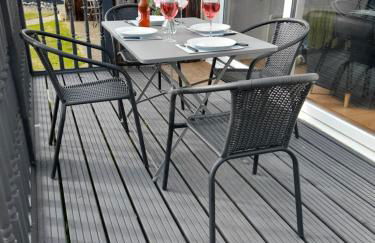
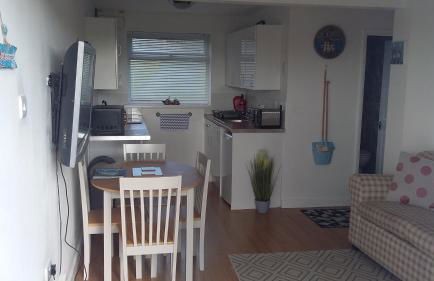
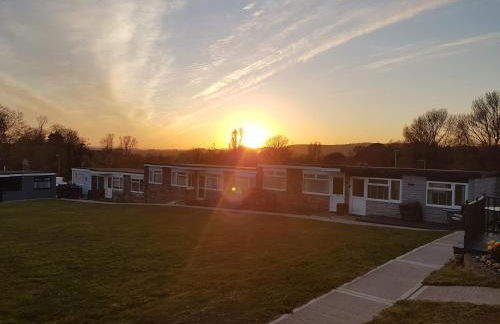
Sunset 128 Sandown Bay Holiday Centre Generous Ferry Saving!
Sandown - Sandown
- 36 M2
- 2 habitaciones
- 4 personas
- Calefacción
- Terraza
- Parking
- Jardín
15 reseñas


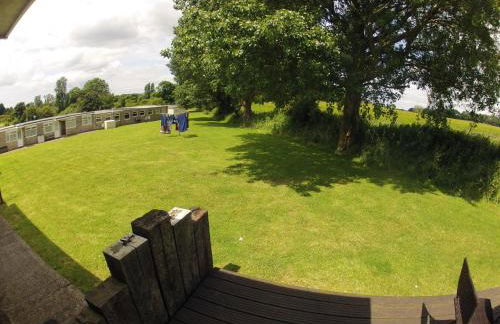
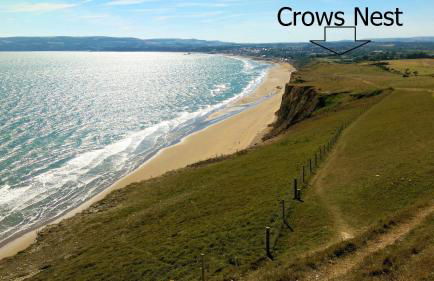


Crows Nest
Sandown - Sandown
- 33 M2
- 2 habitaciones
- 4 personas
- Calefacción
- Terraza
- Parking
- Jardín
- Barbacoa
20 reseñas


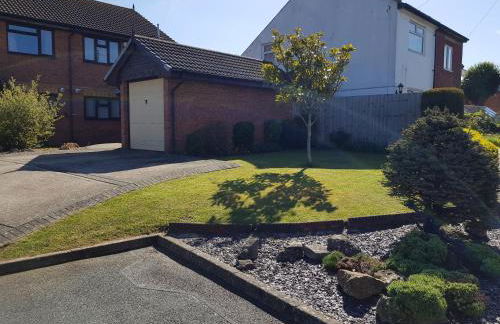
The Beach Retreat
Sandown - Sandown
- 101 M2
- 3 habitaciones
- 6 personas
- Calefacción
- Parking
- Ascensor
- Jardín
13 reseñas

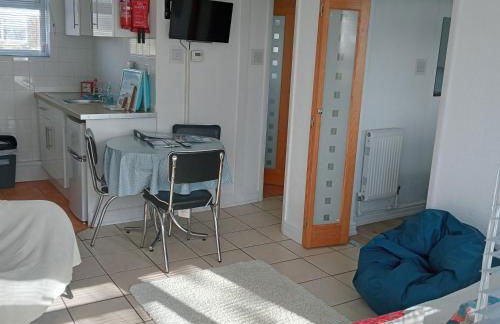
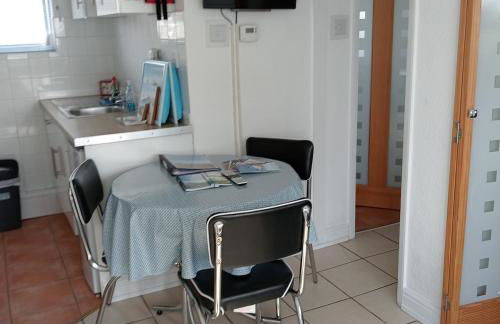
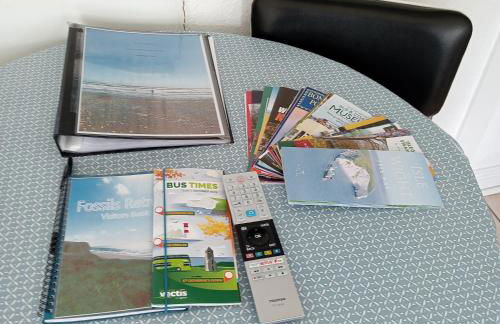
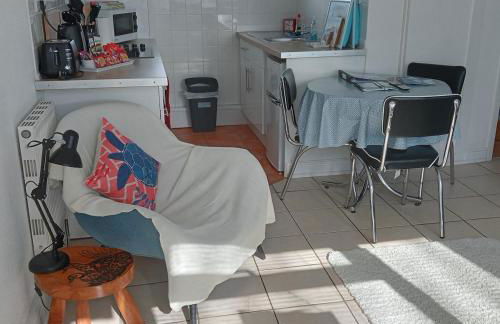

Fossils Retreat
Sandown - Sandown
- 36 M2
- 2 habitaciones
- 4 personas
- Calefacción
- Terraza
- Parking
- Jardín
8 reseñas
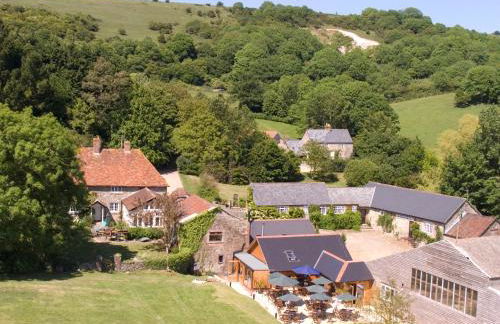


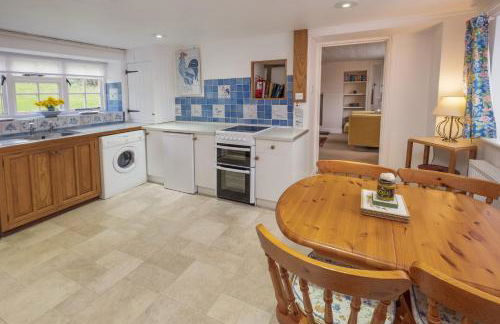
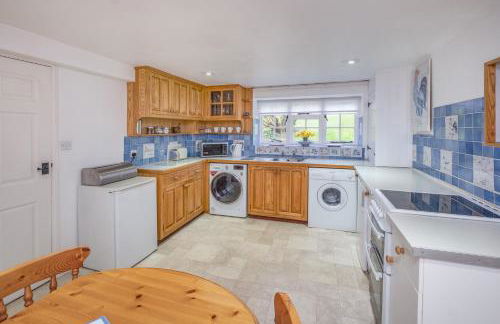
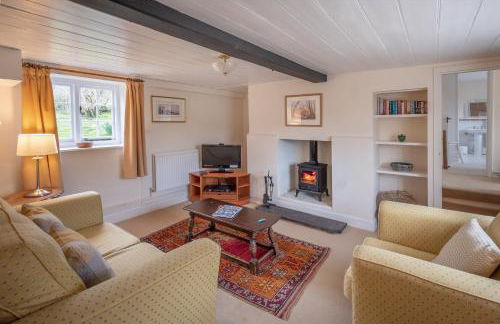

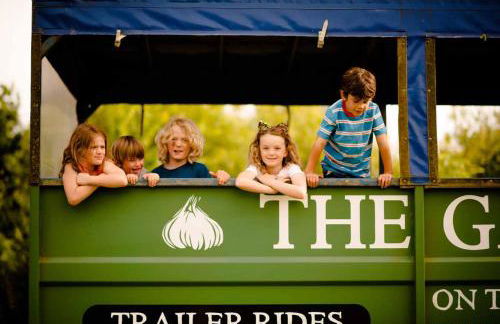


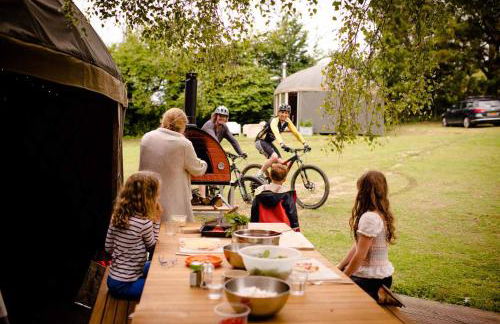

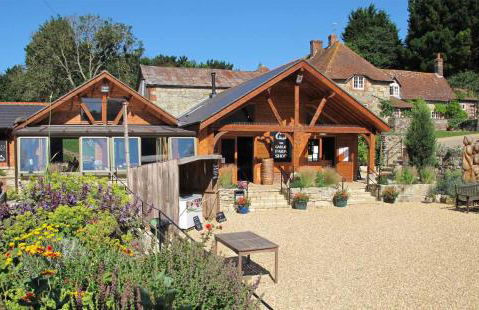
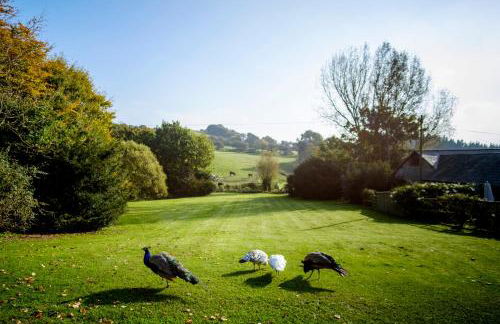
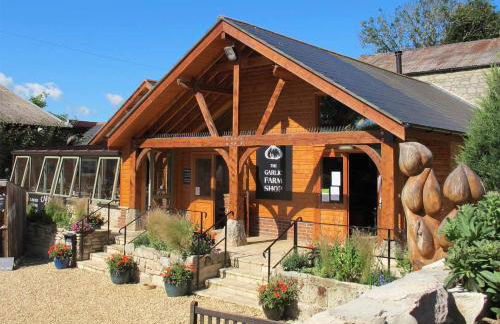

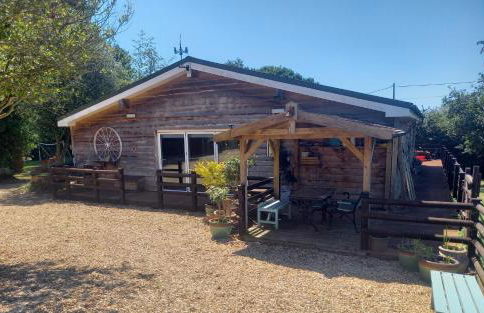
The Garlic Farm
Sandown - Newchurch
- 137 M2
- 5 habitaciones
- 10 personas
- Calefacción
- Parking
- Jardín
- Barbacoa
158 reseñas
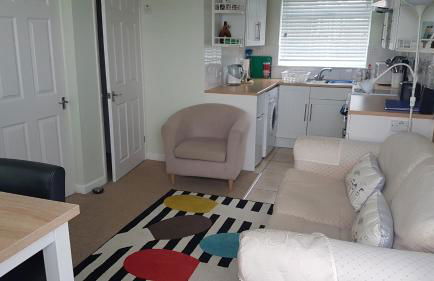
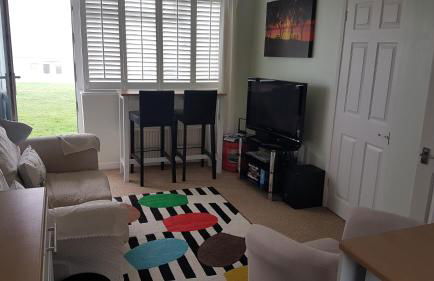
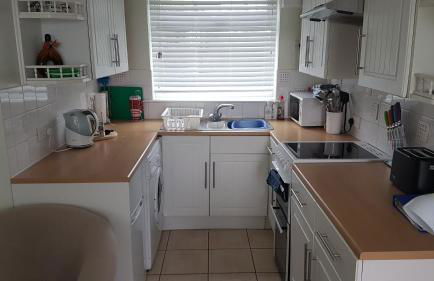
Sundown 127 Sandown Bay Holiday Centre Generous Ferry Saving!
Sandown - Sandown
- 35 M2
- 2 habitaciones
- 4 personas
- Calefacción
- Terraza
- Parking
22 reseñas


Little C0pse Barn
Sandown - Alverstone Garden Village
- 9 M2
- 2 habitaciones
- 4 personas
- Parking
- Jardín
13 reseñas