547 Apartamentos en Sheffield
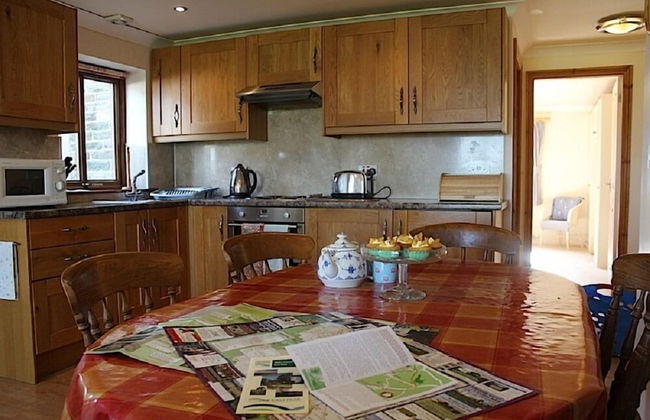
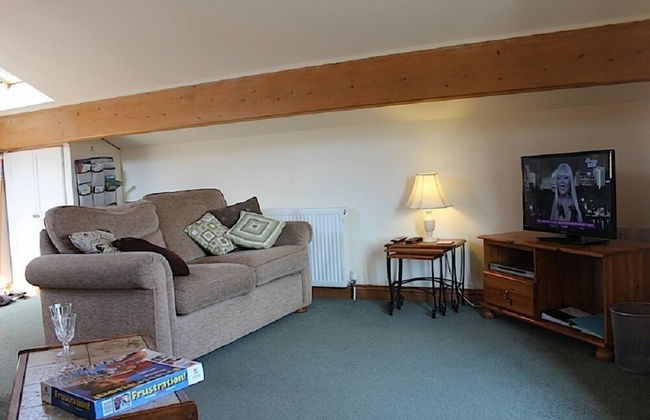
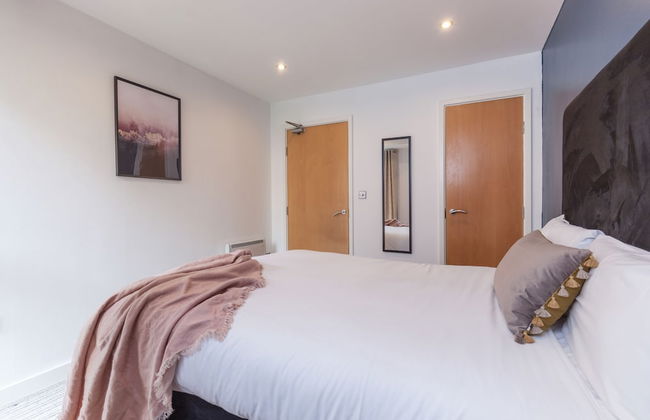
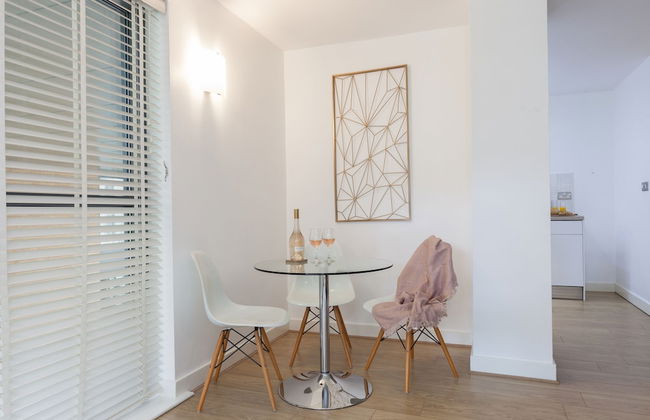
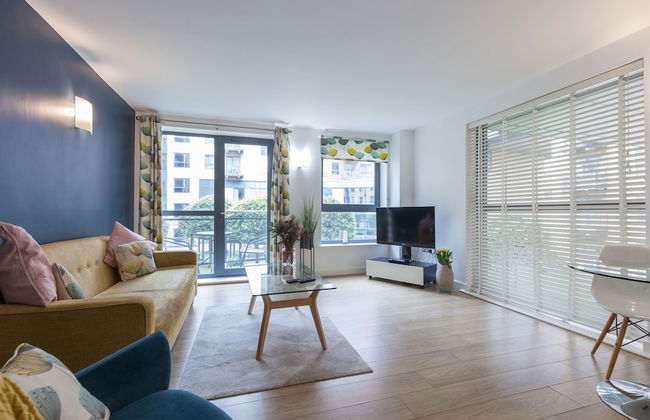
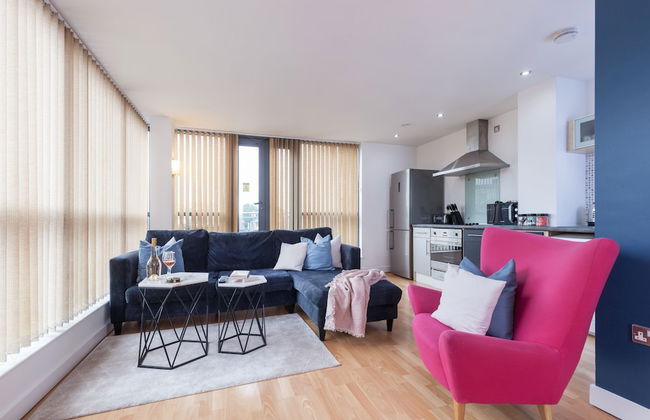
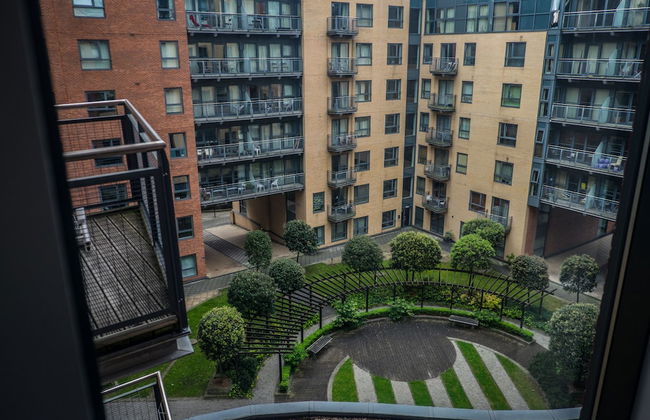
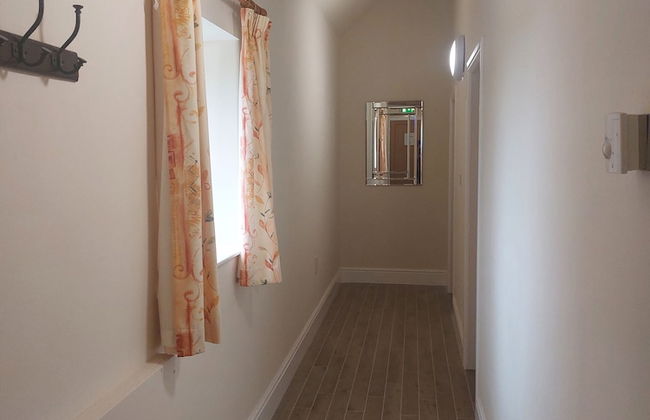
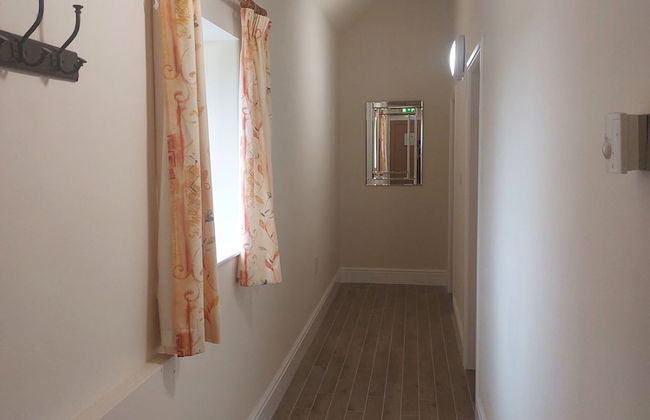
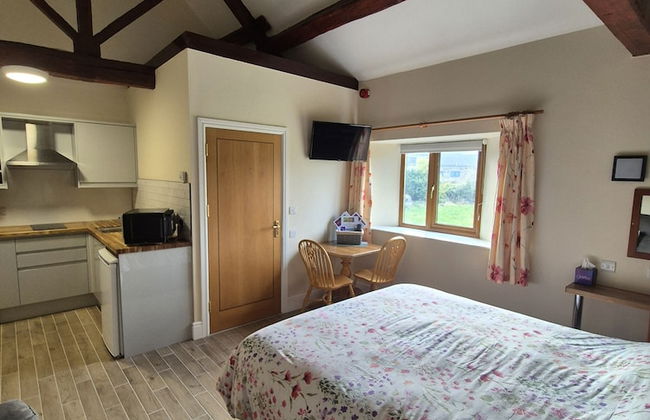
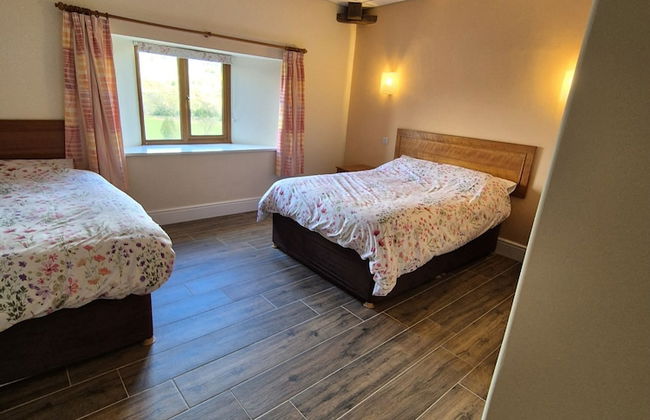
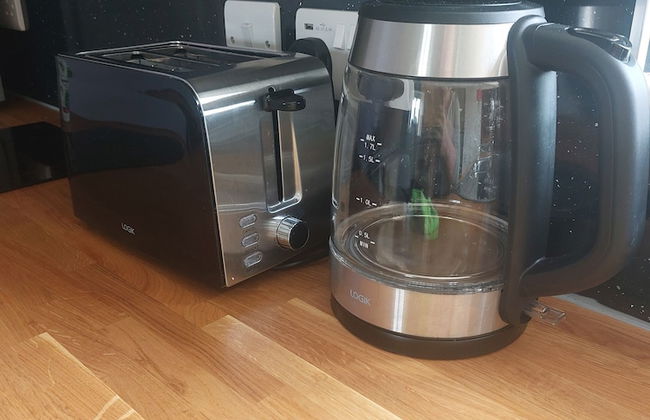
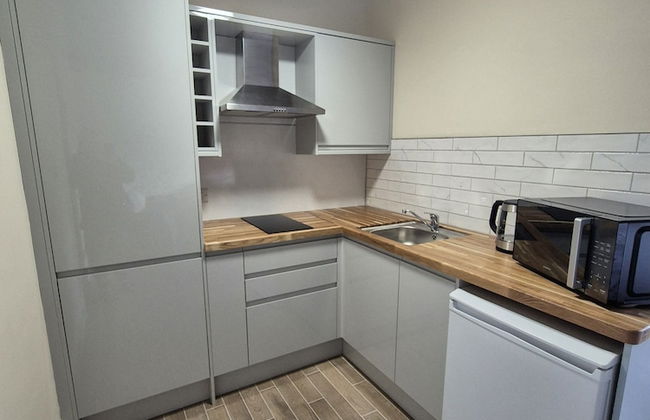
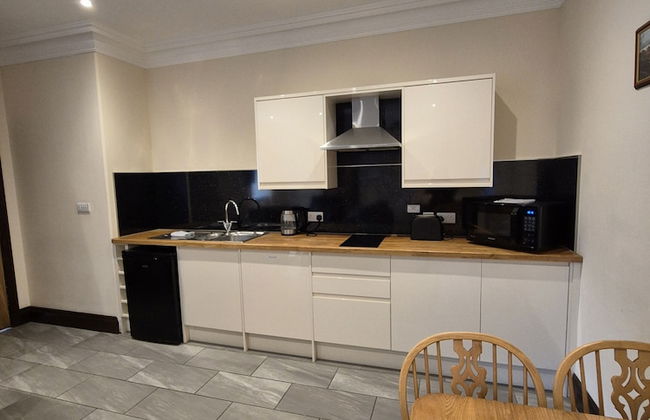
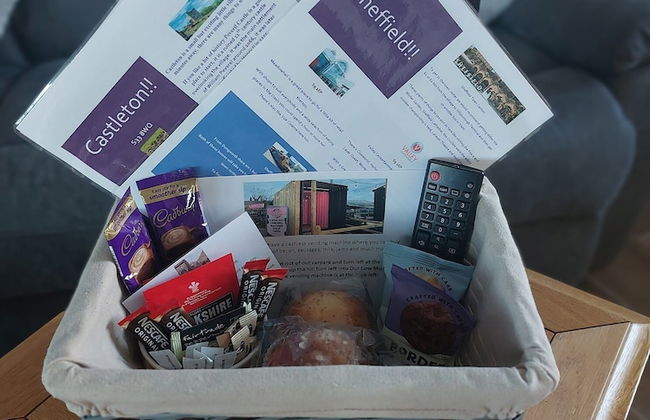
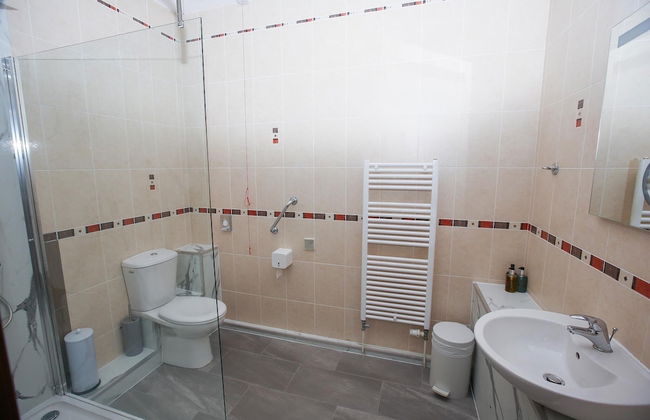
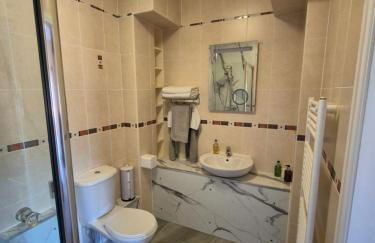
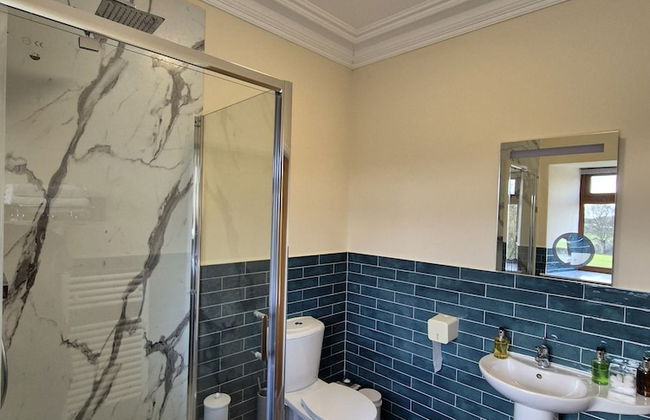
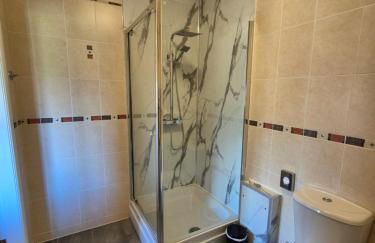
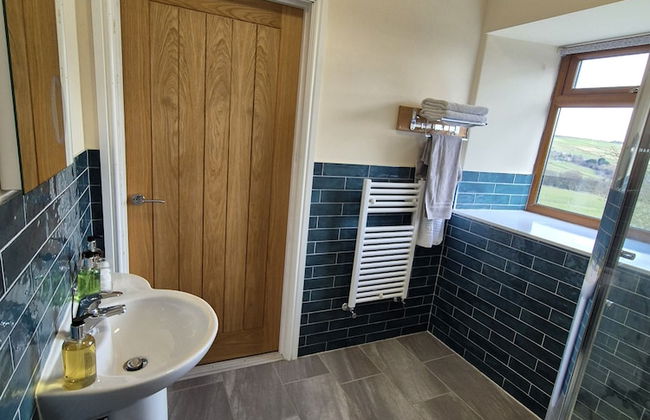
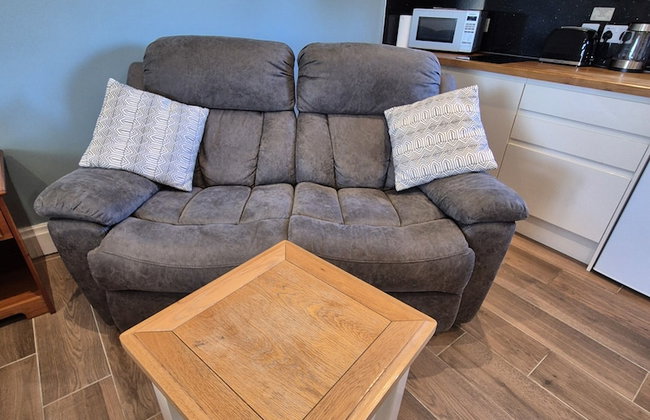
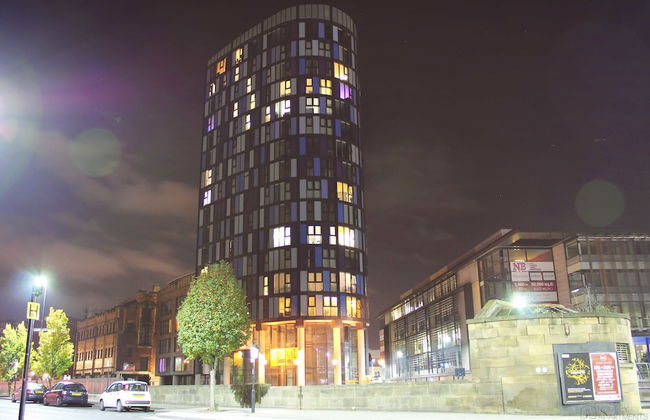
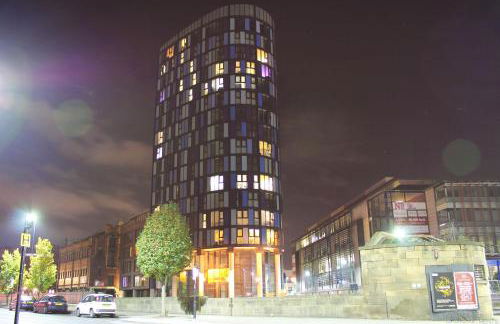
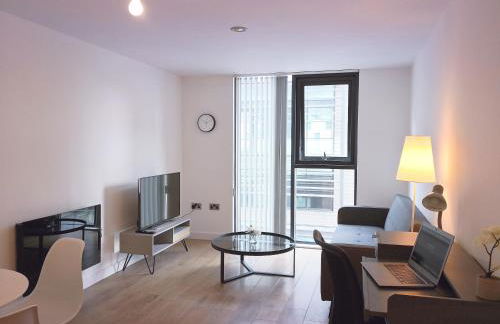
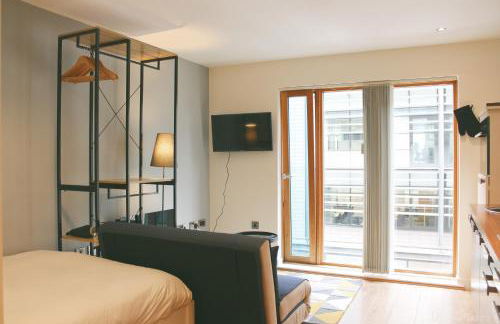
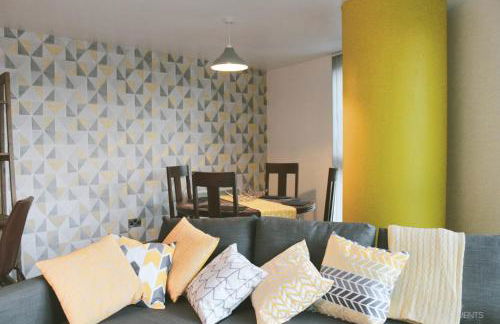
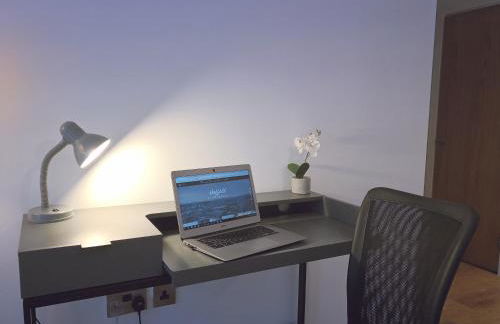
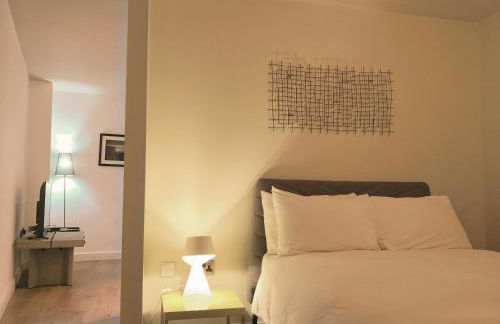
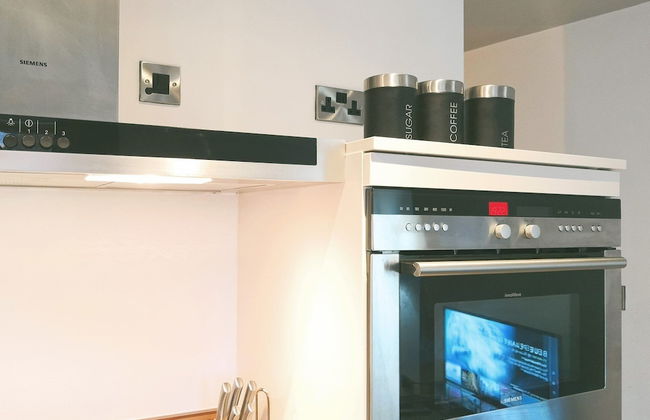
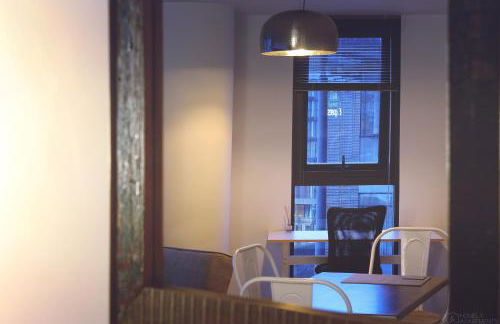
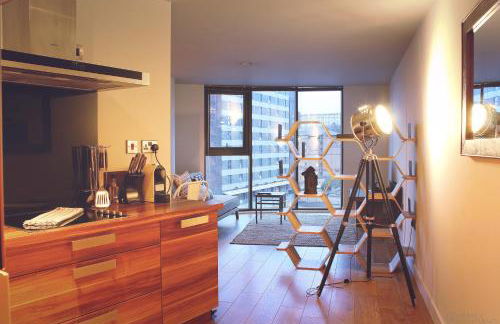
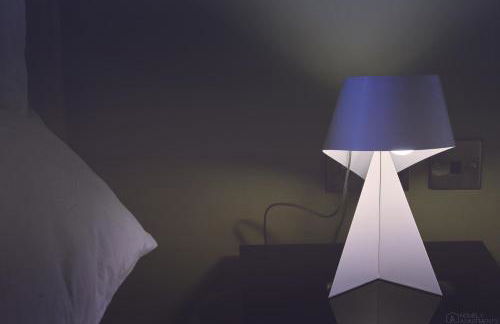
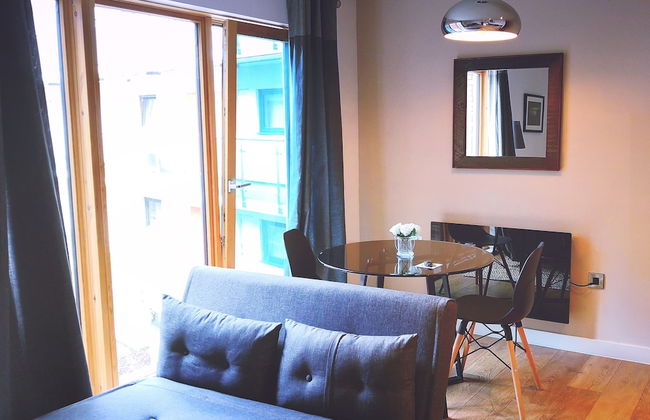
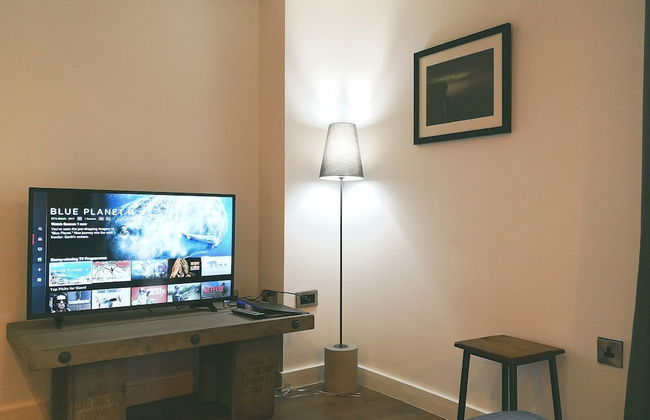
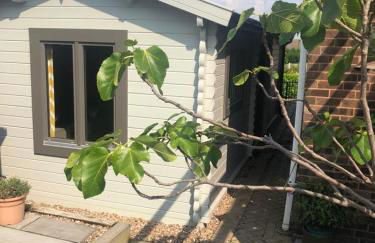
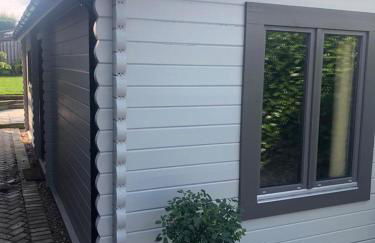
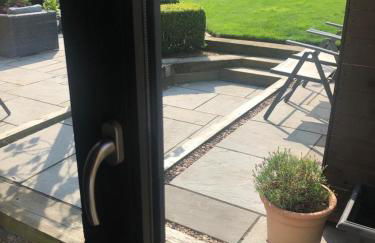
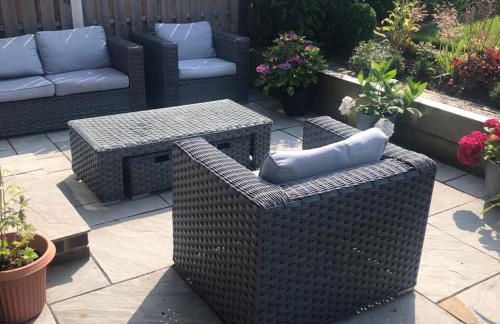
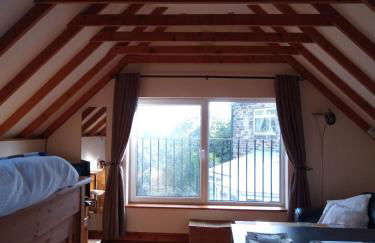
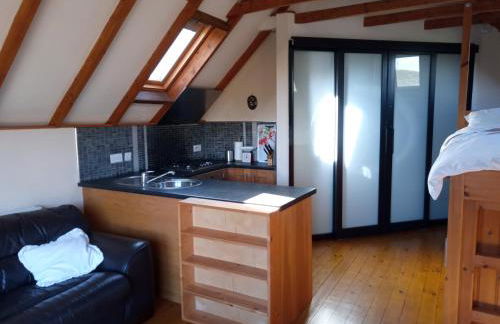
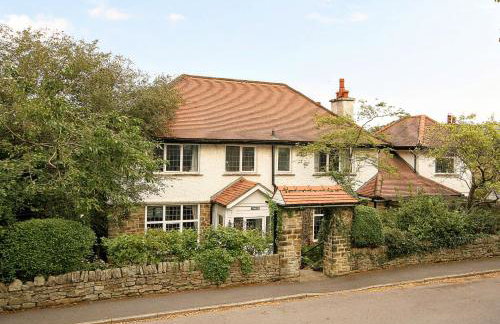
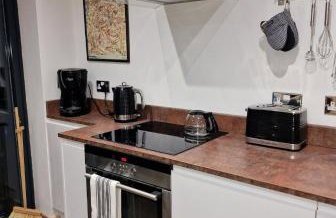
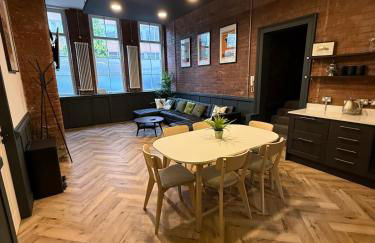
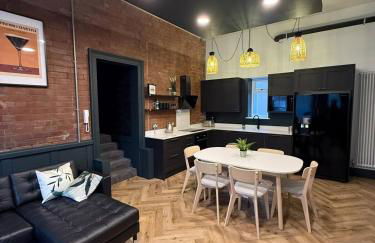
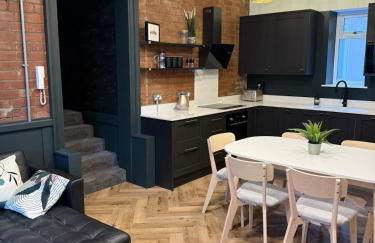
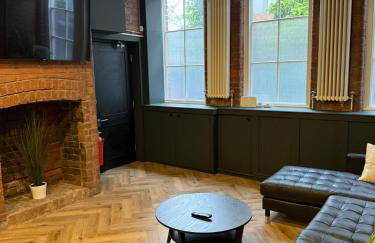
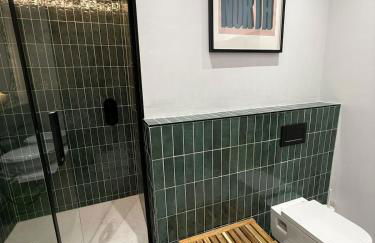
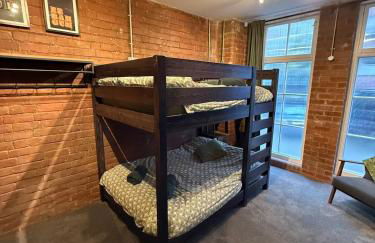
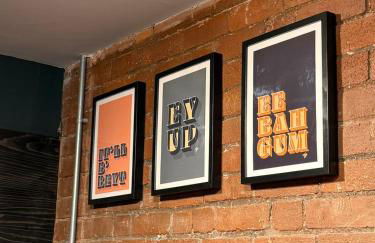
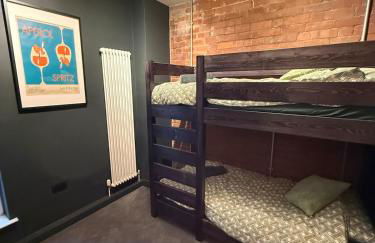
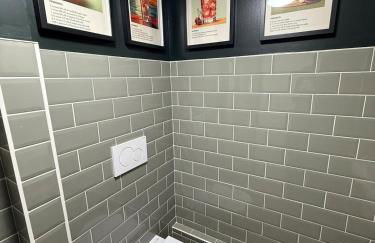
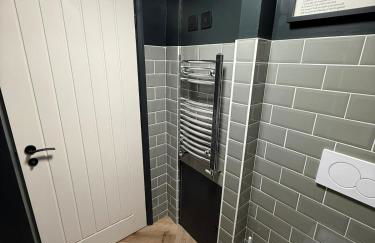
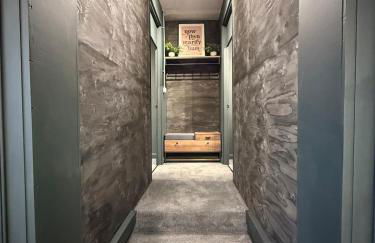
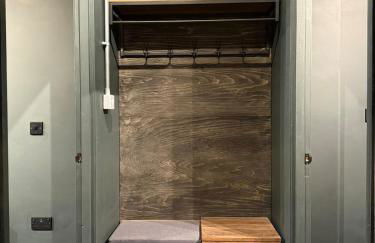
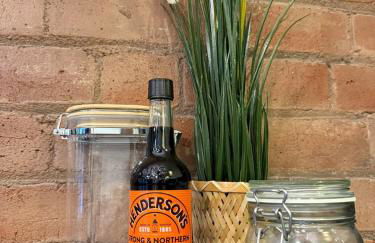
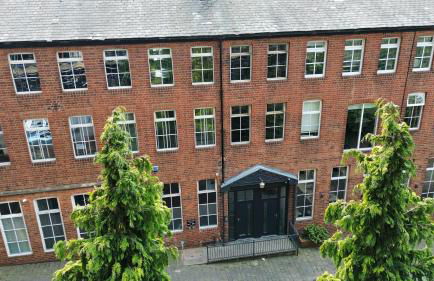
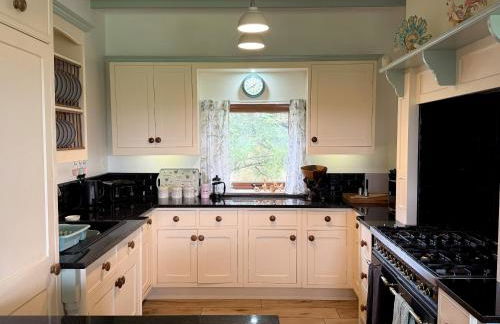
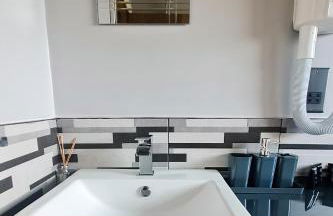
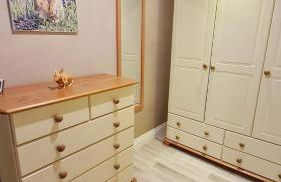
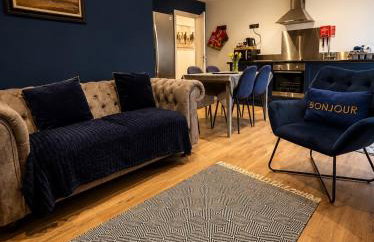
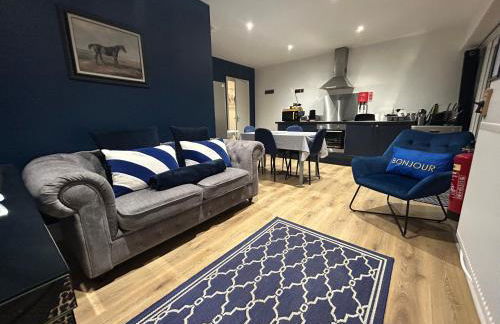
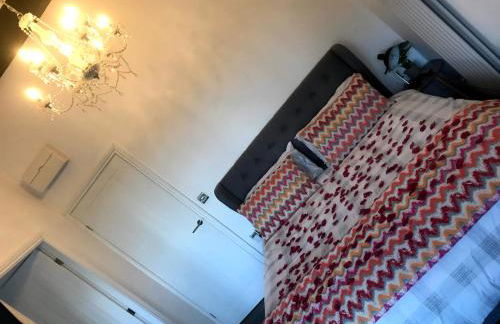
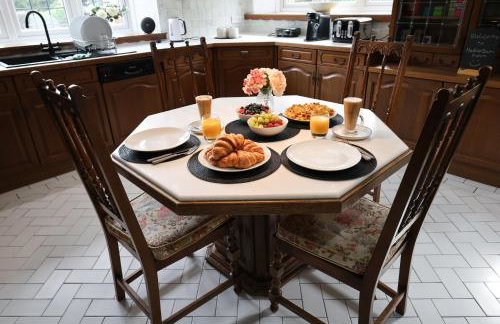
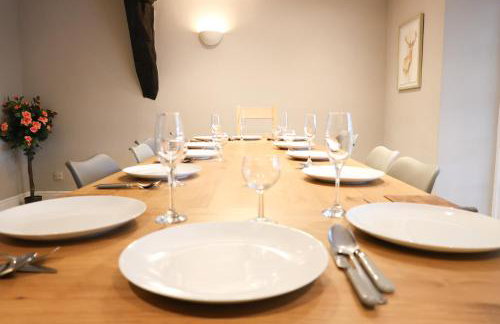
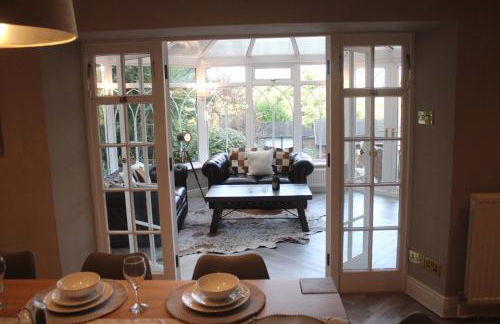
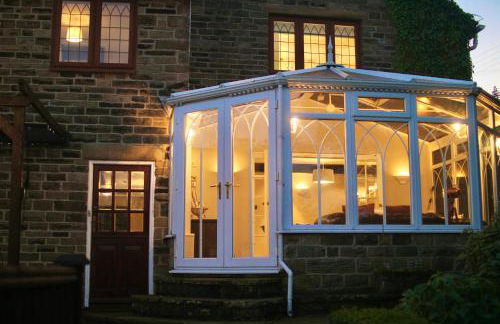
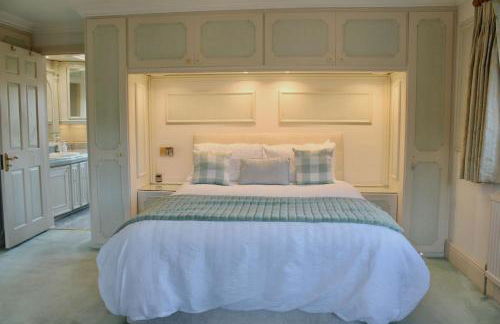
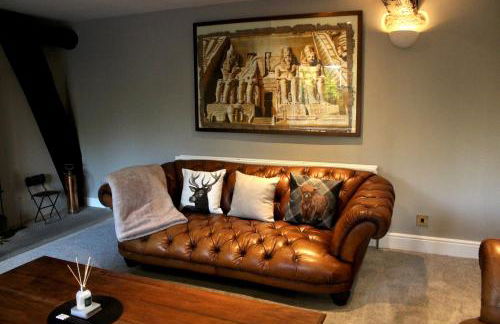
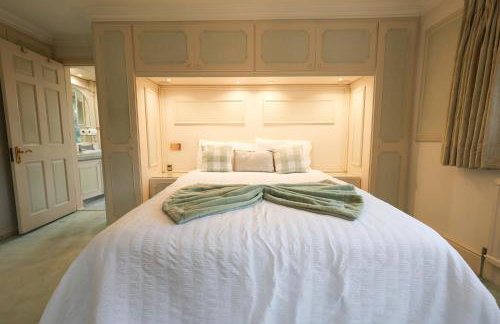
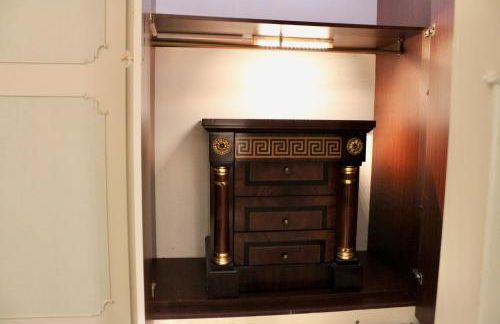
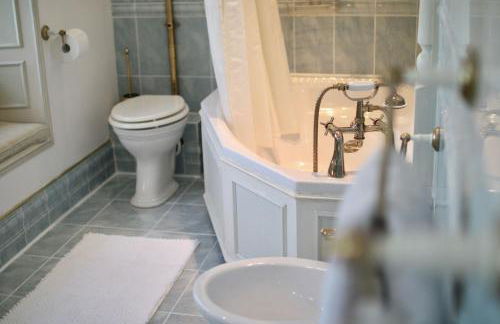
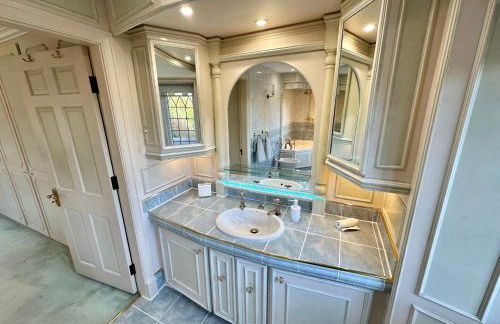
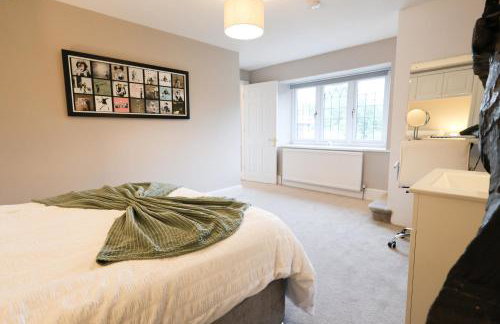
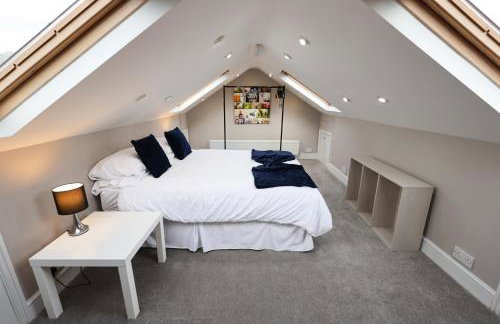
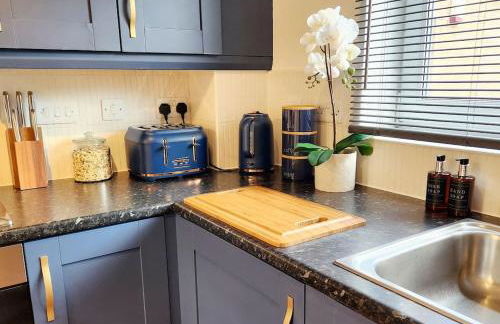
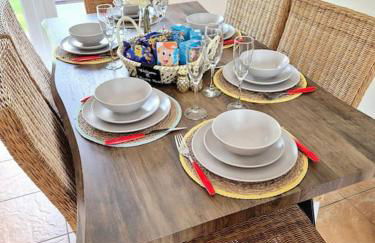
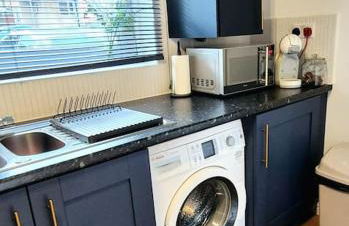
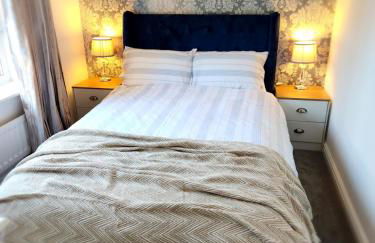
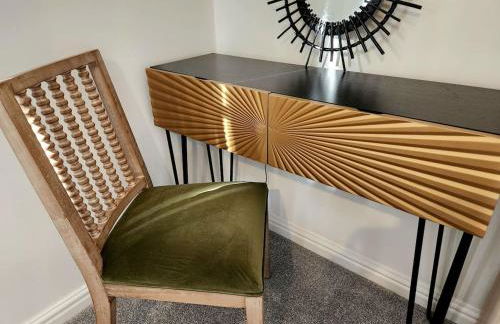
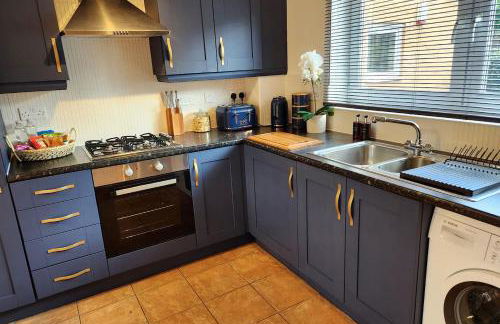
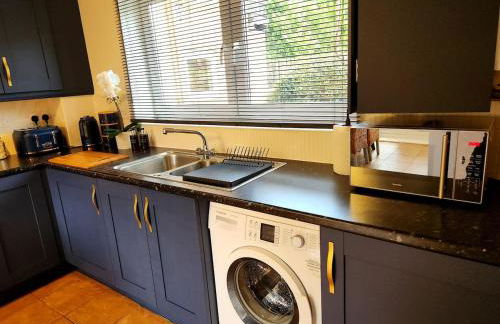
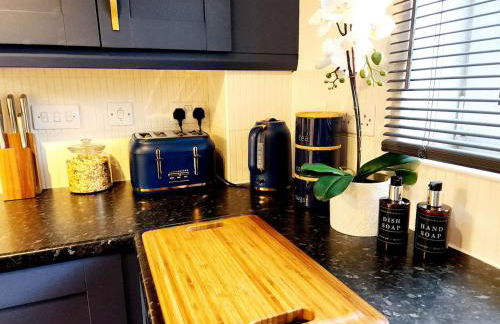
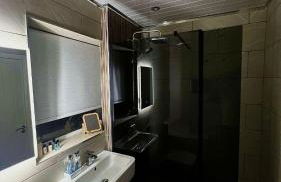
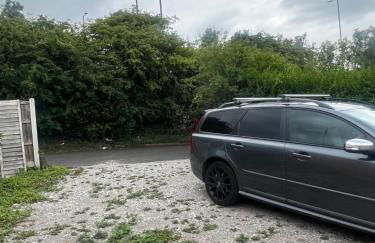
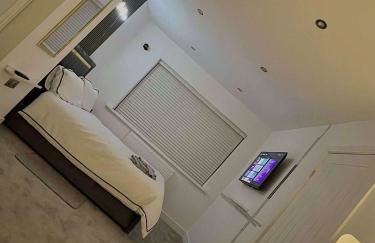
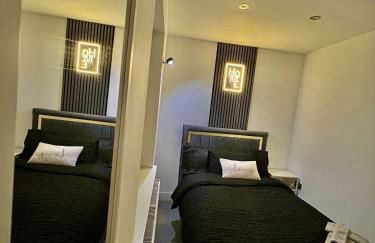
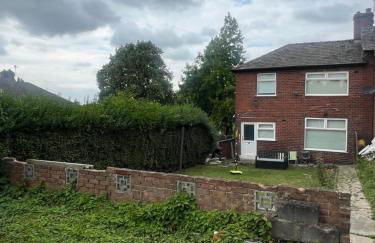
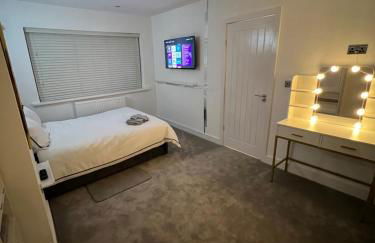
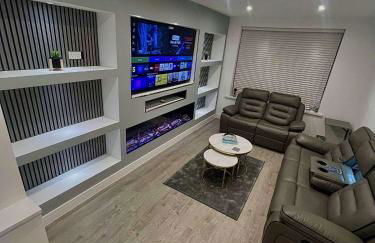
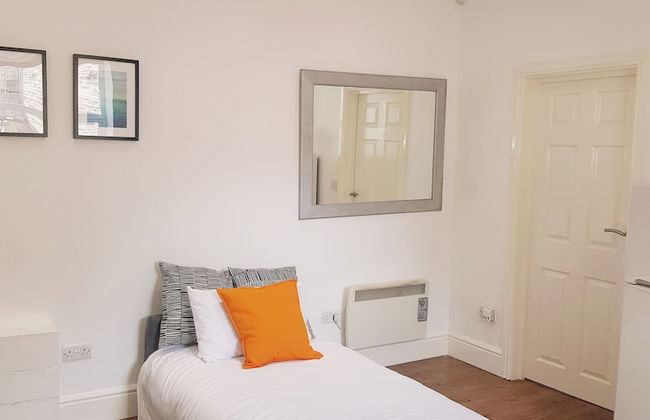
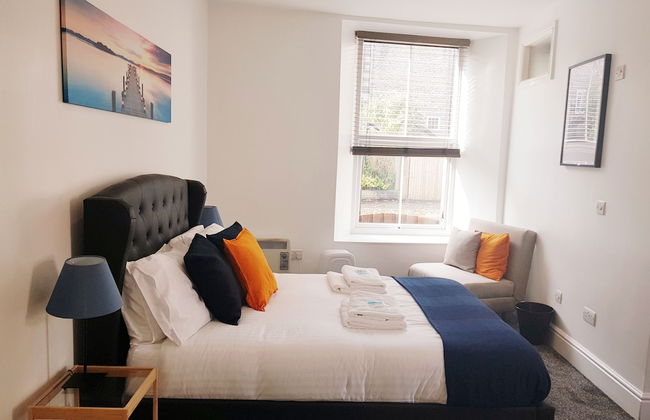
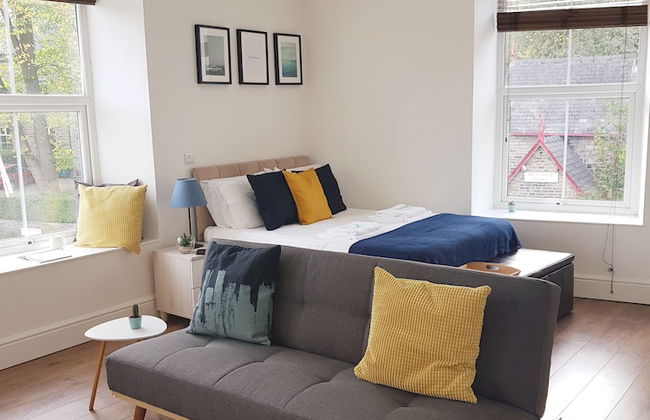
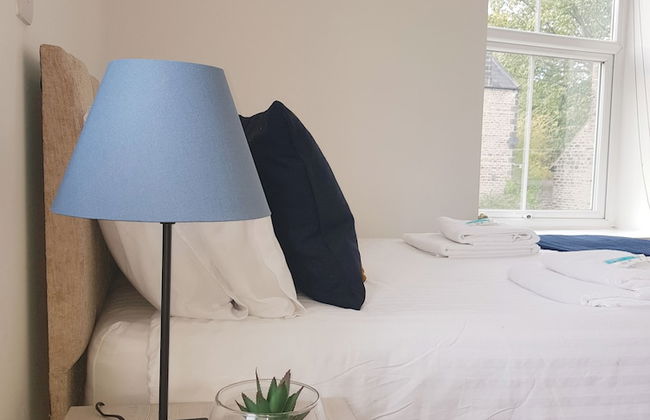
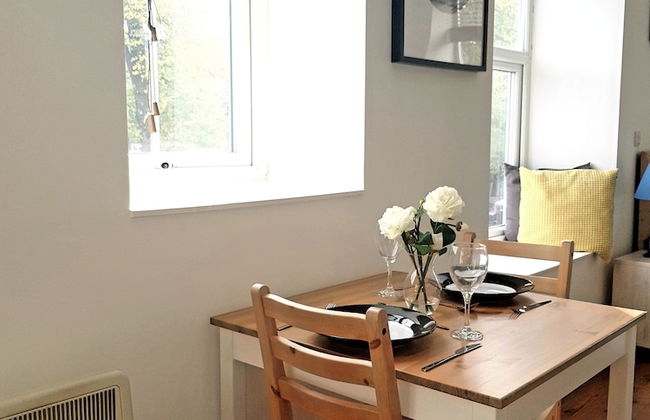
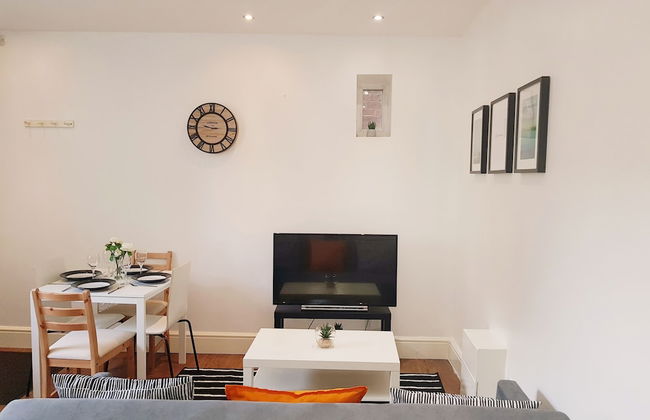
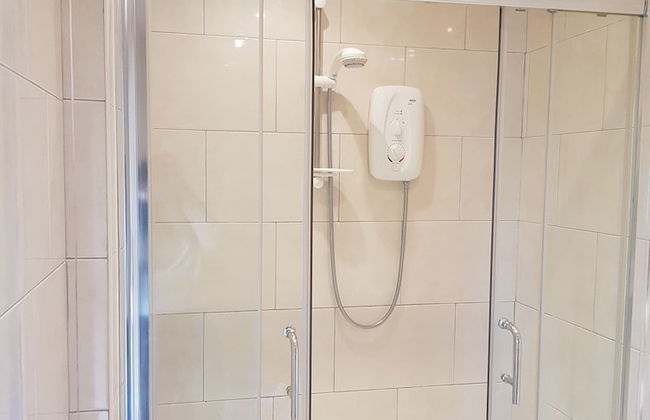
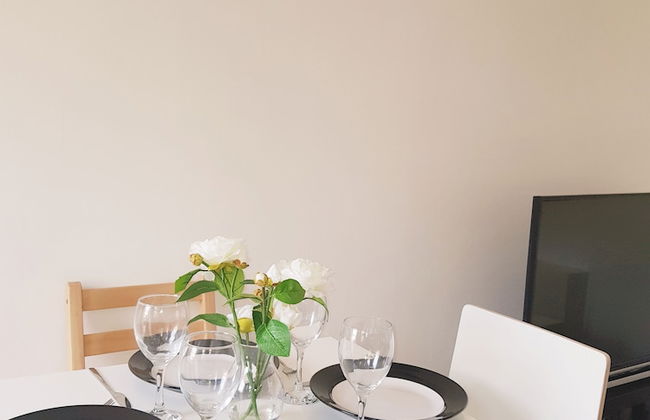
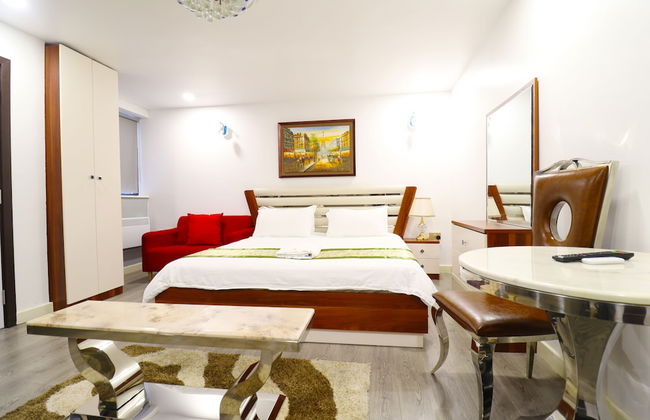
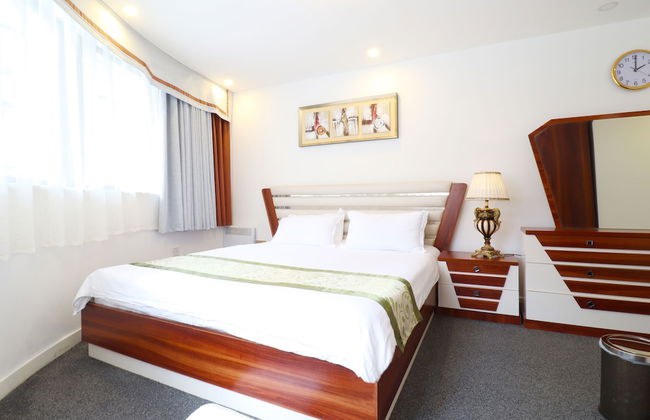
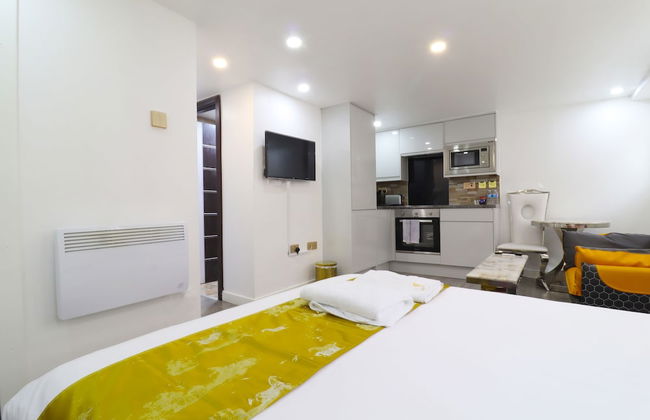
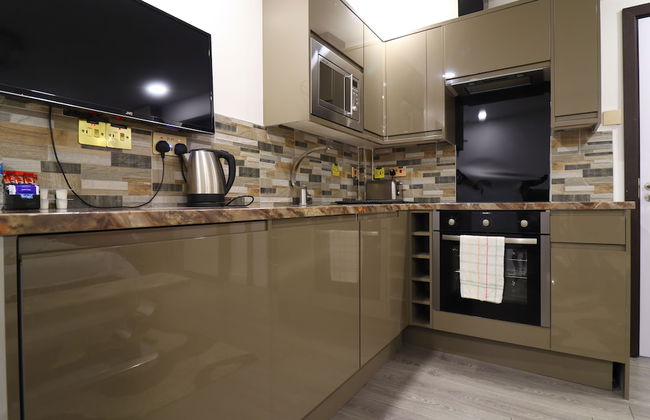
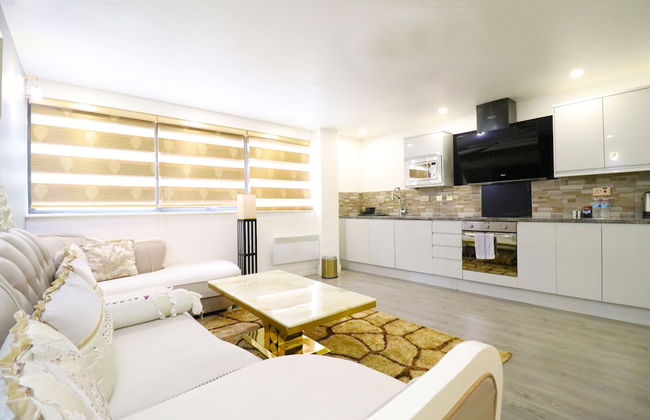
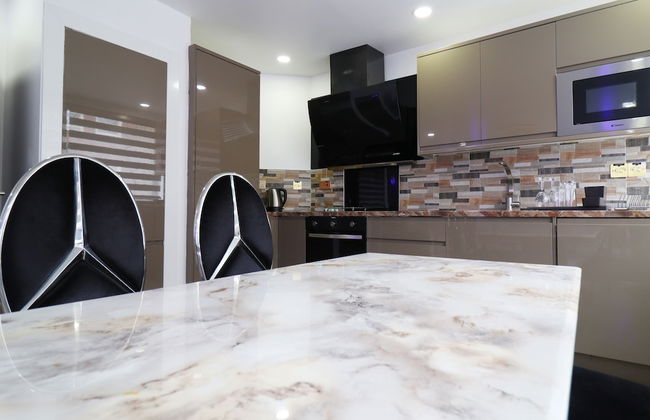
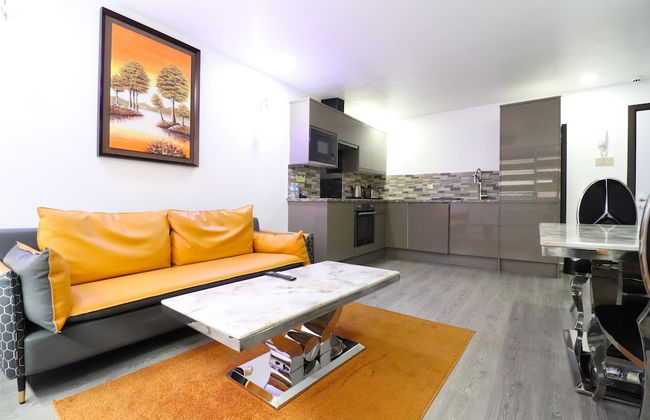
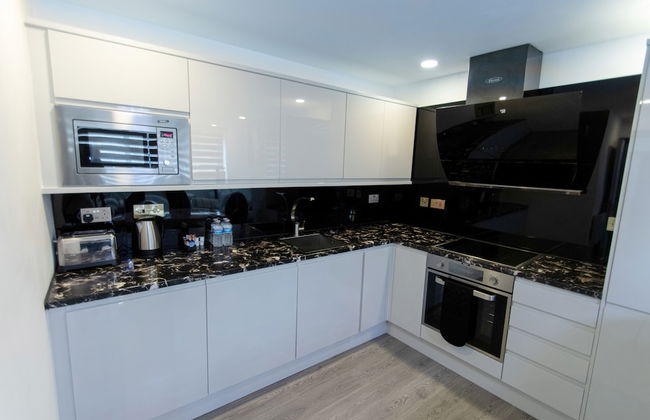
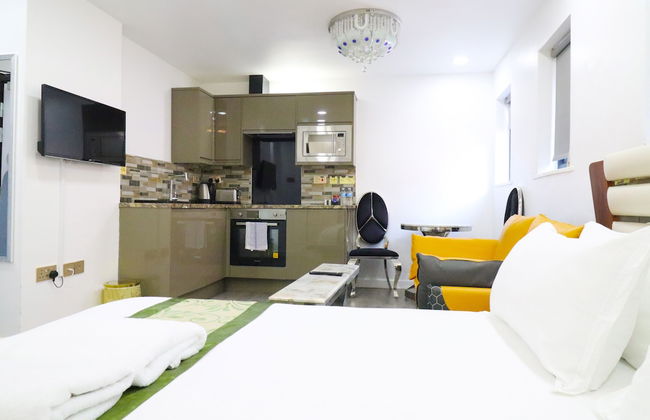
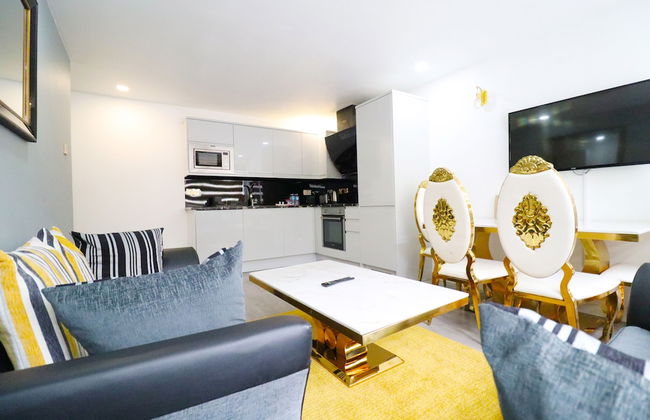
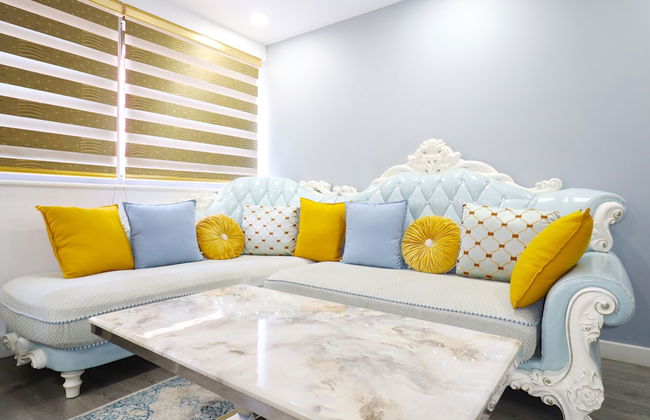
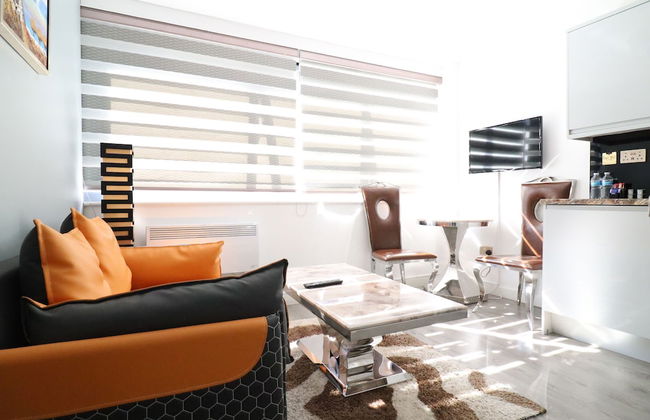
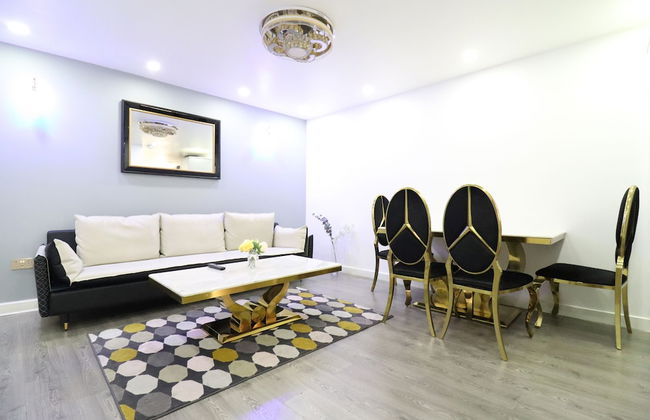
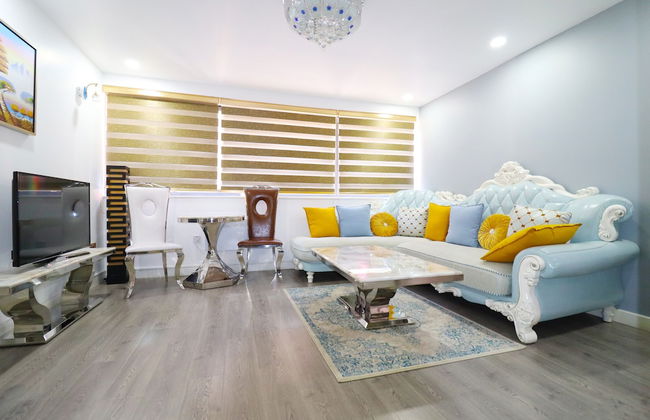
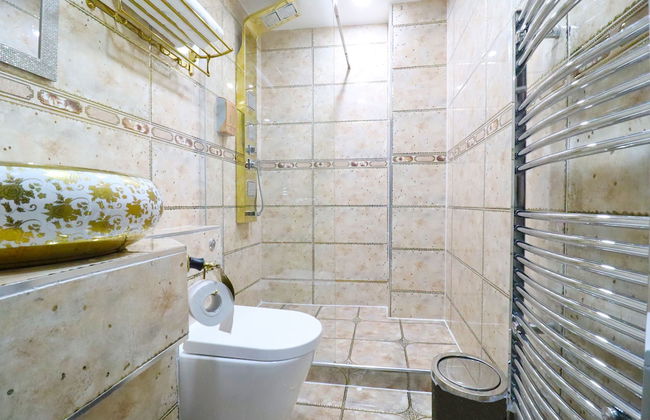
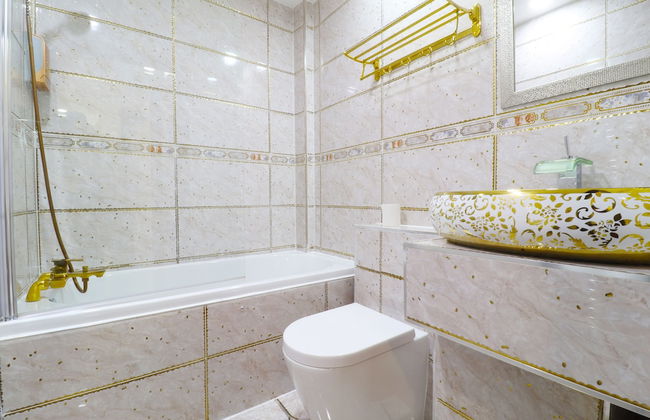
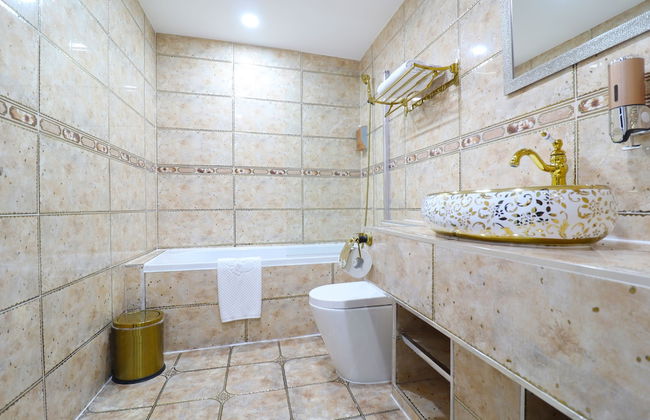
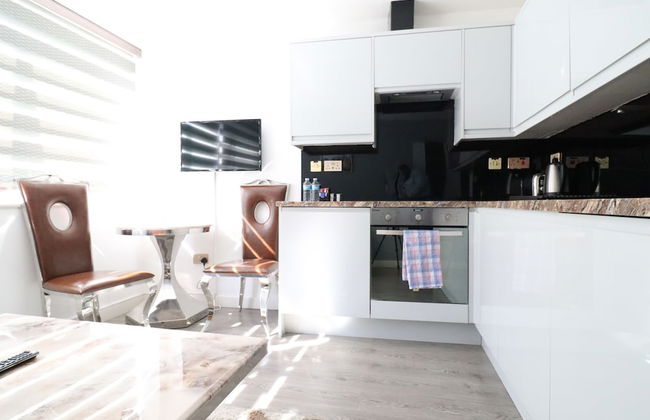
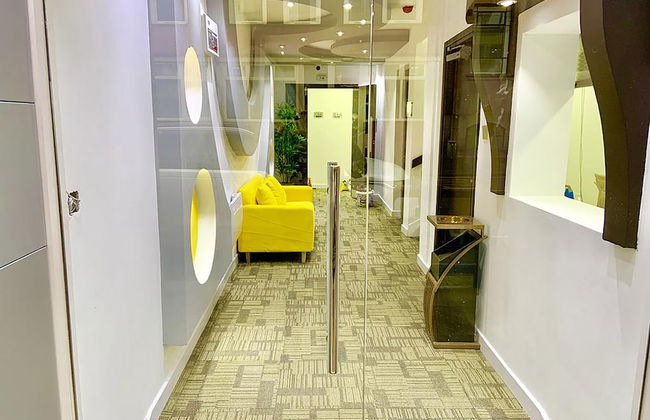
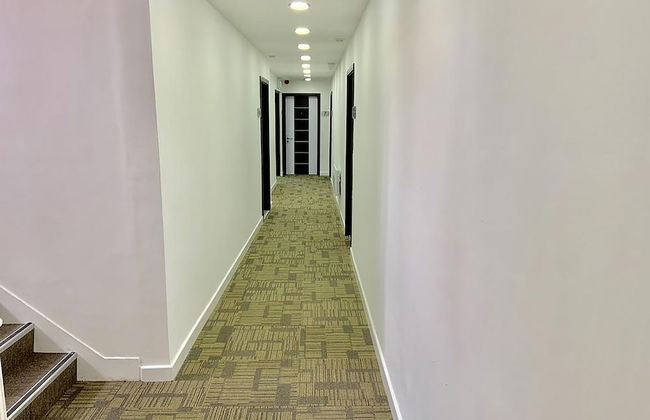
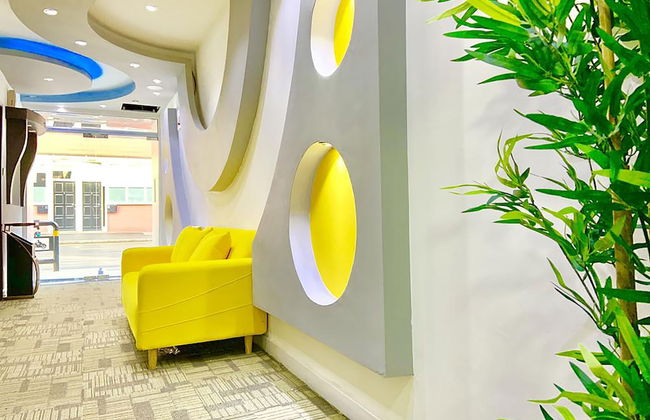
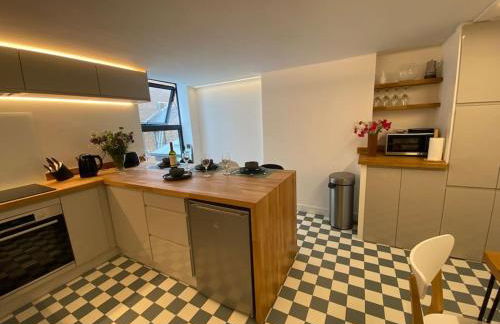
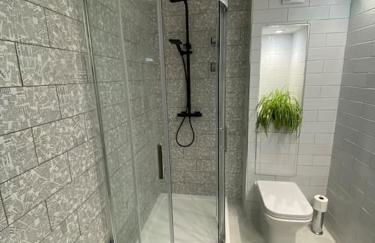
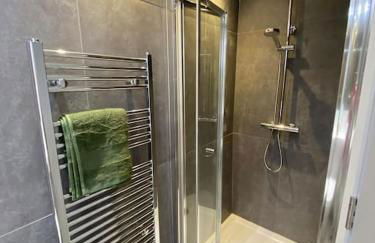
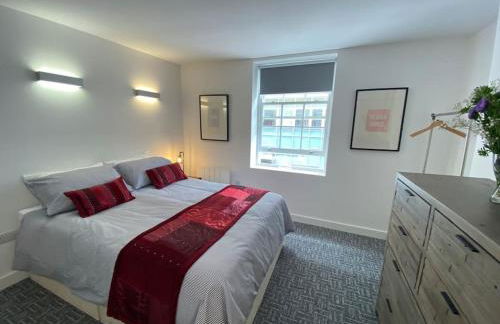
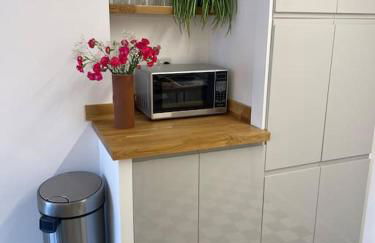
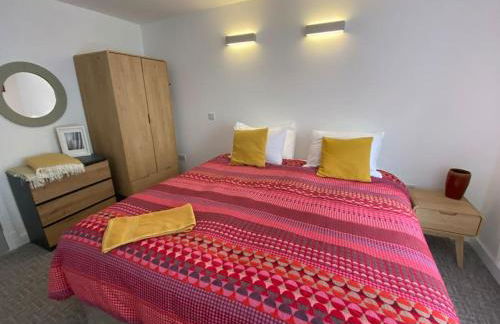
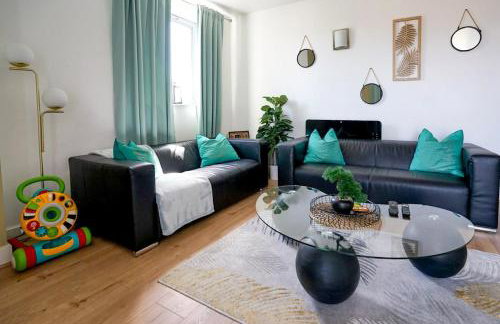
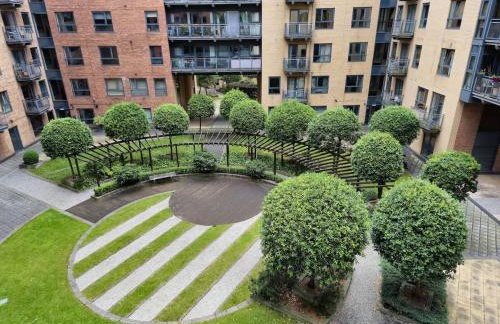
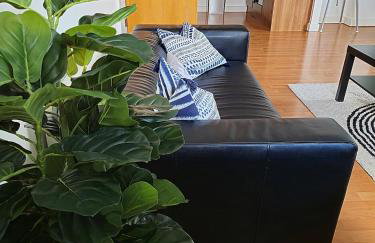
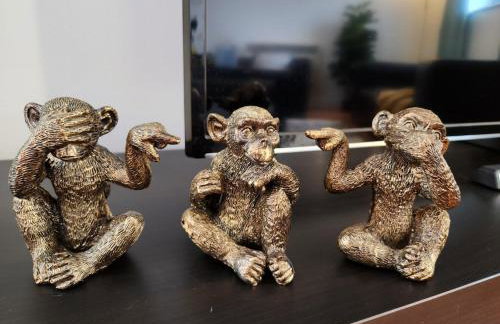
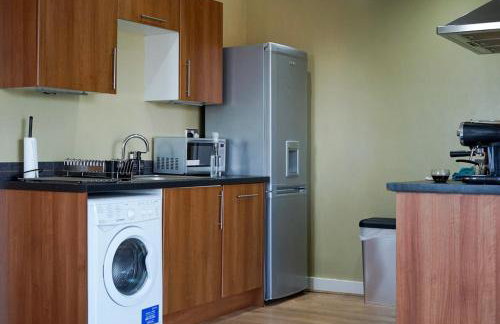
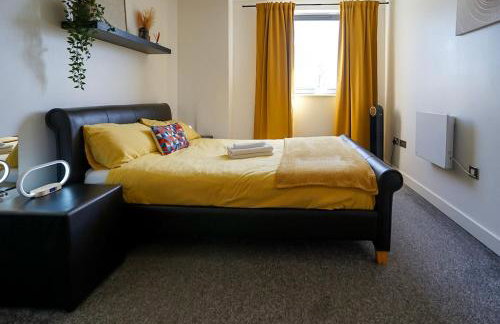
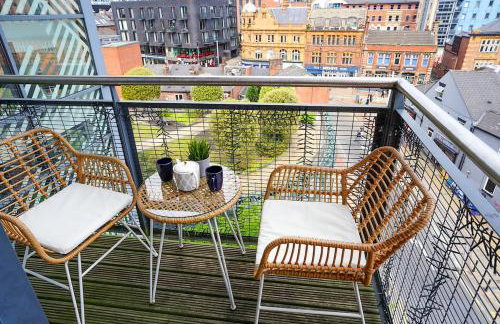
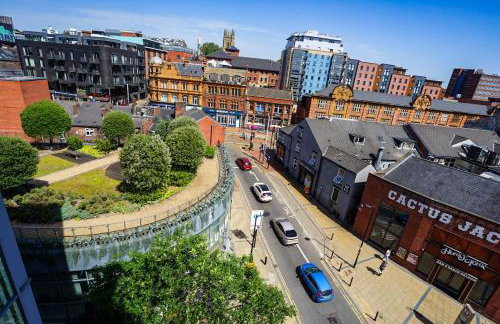
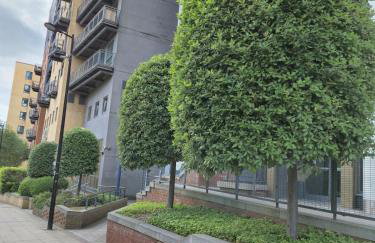
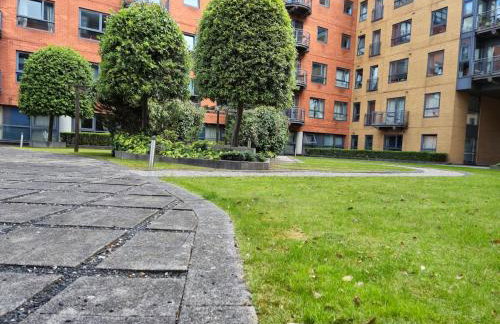
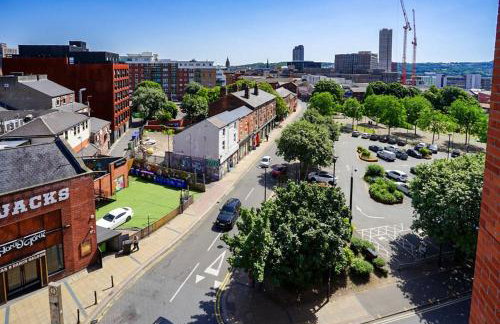
Sheffield 2nd Fl Great City Apartment - Foto 1
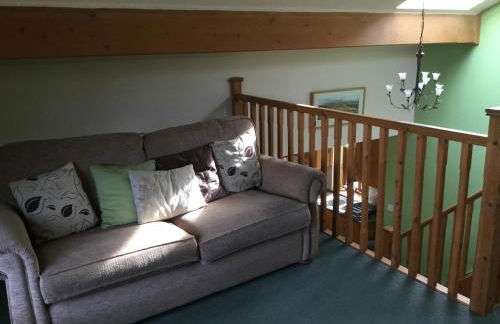
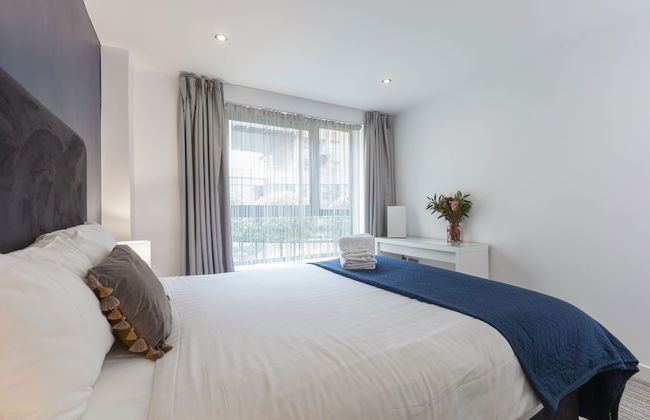
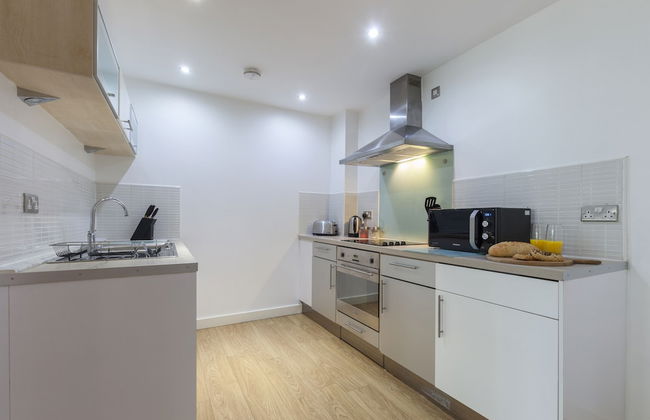
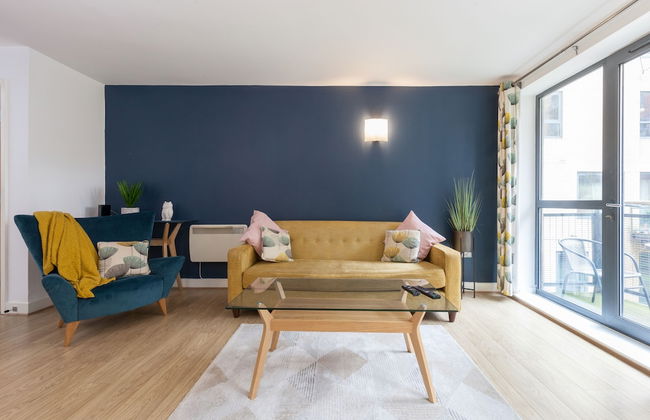
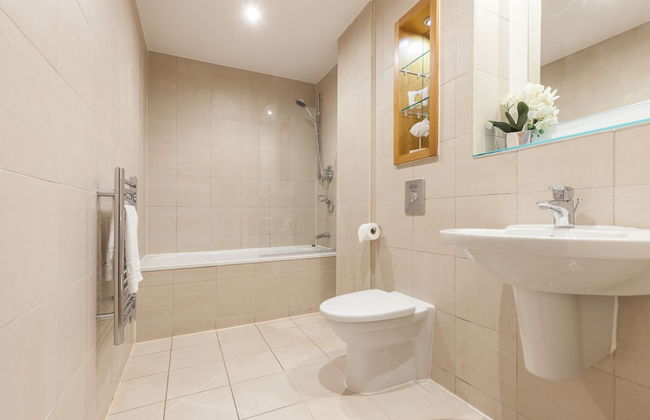
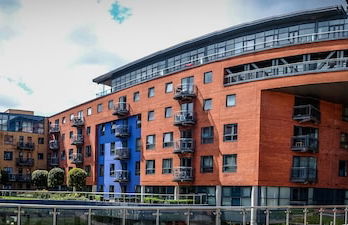
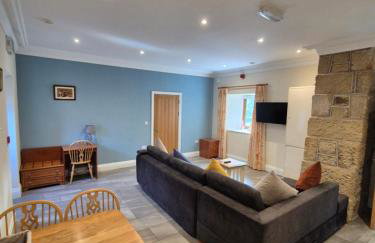
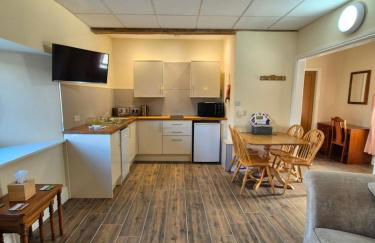
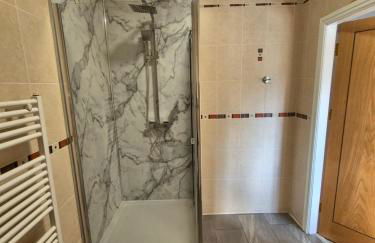
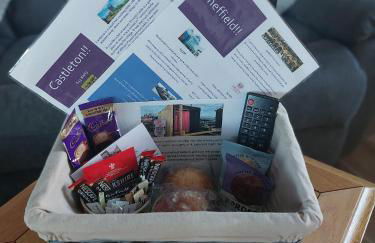
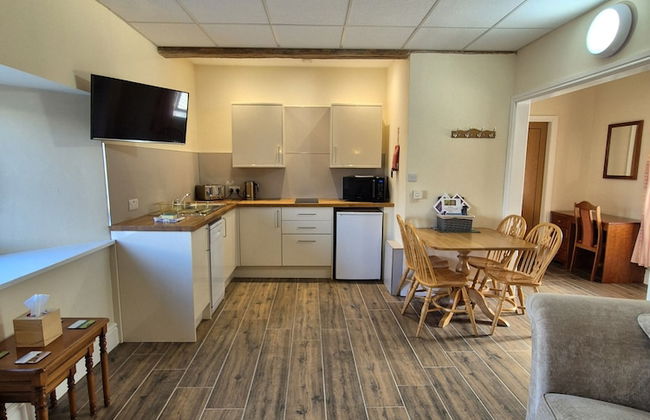
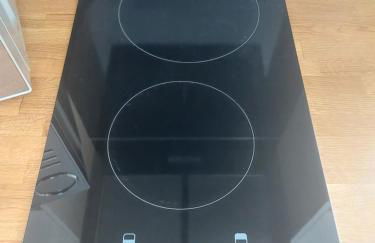
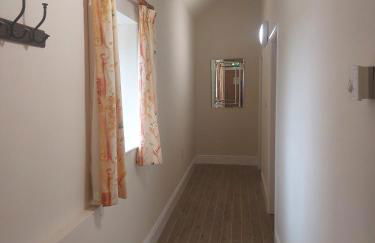
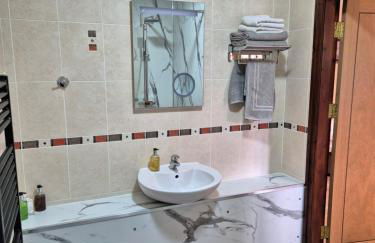
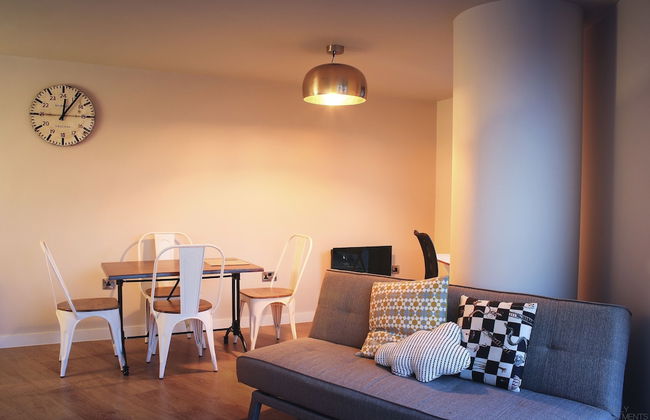
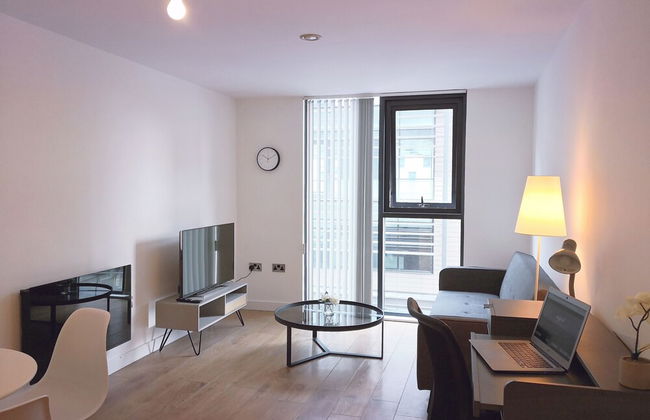
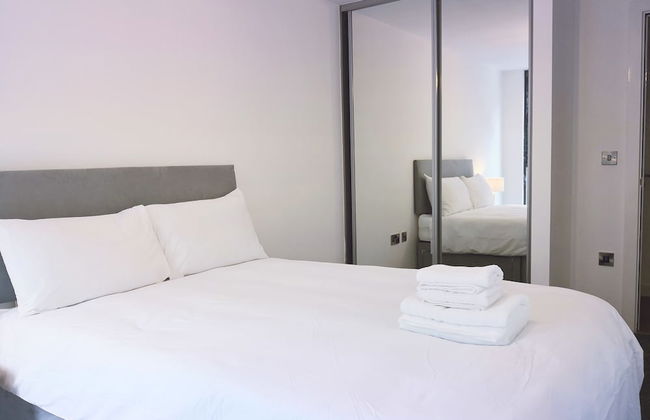
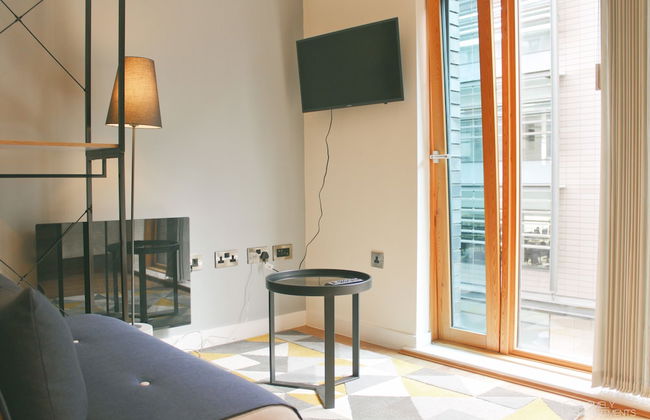
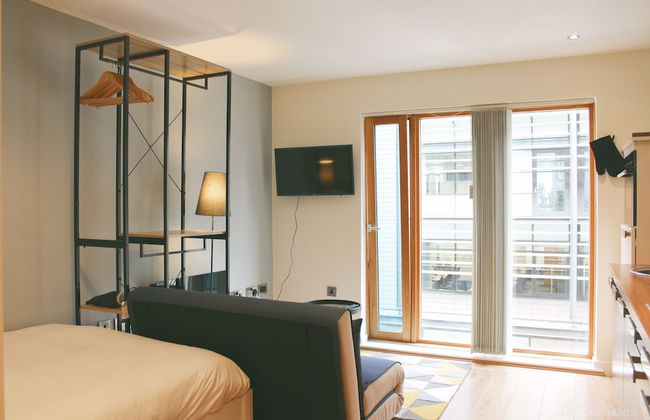
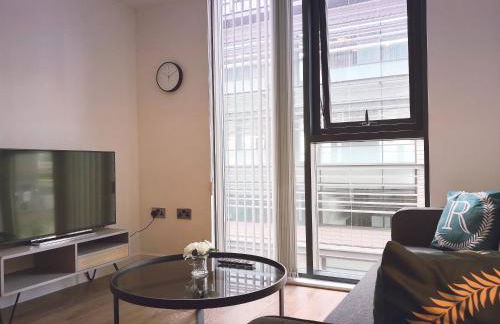
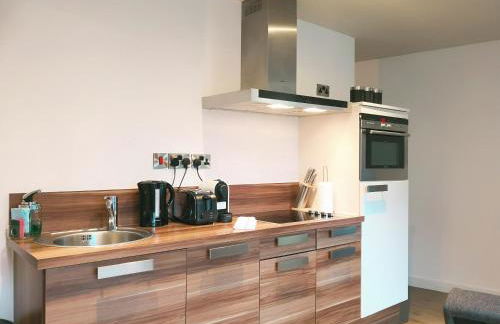
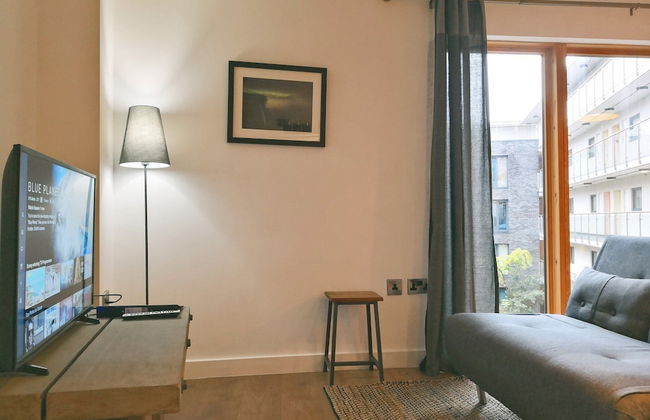
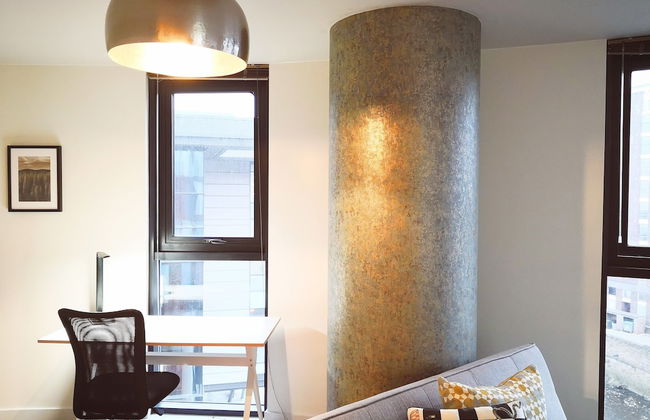
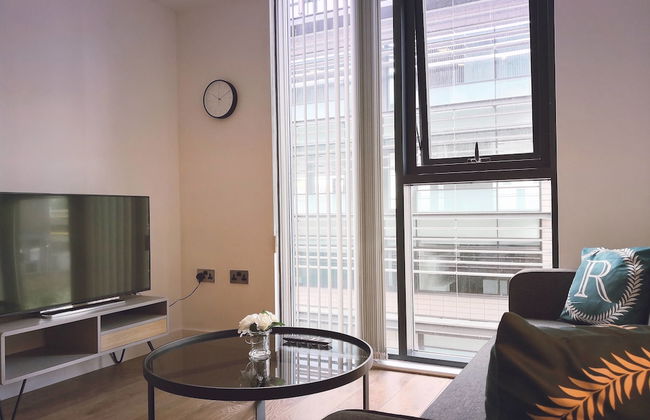
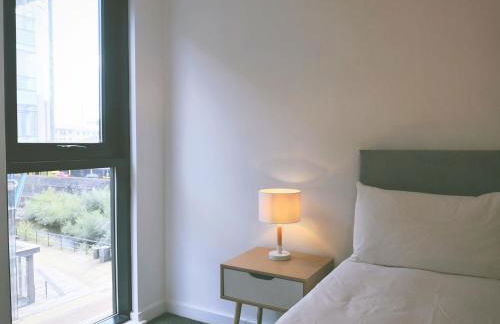
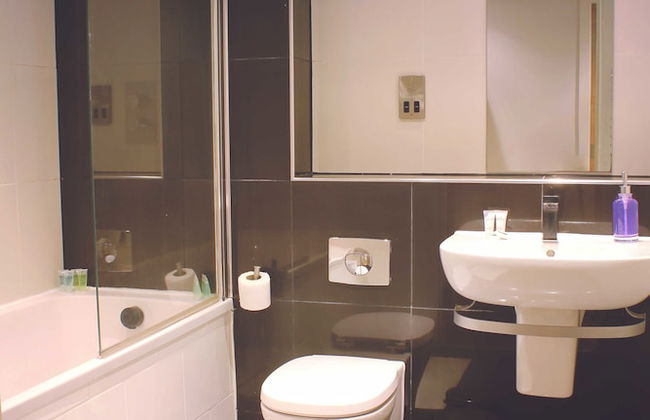
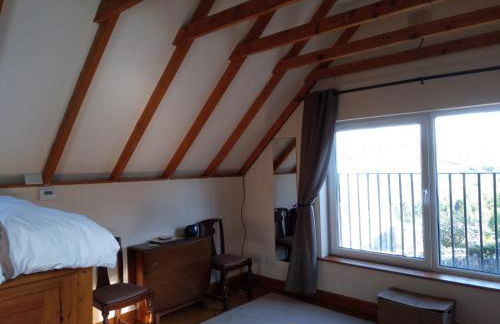
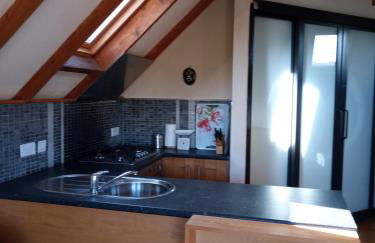
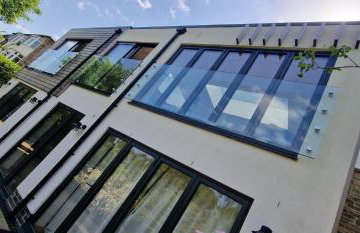
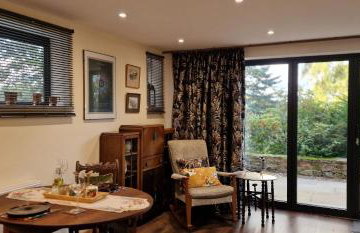
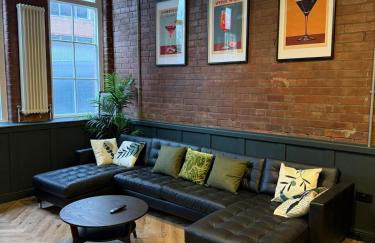
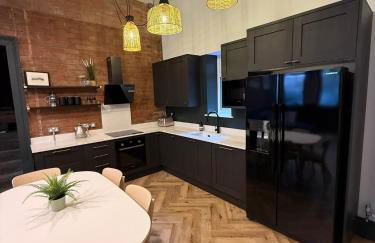
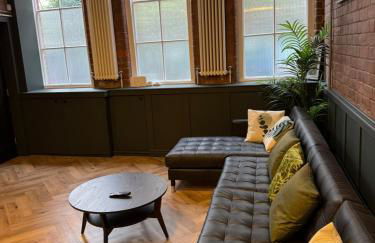
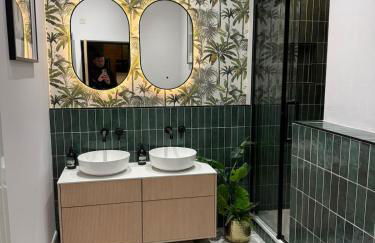
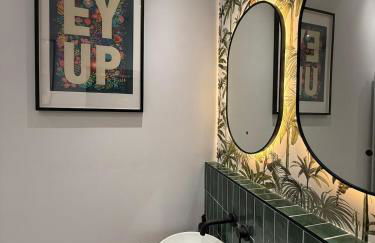
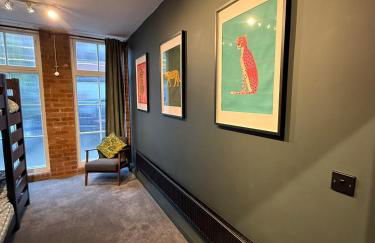
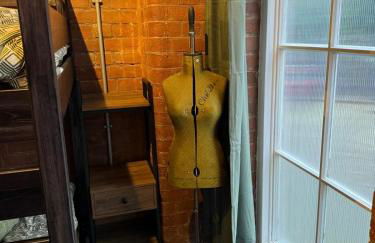
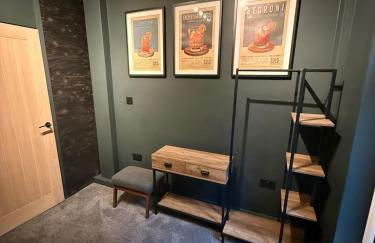
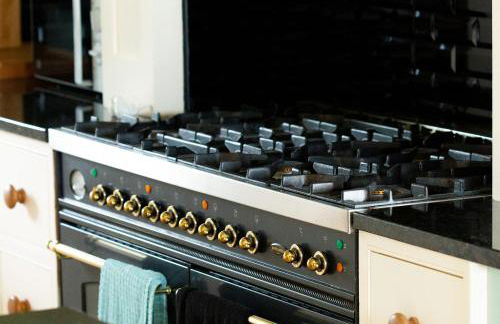
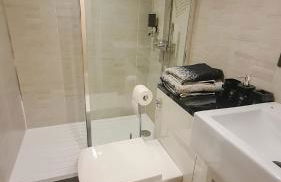
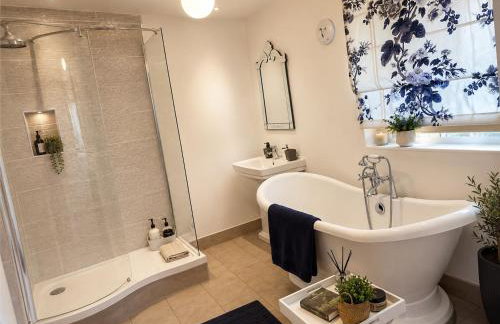
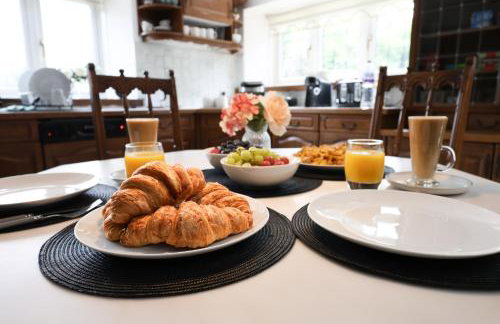
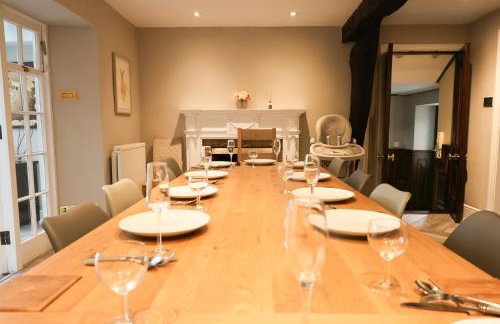
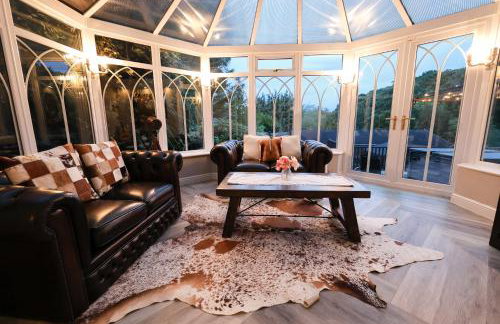
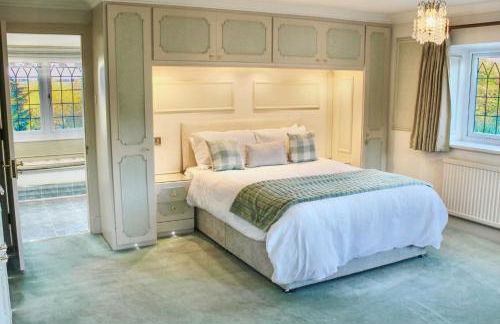
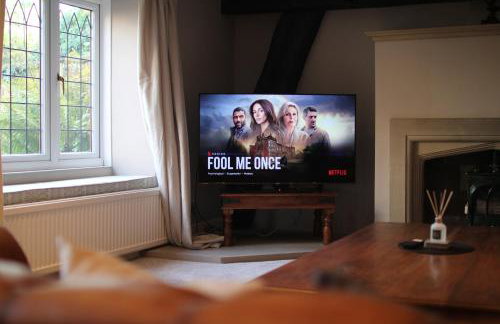
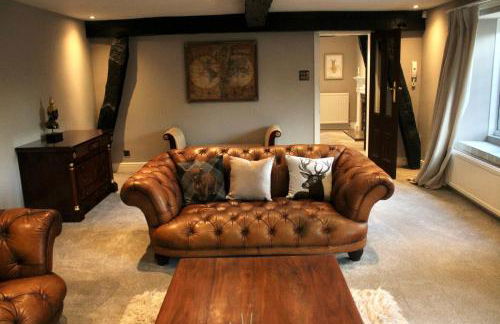
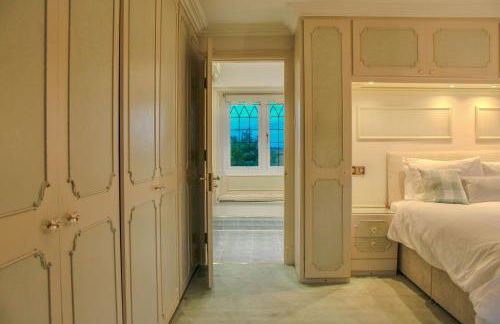
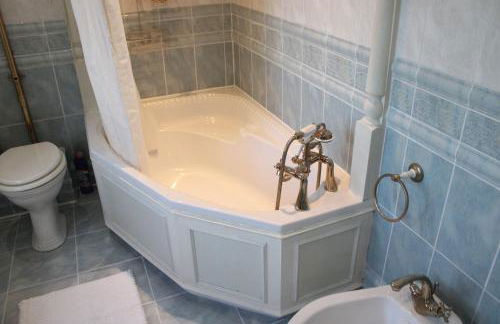
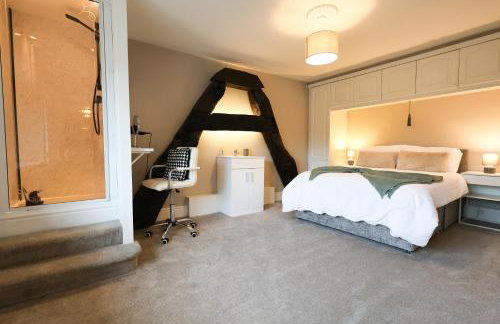
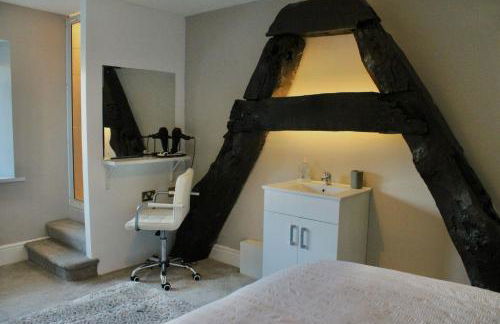
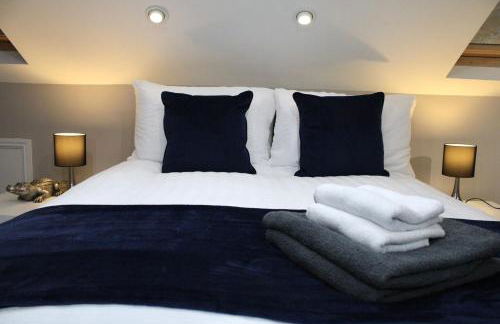
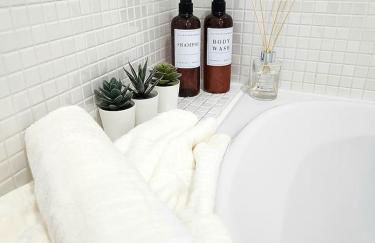
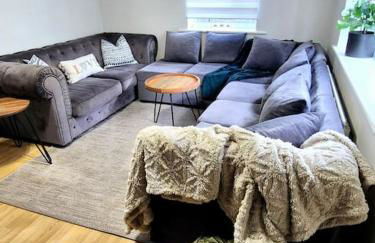
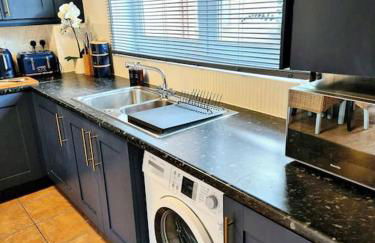
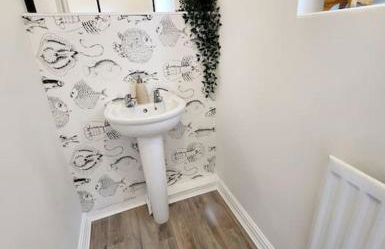
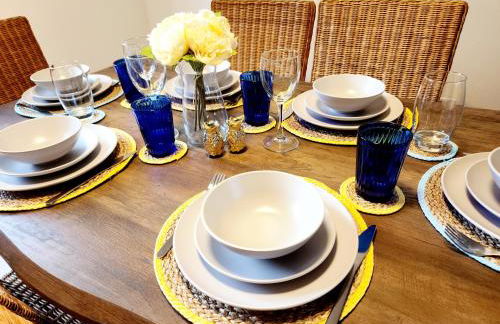
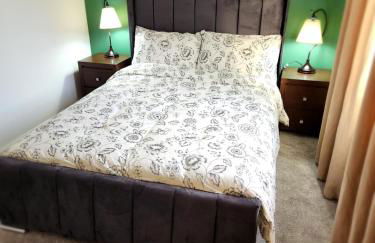
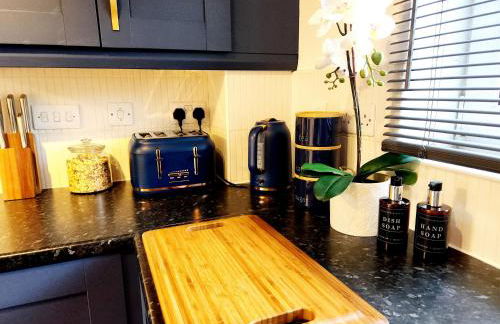
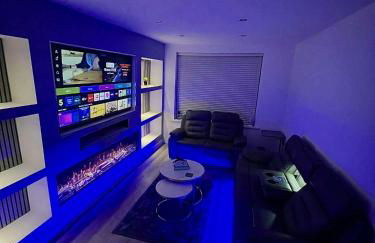
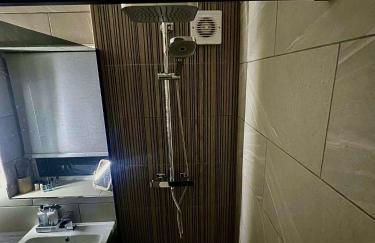
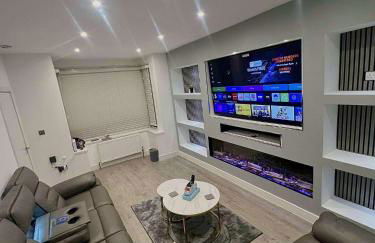
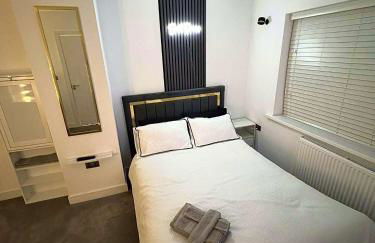
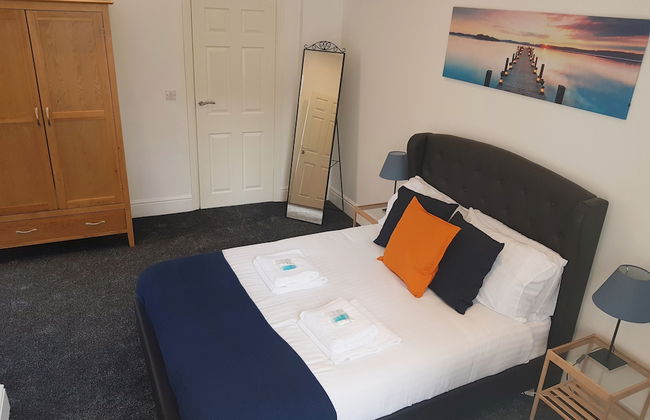
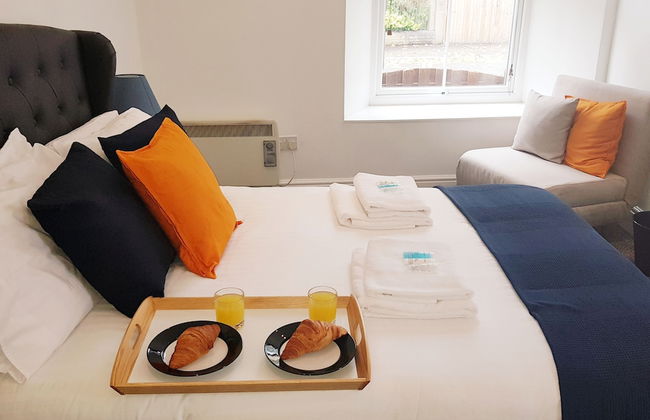
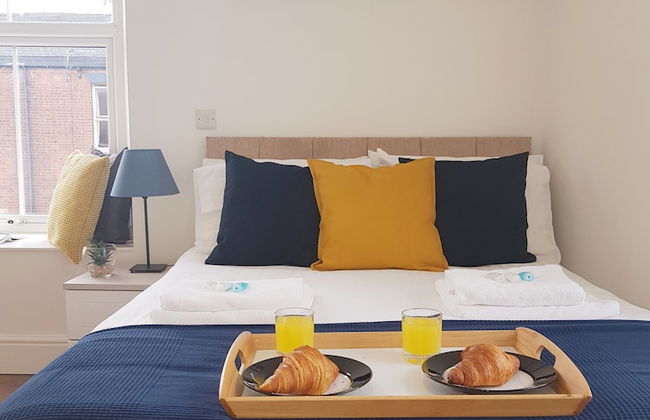
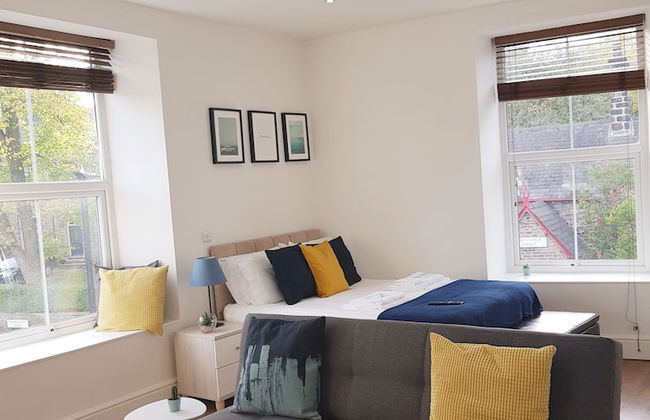
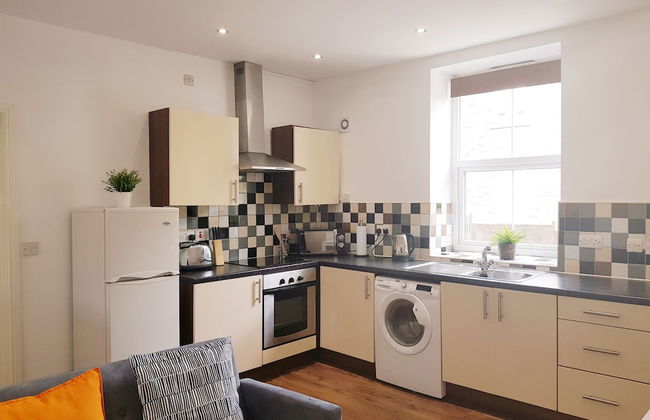
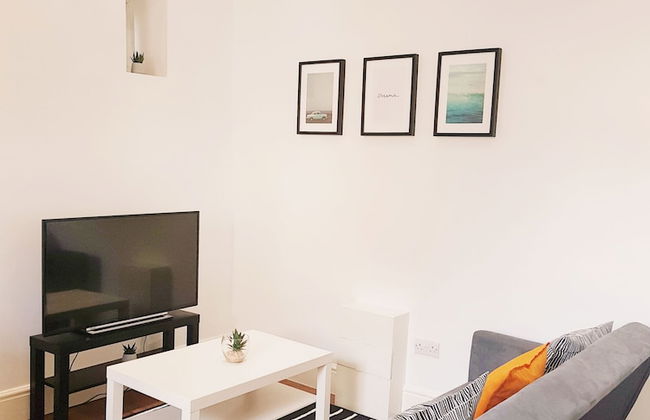
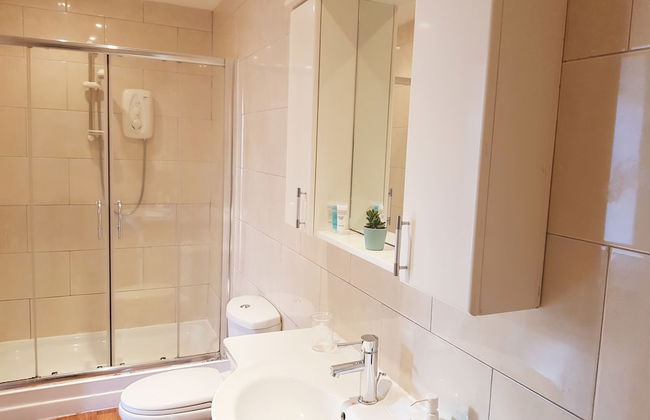
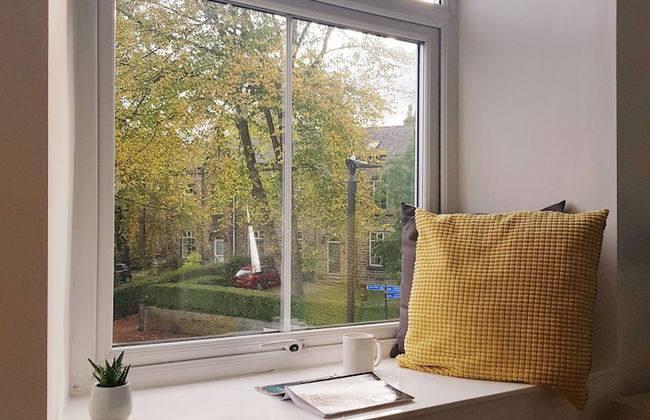
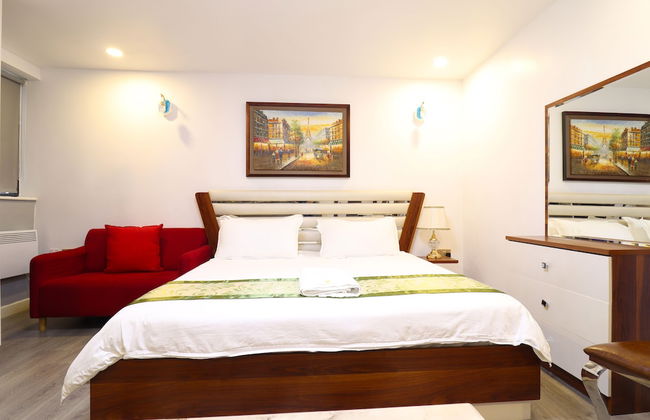
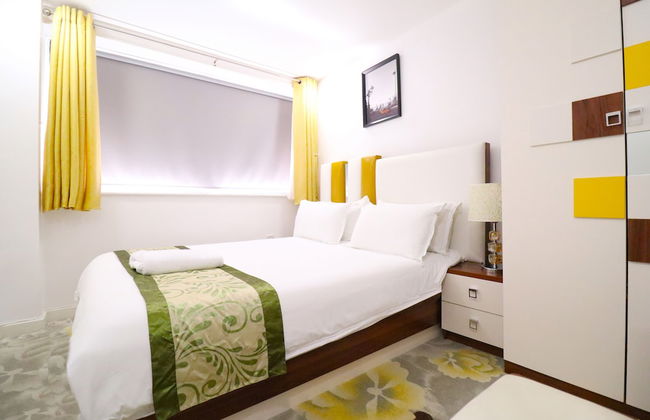
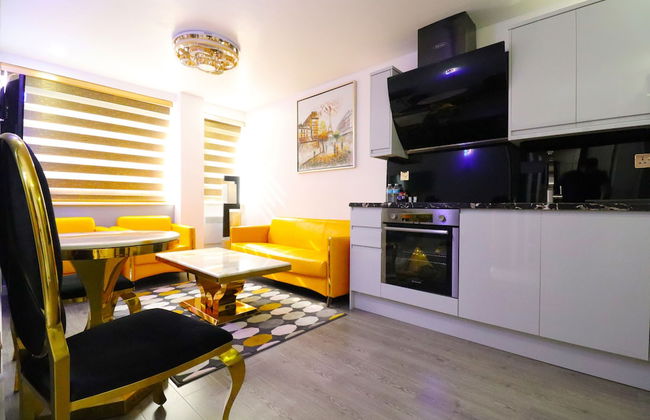
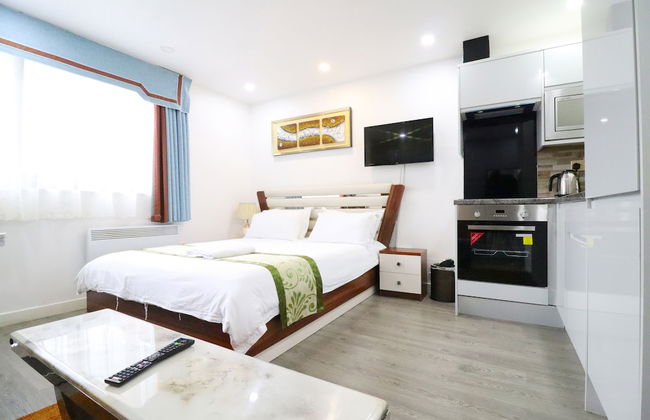
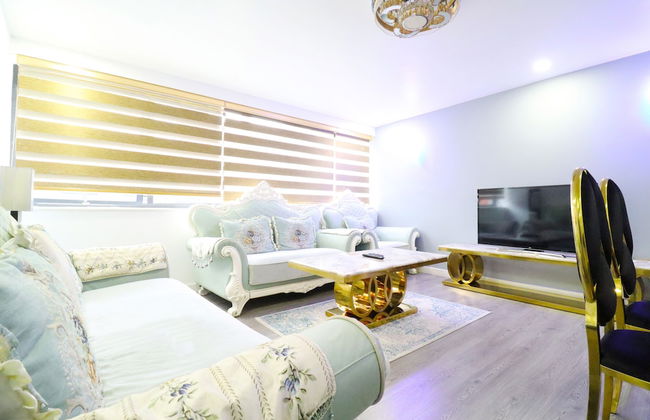
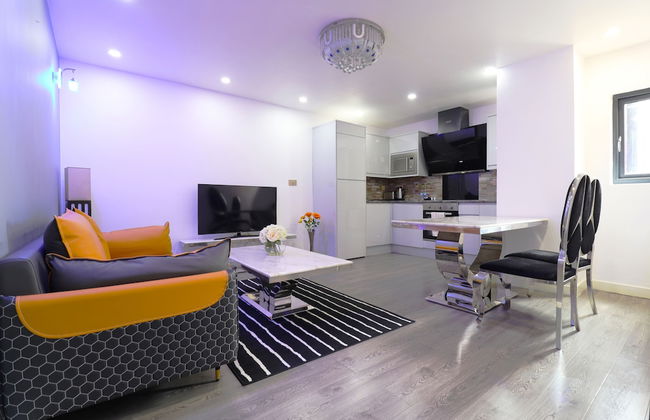
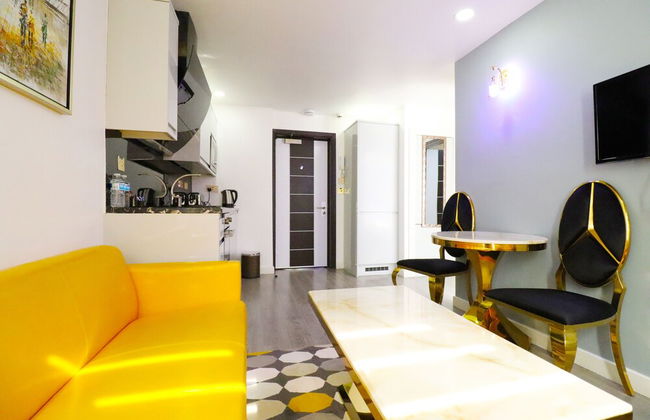
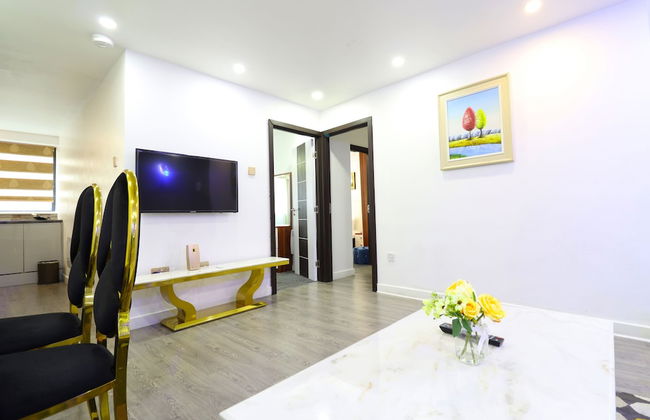
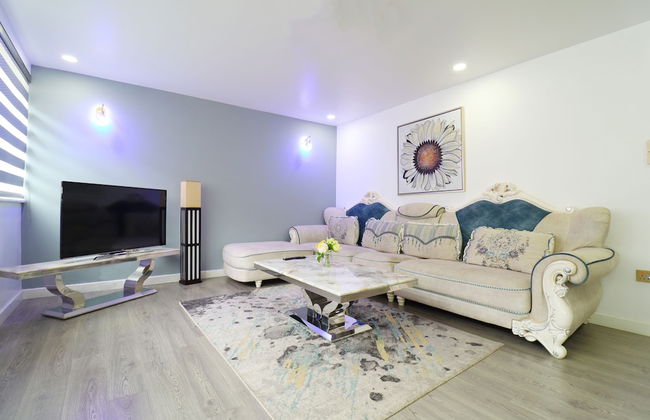
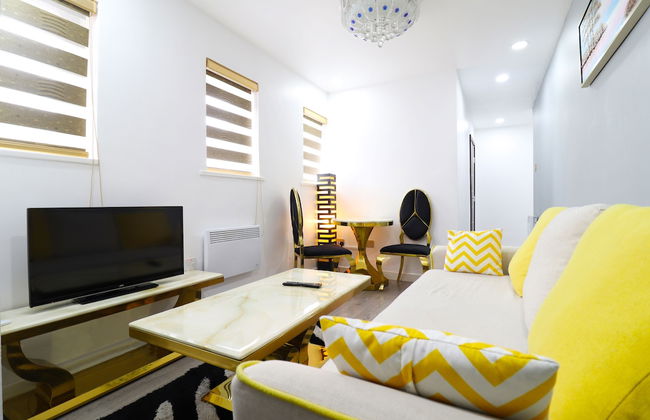
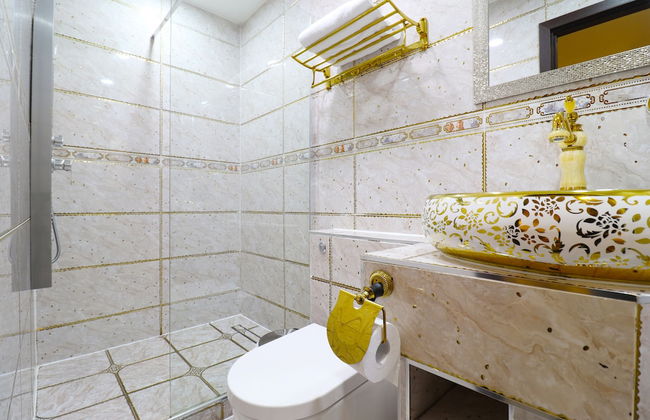
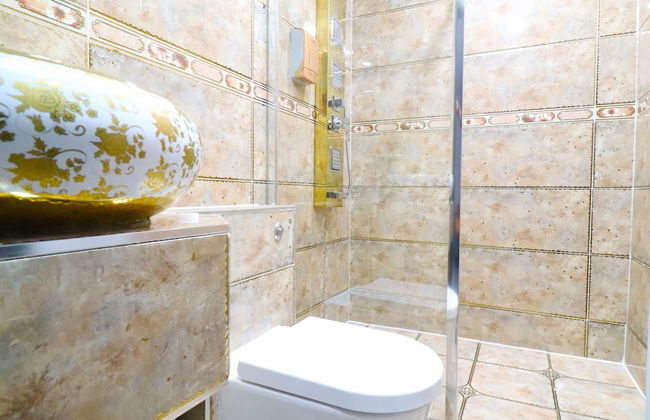
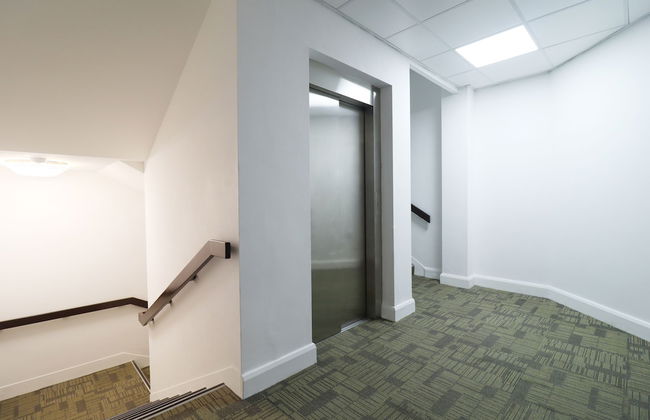
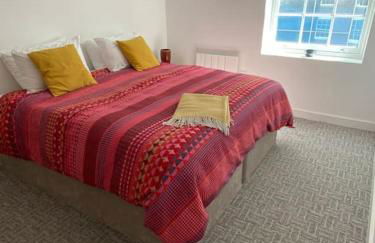
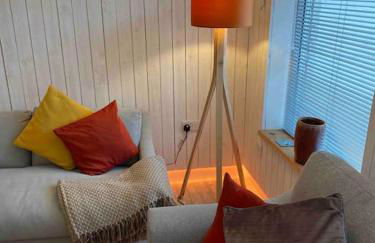
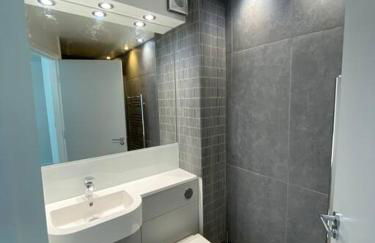
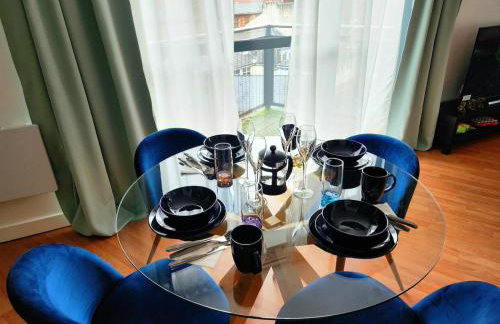
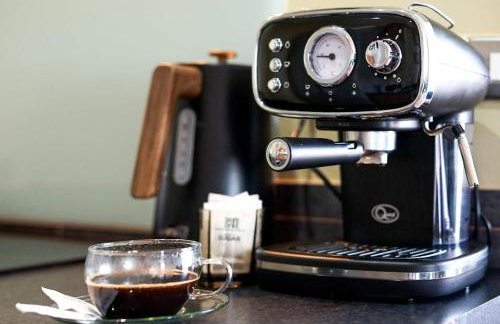
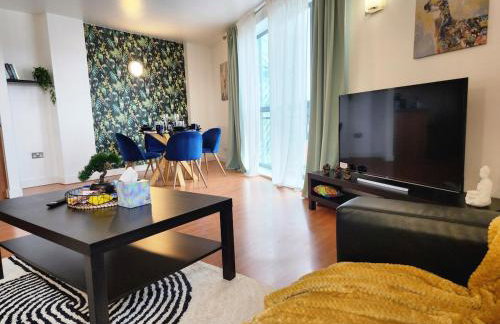
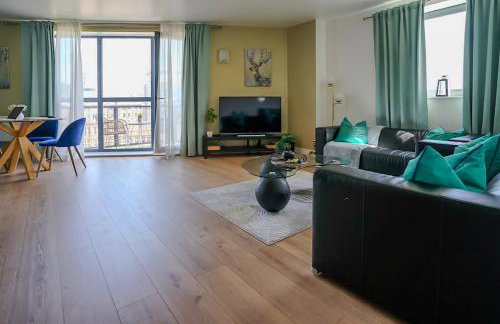
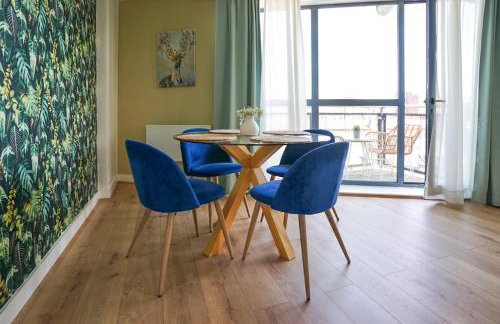
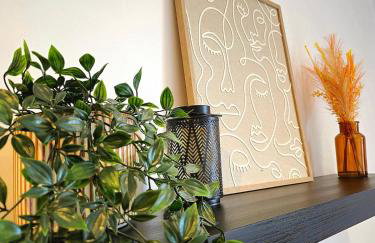
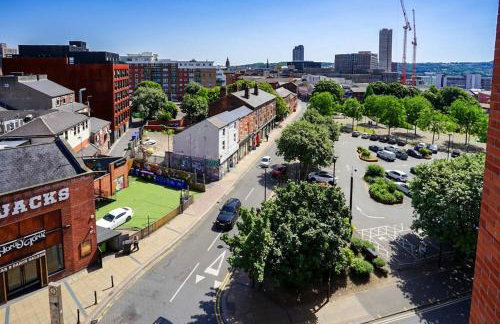
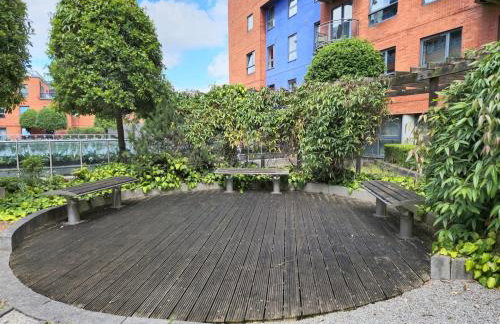
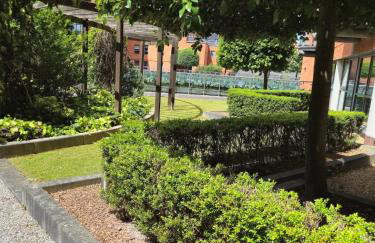
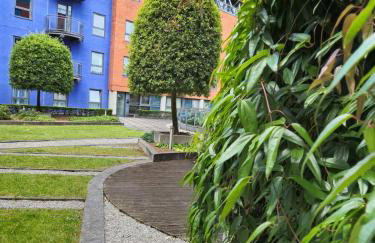
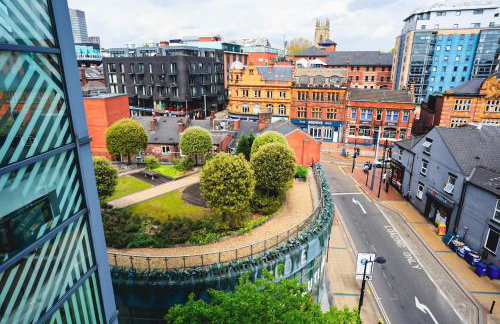
Sheffield 2nd Fl Great City Apartment - Foto 2
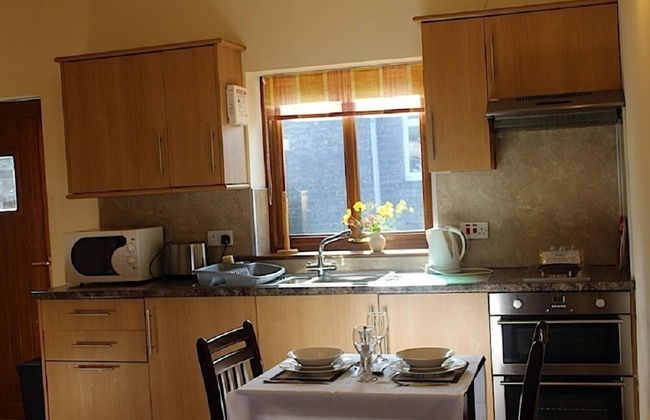
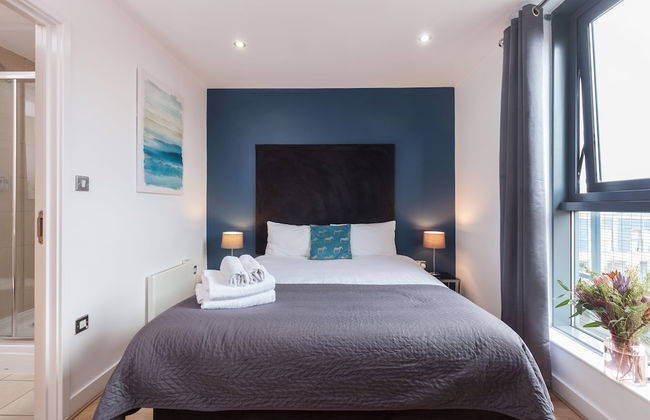
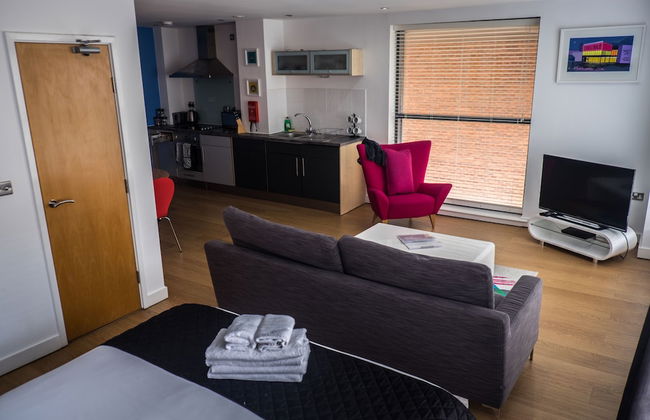
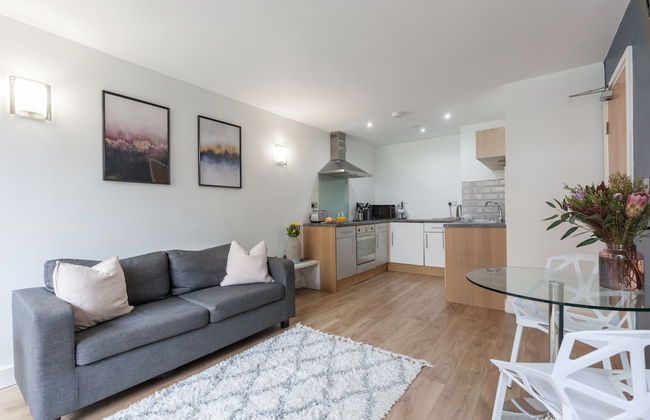
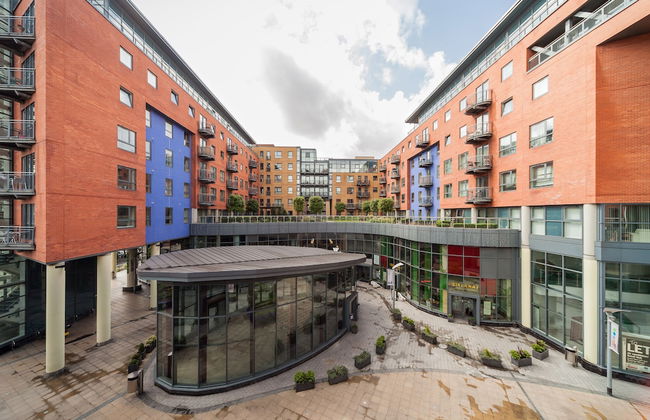
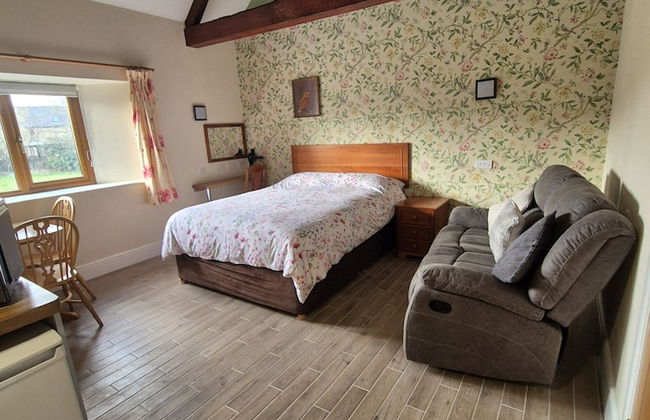
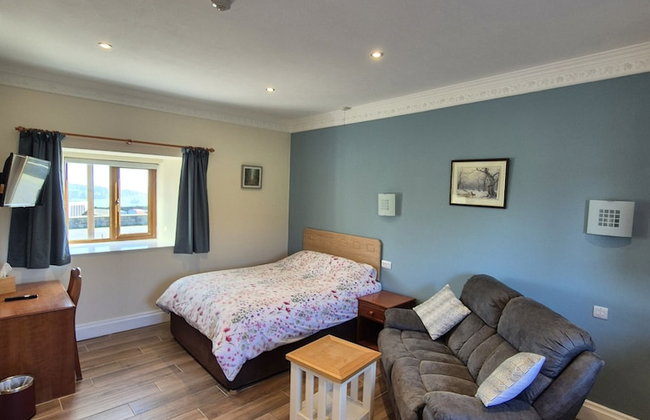
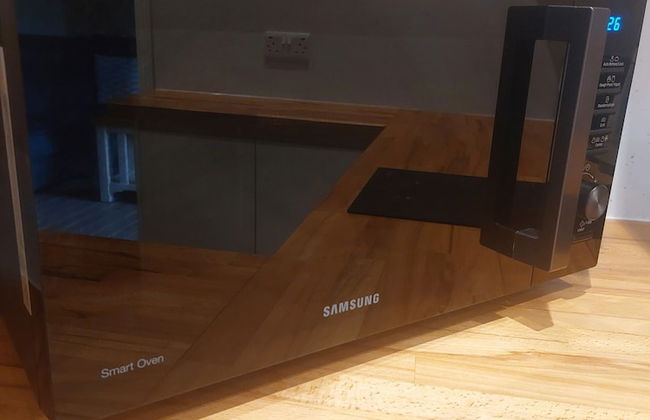
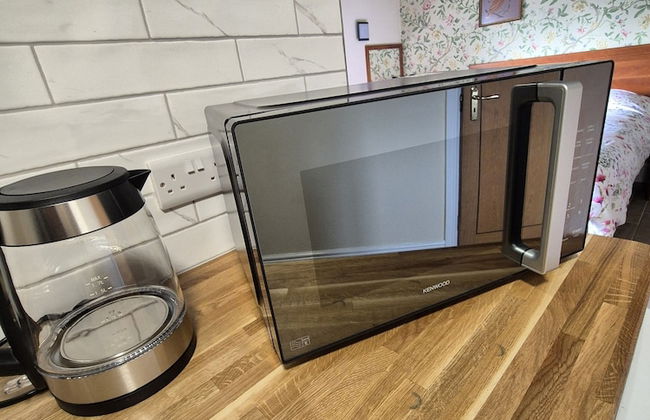
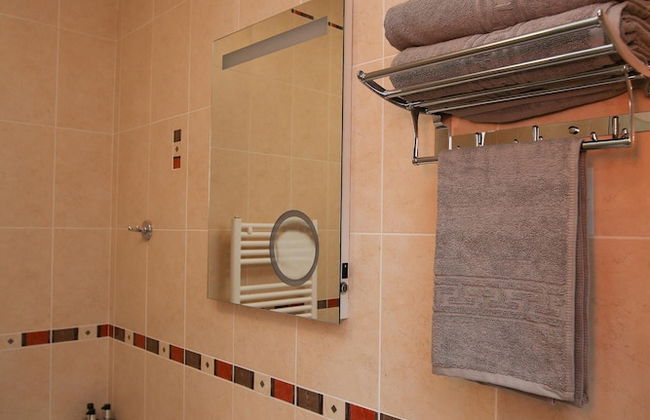
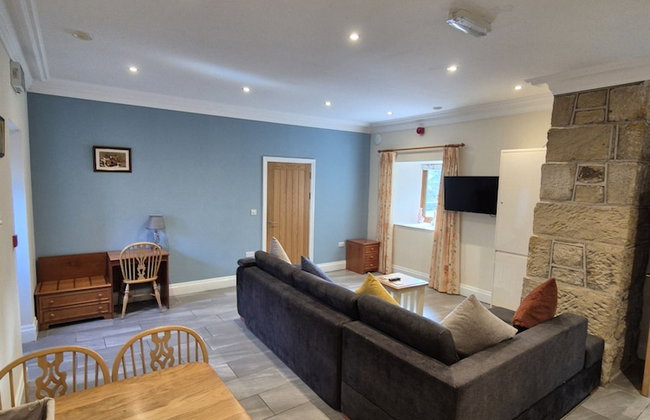
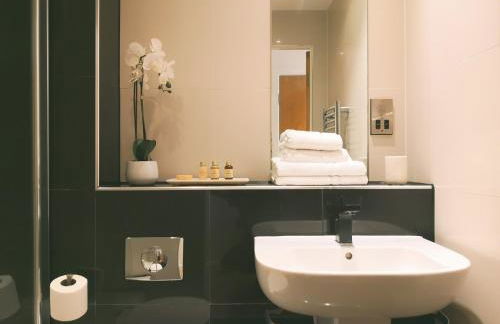
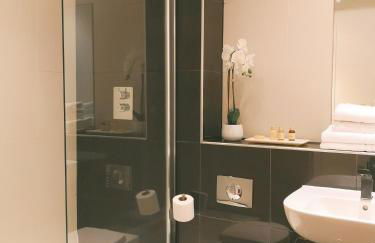
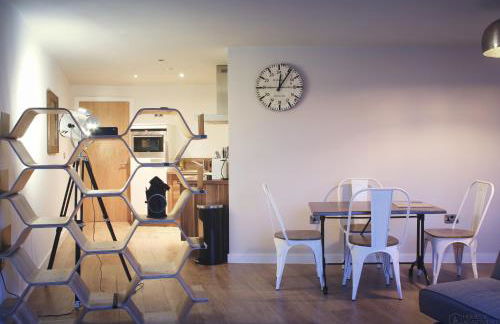
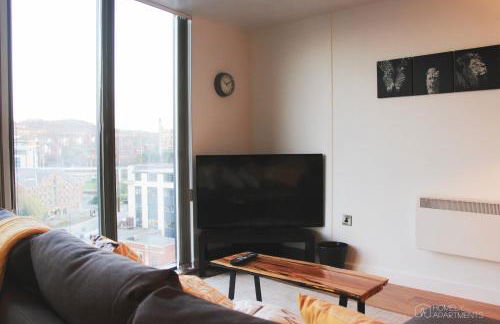
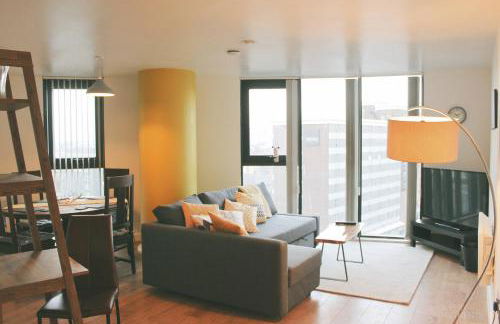
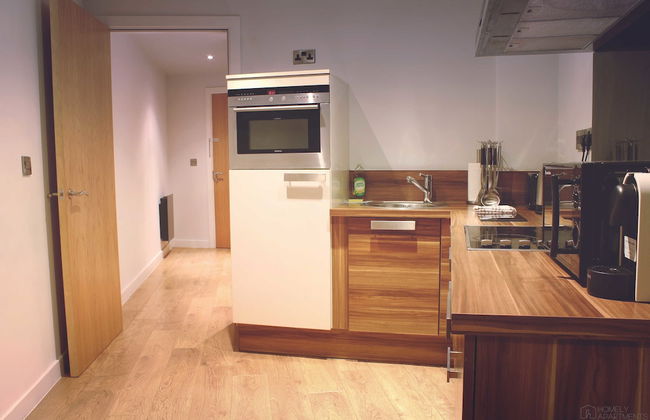
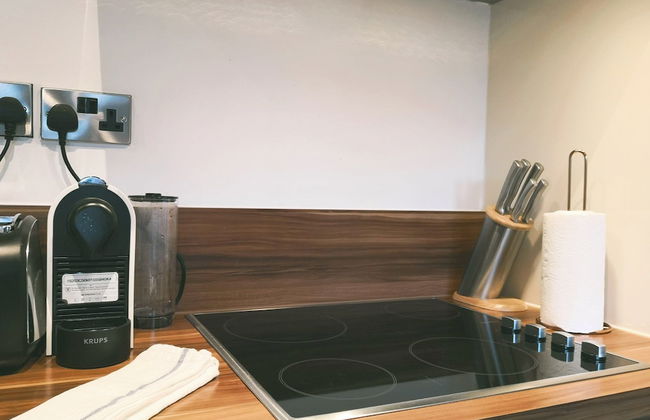
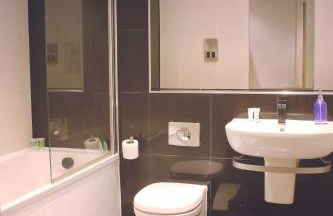
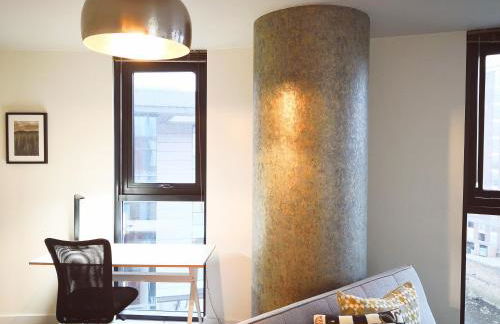
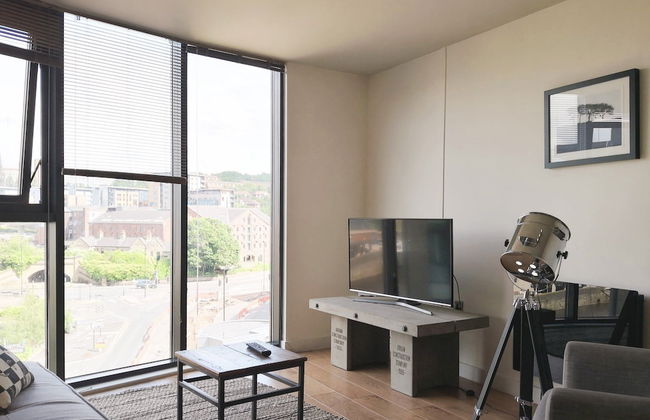
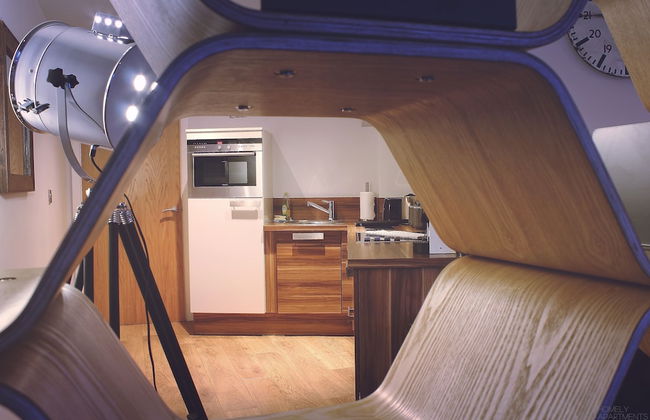
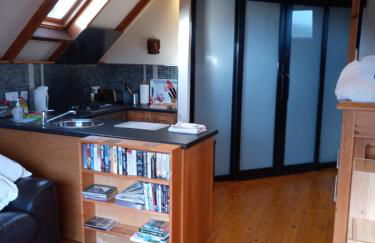
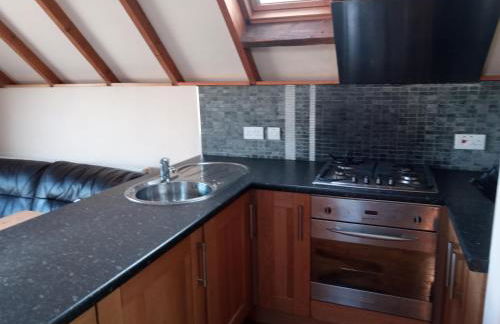
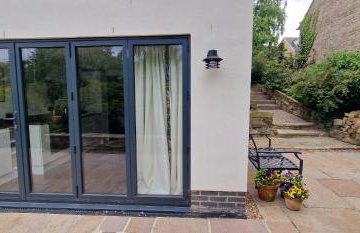
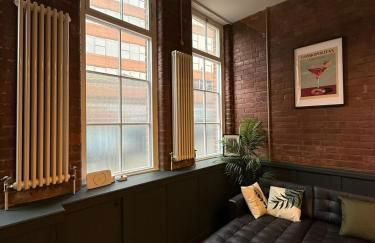
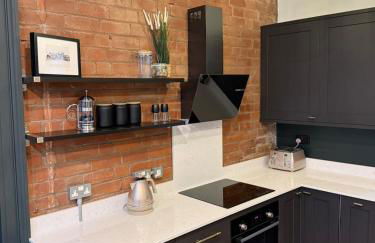
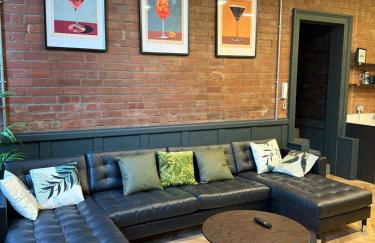
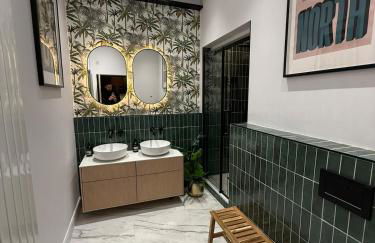
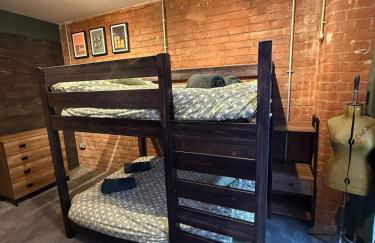
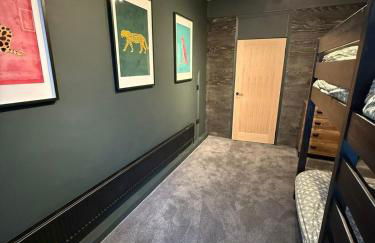
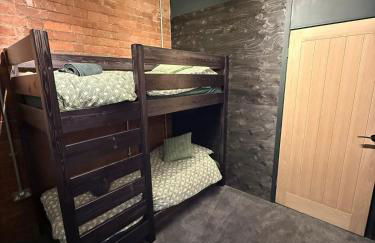
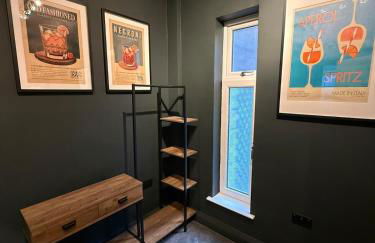
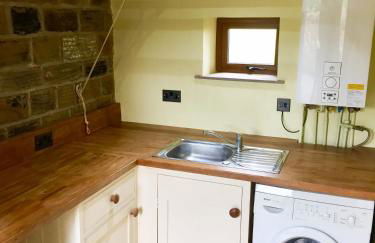
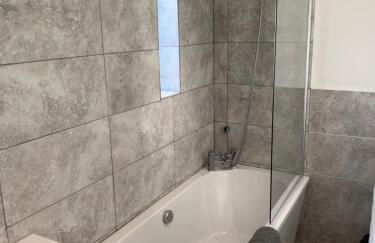
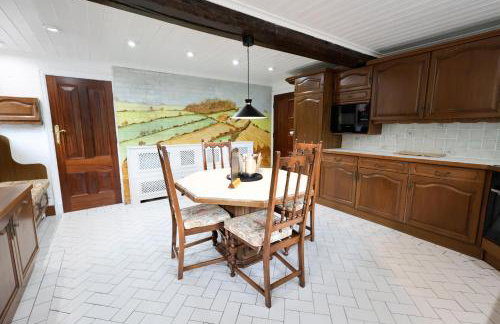
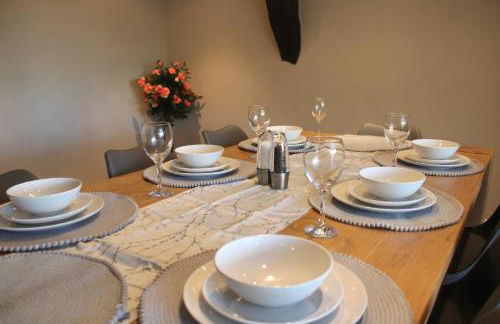
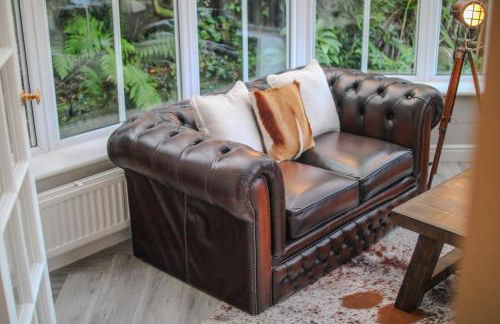
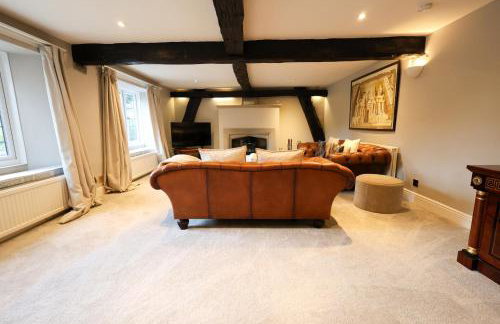
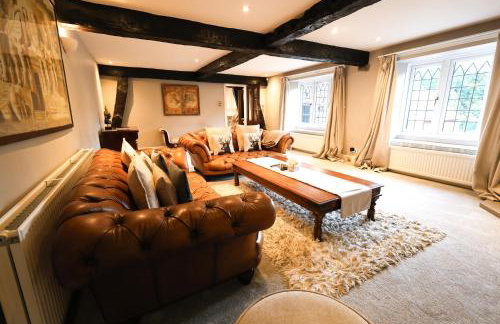
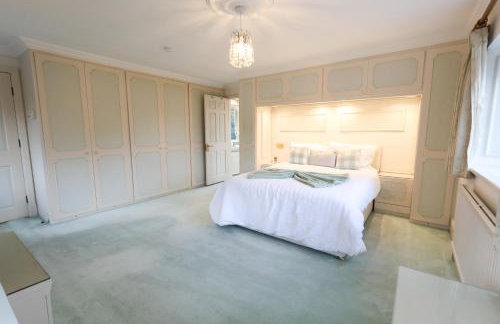
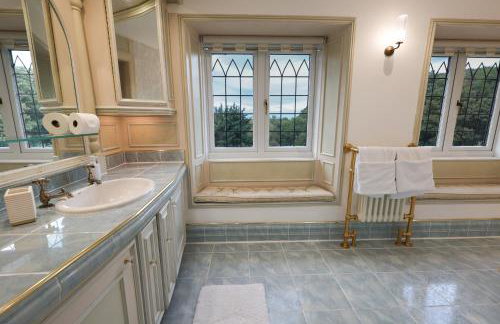
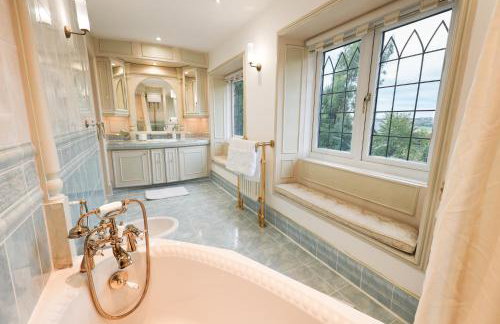
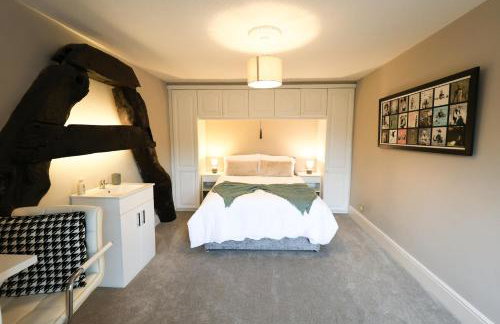
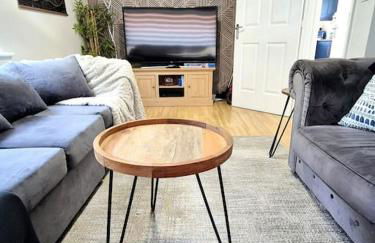
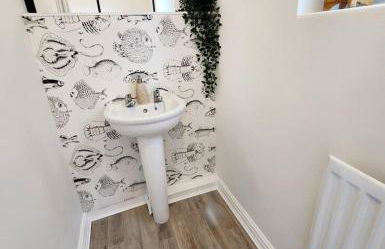
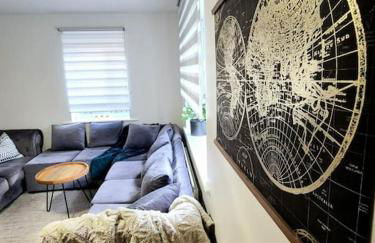
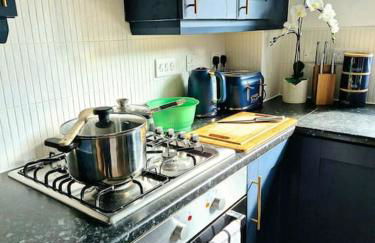
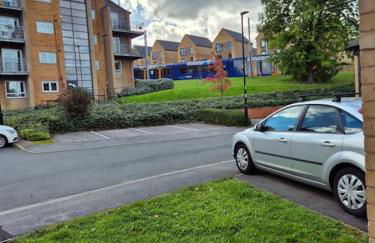
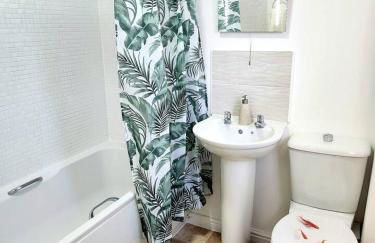
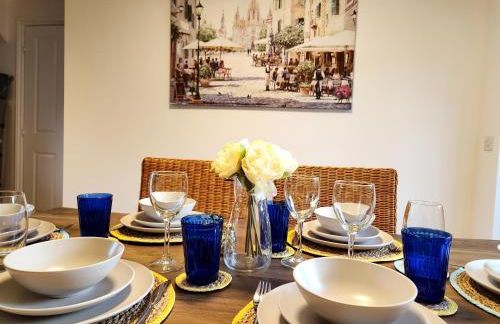
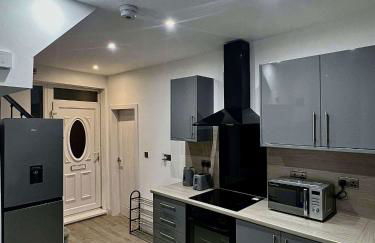
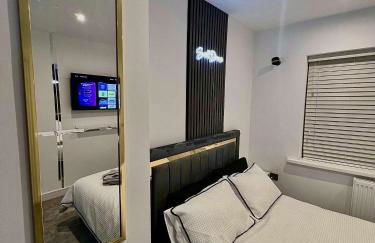
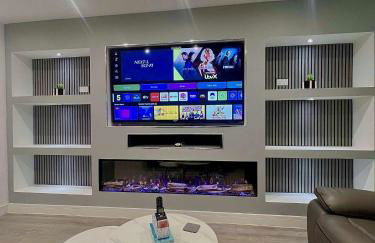
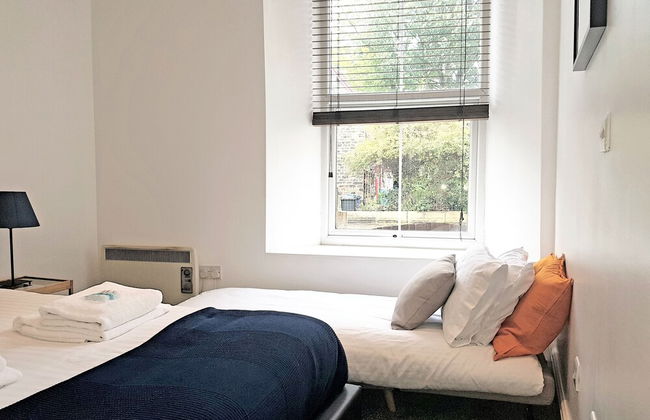
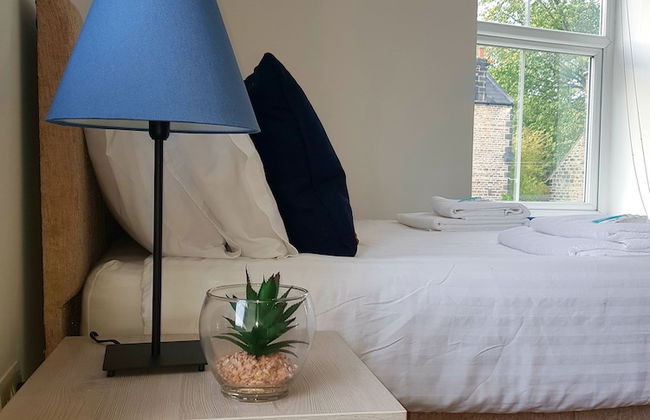
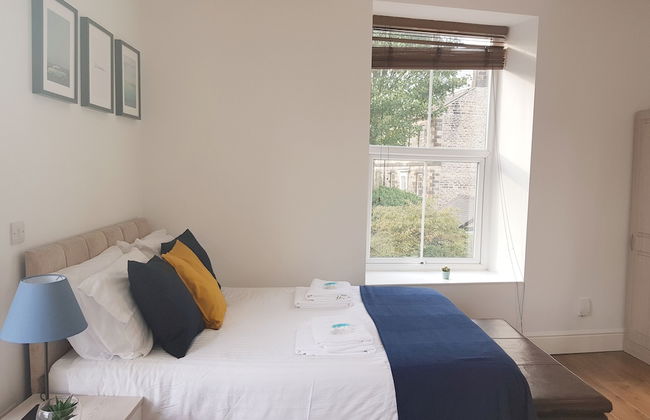
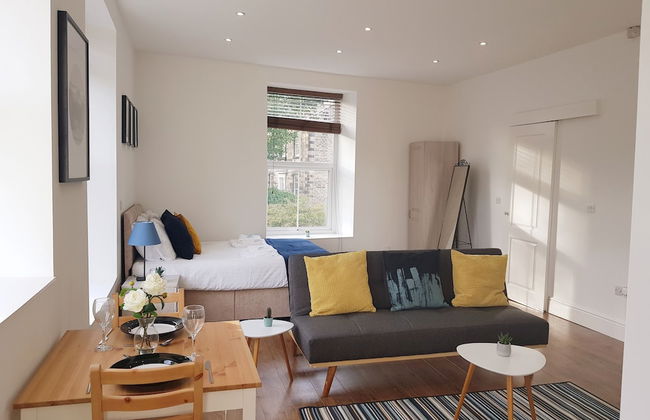
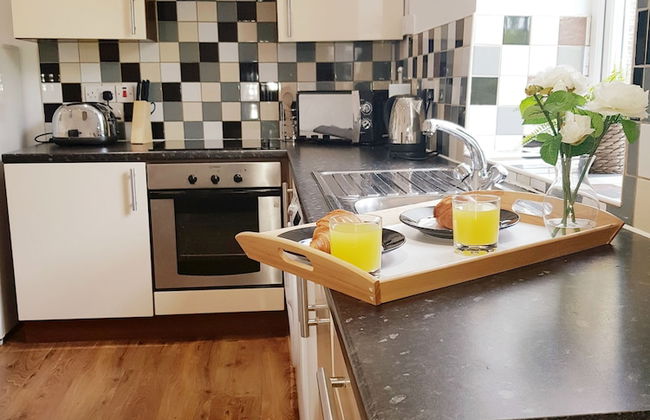
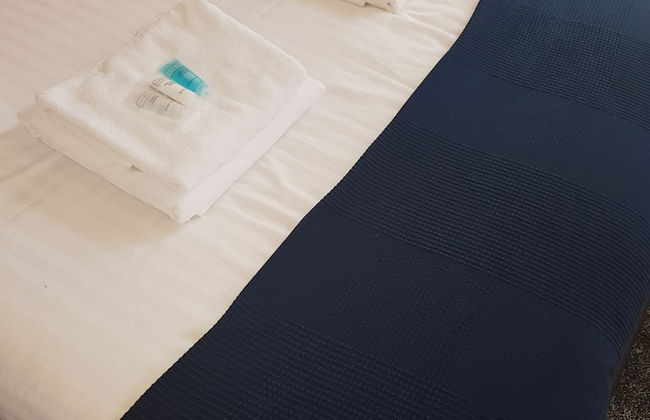
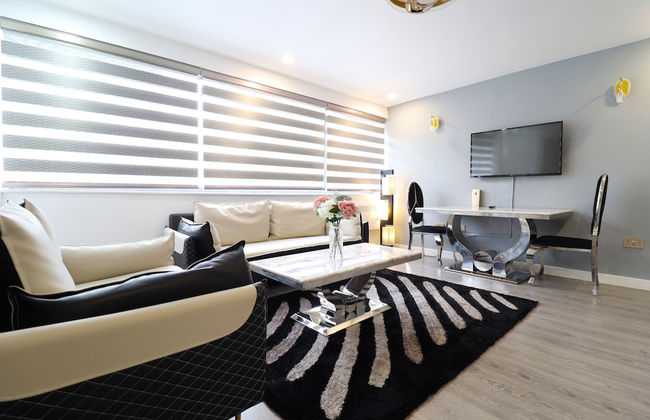
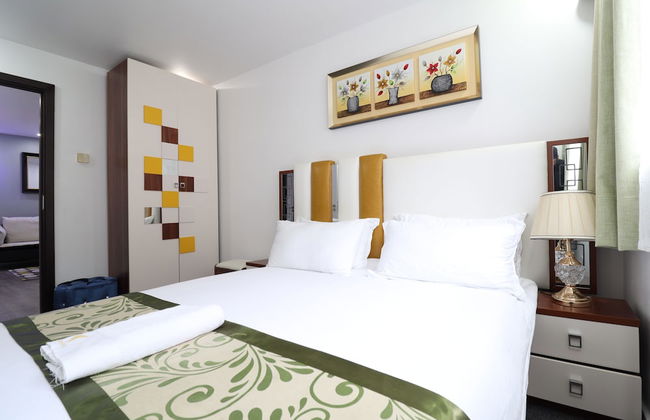
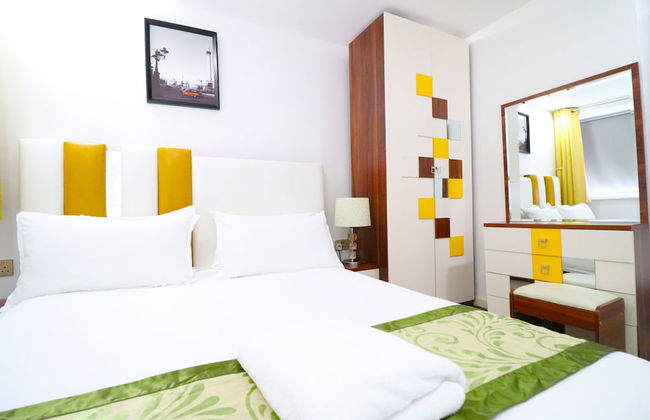
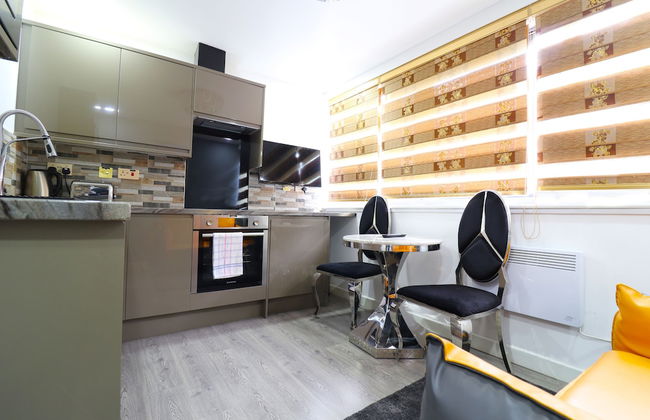
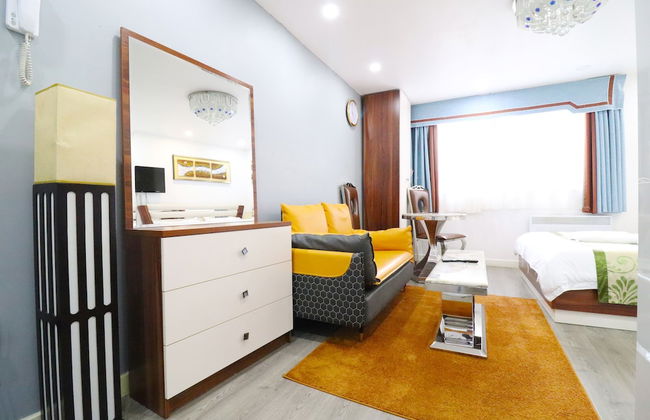
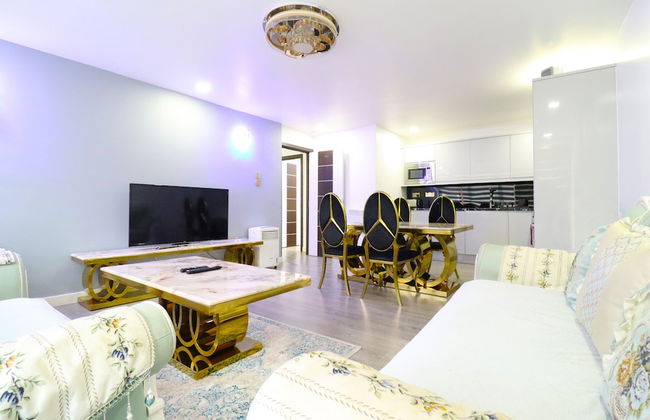
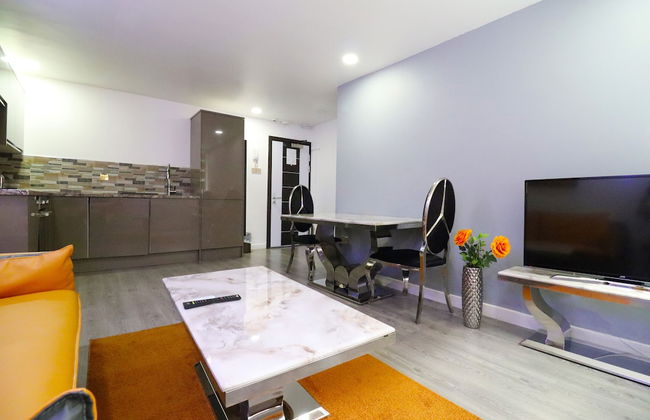
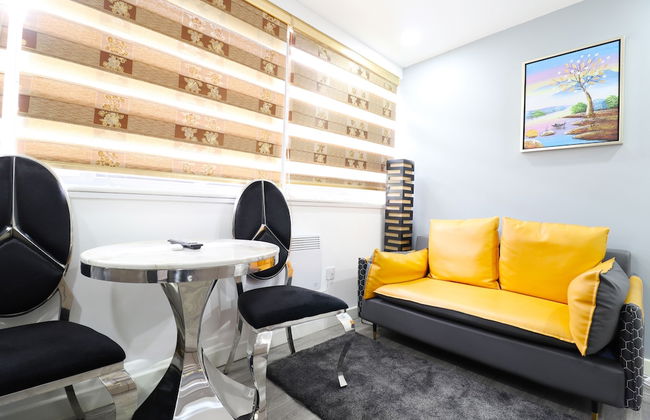
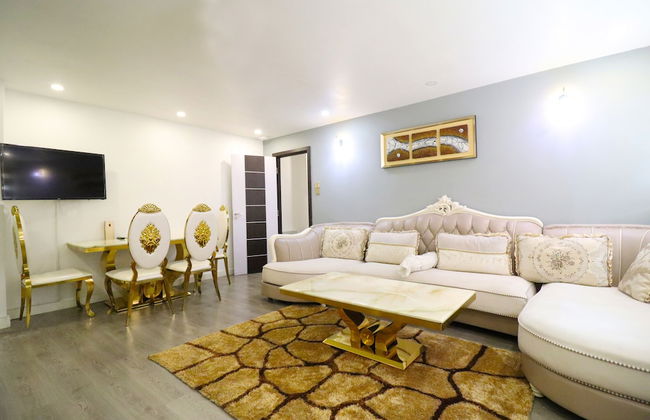
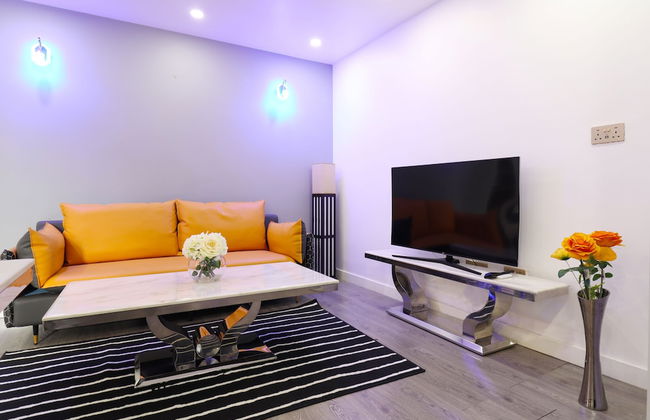
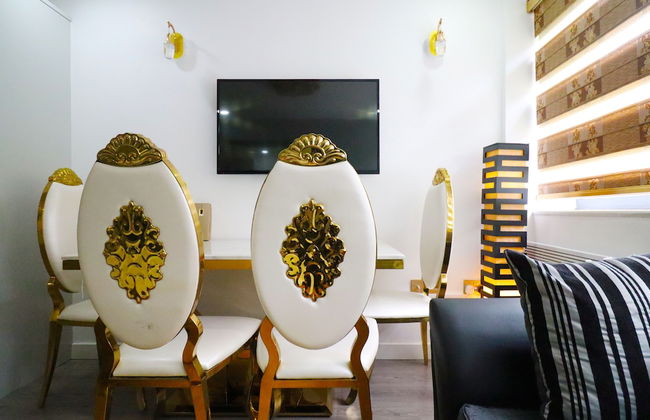
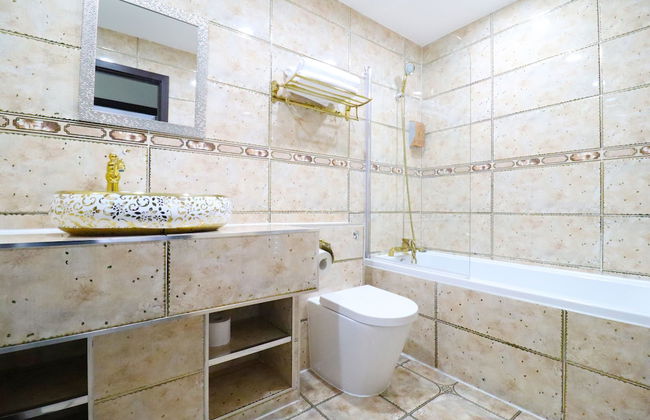
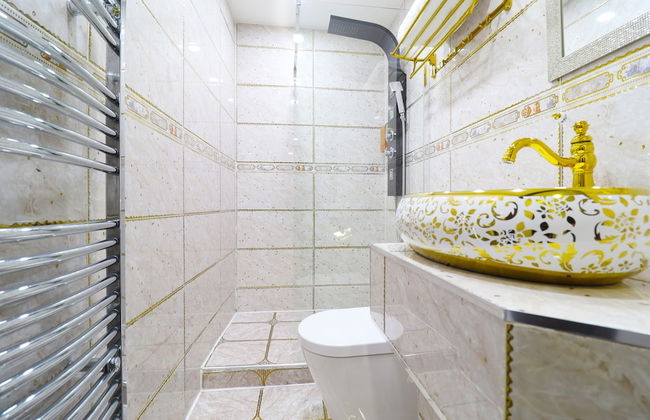
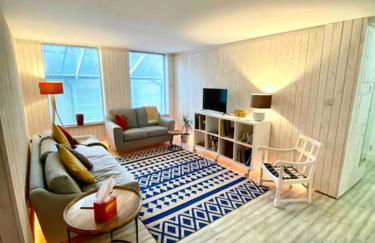
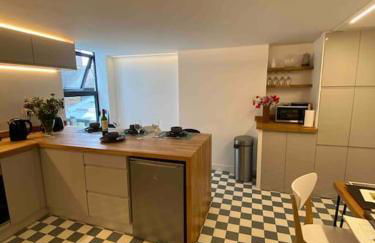
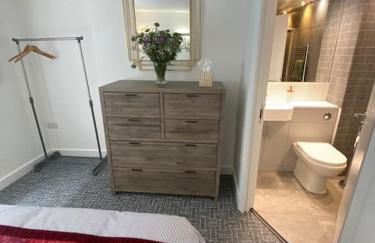
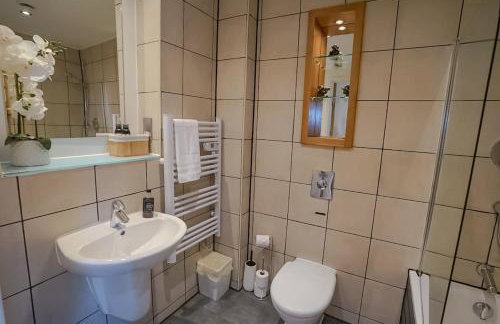
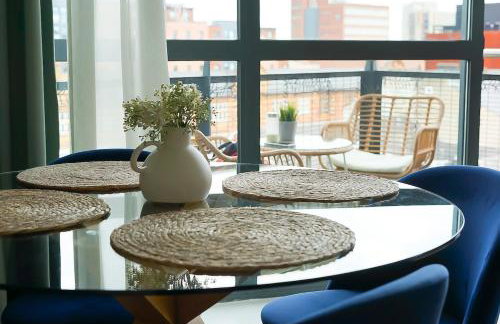
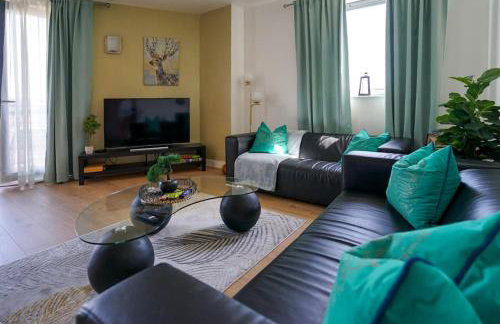
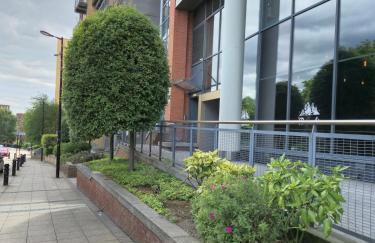
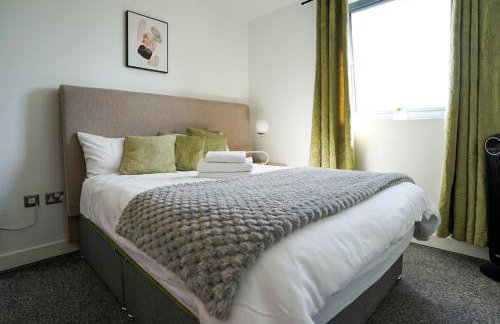
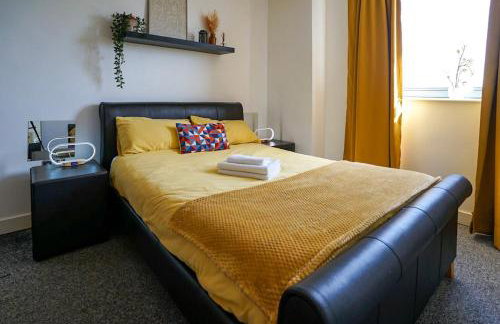
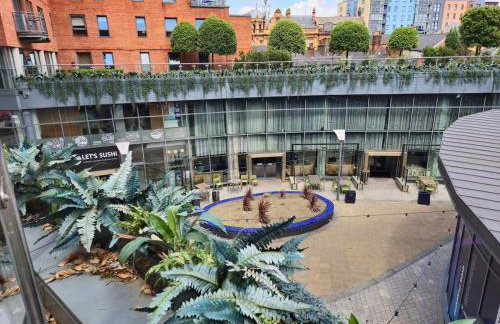
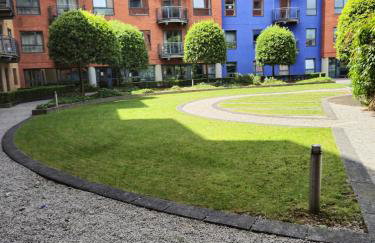
Sheffield 2nd Fl Great City Apartment - Foto 3
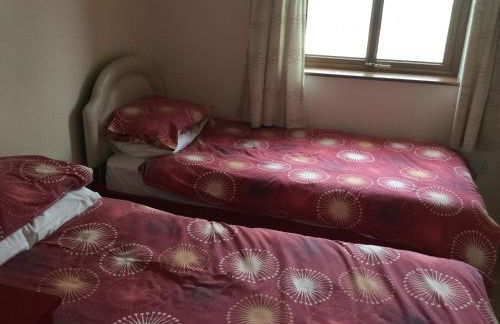
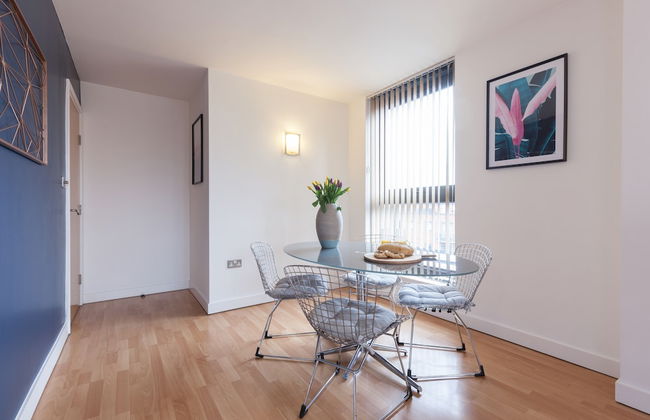
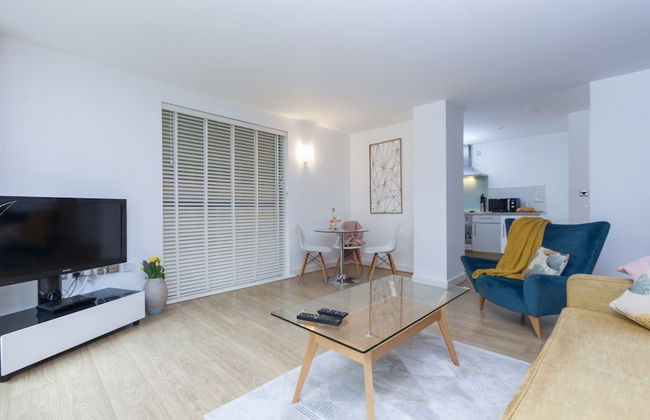
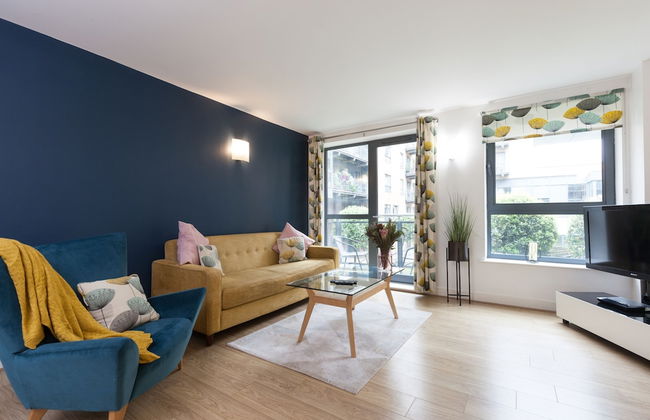
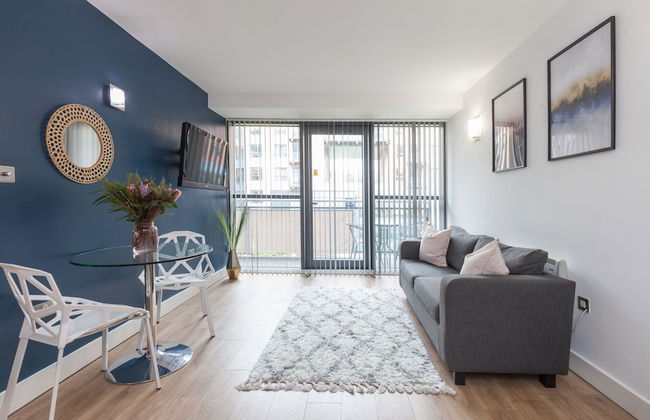
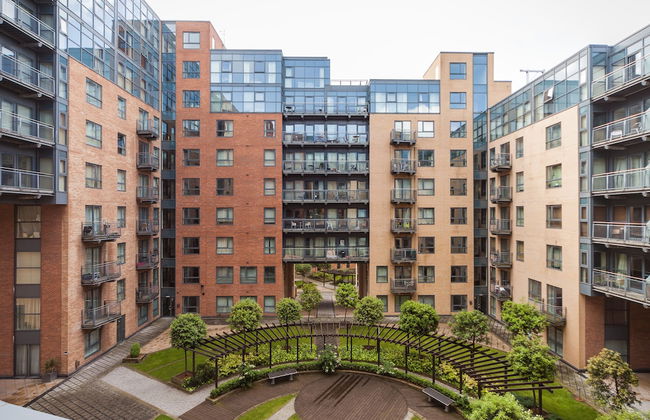
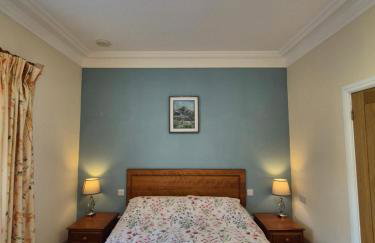
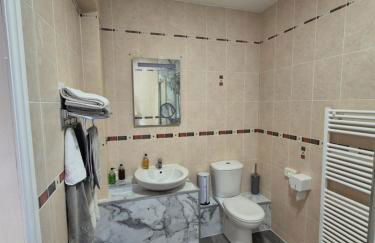
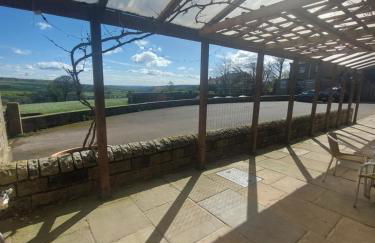
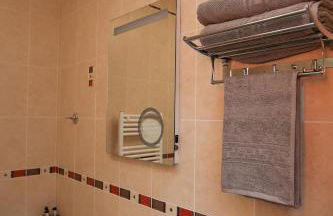
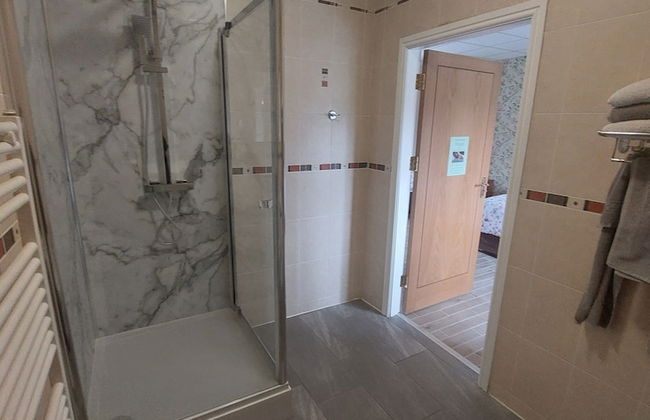
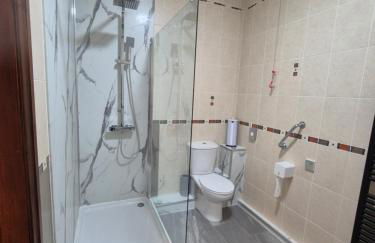
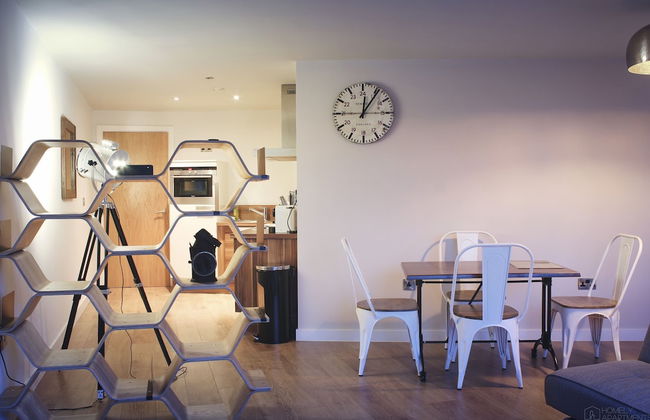
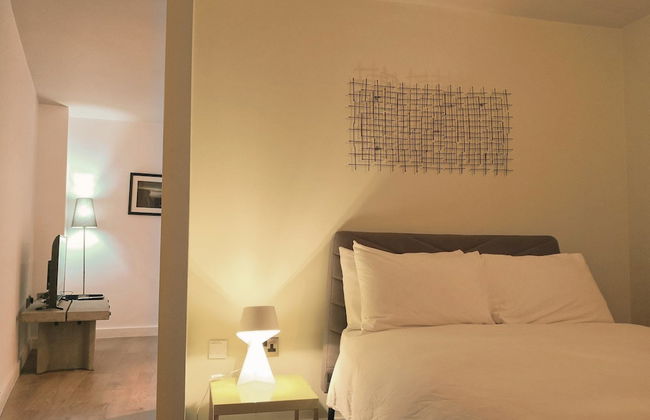
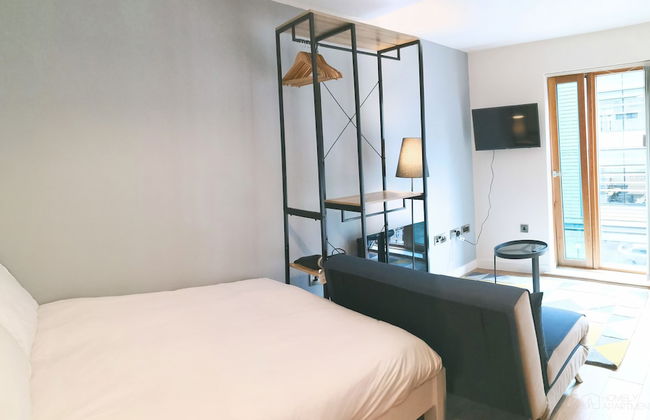
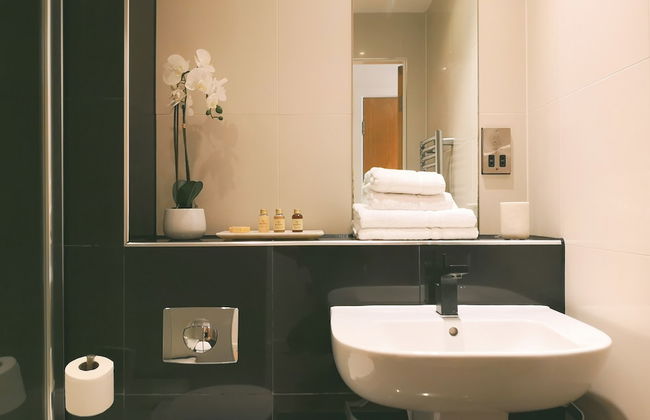
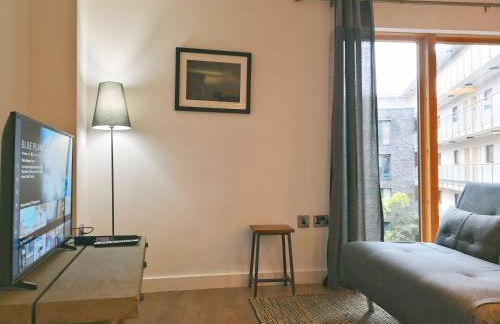
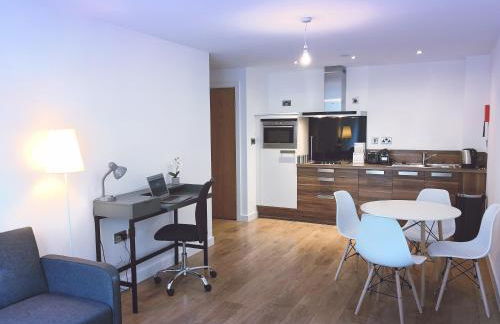
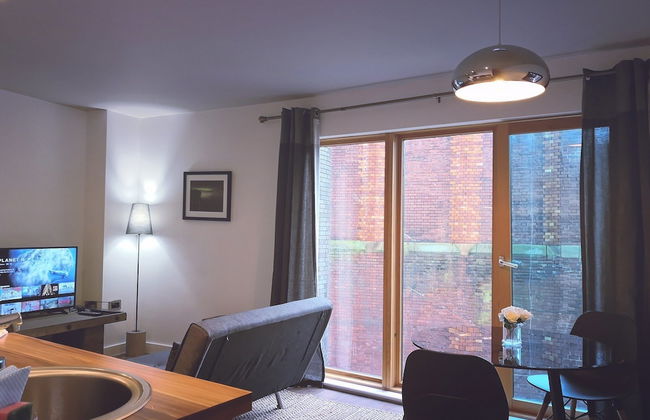
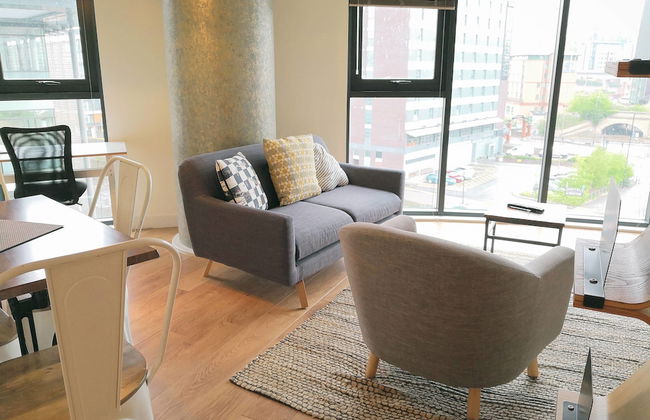
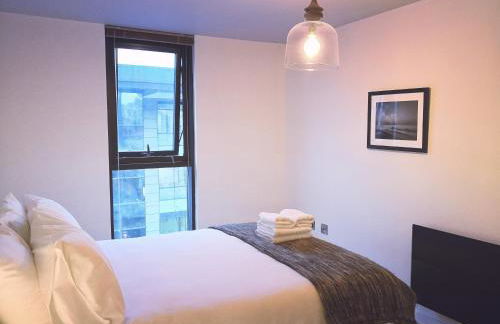
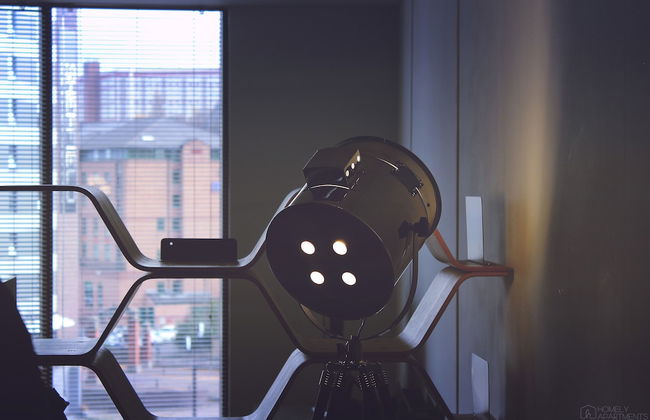
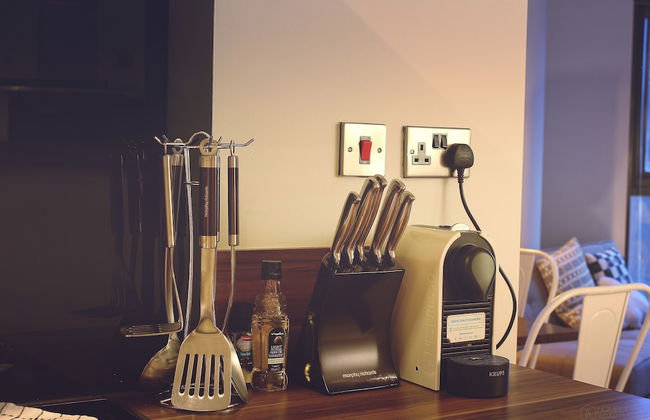
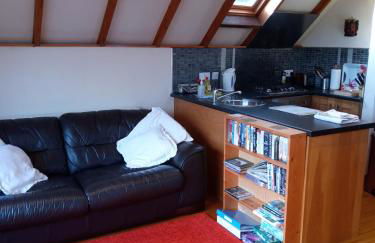
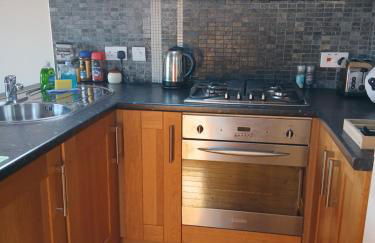
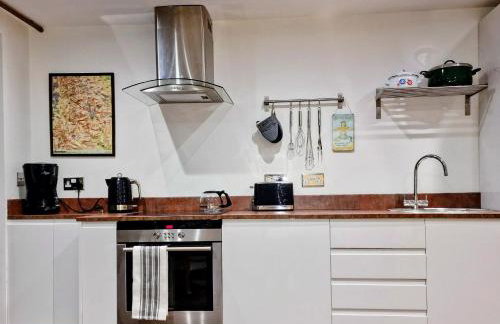
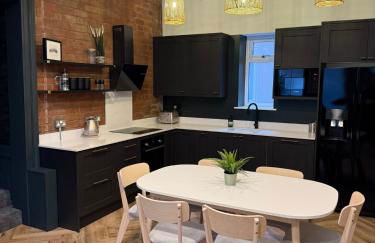
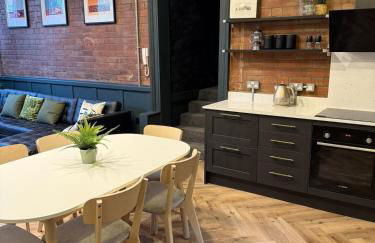
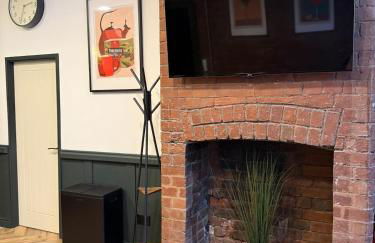
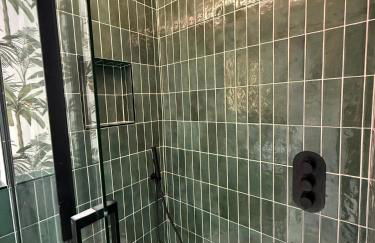
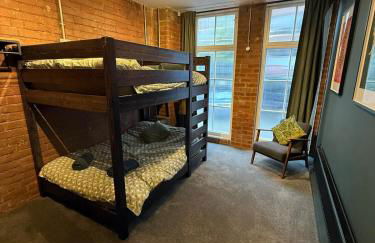
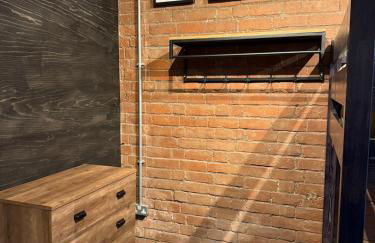
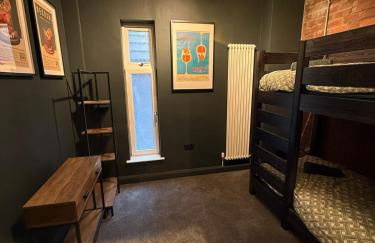
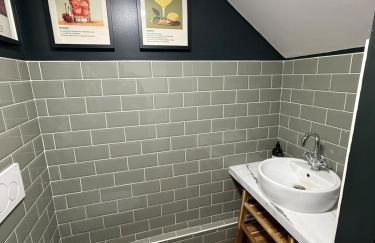
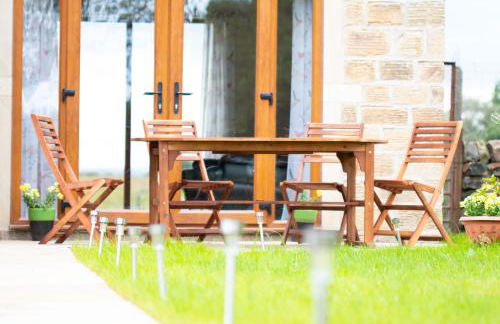
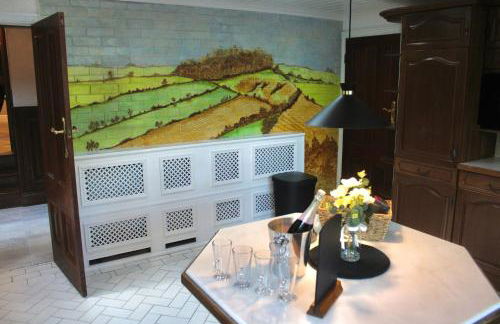
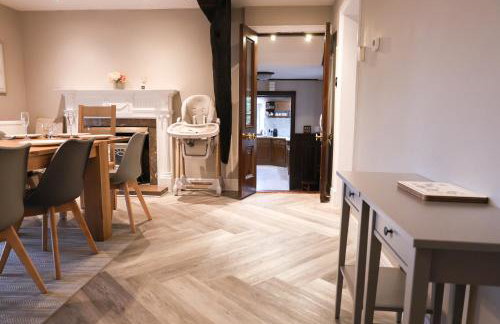
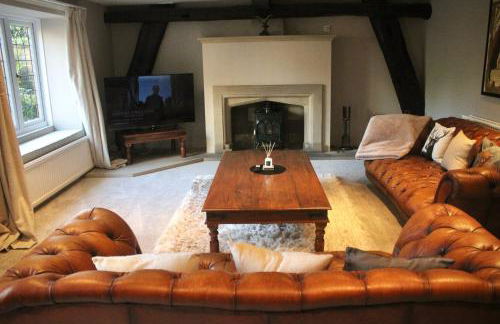
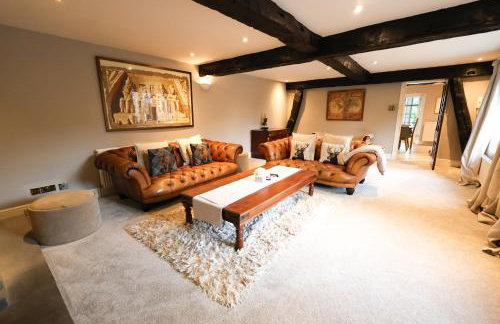
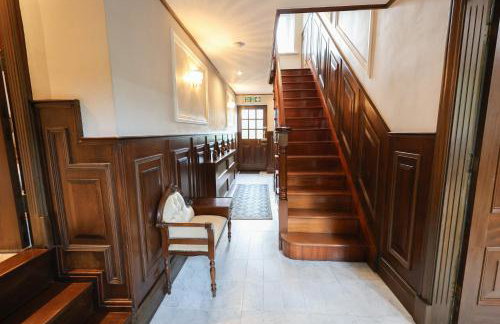
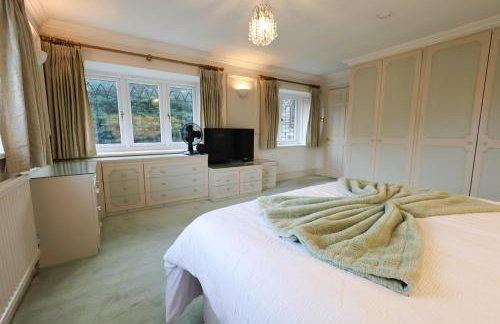
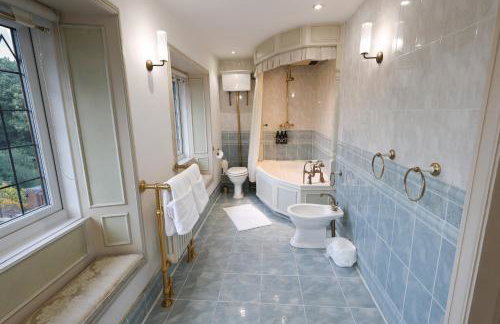
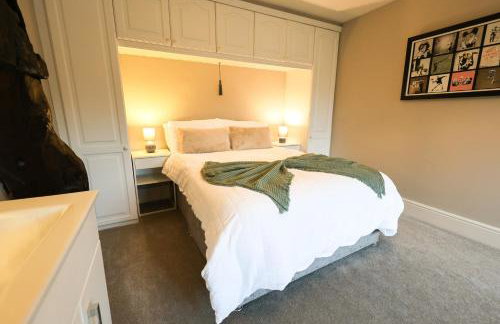
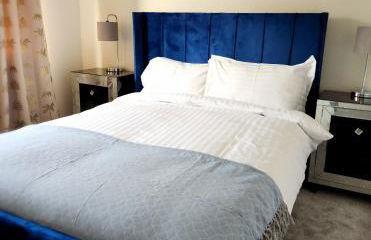
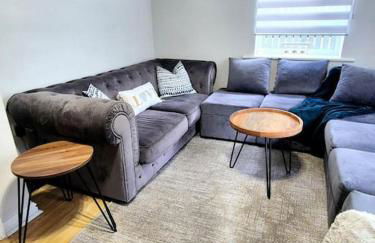
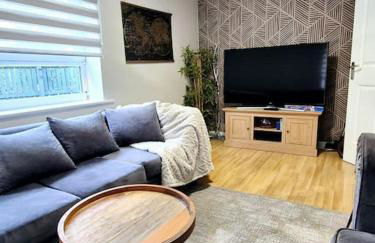
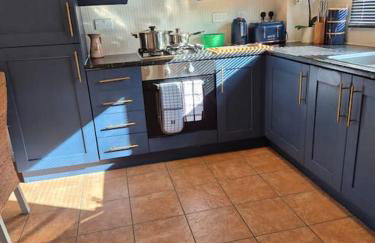
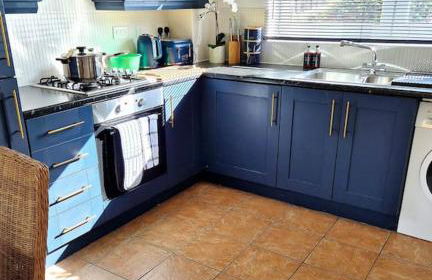
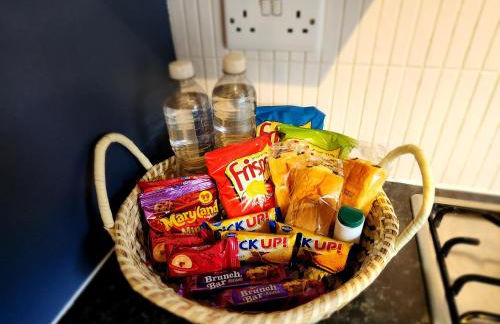
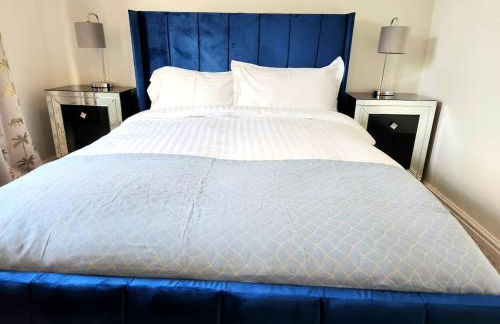
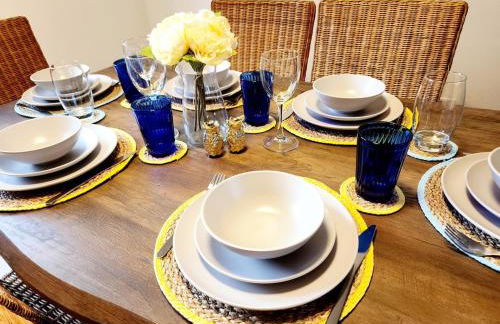
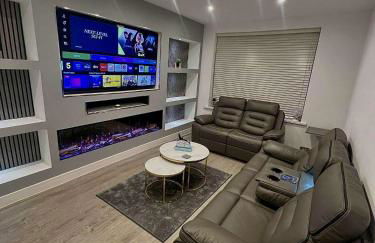
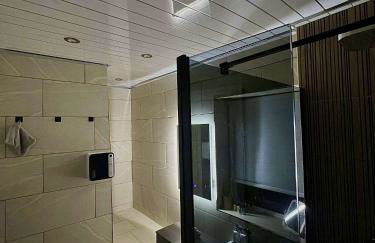
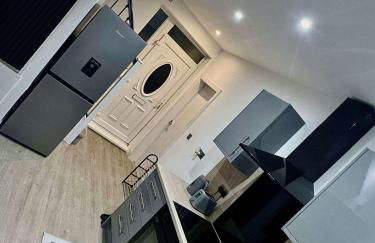
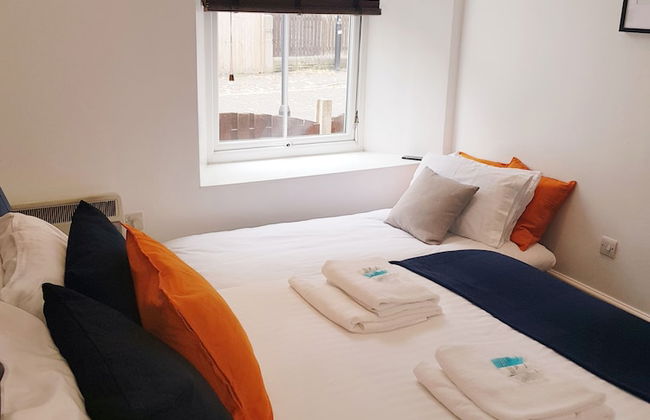
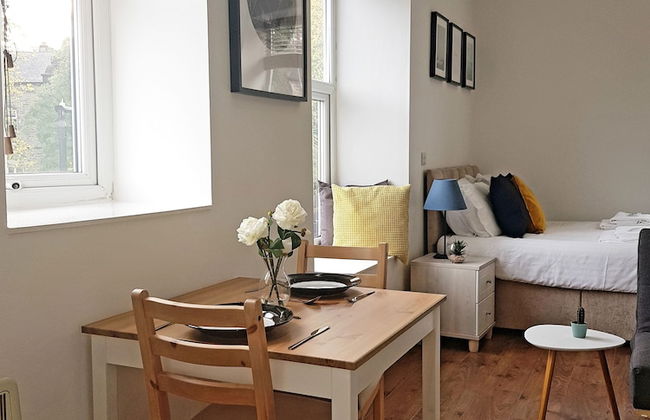
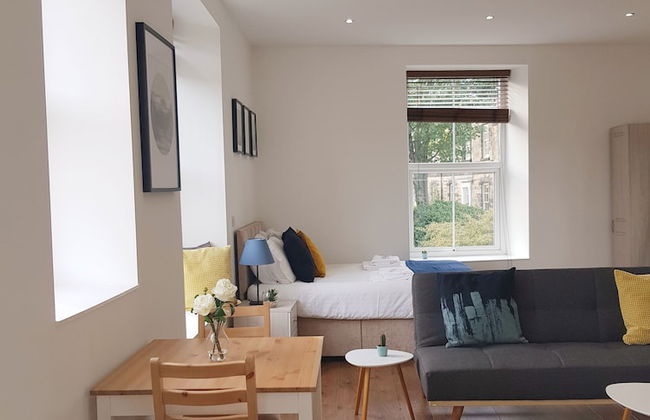
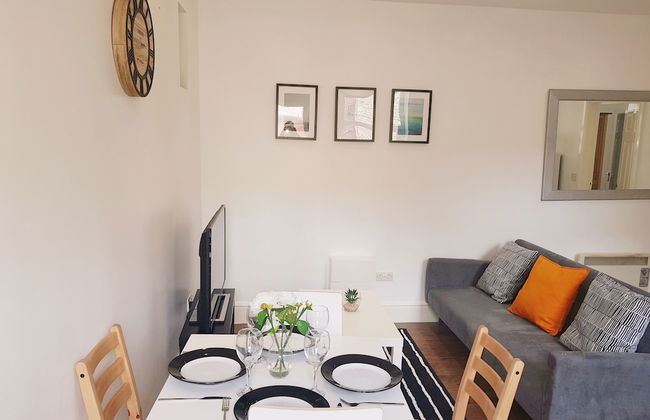
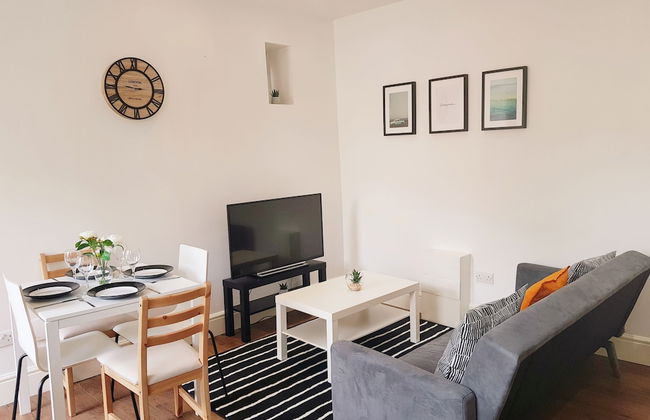
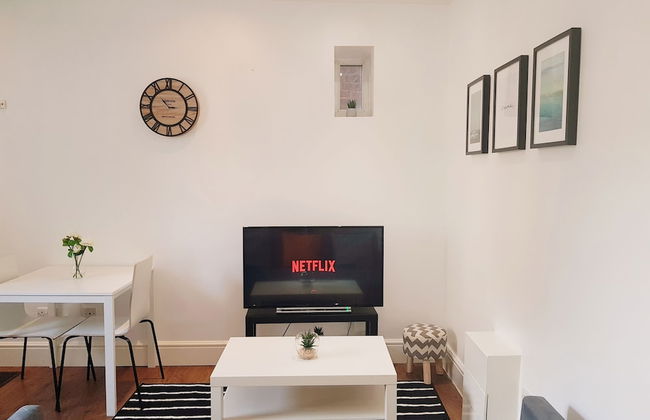
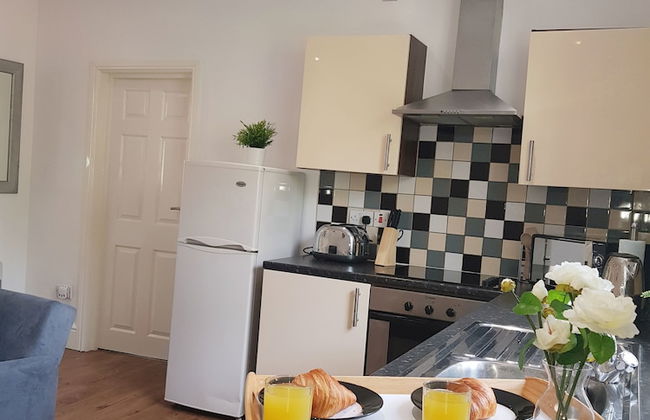
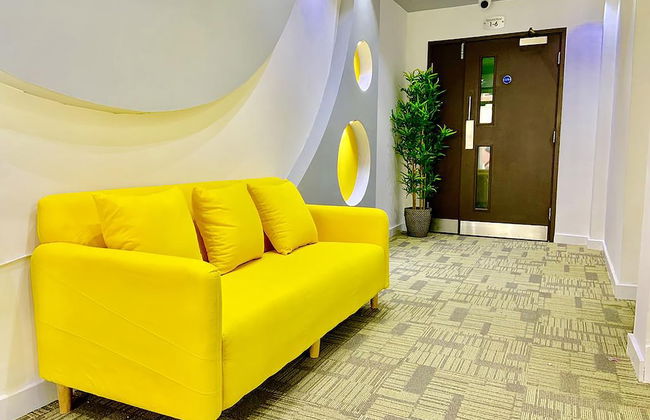
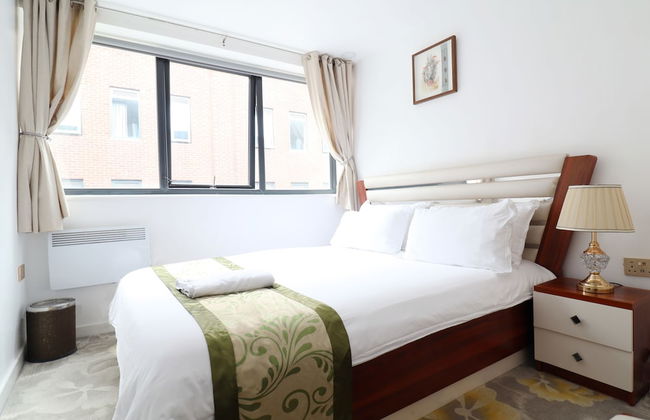
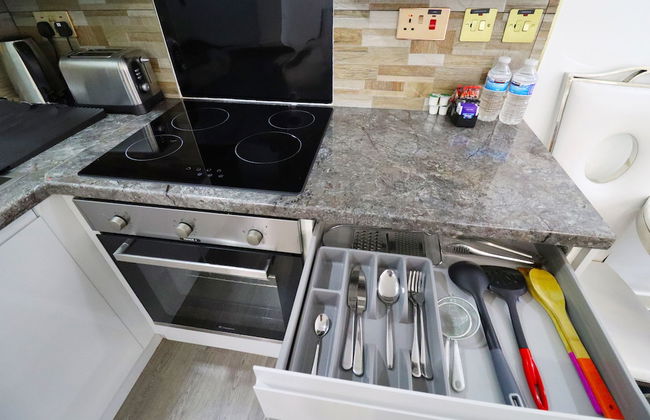
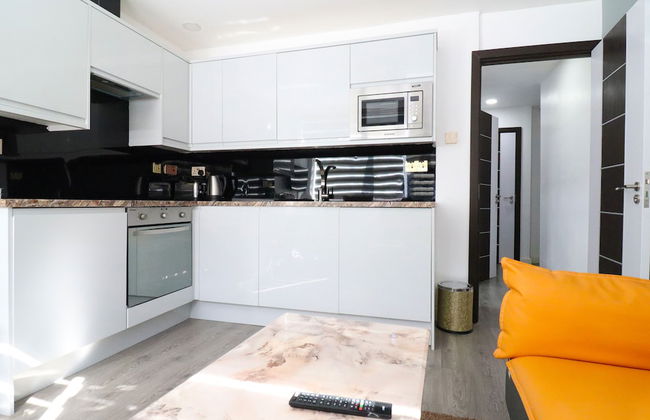
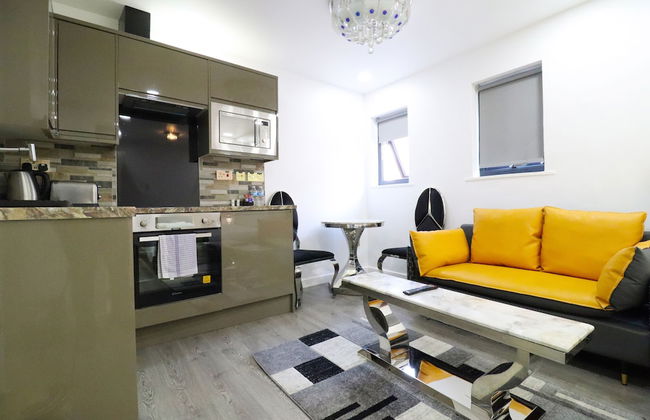
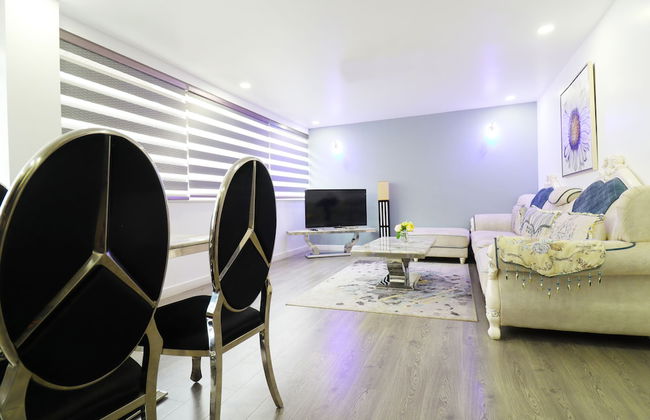
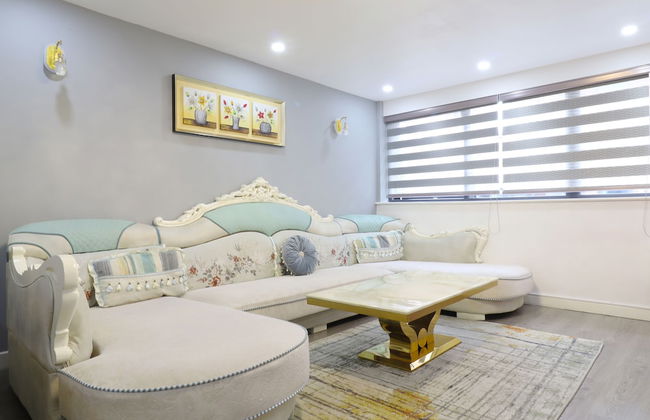
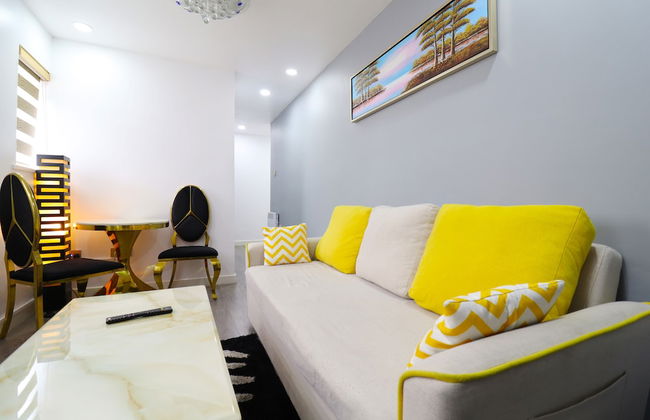
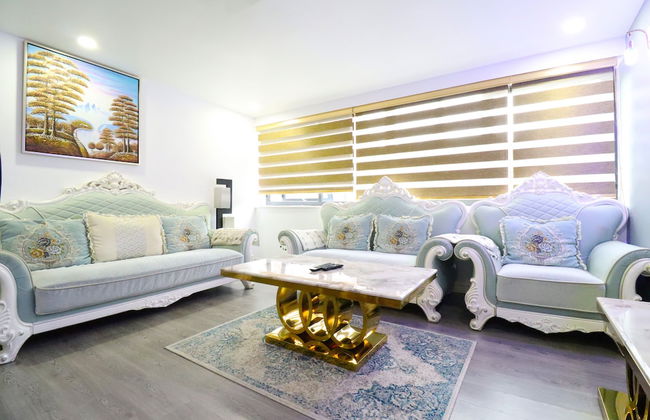
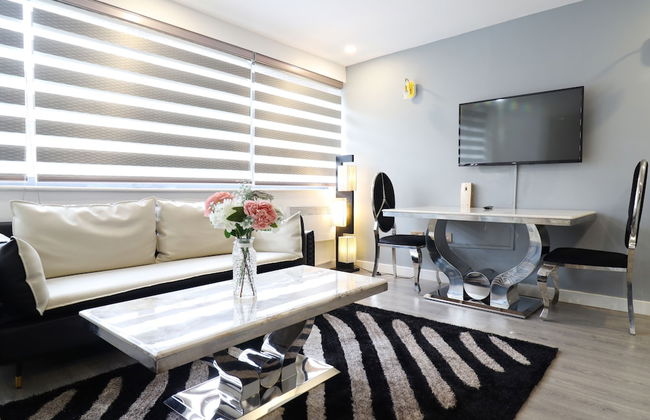
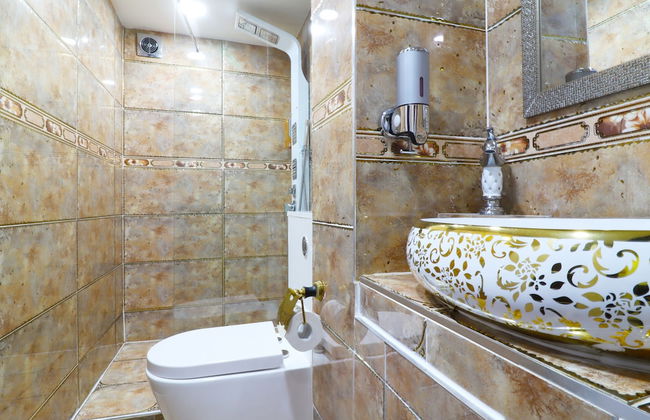
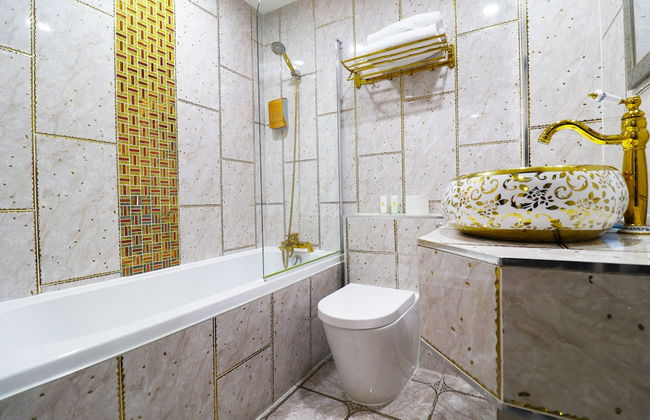
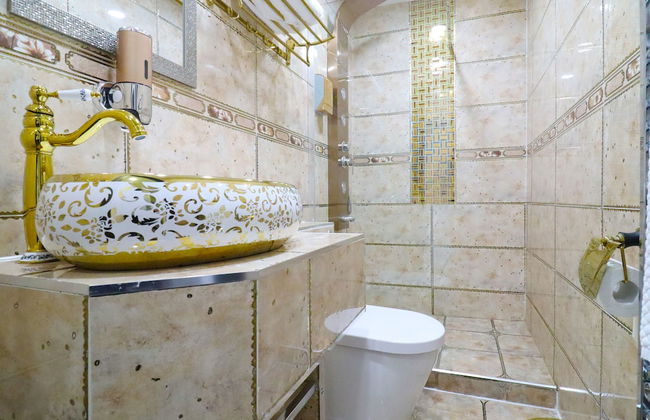
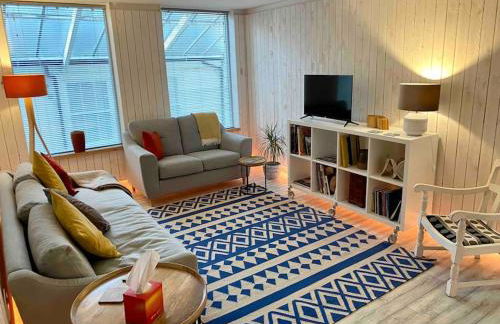
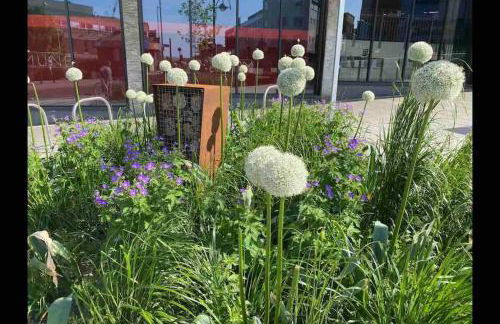
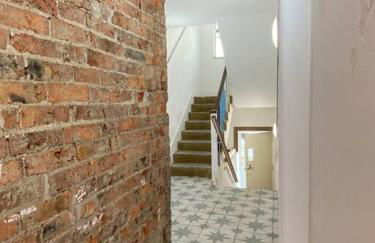
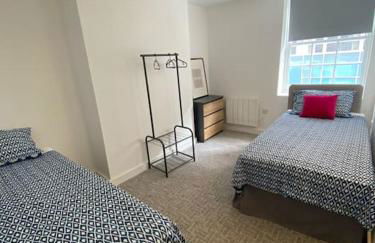
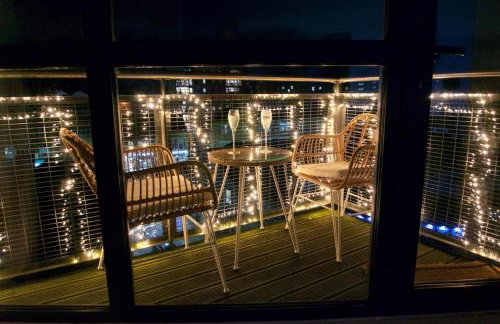
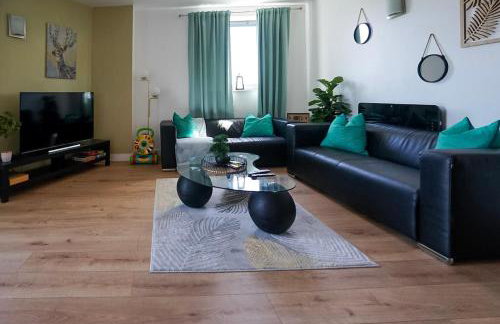
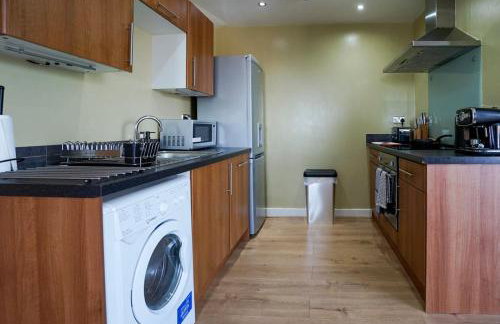
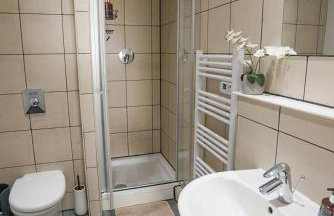
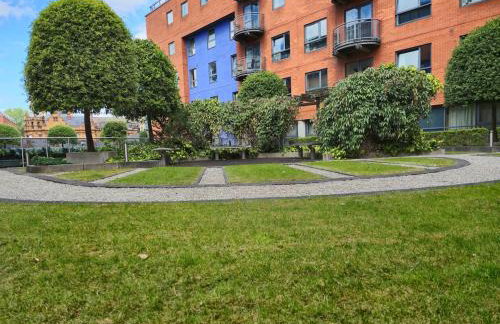
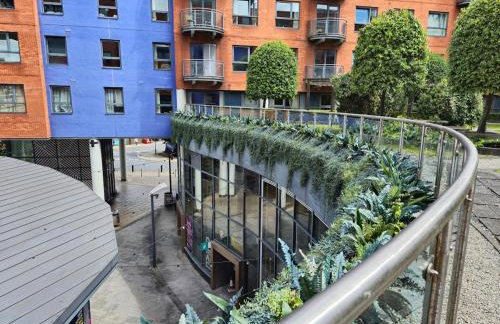
Sheffield 2nd Fl Great City Apartment - Foto 4
Sheffield 2nd Fl Great City Apartment - Foto 5
Sheffield 2nd Fl Great City Apartment - Foto 6
Sheffield 2nd Fl Great City Apartment - Foto 7
Sheffield 2nd Fl Great City Apartment - Foto 8
Sheffield 2nd Fl Great City Apartment - Foto 9
Sheffield 2nd Fl Great City Apartment - Foto 10
Sheffield 2nd Fl Great City Apartment - Foto 11
Sheffield 2nd Fl Great City Apartment - Foto 12
Sheffield 2nd Fl Great City Apartment - Foto 13

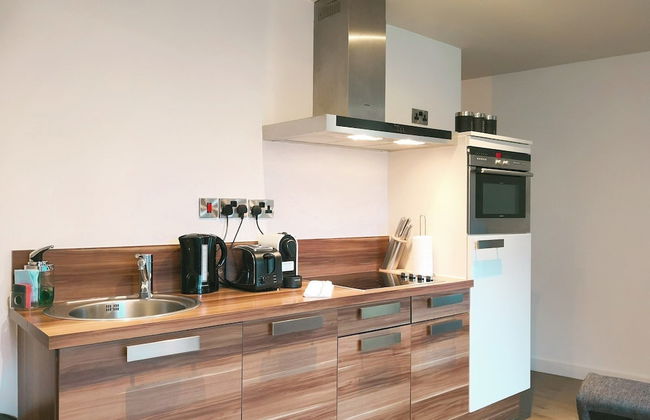
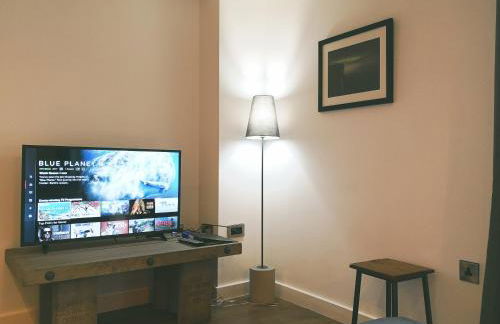
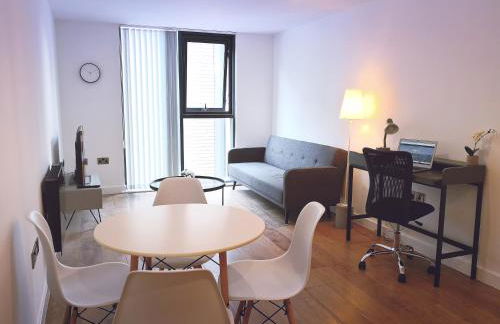
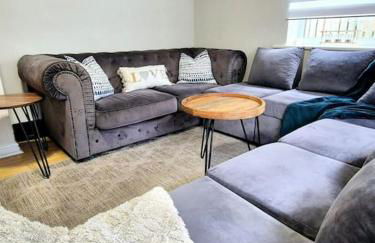
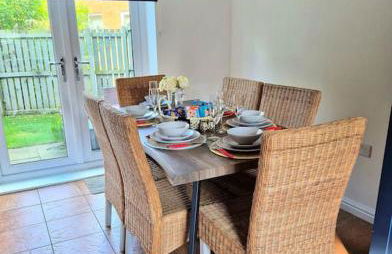
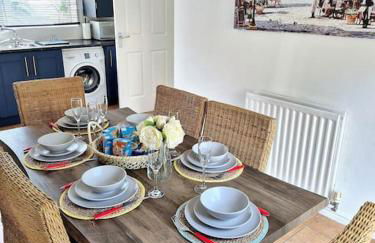
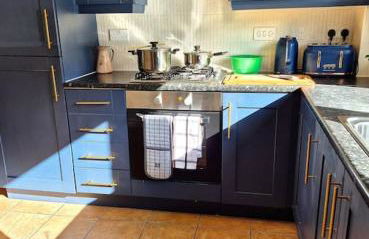
Sheffield 2nd Fl Great City Apartment

Sheffield - Sheffield - En el centro

  • 5 personas
  • Calefacción
  • Toallas
10Magnífico | 35 reseñas
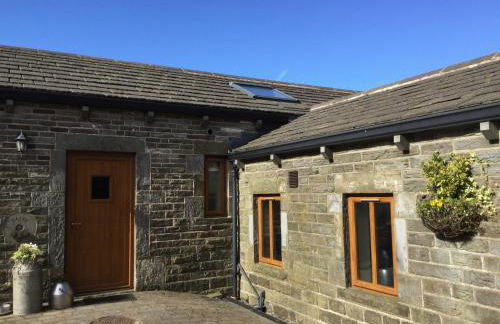
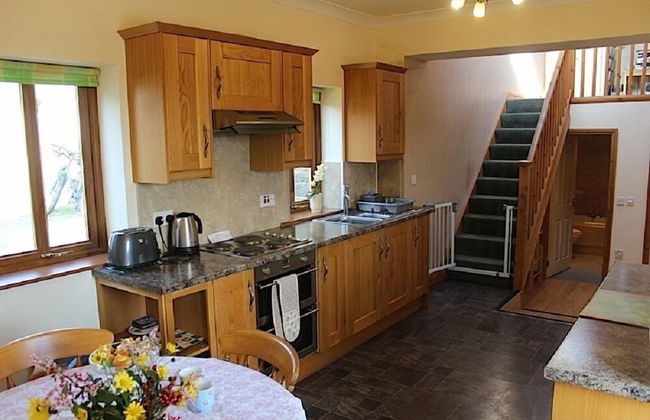
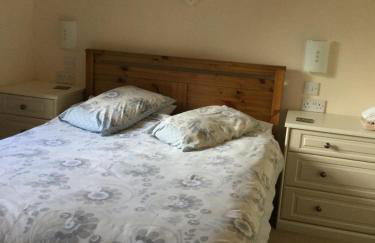
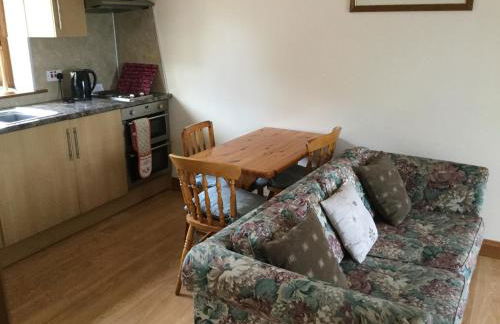
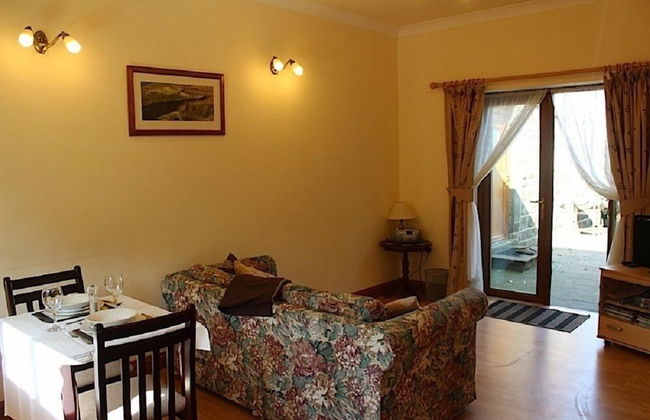
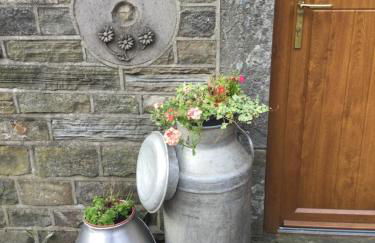
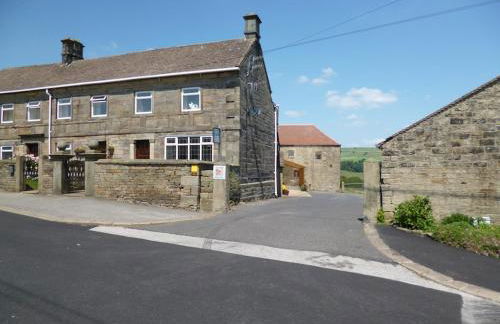
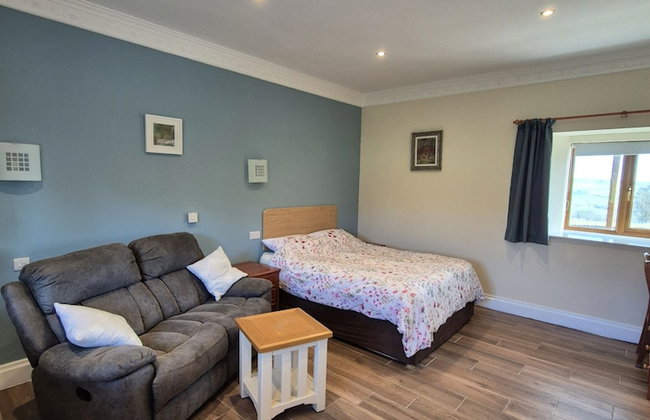
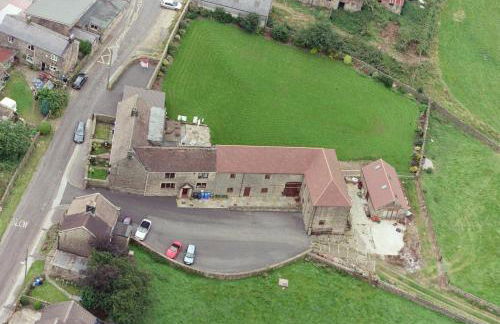
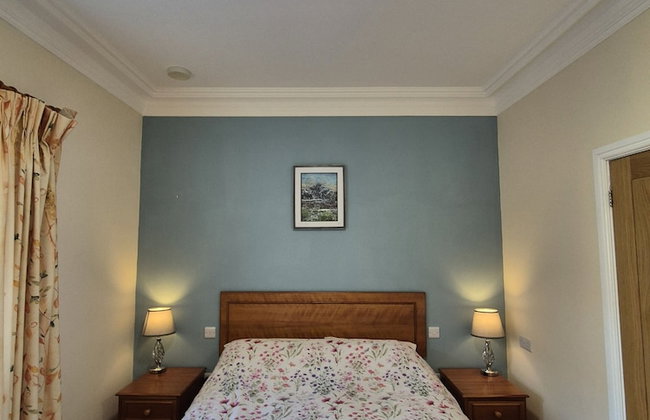
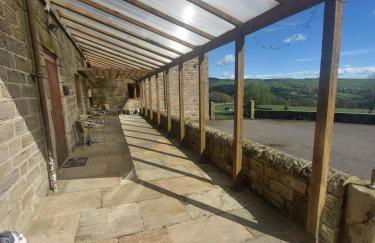
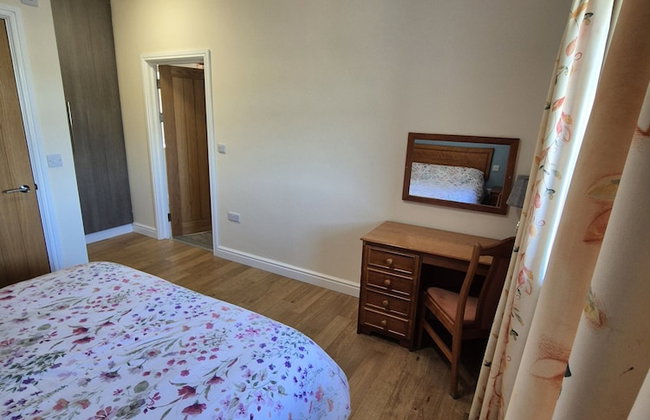
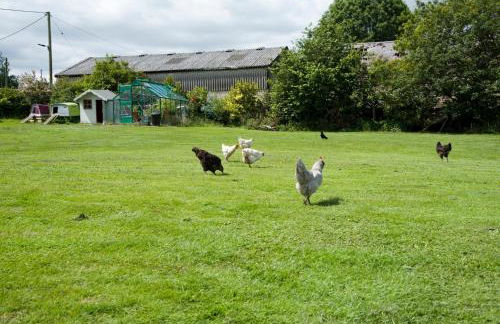
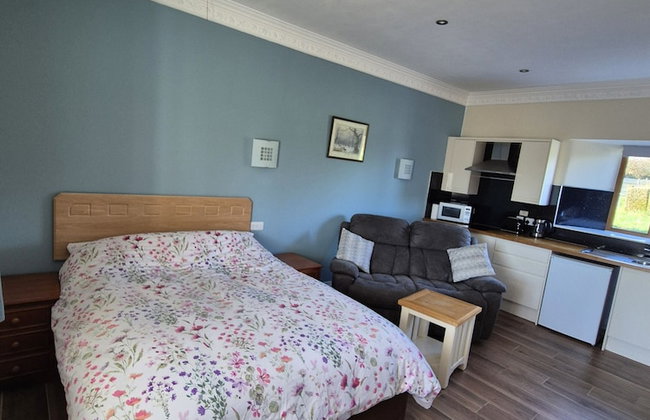
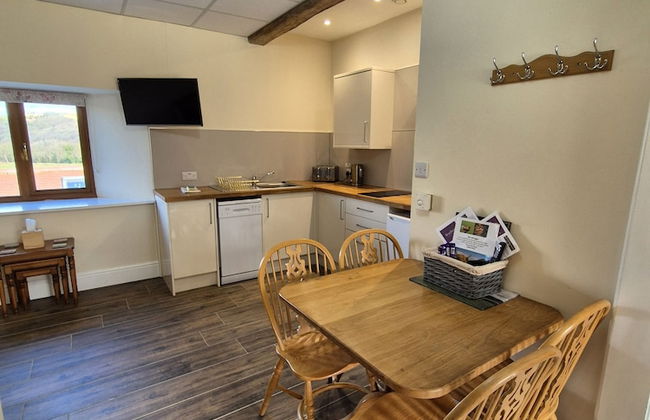
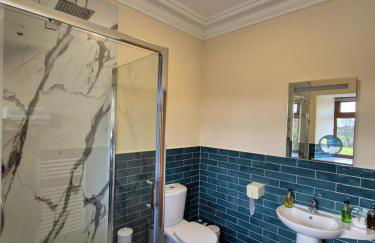
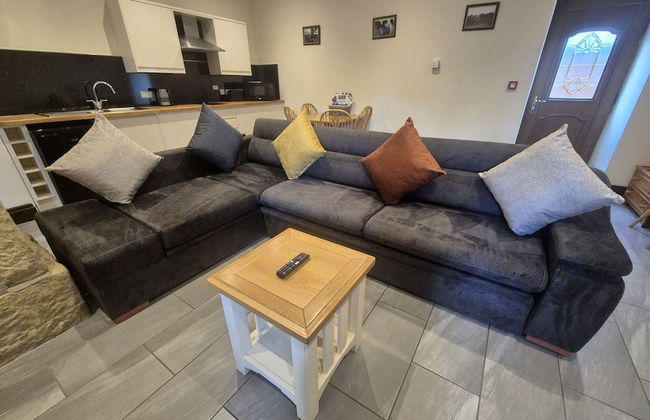
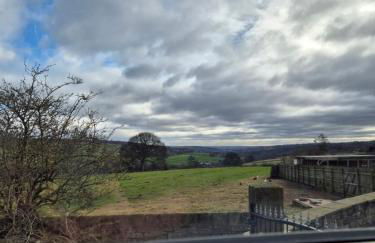
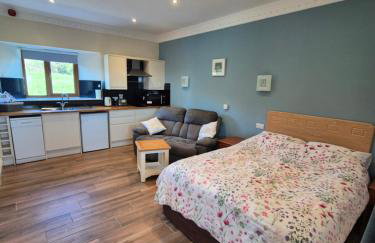
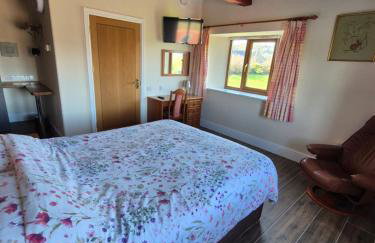
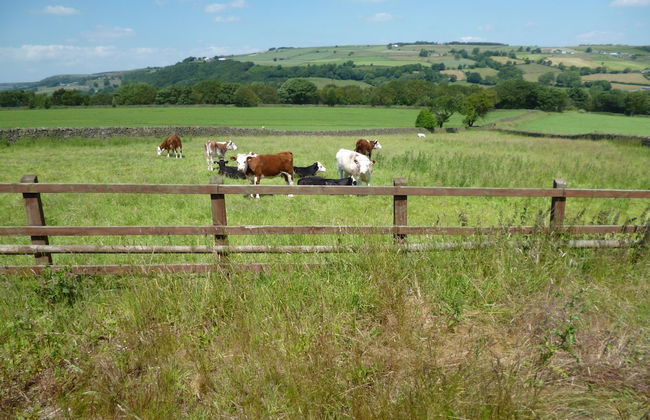
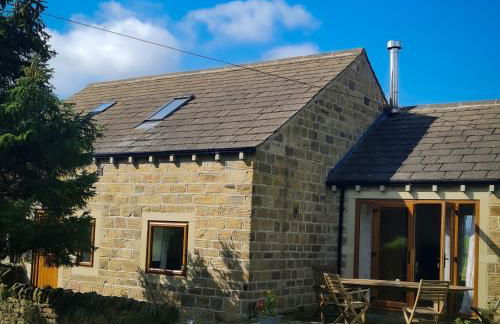
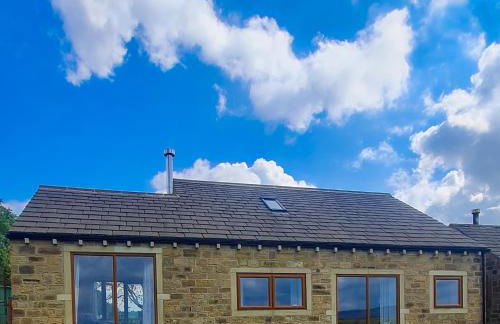
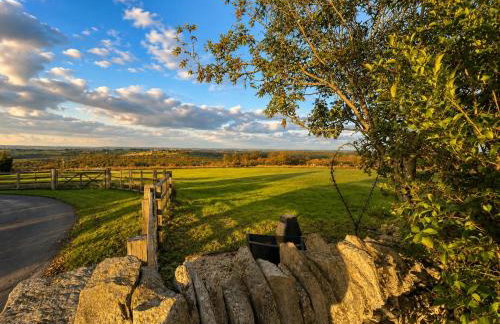
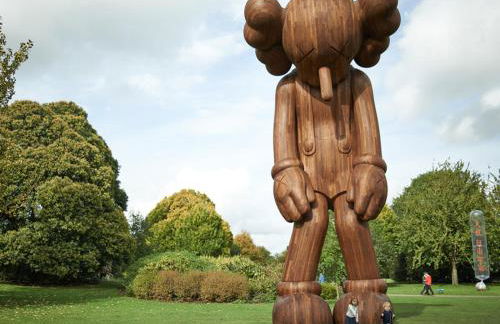
Lazy Daisys Farm Cottages - Foto 1
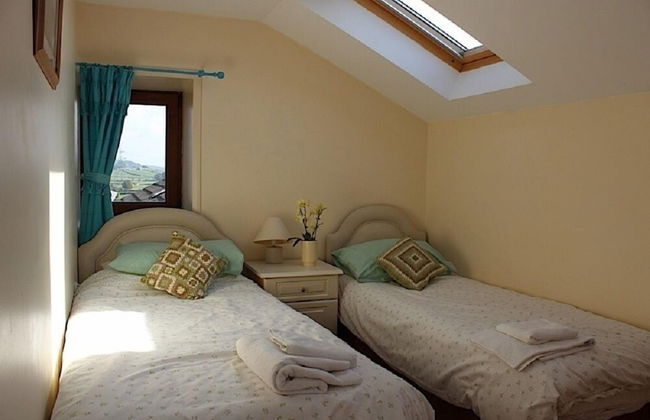
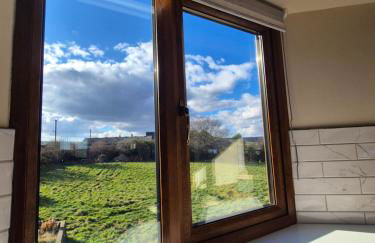
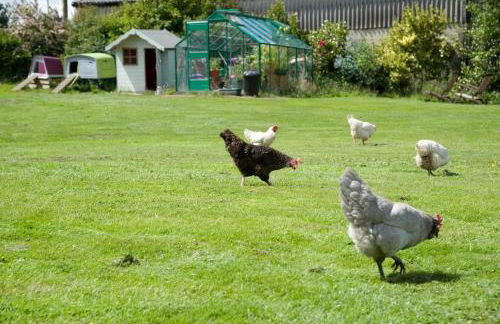
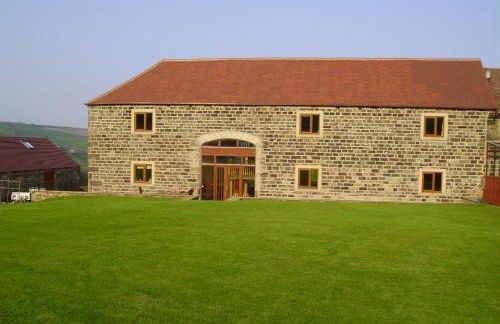
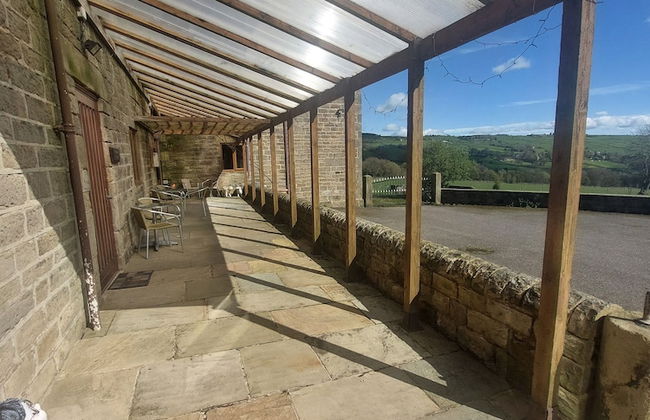
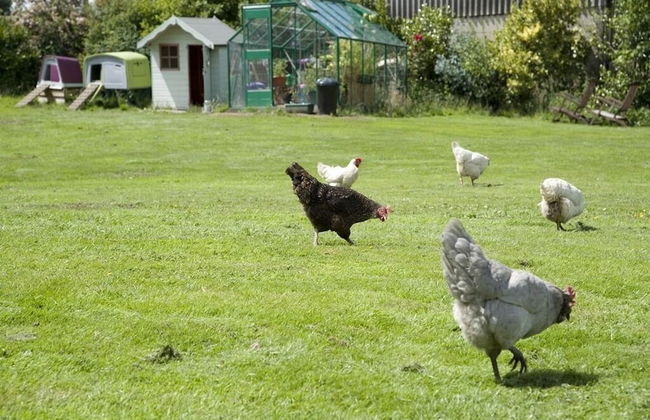
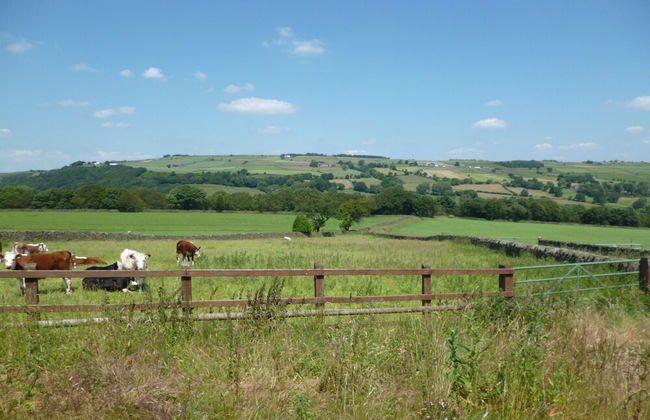
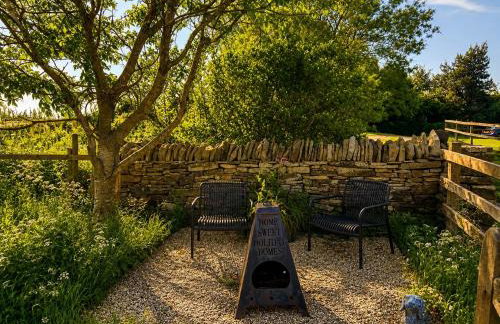
Lazy Daisys Farm Cottages - Foto 2
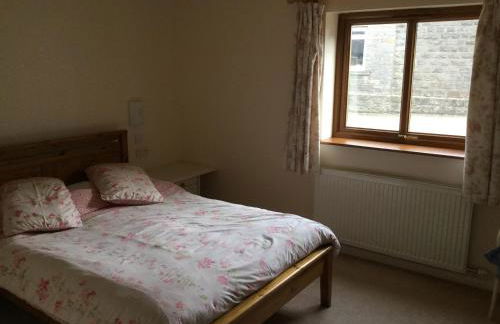
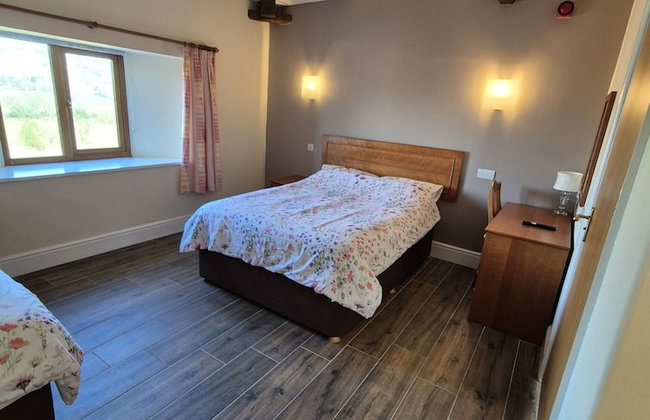
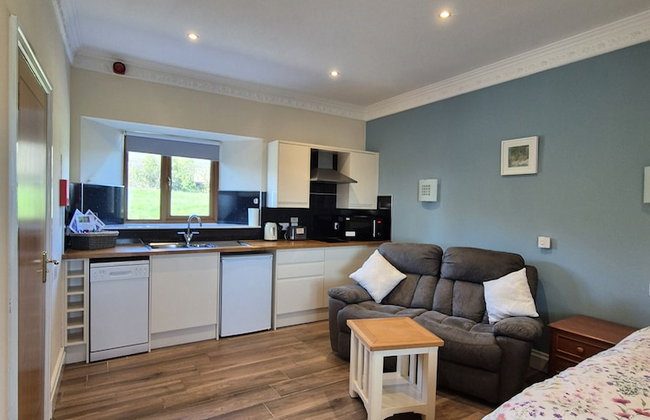
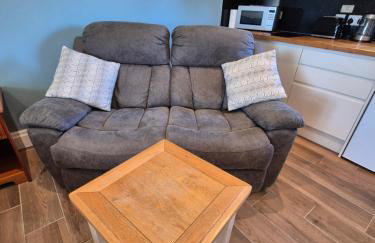
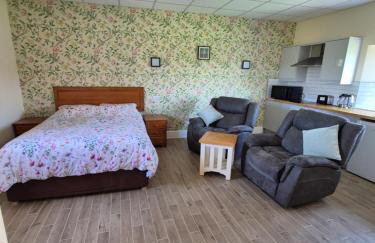
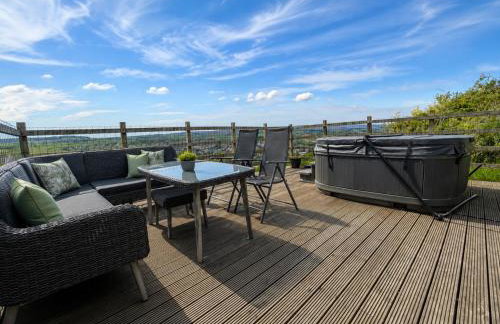
Lazy Daisys Farm Cottages - Foto 3
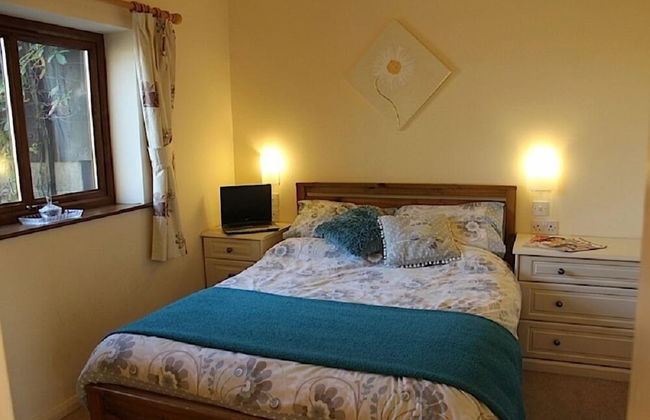
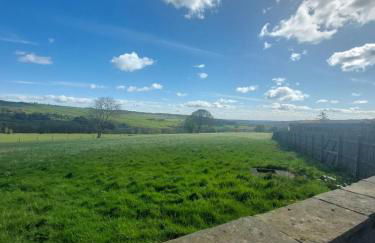
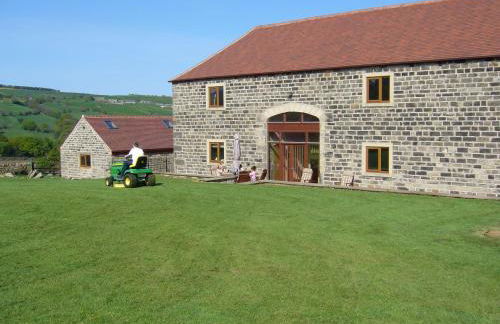
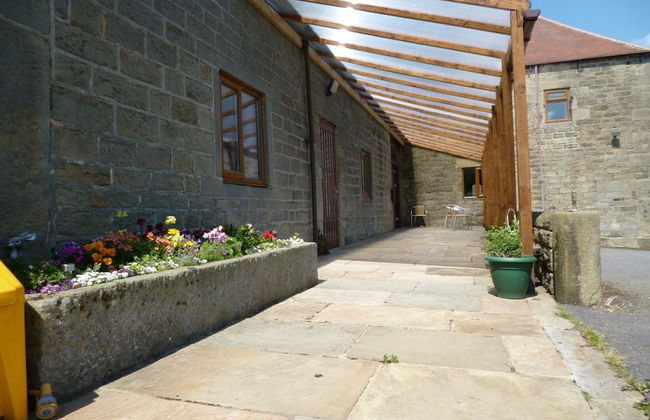
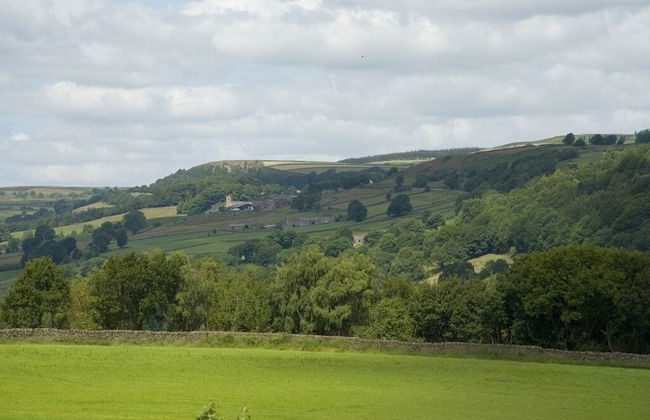
Lazy Daisys Farm Cottages - Foto 4
Lazy Daisys Farm Cottages - Foto 5
Lazy Daisys Farm Cottages - Foto 6
Lazy Daisys Farm Cottages - Foto 7
Lazy Daisys Farm Cottages - Foto 8
Lazy Daisys Farm Cottages - Foto 9
Lazy Daisys Farm Cottages - Foto 10
Lazy Daisys Farm Cottages - Foto 11
Lazy Daisys Farm Cottages - Foto 12
Lazy Daisys Farm Cottages - Foto 13
Lazy Daisys Farm Cottages - Foto 14
Lazy Daisys Farm Cottages - Foto 15
Lazy Daisys Farm Cottages - Foto 16
Lazy Daisys Farm Cottages - Foto 17
Lazy Daisys Farm Cottages - Foto 18
Lazy Daisys Farm Cottages - Foto 19
Lazy Daisys Farm Cottages - Foto 20
Lazy Daisys Farm Cottages - Foto 21
Lazy Daisys Farm Cottages - Foto 22
Lazy Daisys Farm Cottages - Foto 23
Lazy Daisys Farm Cottages - Foto 24
Lazy Daisys Farm Cottages - Foto 25
Lazy Daisys Farm Cottages - Foto 26
Lazy Daisys Farm Cottages - Foto 27
Lazy Daisys Farm Cottages - Foto 28
Lazy Daisys Farm Cottages - Foto 29

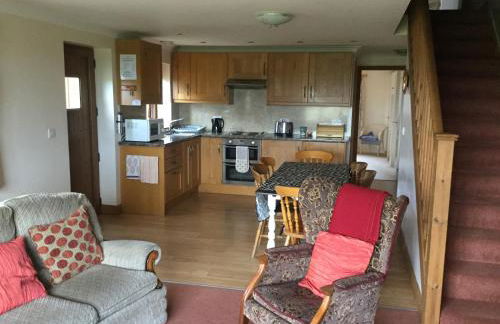
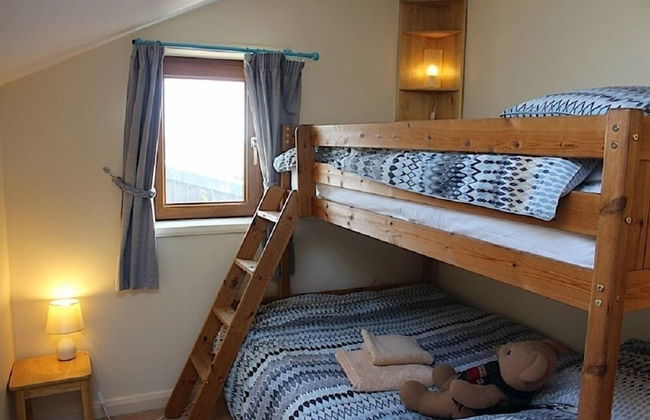
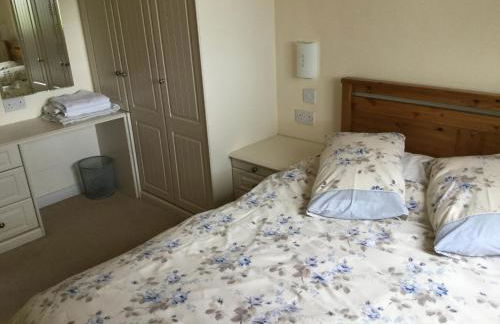
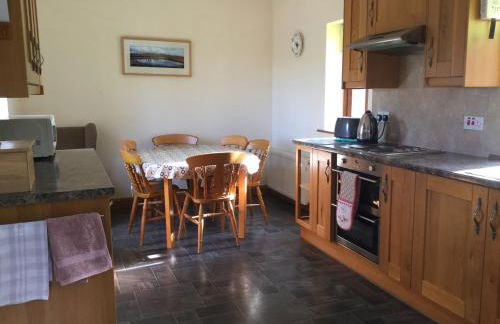
Lazy Daisys Farm Cottages

Sheffield - Sheffield - A 20.2 km del centro

  • 15 M2
  • 3 habitaciones
  • 7 personas
  • Calefacción
  • Terraza
  • Parking
  • Televisión
  • Lavadora
  • Barbacoa
  • Toallas
  • Sábanas
9.4Excepcional | 48 reseñas
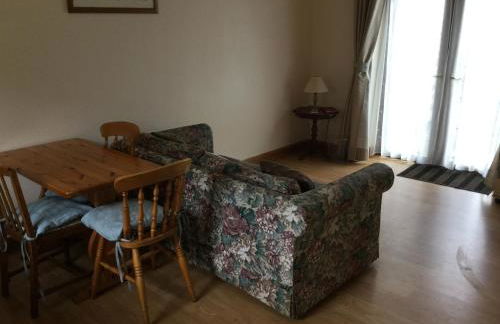
KSpace Serviced Apartments West One - Foto 1
KSpace Serviced Apartments West One - Foto 2
KSpace Serviced Apartments West One - Foto 3
KSpace Serviced Apartments West One - Foto 4
KSpace Serviced Apartments West One - Foto 5
KSpace Serviced Apartments West One - Foto 6
KSpace Serviced Apartments West One - Foto 7
KSpace Serviced Apartments West One - Foto 8
KSpace Serviced Apartments West One - Foto 9
KSpace Serviced Apartments West One - Foto 10
KSpace Serviced Apartments West One - Foto 11
KSpace Serviced Apartments West One - Foto 12
KSpace Serviced Apartments West One - Foto 13
KSpace Serviced Apartments West One - Foto 14
KSpace Serviced Apartments West One - Foto 15
KSpace Serviced Apartments West One - Foto 16
KSpace Serviced Apartments West One - Foto 17
KSpace Serviced Apartments West One - Foto 18
KSpace Serviced Apartments West One - Foto 19
KSpace Serviced Apartments West One - Foto 20
KSpace Serviced Apartments West One - Foto 21
KSpace Serviced Apartments West One - Foto 22
KSpace Serviced Apartments West One - Foto 23
KSpace Serviced Apartments West One - Foto 24
KSpace Serviced Apartments West One - Foto 25
KSpace Serviced Apartments West One - Foto 26
KSpace Serviced Apartments West One - Foto 27

KSpace Serviced Apartments West One

Sheffield - Sheffield - A 640 m del centro

  • 4 personas
  • Calefacción
  • Terraza
  • Parking
  • Ascensor
  • Jardín
  • Televisión
  • Lavadora
  • Toallas
  • Sábanas
9Excepcional | 32 reseñas
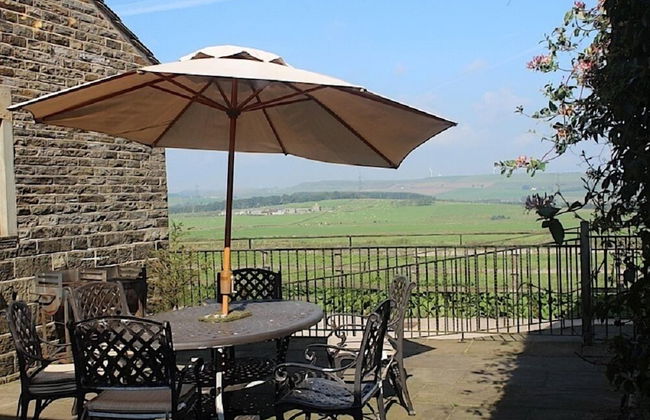
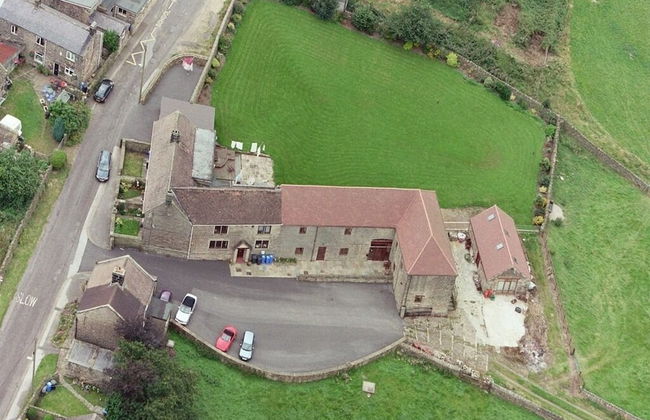
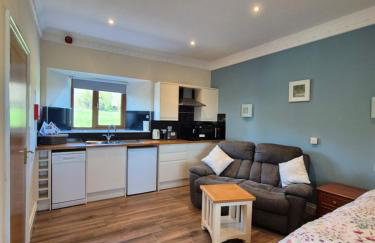
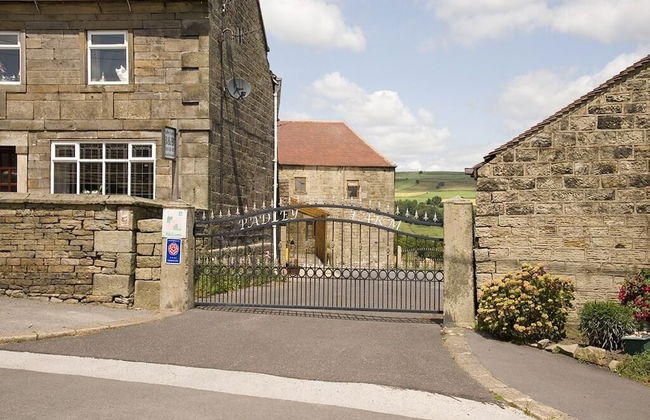
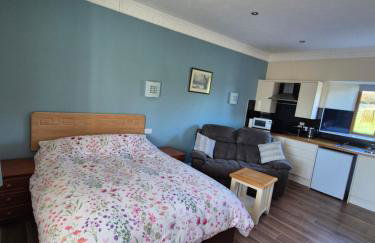
Padley Farm - Foto 1
Padley Farm - Foto 2
Padley Farm - Foto 3
Padley Farm - Foto 4
Padley Farm - Foto 5
Padley Farm - Foto 6
Padley Farm - Foto 7
Padley Farm - Foto 8
Padley Farm - Foto 9
Padley Farm - Foto 10
Padley Farm - Foto 11
Padley Farm - Foto 12
Padley Farm - Foto 13
Padley Farm - Foto 14
Padley Farm - Foto 15
Padley Farm - Foto 16
Padley Farm - Foto 17
Padley Farm - Foto 18
Padley Farm - Foto 19
Padley Farm - Foto 20
Padley Farm - Foto 21
Padley Farm - Foto 22
Padley Farm - Foto 23
Padley Farm - Foto 24
Padley Farm - Foto 25
Padley Farm - Foto 26
Padley Farm - Foto 27
Padley Farm - Foto 28
Padley Farm - Foto 29
Padley Farm - Foto 30
Padley Farm - Foto 31
Padley Farm - Foto 32
Padley Farm - Foto 33
Padley Farm - Foto 34
Padley Farm - Foto 35
Padley Farm - Foto 36
Padley Farm - Foto 37
Padley Farm - Foto 38
Padley Farm - Foto 39
Padley Farm - Foto 40
Padley Farm - Foto 41
Padley Farm - Foto 42
Padley Farm - Foto 43
Padley Farm - Foto 44
Padley Farm - Foto 45
Padley Farm - Foto 46
Padley Farm - Foto 47
Padley Farm - Foto 48
Padley Farm - Foto 49
Padley Farm - Foto 50
Padley Farm - Foto 51
Padley Farm - Foto 52
Padley Farm - Foto 53
Padley Farm - Foto 54
Padley Farm - Foto 55
Padley Farm - Foto 56
Padley Farm - Foto 57
Padley Farm - Foto 58
Padley Farm - Foto 59
Padley Farm - Foto 60
Padley Farm - Foto 61
Padley Farm - Foto 62
Padley Farm - Foto 63
Padley Farm - Foto 64
Padley Farm - Foto 65
Padley Farm - Foto 66
Padley Farm - Foto 67
Padley Farm - Foto 68
Padley Farm - Foto 69
Padley Farm - Foto 70
Padley Farm - Foto 71
Padley Farm - Foto 72
Padley Farm - Foto 73
Padley Farm - Foto 74
Padley Farm - Foto 75
Padley Farm - Foto 76
Padley Farm - Foto 77
Padley Farm - Foto 78
Padley Farm - Foto 79
Padley Farm - Foto 80
Padley Farm - Foto 81
Padley Farm - Foto 82
Padley Farm - Foto 83
Padley Farm - Foto 84
Padley Farm - Foto 85
Padley Farm - Foto 86
Padley Farm - Foto 87
Padley Farm - Foto 88
Padley Farm - Foto 89
Padley Farm - Foto 90
Padley Farm - Foto 91
Padley Farm - Foto 92
Padley Farm - Foto 93
Padley Farm - Foto 94
Padley Farm - Foto 95
Padley Farm - Foto 96
Padley Farm - Foto 97
Padley Farm - Foto 98
Padley Farm - Foto 99
Padley Farm - Foto 100
Padley Farm - Foto 101
Padley Farm - Foto 102
Padley Farm - Foto 103
Padley Farm - Foto 104
Padley Farm - Foto 105
Padley Farm - Foto 106
Padley Farm - Foto 107
Padley Farm - Foto 108
Padley Farm - Foto 109
Padley Farm - Foto 110
Padley Farm - Foto 111
Padley Farm - Foto 112
Padley Farm - Foto 113
Padley Farm - Foto 114
Padley Farm - Foto 115
Padley Farm - Foto 116
Padley Farm - Foto 117
Padley Farm - Foto 118
Padley Farm - Foto 119
Padley Farm - Foto 120
Padley Farm - Foto 121
Padley Farm - Foto 122
Padley Farm - Foto 123
Padley Farm - Foto 124
Padley Farm - Foto 125
Padley Farm - Foto 126
Padley Farm - Foto 127
Padley Farm - Foto 128
Padley Farm - Foto 129
Padley Farm - Foto 130
Padley Farm - Foto 131
Padley Farm - Foto 132
Padley Farm - Foto 133
Padley Farm - Foto 134
Padley Farm - Foto 135
Padley Farm - Foto 136
Padley Farm - Foto 137
Padley Farm - Foto 138
Padley Farm - Foto 139
Padley Farm - Foto 140
Padley Farm - Foto 141
Padley Farm - Foto 142
Padley Farm - Foto 143
Padley Farm - Foto 144
Padley Farm - Foto 145
Padley Farm - Foto 146
Padley Farm - Foto 147
Padley Farm - Foto 148
Padley Farm - Foto 149
Padley Farm - Foto 150
Padley Farm - Foto 151
Padley Farm - Foto 152

Padley Farm

Sheffield - Sheffield - A 7.5 km del centro

  • 90 M2
  • 2 habitaciones
  • 6 personas
  • Cocina pequeña
  • Calefacción
  • Parking
  • Jardín
  • Televisión
  • Toallas
  • Sábanas
9.6Excepcional | 129 reseñas
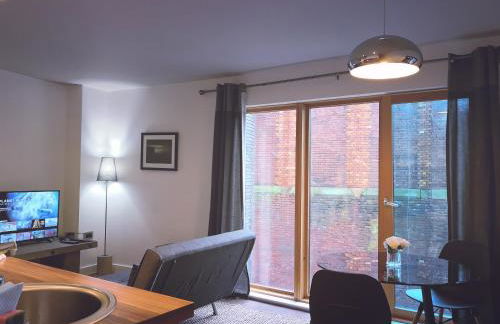
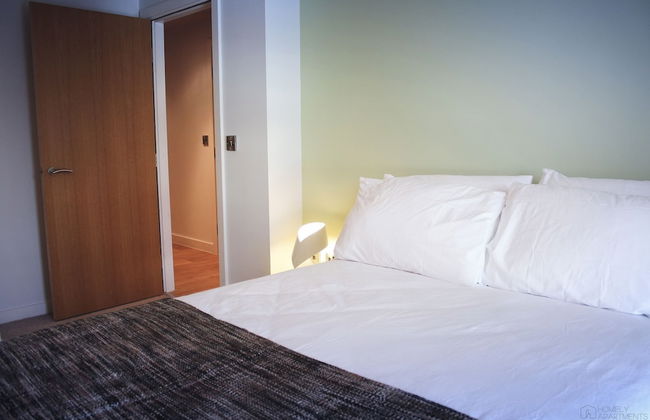
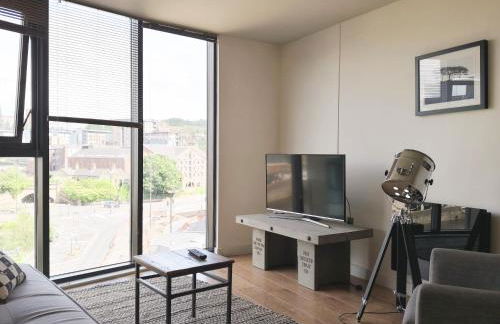
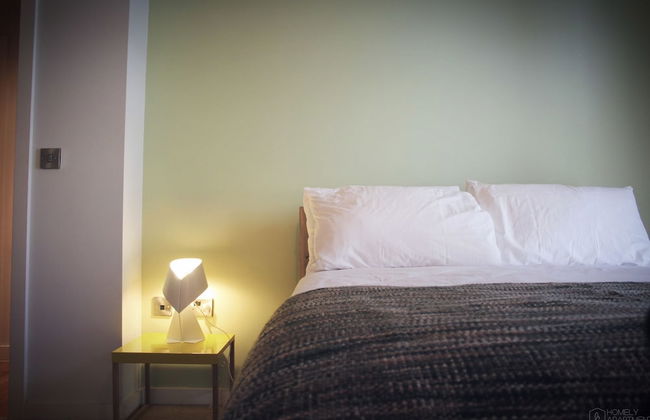
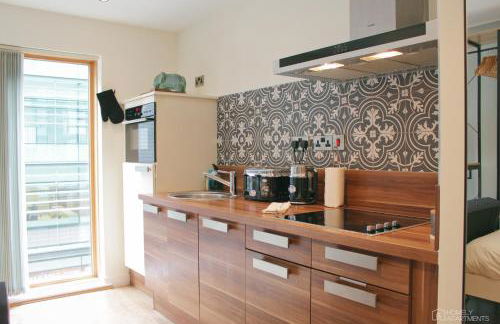
Homely Serviced Apartments - Blonk St - Foto 1
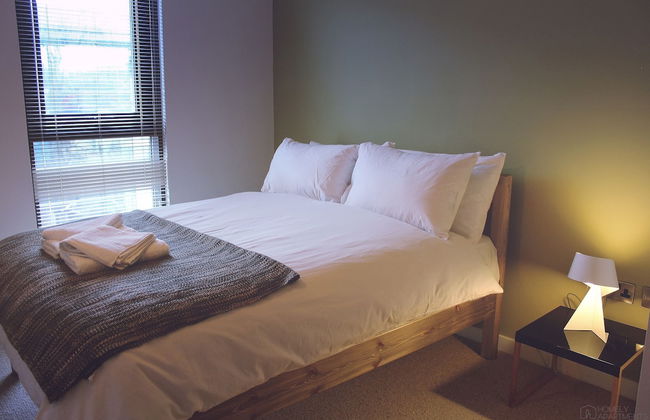
Homely Serviced Apartments - Blonk St - Foto 2
Homely Serviced Apartments - Blonk St - Foto 3
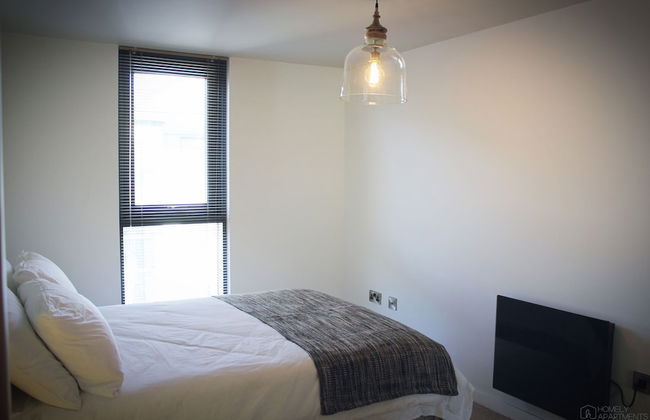
Homely Serviced Apartments - Blonk St - Foto 4
Homely Serviced Apartments - Blonk St - Foto 5
Homely Serviced Apartments - Blonk St - Foto 6
Homely Serviced Apartments - Blonk St - Foto 7
Homely Serviced Apartments - Blonk St - Foto 8
Homely Serviced Apartments - Blonk St - Foto 9
Homely Serviced Apartments - Blonk St - Foto 10
Homely Serviced Apartments - Blonk St - Foto 11
Homely Serviced Apartments - Blonk St - Foto 12
Homely Serviced Apartments - Blonk St - Foto 13
Homely Serviced Apartments - Blonk St - Foto 14
Homely Serviced Apartments - Blonk St - Foto 15
Homely Serviced Apartments - Blonk St - Foto 16
Homely Serviced Apartments - Blonk St - Foto 17
Homely Serviced Apartments - Blonk St - Foto 18
Homely Serviced Apartments - Blonk St - Foto 19
Homely Serviced Apartments - Blonk St - Foto 20
Homely Serviced Apartments - Blonk St - Foto 21
Homely Serviced Apartments - Blonk St - Foto 22
Homely Serviced Apartments - Blonk St - Foto 23
Homely Serviced Apartments - Blonk St - Foto 24
Homely Serviced Apartments - Blonk St - Foto 25
Homely Serviced Apartments - Blonk St - Foto 26
Homely Serviced Apartments - Blonk St - Foto 27
Homely Serviced Apartments - Blonk St - Foto 28
Homely Serviced Apartments - Blonk St - Foto 29
Homely Serviced Apartments - Blonk St - Foto 30
Homely Serviced Apartments - Blonk St - Foto 31
Homely Serviced Apartments - Blonk St - Foto 32
Homely Serviced Apartments - Blonk St - Foto 33
Homely Serviced Apartments - Blonk St - Foto 34
Homely Serviced Apartments - Blonk St - Foto 35
Homely Serviced Apartments - Blonk St - Foto 36
Homely Serviced Apartments - Blonk St - Foto 37
Homely Serviced Apartments - Blonk St - Foto 38
Homely Serviced Apartments - Blonk St - Foto 39
Homely Serviced Apartments - Blonk St - Foto 40
Homely Serviced Apartments - Blonk St - Foto 41
Homely Serviced Apartments - Blonk St - Foto 42
Homely Serviced Apartments - Blonk St - Foto 43
Homely Serviced Apartments - Blonk St - Foto 44
Homely Serviced Apartments - Blonk St - Foto 45
Homely Serviced Apartments - Blonk St - Foto 46
Homely Serviced Apartments - Blonk St - Foto 47
Homely Serviced Apartments - Blonk St - Foto 48
Homely Serviced Apartments - Blonk St - Foto 49
Homely Serviced Apartments - Blonk St - Foto 50
Homely Serviced Apartments - Blonk St - Foto 51
Homely Serviced Apartments - Blonk St - Foto 52
Homely Serviced Apartments - Blonk St - Foto 53
Homely Serviced Apartments - Blonk St - Foto 54
Homely Serviced Apartments - Blonk St - Foto 55
Homely Serviced Apartments - Blonk St - Foto 56
Homely Serviced Apartments - Blonk St - Foto 57
Homely Serviced Apartments - Blonk St - Foto 58
Homely Serviced Apartments - Blonk St - Foto 59
Homely Serviced Apartments - Blonk St - Foto 60
Homely Serviced Apartments - Blonk St - Foto 61
Homely Serviced Apartments - Blonk St - Foto 62
Homely Serviced Apartments - Blonk St - Foto 63
Homely Serviced Apartments - Blonk St - Foto 64
Homely Serviced Apartments - Blonk St - Foto 65
Homely Serviced Apartments - Blonk St - Foto 66
Homely Serviced Apartments - Blonk St - Foto 67
Homely Serviced Apartments - Blonk St - Foto 68
Homely Serviced Apartments - Blonk St - Foto 69
Homely Serviced Apartments - Blonk St - Foto 70
Homely Serviced Apartments - Blonk St - Foto 71
Homely Serviced Apartments - Blonk St - Foto 72
Homely Serviced Apartments - Blonk St - Foto 73
Homely Serviced Apartments - Blonk St - Foto 74
Homely Serviced Apartments - Blonk St - Foto 75
Homely Serviced Apartments - Blonk St - Foto 76
Homely Serviced Apartments - Blonk St - Foto 77
Homely Serviced Apartments - Blonk St - Foto 78
Homely Serviced Apartments - Blonk St - Foto 79

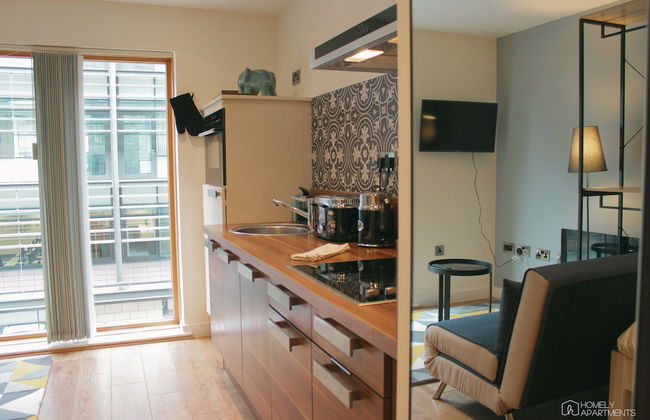
Homely Serviced Apartments - Blonk St

Sheffield - Sheffield - En el centro

  • 60 M2
  • 2 habitaciones
  • 4 personas
  • Calefacción
  • Ascensor
  • Televisión
  • Lavadora
  • Toallas
  • Sábanas
9.2Excepcional | 14 reseñas
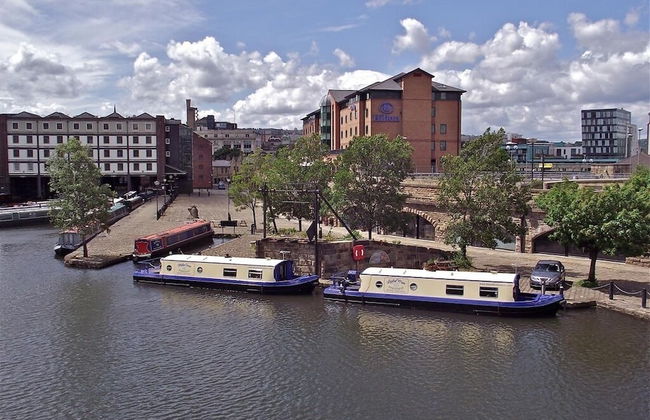
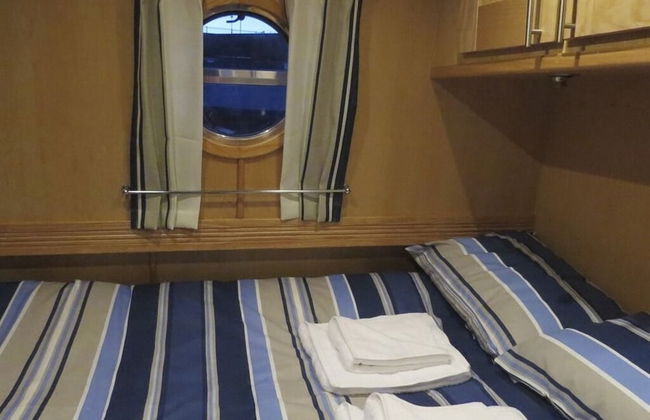
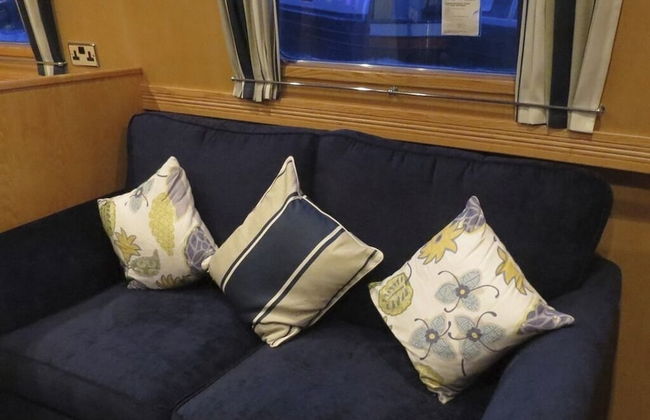
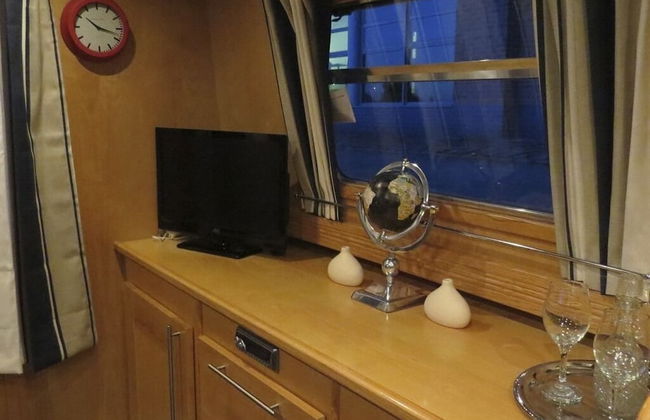
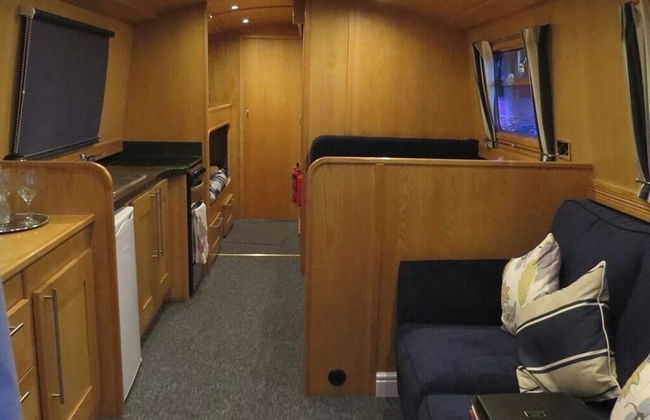
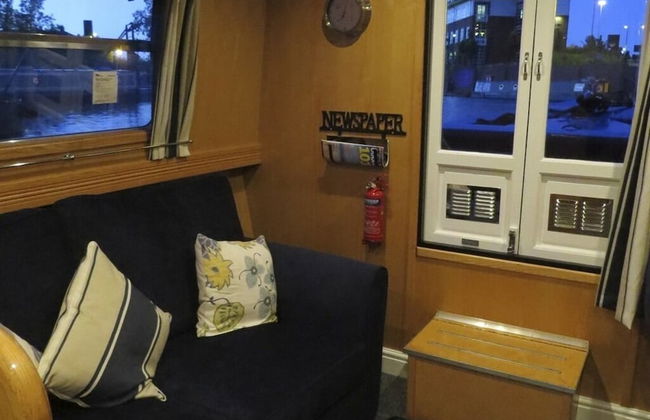
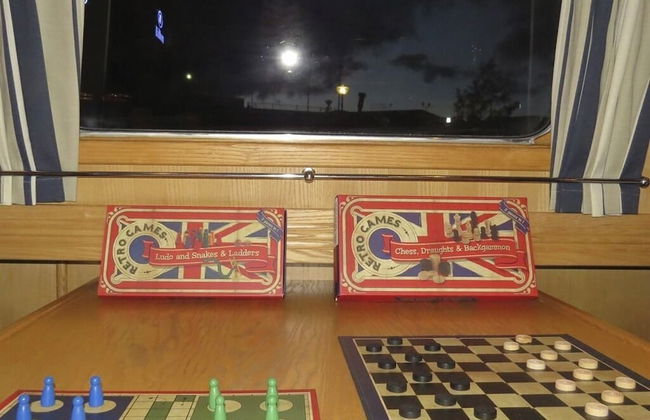
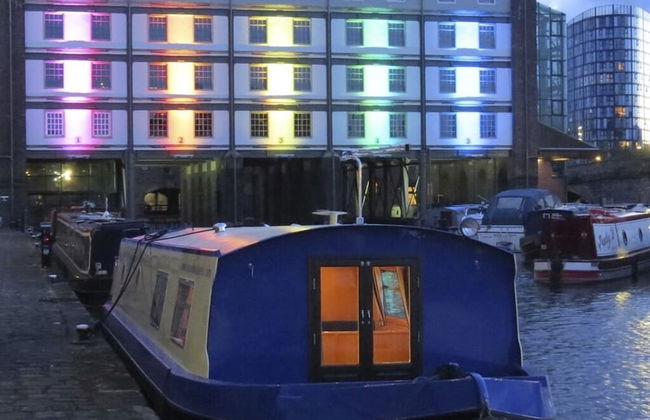
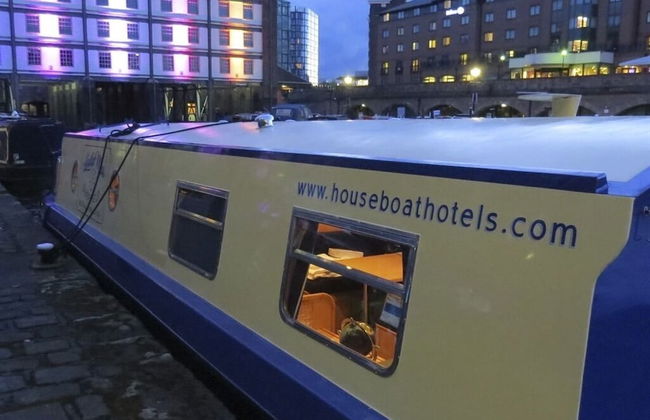
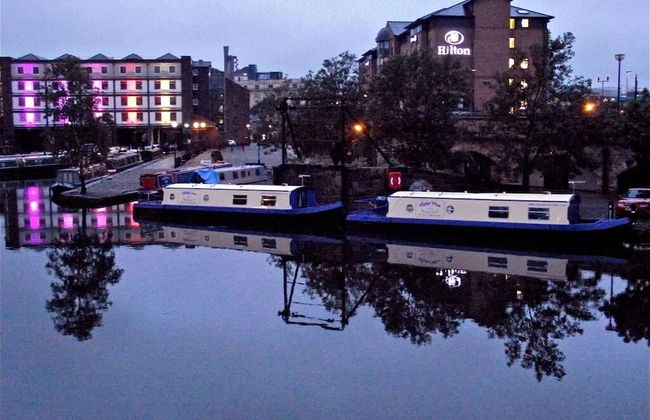
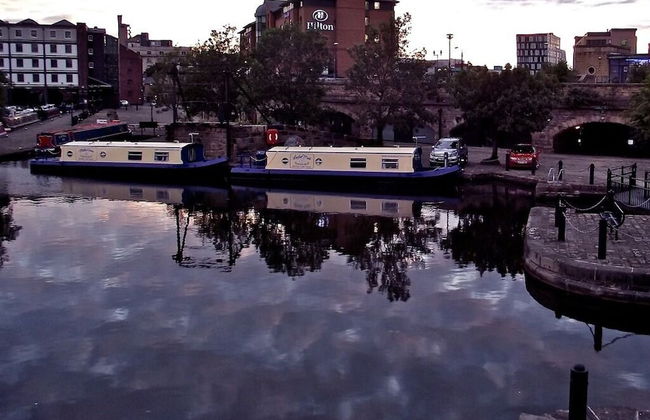
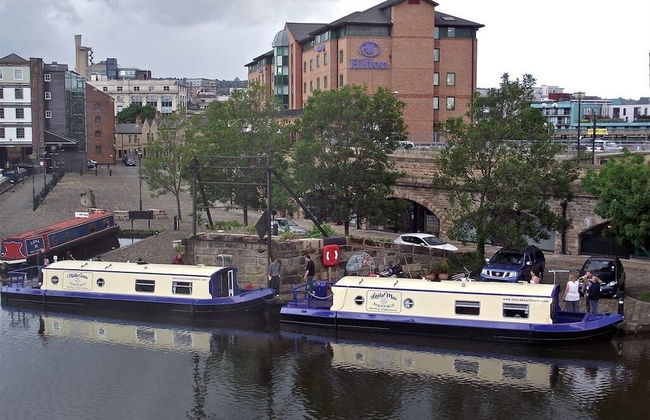
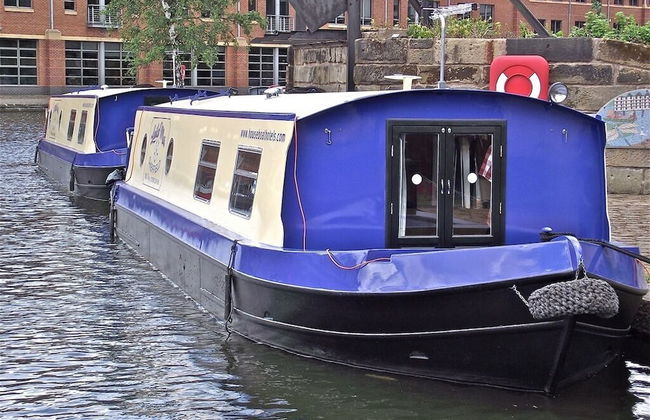
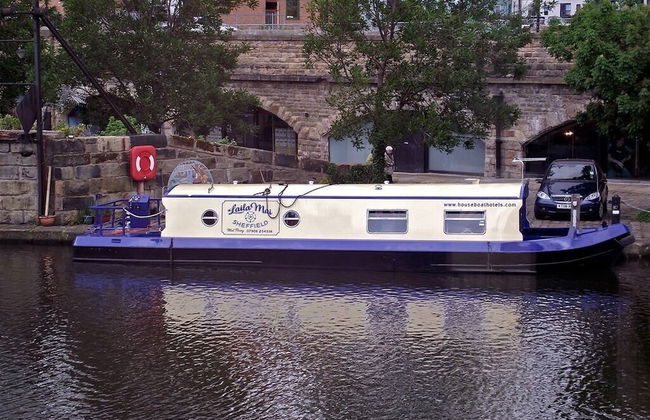
Houseboat Hotels - Foto 1
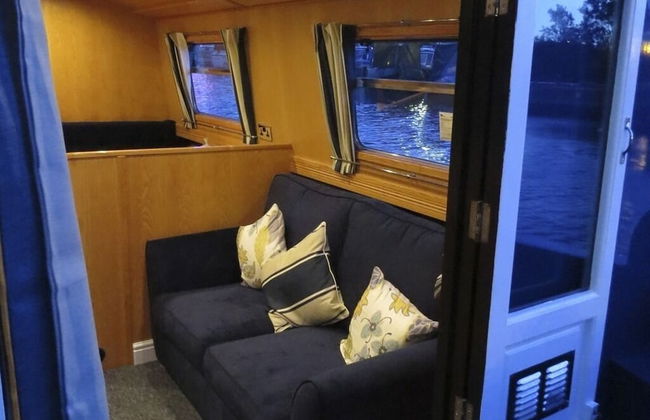
Houseboat Hotels - Foto 2
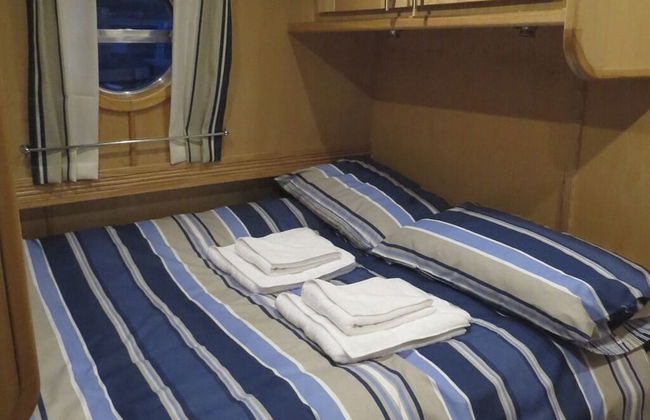
Houseboat Hotels - Foto 3
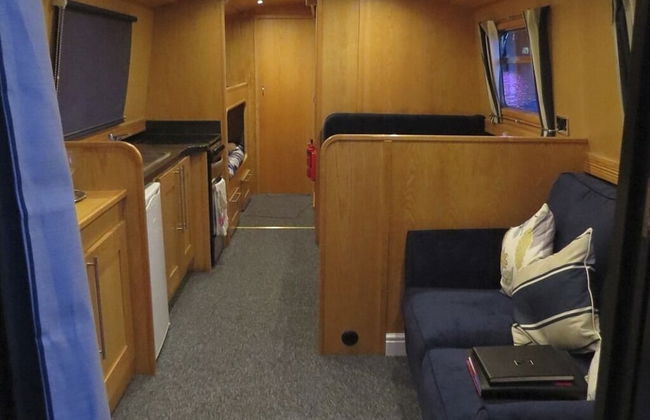
Houseboat Hotels - Foto 4
Houseboat Hotels - Foto 5
Houseboat Hotels - Foto 6
Houseboat Hotels - Foto 7
Houseboat Hotels - Foto 8
Houseboat Hotels - Foto 9
Houseboat Hotels - Foto 10
Houseboat Hotels - Foto 11
Houseboat Hotels - Foto 12
Houseboat Hotels - Foto 13
Houseboat Hotels - Foto 14
Houseboat Hotels - Foto 15
Houseboat Hotels - Foto 16
Houseboat Hotels - Foto 17
Houseboat Hotels - Foto 18
Houseboat Hotels - Foto 19
Houseboat Hotels - Foto 20
Houseboat Hotels - Foto 21
Houseboat Hotels - Foto 22
Houseboat Hotels - Foto 23
Houseboat Hotels - Foto 24
Houseboat Hotels - Foto 25
Houseboat Hotels - Foto 26
Houseboat Hotels - Foto 27
Houseboat Hotels - Foto 28
Houseboat Hotels - Foto 29
Houseboat Hotels - Foto 30
Houseboat Hotels - Foto 31
Houseboat Hotels - Foto 32
Houseboat Hotels - Foto 33
Houseboat Hotels - Foto 34

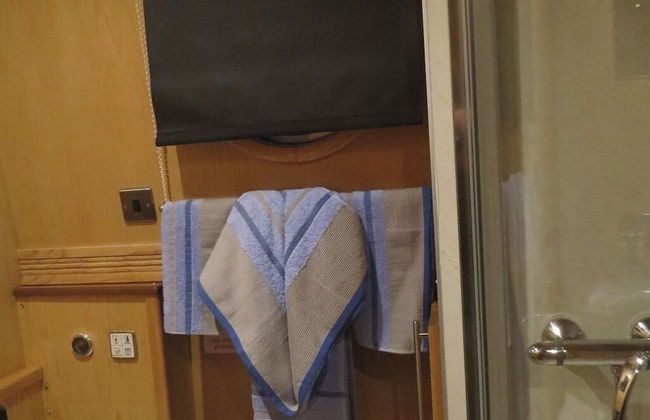
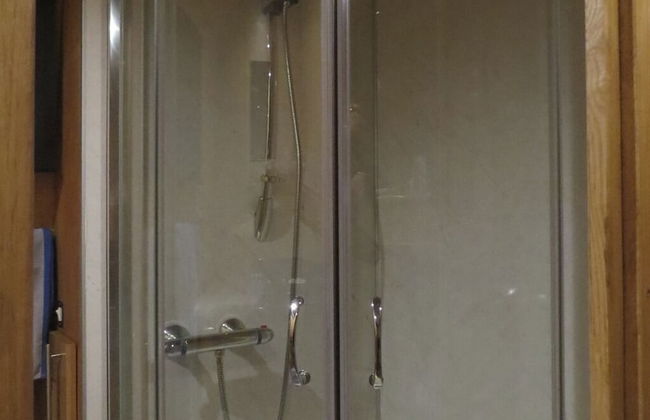
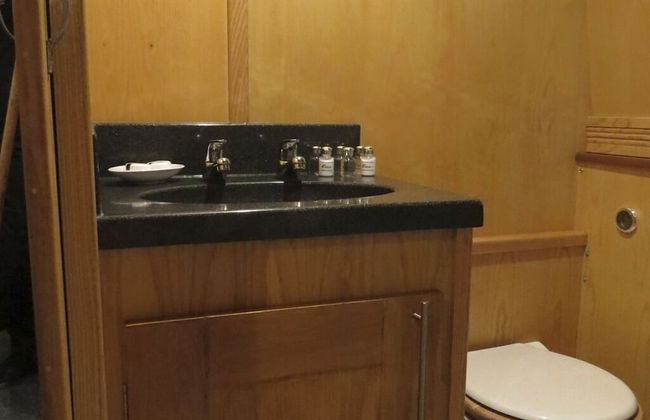
Houseboat Hotels

Sheffield - Sheffield - En el centro

  • 4 personas
  • Parking
  • Televisión
9.4Excepcional | 61 reseñas
Nancy's Cabin - Foto 1
Nancy's Cabin - Foto 2
Nancy's Cabin - Foto 3
Nancy's Cabin - Foto 4
Nancy's Cabin - Foto 5
Nancy's Cabin - Foto 6
Nancy's Cabin - Foto 7
Nancy's Cabin - Foto 8
Nancy's Cabin - Foto 9
Nancy's Cabin - Foto 10
Nancy's Cabin - Foto 11
Nancy's Cabin - Foto 12
Nancy's Cabin - Foto 13
Nancy's Cabin - Foto 14
Nancy's Cabin - Foto 15
Nancy's Cabin - Foto 16
Nancy's Cabin - Foto 17
Nancy's Cabin - Foto 18
Nancy's Cabin - Foto 19
Nancy's Cabin - Foto 20
Nancy's Cabin - Foto 21
Nancy's Cabin - Foto 22
Nancy's Cabin - Foto 23
Nancy's Cabin - Foto 24
Nancy's Cabin - Foto 25

Nancy's Cabin

Sheffield - Halfway - A 9.8 km del centro

  • 30 M2
  • 2 personas
  • Calefacción
  • Terraza
  • Parking
  • Jardín
  • Barbacoa
9.7Excepcional | 125 reseñas
Rose Cottage studio - Foto 1
Rose Cottage studio - Foto 2
Rose Cottage studio - Foto 3
Rose Cottage studio - Foto 4
Rose Cottage studio - Foto 5
Rose Cottage studio - Foto 6
Rose Cottage studio - Foto 7
Rose Cottage studio - Foto 8
Rose Cottage studio - Foto 9
Rose Cottage studio - Foto 10
Rose Cottage studio - Foto 11
Rose Cottage studio - Foto 12
Rose Cottage studio - Foto 13
Rose Cottage studio - Foto 14
Rose Cottage studio - Foto 15

Rose Cottage studio

Sheffield - Stocksbridge - A 12.6 km del centro

  • 10 M2
  • 2 personas
  • Calefacción
  • Terraza
  • Parking
  • Jardín
  • Barbacoa
9.5Excepcional | 48 reseñas
Rivelin - vintage vibe with modern conveniences - Sheffield & Peak District! - Foto 1
Rivelin - vintage vibe with modern conveniences - Sheffield & Peak District! - Foto 2
Rivelin - vintage vibe with modern conveniences - Sheffield & Peak District! - Foto 3
Rivelin - vintage vibe with modern conveniences - Sheffield & Peak District! - Foto 4
Rivelin - vintage vibe with modern conveniences - Sheffield & Peak District! - Foto 5
Rivelin - vintage vibe with modern conveniences - Sheffield & Peak District! - Foto 6
Rivelin - vintage vibe with modern conveniences - Sheffield & Peak District! - Foto 7
Rivelin - vintage vibe with modern conveniences - Sheffield & Peak District! - Foto 8
Rivelin - vintage vibe with modern conveniences - Sheffield & Peak District! - Foto 9
Rivelin - vintage vibe with modern conveniences - Sheffield & Peak District! - Foto 10
Rivelin - vintage vibe with modern conveniences - Sheffield & Peak District! - Foto 11
Rivelin - vintage vibe with modern conveniences - Sheffield & Peak District! - Foto 12
Rivelin - vintage vibe with modern conveniences - Sheffield & Peak District! - Foto 13
Rivelin - vintage vibe with modern conveniences - Sheffield & Peak District! - Foto 14
Rivelin - vintage vibe with modern conveniences - Sheffield & Peak District! - Foto 15
Rivelin - vintage vibe with modern conveniences - Sheffield & Peak District! - Foto 16
Rivelin - vintage vibe with modern conveniences - Sheffield & Peak District! - Foto 17
Rivelin - vintage vibe with modern conveniences - Sheffield & Peak District! - Foto 18
Rivelin - vintage vibe with modern conveniences - Sheffield & Peak District! - Foto 19
Rivelin - vintage vibe with modern conveniences - Sheffield & Peak District! - Foto 20
Rivelin - vintage vibe with modern conveniences - Sheffield & Peak District! - Foto 21
Rivelin - vintage vibe with modern conveniences - Sheffield & Peak District! - Foto 22
Rivelin - vintage vibe with modern conveniences - Sheffield & Peak District! - Foto 23
Rivelin - vintage vibe with modern conveniences - Sheffield & Peak District! - Foto 24
Rivelin - vintage vibe with modern conveniences - Sheffield & Peak District! - Foto 25
Rivelin - vintage vibe with modern conveniences - Sheffield & Peak District! - Foto 26
Rivelin - vintage vibe with modern conveniences - Sheffield & Peak District! - Foto 27
Rivelin - vintage vibe with modern conveniences - Sheffield & Peak District! - Foto 28
Rivelin - vintage vibe with modern conveniences - Sheffield & Peak District! - Foto 29
Rivelin - vintage vibe with modern conveniences - Sheffield & Peak District! - Foto 30
Rivelin - vintage vibe with modern conveniences - Sheffield & Peak District! - Foto 31
Rivelin - vintage vibe with modern conveniences - Sheffield & Peak District! - Foto 32
Rivelin - vintage vibe with modern conveniences - Sheffield & Peak District! - Foto 33
Rivelin - vintage vibe with modern conveniences - Sheffield & Peak District! - Foto 34
Rivelin - vintage vibe with modern conveniences - Sheffield & Peak District! - Foto 35
Rivelin - vintage vibe with modern conveniences - Sheffield & Peak District! - Foto 36
Rivelin - vintage vibe with modern conveniences - Sheffield & Peak District! - Foto 37
Rivelin - vintage vibe with modern conveniences - Sheffield & Peak District! - Foto 38
Rivelin - vintage vibe with modern conveniences - Sheffield & Peak District! - Foto 39
Rivelin - vintage vibe with modern conveniences - Sheffield & Peak District! - Foto 40
Rivelin - vintage vibe with modern conveniences - Sheffield & Peak District! - Foto 41
Rivelin - vintage vibe with modern conveniences - Sheffield & Peak District! - Foto 42
Rivelin - vintage vibe with modern conveniences - Sheffield & Peak District! - Foto 43
Rivelin - vintage vibe with modern conveniences - Sheffield & Peak District! - Foto 44
Rivelin - vintage vibe with modern conveniences - Sheffield & Peak District! - Foto 45
Rivelin - vintage vibe with modern conveniences - Sheffield & Peak District! - Foto 46
Rivelin - vintage vibe with modern conveniences - Sheffield & Peak District! - Foto 47
Rivelin - vintage vibe with modern conveniences - Sheffield & Peak District! - Foto 48

Rivelin - vintage vibe with modern conveniences - Sheffield & Peak District!

Sheffield - Sheffield - A 4.2 km del centro

  • 40 M2
  • 1 habitación
  • 2 personas
  • Calefacción
  • Terraza
  • Parking
  • Jardín
9.4Excepcional | 10 reseñas
The Hideout - Boutique 2 Bedroom Apartment - Foto 1
The Hideout - Boutique 2 Bedroom Apartment - Foto 2
The Hideout - Boutique 2 Bedroom Apartment - Foto 3
The Hideout - Boutique 2 Bedroom Apartment - Foto 4
The Hideout - Boutique 2 Bedroom Apartment - Foto 5
The Hideout - Boutique 2 Bedroom Apartment - Foto 6
The Hideout - Boutique 2 Bedroom Apartment - Foto 7
The Hideout - Boutique 2 Bedroom Apartment - Foto 8
The Hideout - Boutique 2 Bedroom Apartment - Foto 9
The Hideout - Boutique 2 Bedroom Apartment - Foto 10
The Hideout - Boutique 2 Bedroom Apartment - Foto 11
The Hideout - Boutique 2 Bedroom Apartment - Foto 12
The Hideout - Boutique 2 Bedroom Apartment - Foto 13
The Hideout - Boutique 2 Bedroom Apartment - Foto 14
The Hideout - Boutique 2 Bedroom Apartment - Foto 15
The Hideout - Boutique 2 Bedroom Apartment - Foto 16
The Hideout - Boutique 2 Bedroom Apartment - Foto 17
The Hideout - Boutique 2 Bedroom Apartment - Foto 18
The Hideout - Boutique 2 Bedroom Apartment - Foto 19
The Hideout - Boutique 2 Bedroom Apartment - Foto 20
The Hideout - Boutique 2 Bedroom Apartment - Foto 21
The Hideout - Boutique 2 Bedroom Apartment - Foto 22
The Hideout - Boutique 2 Bedroom Apartment - Foto 23
The Hideout - Boutique 2 Bedroom Apartment - Foto 24
The Hideout - Boutique 2 Bedroom Apartment - Foto 25
The Hideout - Boutique 2 Bedroom Apartment - Foto 26
The Hideout - Boutique 2 Bedroom Apartment - Foto 27
The Hideout - Boutique 2 Bedroom Apartment - Foto 28
The Hideout - Boutique 2 Bedroom Apartment - Foto 29
The Hideout - Boutique 2 Bedroom Apartment - Foto 30
The Hideout - Boutique 2 Bedroom Apartment - Foto 31
The Hideout - Boutique 2 Bedroom Apartment - Foto 32
The Hideout - Boutique 2 Bedroom Apartment - Foto 33
The Hideout - Boutique 2 Bedroom Apartment - Foto 34
The Hideout - Boutique 2 Bedroom Apartment - Foto 35
The Hideout - Boutique 2 Bedroom Apartment - Foto 36
The Hideout - Boutique 2 Bedroom Apartment - Foto 37
The Hideout - Boutique 2 Bedroom Apartment - Foto 38

The Hideout - Boutique 2 Bedroom Apartment

Sheffield - Sheffield - En el centro

  • 68 M2
  • 2 habitaciones
  • 6 personas
  • Calefacción
  • Parking
9.7Excepcional | 32 reseñas
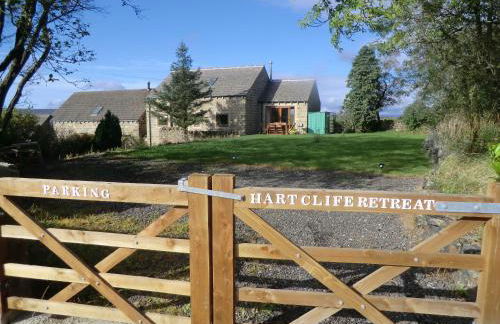
Hartcliffe Retreat - Foto 1
Hartcliffe Retreat - Foto 2
Hartcliffe Retreat - Foto 3
Hartcliffe Retreat - Foto 4
Hartcliffe Retreat - Foto 5
Hartcliffe Retreat - Foto 6
Hartcliffe Retreat - Foto 7
Hartcliffe Retreat - Foto 8
Hartcliffe Retreat - Foto 9
Hartcliffe Retreat - Foto 10
Hartcliffe Retreat - Foto 11
Hartcliffe Retreat - Foto 12
Hartcliffe Retreat - Foto 13
Hartcliffe Retreat - Foto 14
Hartcliffe Retreat - Foto 15
Hartcliffe Retreat - Foto 16
Hartcliffe Retreat - Foto 17
Hartcliffe Retreat - Foto 18
Hartcliffe Retreat - Foto 19
Hartcliffe Retreat - Foto 20
Hartcliffe Retreat - Foto 21
Hartcliffe Retreat - Foto 22
Hartcliffe Retreat - Foto 23
Hartcliffe Retreat - Foto 24
Hartcliffe Retreat - Foto 25
Hartcliffe Retreat - Foto 26
Hartcliffe Retreat - Foto 27
Hartcliffe Retreat - Foto 28
Hartcliffe Retreat - Foto 29
Hartcliffe Retreat - Foto 30
Hartcliffe Retreat - Foto 31
Hartcliffe Retreat - Foto 32
Hartcliffe Retreat - Foto 33
Hartcliffe Retreat - Foto 34
Hartcliffe Retreat - Foto 35

Hartcliffe Retreat

Sheffield - Penistone - A 17.5 km del centro

  • 170 M2
  • 3 habitaciones
  • 9 personas
  • Calefacción
  • Parking
  • Jardín
  • Barbacoa
9.7Excepcional | 27 reseñas
The Coach House & The Stables Yorkshire Peak District With and without hot tub options - Foto 1
The Coach House & The Stables Yorkshire Peak District With and without hot tub options - Foto 2
The Coach House & The Stables Yorkshire Peak District With and without hot tub options - Foto 3
The Coach House & The Stables Yorkshire Peak District With and without hot tub options - Foto 4
The Coach House & The Stables Yorkshire Peak District With and without hot tub options - Foto 5
The Coach House & The Stables Yorkshire Peak District With and without hot tub options - Foto 6
The Coach House & The Stables Yorkshire Peak District With and without hot tub options - Foto 7
The Coach House & The Stables Yorkshire Peak District With and without hot tub options - Foto 8
The Coach House & The Stables Yorkshire Peak District With and without hot tub options - Foto 9
The Coach House & The Stables Yorkshire Peak District With and without hot tub options - Foto 10
The Coach House & The Stables Yorkshire Peak District With and without hot tub options - Foto 11
The Coach House & The Stables Yorkshire Peak District With and without hot tub options - Foto 12
The Coach House & The Stables Yorkshire Peak District With and without hot tub options - Foto 13
The Coach House & The Stables Yorkshire Peak District With and without hot tub options - Foto 14
The Coach House & The Stables Yorkshire Peak District With and without hot tub options - Foto 15
The Coach House & The Stables Yorkshire Peak District With and without hot tub options - Foto 16
The Coach House & The Stables Yorkshire Peak District With and without hot tub options - Foto 17
The Coach House & The Stables Yorkshire Peak District With and without hot tub options - Foto 18
The Coach House & The Stables Yorkshire Peak District With and without hot tub options - Foto 19
The Coach House & The Stables Yorkshire Peak District With and without hot tub options - Foto 20
The Coach House & The Stables Yorkshire Peak District With and without hot tub options - Foto 21
The Coach House & The Stables Yorkshire Peak District With and without hot tub options - Foto 22
The Coach House & The Stables Yorkshire Peak District With and without hot tub options - Foto 23
The Coach House & The Stables Yorkshire Peak District With and without hot tub options - Foto 24
The Coach House & The Stables Yorkshire Peak District With and without hot tub options - Foto 25
The Coach House & The Stables Yorkshire Peak District With and without hot tub options - Foto 26
The Coach House & The Stables Yorkshire Peak District With and without hot tub options - Foto 27
The Coach House & The Stables Yorkshire Peak District With and without hot tub options - Foto 28
The Coach House & The Stables Yorkshire Peak District With and without hot tub options - Foto 29
The Coach House & The Stables Yorkshire Peak District With and without hot tub options - Foto 30
The Coach House & The Stables Yorkshire Peak District With and without hot tub options - Foto 31
The Coach House & The Stables Yorkshire Peak District With and without hot tub options - Foto 32
The Coach House & The Stables Yorkshire Peak District With and without hot tub options - Foto 33
The Coach House & The Stables Yorkshire Peak District With and without hot tub options - Foto 34
The Coach House & The Stables Yorkshire Peak District With and without hot tub options - Foto 35
The Coach House & The Stables Yorkshire Peak District With and without hot tub options - Foto 36
The Coach House & The Stables Yorkshire Peak District With and without hot tub options - Foto 37
The Coach House & The Stables Yorkshire Peak District With and without hot tub options - Foto 38
The Coach House & The Stables Yorkshire Peak District With and without hot tub options - Foto 39
The Coach House & The Stables Yorkshire Peak District With and without hot tub options - Foto 40

The Coach House & The Stables Yorkshire Peak District With and without hot tub options

Sheffield - Stocksbridge - A 13.5 km del centro

  • 80 M2
  • 2 habitaciones
  • 4 personas
  • Calefacción
  • Terraza
  • Parking
  • Jardín
9.3Excepcional | 71 reseñas
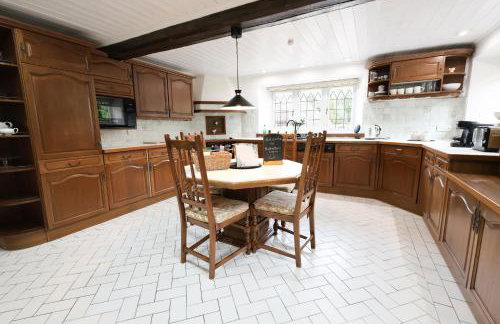
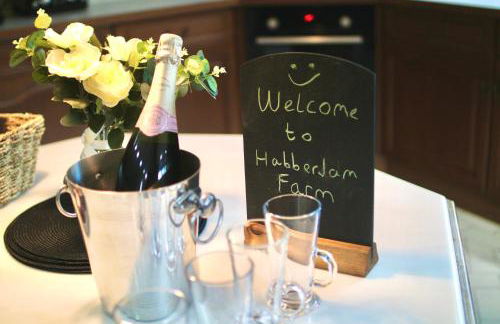
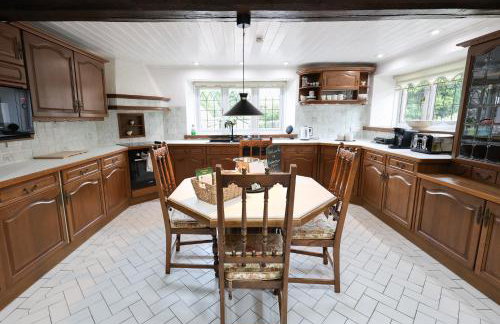
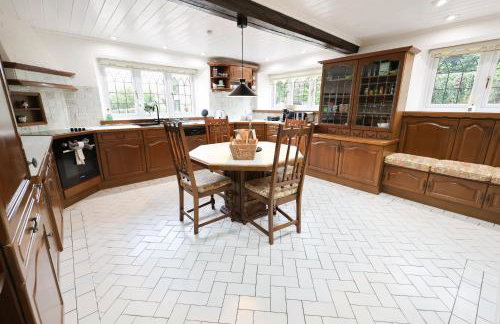
Habberjam Farm - Swimming pool, Hot Tub, Sauna, Games Room - Foto 1
Habberjam Farm - Swimming pool, Hot Tub, Sauna, Games Room - Foto 2
Habberjam Farm - Swimming pool, Hot Tub, Sauna, Games Room - Foto 3
Habberjam Farm - Swimming pool, Hot Tub, Sauna, Games Room - Foto 4
Habberjam Farm - Swimming pool, Hot Tub, Sauna, Games Room - Foto 5
Habberjam Farm - Swimming pool, Hot Tub, Sauna, Games Room - Foto 6
Habberjam Farm - Swimming pool, Hot Tub, Sauna, Games Room - Foto 7
Habberjam Farm - Swimming pool, Hot Tub, Sauna, Games Room - Foto 8
Habberjam Farm - Swimming pool, Hot Tub, Sauna, Games Room - Foto 9
Habberjam Farm - Swimming pool, Hot Tub, Sauna, Games Room - Foto 10
Habberjam Farm - Swimming pool, Hot Tub, Sauna, Games Room - Foto 11
Habberjam Farm - Swimming pool, Hot Tub, Sauna, Games Room - Foto 12
Habberjam Farm - Swimming pool, Hot Tub, Sauna, Games Room - Foto 13
Habberjam Farm - Swimming pool, Hot Tub, Sauna, Games Room - Foto 14
Habberjam Farm - Swimming pool, Hot Tub, Sauna, Games Room - Foto 15
Habberjam Farm - Swimming pool, Hot Tub, Sauna, Games Room - Foto 16
Habberjam Farm - Swimming pool, Hot Tub, Sauna, Games Room - Foto 17
Habberjam Farm - Swimming pool, Hot Tub, Sauna, Games Room - Foto 18
Habberjam Farm - Swimming pool, Hot Tub, Sauna, Games Room - Foto 19
Habberjam Farm - Swimming pool, Hot Tub, Sauna, Games Room - Foto 20
Habberjam Farm - Swimming pool, Hot Tub, Sauna, Games Room - Foto 21
Habberjam Farm - Swimming pool, Hot Tub, Sauna, Games Room - Foto 22
Habberjam Farm - Swimming pool, Hot Tub, Sauna, Games Room - Foto 23
Habberjam Farm - Swimming pool, Hot Tub, Sauna, Games Room - Foto 24
Habberjam Farm - Swimming pool, Hot Tub, Sauna, Games Room - Foto 25
Habberjam Farm - Swimming pool, Hot Tub, Sauna, Games Room - Foto 26
Habberjam Farm - Swimming pool, Hot Tub, Sauna, Games Room - Foto 27
Habberjam Farm - Swimming pool, Hot Tub, Sauna, Games Room - Foto 28
Habberjam Farm - Swimming pool, Hot Tub, Sauna, Games Room - Foto 29
Habberjam Farm - Swimming pool, Hot Tub, Sauna, Games Room - Foto 30
Habberjam Farm - Swimming pool, Hot Tub, Sauna, Games Room - Foto 31
Habberjam Farm - Swimming pool, Hot Tub, Sauna, Games Room - Foto 32
Habberjam Farm - Swimming pool, Hot Tub, Sauna, Games Room - Foto 33
Habberjam Farm - Swimming pool, Hot Tub, Sauna, Games Room - Foto 34
Habberjam Farm - Swimming pool, Hot Tub, Sauna, Games Room - Foto 35
Habberjam Farm - Swimming pool, Hot Tub, Sauna, Games Room - Foto 36
Habberjam Farm - Swimming pool, Hot Tub, Sauna, Games Room - Foto 37
Habberjam Farm - Swimming pool, Hot Tub, Sauna, Games Room - Foto 38
Habberjam Farm - Swimming pool, Hot Tub, Sauna, Games Room - Foto 39
Habberjam Farm - Swimming pool, Hot Tub, Sauna, Games Room - Foto 40
Habberjam Farm - Swimming pool, Hot Tub, Sauna, Games Room - Foto 41
Habberjam Farm - Swimming pool, Hot Tub, Sauna, Games Room - Foto 42
Habberjam Farm - Swimming pool, Hot Tub, Sauna, Games Room - Foto 43
Habberjam Farm - Swimming pool, Hot Tub, Sauna, Games Room - Foto 44
Habberjam Farm - Swimming pool, Hot Tub, Sauna, Games Room - Foto 45
Habberjam Farm - Swimming pool, Hot Tub, Sauna, Games Room - Foto 46
Habberjam Farm - Swimming pool, Hot Tub, Sauna, Games Room - Foto 47
Habberjam Farm - Swimming pool, Hot Tub, Sauna, Games Room - Foto 48
Habberjam Farm - Swimming pool, Hot Tub, Sauna, Games Room - Foto 49
Habberjam Farm - Swimming pool, Hot Tub, Sauna, Games Room - Foto 50
Habberjam Farm - Swimming pool, Hot Tub, Sauna, Games Room - Foto 51
Habberjam Farm - Swimming pool, Hot Tub, Sauna, Games Room - Foto 52
Habberjam Farm - Swimming pool, Hot Tub, Sauna, Games Room - Foto 53
Habberjam Farm - Swimming pool, Hot Tub, Sauna, Games Room - Foto 54
Habberjam Farm - Swimming pool, Hot Tub, Sauna, Games Room - Foto 55
Habberjam Farm - Swimming pool, Hot Tub, Sauna, Games Room - Foto 56
Habberjam Farm - Swimming pool, Hot Tub, Sauna, Games Room - Foto 57
Habberjam Farm - Swimming pool, Hot Tub, Sauna, Games Room - Foto 58
Habberjam Farm - Swimming pool, Hot Tub, Sauna, Games Room - Foto 59
Habberjam Farm - Swimming pool, Hot Tub, Sauna, Games Room - Foto 60
Habberjam Farm - Swimming pool, Hot Tub, Sauna, Games Room - Foto 61
Habberjam Farm - Swimming pool, Hot Tub, Sauna, Games Room - Foto 62
Habberjam Farm - Swimming pool, Hot Tub, Sauna, Games Room - Foto 63
Habberjam Farm - Swimming pool, Hot Tub, Sauna, Games Room - Foto 64
Habberjam Farm - Swimming pool, Hot Tub, Sauna, Games Room - Foto 65
Habberjam Farm - Swimming pool, Hot Tub, Sauna, Games Room - Foto 66
Habberjam Farm - Swimming pool, Hot Tub, Sauna, Games Room - Foto 67
Habberjam Farm - Swimming pool, Hot Tub, Sauna, Games Room - Foto 68
Habberjam Farm - Swimming pool, Hot Tub, Sauna, Games Room - Foto 69
Habberjam Farm - Swimming pool, Hot Tub, Sauna, Games Room - Foto 70
Habberjam Farm - Swimming pool, Hot Tub, Sauna, Games Room - Foto 71
Habberjam Farm - Swimming pool, Hot Tub, Sauna, Games Room - Foto 72
Habberjam Farm - Swimming pool, Hot Tub, Sauna, Games Room - Foto 73
Habberjam Farm - Swimming pool, Hot Tub, Sauna, Games Room - Foto 74
Habberjam Farm - Swimming pool, Hot Tub, Sauna, Games Room - Foto 75
Habberjam Farm - Swimming pool, Hot Tub, Sauna, Games Room - Foto 76
Habberjam Farm - Swimming pool, Hot Tub, Sauna, Games Room - Foto 77
Habberjam Farm - Swimming pool, Hot Tub, Sauna, Games Room - Foto 78
Habberjam Farm - Swimming pool, Hot Tub, Sauna, Games Room - Foto 79
Habberjam Farm - Swimming pool, Hot Tub, Sauna, Games Room - Foto 80

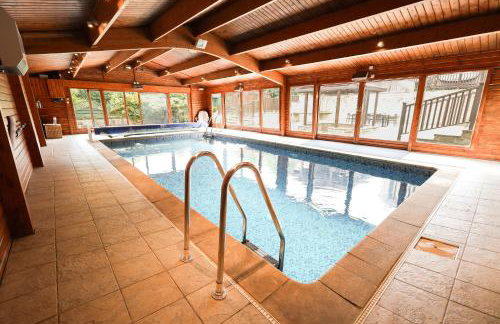
Habberjam Farm - Swimming pool, Hot Tub, Sauna, Games Room

Sheffield - Marsh - A 8.9 km del centro

  • 166 M2
  • 6 habitaciones
  • 12 personas
  • Calefacción
  • Terraza
  • Piscina
  • Parking
  • Jardín
9.8Excepcional | 26 reseñas
Modern Home2Home - Easy Centre Access & Free Parking - Foto 1
Modern Home2Home - Easy Centre Access & Free Parking - Foto 2
Modern Home2Home - Easy Centre Access & Free Parking - Foto 3
Modern Home2Home - Easy Centre Access & Free Parking - Foto 4
Modern Home2Home - Easy Centre Access & Free Parking - Foto 5
Modern Home2Home - Easy Centre Access & Free Parking - Foto 6
Modern Home2Home - Easy Centre Access & Free Parking - Foto 7
Modern Home2Home - Easy Centre Access & Free Parking - Foto 8
Modern Home2Home - Easy Centre Access & Free Parking - Foto 9
Modern Home2Home - Easy Centre Access & Free Parking - Foto 10
Modern Home2Home - Easy Centre Access & Free Parking - Foto 11
Modern Home2Home - Easy Centre Access & Free Parking - Foto 12
Modern Home2Home - Easy Centre Access & Free Parking - Foto 13
Modern Home2Home - Easy Centre Access & Free Parking - Foto 14
Modern Home2Home - Easy Centre Access & Free Parking - Foto 15
Modern Home2Home - Easy Centre Access & Free Parking - Foto 16
Modern Home2Home - Easy Centre Access & Free Parking - Foto 17
Modern Home2Home - Easy Centre Access & Free Parking - Foto 18
Modern Home2Home - Easy Centre Access & Free Parking - Foto 19
Modern Home2Home - Easy Centre Access & Free Parking - Foto 20
Modern Home2Home - Easy Centre Access & Free Parking - Foto 21
Modern Home2Home - Easy Centre Access & Free Parking - Foto 22
Modern Home2Home - Easy Centre Access & Free Parking - Foto 23
Modern Home2Home - Easy Centre Access & Free Parking - Foto 24
Modern Home2Home - Easy Centre Access & Free Parking - Foto 25
Modern Home2Home - Easy Centre Access & Free Parking - Foto 26
Modern Home2Home - Easy Centre Access & Free Parking - Foto 27
Modern Home2Home - Easy Centre Access & Free Parking - Foto 28
Modern Home2Home - Easy Centre Access & Free Parking - Foto 29
Modern Home2Home - Easy Centre Access & Free Parking - Foto 30
Modern Home2Home - Easy Centre Access & Free Parking - Foto 31
Modern Home2Home - Easy Centre Access & Free Parking - Foto 32
Modern Home2Home - Easy Centre Access & Free Parking - Foto 33
Modern Home2Home - Easy Centre Access & Free Parking - Foto 34
Modern Home2Home - Easy Centre Access & Free Parking - Foto 35
Modern Home2Home - Easy Centre Access & Free Parking - Foto 36
Modern Home2Home - Easy Centre Access & Free Parking - Foto 37
Modern Home2Home - Easy Centre Access & Free Parking - Foto 38
Modern Home2Home - Easy Centre Access & Free Parking - Foto 39

Modern Home2Home - Easy Centre Access & Free Parking

Sheffield - Heeley - A 1.2 km del centro

  • 73 M2
  • 3 habitaciones
  • 6 personas
  • Calefacción
  • Parking
  • Jardín
9.6Excepcional | 54 reseñas
Large Modern House With Private Parking - Foto 1
Large Modern House With Private Parking - Foto 2
Large Modern House With Private Parking - Foto 3
Large Modern House With Private Parking - Foto 4
Large Modern House With Private Parking - Foto 5
Large Modern House With Private Parking - Foto 6
Large Modern House With Private Parking - Foto 7
Large Modern House With Private Parking - Foto 8
Large Modern House With Private Parking - Foto 9
Large Modern House With Private Parking - Foto 10
Large Modern House With Private Parking - Foto 11
Large Modern House With Private Parking - Foto 12
Large Modern House With Private Parking - Foto 13
Large Modern House With Private Parking - Foto 14
Large Modern House With Private Parking - Foto 15
Large Modern House With Private Parking - Foto 16
Large Modern House With Private Parking - Foto 17
Large Modern House With Private Parking - Foto 18
Large Modern House With Private Parking - Foto 19
Large Modern House With Private Parking - Foto 20
Large Modern House With Private Parking - Foto 21
Large Modern House With Private Parking - Foto 22
Large Modern House With Private Parking - Foto 23
Large Modern House With Private Parking - Foto 24
Large Modern House With Private Parking - Foto 25
Large Modern House With Private Parking - Foto 26
Large Modern House With Private Parking - Foto 27
Large Modern House With Private Parking - Foto 28
Large Modern House With Private Parking - Foto 29
Large Modern House With Private Parking - Foto 30
Large Modern House With Private Parking - Foto 31
Large Modern House With Private Parking - Foto 32
Large Modern House With Private Parking - Foto 33
Large Modern House With Private Parking - Foto 34
Large Modern House With Private Parking - Foto 35
Large Modern House With Private Parking - Foto 36
Large Modern House With Private Parking - Foto 37
Large Modern House With Private Parking - Foto 38
Large Modern House With Private Parking - Foto 39
Large Modern House With Private Parking - Foto 40
Large Modern House With Private Parking - Foto 41
Large Modern House With Private Parking - Foto 42
Large Modern House With Private Parking - Foto 43
Large Modern House With Private Parking - Foto 44
Large Modern House With Private Parking - Foto 45
Large Modern House With Private Parking - Foto 46
Large Modern House With Private Parking - Foto 47
Large Modern House With Private Parking - Foto 48
Large Modern House With Private Parking - Foto 49
Large Modern House With Private Parking - Foto 50
Large Modern House With Private Parking - Foto 51
Large Modern House With Private Parking - Foto 52
Large Modern House With Private Parking - Foto 53
Large Modern House With Private Parking - Foto 54
Large Modern House With Private Parking - Foto 55
Large Modern House With Private Parking - Foto 56
Large Modern House With Private Parking - Foto 57
Large Modern House With Private Parking - Foto 58
Large Modern House With Private Parking - Foto 59
Large Modern House With Private Parking - Foto 60
Large Modern House With Private Parking - Foto 61
Large Modern House With Private Parking - Foto 62
Large Modern House With Private Parking - Foto 63
Large Modern House With Private Parking - Foto 64
Large Modern House With Private Parking - Foto 65
Large Modern House With Private Parking - Foto 66
Large Modern House With Private Parking - Foto 67
Large Modern House With Private Parking - Foto 68
Large Modern House With Private Parking - Foto 69
Large Modern House With Private Parking - Foto 70
Large Modern House With Private Parking - Foto 71
Large Modern House With Private Parking - Foto 72
Large Modern House With Private Parking - Foto 73
Large Modern House With Private Parking - Foto 74
Large Modern House With Private Parking - Foto 75
Large Modern House With Private Parking - Foto 76
Large Modern House With Private Parking - Foto 77
Large Modern House With Private Parking - Foto 78
Large Modern House With Private Parking - Foto 79
Large Modern House With Private Parking - Foto 80
Large Modern House With Private Parking - Foto 81
Large Modern House With Private Parking - Foto 82
Large Modern House With Private Parking - Foto 83
Large Modern House With Private Parking - Foto 84
Large Modern House With Private Parking - Foto 85
Large Modern House With Private Parking - Foto 86
Large Modern House With Private Parking - Foto 87
Large Modern House With Private Parking - Foto 88
Large Modern House With Private Parking - Foto 89
Large Modern House With Private Parking - Foto 90
Large Modern House With Private Parking - Foto 91
Large Modern House With Private Parking - Foto 92
Large Modern House With Private Parking - Foto 93
Large Modern House With Private Parking - Foto 94
Large Modern House With Private Parking - Foto 95
Large Modern House With Private Parking - Foto 96
Large Modern House With Private Parking - Foto 97
Large Modern House With Private Parking - Foto 98
Large Modern House With Private Parking - Foto 99
Large Modern House With Private Parking - Foto 100
Large Modern House With Private Parking - Foto 101
Large Modern House With Private Parking - Foto 102
Large Modern House With Private Parking - Foto 103
Large Modern House With Private Parking - Foto 104
Large Modern House With Private Parking - Foto 105
Large Modern House With Private Parking - Foto 106
Large Modern House With Private Parking - Foto 107
Large Modern House With Private Parking - Foto 108
Large Modern House With Private Parking - Foto 109
Large Modern House With Private Parking - Foto 110
Large Modern House With Private Parking - Foto 111
Large Modern House With Private Parking - Foto 112
Large Modern House With Private Parking - Foto 113
Large Modern House With Private Parking - Foto 114
Large Modern House With Private Parking - Foto 115
Large Modern House With Private Parking - Foto 116
Large Modern House With Private Parking - Foto 117
Large Modern House With Private Parking - Foto 118
Large Modern House With Private Parking - Foto 119
Large Modern House With Private Parking - Foto 120
Large Modern House With Private Parking - Foto 121
Large Modern House With Private Parking - Foto 122
Large Modern House With Private Parking - Foto 123
Large Modern House With Private Parking - Foto 124
Large Modern House With Private Parking - Foto 125
Large Modern House With Private Parking - Foto 126
Large Modern House With Private Parking - Foto 127
Large Modern House With Private Parking - Foto 128
Large Modern House With Private Parking - Foto 129
Large Modern House With Private Parking - Foto 130
Large Modern House With Private Parking - Foto 131
Large Modern House With Private Parking - Foto 132
Large Modern House With Private Parking - Foto 133
Large Modern House With Private Parking - Foto 134
Large Modern House With Private Parking - Foto 135
Large Modern House With Private Parking - Foto 136
Large Modern House With Private Parking - Foto 137
Large Modern House With Private Parking - Foto 138
Large Modern House With Private Parking - Foto 139
Large Modern House With Private Parking - Foto 140
Large Modern House With Private Parking - Foto 141
Large Modern House With Private Parking - Foto 142
Large Modern House With Private Parking - Foto 143
Large Modern House With Private Parking - Foto 144
Large Modern House With Private Parking - Foto 145
Large Modern House With Private Parking - Foto 146
Large Modern House With Private Parking - Foto 147
Large Modern House With Private Parking - Foto 148
Large Modern House With Private Parking - Foto 149
Large Modern House With Private Parking - Foto 150
Large Modern House With Private Parking - Foto 151
Large Modern House With Private Parking - Foto 152
Large Modern House With Private Parking - Foto 153
Large Modern House With Private Parking - Foto 154
Large Modern House With Private Parking - Foto 155
Large Modern House With Private Parking - Foto 156
Large Modern House With Private Parking - Foto 157
Large Modern House With Private Parking - Foto 158
Large Modern House With Private Parking - Foto 159
Large Modern House With Private Parking - Foto 160

Large Modern House With Private Parking

Sheffield - Heeley - A 2 km del centro

  • 1 M2
  • 4 habitaciones
  • 8 personas
  • Calefacción
  • Parking
  • Jardín
8.7Muy bueno | 57 reseñas
Luxeliving The Larch Residence - Foto 1
Luxeliving The Larch Residence - Foto 2
Luxeliving The Larch Residence - Foto 3
Luxeliving The Larch Residence - Foto 4
Luxeliving The Larch Residence - Foto 5
Luxeliving The Larch Residence - Foto 6
Luxeliving The Larch Residence - Foto 7
Luxeliving The Larch Residence - Foto 8
Luxeliving The Larch Residence - Foto 9
Luxeliving The Larch Residence - Foto 10
Luxeliving The Larch Residence - Foto 11
Luxeliving The Larch Residence - Foto 12
Luxeliving The Larch Residence - Foto 13
Luxeliving The Larch Residence - Foto 14
Luxeliving The Larch Residence - Foto 15
Luxeliving The Larch Residence - Foto 16
Luxeliving The Larch Residence - Foto 17
Luxeliving The Larch Residence - Foto 18
Luxeliving The Larch Residence - Foto 19
Luxeliving The Larch Residence - Foto 20
Luxeliving The Larch Residence - Foto 21

Luxeliving The Larch Residence

Sheffield - Sheffield - A 4.1 km del centro

  • 2 habitaciones
  • 4 personas
  • Parking
9.7Excepcional | 15 reseñas
BlueOne Serviced Apartments-Sandon House - Foto 1
BlueOne Serviced Apartments-Sandon House - Foto 2
BlueOne Serviced Apartments-Sandon House - Foto 3
BlueOne Serviced Apartments-Sandon House - Foto 4
BlueOne Serviced Apartments-Sandon House - Foto 5
BlueOne Serviced Apartments-Sandon House - Foto 6
BlueOne Serviced Apartments-Sandon House - Foto 7
BlueOne Serviced Apartments-Sandon House - Foto 8
BlueOne Serviced Apartments-Sandon House - Foto 9
BlueOne Serviced Apartments-Sandon House - Foto 10
BlueOne Serviced Apartments-Sandon House - Foto 11
BlueOne Serviced Apartments-Sandon House - Foto 12
BlueOne Serviced Apartments-Sandon House - Foto 13
BlueOne Serviced Apartments-Sandon House - Foto 14
BlueOne Serviced Apartments-Sandon House - Foto 15
BlueOne Serviced Apartments-Sandon House - Foto 16
BlueOne Serviced Apartments-Sandon House - Foto 17
BlueOne Serviced Apartments-Sandon House - Foto 18
BlueOne Serviced Apartments-Sandon House - Foto 19
BlueOne Serviced Apartments-Sandon House - Foto 20
BlueOne Serviced Apartments-Sandon House - Foto 21
BlueOne Serviced Apartments-Sandon House - Foto 22
BlueOne Serviced Apartments-Sandon House - Foto 23
BlueOne Serviced Apartments-Sandon House - Foto 24
BlueOne Serviced Apartments-Sandon House - Foto 25
BlueOne Serviced Apartments-Sandon House - Foto 26
BlueOne Serviced Apartments-Sandon House - Foto 27
BlueOne Serviced Apartments-Sandon House - Foto 28
BlueOne Serviced Apartments-Sandon House - Foto 29
BlueOne Serviced Apartments-Sandon House - Foto 30
BlueOne Serviced Apartments-Sandon House - Foto 31
BlueOne Serviced Apartments-Sandon House - Foto 32
BlueOne Serviced Apartments-Sandon House - Foto 33
BlueOne Serviced Apartments-Sandon House - Foto 34
BlueOne Serviced Apartments-Sandon House - Foto 35
BlueOne Serviced Apartments-Sandon House - Foto 36
BlueOne Serviced Apartments-Sandon House - Foto 37
BlueOne Serviced Apartments-Sandon House - Foto 38
BlueOne Serviced Apartments-Sandon House - Foto 39
BlueOne Serviced Apartments-Sandon House - Foto 40
BlueOne Serviced Apartments-Sandon House - Foto 41
BlueOne Serviced Apartments-Sandon House - Foto 42

BlueOne Serviced Apartments-Sandon House

Sheffield - Sheffield - A 1.1 km del centro

  • 6 personas
  • Calefacción
  • Parking
  • Lavadora
  • Toallas
  • Sábanas
8.6Muy bueno | 28 reseñas
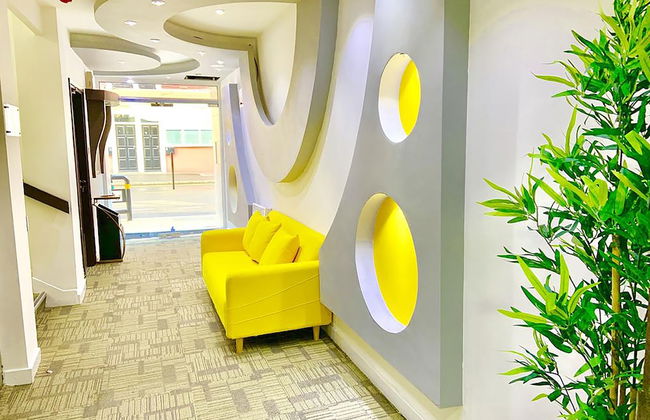
Queen Stay Apartments - Foto 1
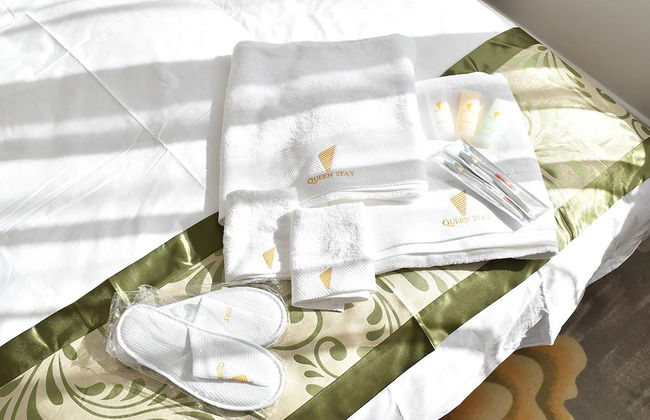
Queen Stay Apartments - Foto 2
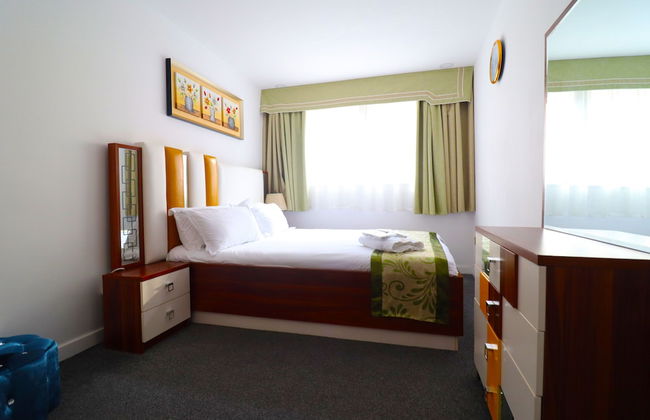
Queen Stay Apartments - Foto 3
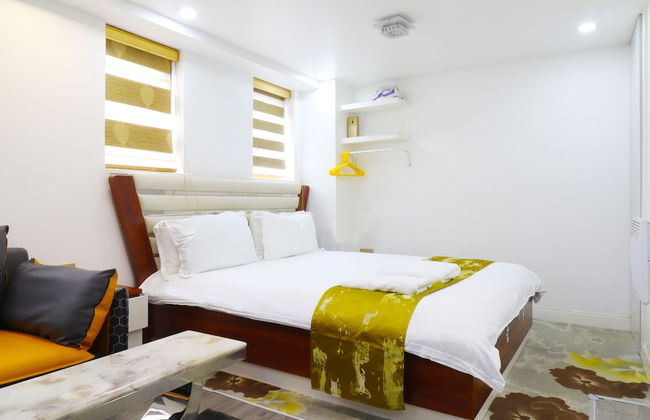
Queen Stay Apartments - Foto 4
Queen Stay Apartments - Foto 5
Queen Stay Apartments - Foto 6
Queen Stay Apartments - Foto 7
Queen Stay Apartments - Foto 8
Queen Stay Apartments - Foto 9
Queen Stay Apartments - Foto 10
Queen Stay Apartments - Foto 11
Queen Stay Apartments - Foto 12
Queen Stay Apartments - Foto 13
Queen Stay Apartments - Foto 14
Queen Stay Apartments - Foto 15
Queen Stay Apartments - Foto 16
Queen Stay Apartments - Foto 17
Queen Stay Apartments - Foto 18
Queen Stay Apartments - Foto 19
Queen Stay Apartments - Foto 20
Queen Stay Apartments - Foto 21
Queen Stay Apartments - Foto 22
Queen Stay Apartments - Foto 23
Queen Stay Apartments - Foto 24
Queen Stay Apartments - Foto 25
Queen Stay Apartments - Foto 26
Queen Stay Apartments - Foto 27
Queen Stay Apartments - Foto 28
Queen Stay Apartments - Foto 29
Queen Stay Apartments - Foto 30
Queen Stay Apartments - Foto 31
Queen Stay Apartments - Foto 32
Queen Stay Apartments - Foto 33
Queen Stay Apartments - Foto 34
Queen Stay Apartments - Foto 35
Queen Stay Apartments - Foto 36
Queen Stay Apartments - Foto 37
Queen Stay Apartments - Foto 38
Queen Stay Apartments - Foto 39
Queen Stay Apartments - Foto 40
Queen Stay Apartments - Foto 41
Queen Stay Apartments - Foto 42
Queen Stay Apartments - Foto 43
Queen Stay Apartments - Foto 44
Queen Stay Apartments - Foto 45
Queen Stay Apartments - Foto 46
Queen Stay Apartments - Foto 47
Queen Stay Apartments - Foto 48
Queen Stay Apartments - Foto 49
Queen Stay Apartments - Foto 50
Queen Stay Apartments - Foto 51
Queen Stay Apartments - Foto 52
Queen Stay Apartments - Foto 53
Queen Stay Apartments - Foto 54
Queen Stay Apartments - Foto 55
Queen Stay Apartments - Foto 56
Queen Stay Apartments - Foto 57
Queen Stay Apartments - Foto 58
Queen Stay Apartments - Foto 59
Queen Stay Apartments - Foto 60
Queen Stay Apartments - Foto 61
Queen Stay Apartments - Foto 62
Queen Stay Apartments - Foto 63
Queen Stay Apartments - Foto 64
Queen Stay Apartments - Foto 65
Queen Stay Apartments - Foto 66
Queen Stay Apartments - Foto 67
Queen Stay Apartments - Foto 68
Queen Stay Apartments - Foto 69
Queen Stay Apartments - Foto 70

Queen Stay Apartments

Sheffield - Sheffield - En el centro

  • 4 personas
  • Calefacción
  • Parking
  • Televisión
  • Lavadora
  • Toallas
  • Sábanas
8.6Muy bueno | 41 reseñas
Contemporary City Centre 3 bedroom apartment - Foto 1
Contemporary City Centre 3 bedroom apartment - Foto 2
Contemporary City Centre 3 bedroom apartment - Foto 3
Contemporary City Centre 3 bedroom apartment - Foto 4
Contemporary City Centre 3 bedroom apartment - Foto 5
Contemporary City Centre 3 bedroom apartment - Foto 6
Contemporary City Centre 3 bedroom apartment - Foto 7
Contemporary City Centre 3 bedroom apartment - Foto 8
Contemporary City Centre 3 bedroom apartment - Foto 9
Contemporary City Centre 3 bedroom apartment - Foto 10
Contemporary City Centre 3 bedroom apartment - Foto 11
Contemporary City Centre 3 bedroom apartment - Foto 12
Contemporary City Centre 3 bedroom apartment - Foto 13
Contemporary City Centre 3 bedroom apartment - Foto 14
Contemporary City Centre 3 bedroom apartment - Foto 15
Contemporary City Centre 3 bedroom apartment - Foto 16
Contemporary City Centre 3 bedroom apartment - Foto 17
Contemporary City Centre 3 bedroom apartment - Foto 18
Contemporary City Centre 3 bedroom apartment - Foto 19

Contemporary City Centre 3 bedroom apartment

Sheffield - Sheffield - En el centro

  • 90 M2
  • 3 habitaciones
  • 6 personas
  • Calefacción
9.4Excepcional | 34 reseñas
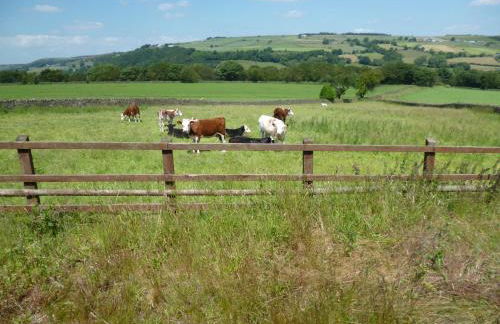
Stylish 2-Bed Apartment, Free Parking, Walk to Hospital & Uni - Foto 1
Stylish 2-Bed Apartment, Free Parking, Walk to Hospital & Uni - Foto 2
Stylish 2-Bed Apartment, Free Parking, Walk to Hospital & Uni - Foto 3
Stylish 2-Bed Apartment, Free Parking, Walk to Hospital & Uni - Foto 4
Stylish 2-Bed Apartment, Free Parking, Walk to Hospital & Uni - Foto 5
Stylish 2-Bed Apartment, Free Parking, Walk to Hospital & Uni - Foto 6
Stylish 2-Bed Apartment, Free Parking, Walk to Hospital & Uni - Foto 7
Stylish 2-Bed Apartment, Free Parking, Walk to Hospital & Uni - Foto 8
Stylish 2-Bed Apartment, Free Parking, Walk to Hospital & Uni - Foto 9
Stylish 2-Bed Apartment, Free Parking, Walk to Hospital & Uni - Foto 10
Stylish 2-Bed Apartment, Free Parking, Walk to Hospital & Uni - Foto 11
Stylish 2-Bed Apartment, Free Parking, Walk to Hospital & Uni - Foto 12
Stylish 2-Bed Apartment, Free Parking, Walk to Hospital & Uni - Foto 13
Stylish 2-Bed Apartment, Free Parking, Walk to Hospital & Uni - Foto 14
Stylish 2-Bed Apartment, Free Parking, Walk to Hospital & Uni - Foto 15
Stylish 2-Bed Apartment, Free Parking, Walk to Hospital & Uni - Foto 16
Stylish 2-Bed Apartment, Free Parking, Walk to Hospital & Uni - Foto 17
Stylish 2-Bed Apartment, Free Parking, Walk to Hospital & Uni - Foto 18
Stylish 2-Bed Apartment, Free Parking, Walk to Hospital & Uni - Foto 19
Stylish 2-Bed Apartment, Free Parking, Walk to Hospital & Uni - Foto 20
Stylish 2-Bed Apartment, Free Parking, Walk to Hospital & Uni - Foto 21
Stylish 2-Bed Apartment, Free Parking, Walk to Hospital & Uni - Foto 22
Stylish 2-Bed Apartment, Free Parking, Walk to Hospital & Uni - Foto 23
Stylish 2-Bed Apartment, Free Parking, Walk to Hospital & Uni - Foto 24
Stylish 2-Bed Apartment, Free Parking, Walk to Hospital & Uni - Foto 25
Stylish 2-Bed Apartment, Free Parking, Walk to Hospital & Uni - Foto 26
Stylish 2-Bed Apartment, Free Parking, Walk to Hospital & Uni - Foto 27
Stylish 2-Bed Apartment, Free Parking, Walk to Hospital & Uni - Foto 28
Stylish 2-Bed Apartment, Free Parking, Walk to Hospital & Uni - Foto 29
Stylish 2-Bed Apartment, Free Parking, Walk to Hospital & Uni - Foto 30
Stylish 2-Bed Apartment, Free Parking, Walk to Hospital & Uni - Foto 31
Stylish 2-Bed Apartment, Free Parking, Walk to Hospital & Uni - Foto 32
Stylish 2-Bed Apartment, Free Parking, Walk to Hospital & Uni - Foto 33
Stylish 2-Bed Apartment, Free Parking, Walk to Hospital & Uni - Foto 34
Stylish 2-Bed Apartment, Free Parking, Walk to Hospital & Uni - Foto 35
Stylish 2-Bed Apartment, Free Parking, Walk to Hospital & Uni - Foto 36
Stylish 2-Bed Apartment, Free Parking, Walk to Hospital & Uni - Foto 37
Stylish 2-Bed Apartment, Free Parking, Walk to Hospital & Uni - Foto 38
Stylish 2-Bed Apartment, Free Parking, Walk to Hospital & Uni - Foto 39
Stylish 2-Bed Apartment, Free Parking, Walk to Hospital & Uni - Foto 40
Stylish 2-Bed Apartment, Free Parking, Walk to Hospital & Uni - Foto 41
Stylish 2-Bed Apartment, Free Parking, Walk to Hospital & Uni - Foto 42
Stylish 2-Bed Apartment, Free Parking, Walk to Hospital & Uni - Foto 43
Stylish 2-Bed Apartment, Free Parking, Walk to Hospital & Uni - Foto 44
Stylish 2-Bed Apartment, Free Parking, Walk to Hospital & Uni - Foto 45
Stylish 2-Bed Apartment, Free Parking, Walk to Hospital & Uni - Foto 46

Stylish 2-Bed Apartment, Free Parking, Walk to Hospital & Uni

Sheffield - Sheffield - A 610 m del centro

  • 72 M2
  • 2 habitaciones
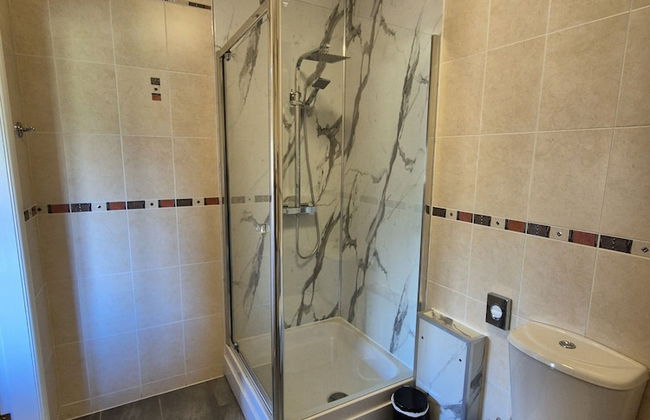
  • 4 personas
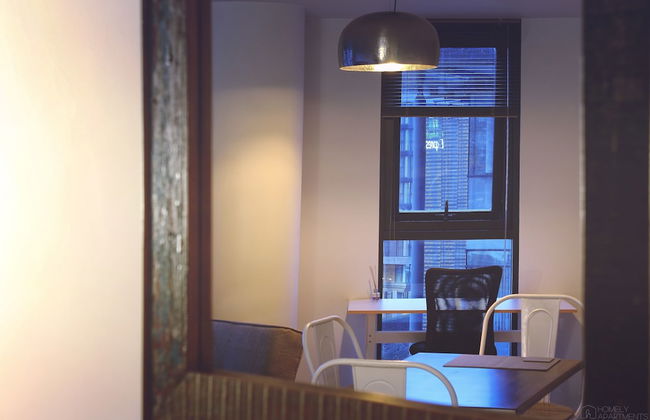
  • Calefacción
  • Terraza
  • Parking
  • Ascensor
  • Jardín
9.5Excepcional | 71 reseñas
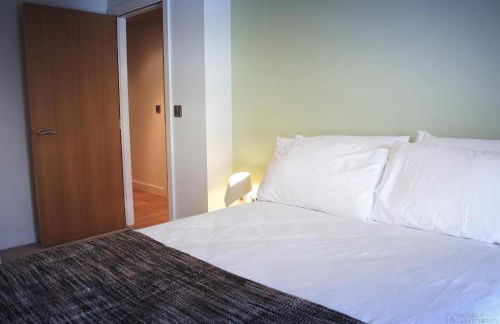
Destinos relacionados