Atención al cliente
ES
EUR
Selecciona las fechas
Selecciona las fechas
2 adultos
2 adultos
Buscar
Reino Unido
Inglaterra
Cornualles
Tintagel
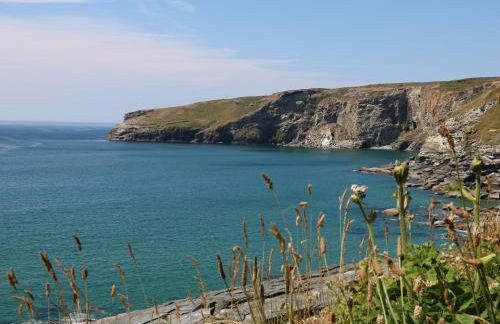
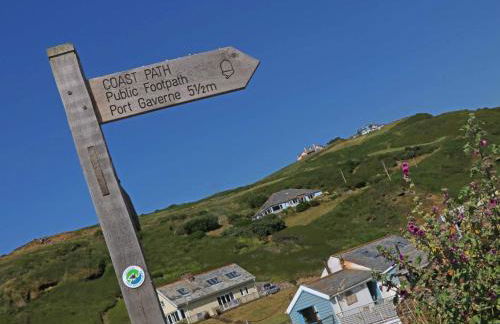
Trebarwith Strand
8
Apartamentos en Trebarwith Strand
Ordenar y filtrar
Ver en el mapa
Ordenar por:
Beach Hut
Tintagel
-
Trebarwith Strand
90 M2
2 personas
Parking
Jardín
9.5
Excepcional
|
4 reseñas
Rock House
Tintagel
-
Trebarwith Strand
105 M2
2 habitaciones
4 personas
Parking
Jardín
9.3
Excepcional
|
4 reseñas
Smugglers Cottage
Tintagel
-
Trebarwith Strand
90 M2
2 personas
Parking
9
Excepcional
|
2 reseñas
Gull Rock
Tintagel
-
Trebarwith Strand
105 M2
2 habitaciones
4 personas
Terraza
Parking
Jardín
10
Magnífico
|
1 reseña
Little Ruffo
Tintagel
-
Trebarwith Strand
145 M2
4 habitaciones
6 personas
Parking
Jardín
9
Excepcional
|
1 reseña
Praxis Trebarwith Strand
Tintagel
-
Trebarwith Strand
490 M2
2 personas
Calefacción
Karrek View - Trebarwith Strand (Sleeps 8-10)
Tintagel
-
Trebarwith Strand
132 M2
4 habitaciones
10 personas
Calefacción
Parking
Jardín
Barbacoa
Stargazy
Tintagel
-
Trebarwith Strand
90 M2
2 personas
Parking
Jardín