664 Apartamentos en Warwickshire
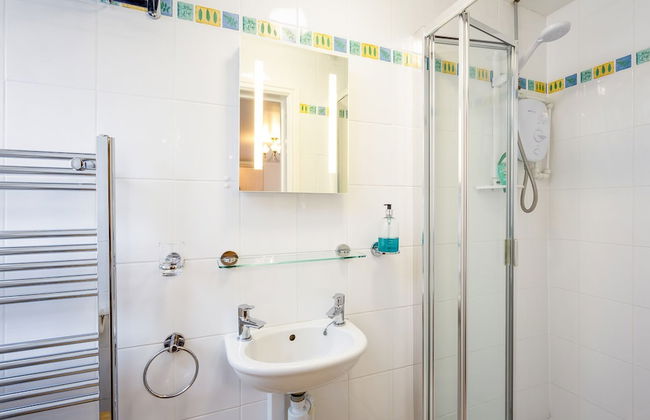
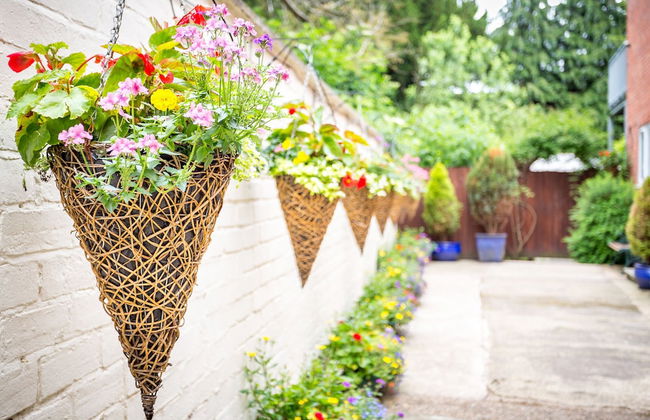
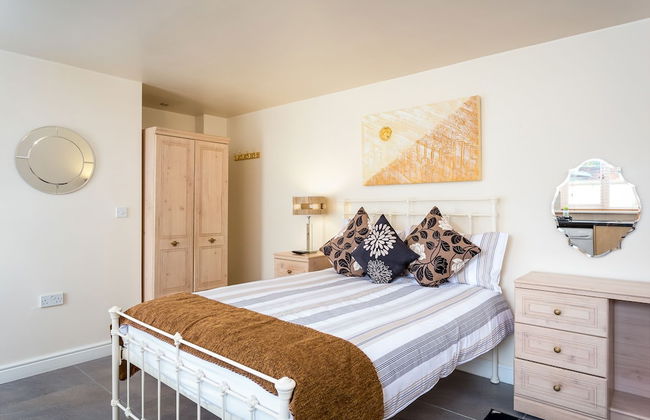
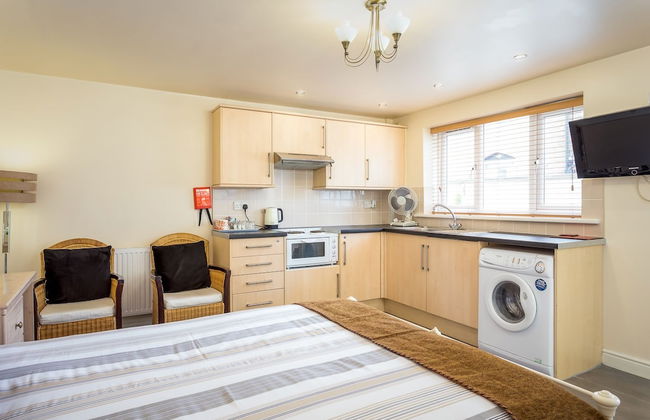
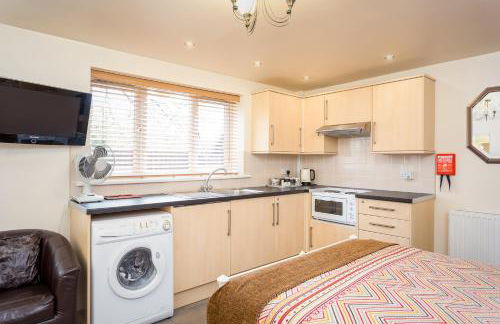
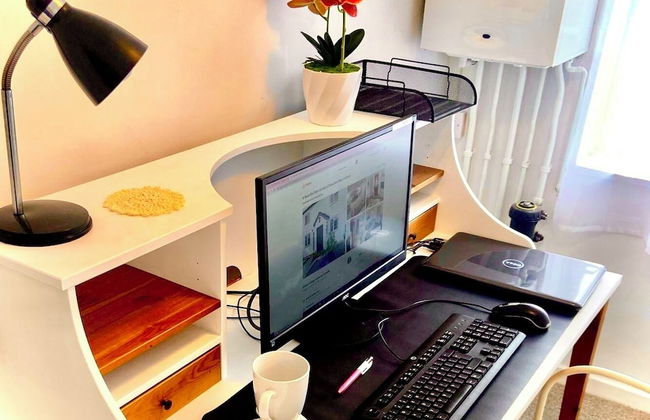
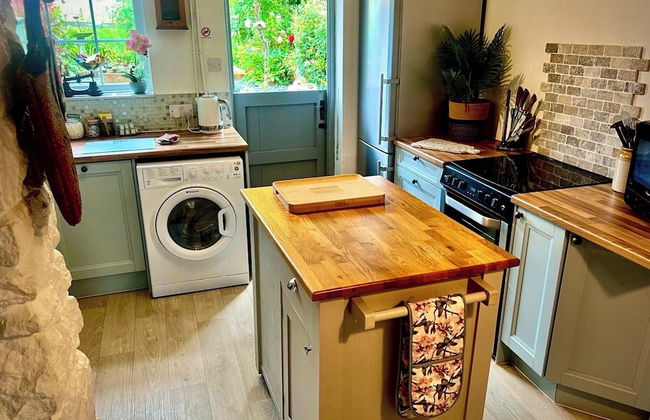
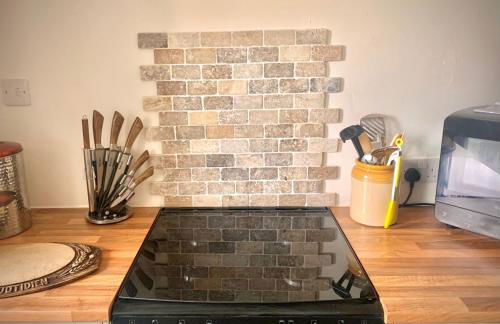
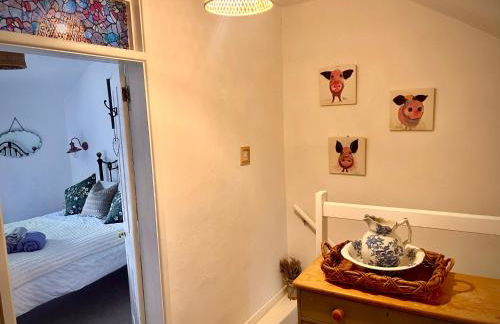
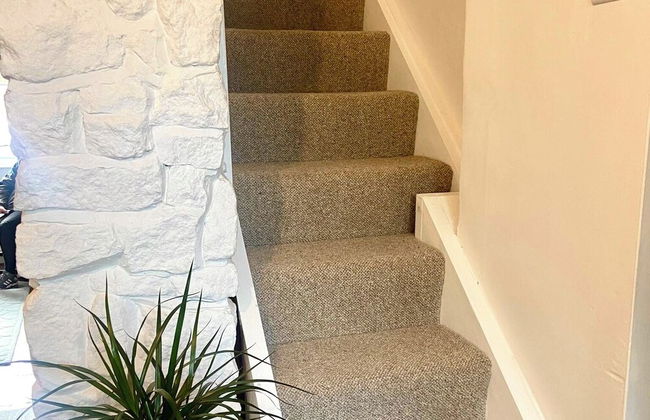
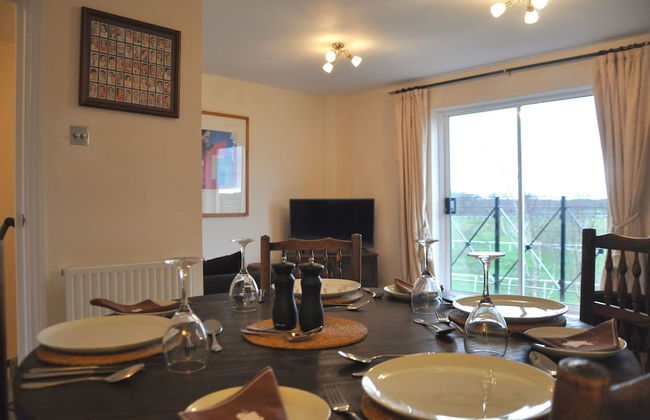
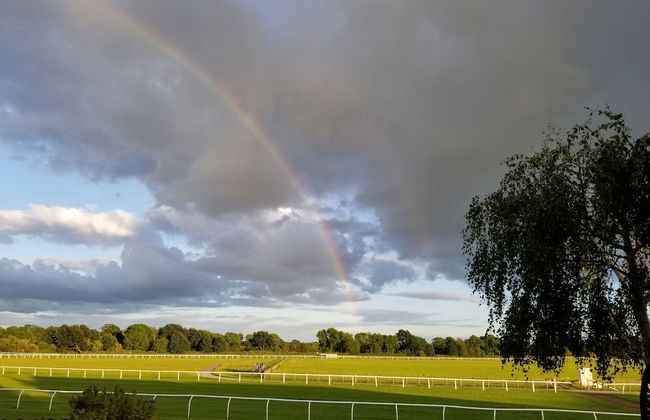
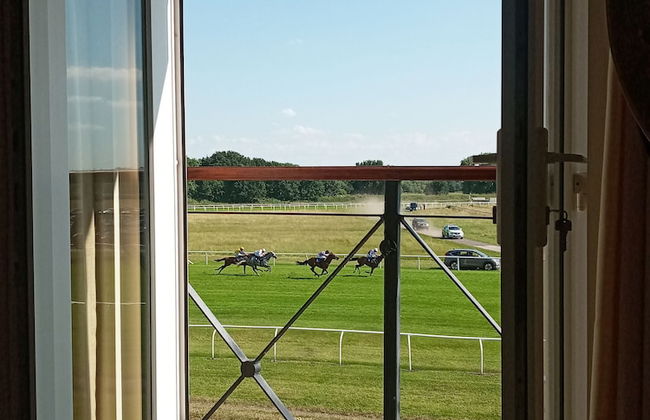
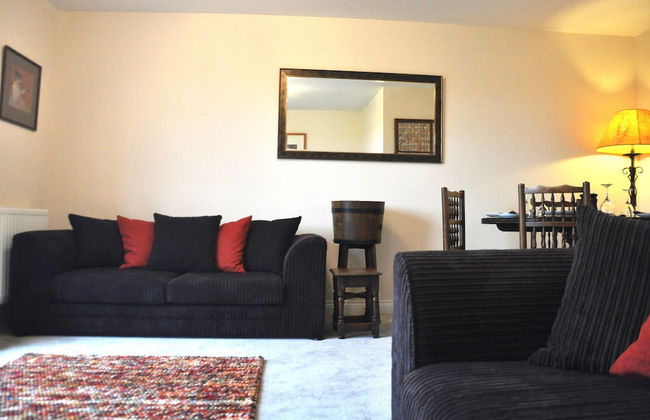
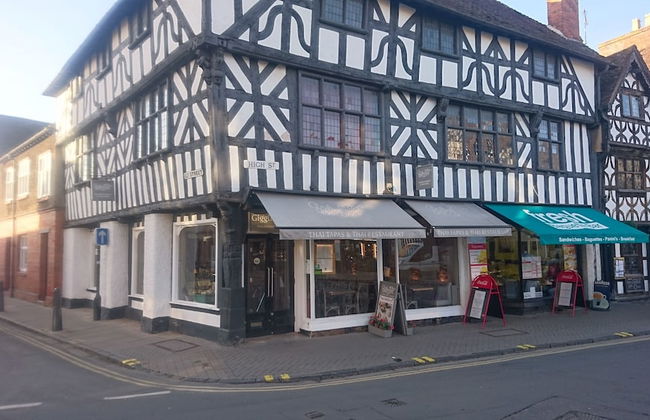
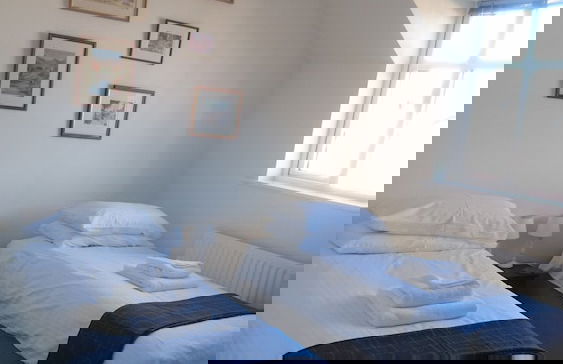
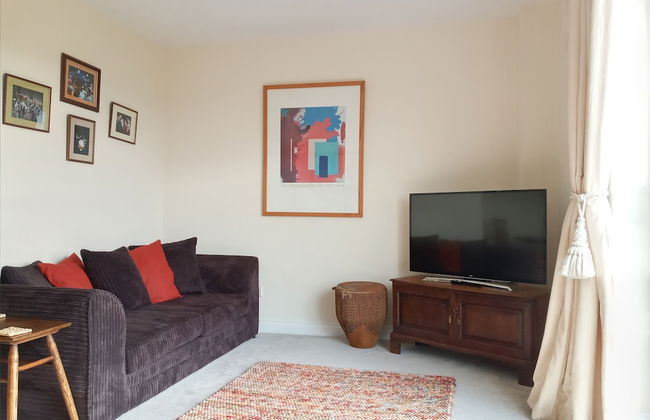
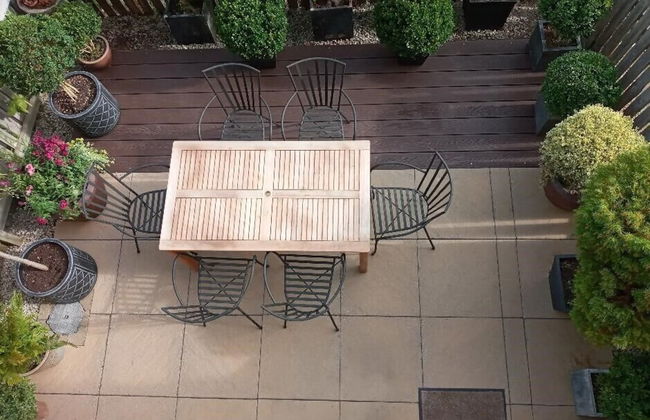
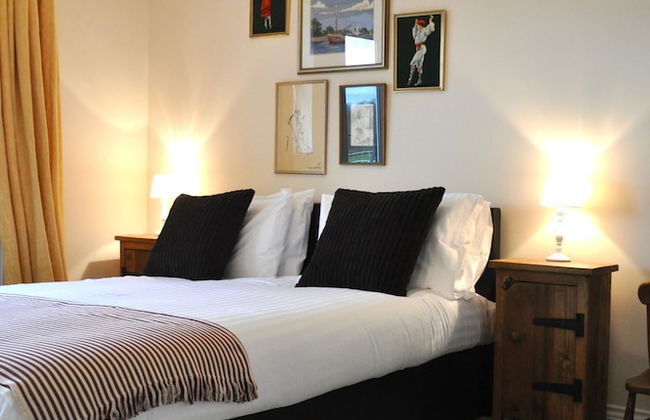
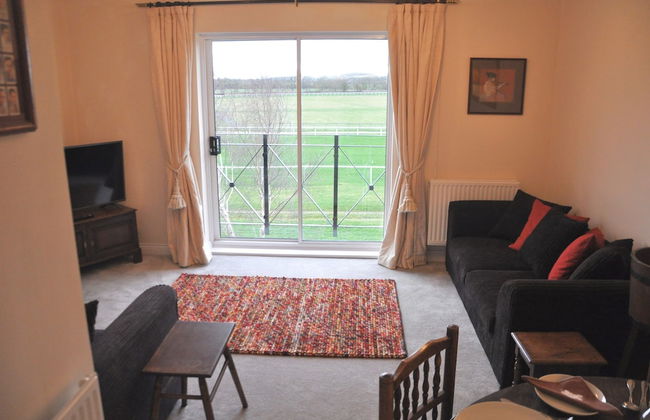
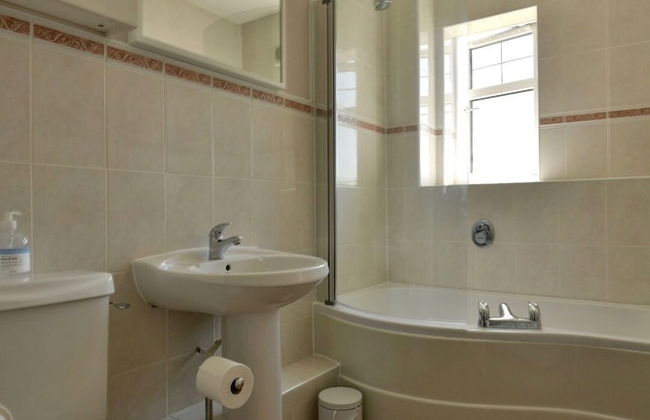
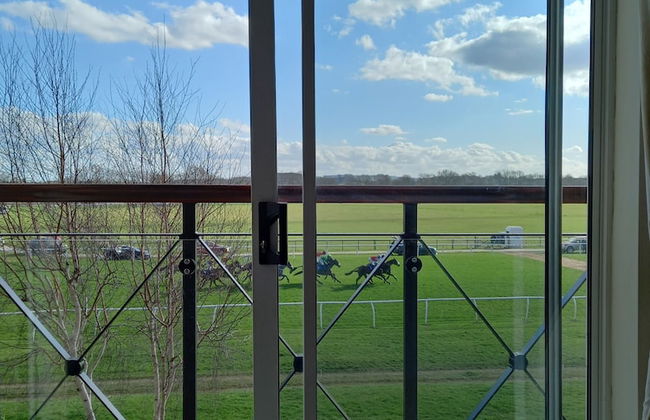
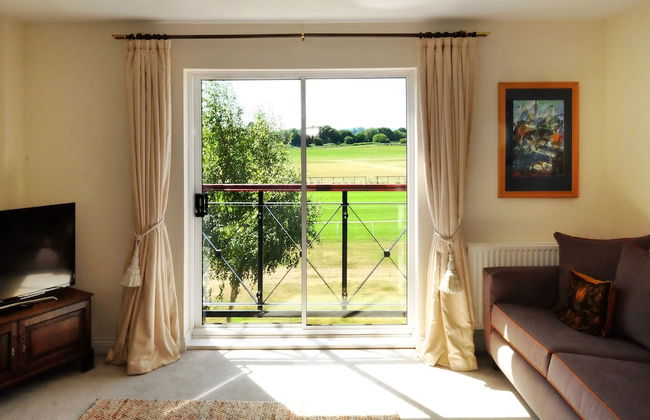
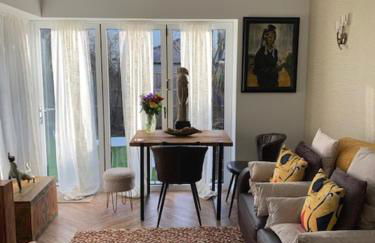
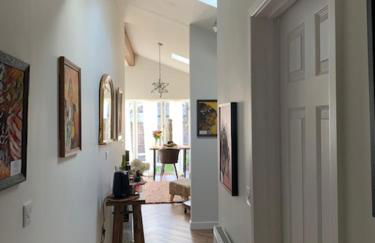
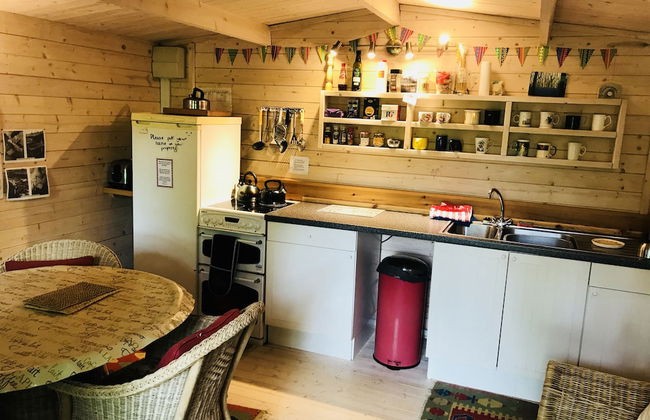
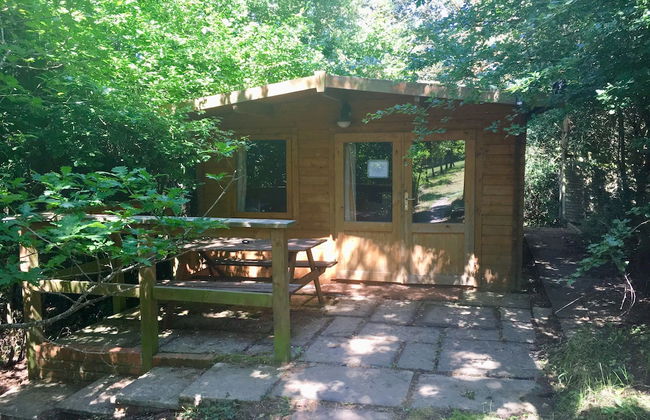
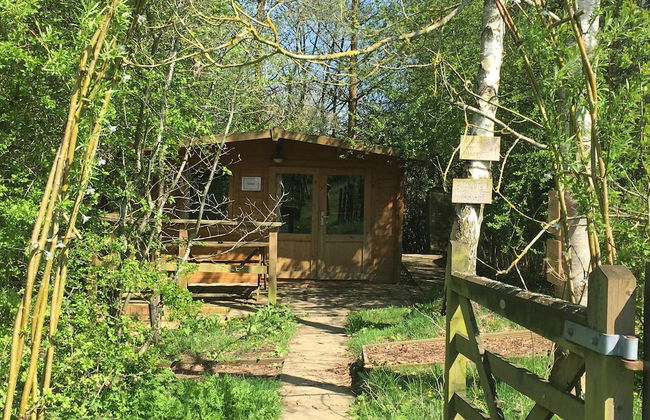
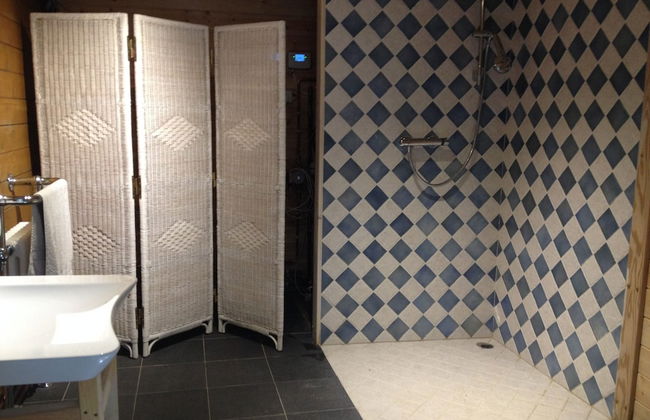
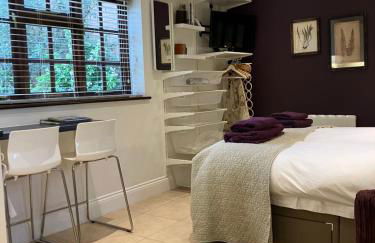
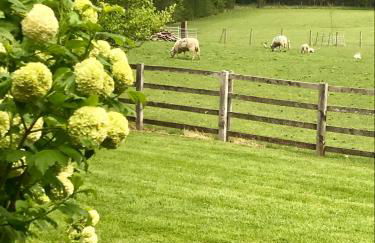
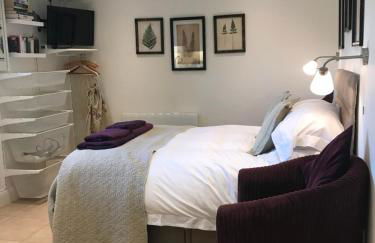
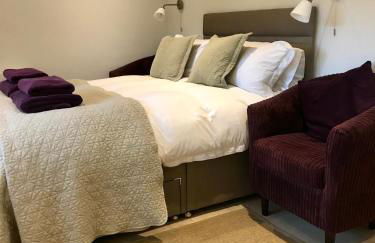
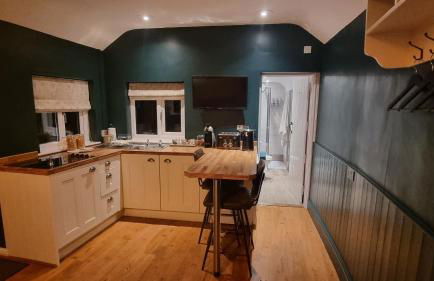
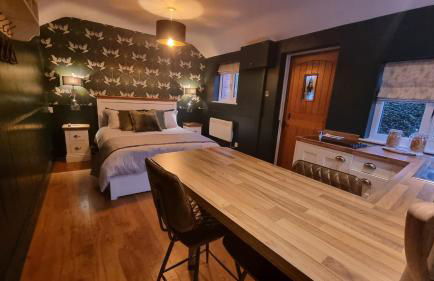
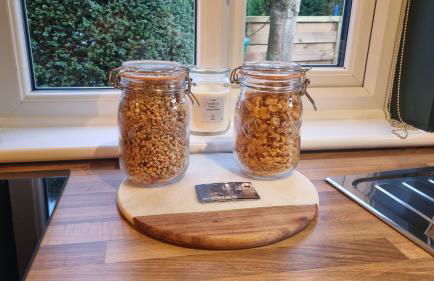
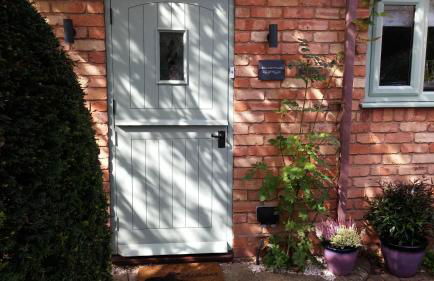
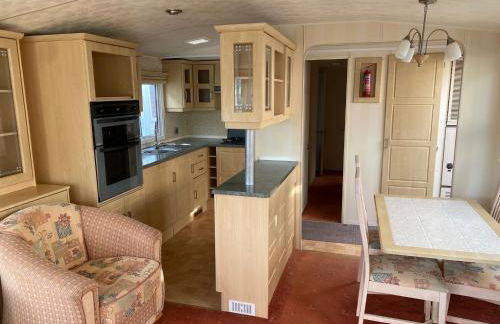
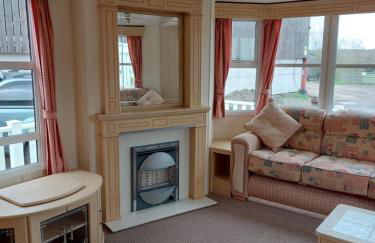
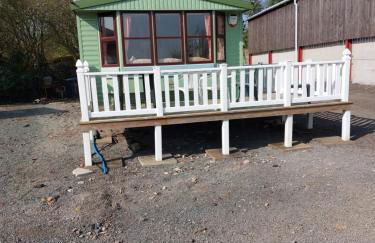
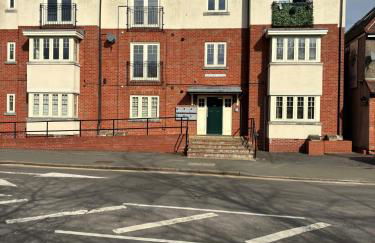
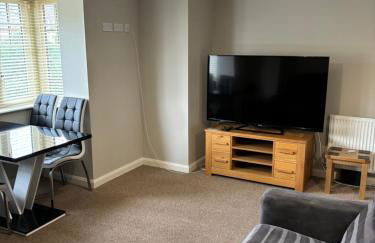
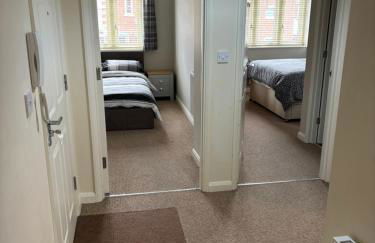
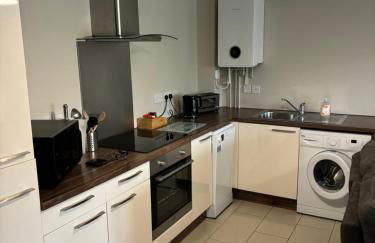
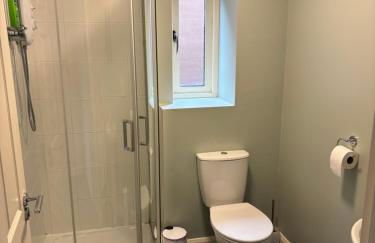
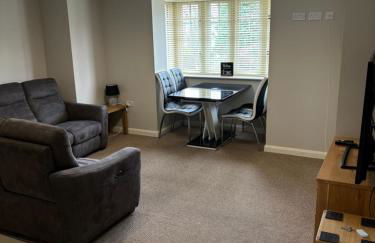
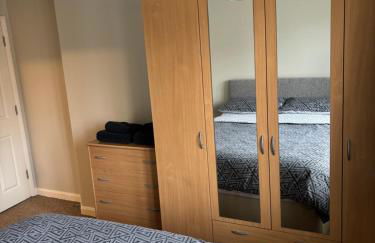
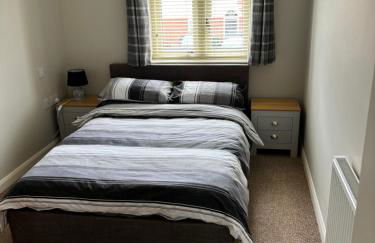
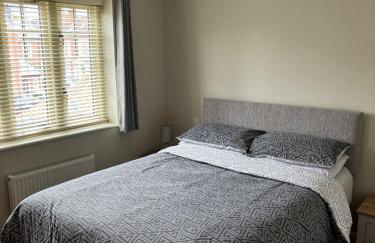
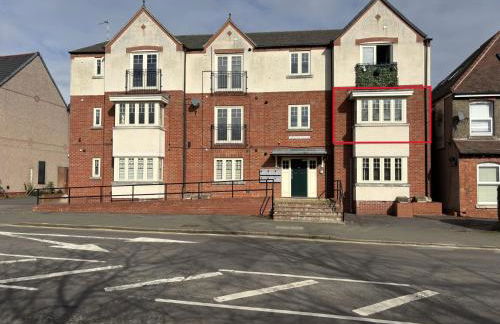
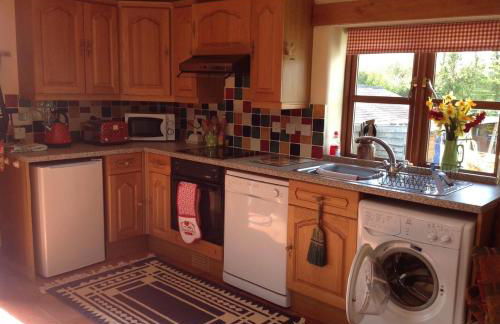
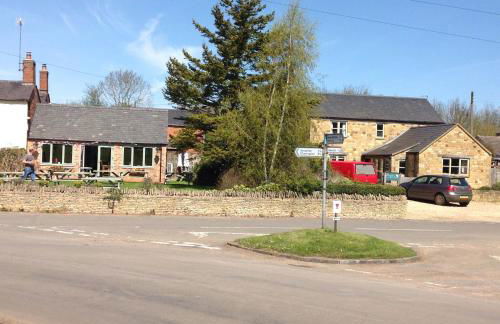
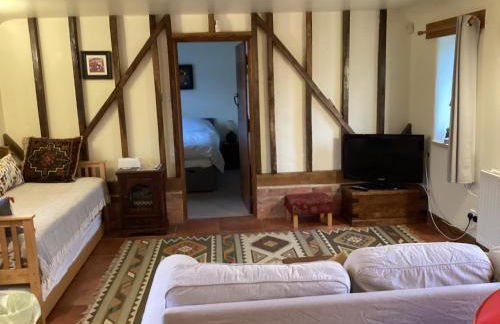
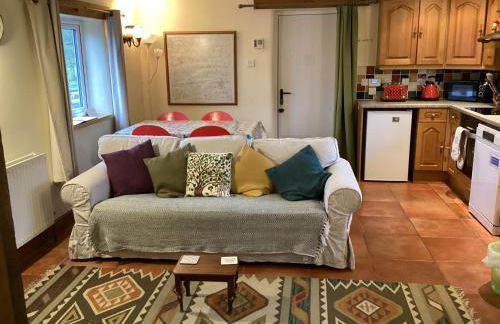
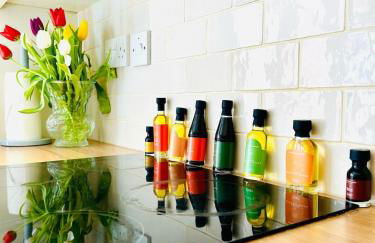
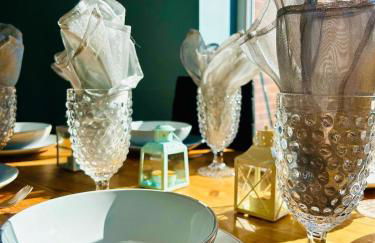
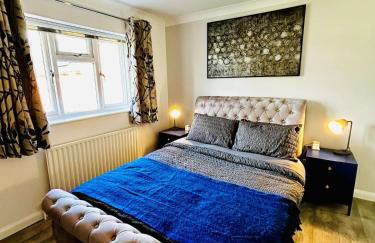
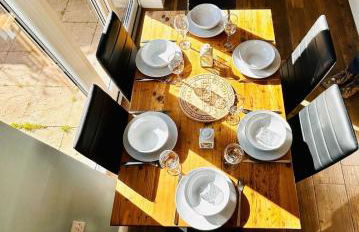
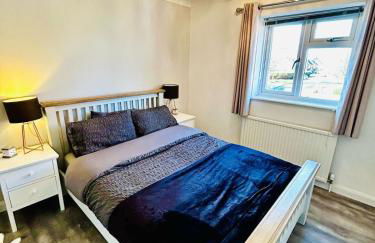
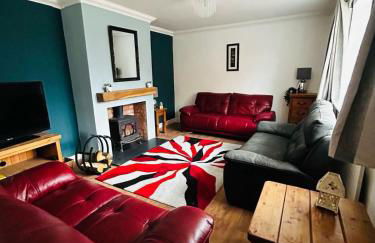
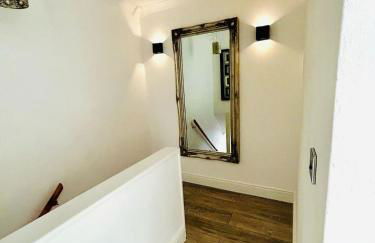
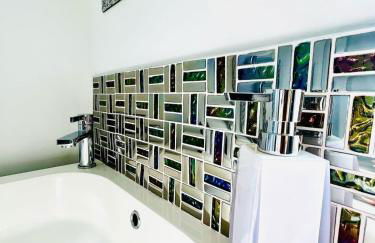
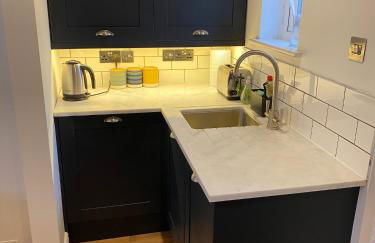
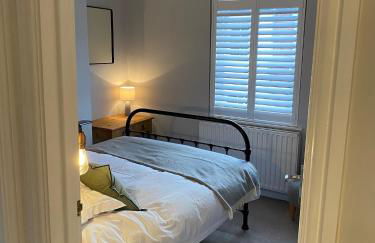
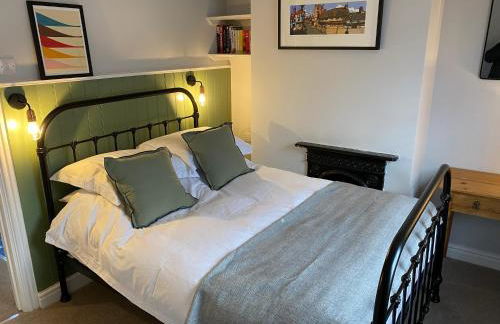
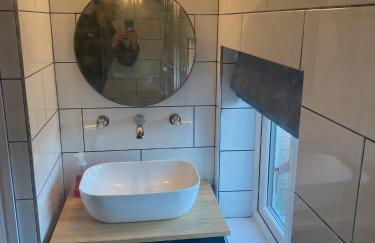
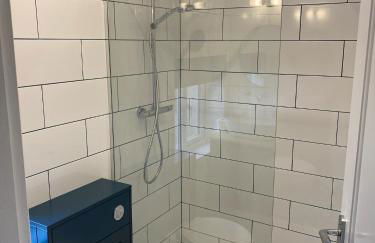
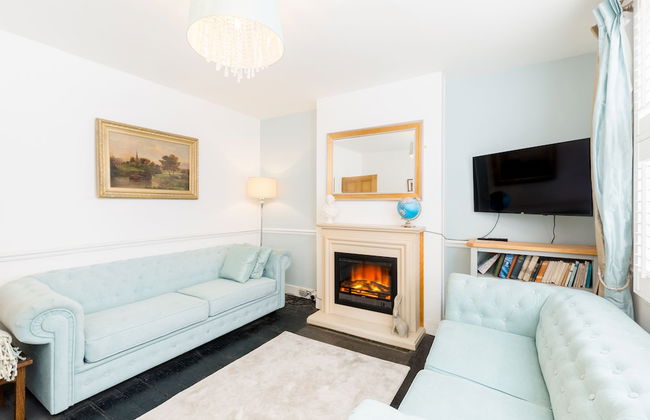
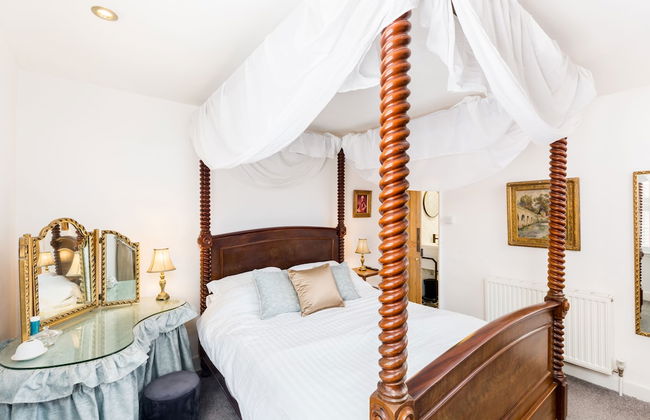
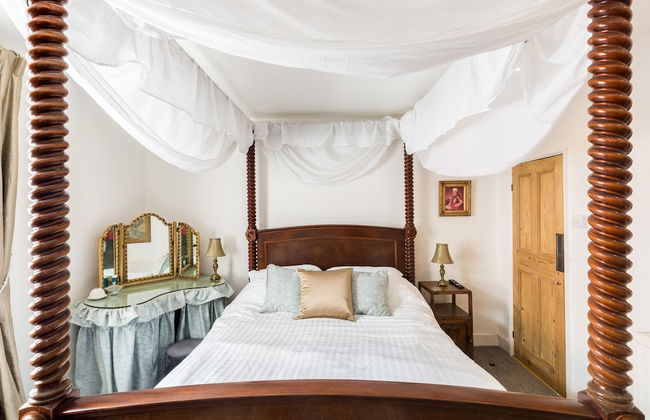
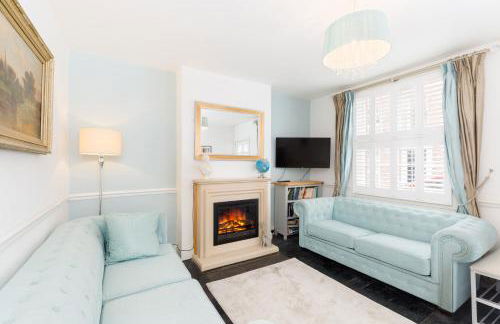
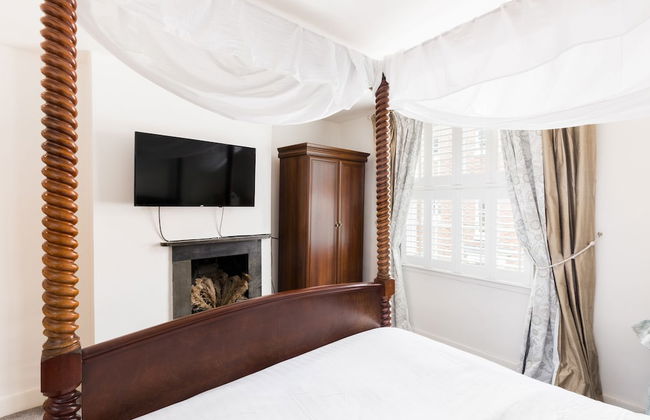
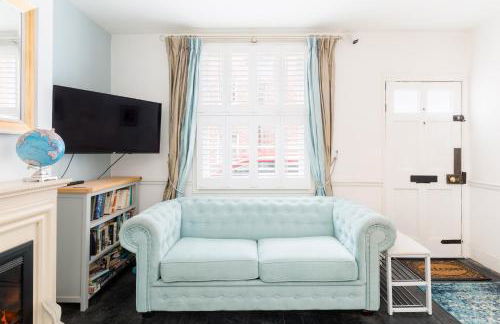
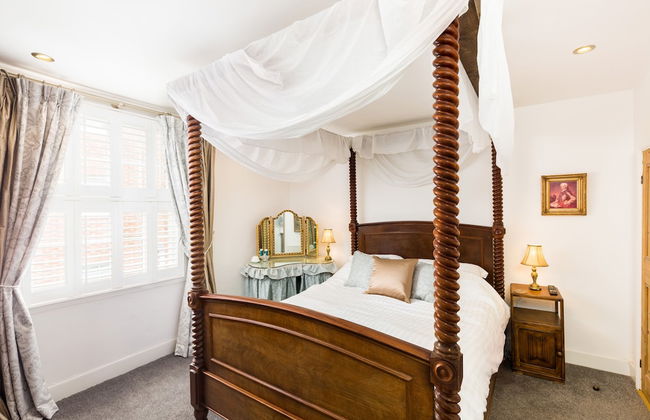
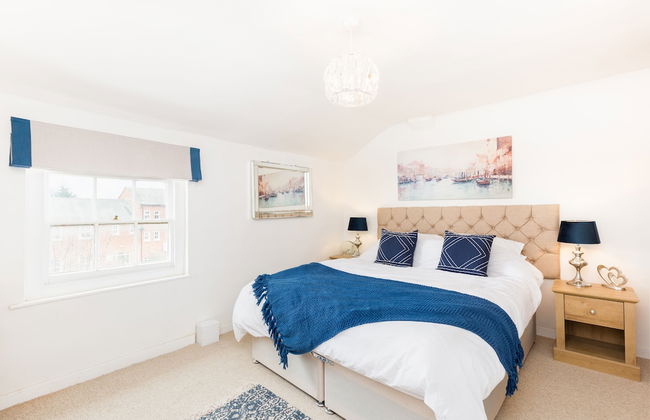
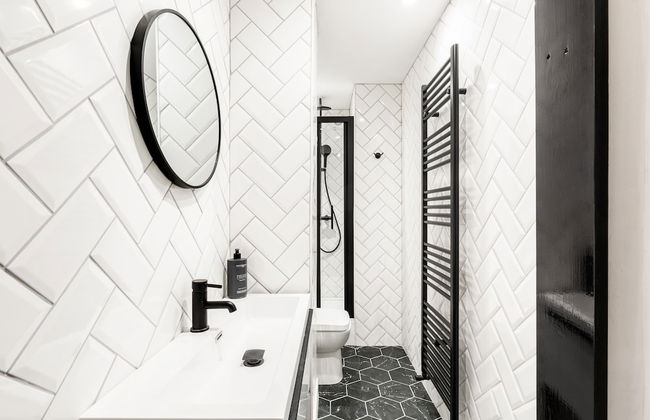
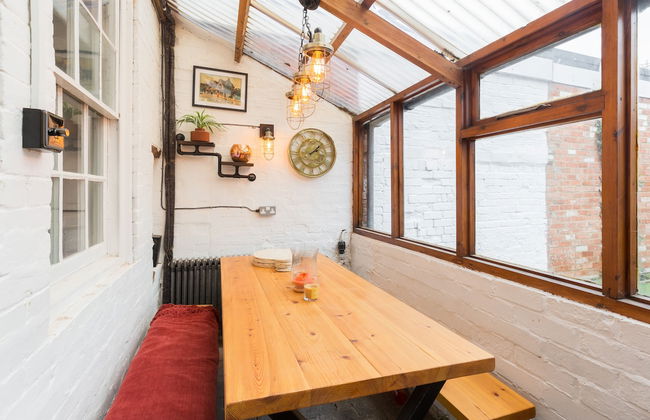
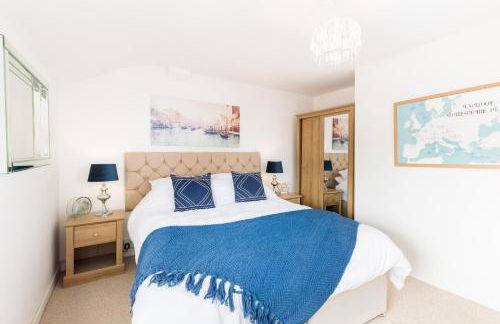
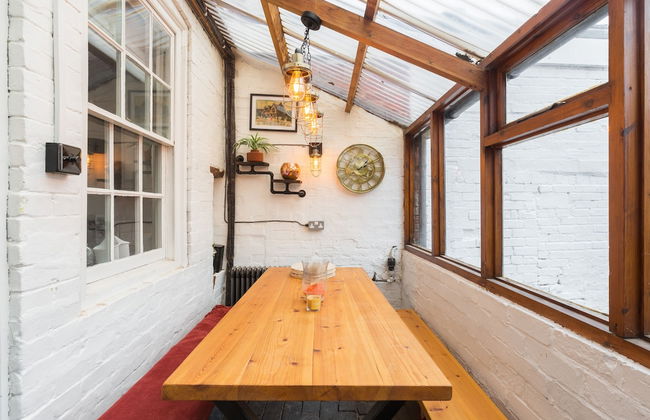
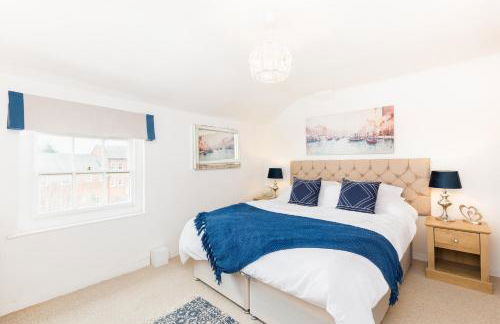
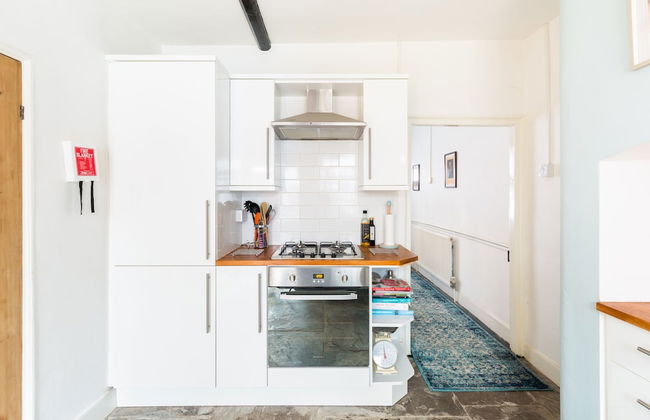
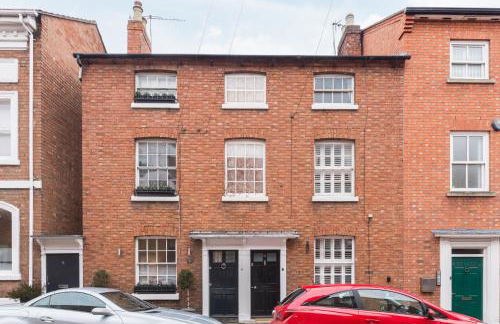
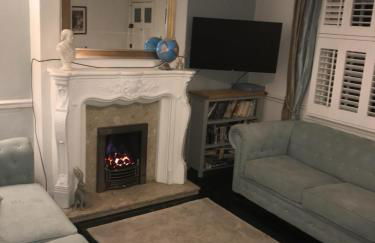
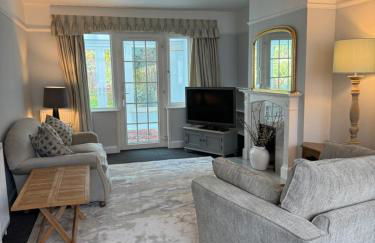
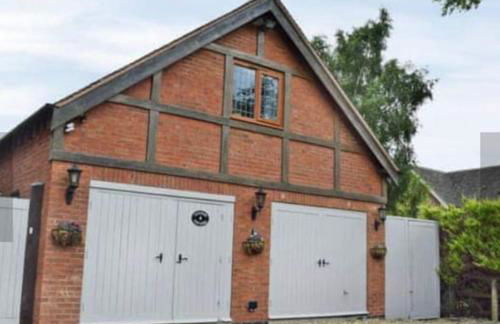
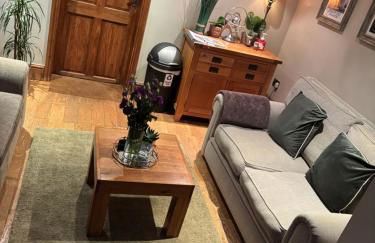
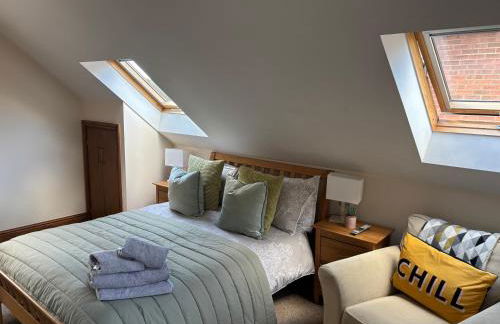
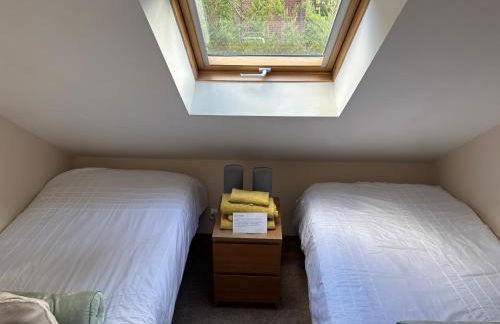
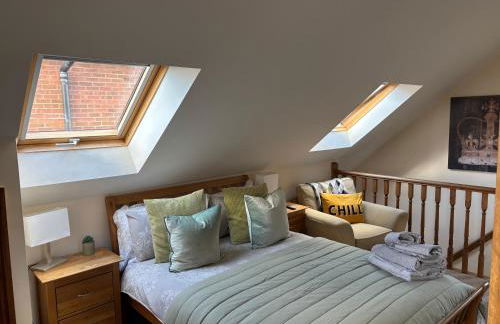
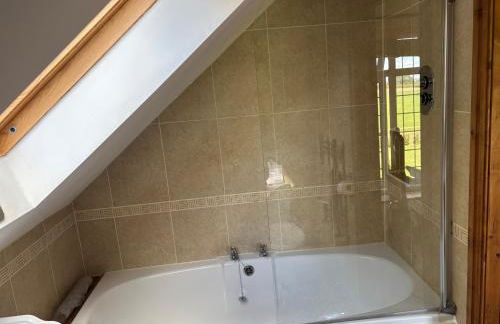
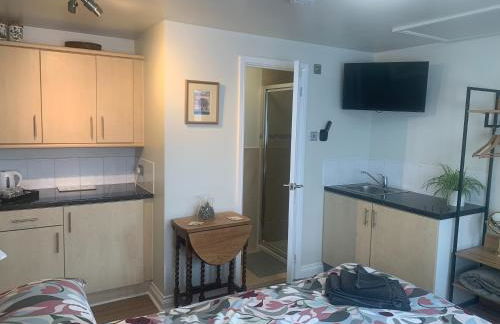
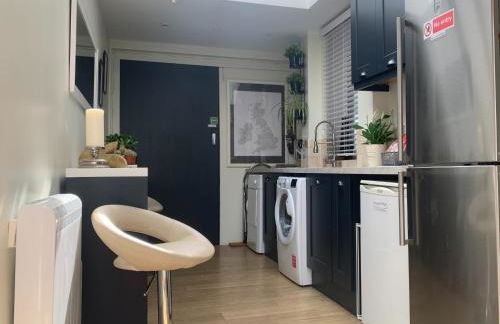
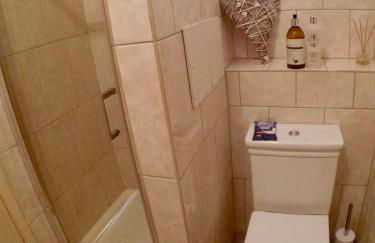
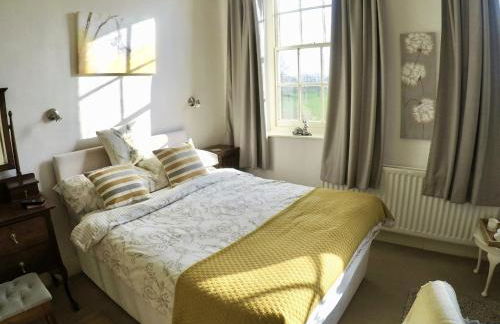
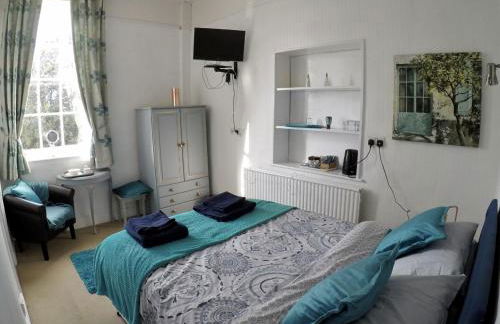
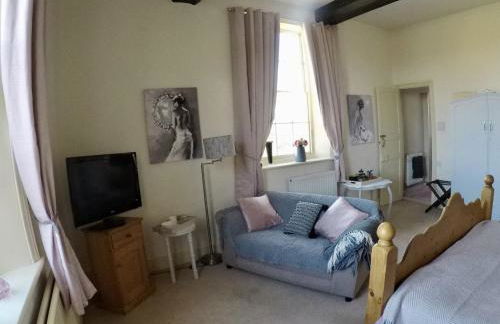
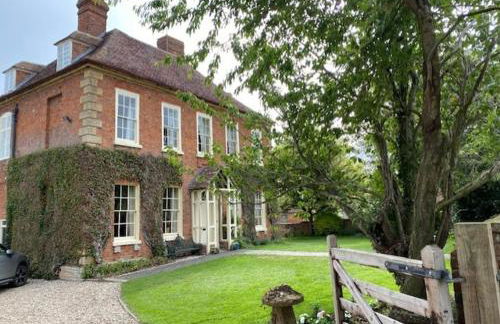
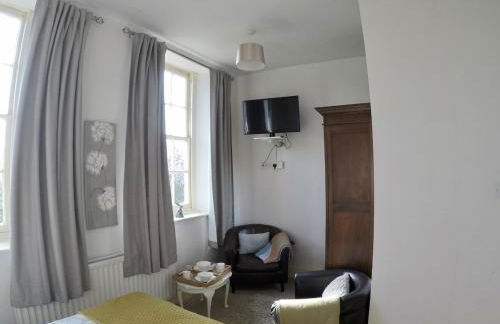
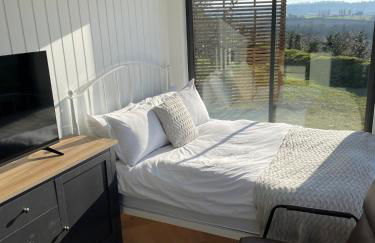
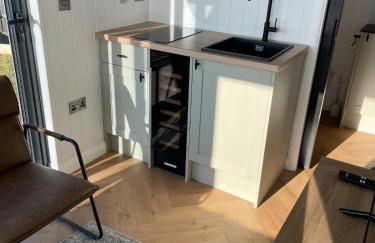
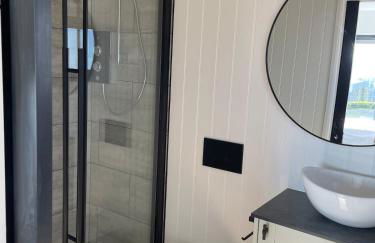
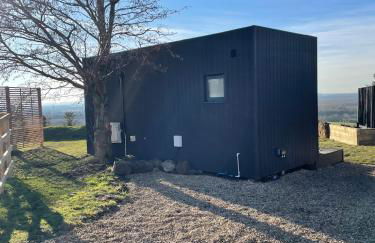
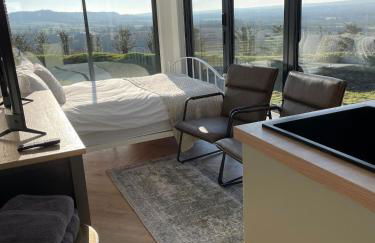
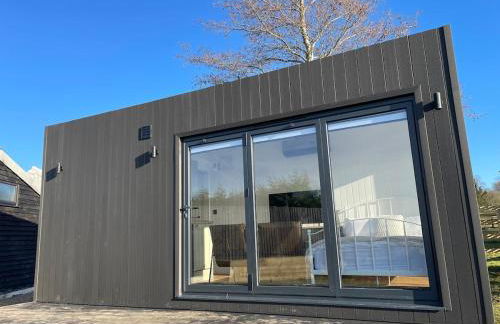
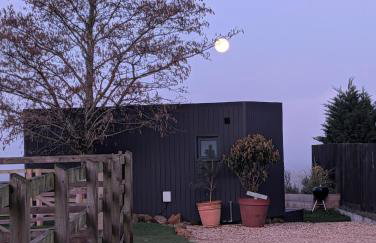
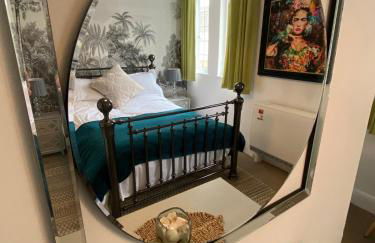
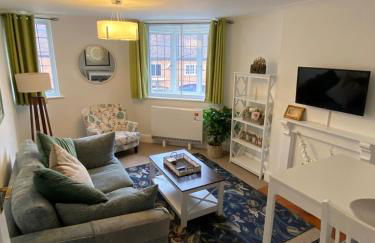
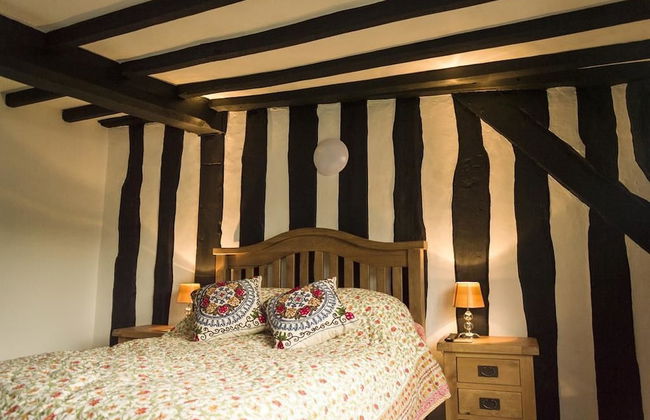
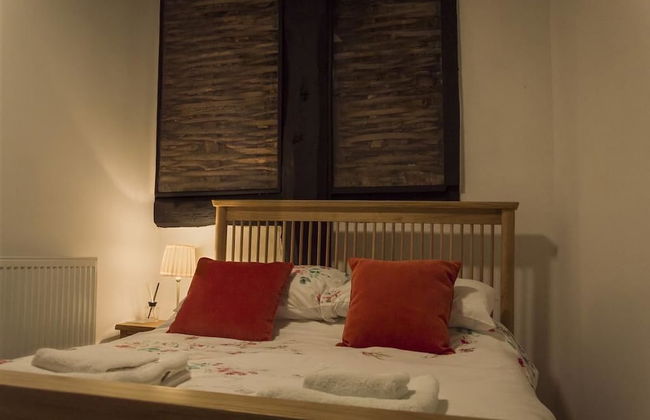
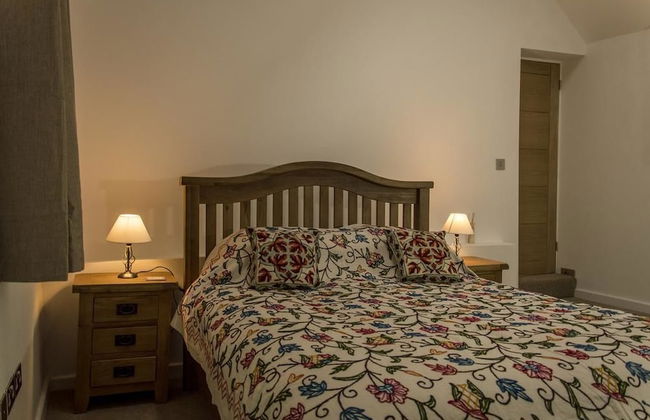
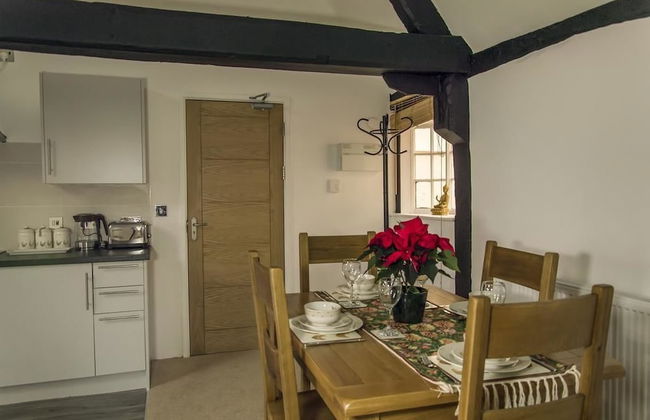
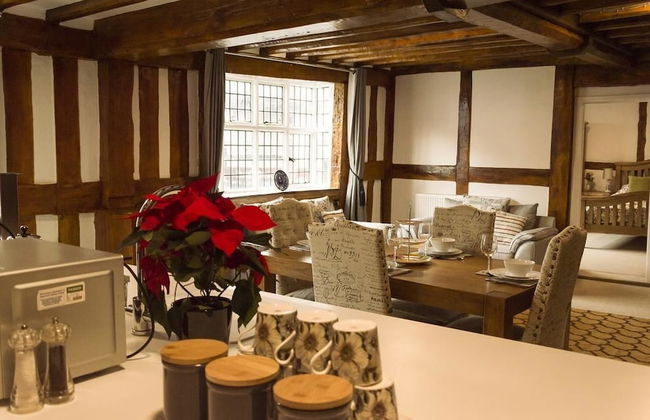
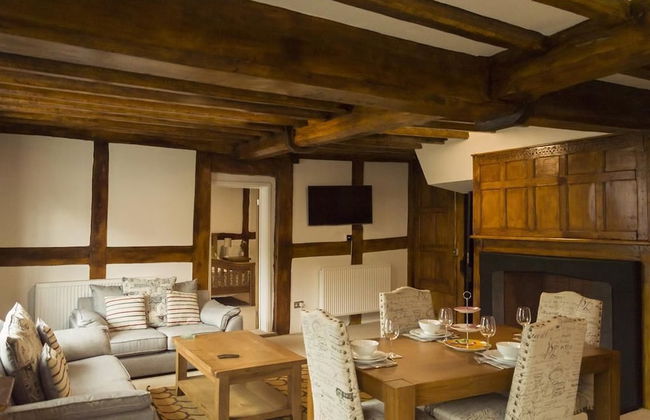
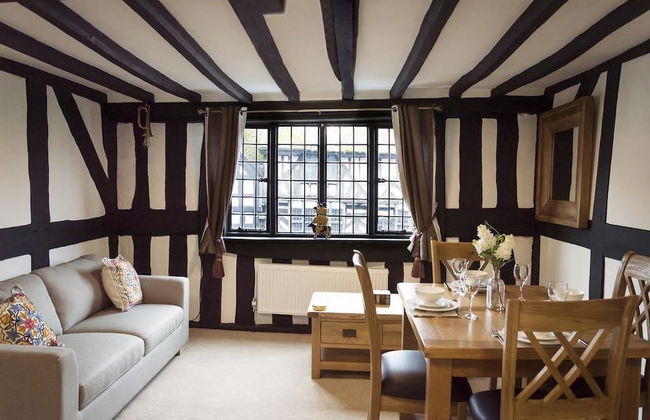
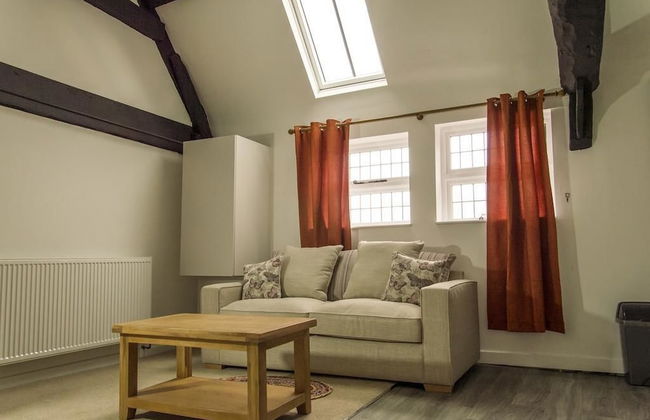
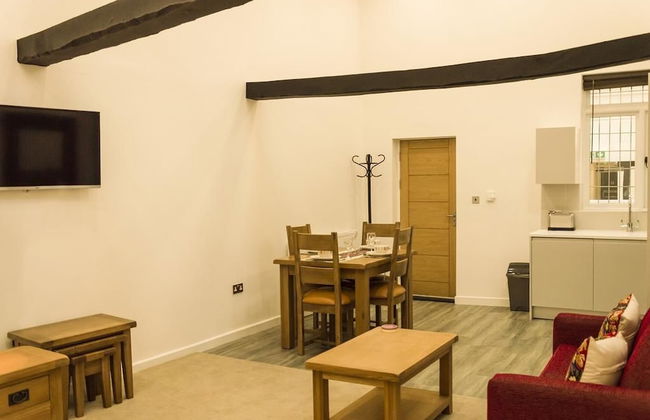
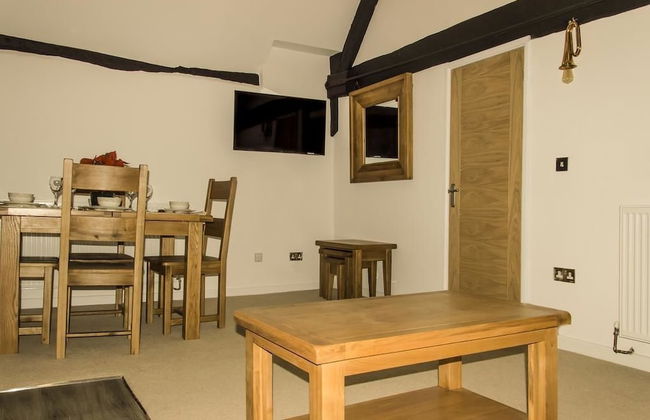
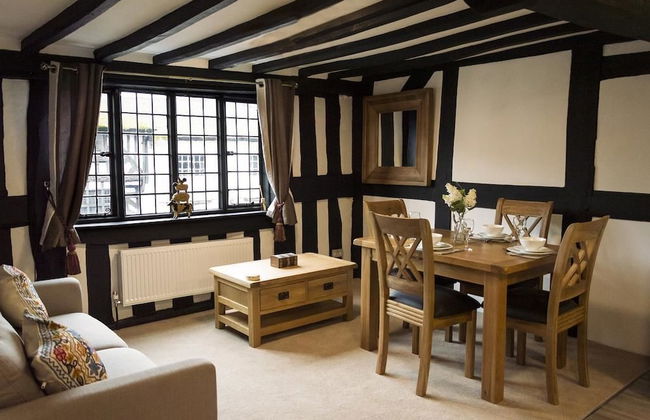
Stratford Studios - Foto 1
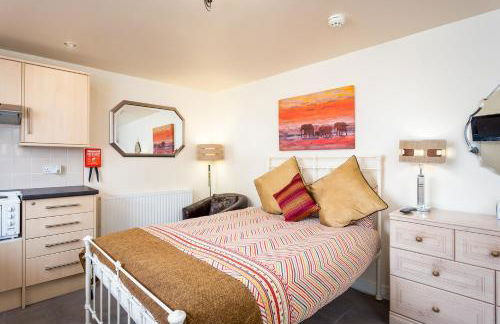
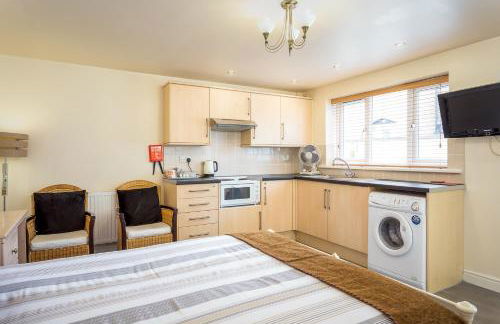
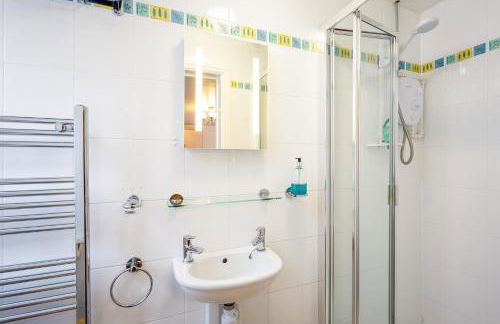
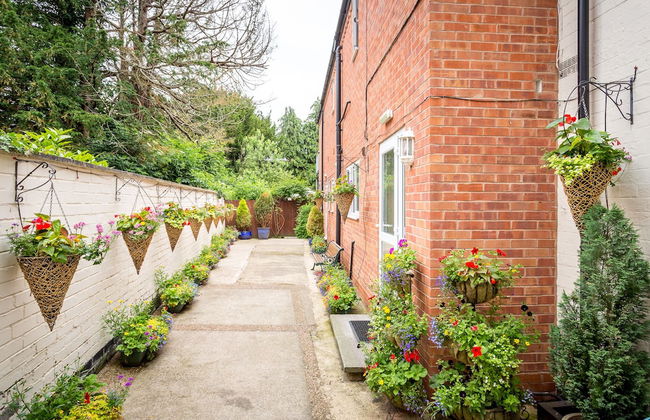
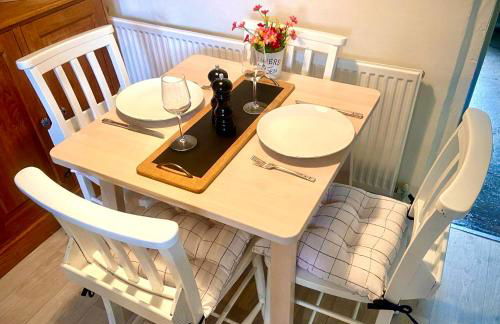
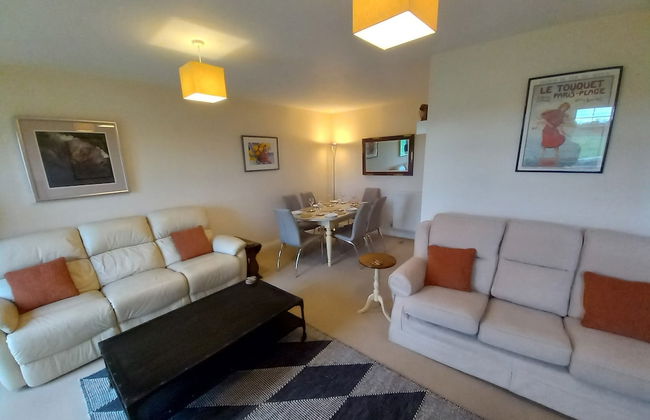
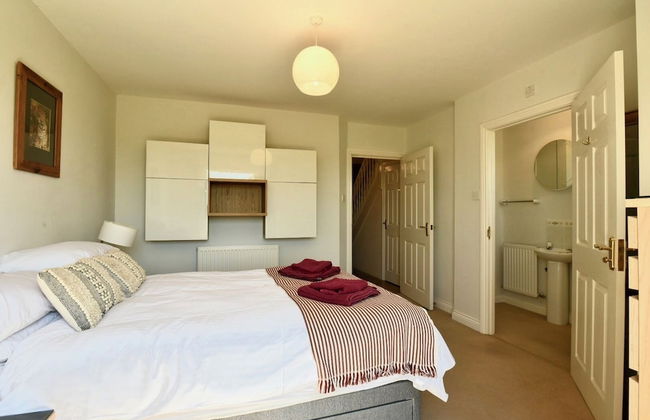
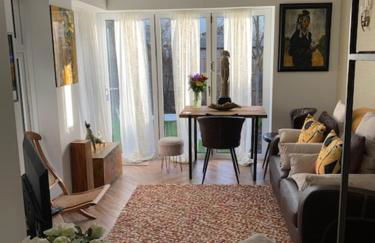
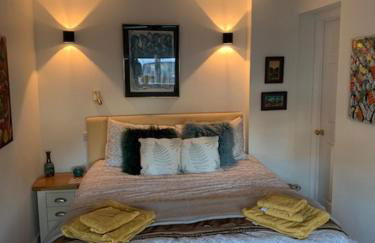
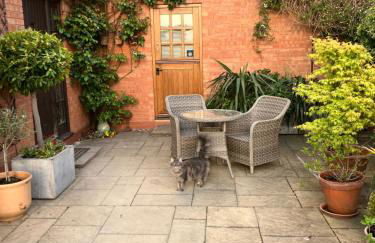
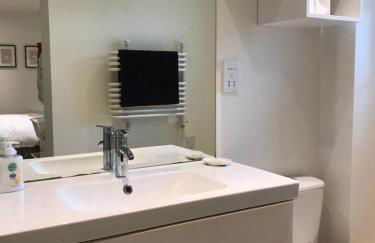
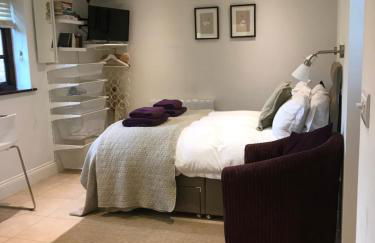
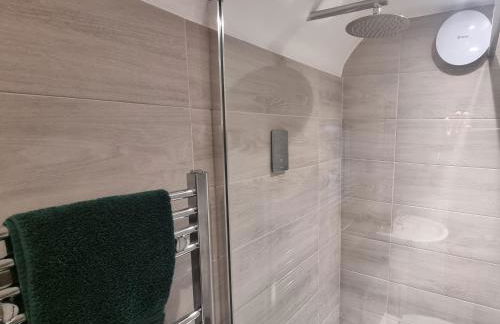
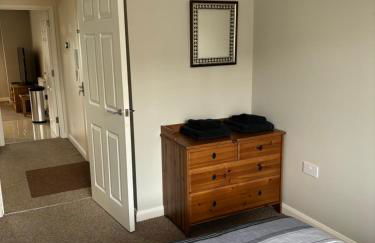
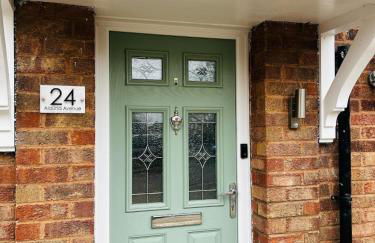
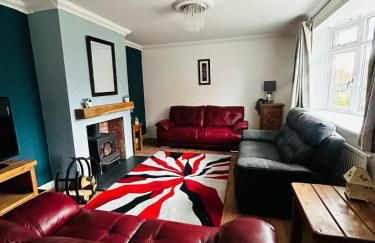
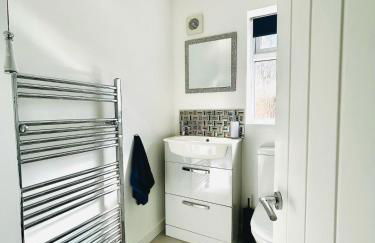
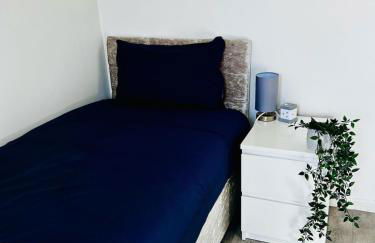
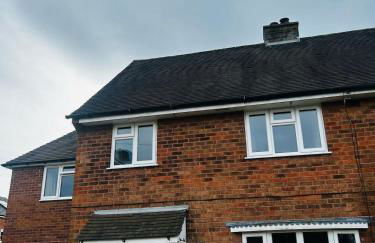
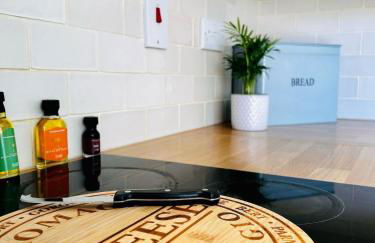
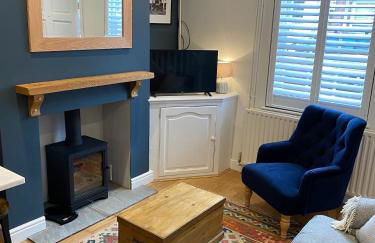
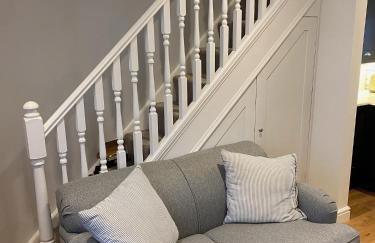
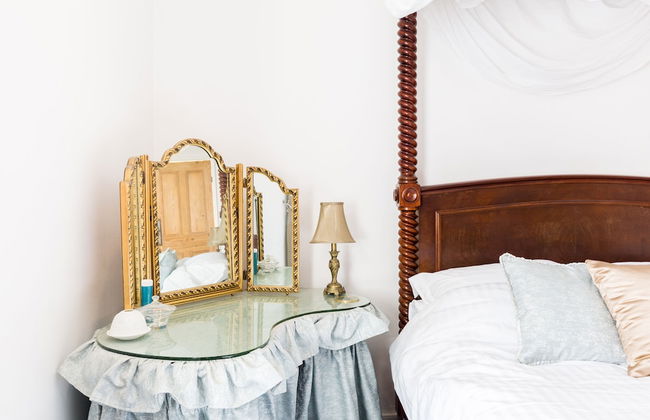
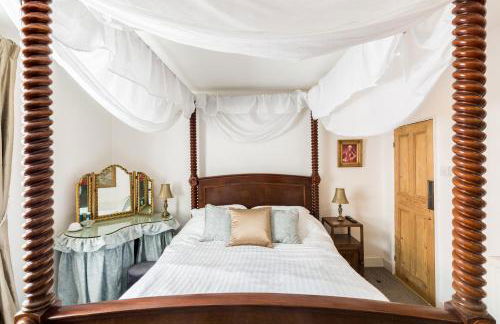
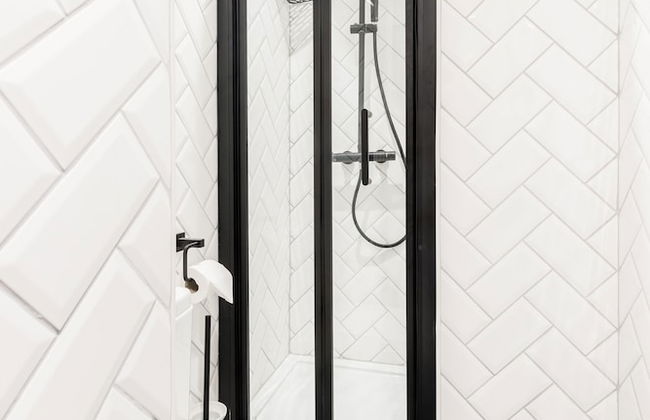
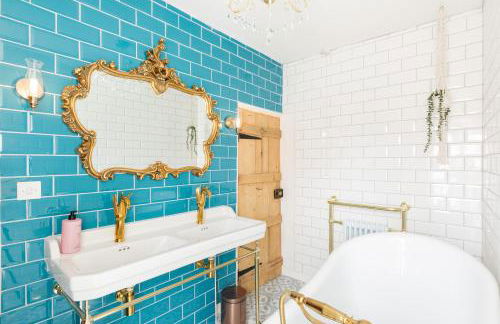
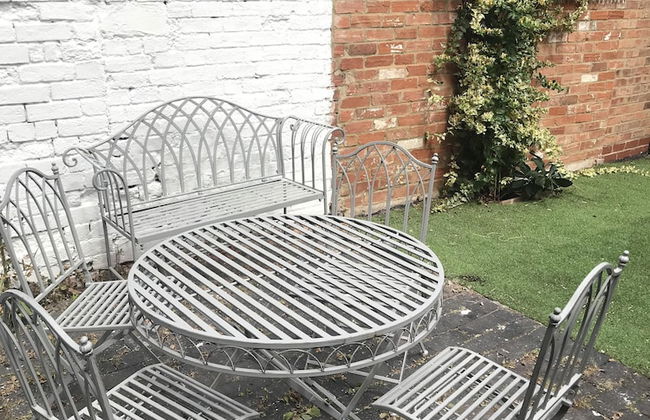
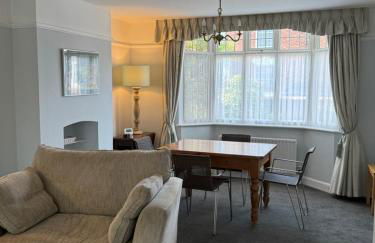
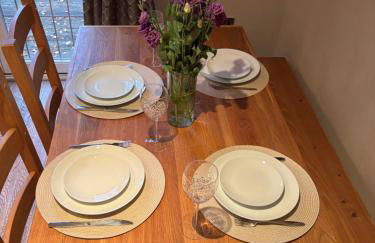
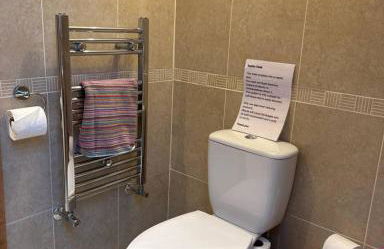
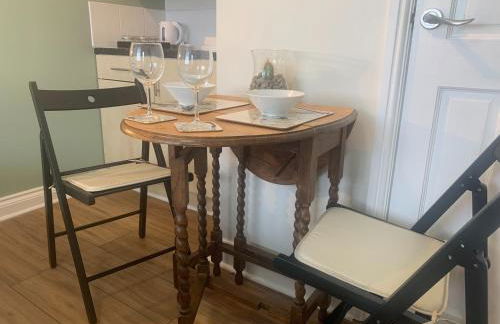
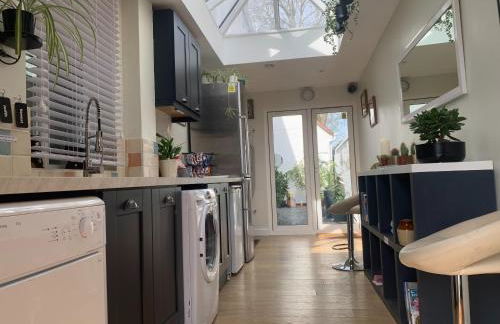
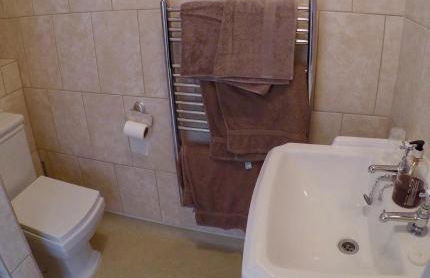
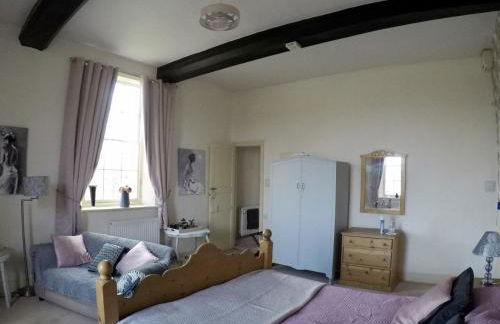
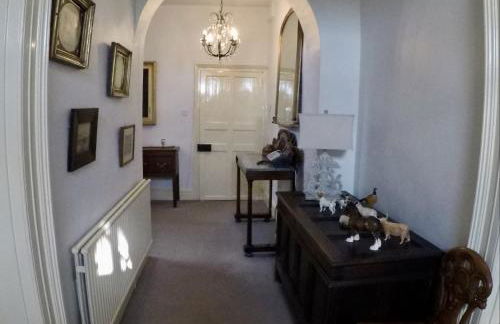
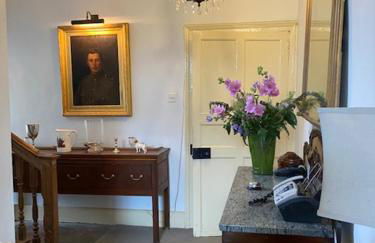
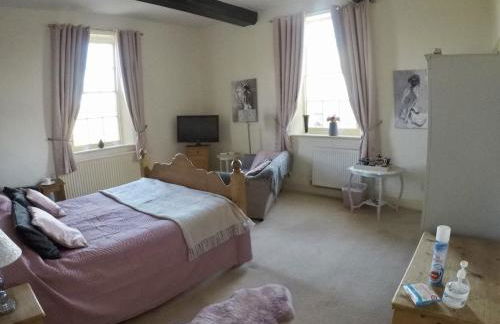
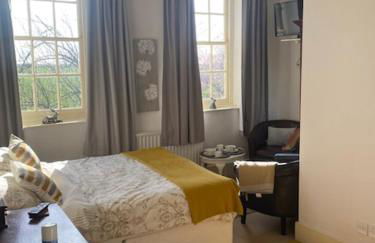
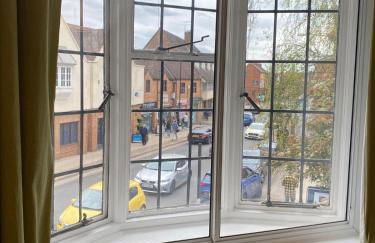
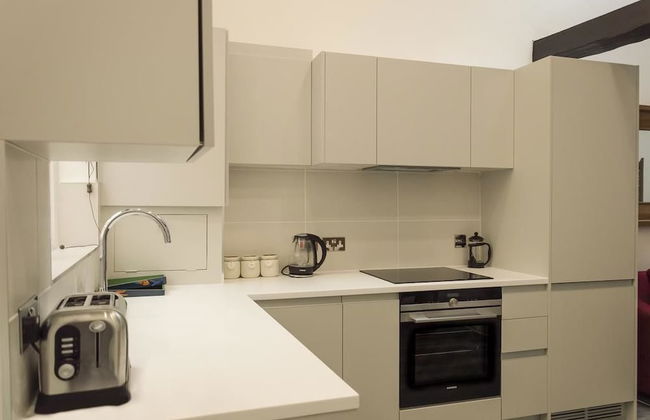
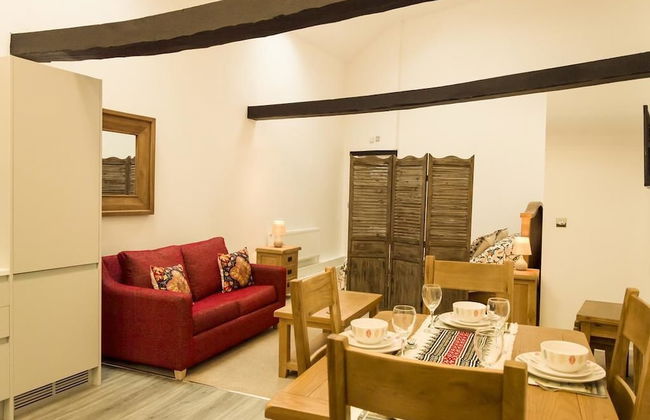
Stratford Studios - Foto 2
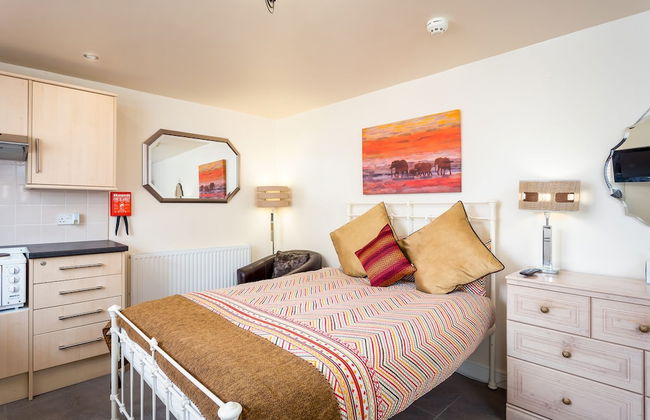
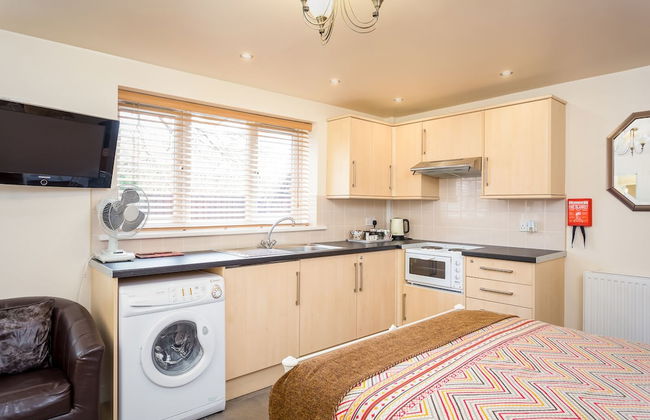
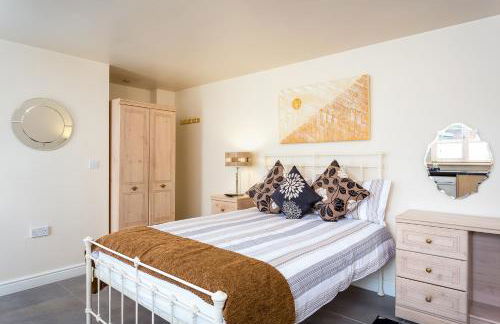
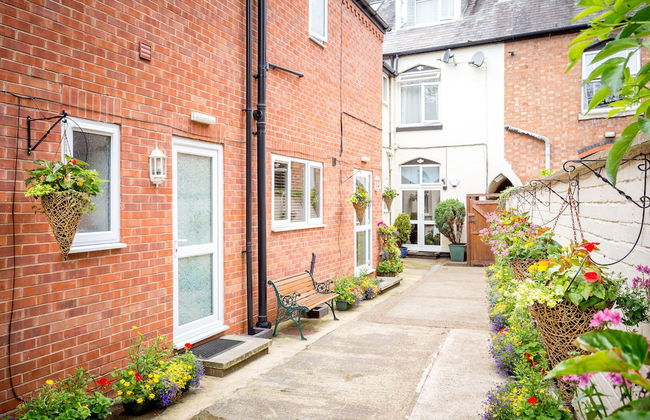
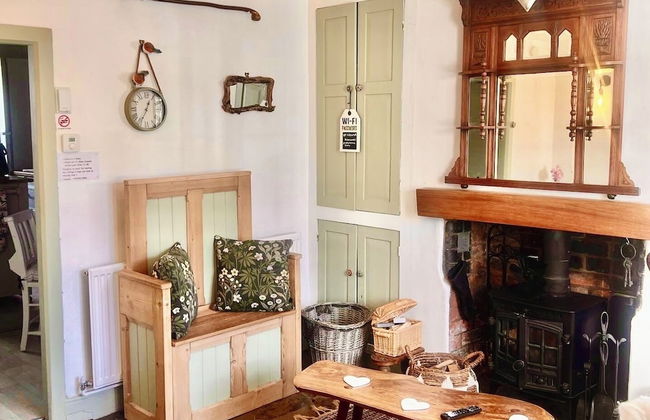
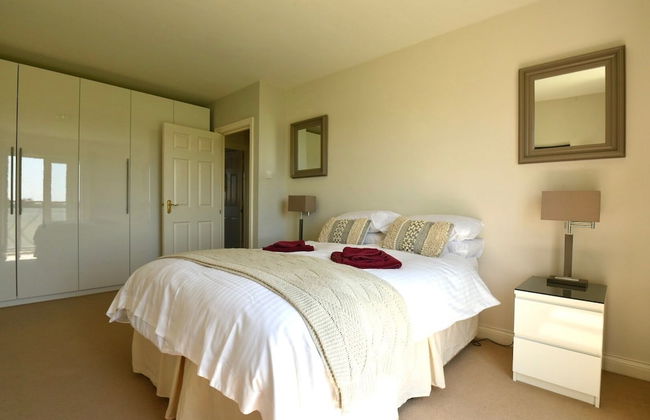
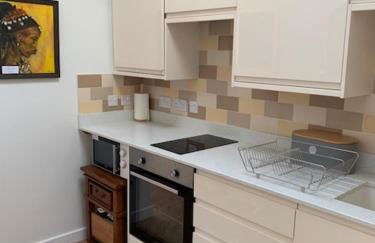
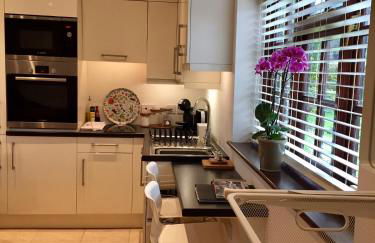
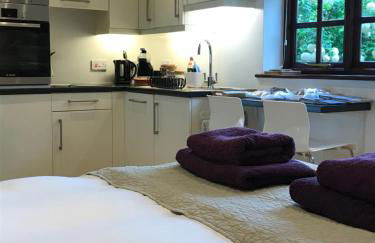
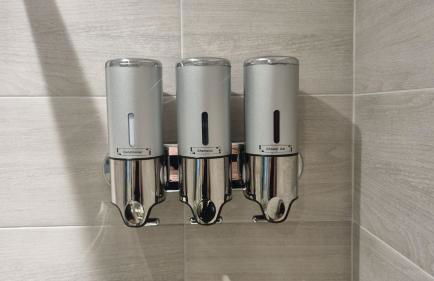
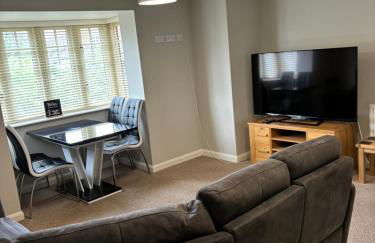
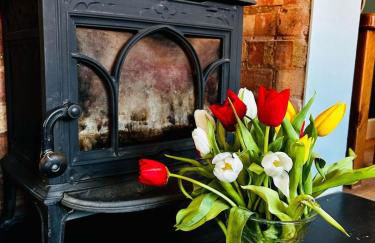
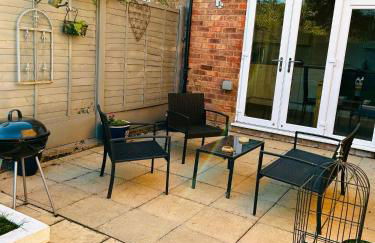
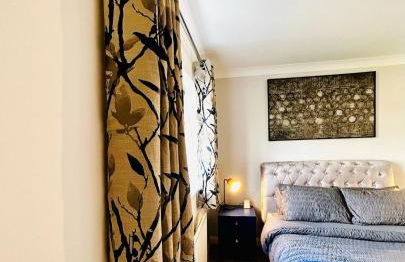
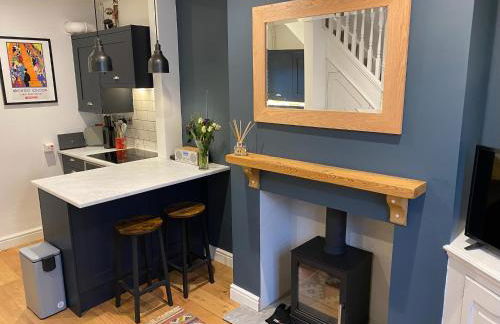
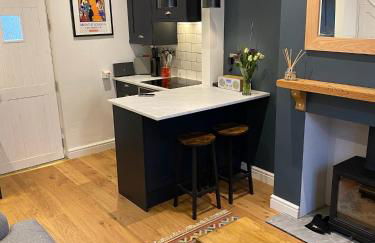
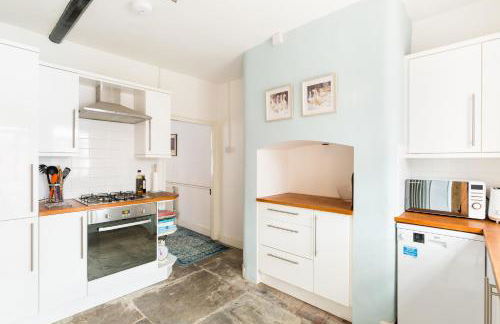
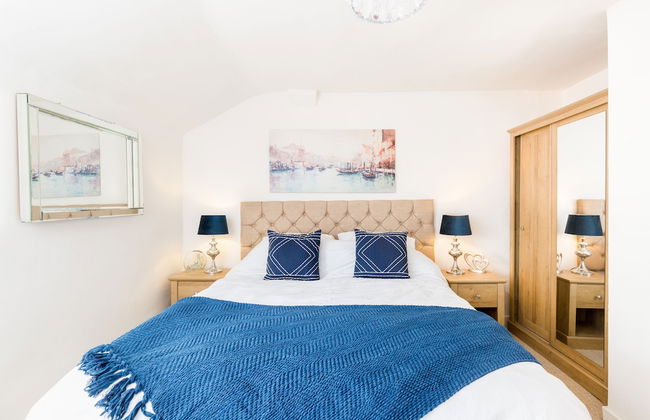
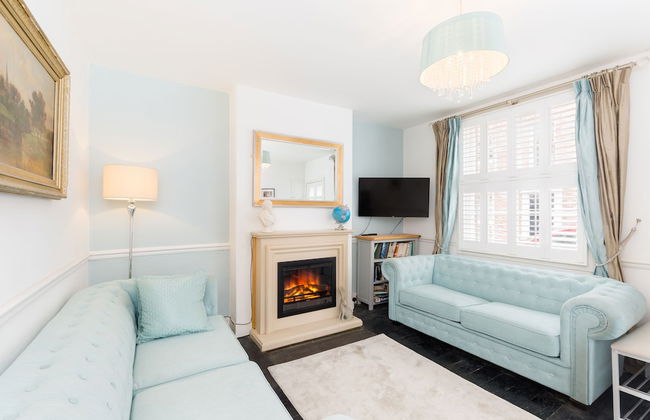
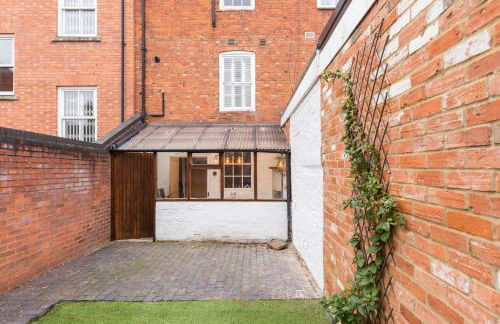
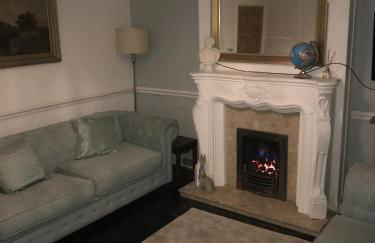
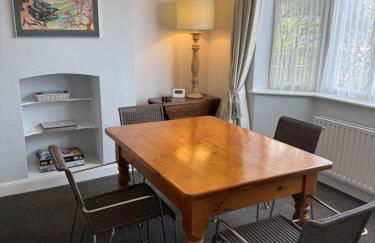
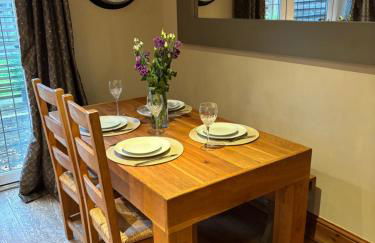
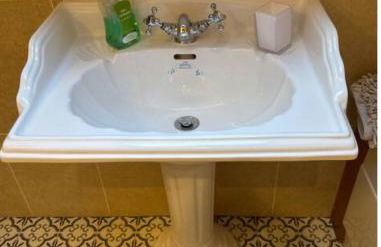
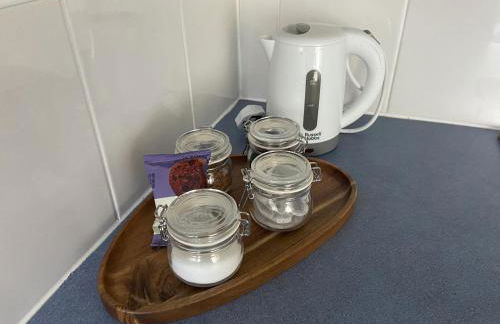
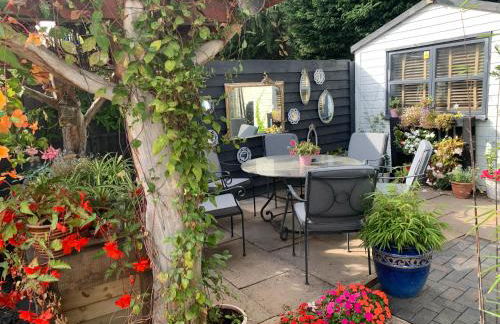
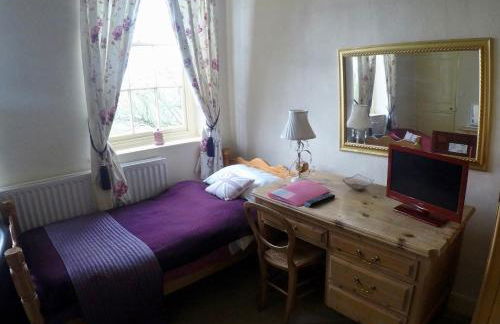
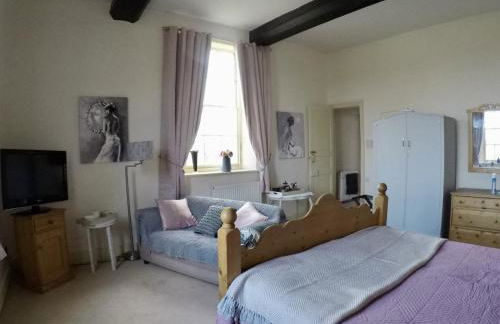
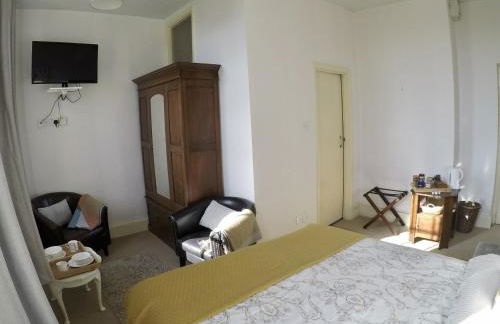
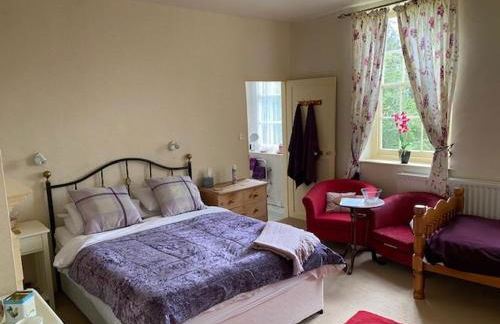
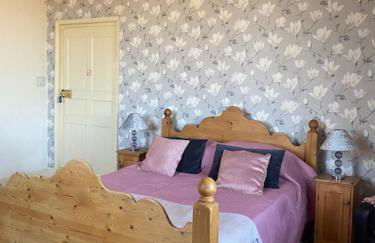
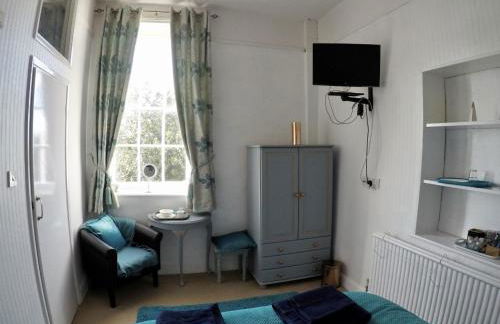
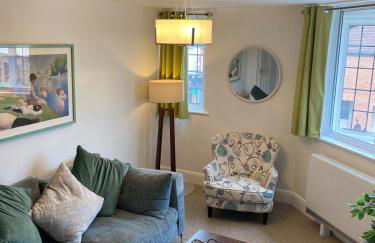
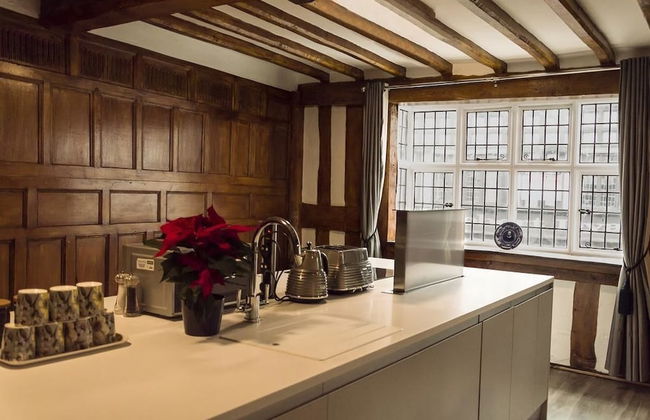
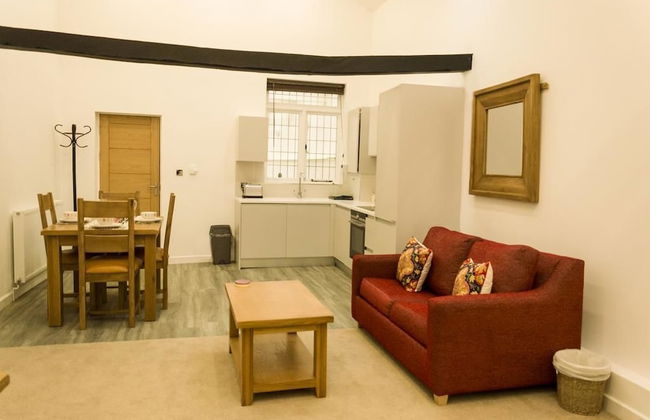
Stratford Studios - Foto 3
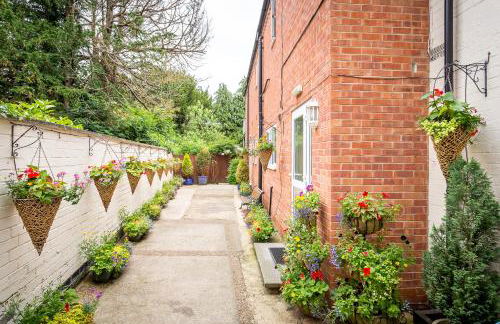
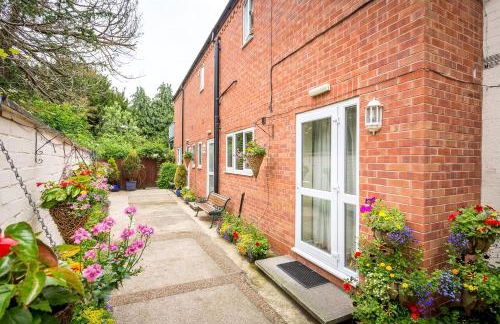
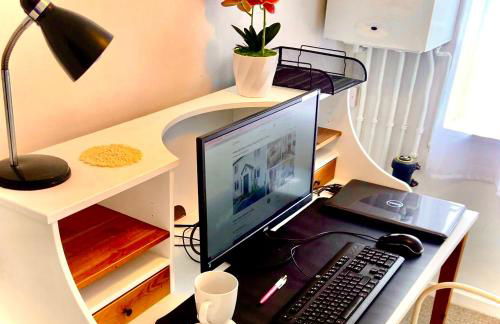
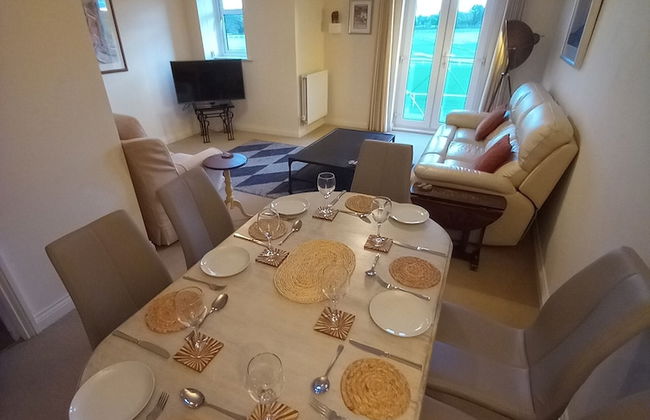
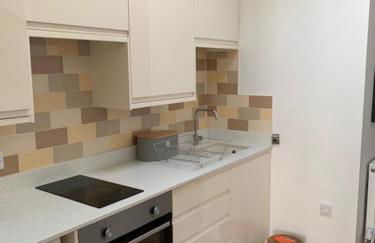
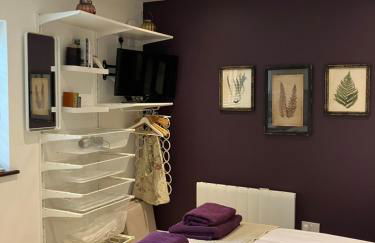
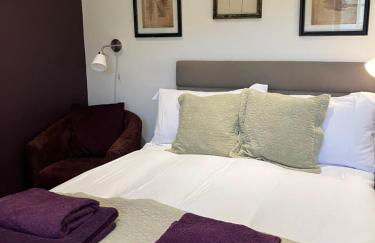
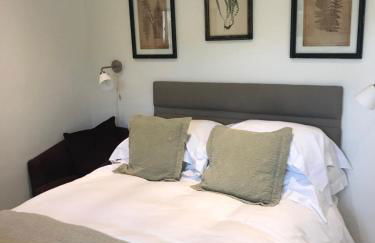
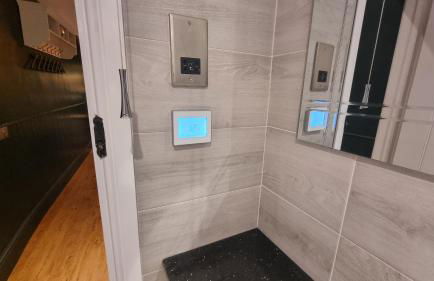
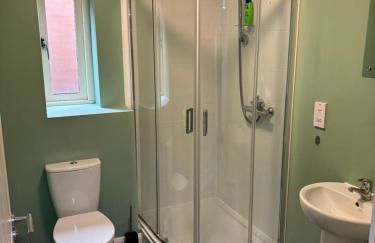
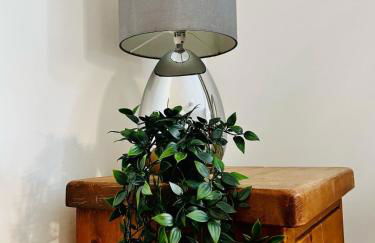
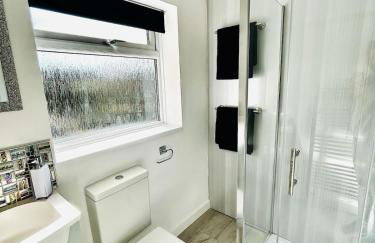
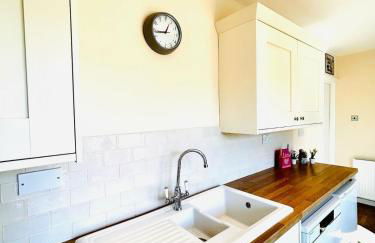
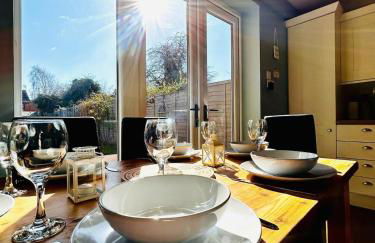
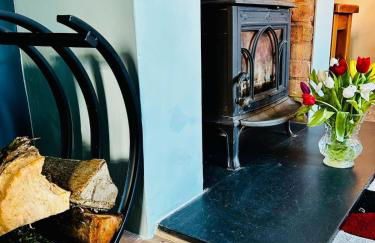
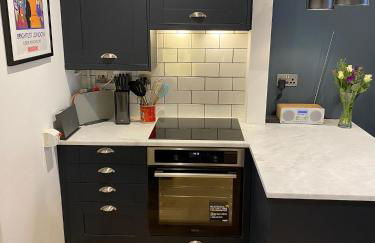
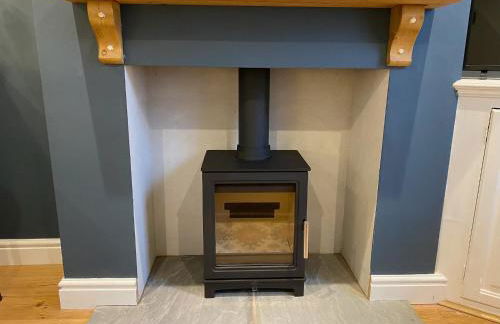
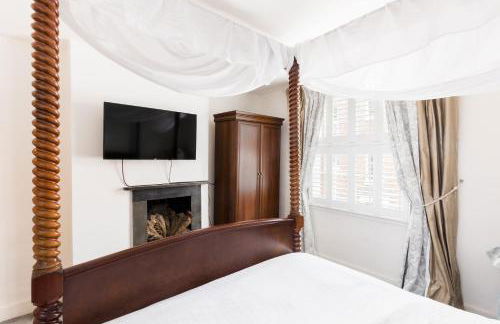
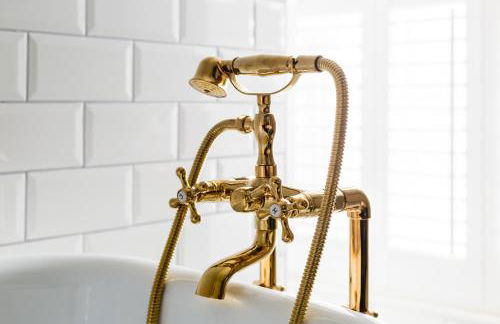
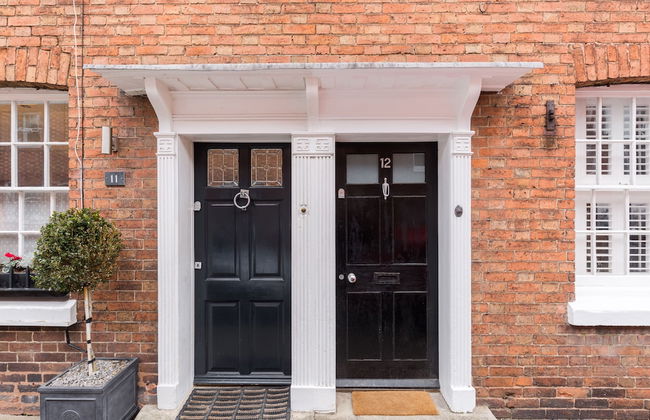
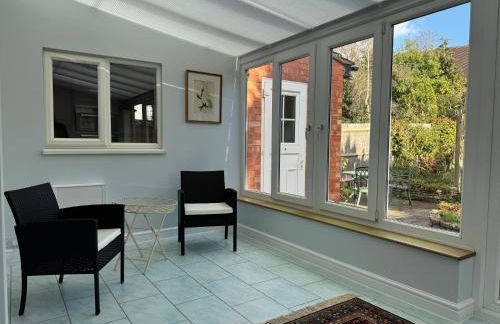
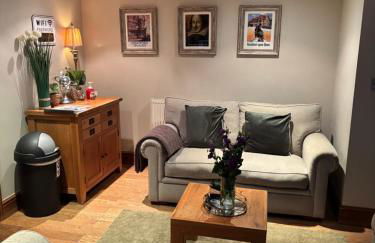
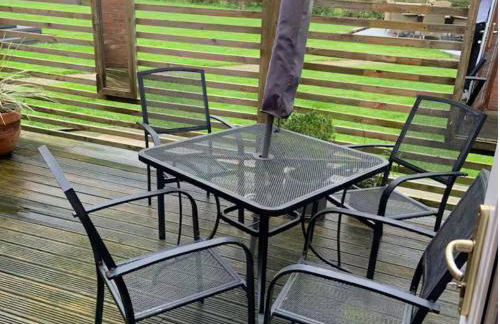
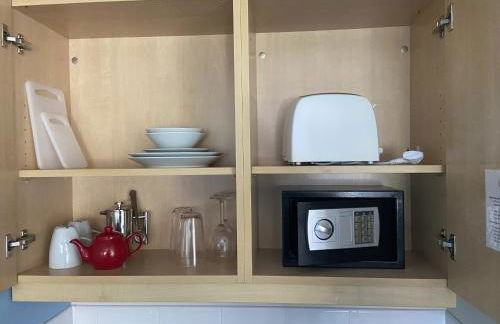
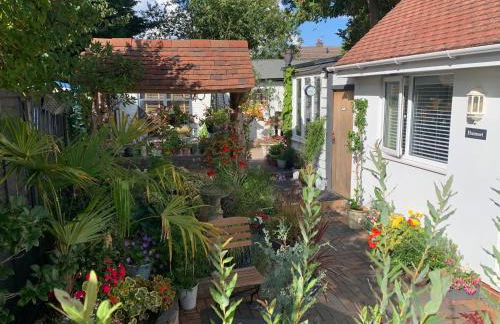
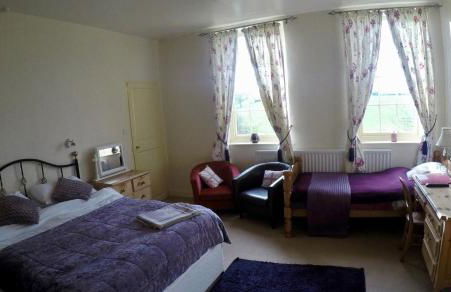
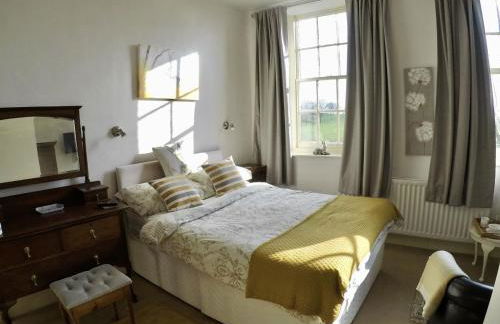
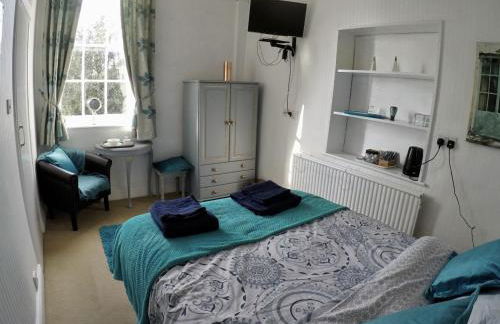
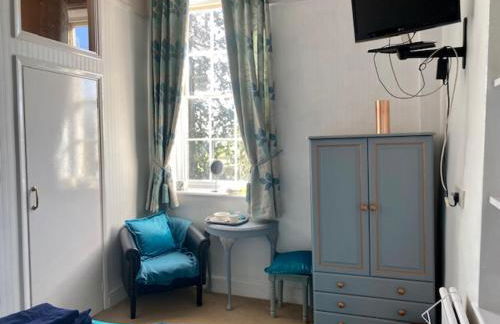
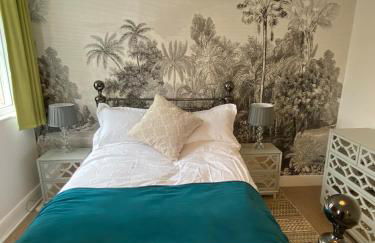
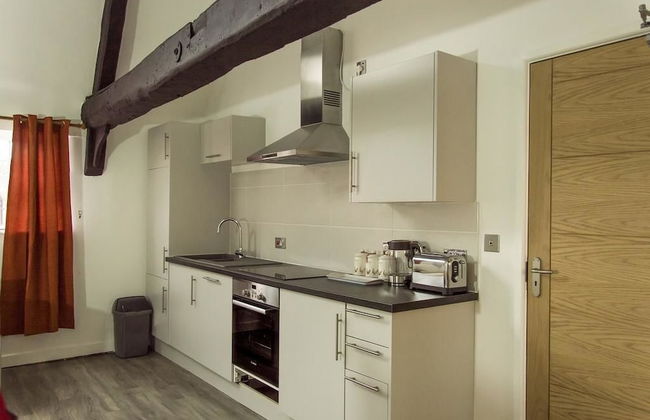
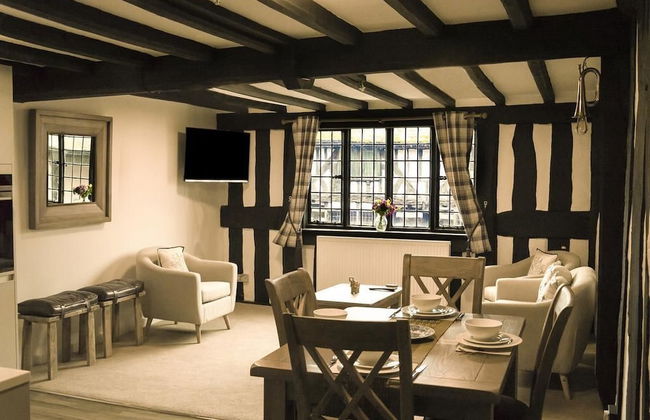
Stratford Studios - Foto 4
Stratford Studios - Foto 5
Stratford Studios - Foto 6
Stratford Studios - Foto 7
Stratford Studios - Foto 8
Stratford Studios - Foto 9
Stratford Studios - Foto 10
Stratford Studios - Foto 11
Stratford Studios - Foto 12
Stratford Studios - Foto 13
Stratford Studios - Foto 14
Stratford Studios - Foto 15
Stratford Studios - Foto 16
Stratford Studios - Foto 17
Stratford Studios - Foto 18
Stratford Studios - Foto 19
Stratford Studios - Foto 20
Stratford Studios - Foto 21

Stratford Studios

Stratford - Stratford

  • 25 M2
  • 2 personas
  • Cocina pequeña
  • Calefacción
  • Parking
  • Televisión
  • Lavadora
  • Toallas
  • Sábanas
9.6Excepcional | 57 reseñas
47 Wetherby Way - Foto 1
47 Wetherby Way - Foto 2
47 Wetherby Way - Foto 3
47 Wetherby Way - Foto 4
47 Wetherby Way - Foto 5
47 Wetherby Way - Foto 6
47 Wetherby Way - Foto 7
47 Wetherby Way - Foto 8
47 Wetherby Way - Foto 9
47 Wetherby Way - Foto 10
47 Wetherby Way - Foto 11
47 Wetherby Way - Foto 12
47 Wetherby Way - Foto 13
47 Wetherby Way - Foto 14
47 Wetherby Way - Foto 15
47 Wetherby Way - Foto 16
47 Wetherby Way - Foto 17
47 Wetherby Way - Foto 18
47 Wetherby Way - Foto 19
47 Wetherby Way - Foto 20
47 Wetherby Way - Foto 21
47 Wetherby Way - Foto 22
47 Wetherby Way - Foto 23
47 Wetherby Way - Foto 24
47 Wetherby Way - Foto 25
47 Wetherby Way - Foto 26
47 Wetherby Way - Foto 27
47 Wetherby Way - Foto 28
47 Wetherby Way - Foto 29
47 Wetherby Way - Foto 30
47 Wetherby Way - Foto 31
47 Wetherby Way - Foto 32
47 Wetherby Way - Foto 33
47 Wetherby Way - Foto 34
47 Wetherby Way - Foto 35

47 Wetherby Way

Stratford - Stratford

  • 108 M2
  • 6 personas
  • Calefacción
  • Terraza
  • Televisión
  • Lavadora
  • Toallas
  • Sábanas
10Magnífico | 7 reseñas
The Gallery, Warwick - Foto 1
The Gallery, Warwick - Foto 2
The Gallery, Warwick - Foto 3
The Gallery, Warwick - Foto 4
The Gallery, Warwick - Foto 5
The Gallery, Warwick - Foto 6
The Gallery, Warwick - Foto 7
The Gallery, Warwick - Foto 8
The Gallery, Warwick - Foto 9
The Gallery, Warwick - Foto 10
The Gallery, Warwick - Foto 11
The Gallery, Warwick - Foto 12
The Gallery, Warwick - Foto 13

The Gallery, Warwick

Warwick - Warwick - A 1.6 km del centro

  • 1 habitación
  • 2 personas
  • Calefacción
  • Terraza
  • Piscina
  • Parking
  • Jardín
9.7Excepcional | 253 reseñas
18th Century Cosy Cottage with Stunning Garden Views - Foto 1
18th Century Cosy Cottage with Stunning Garden Views - Foto 2
18th Century Cosy Cottage with Stunning Garden Views - Foto 3
18th Century Cosy Cottage with Stunning Garden Views - Foto 4
18th Century Cosy Cottage with Stunning Garden Views - Foto 5
18th Century Cosy Cottage with Stunning Garden Views - Foto 6
18th Century Cosy Cottage with Stunning Garden Views - Foto 7
18th Century Cosy Cottage with Stunning Garden Views - Foto 8
18th Century Cosy Cottage with Stunning Garden Views - Foto 9
18th Century Cosy Cottage with Stunning Garden Views - Foto 10
18th Century Cosy Cottage with Stunning Garden Views - Foto 11
18th Century Cosy Cottage with Stunning Garden Views - Foto 12
18th Century Cosy Cottage with Stunning Garden Views - Foto 13
18th Century Cosy Cottage with Stunning Garden Views - Foto 14
18th Century Cosy Cottage with Stunning Garden Views - Foto 15
18th Century Cosy Cottage with Stunning Garden Views - Foto 16
18th Century Cosy Cottage with Stunning Garden Views - Foto 17
18th Century Cosy Cottage with Stunning Garden Views - Foto 18
18th Century Cosy Cottage with Stunning Garden Views - Foto 19
18th Century Cosy Cottage with Stunning Garden Views - Foto 20
18th Century Cosy Cottage with Stunning Garden Views - Foto 21
18th Century Cosy Cottage with Stunning Garden Views - Foto 22
18th Century Cosy Cottage with Stunning Garden Views - Foto 23
18th Century Cosy Cottage with Stunning Garden Views - Foto 24
18th Century Cosy Cottage with Stunning Garden Views - Foto 25
18th Century Cosy Cottage with Stunning Garden Views - Foto 26
18th Century Cosy Cottage with Stunning Garden Views - Foto 27
18th Century Cosy Cottage with Stunning Garden Views - Foto 28
18th Century Cosy Cottage with Stunning Garden Views - Foto 29
18th Century Cosy Cottage with Stunning Garden Views - Foto 30
18th Century Cosy Cottage with Stunning Garden Views - Foto 31
18th Century Cosy Cottage with Stunning Garden Views - Foto 32
18th Century Cosy Cottage with Stunning Garden Views - Foto 33
18th Century Cosy Cottage with Stunning Garden Views - Foto 34
18th Century Cosy Cottage with Stunning Garden Views - Foto 35
18th Century Cosy Cottage with Stunning Garden Views - Foto 36
18th Century Cosy Cottage with Stunning Garden Views - Foto 37
18th Century Cosy Cottage with Stunning Garden Views - Foto 38
18th Century Cosy Cottage with Stunning Garden Views - Foto 39
18th Century Cosy Cottage with Stunning Garden Views - Foto 40
18th Century Cosy Cottage with Stunning Garden Views - Foto 41
18th Century Cosy Cottage with Stunning Garden Views - Foto 42
18th Century Cosy Cottage with Stunning Garden Views - Foto 43
18th Century Cosy Cottage with Stunning Garden Views - Foto 44
18th Century Cosy Cottage with Stunning Garden Views - Foto 45
18th Century Cosy Cottage with Stunning Garden Views - Foto 46
18th Century Cosy Cottage with Stunning Garden Views - Foto 47
18th Century Cosy Cottage with Stunning Garden Views - Foto 48

18th Century Cosy Cottage with Stunning Garden Views

Stratford - Snitterfield

  • 90 M2
  • 1 habitación
  • 4 personas
  • Calefacción
  • Parking
  • Jardín
  • Lavadora
  • Chimenea
  • Toallas
  • Sábanas
9.5Excepcional | 43 reseñas
The Burrow - Foto 1
The Burrow - Foto 2
The Burrow - Foto 3
The Burrow - Foto 4
The Burrow - Foto 5
The Burrow - Foto 6
The Burrow - Foto 7
The Burrow - Foto 8
The Burrow - Foto 9
The Burrow - Foto 10
The Burrow - Foto 11
The Burrow - Foto 12
The Burrow - Foto 13
The Burrow - Foto 14
The Burrow - Foto 15
The Burrow - Foto 16
The Burrow - Foto 17
The Burrow - Foto 18
The Burrow - Foto 19
The Burrow - Foto 20
The Burrow - Foto 21
The Burrow - Foto 22
The Burrow - Foto 23
The Burrow - Foto 24
The Burrow - Foto 25
The Burrow - Foto 26
The Burrow - Foto 27
The Burrow - Foto 28
The Burrow - Foto 29

The Burrow

Warwick - Moreton - A 10 km del centro

  • 21 M2
  • 2 personas
  • Calefacción
  • Terraza
  • Parking
  • Jardín
9.9Excepcional | 93 reseñas
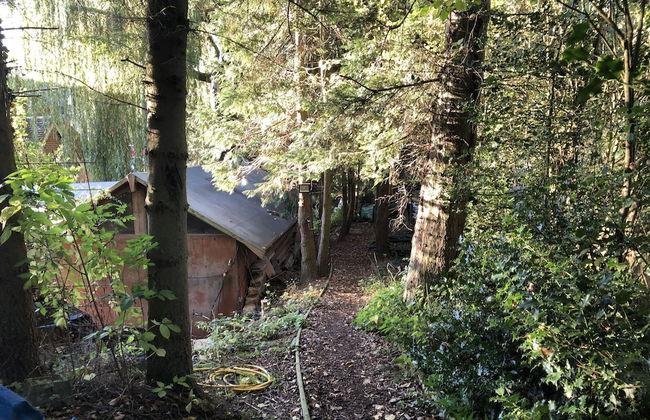
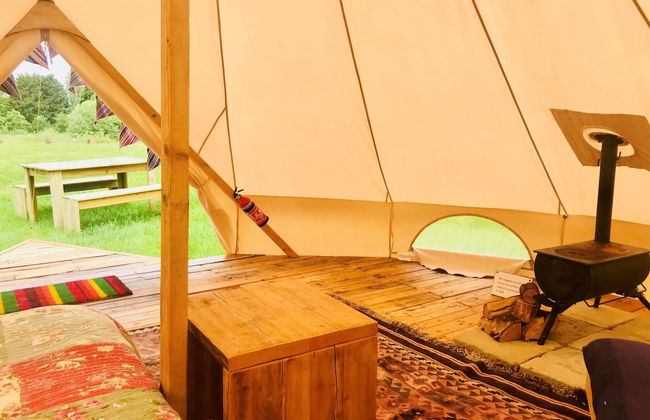
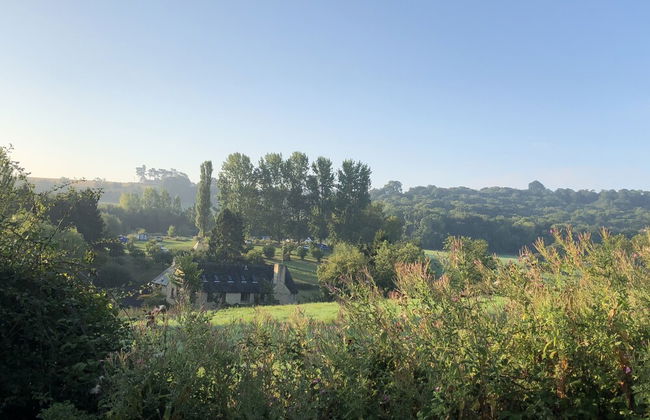
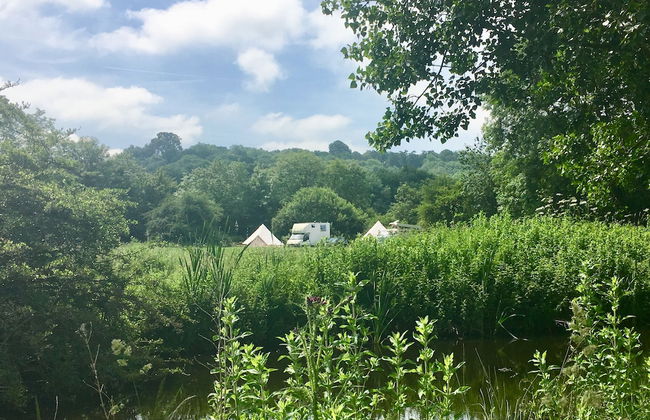
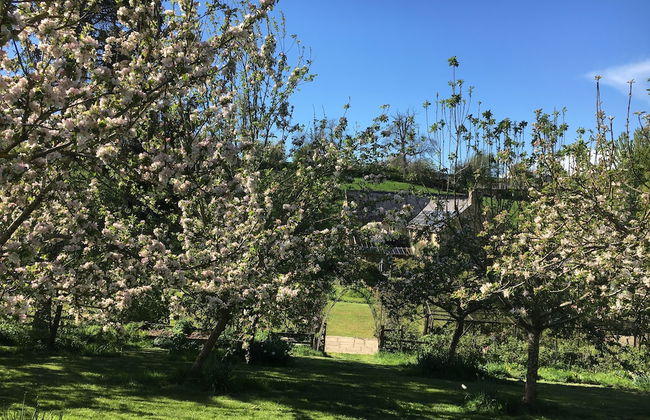
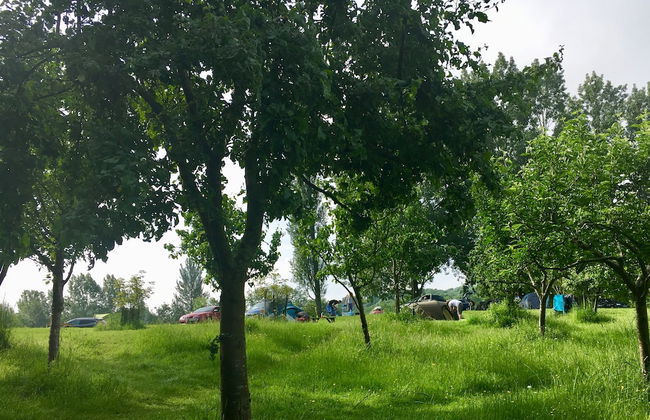
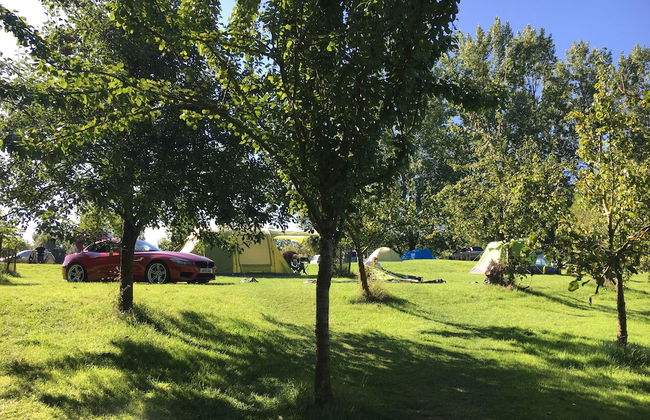
Cotswolds Camping at Holycombe - Foto 1
Cotswolds Camping at Holycombe - Foto 2
Cotswolds Camping at Holycombe - Foto 3
Cotswolds Camping at Holycombe - Foto 4
Cotswolds Camping at Holycombe - Foto 5
Cotswolds Camping at Holycombe - Foto 6
Cotswolds Camping at Holycombe - Foto 7
Cotswolds Camping at Holycombe - Foto 8
Cotswolds Camping at Holycombe - Foto 9
Cotswolds Camping at Holycombe - Foto 10
Cotswolds Camping at Holycombe - Foto 11
Cotswolds Camping at Holycombe - Foto 12
Cotswolds Camping at Holycombe - Foto 13
Cotswolds Camping at Holycombe - Foto 14
Cotswolds Camping at Holycombe - Foto 15
Cotswolds Camping at Holycombe - Foto 16
Cotswolds Camping at Holycombe - Foto 17
Cotswolds Camping at Holycombe - Foto 18
Cotswolds Camping at Holycombe - Foto 19
Cotswolds Camping at Holycombe - Foto 20
Cotswolds Camping at Holycombe - Foto 21
Cotswolds Camping at Holycombe - Foto 22
Cotswolds Camping at Holycombe - Foto 23
Cotswolds Camping at Holycombe - Foto 24
Cotswolds Camping at Holycombe - Foto 25
Cotswolds Camping at Holycombe - Foto 26
Cotswolds Camping at Holycombe - Foto 27
Cotswolds Camping at Holycombe - Foto 28
Cotswolds Camping at Holycombe - Foto 29
Cotswolds Camping at Holycombe - Foto 30
Cotswolds Camping at Holycombe - Foto 31
Cotswolds Camping at Holycombe - Foto 32
Cotswolds Camping at Holycombe - Foto 33
Cotswolds Camping at Holycombe - Foto 34
Cotswolds Camping at Holycombe - Foto 35
Cotswolds Camping at Holycombe - Foto 36
Cotswolds Camping at Holycombe - Foto 37
Cotswolds Camping at Holycombe - Foto 38
Cotswolds Camping at Holycombe - Foto 39
Cotswolds Camping at Holycombe - Foto 40
Cotswolds Camping at Holycombe - Foto 41
Cotswolds Camping at Holycombe - Foto 42
Cotswolds Camping at Holycombe - Foto 43
Cotswolds Camping at Holycombe - Foto 44
Cotswolds Camping at Holycombe - Foto 45
Cotswolds Camping at Holycombe - Foto 46
Cotswolds Camping at Holycombe - Foto 47
Cotswolds Camping at Holycombe - Foto 48
Cotswolds Camping at Holycombe - Foto 49
Cotswolds Camping at Holycombe - Foto 50
Cotswolds Camping at Holycombe - Foto 51
Cotswolds Camping at Holycombe - Foto 52
Cotswolds Camping at Holycombe - Foto 53
Cotswolds Camping at Holycombe - Foto 54
Cotswolds Camping at Holycombe - Foto 55
Cotswolds Camping at Holycombe - Foto 56

Cotswolds Camping at Holycombe

Shipston on Stour - Whichford

  • 25 M2
  • 3 personas
  • Cocina pequeña
  • Calefacción
  • Terraza
  • Parking
  • Jardín
  • Chimenea
  • Barbacoa
  • Toallas
  • Sábanas
9Excepcional | 17 reseñas
Bijou Malthouse - Foto 1
Bijou Malthouse - Foto 2
Bijou Malthouse - Foto 3
Bijou Malthouse - Foto 4
Bijou Malthouse - Foto 5
Bijou Malthouse - Foto 6
Bijou Malthouse - Foto 7
Bijou Malthouse - Foto 8
Bijou Malthouse - Foto 9
Bijou Malthouse - Foto 10
Bijou Malthouse - Foto 11
Bijou Malthouse - Foto 12
Bijou Malthouse - Foto 13
Bijou Malthouse - Foto 14
Bijou Malthouse - Foto 15
Bijou Malthouse - Foto 16
Bijou Malthouse - Foto 17
Bijou Malthouse - Foto 18
Bijou Malthouse - Foto 19

Bijou Malthouse

Alcester - Great Alne

  • 30 M2
  • 2 personas
  • Calefacción
  • Terraza
  • Parking
  • Jardín
9.8Excepcional | 148 reseñas
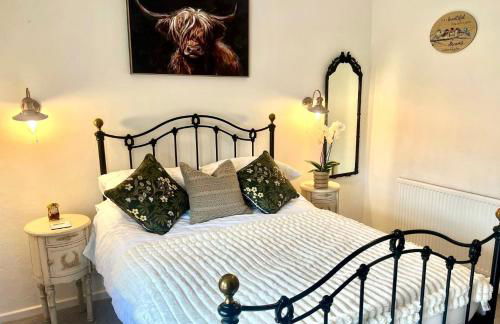
Shakespeare House, Free Parking, Town Centre Location - Foto 1
Shakespeare House, Free Parking, Town Centre Location - Foto 2
Shakespeare House, Free Parking, Town Centre Location - Foto 3
Shakespeare House, Free Parking, Town Centre Location - Foto 4
Shakespeare House, Free Parking, Town Centre Location - Foto 5
Shakespeare House, Free Parking, Town Centre Location - Foto 6
Shakespeare House, Free Parking, Town Centre Location - Foto 7
Shakespeare House, Free Parking, Town Centre Location - Foto 8
Shakespeare House, Free Parking, Town Centre Location - Foto 9
Shakespeare House, Free Parking, Town Centre Location - Foto 10
Shakespeare House, Free Parking, Town Centre Location - Foto 11
Shakespeare House, Free Parking, Town Centre Location - Foto 12
Shakespeare House, Free Parking, Town Centre Location - Foto 13
Shakespeare House, Free Parking, Town Centre Location - Foto 14
Shakespeare House, Free Parking, Town Centre Location - Foto 15
Shakespeare House, Free Parking, Town Centre Location - Foto 16
Shakespeare House, Free Parking, Town Centre Location - Foto 17
Shakespeare House, Free Parking, Town Centre Location - Foto 18
Shakespeare House, Free Parking, Town Centre Location - Foto 19
Shakespeare House, Free Parking, Town Centre Location - Foto 20
Shakespeare House, Free Parking, Town Centre Location - Foto 21
Shakespeare House, Free Parking, Town Centre Location - Foto 22
Shakespeare House, Free Parking, Town Centre Location - Foto 23
Shakespeare House, Free Parking, Town Centre Location - Foto 24
Shakespeare House, Free Parking, Town Centre Location - Foto 25
Shakespeare House, Free Parking, Town Centre Location - Foto 26
Shakespeare House, Free Parking, Town Centre Location - Foto 27
Shakespeare House, Free Parking, Town Centre Location - Foto 28
Shakespeare House, Free Parking, Town Centre Location - Foto 29
Shakespeare House, Free Parking, Town Centre Location - Foto 30
Shakespeare House, Free Parking, Town Centre Location - Foto 31
Shakespeare House, Free Parking, Town Centre Location - Foto 32
Shakespeare House, Free Parking, Town Centre Location - Foto 33
Shakespeare House, Free Parking, Town Centre Location - Foto 34
Shakespeare House, Free Parking, Town Centre Location - Foto 35
Shakespeare House, Free Parking, Town Centre Location - Foto 36
Shakespeare House, Free Parking, Town Centre Location - Foto 37
Shakespeare House, Free Parking, Town Centre Location - Foto 38
Shakespeare House, Free Parking, Town Centre Location - Foto 39
Shakespeare House, Free Parking, Town Centre Location - Foto 40
Shakespeare House, Free Parking, Town Centre Location - Foto 41
Shakespeare House, Free Parking, Town Centre Location - Foto 42
Shakespeare House, Free Parking, Town Centre Location - Foto 43
Shakespeare House, Free Parking, Town Centre Location - Foto 44
Shakespeare House, Free Parking, Town Centre Location - Foto 45
Shakespeare House, Free Parking, Town Centre Location - Foto 46
Shakespeare House, Free Parking, Town Centre Location - Foto 47
Shakespeare House, Free Parking, Town Centre Location - Foto 48
Shakespeare House, Free Parking, Town Centre Location - Foto 49
Shakespeare House, Free Parking, Town Centre Location - Foto 50
Shakespeare House, Free Parking, Town Centre Location - Foto 51
Shakespeare House, Free Parking, Town Centre Location - Foto 52
Shakespeare House, Free Parking, Town Centre Location - Foto 53
Shakespeare House, Free Parking, Town Centre Location - Foto 54
Shakespeare House, Free Parking, Town Centre Location - Foto 55
Shakespeare House, Free Parking, Town Centre Location - Foto 56
Shakespeare House, Free Parking, Town Centre Location - Foto 57
Shakespeare House, Free Parking, Town Centre Location - Foto 58
Shakespeare House, Free Parking, Town Centre Location - Foto 59
Shakespeare House, Free Parking, Town Centre Location - Foto 60
Shakespeare House, Free Parking, Town Centre Location - Foto 61
Shakespeare House, Free Parking, Town Centre Location - Foto 62
Shakespeare House, Free Parking, Town Centre Location - Foto 63
Shakespeare House, Free Parking, Town Centre Location - Foto 64
Shakespeare House, Free Parking, Town Centre Location - Foto 65
Shakespeare House, Free Parking, Town Centre Location - Foto 66
Shakespeare House, Free Parking, Town Centre Location - Foto 67
Shakespeare House, Free Parking, Town Centre Location - Foto 68
Shakespeare House, Free Parking, Town Centre Location - Foto 69
Shakespeare House, Free Parking, Town Centre Location - Foto 70
Shakespeare House, Free Parking, Town Centre Location - Foto 71
Shakespeare House, Free Parking, Town Centre Location - Foto 72
Shakespeare House, Free Parking, Town Centre Location - Foto 73
Shakespeare House, Free Parking, Town Centre Location - Foto 74
Shakespeare House, Free Parking, Town Centre Location - Foto 75
Shakespeare House, Free Parking, Town Centre Location - Foto 76
Shakespeare House, Free Parking, Town Centre Location - Foto 77
Shakespeare House, Free Parking, Town Centre Location - Foto 78
Shakespeare House, Free Parking, Town Centre Location - Foto 79
Shakespeare House, Free Parking, Town Centre Location - Foto 80
Shakespeare House, Free Parking, Town Centre Location - Foto 81
Shakespeare House, Free Parking, Town Centre Location - Foto 82
Shakespeare House, Free Parking, Town Centre Location - Foto 83
Shakespeare House, Free Parking, Town Centre Location - Foto 84
Shakespeare House, Free Parking, Town Centre Location - Foto 85
Shakespeare House, Free Parking, Town Centre Location - Foto 86
Shakespeare House, Free Parking, Town Centre Location - Foto 87
Shakespeare House, Free Parking, Town Centre Location - Foto 88
Shakespeare House, Free Parking, Town Centre Location - Foto 89
Shakespeare House, Free Parking, Town Centre Location - Foto 90
Shakespeare House, Free Parking, Town Centre Location - Foto 91
Shakespeare House, Free Parking, Town Centre Location - Foto 92
Shakespeare House, Free Parking, Town Centre Location - Foto 93
Shakespeare House, Free Parking, Town Centre Location - Foto 94

Shakespeare House, Free Parking, Town Centre Location

Stratford - Stratford

  • 210 M2
  • 3 habitaciones
  • 8 personas
  • Calefacción
  • Terraza
  • Parking
  • Jardín
  • Televisión
  • Lavadora
  • Chimenea
  • Toallas
  • Sábanas
8.9Muy bueno | 207 reseñas
Two Bedrooms Two Bathrooms and Private Parking Rugby - Foto 1
Two Bedrooms Two Bathrooms and Private Parking Rugby - Foto 2
Two Bedrooms Two Bathrooms and Private Parking Rugby - Foto 3
Two Bedrooms Two Bathrooms and Private Parking Rugby - Foto 4
Two Bedrooms Two Bathrooms and Private Parking Rugby - Foto 5
Two Bedrooms Two Bathrooms and Private Parking Rugby - Foto 6
Two Bedrooms Two Bathrooms and Private Parking Rugby - Foto 7
Two Bedrooms Two Bathrooms and Private Parking Rugby - Foto 8
Two Bedrooms Two Bathrooms and Private Parking Rugby - Foto 9
Two Bedrooms Two Bathrooms and Private Parking Rugby - Foto 10
Two Bedrooms Two Bathrooms and Private Parking Rugby - Foto 11
Two Bedrooms Two Bathrooms and Private Parking Rugby - Foto 12
Two Bedrooms Two Bathrooms and Private Parking Rugby - Foto 13

Two Bedrooms Two Bathrooms and Private Parking Rugby

Rugby - Rugby - A 280 m del centro

  • 2 habitaciones
  • 4 personas
  • Calefacción
  • Parking
10Magnífico | 17 reseñas
A cosy cottage in the heart of Stratford upon Avon - Foto 1
A cosy cottage in the heart of Stratford upon Avon - Foto 2
A cosy cottage in the heart of Stratford upon Avon - Foto 3
A cosy cottage in the heart of Stratford upon Avon - Foto 4
A cosy cottage in the heart of Stratford upon Avon - Foto 5
A cosy cottage in the heart of Stratford upon Avon - Foto 6
A cosy cottage in the heart of Stratford upon Avon - Foto 7
A cosy cottage in the heart of Stratford upon Avon - Foto 8
A cosy cottage in the heart of Stratford upon Avon - Foto 9
A cosy cottage in the heart of Stratford upon Avon - Foto 10
A cosy cottage in the heart of Stratford upon Avon - Foto 11
A cosy cottage in the heart of Stratford upon Avon - Foto 12
A cosy cottage in the heart of Stratford upon Avon - Foto 13
A cosy cottage in the heart of Stratford upon Avon - Foto 14
A cosy cottage in the heart of Stratford upon Avon - Foto 15

A cosy cottage in the heart of Stratford upon Avon

Stratford - Stratford

  • 2 personas
  • Terraza
  • Parking
  • Jardín
9.8Excepcional | 67 reseñas
Kathleen's Cottage - Foto 1
Kathleen's Cottage - Foto 2
Kathleen's Cottage - Foto 3
Kathleen's Cottage - Foto 4
Kathleen's Cottage - Foto 5
Kathleen's Cottage - Foto 6
Kathleen's Cottage - Foto 7
Kathleen's Cottage - Foto 8
Kathleen's Cottage - Foto 9
Kathleen's Cottage - Foto 10
Kathleen's Cottage - Foto 11
Kathleen's Cottage - Foto 12
Kathleen's Cottage - Foto 13
Kathleen's Cottage - Foto 14
Kathleen's Cottage - Foto 15
Kathleen's Cottage - Foto 16
Kathleen's Cottage - Foto 17
Kathleen's Cottage - Foto 18
Kathleen's Cottage - Foto 19
Kathleen's Cottage - Foto 20
Kathleen's Cottage - Foto 21
Kathleen's Cottage - Foto 22
Kathleen's Cottage - Foto 23
Kathleen's Cottage - Foto 24
Kathleen's Cottage - Foto 25
Kathleen's Cottage - Foto 26
Kathleen's Cottage - Foto 27
Kathleen's Cottage - Foto 28
Kathleen's Cottage - Foto 29
Kathleen's Cottage - Foto 30
Kathleen's Cottage - Foto 31
Kathleen's Cottage - Foto 32
Kathleen's Cottage - Foto 33
Kathleen's Cottage - Foto 34
Kathleen's Cottage - Foto 35
Kathleen's Cottage - Foto 36
Kathleen's Cottage - Foto 37
Kathleen's Cottage - Foto 38
Kathleen's Cottage - Foto 39
Kathleen's Cottage - Foto 40

Kathleen's Cottage

Alcester - Alcester

  • 93 M2
  • 3 habitaciones
  • 6 personas
  • Calefacción
  • Terraza
  • Parking
  • Jardín
  • Barbacoa
9.6Excepcional | 62 reseñas
Hops and the Vines - Foto 1
Hops and the Vines - Foto 2
Hops and the Vines - Foto 3
Hops and the Vines - Foto 4
Hops and the Vines - Foto 5
Hops and the Vines - Foto 6
Hops and the Vines - Foto 7
Hops and the Vines - Foto 8
Hops and the Vines - Foto 9
Hops and the Vines - Foto 10

Hops and the Vines

Shipston on Stour - Whichford

  • 39 M2
  • 1 habitación
  • 2 personas
  • Calefacción
  • Terraza
  • Parking
  • Jardín
9.6Excepcional | 138 reseñas
Fallow View - Luxury Countryside Cottage - Foto 1
Fallow View - Luxury Countryside Cottage - Foto 2
Fallow View - Luxury Countryside Cottage - Foto 3
Fallow View - Luxury Countryside Cottage - Foto 4
Fallow View - Luxury Countryside Cottage - Foto 5
Fallow View - Luxury Countryside Cottage - Foto 6
Fallow View - Luxury Countryside Cottage - Foto 7
Fallow View - Luxury Countryside Cottage - Foto 8
Fallow View - Luxury Countryside Cottage - Foto 9
Fallow View - Luxury Countryside Cottage - Foto 10
Fallow View - Luxury Countryside Cottage - Foto 11
Fallow View - Luxury Countryside Cottage - Foto 12
Fallow View - Luxury Countryside Cottage - Foto 13
Fallow View - Luxury Countryside Cottage - Foto 14
Fallow View - Luxury Countryside Cottage - Foto 15
Fallow View - Luxury Countryside Cottage - Foto 16
Fallow View - Luxury Countryside Cottage - Foto 17
Fallow View - Luxury Countryside Cottage - Foto 18
Fallow View - Luxury Countryside Cottage - Foto 19
Fallow View - Luxury Countryside Cottage - Foto 20
Fallow View - Luxury Countryside Cottage - Foto 21
Fallow View - Luxury Countryside Cottage - Foto 22
Fallow View - Luxury Countryside Cottage - Foto 23
Fallow View - Luxury Countryside Cottage - Foto 24
Fallow View - Luxury Countryside Cottage - Foto 25
Fallow View - Luxury Countryside Cottage - Foto 26
Fallow View - Luxury Countryside Cottage - Foto 27
Fallow View - Luxury Countryside Cottage - Foto 28
Fallow View - Luxury Countryside Cottage - Foto 29
Fallow View - Luxury Countryside Cottage - Foto 30
Fallow View - Luxury Countryside Cottage - Foto 31
Fallow View - Luxury Countryside Cottage - Foto 32
Fallow View - Luxury Countryside Cottage - Foto 33

Fallow View - Luxury Countryside Cottage

Alcester - Coughton

  • 2 habitaciones
  • 5 personas
  • Terraza
  • Parking
  • Jardín
9.7Excepcional | 14 reseñas
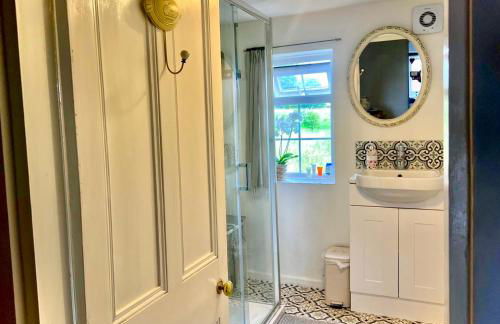
The Field View Retreat at Alveston Pastures just 3 miles from the Town - Foto 1
The Field View Retreat at Alveston Pastures just 3 miles from the Town - Foto 2
The Field View Retreat at Alveston Pastures just 3 miles from the Town - Foto 3
The Field View Retreat at Alveston Pastures just 3 miles from the Town - Foto 4
The Field View Retreat at Alveston Pastures just 3 miles from the Town - Foto 5
The Field View Retreat at Alveston Pastures just 3 miles from the Town - Foto 6
The Field View Retreat at Alveston Pastures just 3 miles from the Town - Foto 7
The Field View Retreat at Alveston Pastures just 3 miles from the Town - Foto 8
The Field View Retreat at Alveston Pastures just 3 miles from the Town - Foto 9
The Field View Retreat at Alveston Pastures just 3 miles from the Town - Foto 10
The Field View Retreat at Alveston Pastures just 3 miles from the Town - Foto 11
The Field View Retreat at Alveston Pastures just 3 miles from the Town - Foto 12
The Field View Retreat at Alveston Pastures just 3 miles from the Town - Foto 13
The Field View Retreat at Alveston Pastures just 3 miles from the Town - Foto 14
The Field View Retreat at Alveston Pastures just 3 miles from the Town - Foto 15
The Field View Retreat at Alveston Pastures just 3 miles from the Town - Foto 16
The Field View Retreat at Alveston Pastures just 3 miles from the Town - Foto 17
The Field View Retreat at Alveston Pastures just 3 miles from the Town - Foto 18

The Field View Retreat at Alveston Pastures just 3 miles from the Town

Stratford - Stratford

  • 2 habitaciones
  • 4 personas
  • Calefacción
  • Terraza
  • Parking
  • Jardín
9.5Excepcional | 27 reseñas
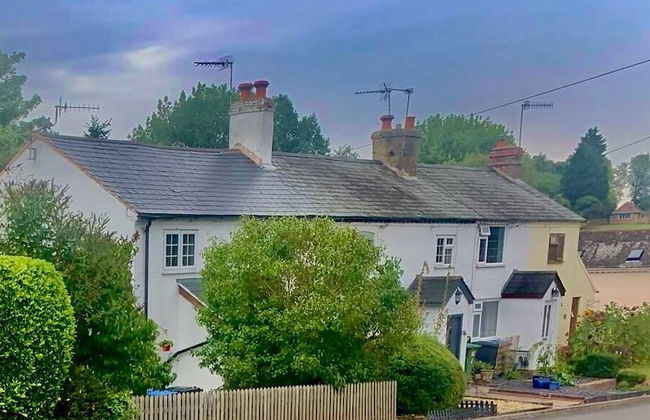
The Three Gables - Foto 1
The Three Gables - Foto 2
The Three Gables - Foto 3
The Three Gables - Foto 4
The Three Gables - Foto 5
The Three Gables - Foto 6
The Three Gables - Foto 7
The Three Gables - Foto 8
The Three Gables - Foto 9
The Three Gables - Foto 10
The Three Gables - Foto 11
The Three Gables - Foto 12
The Three Gables - Foto 13
The Three Gables - Foto 14
The Three Gables - Foto 15
The Three Gables - Foto 16
The Three Gables - Foto 17
The Three Gables - Foto 18
The Three Gables - Foto 19
The Three Gables - Foto 20
The Three Gables - Foto 21
The Three Gables - Foto 22
The Three Gables - Foto 23
The Three Gables - Foto 24
The Three Gables - Foto 25
The Three Gables - Foto 26
The Three Gables - Foto 27
The Three Gables - Foto 28
The Three Gables - Foto 29
The Three Gables - Foto 30
The Three Gables - Foto 31
The Three Gables - Foto 32
The Three Gables - Foto 33

The Three Gables

Stratford - Stratford

  • 5 personas
  • Calefacción
  • Televisión
  • Toallas
  • Sábanas
9Excepcional | 25 reseñas

Town House, Stratford-upon-Avon - Foto 1
Town House, Stratford-upon-Avon - Foto 2
Town House, Stratford-upon-Avon - Foto 3
Town House, Stratford-upon-Avon - Foto 4
Town House, Stratford-upon-Avon - Foto 5
Town House, Stratford-upon-Avon - Foto 6
Town House, Stratford-upon-Avon - Foto 7
Town House, Stratford-upon-Avon - Foto 8
Town House, Stratford-upon-Avon - Foto 9
Town House, Stratford-upon-Avon - Foto 10
Town House, Stratford-upon-Avon - Foto 11
Town House, Stratford-upon-Avon - Foto 12
Town House, Stratford-upon-Avon - Foto 13

Town House, Stratford-upon-Avon

Stratford - Stratford

  • 116 M2
  • 2 habitaciones
  • 4 personas
  • Terraza
  • Parking
  • Jardín
9.6Excepcional | 103 reseñas
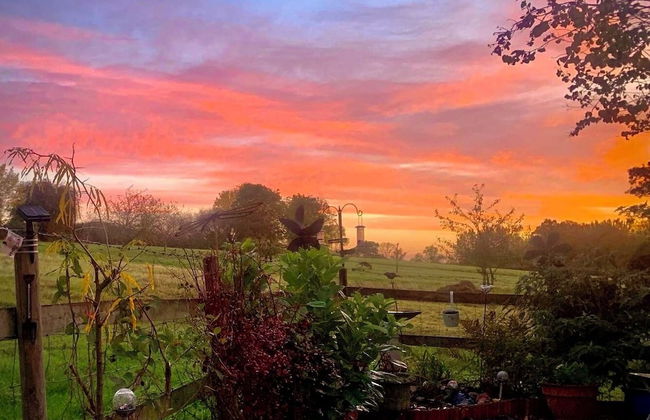
Gallery Apartment - Foto 1
Gallery Apartment - Foto 2
Gallery Apartment - Foto 3
Gallery Apartment - Foto 4
Gallery Apartment - Foto 5
Gallery Apartment - Foto 6
Gallery Apartment - Foto 7
Gallery Apartment - Foto 8
Gallery Apartment - Foto 9
Gallery Apartment - Foto 10
Gallery Apartment - Foto 11
Gallery Apartment - Foto 12
Gallery Apartment - Foto 13
Gallery Apartment - Foto 14
Gallery Apartment - Foto 15
Gallery Apartment - Foto 16
Gallery Apartment - Foto 17
Gallery Apartment - Foto 18
Gallery Apartment - Foto 19
Gallery Apartment - Foto 20
Gallery Apartment - Foto 21
Gallery Apartment - Foto 22
Gallery Apartment - Foto 23
Gallery Apartment - Foto 24
Gallery Apartment - Foto 25
Gallery Apartment - Foto 26
Gallery Apartment - Foto 27

Gallery Apartment

Stratford - Stratford

  • 62 M2
  • 1 habitación
  • 2 personas
  • Calefacción
  • Terraza
  • Parking
9.4Excepcional | 84 reseñas
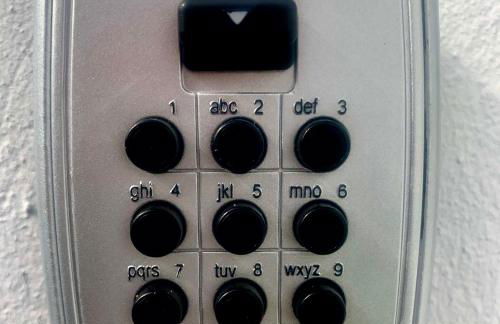
Lakeview Lodges At Makins Fishery - Foto 1
Lakeview Lodges At Makins Fishery - Foto 2
Lakeview Lodges At Makins Fishery - Foto 3
Lakeview Lodges At Makins Fishery - Foto 4
Lakeview Lodges At Makins Fishery - Foto 5
Lakeview Lodges At Makins Fishery - Foto 6
Lakeview Lodges At Makins Fishery - Foto 7
Lakeview Lodges At Makins Fishery - Foto 8
Lakeview Lodges At Makins Fishery - Foto 9
Lakeview Lodges At Makins Fishery - Foto 10
Lakeview Lodges At Makins Fishery - Foto 11
Lakeview Lodges At Makins Fishery - Foto 12
Lakeview Lodges At Makins Fishery - Foto 13
Lakeview Lodges At Makins Fishery - Foto 14
Lakeview Lodges At Makins Fishery - Foto 15
Lakeview Lodges At Makins Fishery - Foto 16
Lakeview Lodges At Makins Fishery - Foto 17
Lakeview Lodges At Makins Fishery - Foto 18
Lakeview Lodges At Makins Fishery - Foto 19
Lakeview Lodges At Makins Fishery - Foto 20
Lakeview Lodges At Makins Fishery - Foto 21
Lakeview Lodges At Makins Fishery - Foto 22
Lakeview Lodges At Makins Fishery - Foto 23
Lakeview Lodges At Makins Fishery - Foto 24
Lakeview Lodges At Makins Fishery - Foto 25
Lakeview Lodges At Makins Fishery - Foto 26
Lakeview Lodges At Makins Fishery - Foto 27
Lakeview Lodges At Makins Fishery - Foto 28
Lakeview Lodges At Makins Fishery - Foto 29
Lakeview Lodges At Makins Fishery - Foto 30
Lakeview Lodges At Makins Fishery - Foto 31
Lakeview Lodges At Makins Fishery - Foto 32
Lakeview Lodges At Makins Fishery - Foto 33
Lakeview Lodges At Makins Fishery - Foto 34
Lakeview Lodges At Makins Fishery - Foto 35
Lakeview Lodges At Makins Fishery - Foto 36
Lakeview Lodges At Makins Fishery - Foto 37
Lakeview Lodges At Makins Fishery - Foto 38
Lakeview Lodges At Makins Fishery - Foto 39
Lakeview Lodges At Makins Fishery - Foto 40
Lakeview Lodges At Makins Fishery - Foto 41
Lakeview Lodges At Makins Fishery - Foto 42
Lakeview Lodges At Makins Fishery - Foto 43
Lakeview Lodges At Makins Fishery - Foto 44
Lakeview Lodges At Makins Fishery - Foto 45
Lakeview Lodges At Makins Fishery - Foto 46
Lakeview Lodges At Makins Fishery - Foto 47
Lakeview Lodges At Makins Fishery - Foto 48
Lakeview Lodges At Makins Fishery - Foto 49
Lakeview Lodges At Makins Fishery - Foto 50
Lakeview Lodges At Makins Fishery - Foto 51
Lakeview Lodges At Makins Fishery - Foto 52
Lakeview Lodges At Makins Fishery - Foto 53
Lakeview Lodges At Makins Fishery - Foto 54
Lakeview Lodges At Makins Fishery - Foto 55
Lakeview Lodges At Makins Fishery - Foto 56
Lakeview Lodges At Makins Fishery - Foto 57
Lakeview Lodges At Makins Fishery - Foto 58
Lakeview Lodges At Makins Fishery - Foto 59
Lakeview Lodges At Makins Fishery - Foto 60
Lakeview Lodges At Makins Fishery - Foto 61
Lakeview Lodges At Makins Fishery - Foto 62
Lakeview Lodges At Makins Fishery - Foto 63
Lakeview Lodges At Makins Fishery - Foto 64
Lakeview Lodges At Makins Fishery - Foto 65
Lakeview Lodges At Makins Fishery - Foto 66
Lakeview Lodges At Makins Fishery - Foto 67
Lakeview Lodges At Makins Fishery - Foto 68
Lakeview Lodges At Makins Fishery - Foto 69
Lakeview Lodges At Makins Fishery - Foto 70
Lakeview Lodges At Makins Fishery - Foto 71
Lakeview Lodges At Makins Fishery - Foto 72
Lakeview Lodges At Makins Fishery - Foto 73
Lakeview Lodges At Makins Fishery - Foto 74
Lakeview Lodges At Makins Fishery - Foto 75

Lakeview Lodges At Makins Fishery

Nuneaton - Bramcote

  • 150 M2
  • 3 habitaciones
  • 6 personas
  • Calefacción
  • Terraza
  • Parking
  • Jardín
9.3Excepcional | 121 reseñas
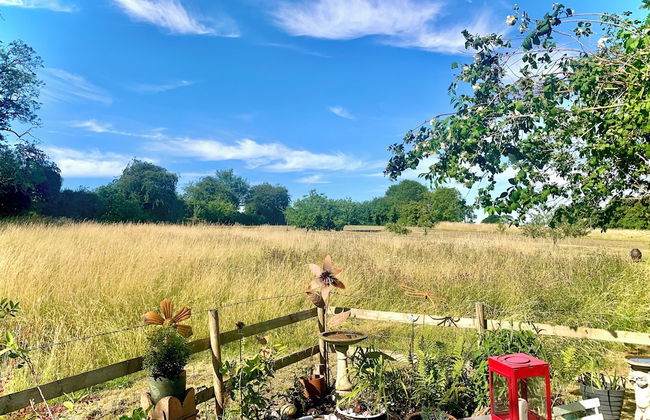
Marvel Apartments Leamington Spa - Foto 1
Marvel Apartments Leamington Spa - Foto 2
Marvel Apartments Leamington Spa - Foto 3
Marvel Apartments Leamington Spa - Foto 4
Marvel Apartments Leamington Spa - Foto 5
Marvel Apartments Leamington Spa - Foto 6
Marvel Apartments Leamington Spa - Foto 7
Marvel Apartments Leamington Spa - Foto 8
Marvel Apartments Leamington Spa - Foto 9
Marvel Apartments Leamington Spa - Foto 10
Marvel Apartments Leamington Spa - Foto 11
Marvel Apartments Leamington Spa - Foto 12
Marvel Apartments Leamington Spa - Foto 13
Marvel Apartments Leamington Spa - Foto 14
Marvel Apartments Leamington Spa - Foto 15
Marvel Apartments Leamington Spa - Foto 16
Marvel Apartments Leamington Spa - Foto 17
Marvel Apartments Leamington Spa - Foto 18
Marvel Apartments Leamington Spa - Foto 19
Marvel Apartments Leamington Spa - Foto 20
Marvel Apartments Leamington Spa - Foto 21
Marvel Apartments Leamington Spa - Foto 22
Marvel Apartments Leamington Spa - Foto 23
Marvel Apartments Leamington Spa - Foto 24
Marvel Apartments Leamington Spa - Foto 25
Marvel Apartments Leamington Spa - Foto 26
Marvel Apartments Leamington Spa - Foto 27
Marvel Apartments Leamington Spa - Foto 28
Marvel Apartments Leamington Spa - Foto 29
Marvel Apartments Leamington Spa - Foto 30
Marvel Apartments Leamington Spa - Foto 31
Marvel Apartments Leamington Spa - Foto 32
Marvel Apartments Leamington Spa - Foto 33
Marvel Apartments Leamington Spa - Foto 34
Marvel Apartments Leamington Spa - Foto 35
Marvel Apartments Leamington Spa - Foto 36
Marvel Apartments Leamington Spa - Foto 37
Marvel Apartments Leamington Spa - Foto 38
Marvel Apartments Leamington Spa - Foto 39
Marvel Apartments Leamington Spa - Foto 40
Marvel Apartments Leamington Spa - Foto 41
Marvel Apartments Leamington Spa - Foto 42
Marvel Apartments Leamington Spa - Foto 43
Marvel Apartments Leamington Spa - Foto 44
Marvel Apartments Leamington Spa - Foto 45
Marvel Apartments Leamington Spa - Foto 46
Marvel Apartments Leamington Spa - Foto 47
Marvel Apartments Leamington Spa - Foto 48
Marvel Apartments Leamington Spa - Foto 49
Marvel Apartments Leamington Spa - Foto 50
Marvel Apartments Leamington Spa - Foto 51
Marvel Apartments Leamington Spa - Foto 52
Marvel Apartments Leamington Spa - Foto 53
Marvel Apartments Leamington Spa - Foto 54
Marvel Apartments Leamington Spa - Foto 55
Marvel Apartments Leamington Spa - Foto 56
Marvel Apartments Leamington Spa - Foto 57
Marvel Apartments Leamington Spa - Foto 58
Marvel Apartments Leamington Spa - Foto 59
Marvel Apartments Leamington Spa - Foto 60
Marvel Apartments Leamington Spa - Foto 61
Marvel Apartments Leamington Spa - Foto 62
Marvel Apartments Leamington Spa - Foto 63
Marvel Apartments Leamington Spa - Foto 64
Marvel Apartments Leamington Spa - Foto 65
Marvel Apartments Leamington Spa - Foto 66
Marvel Apartments Leamington Spa - Foto 67
Marvel Apartments Leamington Spa - Foto 68
Marvel Apartments Leamington Spa - Foto 69
Marvel Apartments Leamington Spa - Foto 70
Marvel Apartments Leamington Spa - Foto 71
Marvel Apartments Leamington Spa - Foto 72
Marvel Apartments Leamington Spa - Foto 73
Marvel Apartments Leamington Spa - Foto 74
Marvel Apartments Leamington Spa - Foto 75
Marvel Apartments Leamington Spa - Foto 76
Marvel Apartments Leamington Spa - Foto 77
Marvel Apartments Leamington Spa - Foto 78
Marvel Apartments Leamington Spa - Foto 79
Marvel Apartments Leamington Spa - Foto 80
Marvel Apartments Leamington Spa - Foto 81
Marvel Apartments Leamington Spa - Foto 82
Marvel Apartments Leamington Spa - Foto 83
Marvel Apartments Leamington Spa - Foto 84
Marvel Apartments Leamington Spa - Foto 85
Marvel Apartments Leamington Spa - Foto 86
Marvel Apartments Leamington Spa - Foto 87
Marvel Apartments Leamington Spa - Foto 88
Marvel Apartments Leamington Spa - Foto 89
Marvel Apartments Leamington Spa - Foto 90

Marvel Apartments Leamington Spa

Royal Leamington Spa - Royal Leamington Spa

  • 65 M2
  • 2 habitaciones
  • 6 personas
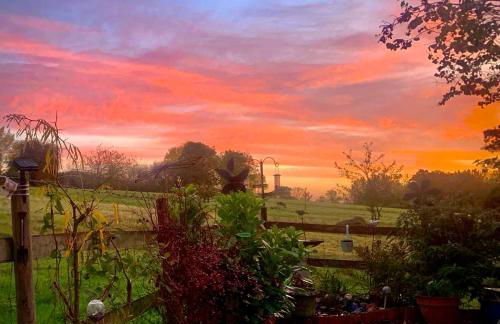
  • Calefacción
  • Parking
  • Televisión
  • Lavadora
  • Toallas
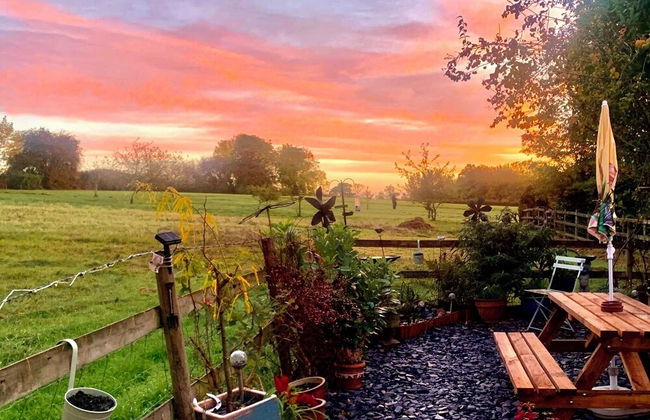
  • Sábanas
8.8Muy bueno | 25 reseñas
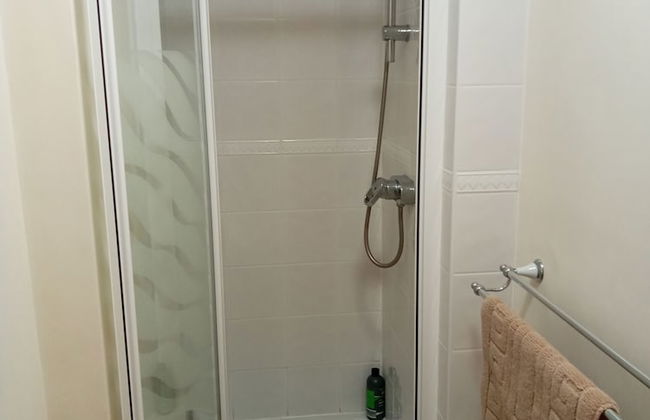
One Abbey Lane - Foto 1
One Abbey Lane - Foto 2
One Abbey Lane - Foto 3
One Abbey Lane - Foto 4
One Abbey Lane - Foto 5
One Abbey Lane - Foto 6
One Abbey Lane - Foto 7
One Abbey Lane - Foto 8
One Abbey Lane - Foto 9
One Abbey Lane - Foto 10

One Abbey Lane

Royal Leamington Spa - Southam

  • 70 M2
  • 4 personas
  • Calefacción
  • Parking
  • Jardín
9.6Excepcional | 80 reseñas
Destinos relacionados