
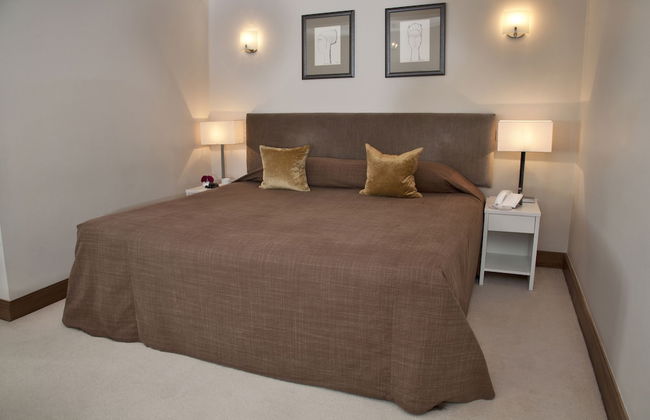
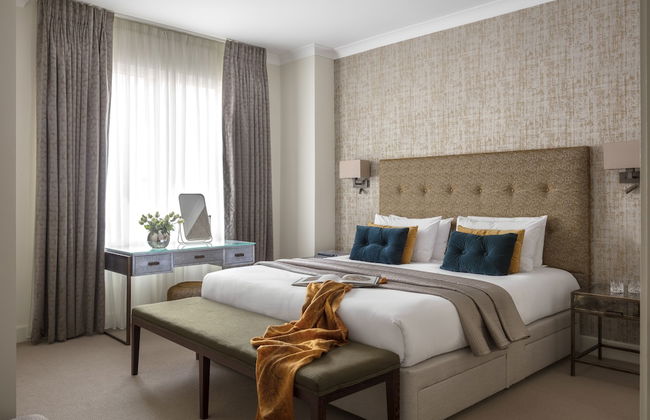
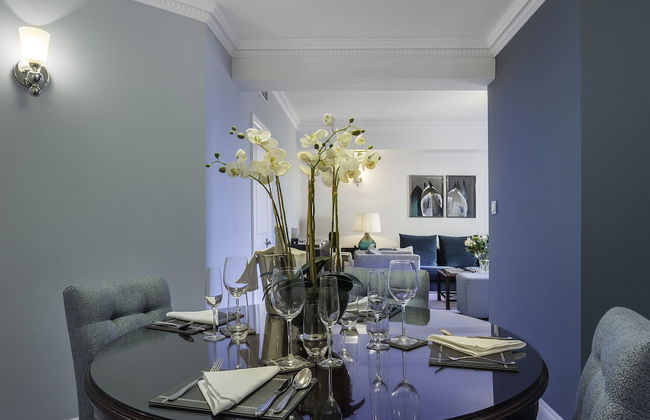
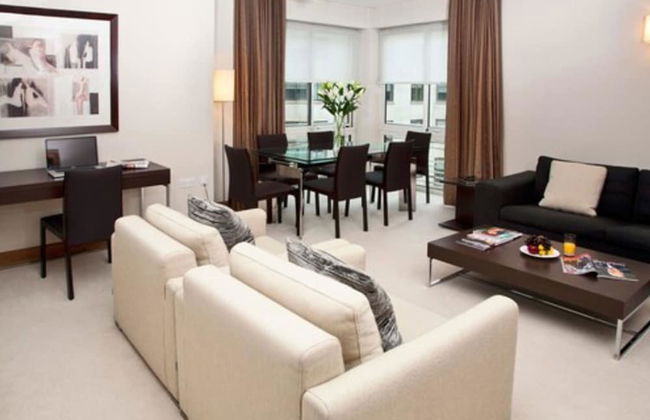
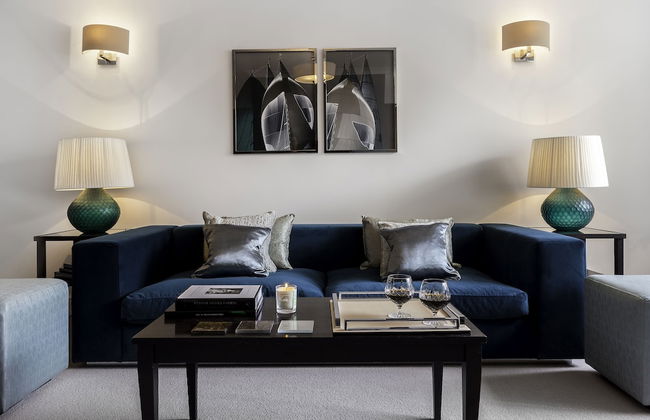
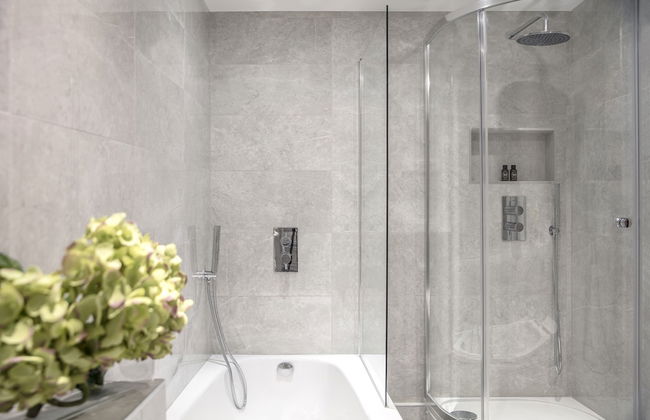
43 Apartamentos en St James's


Cockspur Street
Londres - St James's - En el centro
- 116 M2
- 6 personas
- Aire acondicionado
- Ascensor
- Televisión
- Lavadora
- Toallas
- Sábanas
2 reseñas


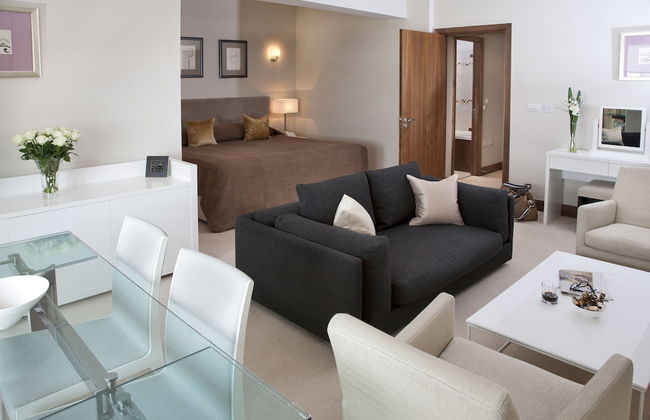
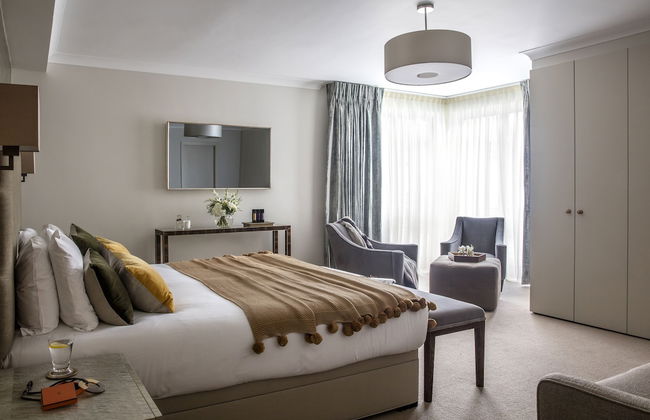
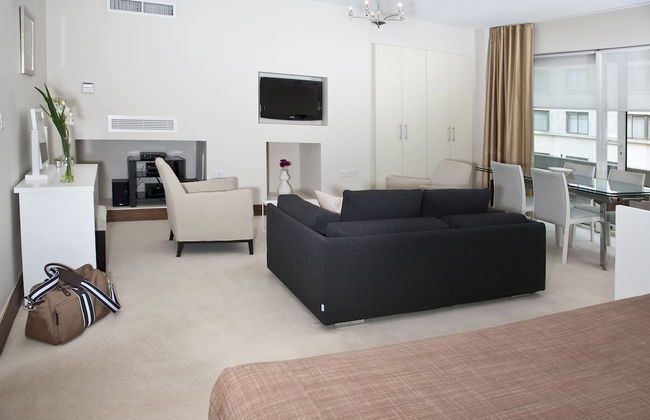
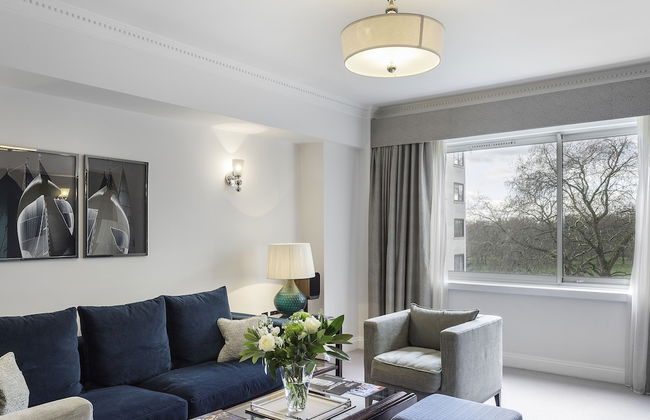
Luxury Central Mayfair Townhouse with AC 3BR 3BA
Londres - St James's - En el centro
- 158 M2
- 3 habitaciones
- 6 personas
- Aire acondicionado
- Calefacción
- Parking
13 reseñas


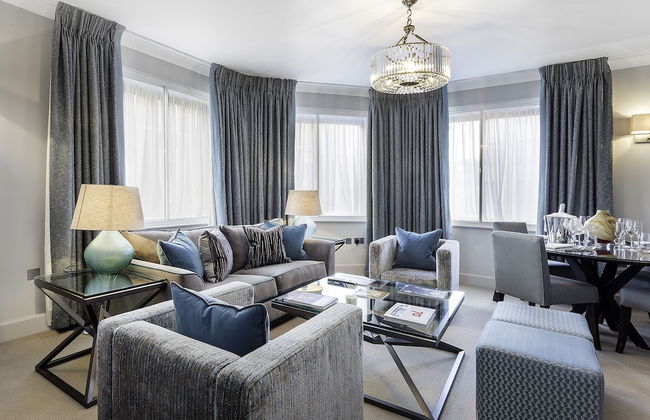
Apt with Aircon 3 Bedr, 4 Beds, 2 Bath Trafalgar SQ
Londres - St James's - En el centro
- 111 M2
- 3 habitaciones
- 8 personas
- Aire acondicionado
- Calefacción
- Ascensor
28 reseñas


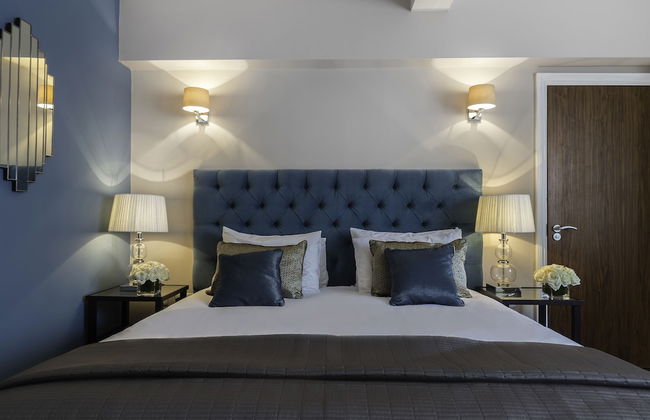
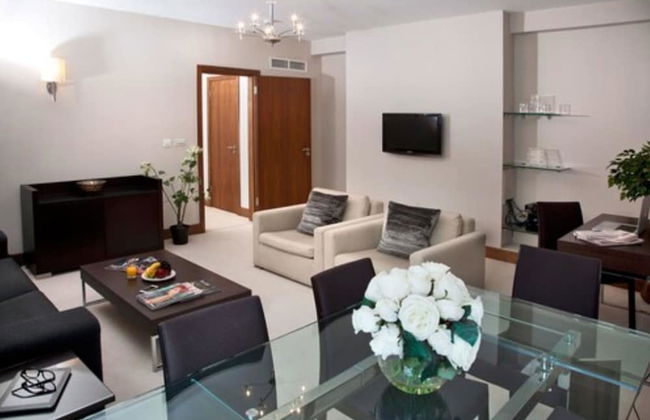
Luxury Central Mayfair Townhouse with A/C 3BR 3BA
Londres - St James's - En el centro
- 177 M2
- 3 habitaciones
- 6 personas
- Aire acondicionado
- Calefacción
- Parking
10 reseñas


JOIVY Astonishing 2 Bedroom near Mayfair & Piccadilly Circus
Londres - St James's - A 210 m del centro
- 144 M2
- 6 personas
- Aire acondicionado
- Calefacción
- Terraza
- Balcón
- Televisión
- Lavadora
- Toallas
- Sábanas
2 reseñas


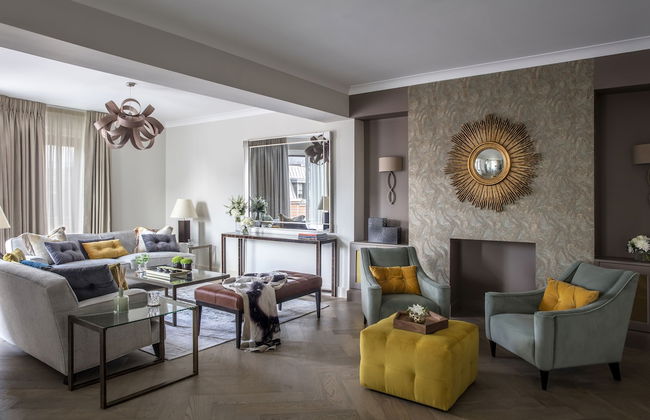
The Grande Mayfair Apartment
Londres - St James's - A 420 m del centro
- 175 M2
- 3 habitaciones
- 7 personas
- Aire acondicionado
- Calefacción
- Parking
- Ascensor
- Jardín
9 reseñas


Perfect One Bed in Green Park Station
Londres - St James's - A 250 m del centro
- 65 M2
- 1 habitación
- 2 personas
- Aire acondicionado
- Ascensor
43 reseñas


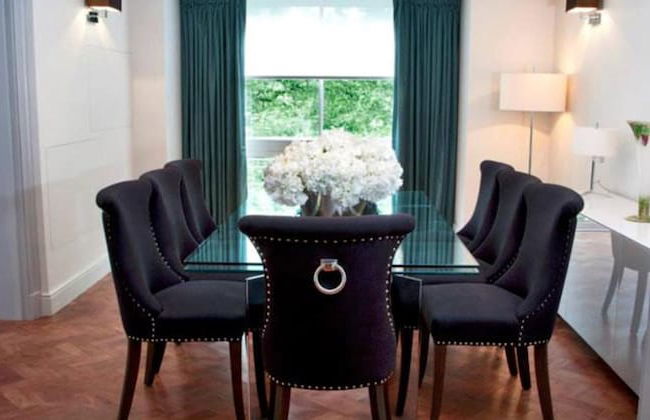
Welcome London - Trafalgar Square
Londres - St James's - En el centro
- 95 M2
- 2 habitaciones
- 7 personas
- Ascensor
61 reseñas


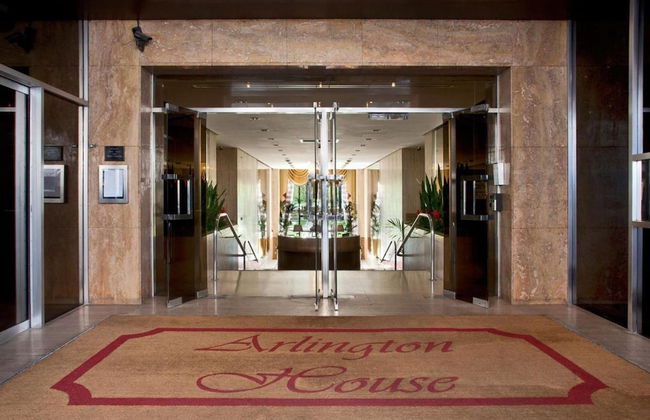


Arlington House Apartments
Londres - St James's - A 440 m del centro
- 170 M2
- 6 personas
- Aire acondicionado
- Calefacción
- Parking
- Ascensor
- Jardín
- Televisión
- Lavadora
- Toallas
328 reseñas


Welcome London Piccadilly Circus
Londres - St James's - En el centro
- 41 M2
- 1 habitación
- 4 personas
- Calefacción
29 reseñas


1 BR in Piccadilly Circus St James Cov1
Londres - St James's - En el centro
- 28 M2
- 1 habitación
- 5 personas
- Ascensor
65 reseñas


High Apartment in St James-Piccadilly COV10
Londres - St James's - En el centro
- 30 M2
- 1 habitación
- 4 personas
93 reseñas


Traditional Victorian West End Apartment
Londres - St James's - En el centro
- 150 M2
- 3 habitaciones
- 8 personas
- Calefacción
- Ascensor
2 reseñas


Sleep 8 In the heart of Central London Hy4
Londres - St James's - En el centro
- 93 M2
- 3 habitaciones
- 8 personas
- Aire acondicionado
- Calefacción
16 reseñas


Sleep 5 in Mayfair St James Soho Cov7
Londres - St James's - En el centro
- 28 M2
- 1 habitación
- 5 personas
- Calefacción
- Ascensor
22 reseñas


2 Bed Piccadilly Apartment 2
Londres - St James's - A 210 m del centro
- 51 M2
- 2 habitaciones
- 5 personas
- Calefacción
70 reseñas


2 Bed Piccadilly Apartment 3
Londres - St James's - A 210 m del centro
- 1 M2
- 2 habitaciones
- 5 personas
- Calefacción
62 reseñas


2 Bed Piccadilly Apartment 4
Londres - St James's - A 210 m del centro
- 45 M2
- 2 habitaciones
- 5 personas
- Calefacción
55 reseñas


Central London Studio Apartment
Londres - St James's - En el centro
- 31 M2
- 1 habitación
- 3 personas
- Calefacción
7 reseñas