
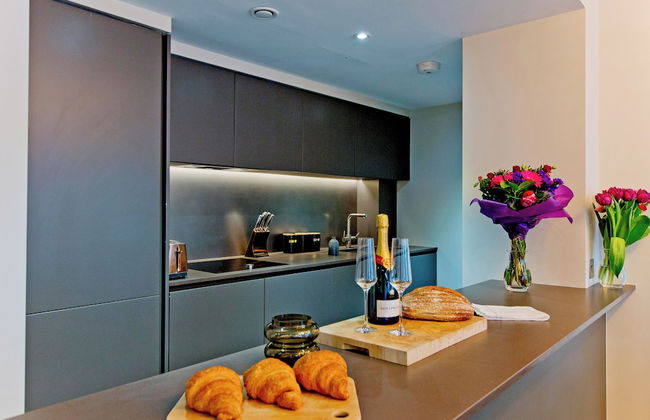
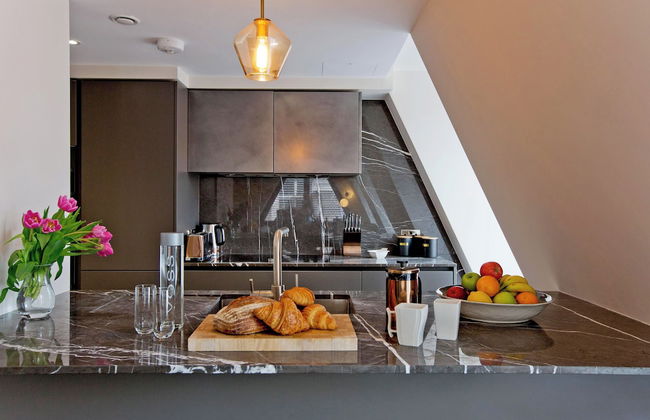
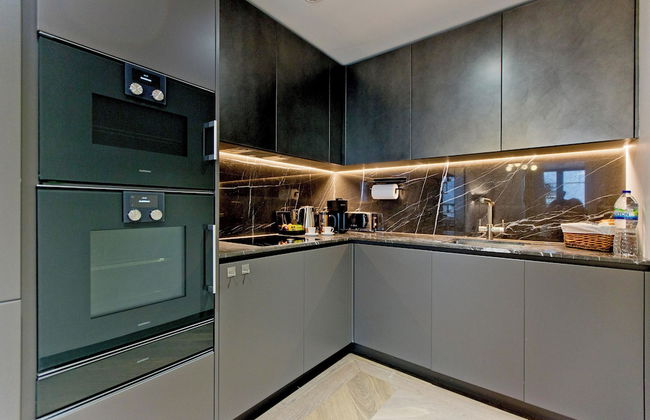
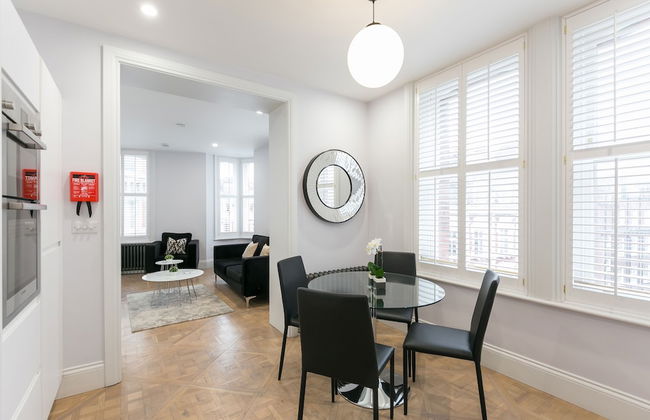
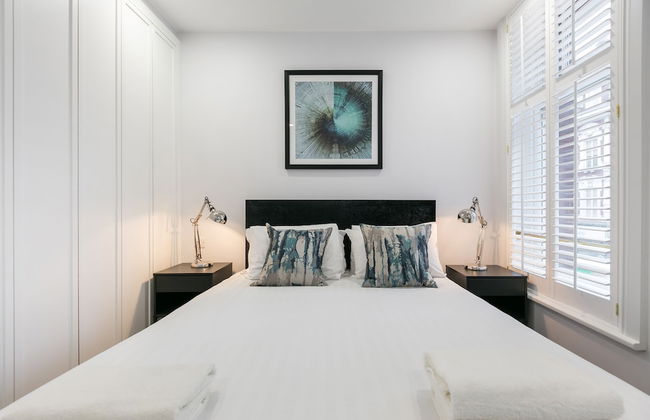
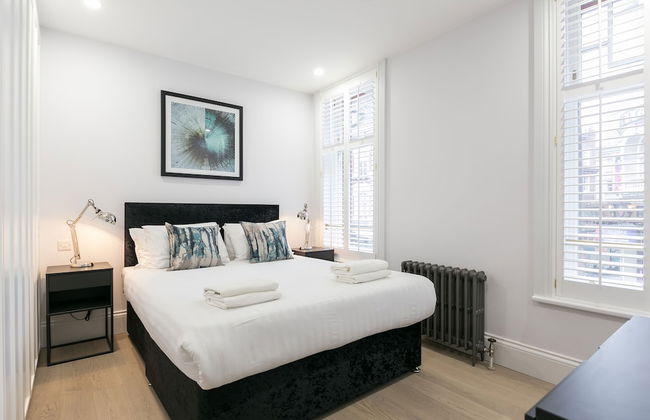
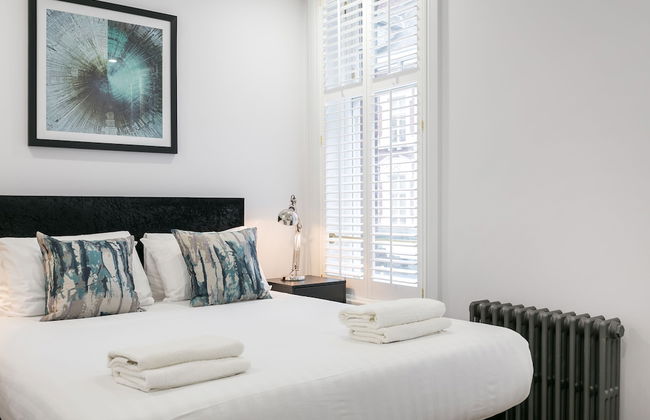
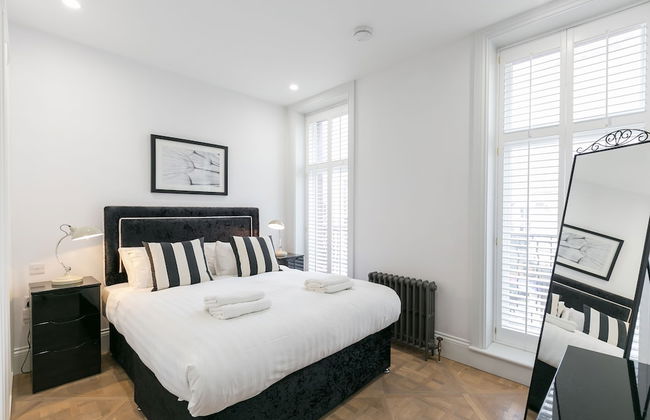
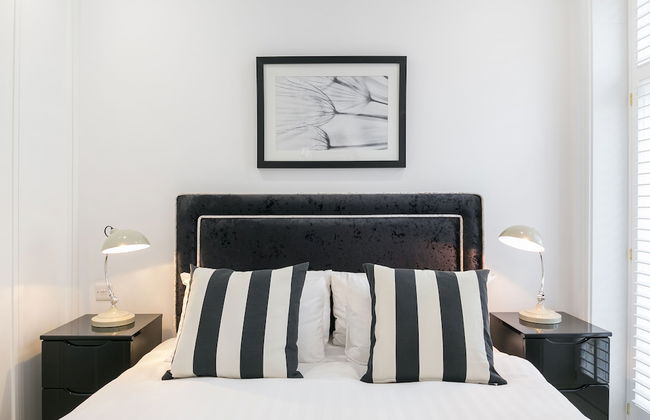
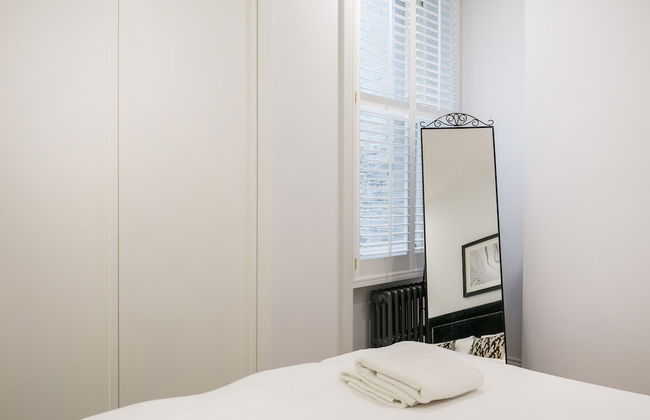
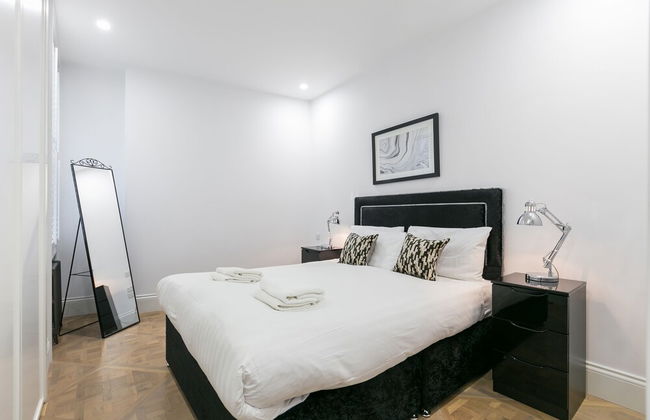
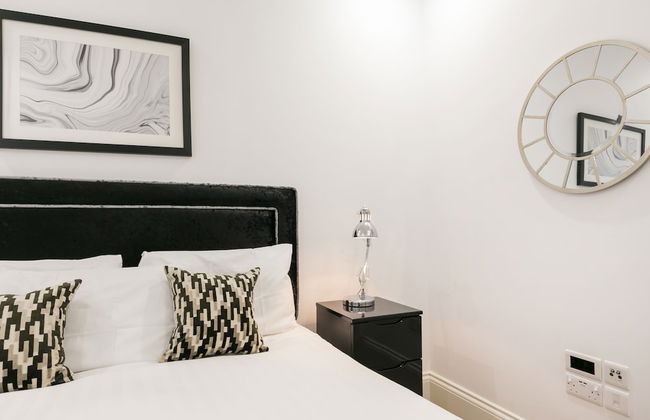
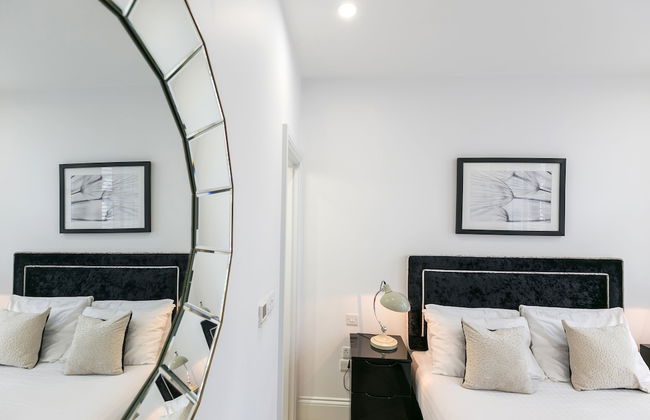
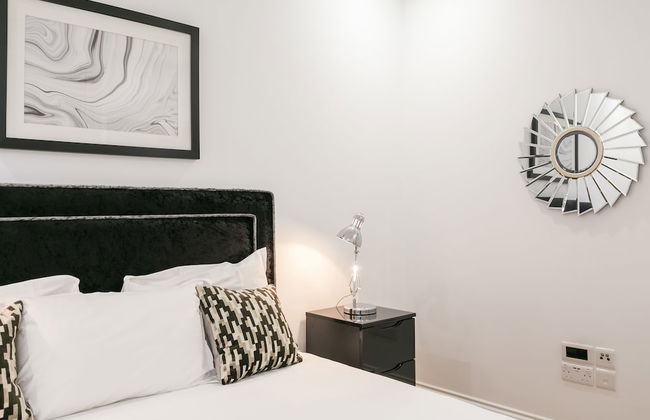
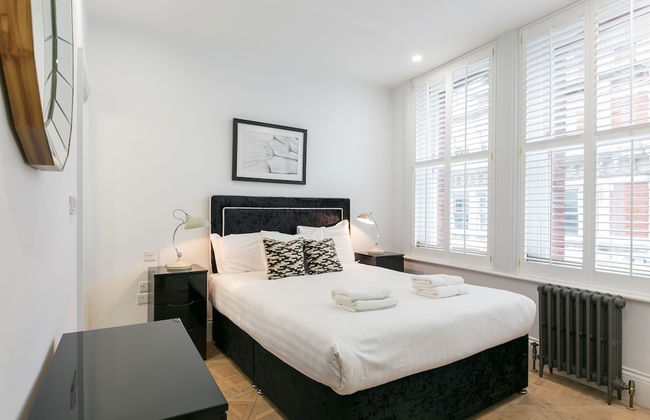
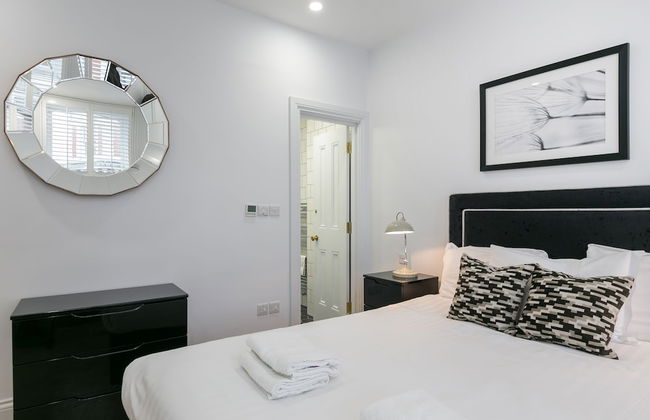
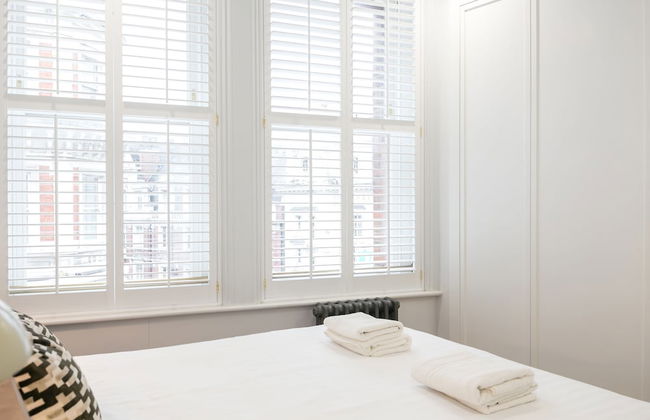
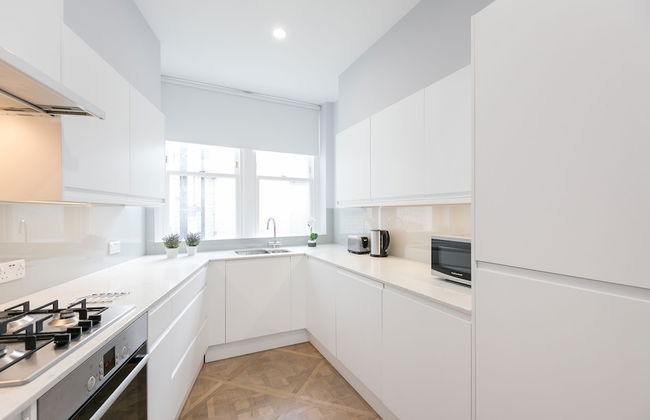
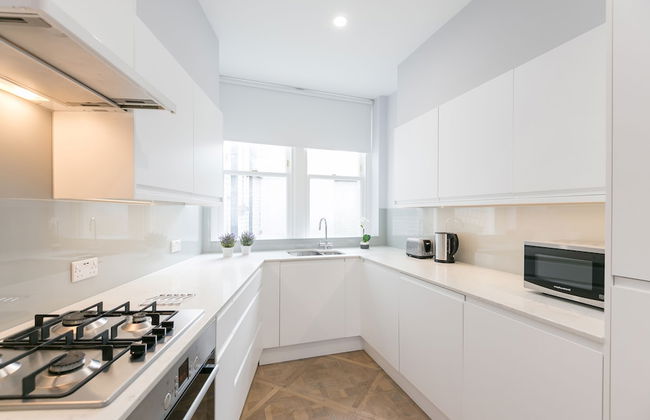
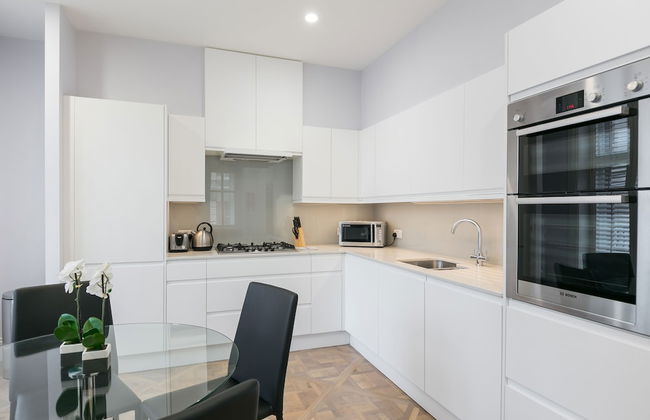
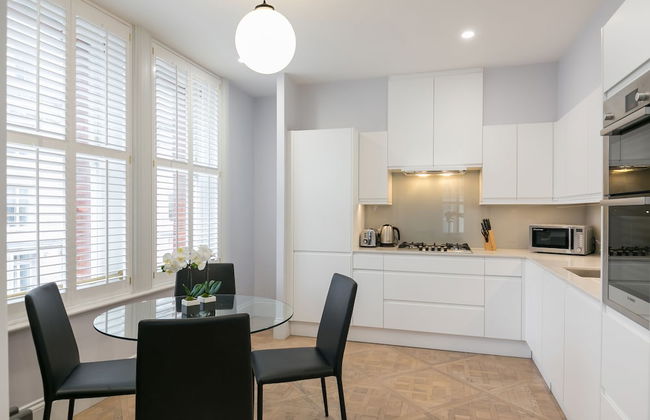
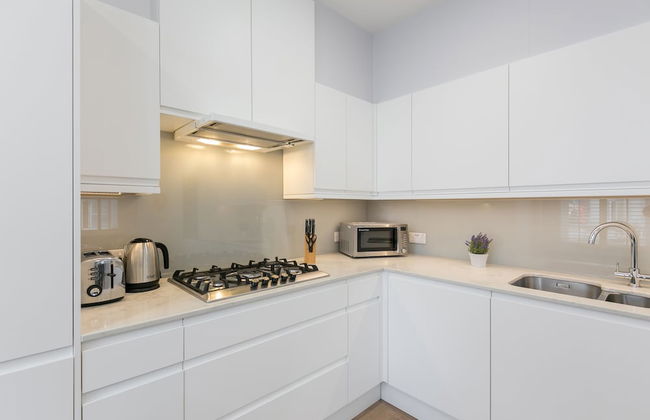
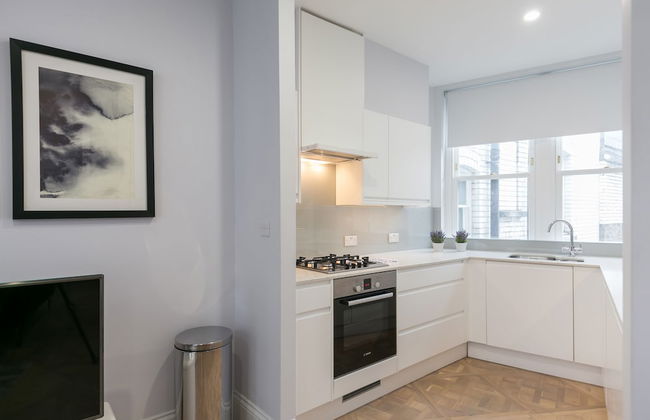
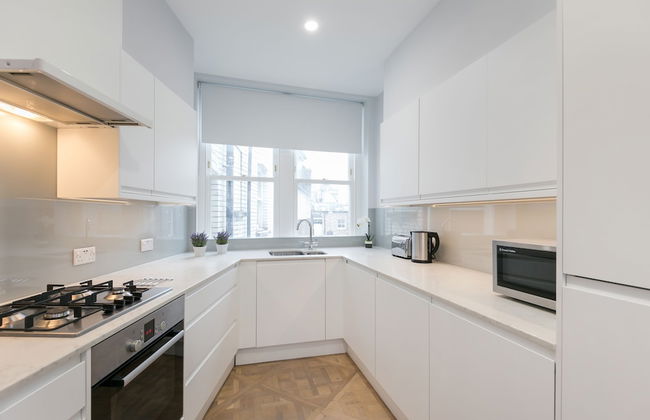
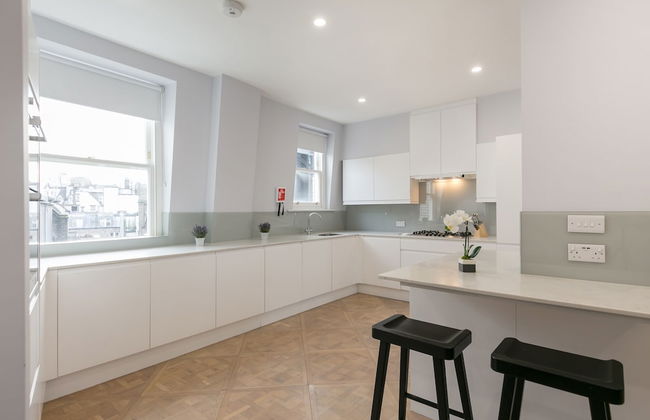
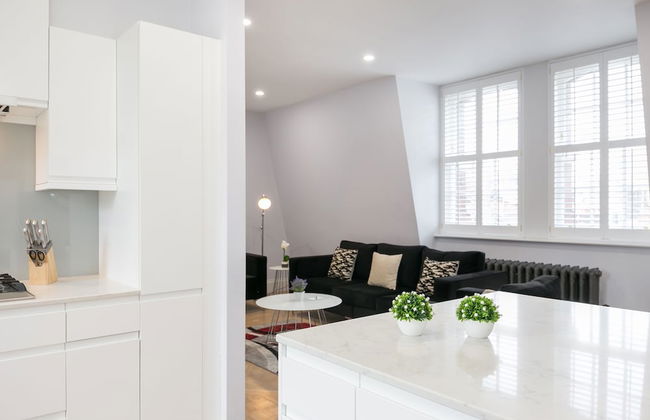
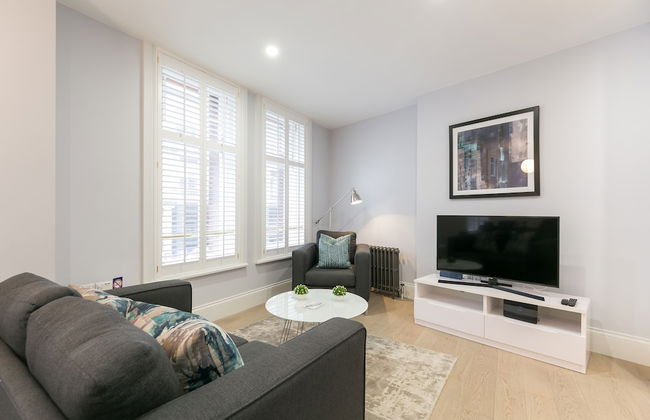
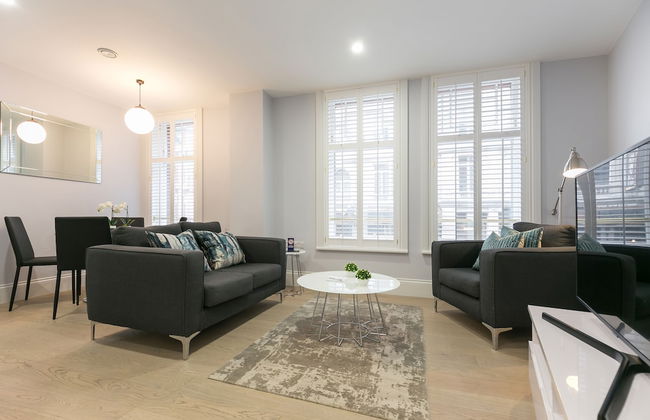
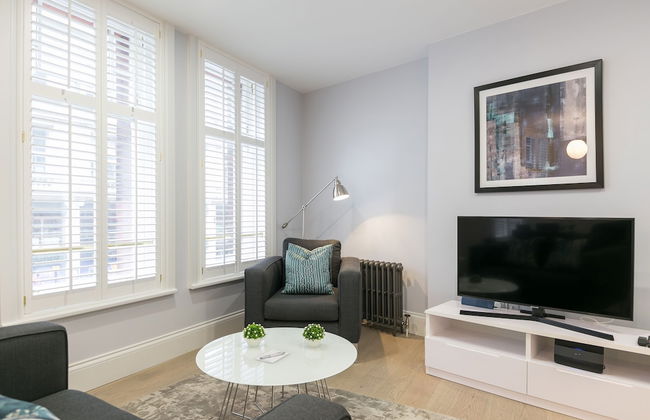
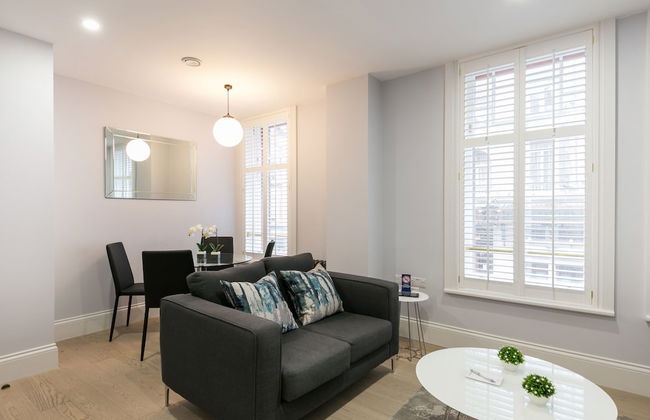
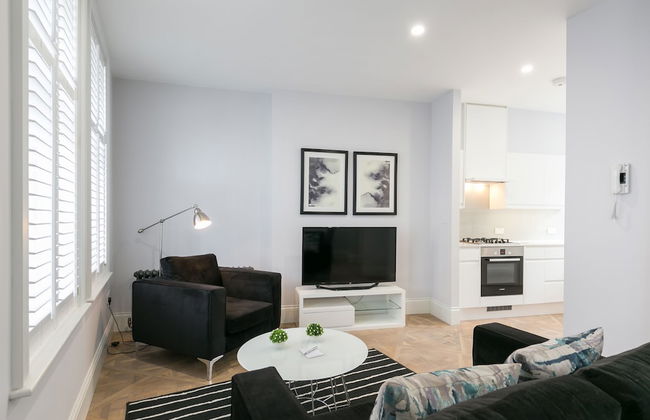
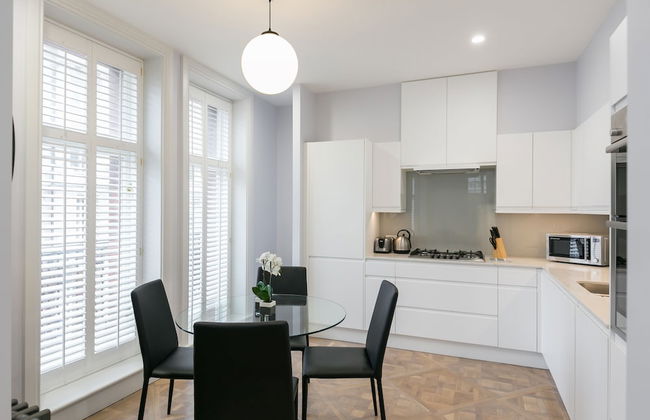
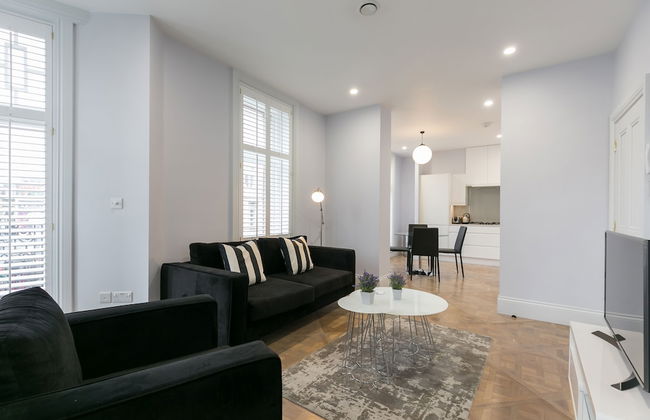
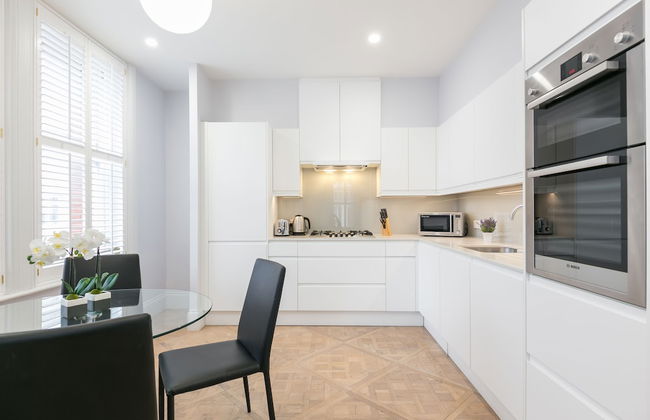
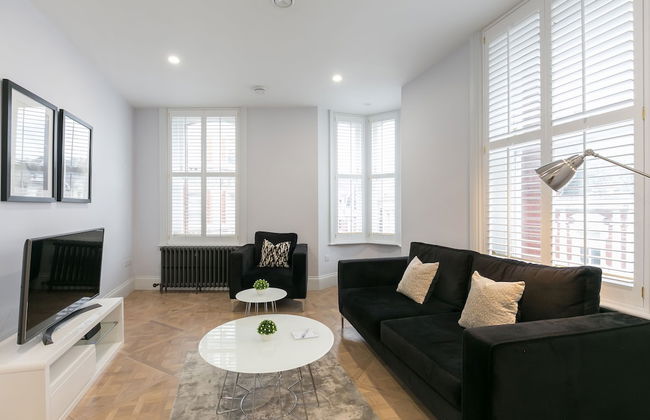
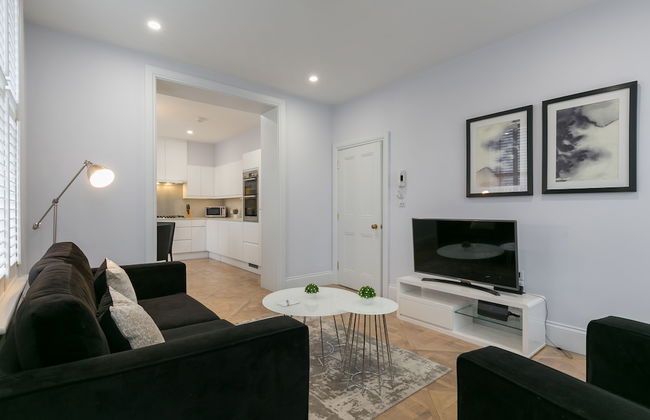
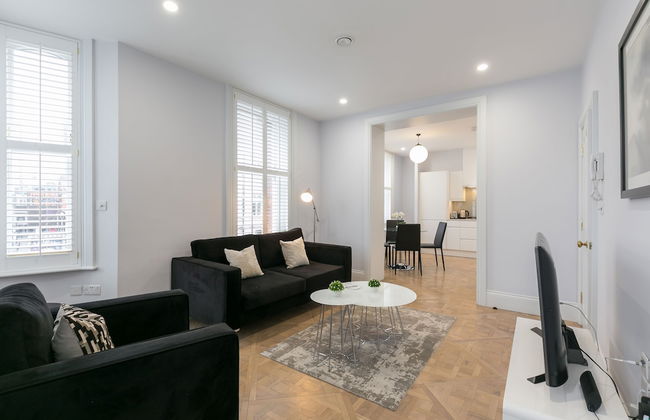
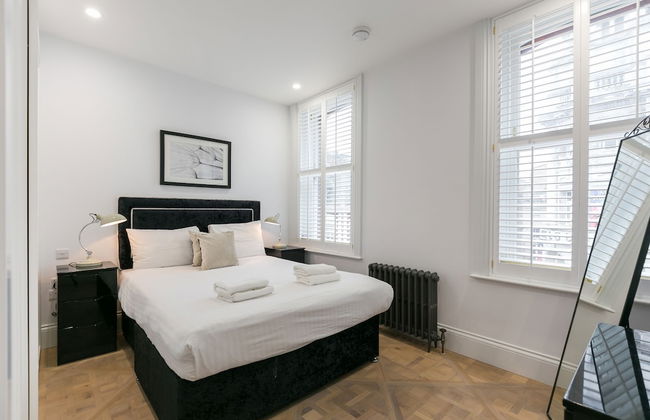
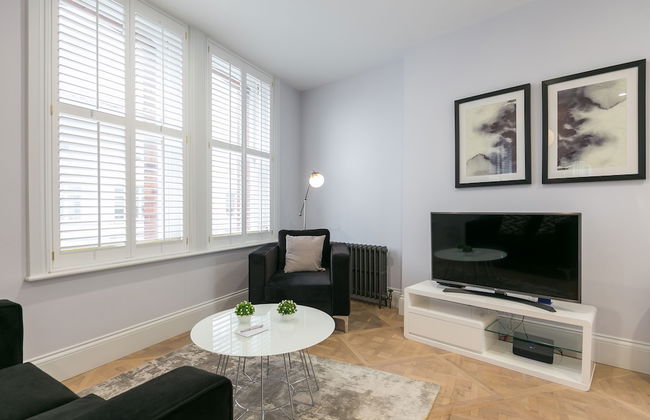
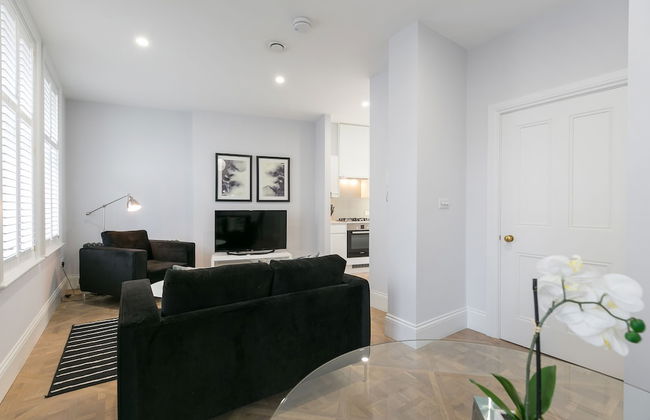
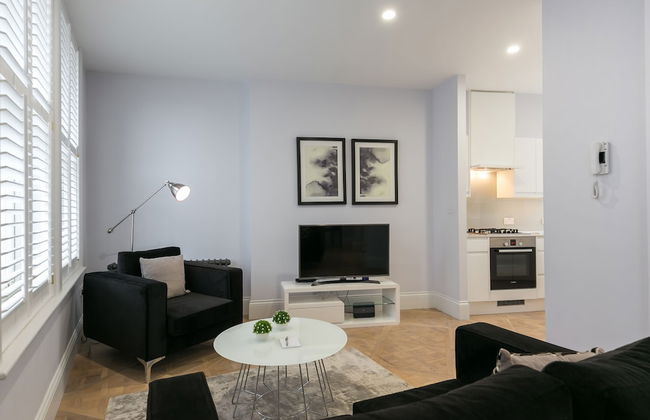
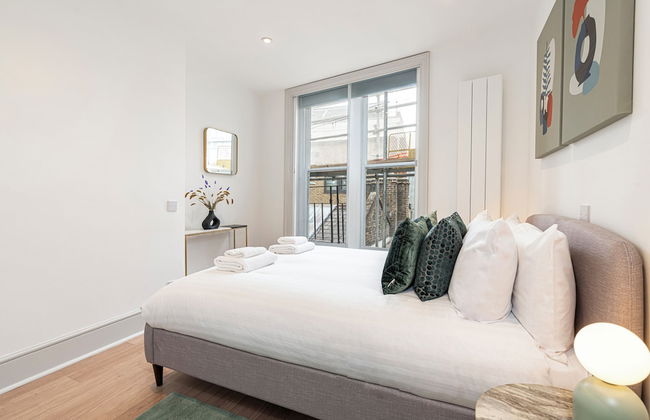
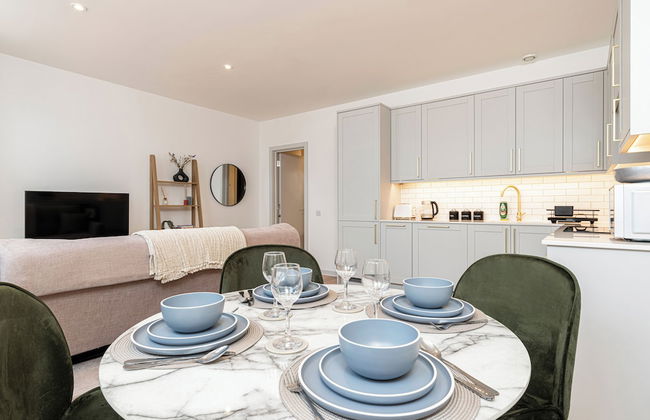
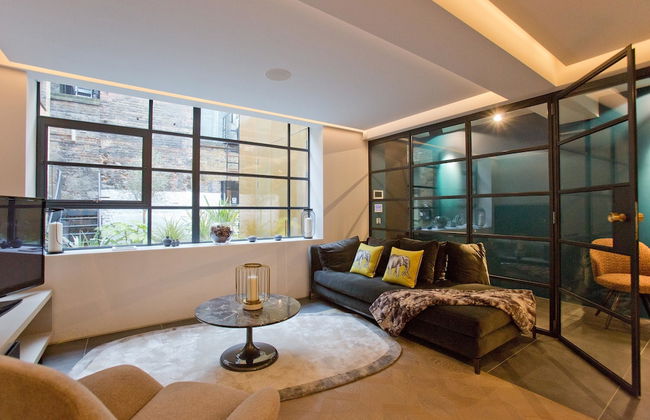
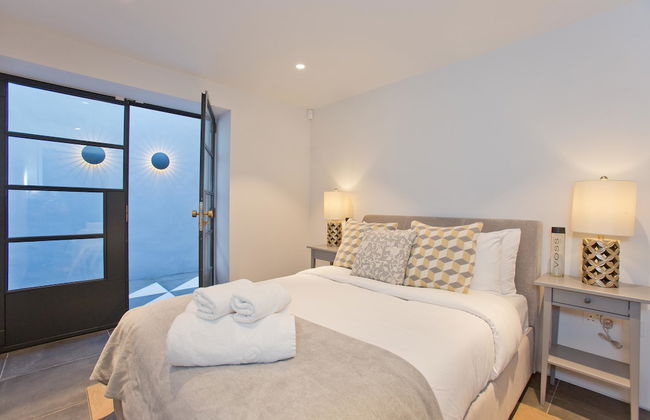
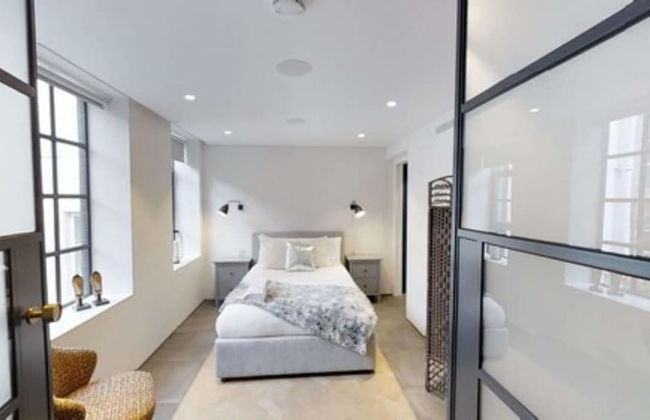
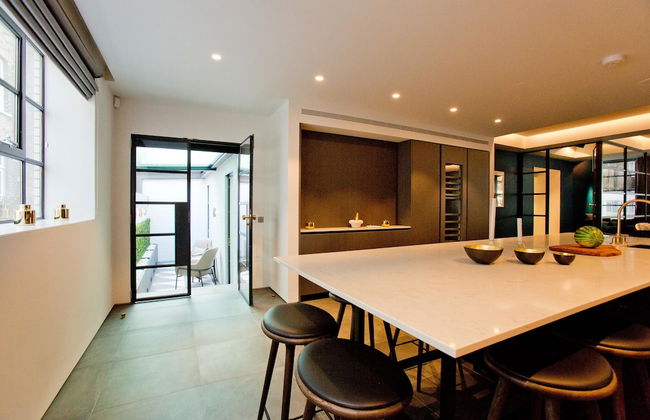
327 Apartamentos cerca de Piccadilly Circus
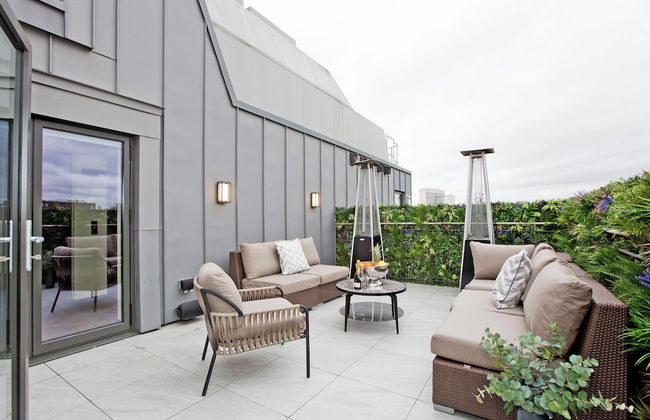


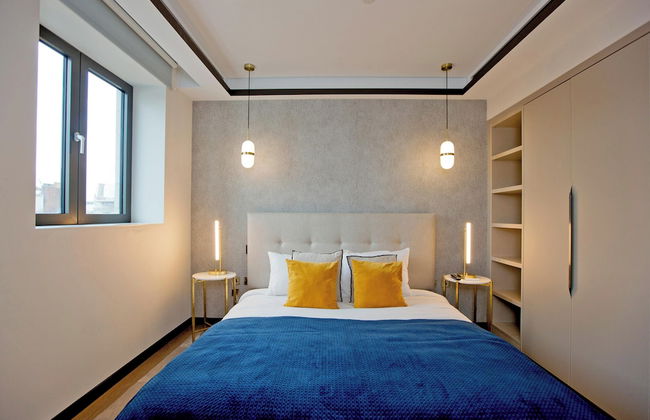


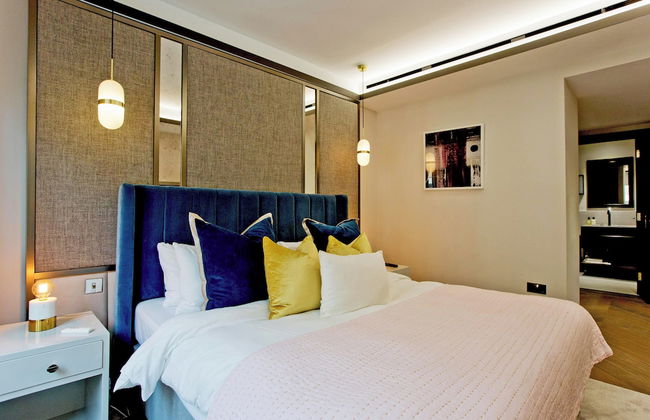


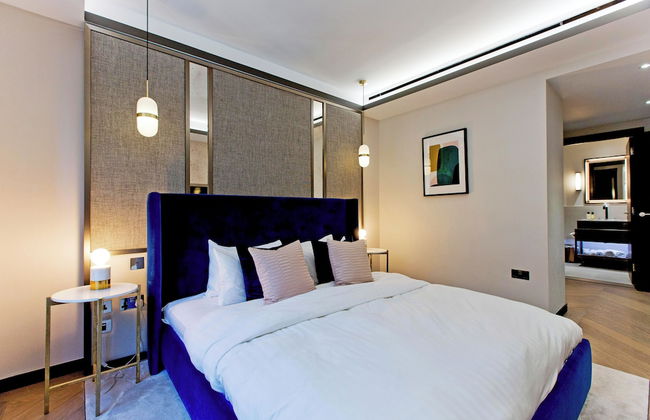


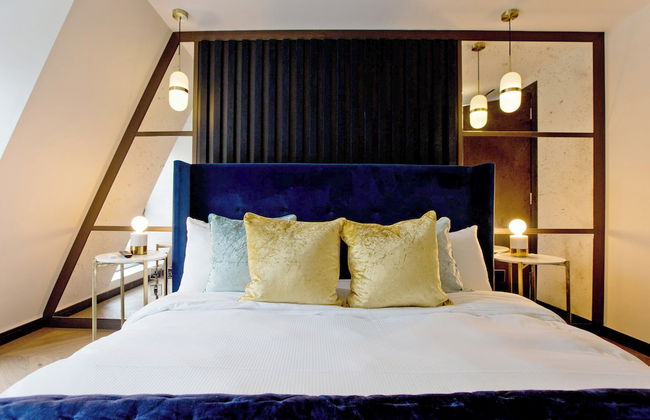


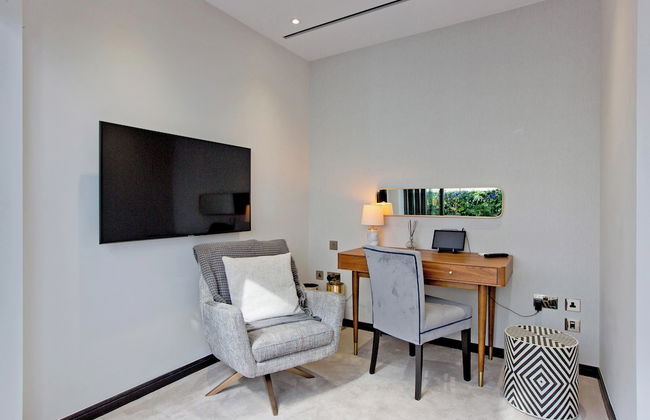

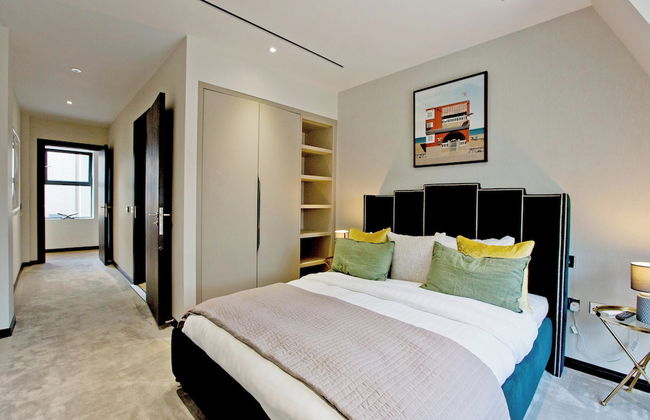


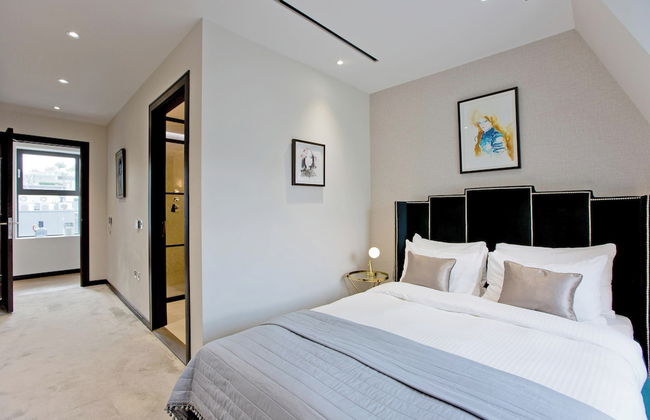


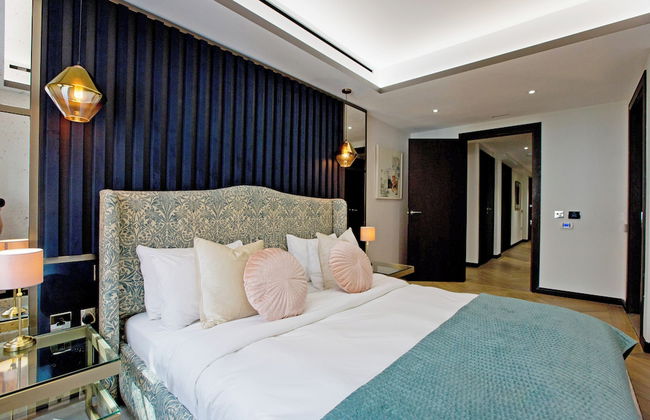


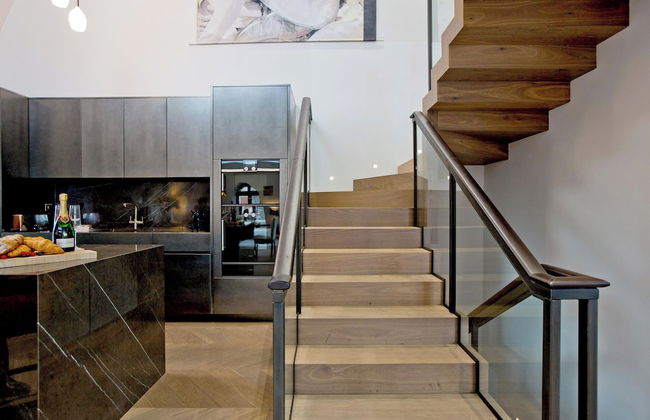


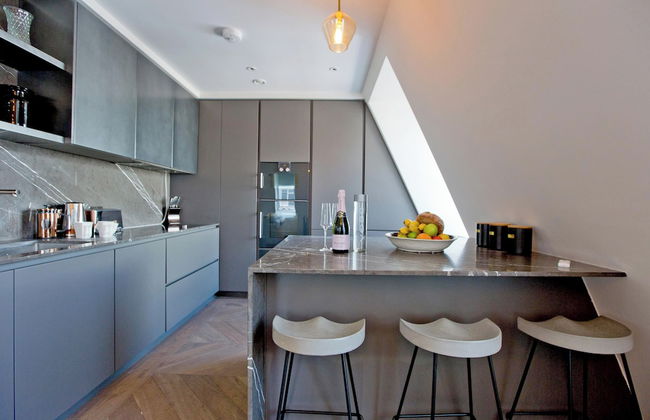

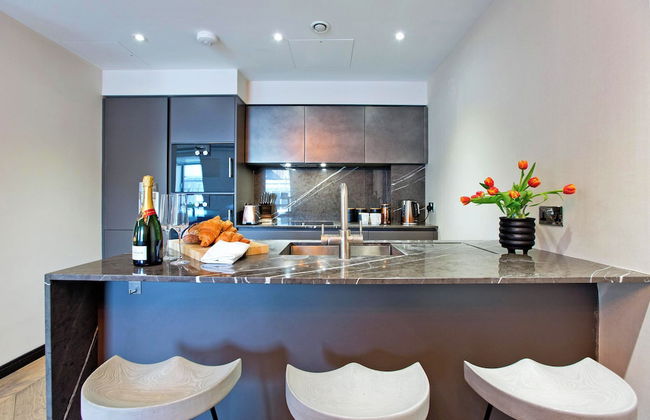

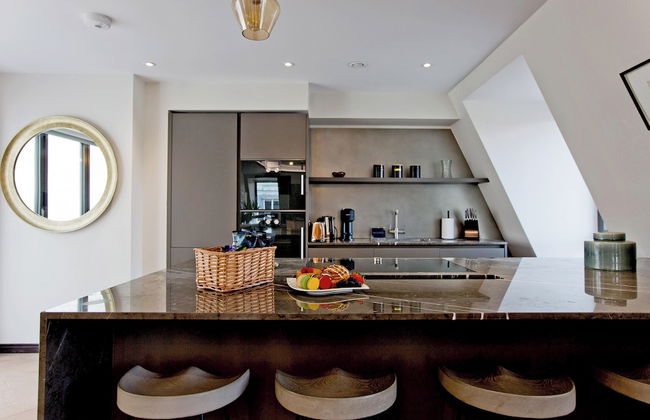

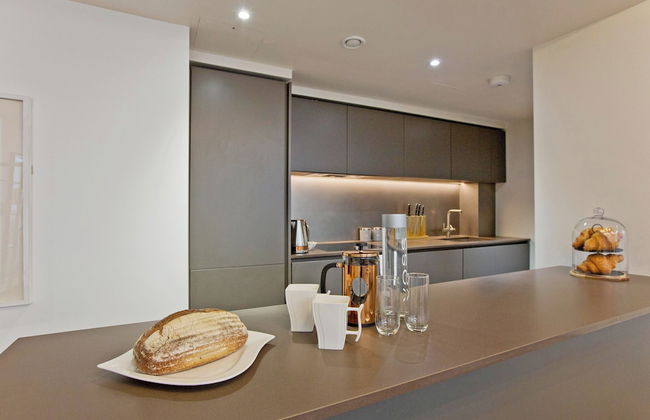

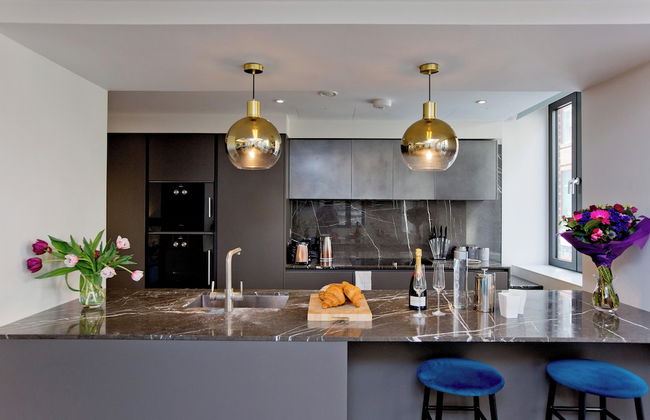


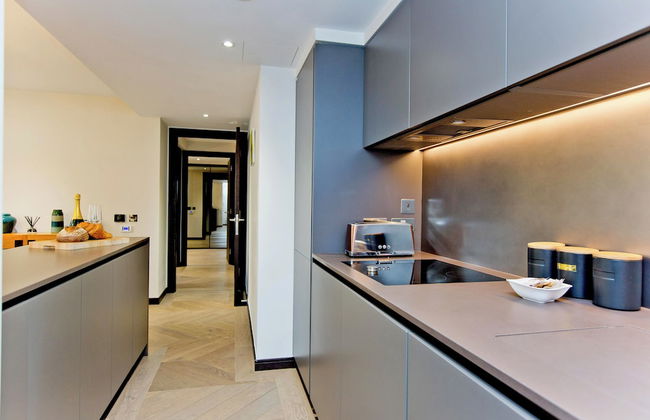


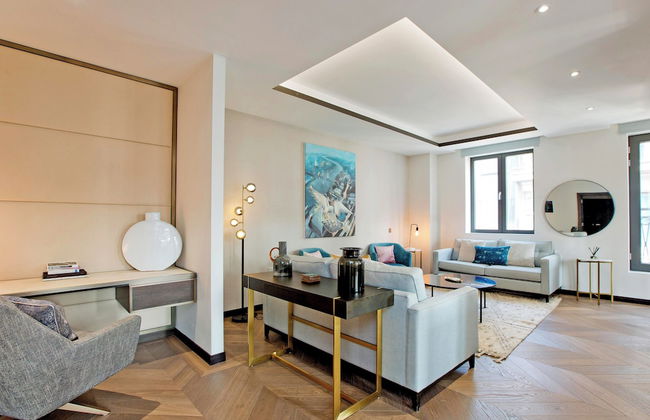

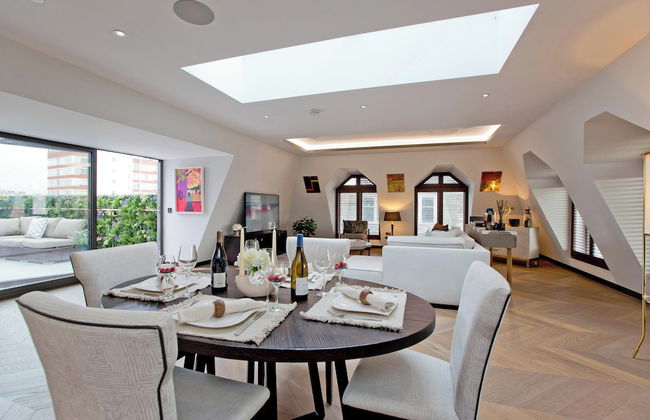

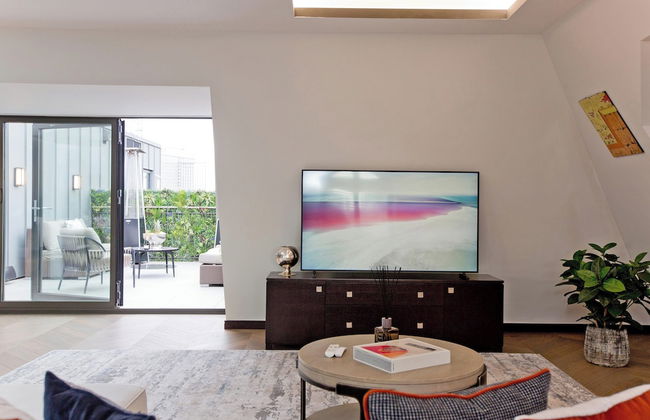


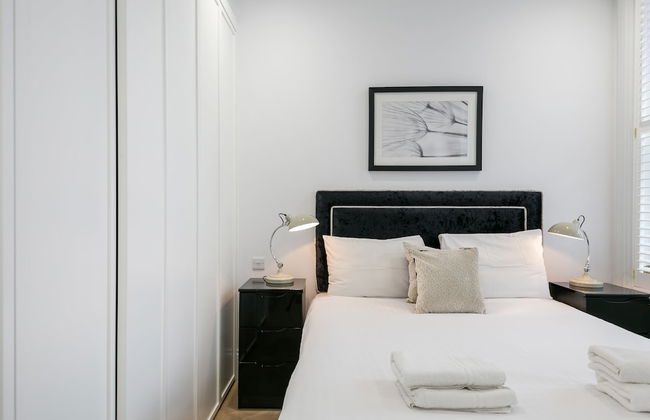
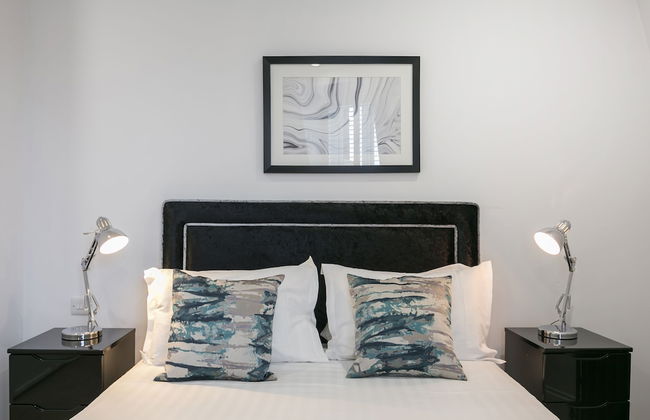
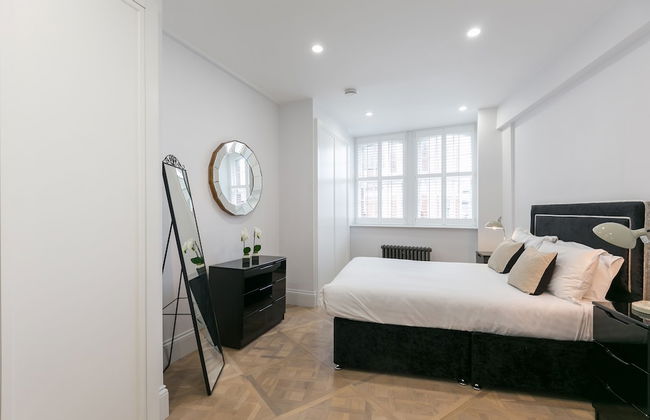
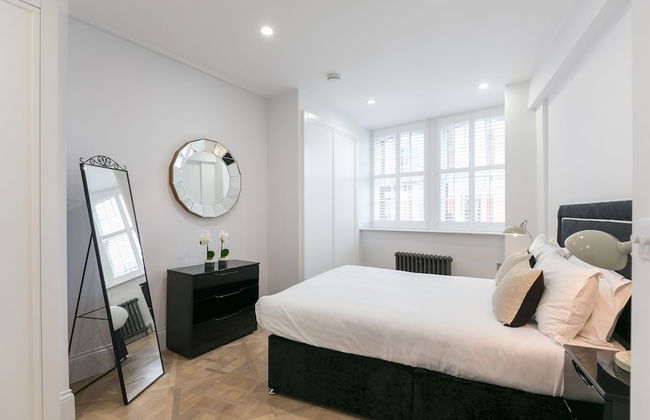
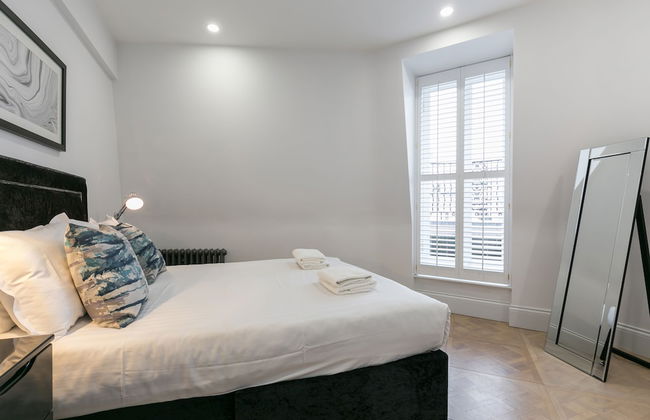
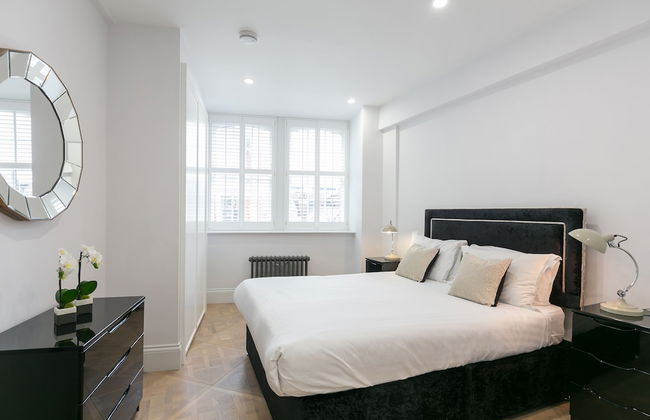
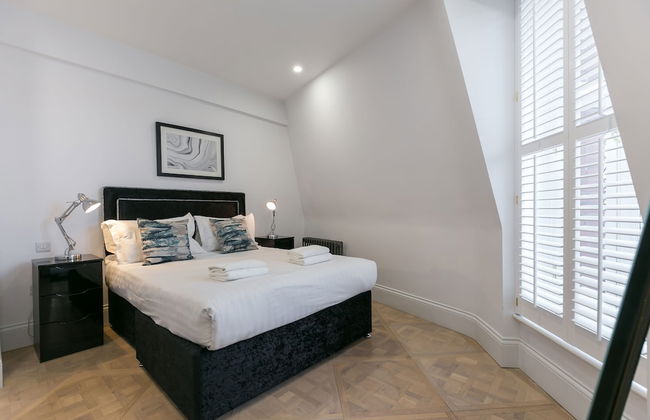
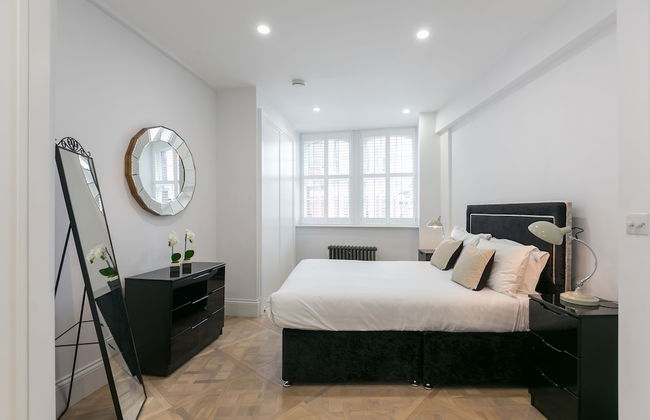
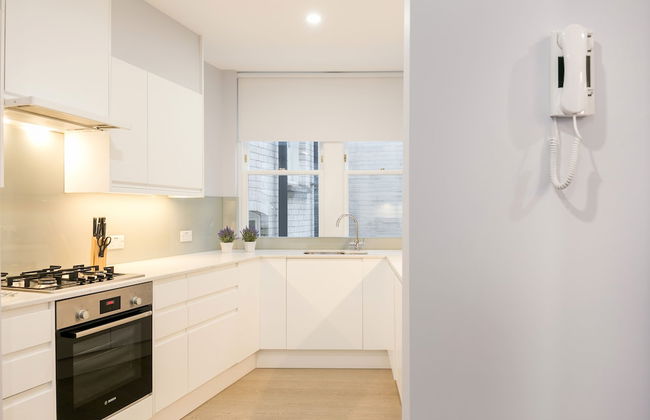
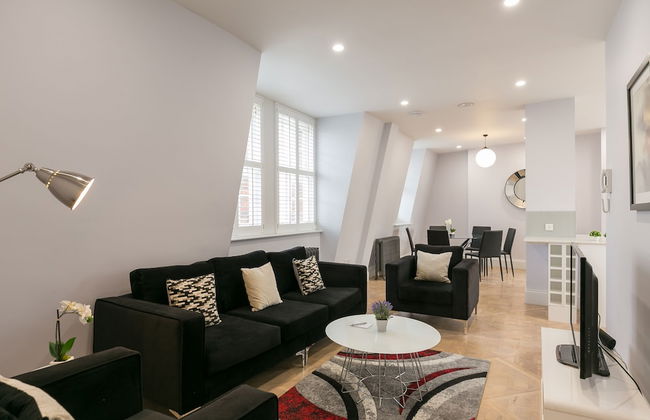
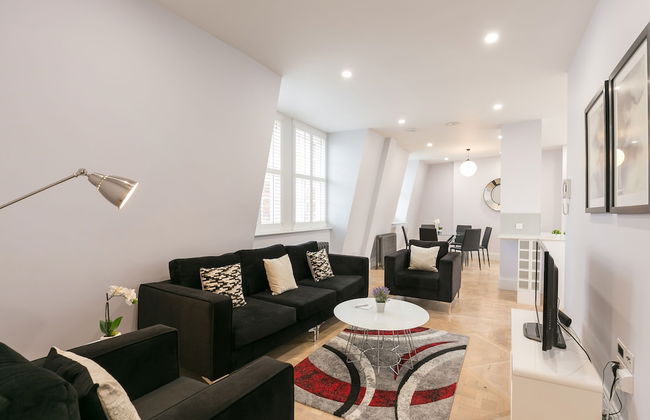
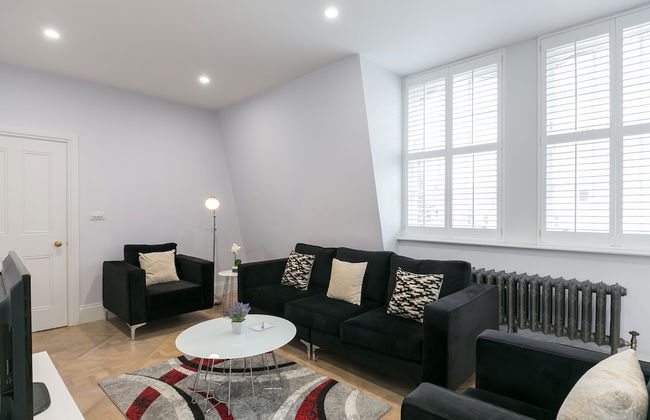
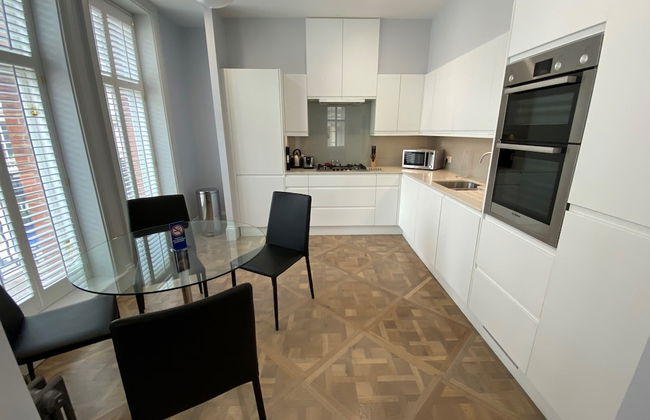
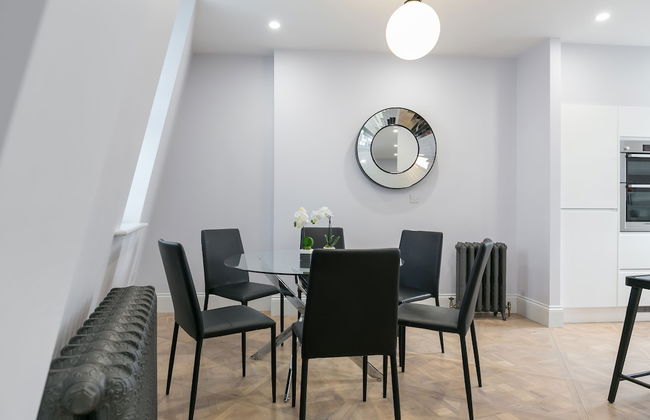
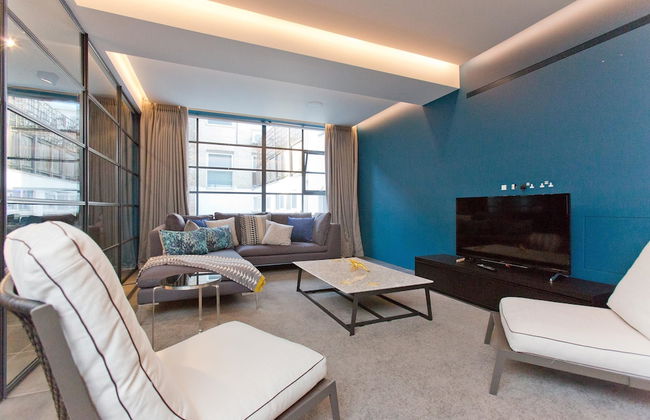
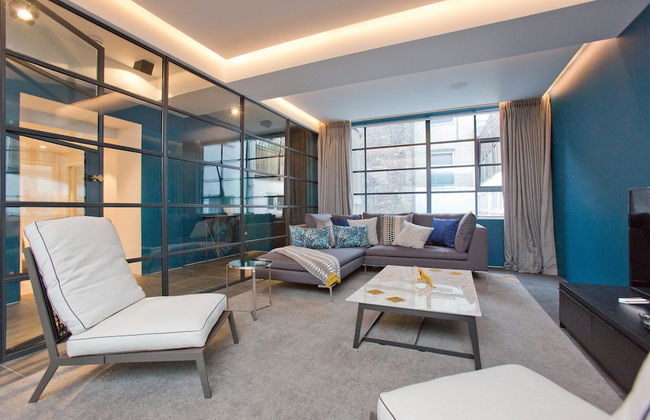
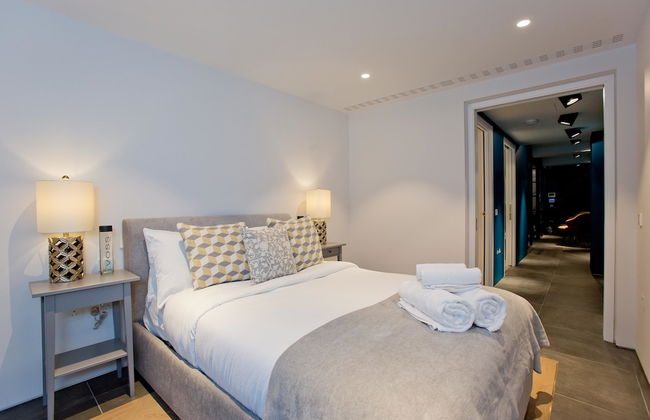
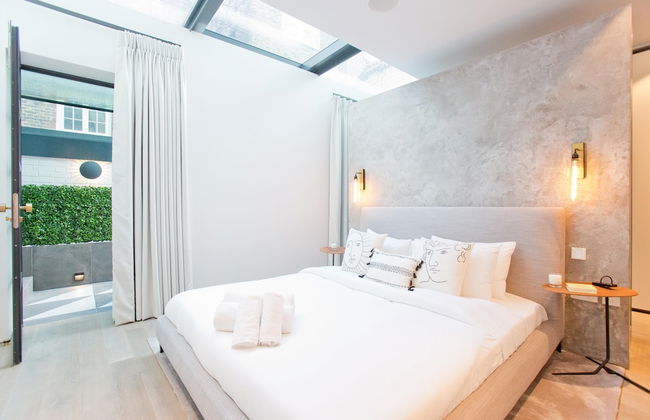
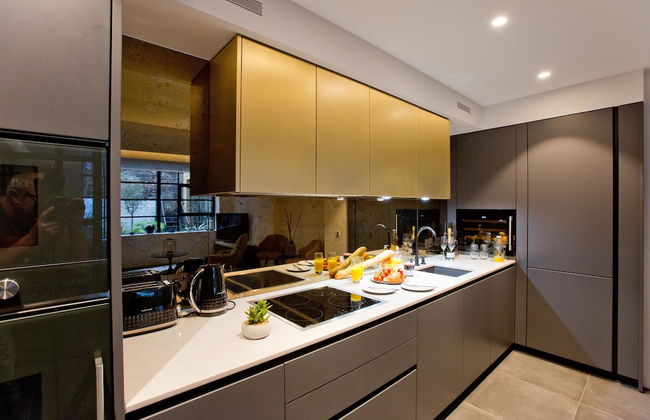
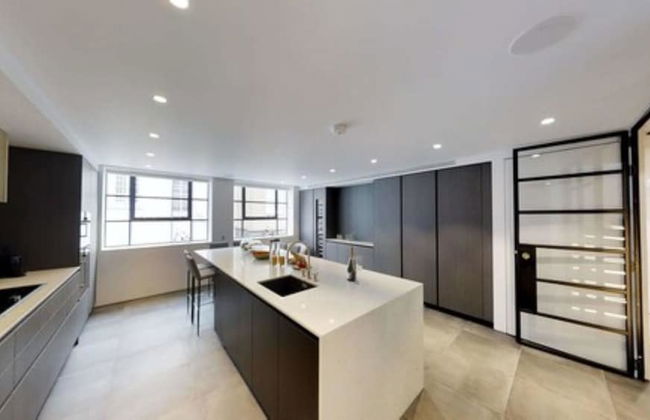
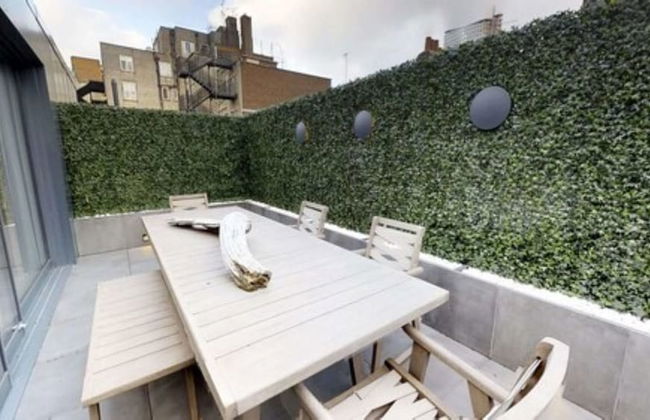
37GS Residences
Londres - Soho - A 440 m del centro
- 228 M2
- 3 habitaciones
- 6 personas
- Aire acondicionado
- Calefacción
- Terraza
- Parking
- Ascensor
- Balcón
- Jardín
- Televisión
- Lavadora
- Toallas
- Sábanas
340 reseñas


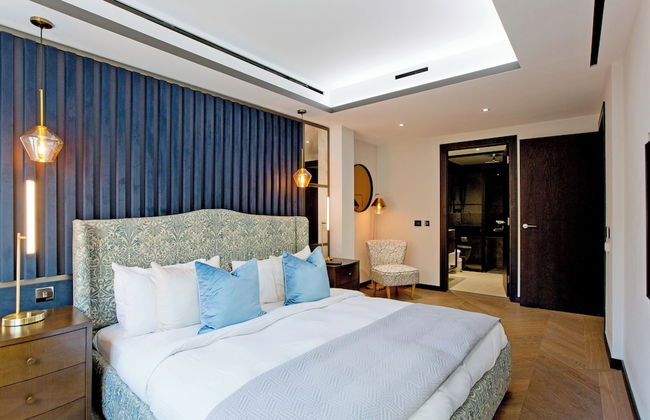
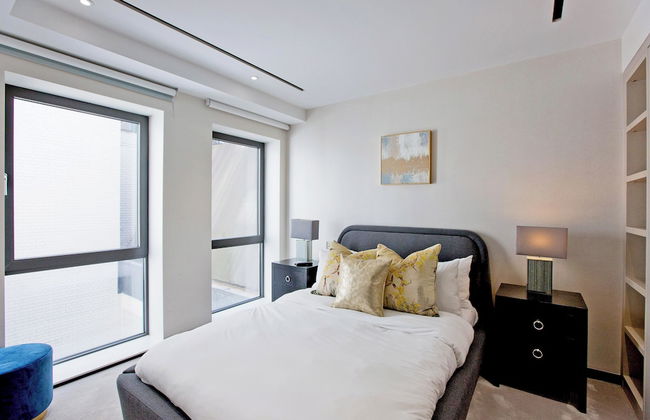
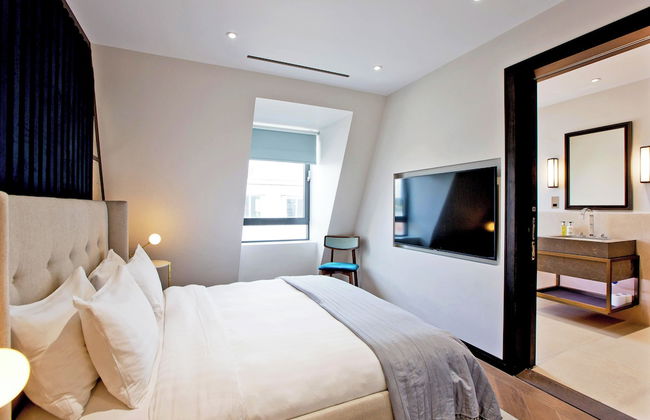
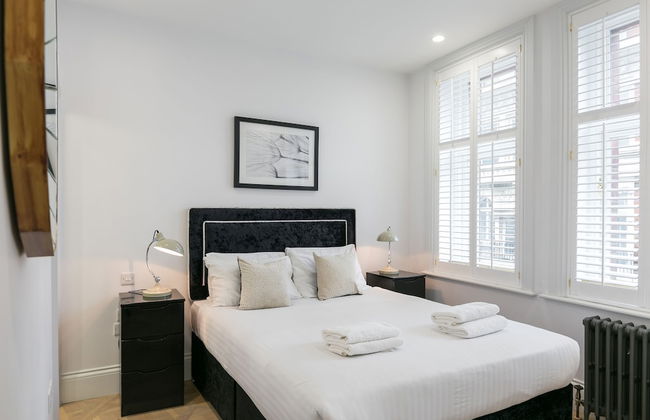
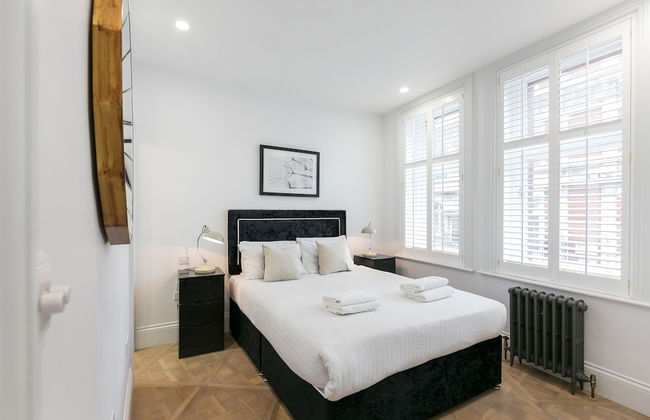
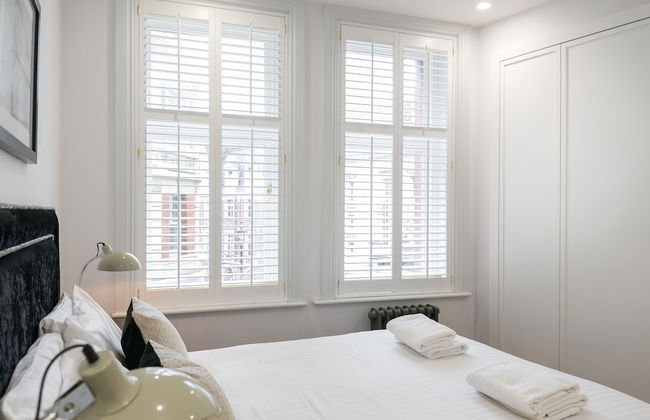
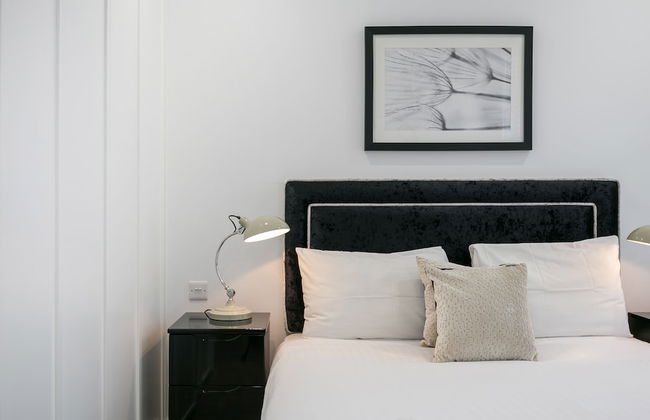
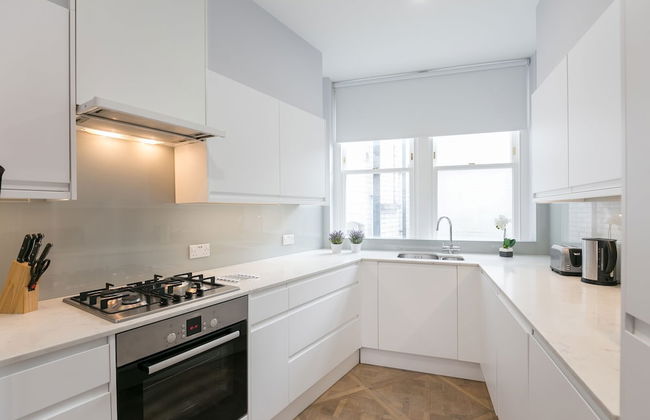
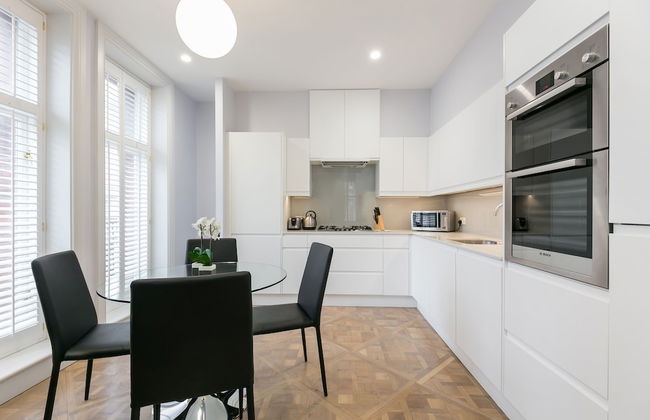
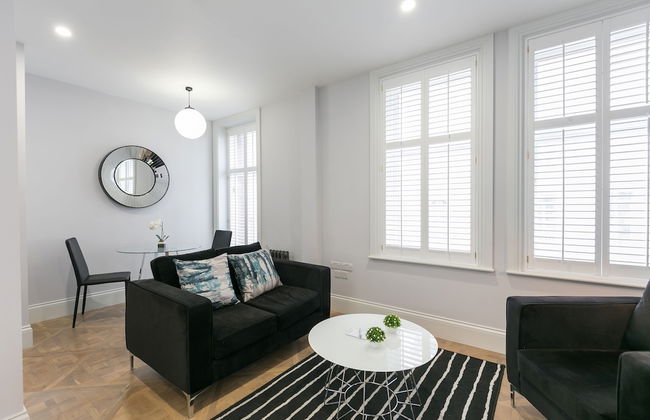
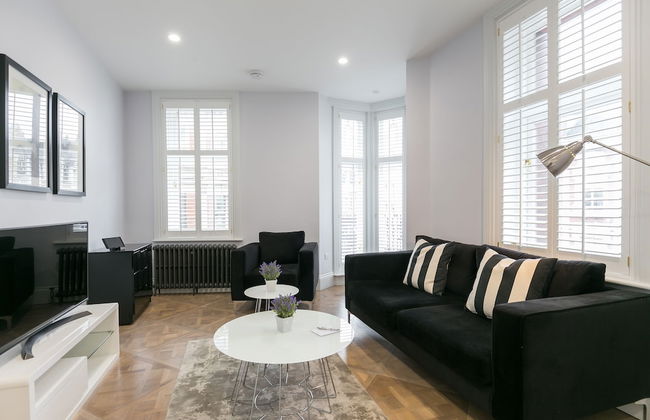
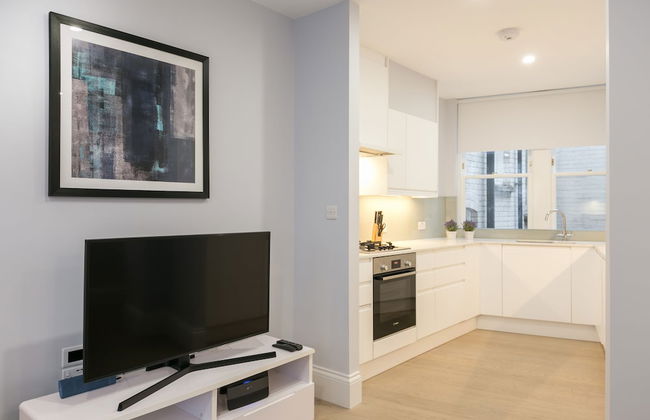
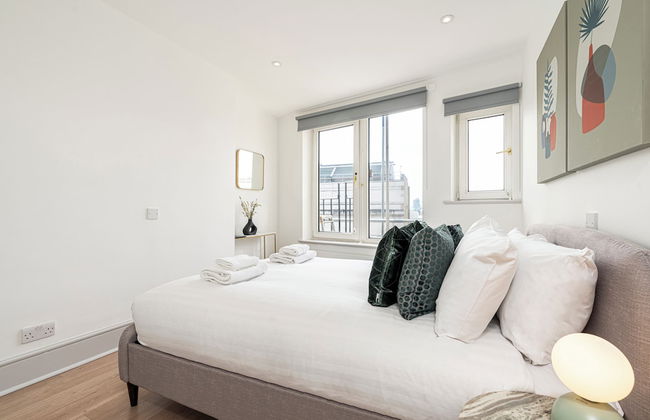
soho london suite
Londres - Soho - A 520 m del centro
- 55 M2
- 1 habitación
- 4 personas
- Calefacción
- Televisión
- Lavadora
- Toallas
- Sábanas
170 reseñas


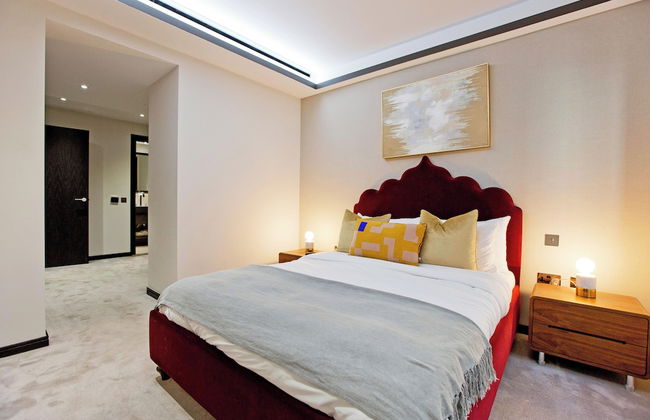
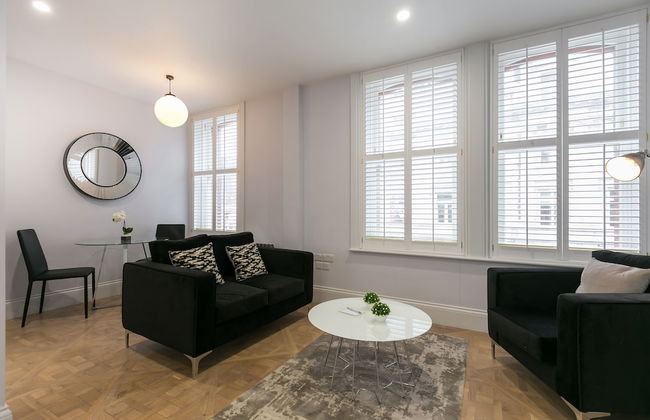
Cockspur Street
Londres - St James's - En el centro
- 116 M2
- 6 personas
- Aire acondicionado
- Ascensor
- Televisión
- Lavadora
- Toallas
- Sábanas
2 reseñas


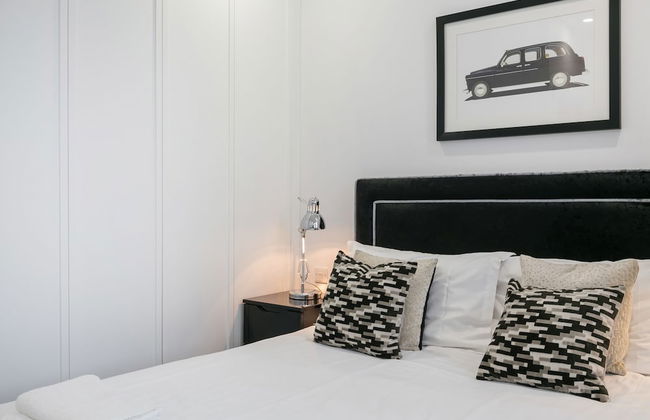

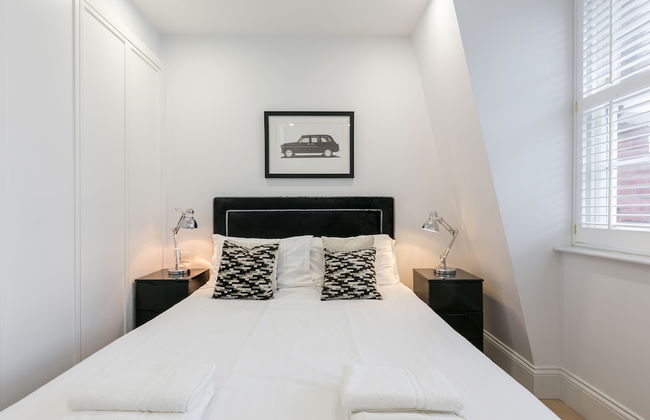


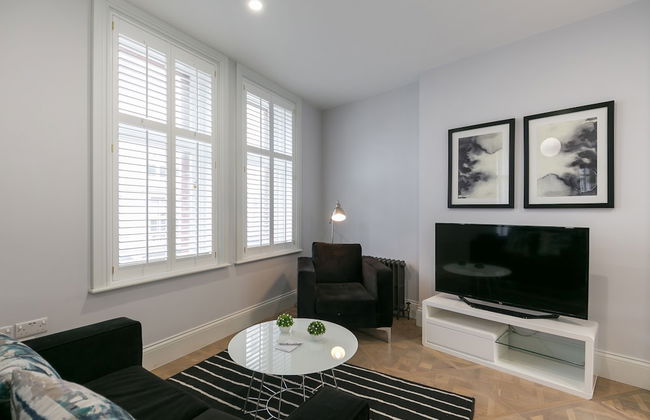


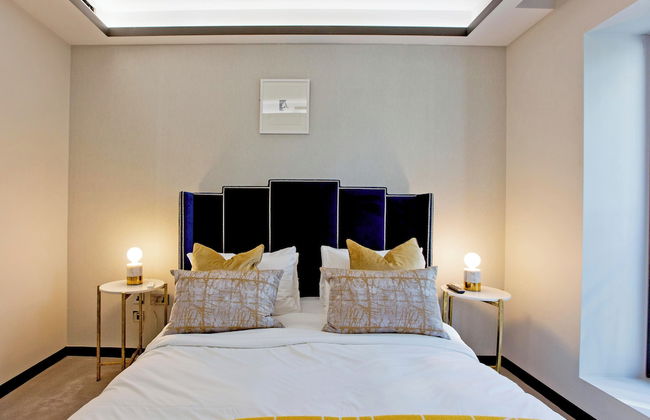
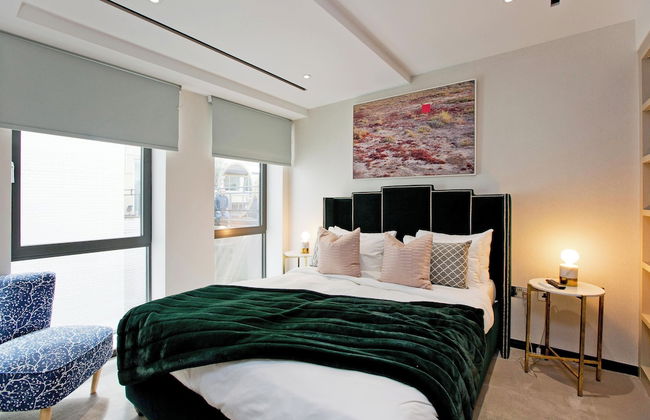
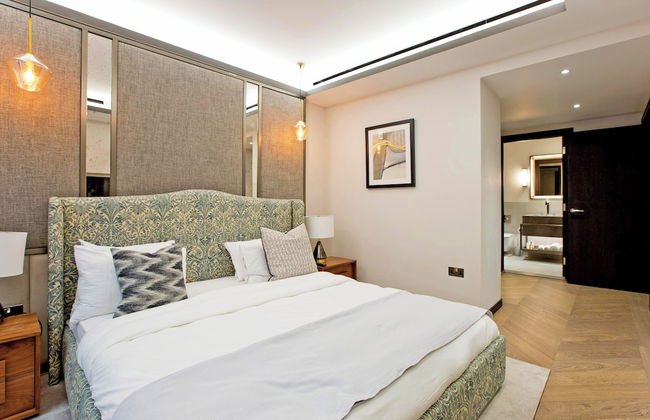
Urban Chic - Shaftesbury
Londres - Soho - En el centro
- 115 M2
- 3 habitaciones
- 8 personas
- Calefacción
- Ascensor
- Balcón
- Televisión
- Lavadora
- Sábanas
28 reseñas


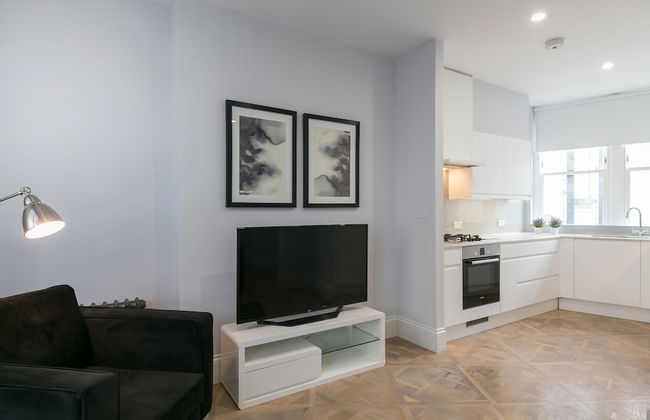
home.ly - London West End Apartments
Londres - Soho - En el centro
- 90 M2
- 6 personas
- Calefacción
- Televisión
- Lavadora
- Toallas
29 reseñas


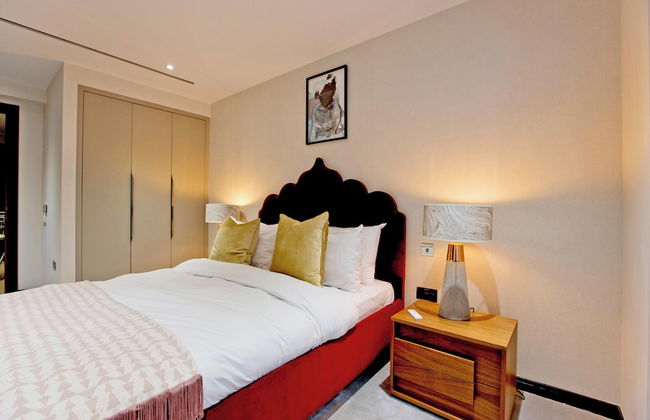
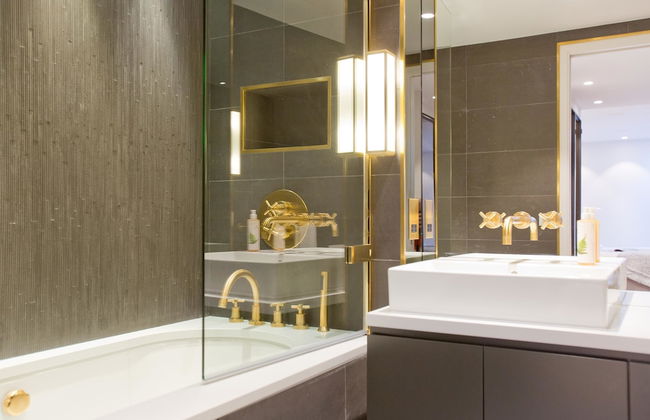
Luxury Central Mayfair Townhouse with AC 3BR 3BA
Londres - St James's - En el centro
- 158 M2
- 3 habitaciones
- 6 personas
- Aire acondicionado
- Calefacción
- Parking
13 reseñas


301 Self contained studio in heart of London
Londres - Leicester - En el centro
- 15 M2
- 1 habitación
- 2 personas
- Aire acondicionado
- Calefacción
- Ascensor
31 reseñas


Central London (West End) two bedroom flat
Londres - Charing - En el centro
- 2 habitaciones
- 4 personas
- Parking
- Ascensor
46 reseñas


Stylish 1 bed flats in Soho, next to Piccadilly Circus and Trafalgar Square
Londres - Leicester - En el centro
- 50 M2
- 1 habitación
- 3 personas
- Calefacción
- Televisión
- Lavadora
- Toallas
- Sábanas
299 reseñas

Luxury Royalty Mews
Londres - Soho - A 440 m del centro
- 70 M2
- 8 personas
- Aire acondicionado
- Calefacción
- Terraza
- Televisión
- Lavadora
- Toallas
- Sábanas
2 reseñas


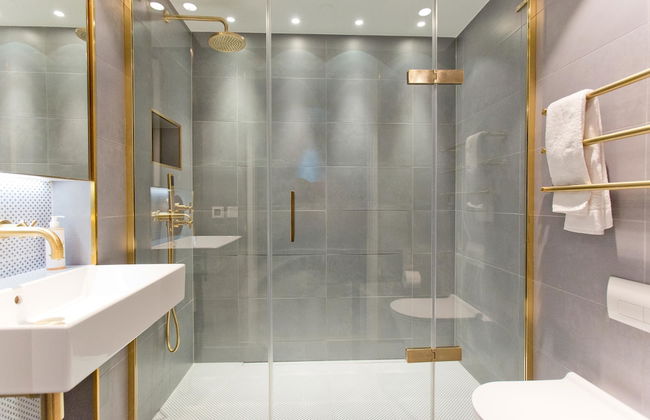
Apt with Aircon 3 Bedr, 4 Beds, 2 Bath Trafalgar SQ
Londres - St James's - En el centro
- 111 M2
- 3 habitaciones
- 8 personas
- Aire acondicionado
- Calefacción
- Ascensor
28 reseñas


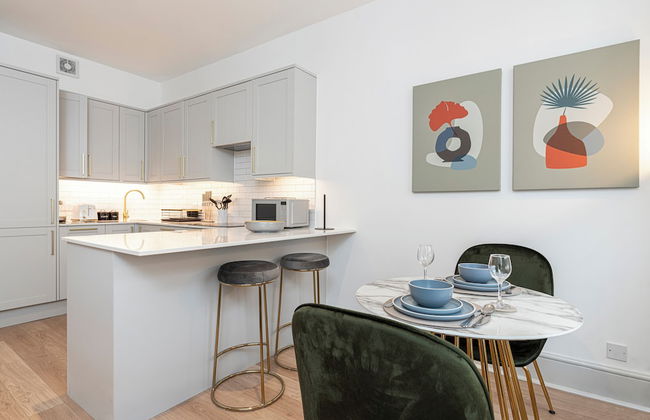
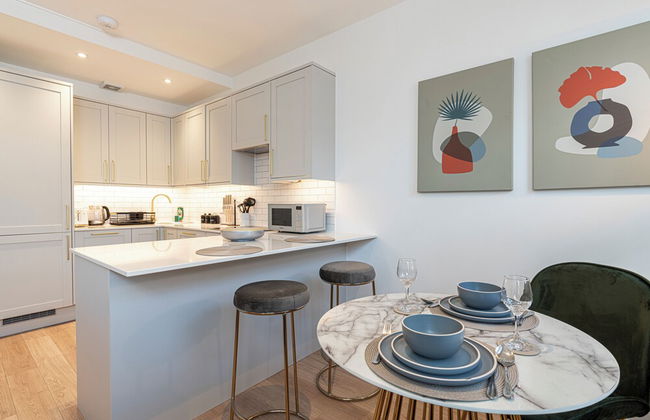
Soho Luxury 1 Bedroom Apartment by Concept Apartments
Londres - Soho - A 360 m del centro
- 43 M2
- 2 personas
- Cocina pequeña
- Calefacción
- Televisión
- Lavadora
- Sábanas
5 reseñas


Stunning Covent Garden DREAM COME TRUE Super Quiet HOTEL Alike HOME
Londres - Charing - En el centro
- 167 M2
- 3 habitaciones
- 6 personas
- Aire acondicionado
- Calefacción
- Ascensor
7 reseñas


Gerrard Place by Aeria Apartments
Londres - Soho - En el centro
- 45 M2
- 2 personas
- Calefacción
- Televisión
- Lavadora
- Toallas
- Sábanas
7 reseñas


JOIVY Astonishing 2 Bedroom near Mayfair & Piccadilly Circus
Londres - St James's - A 210 m del centro
- 144 M2
- 6 personas
- Aire acondicionado
- Calefacción
- Terraza
- Balcón
- Televisión
- Lavadora
- Toallas
- Sábanas
2 reseñas


Huge 2 Bedrooms 3 Beds! Covent GDN 3 min to subway
Londres - Covent Garden - A 320 m del centro
- 93 M2
- 2 habitaciones
- 6 personas
- Calefacción
- Ascensor
18 reseñas


Pass the Keys Stylish 1 bed Soho Flat
Londres - Soho - A 480 m del centro
- 37 M2
- 1 habitación
- 5 personas
- Calefacción
12 reseñas