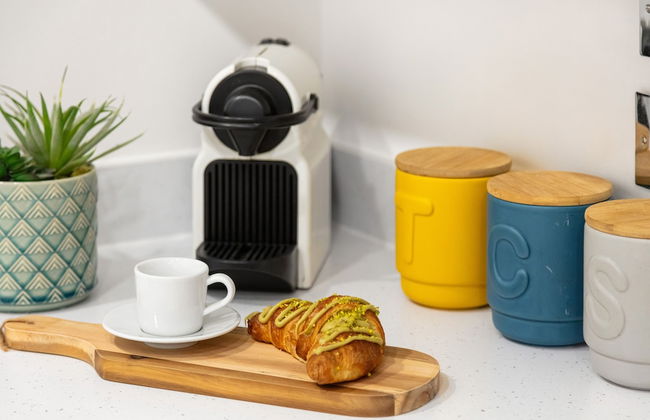
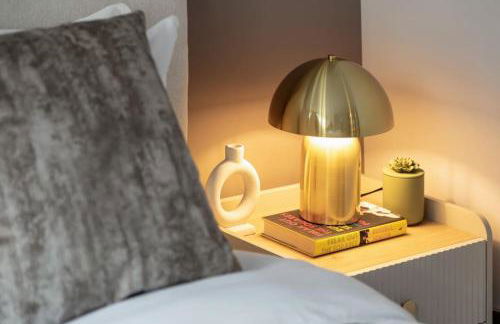
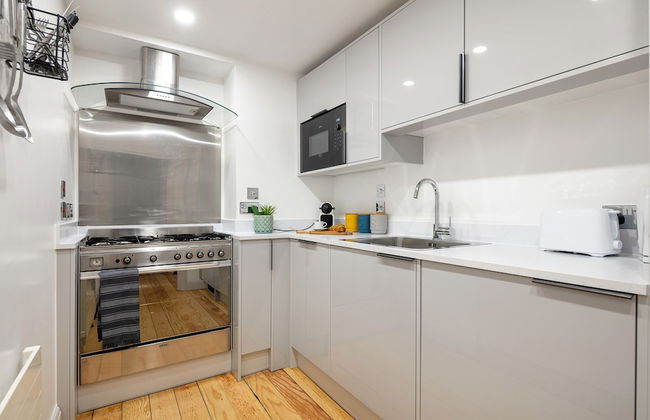
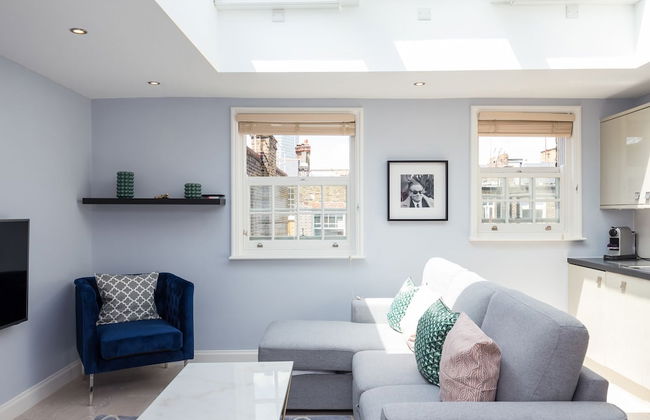
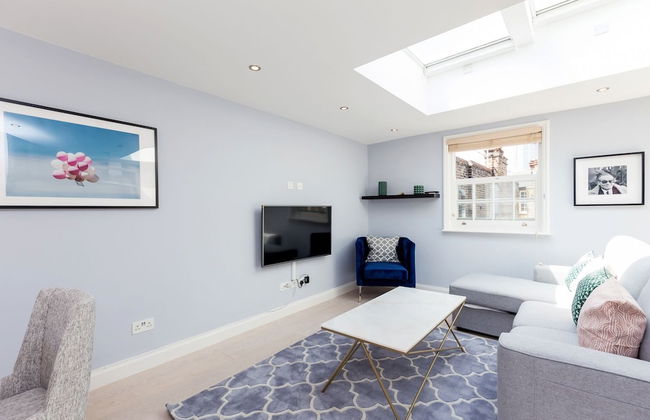
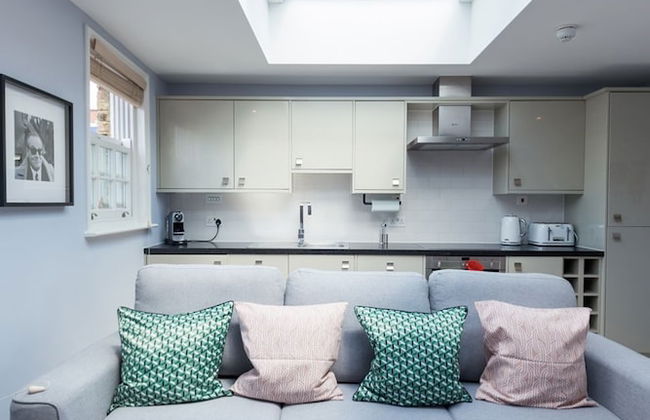
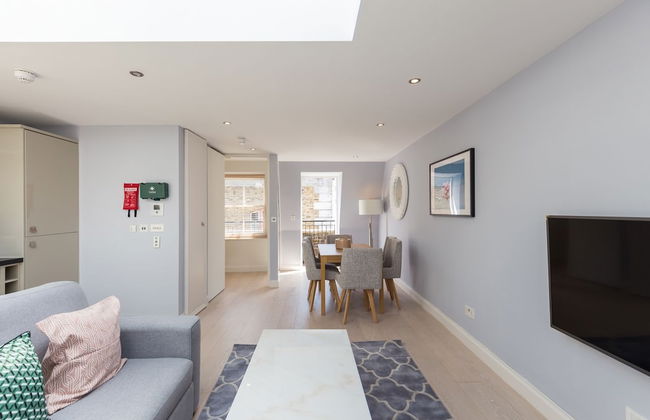
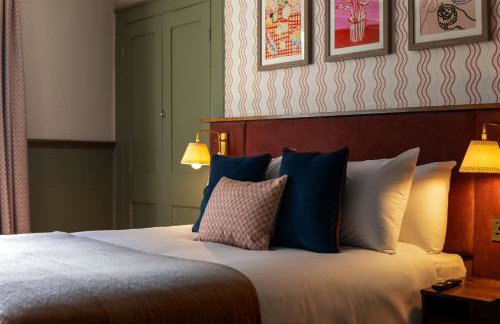
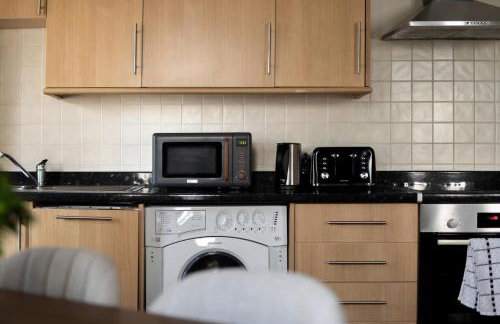
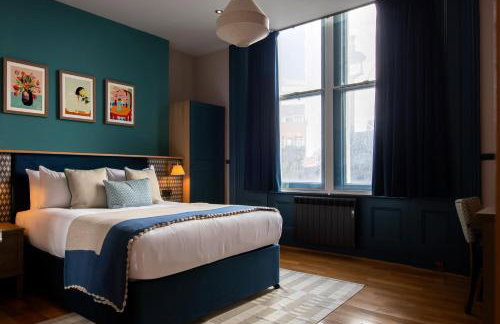
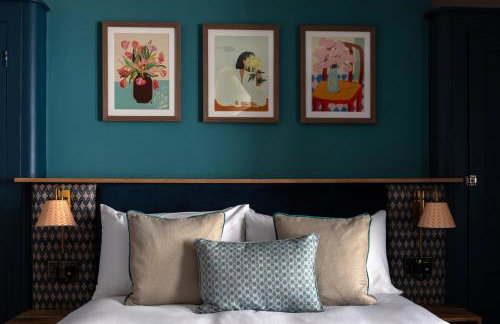
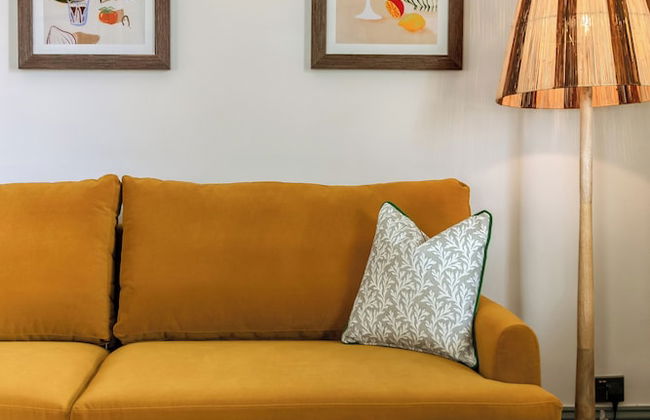
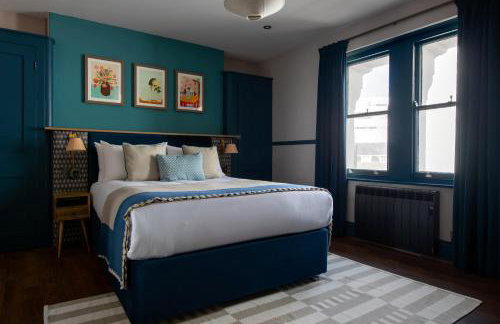
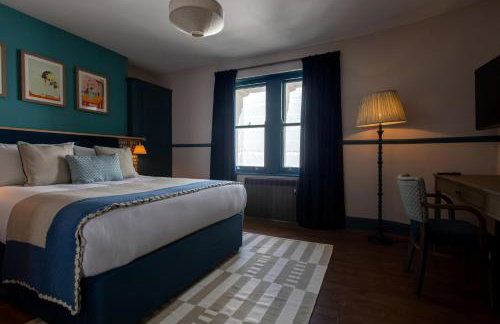
207 Apartamentos cerca de National Gallery
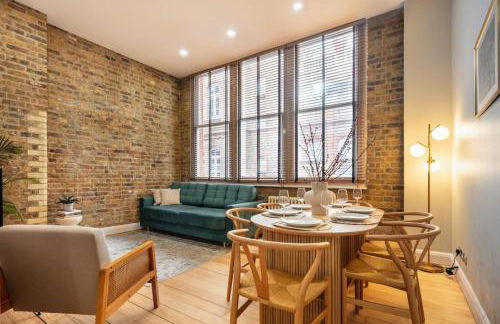
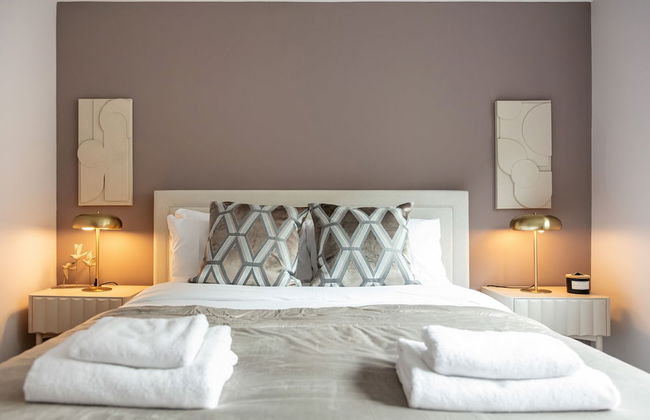
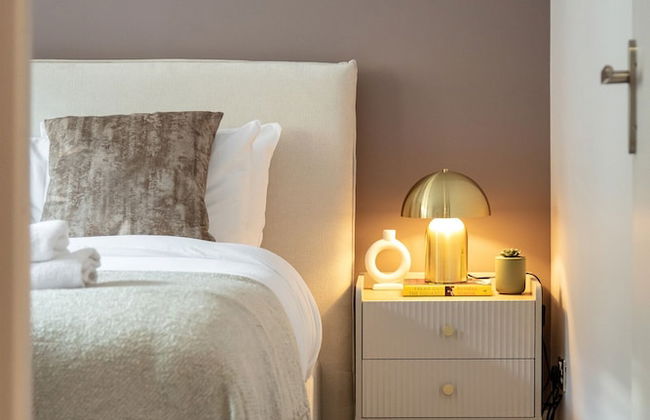
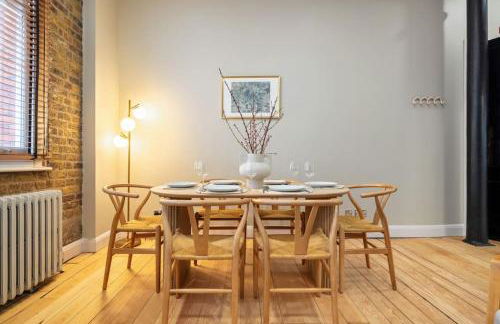
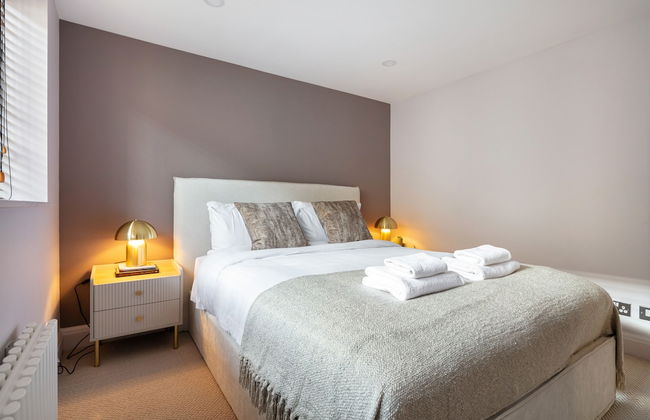
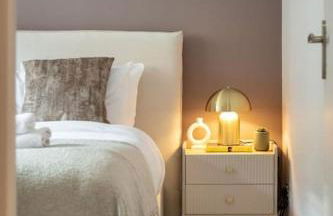
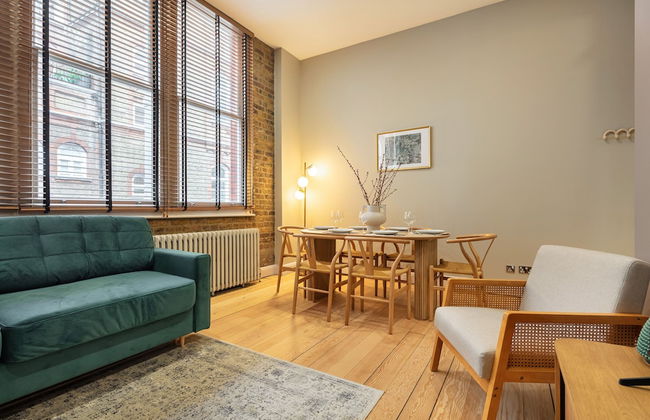
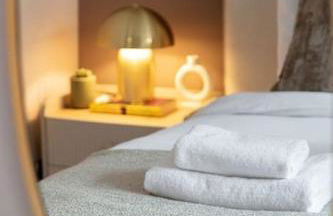
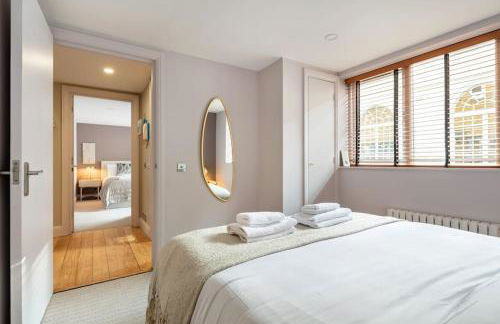
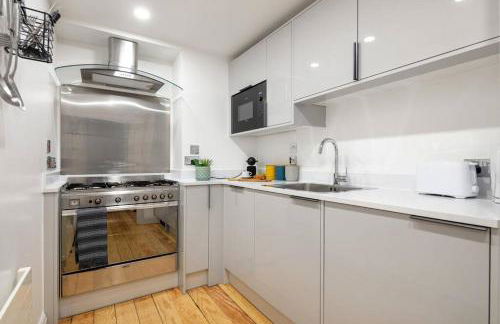
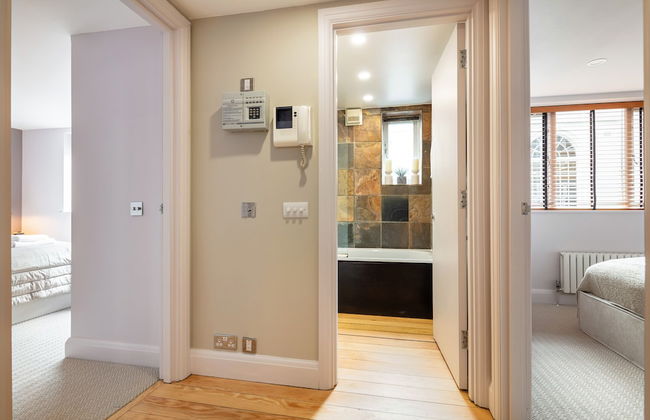
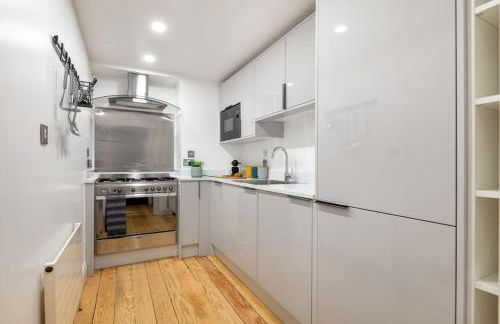
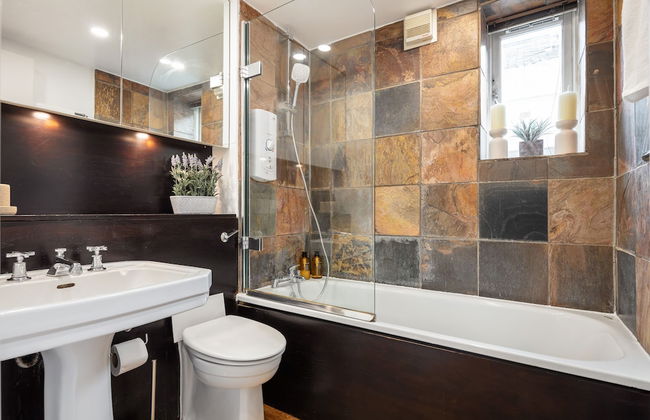
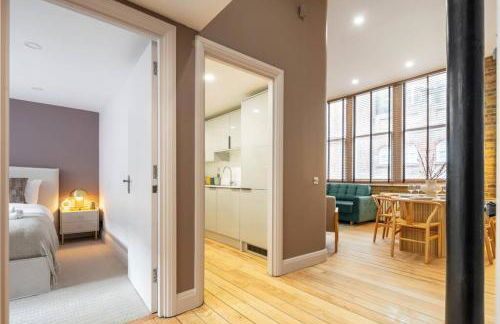
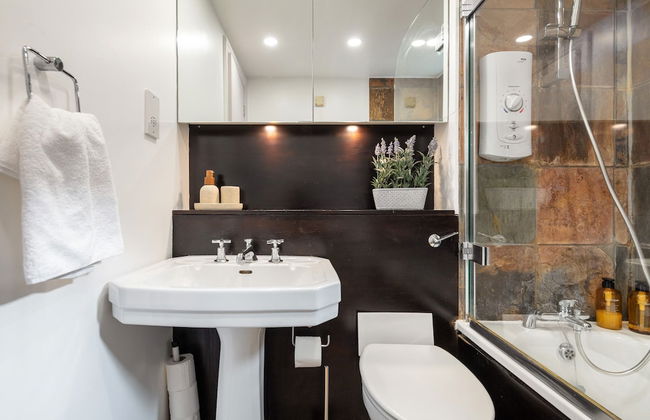
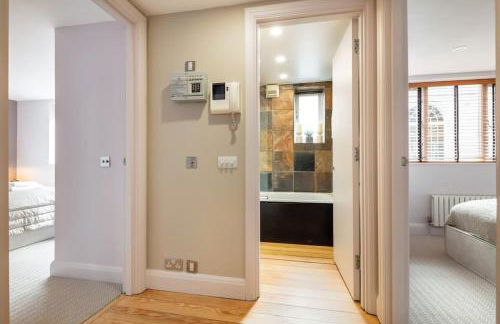
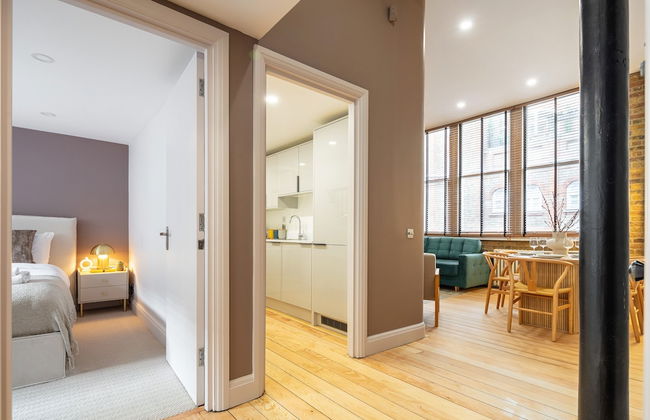
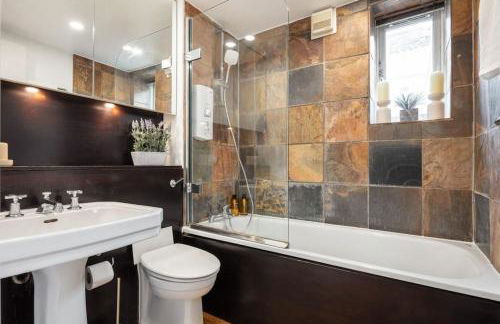
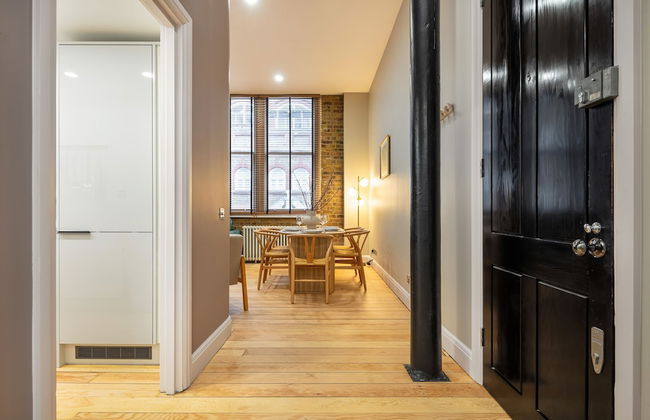
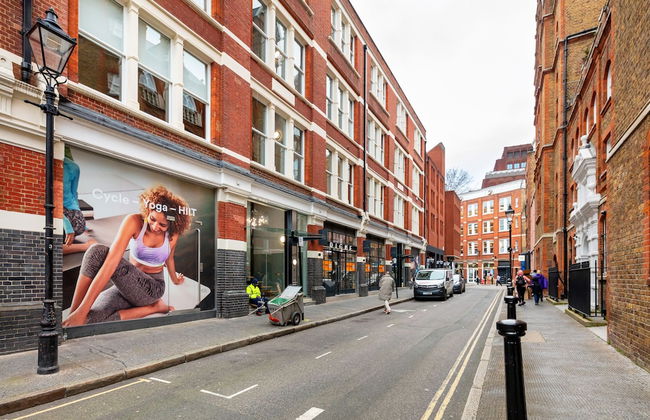
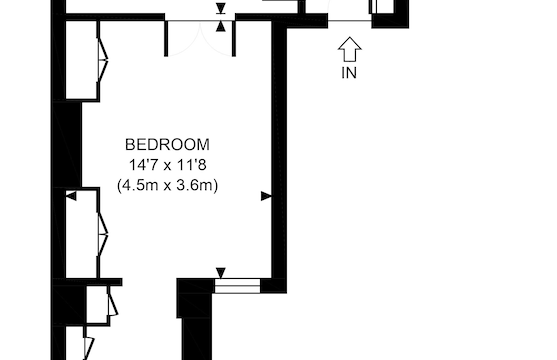
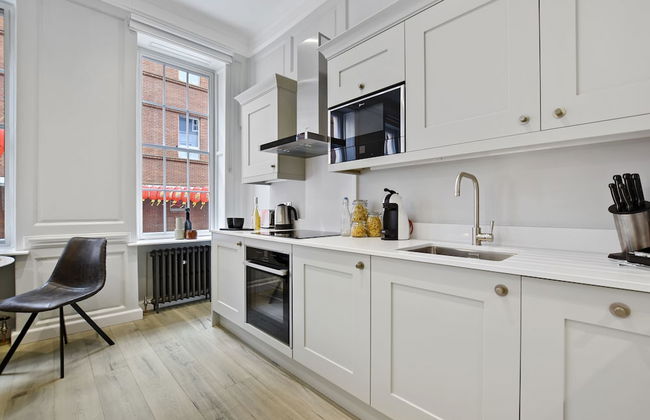
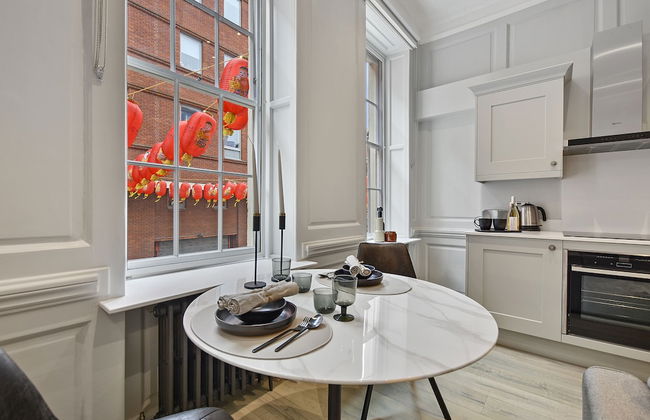
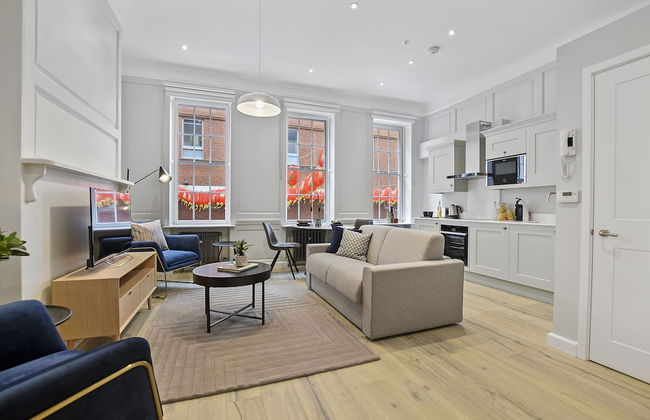
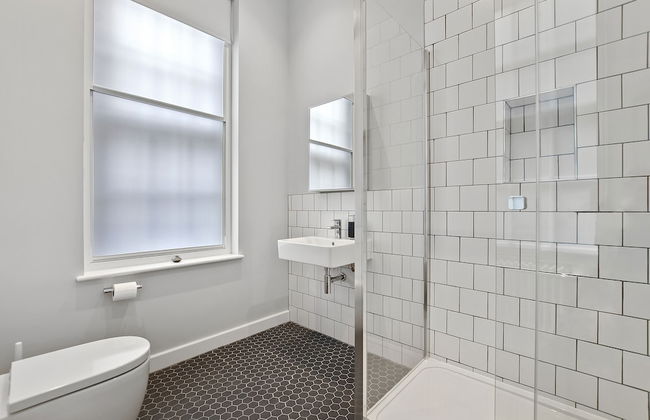
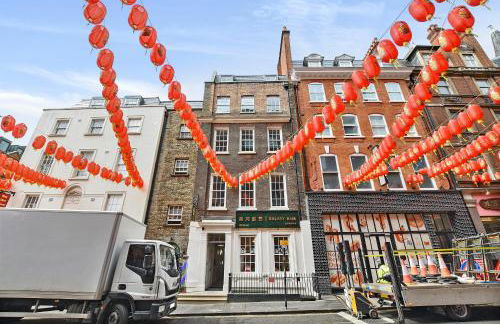
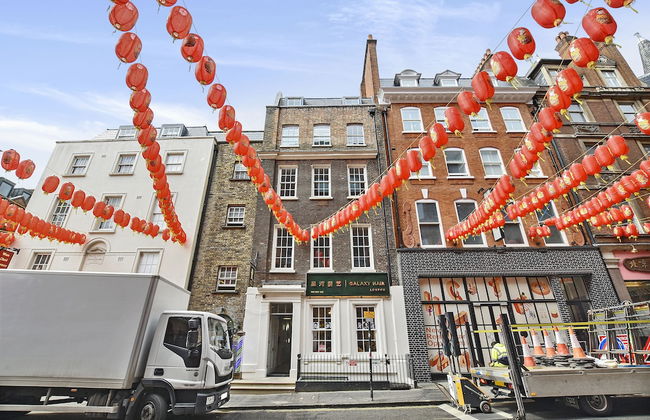
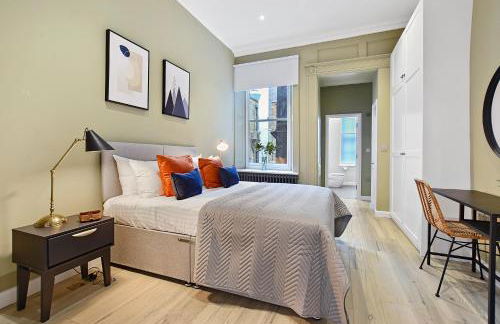
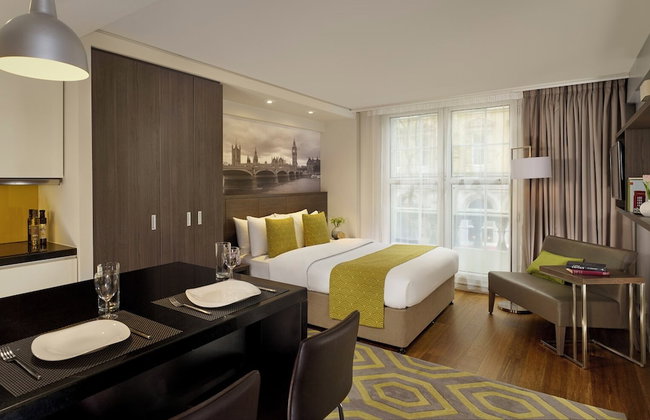
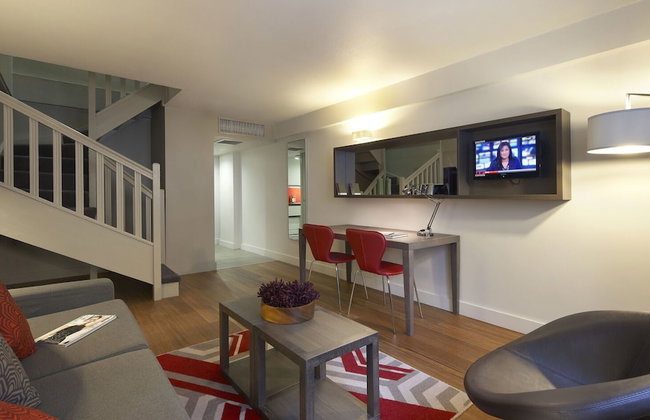
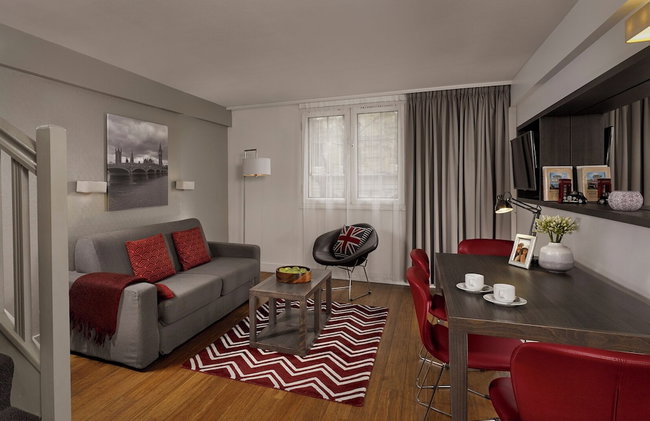
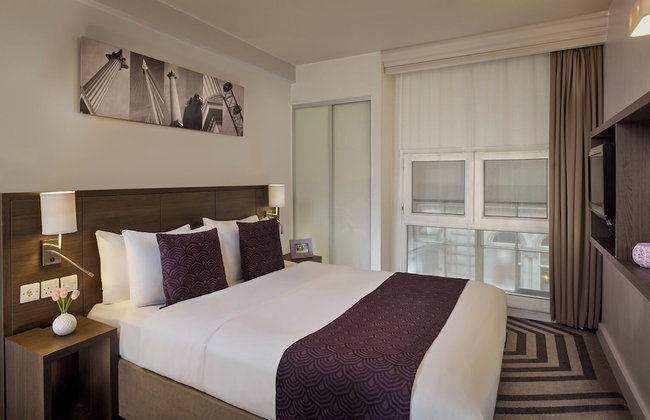
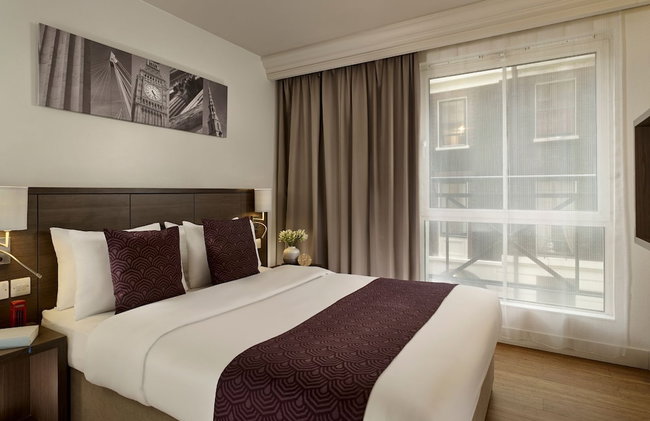
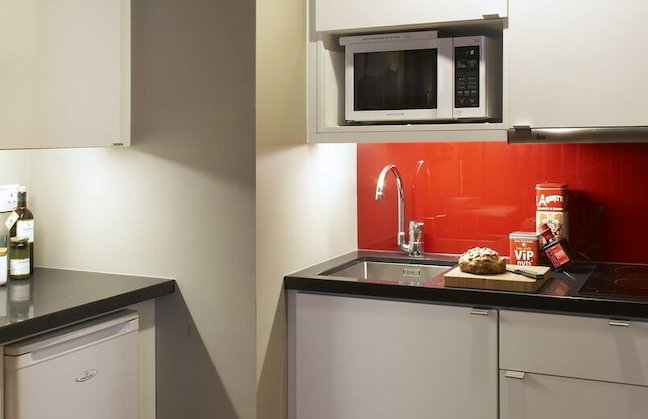
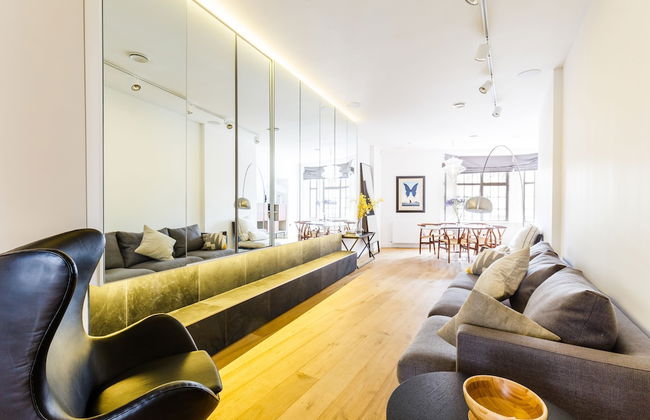
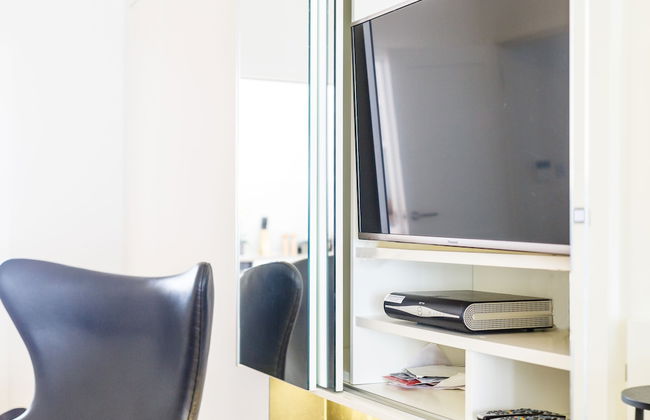
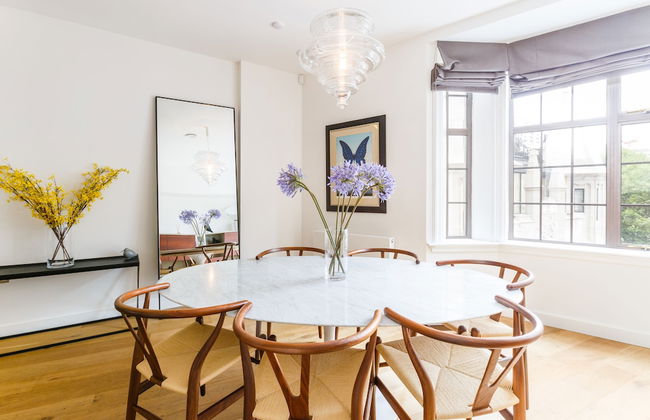
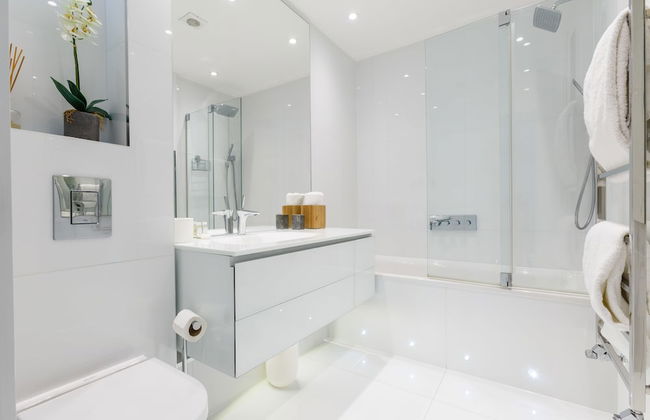
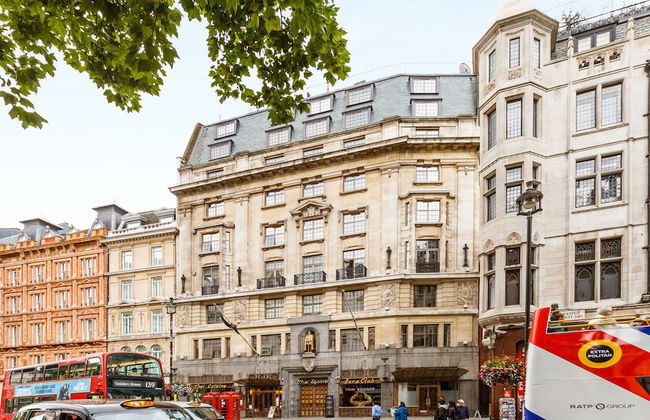
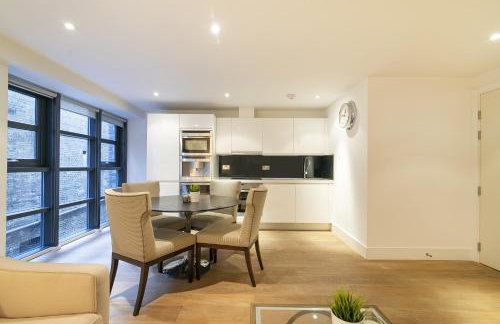
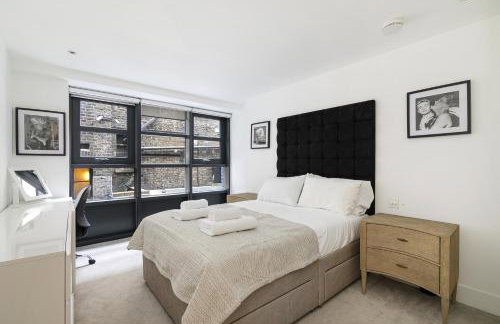
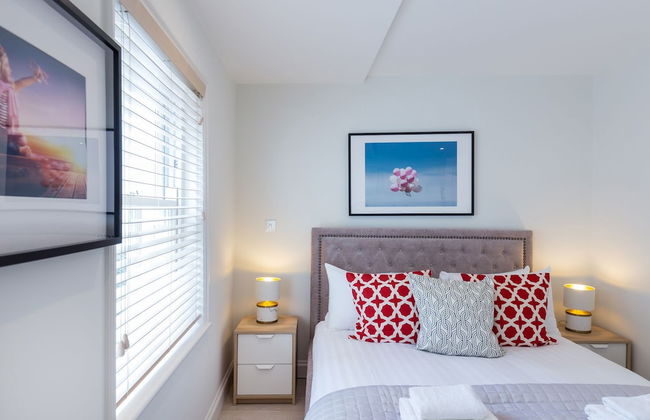
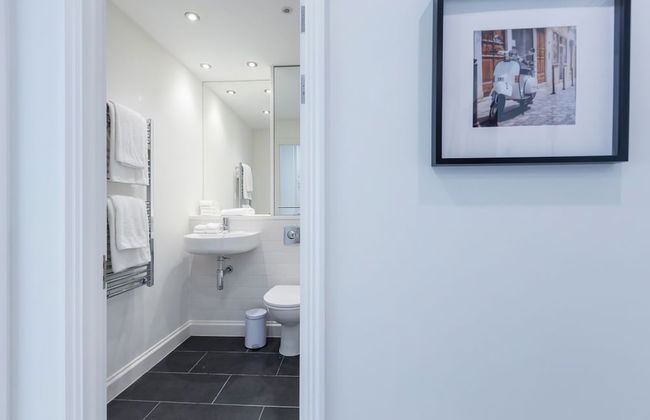
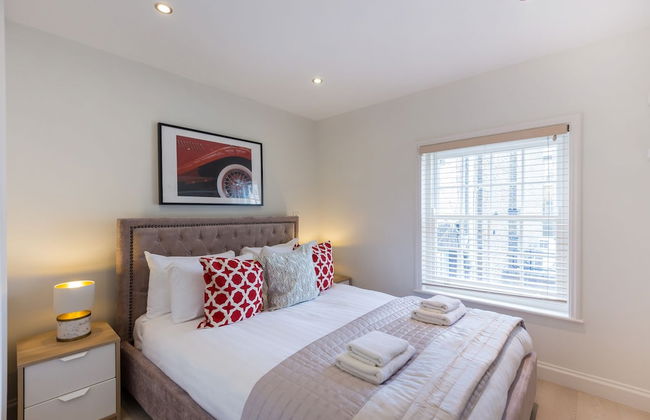
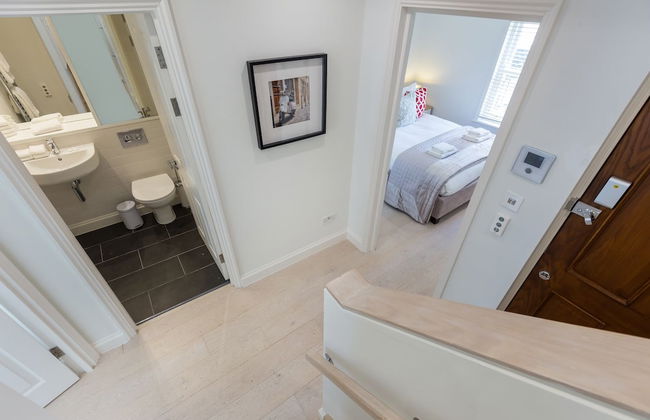
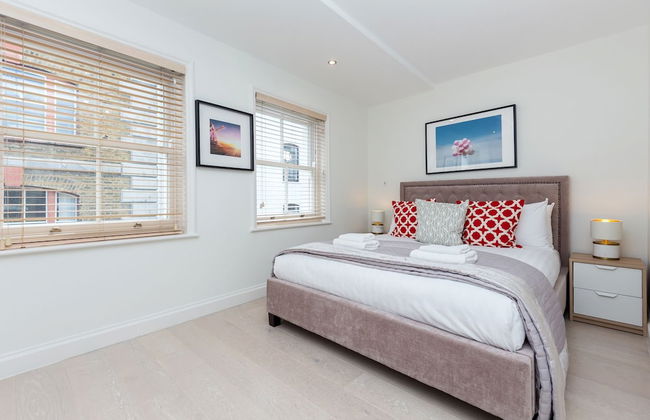
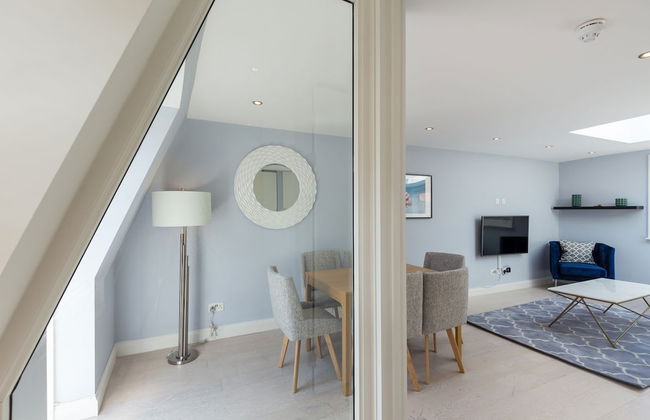
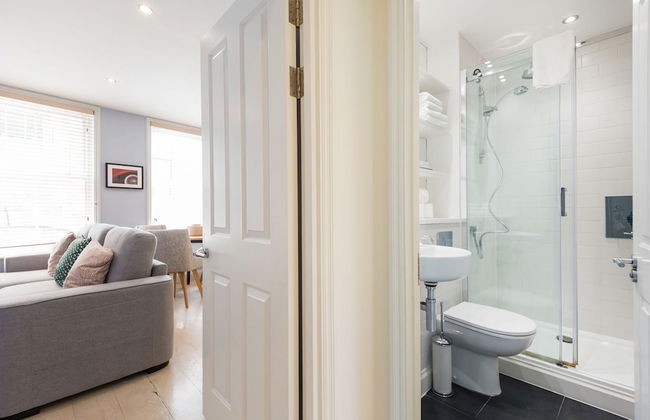
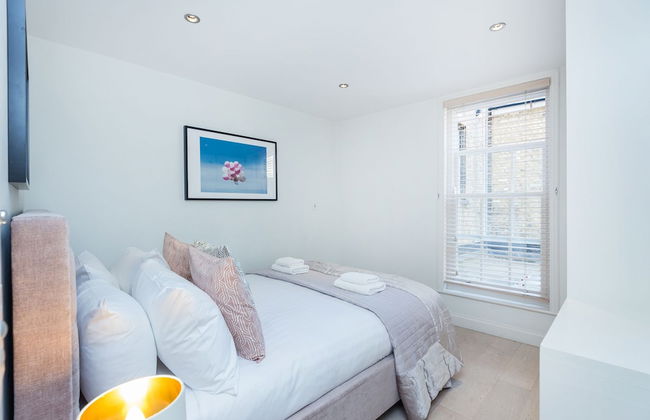
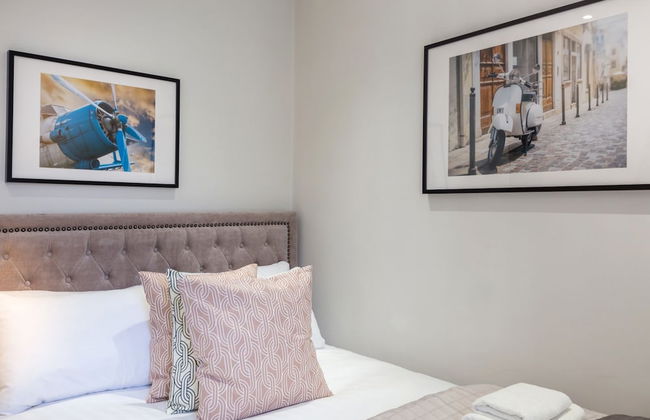
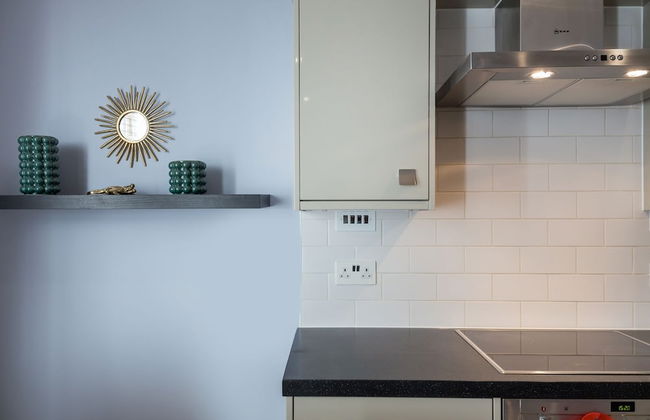
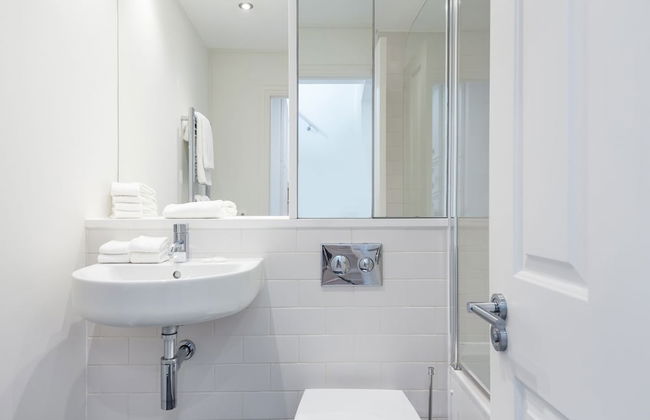
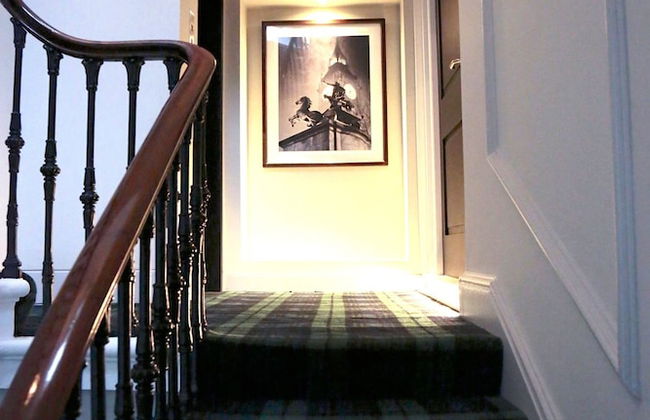
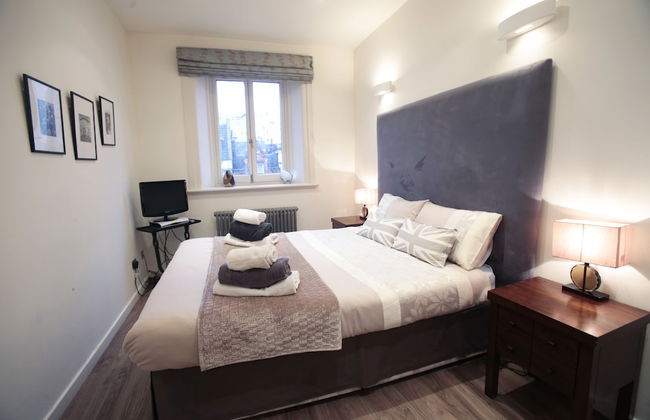
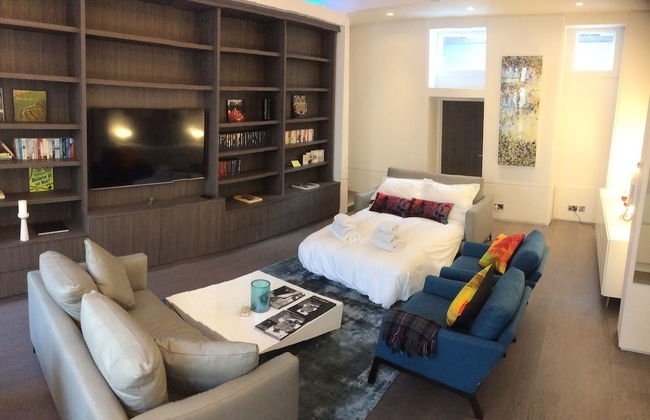
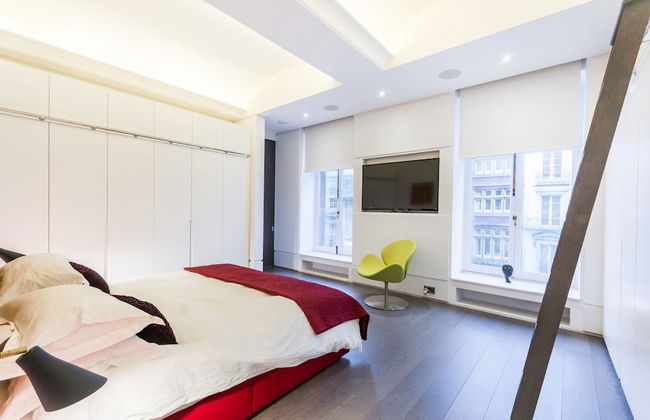
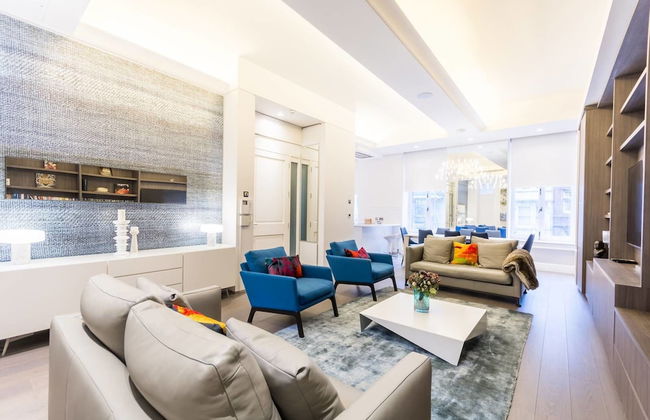
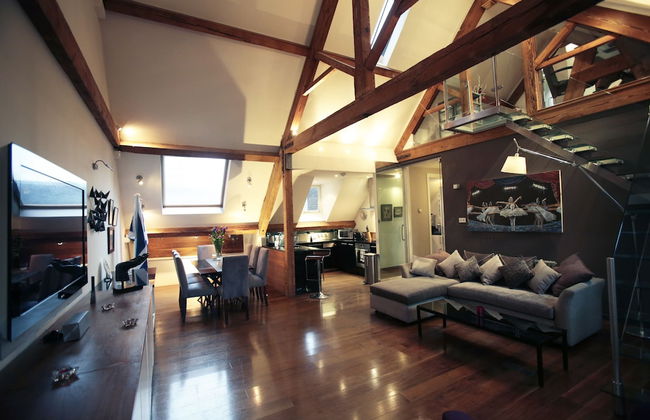
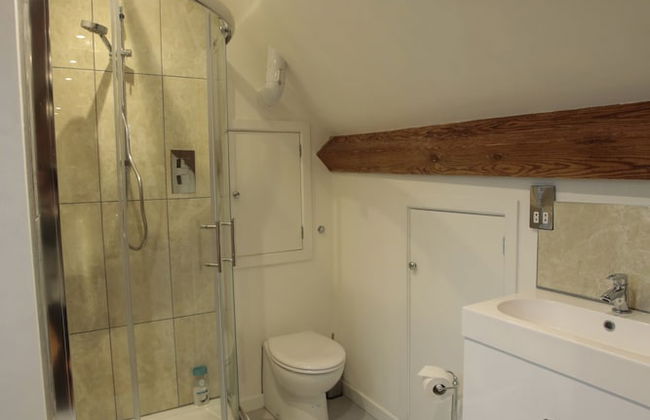
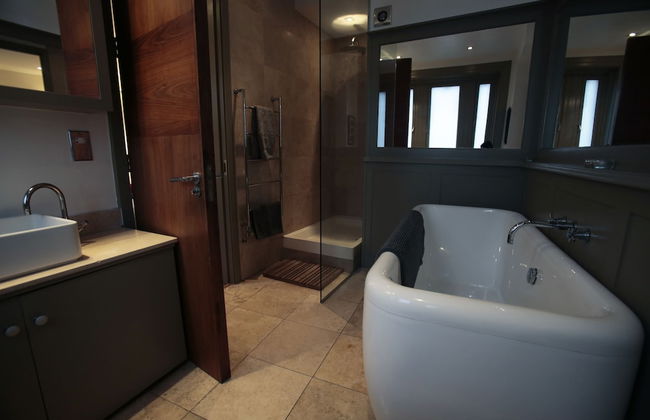
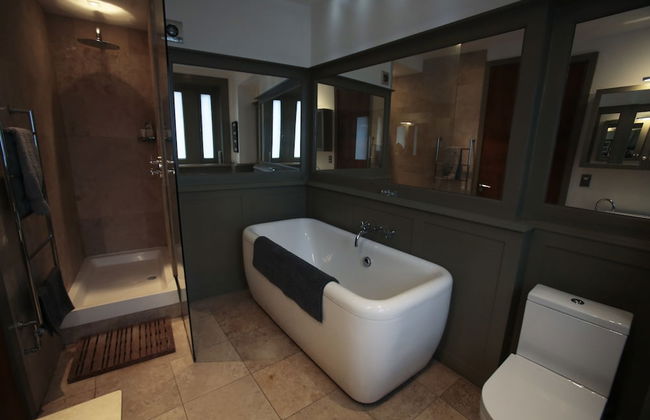
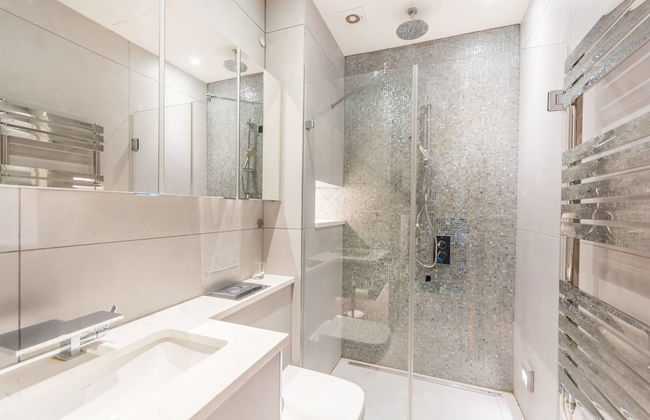
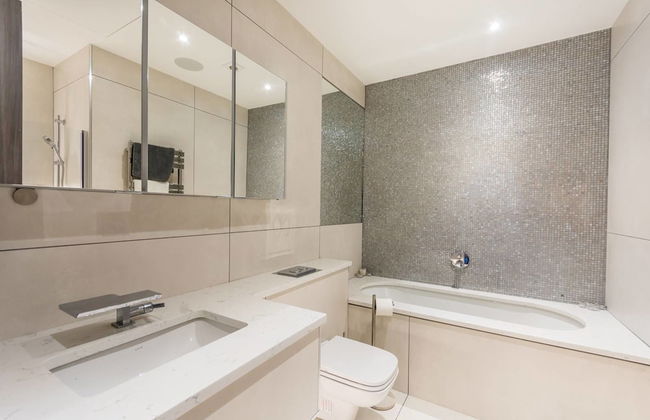
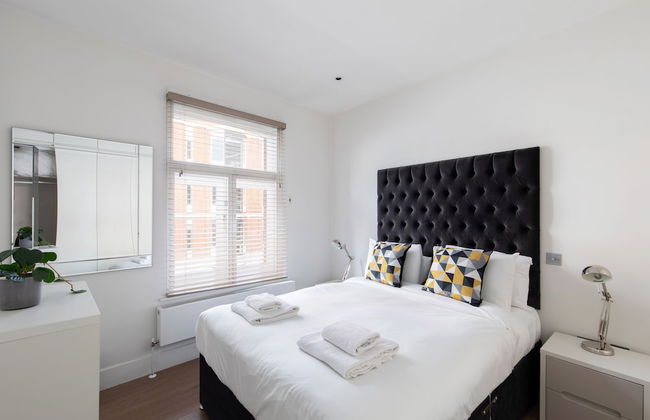
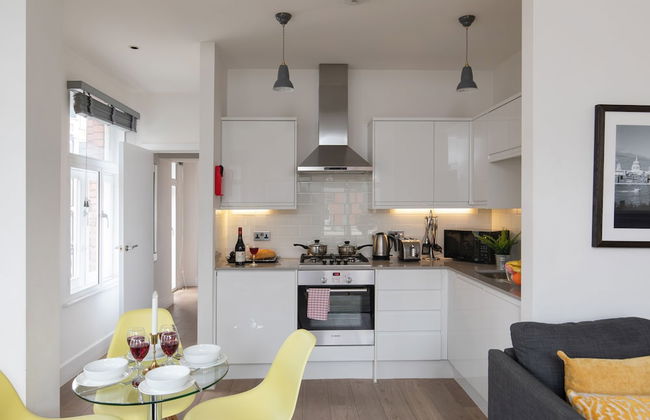
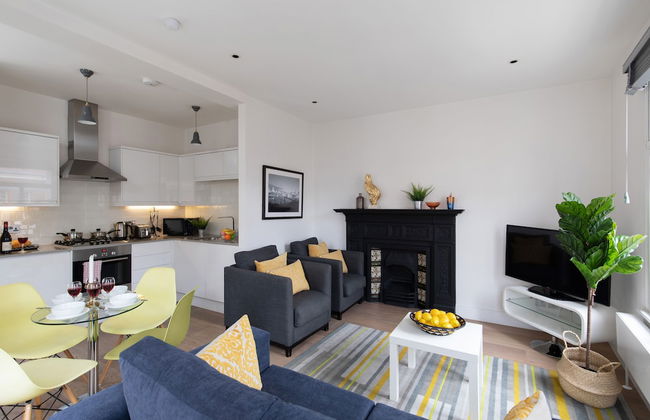
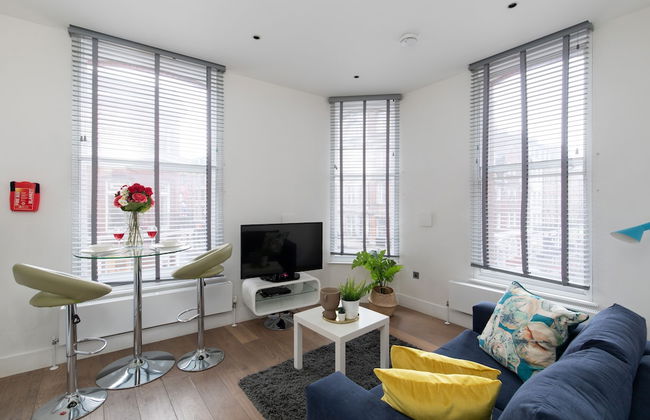
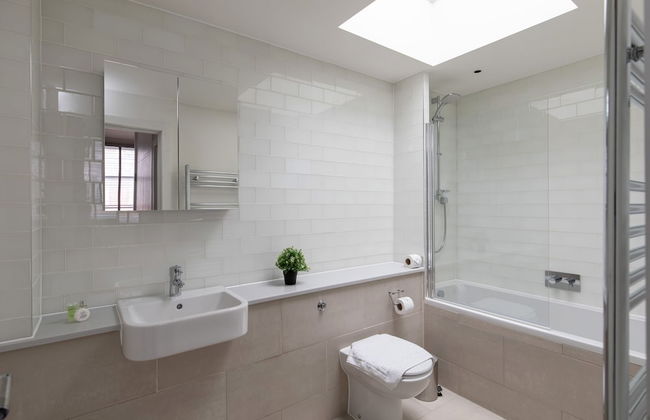
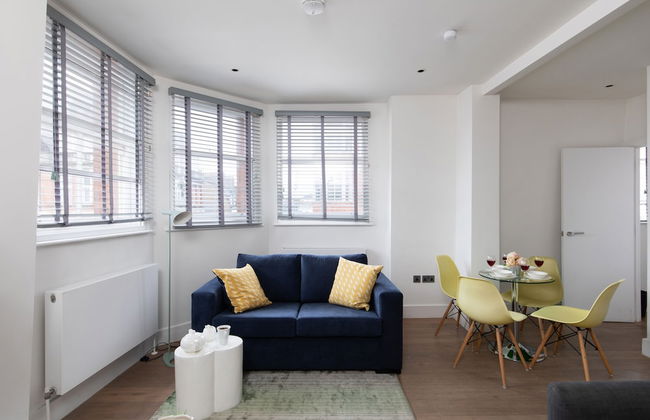
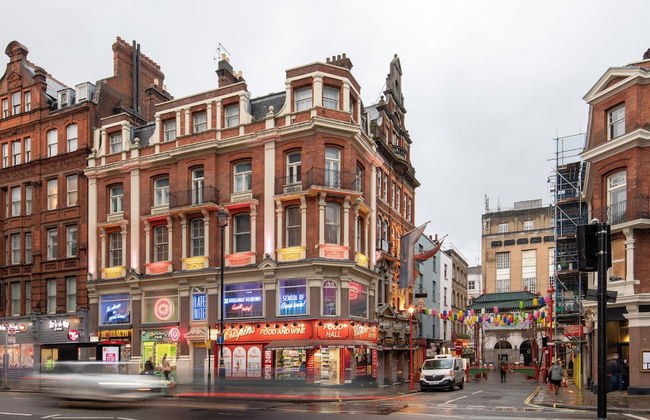
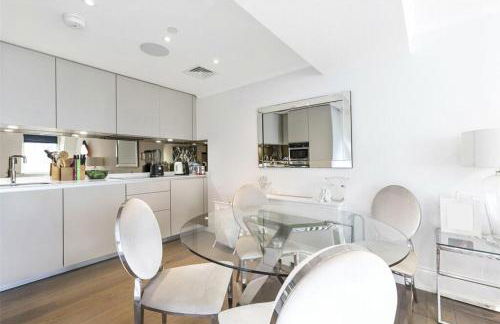
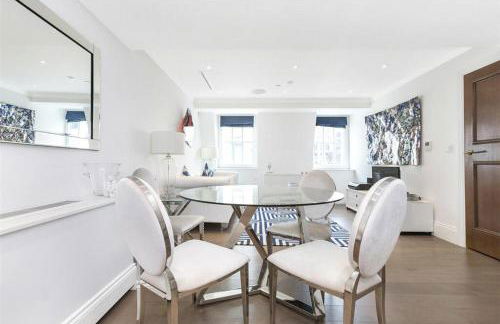
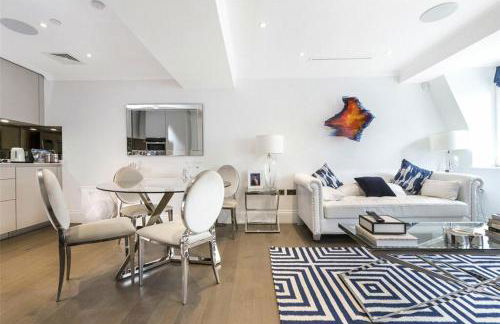
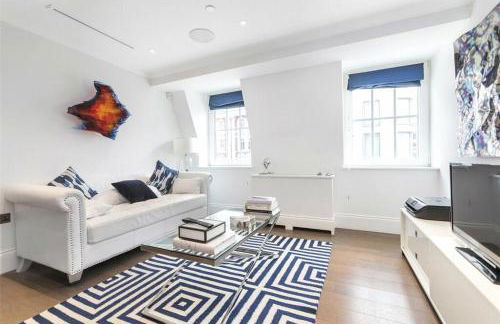
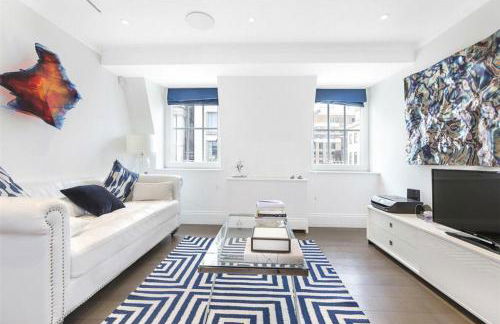
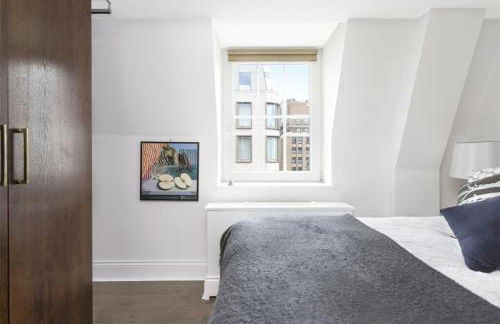
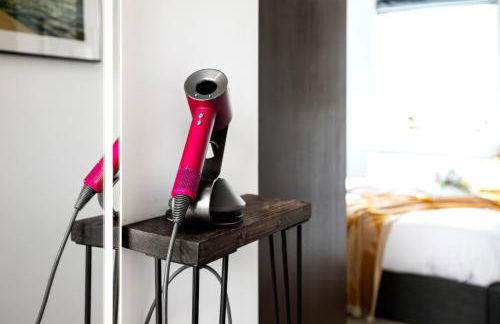
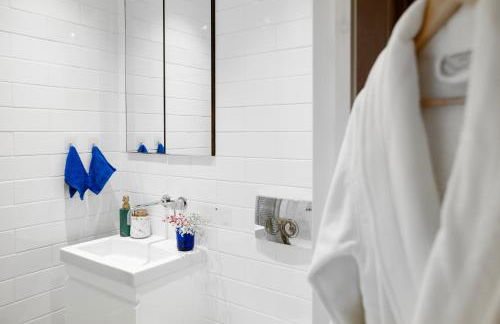
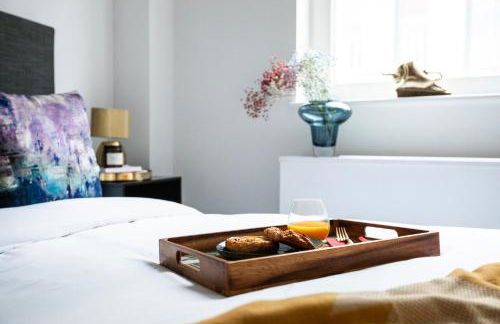
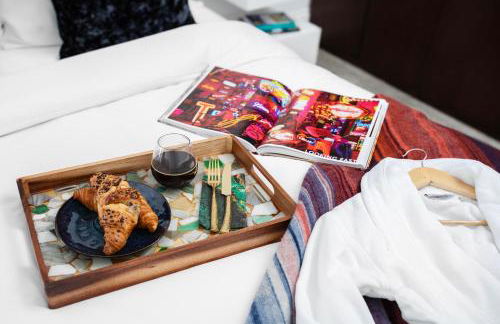
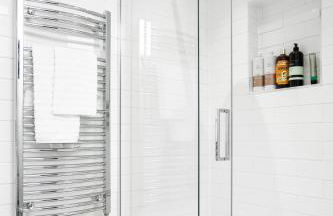
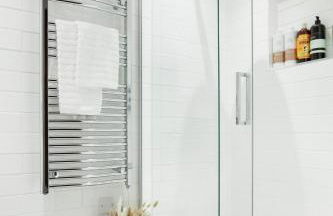
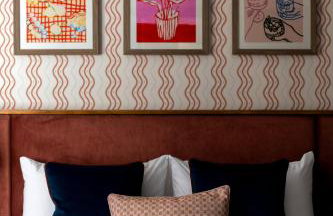
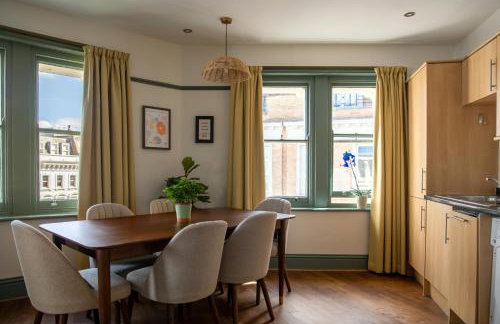
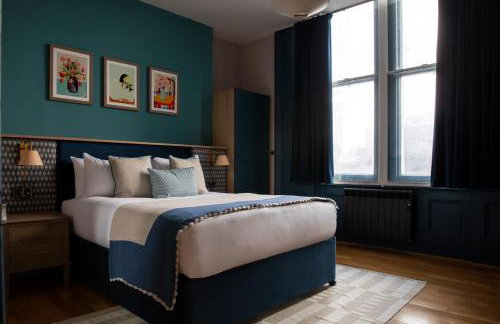
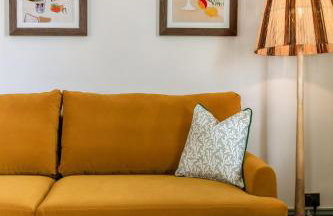
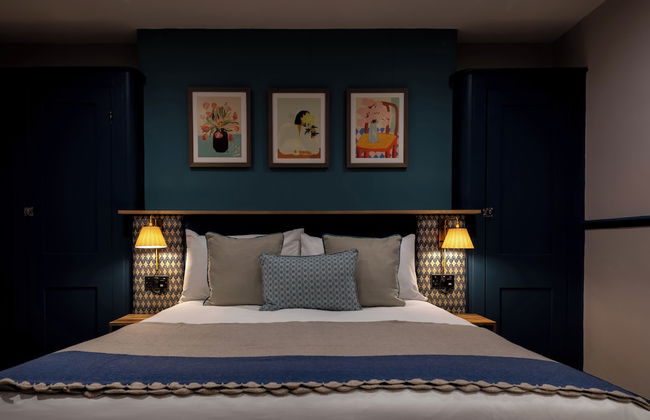
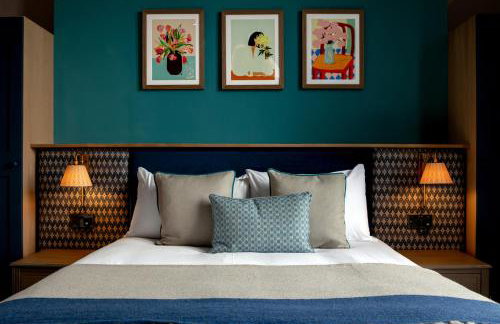
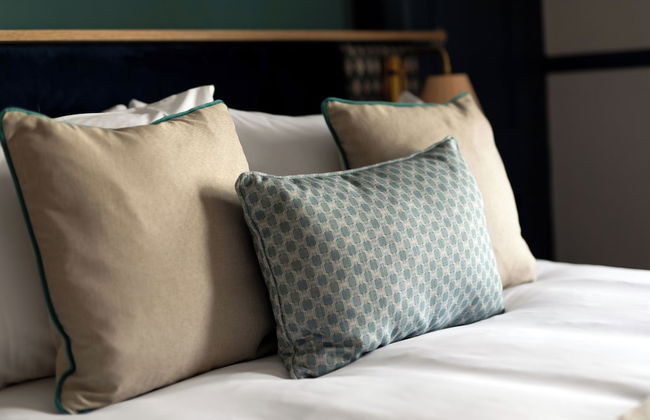
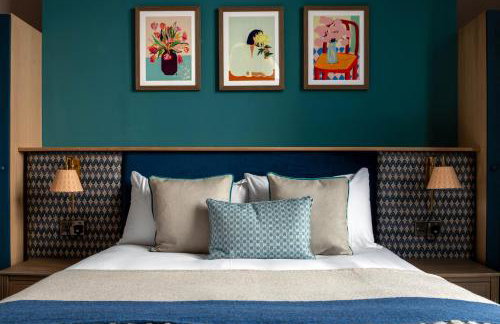
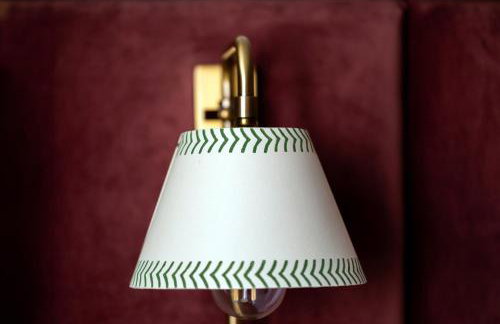
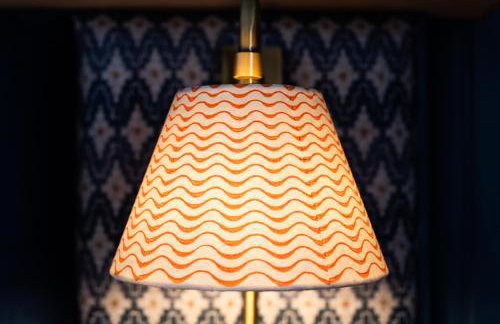
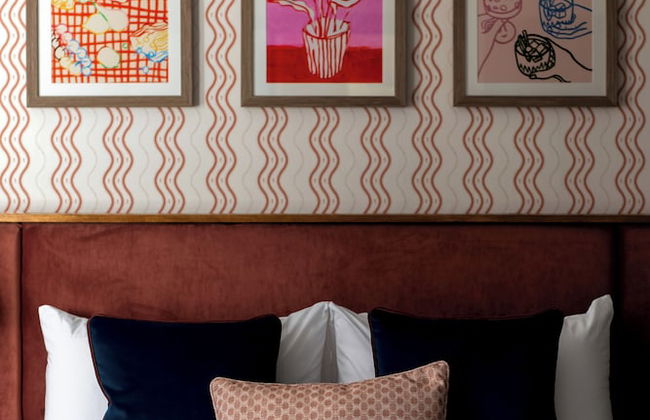
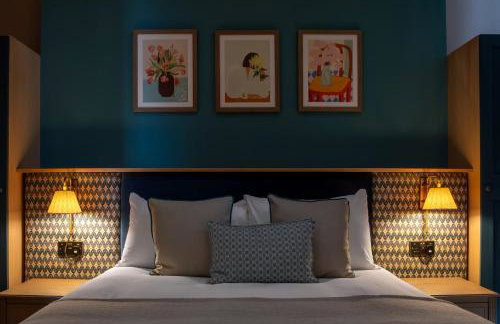
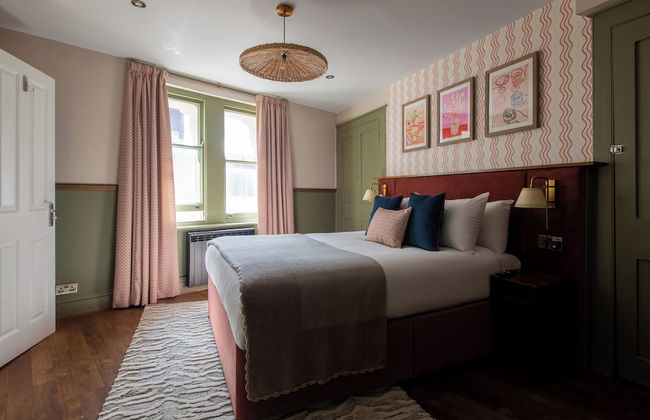
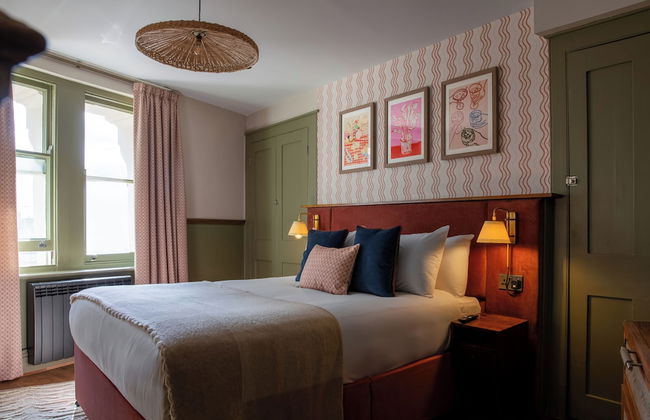
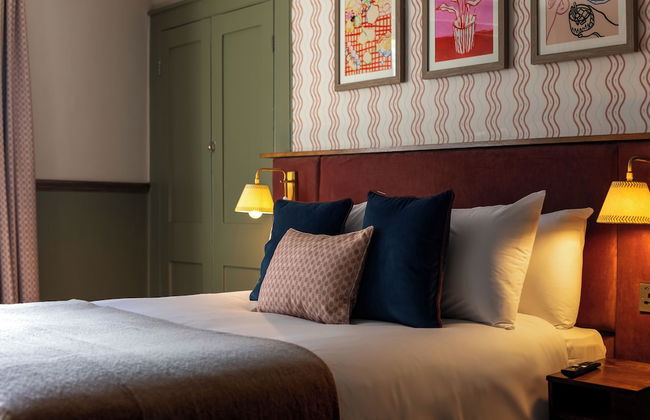
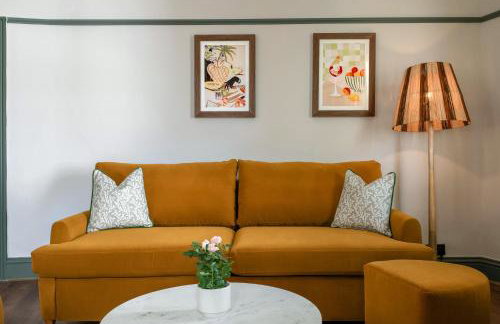
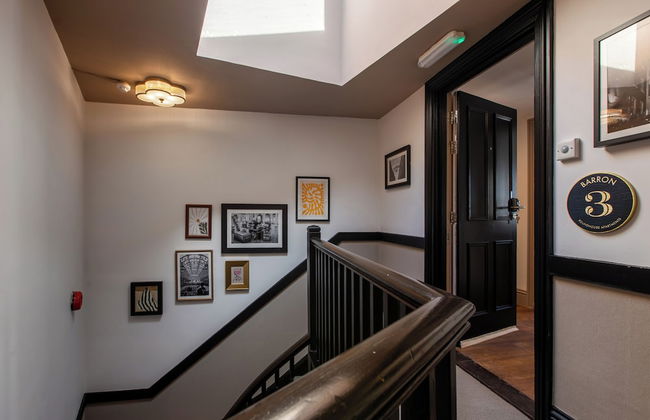
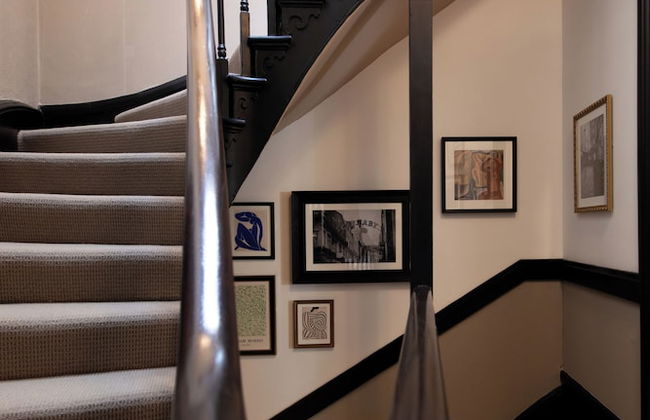
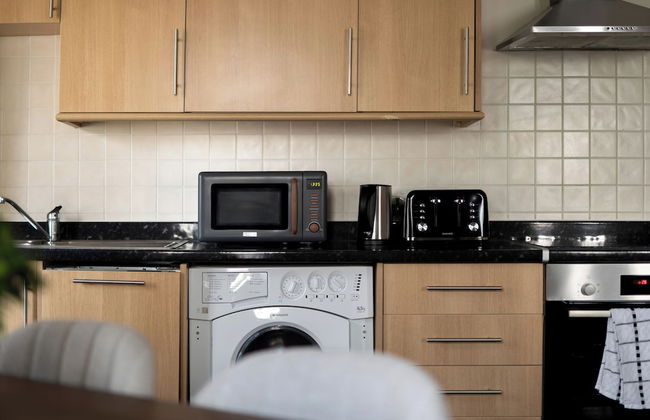
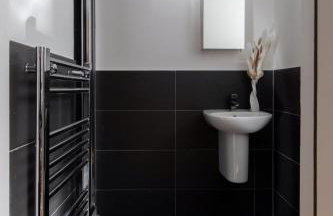
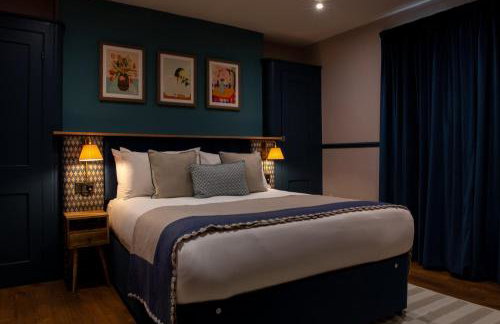
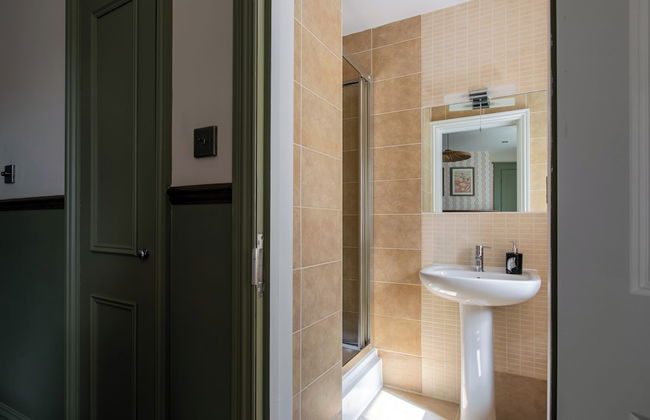
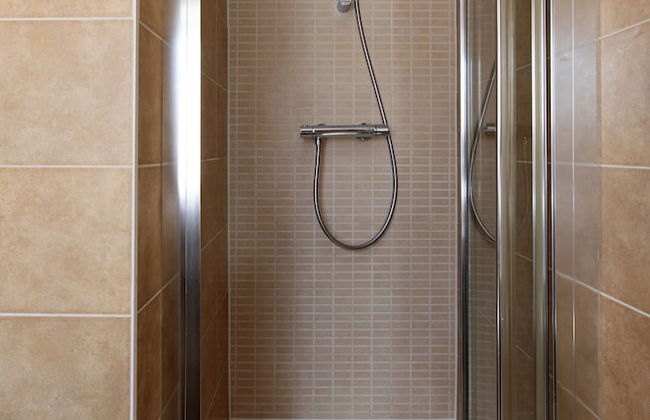
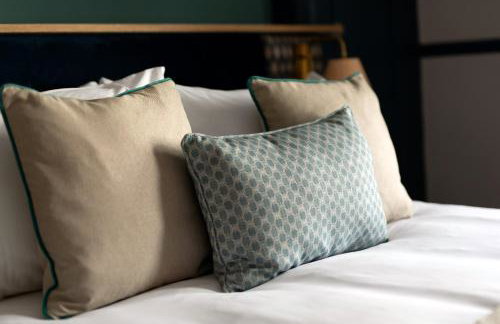
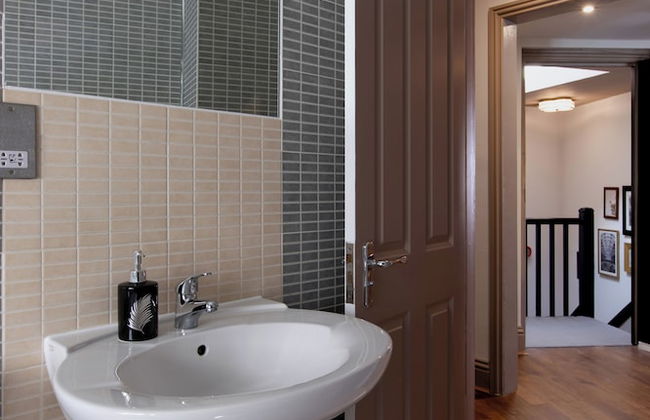
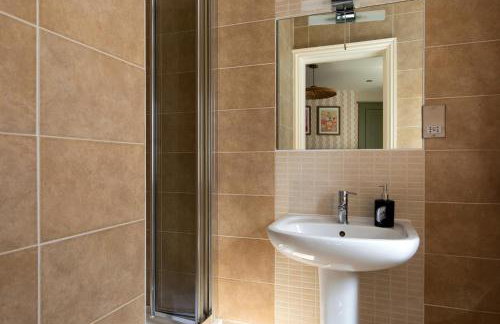
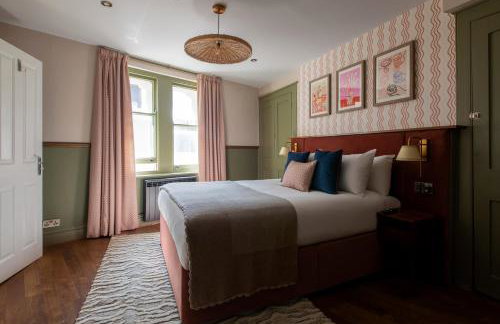
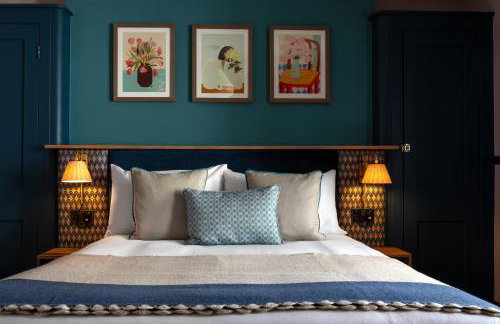
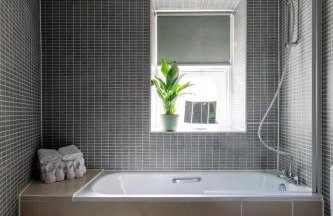
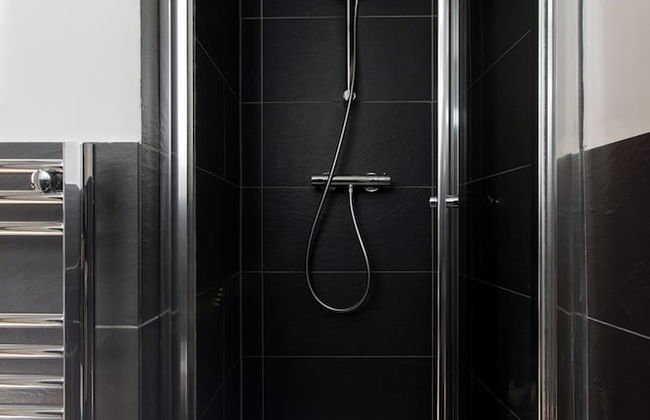
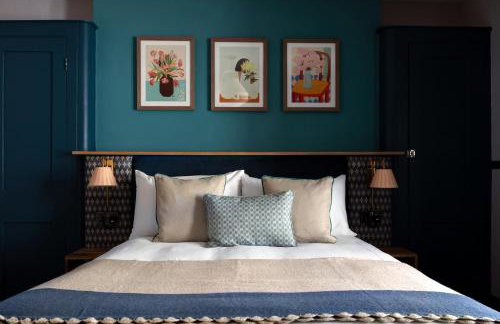
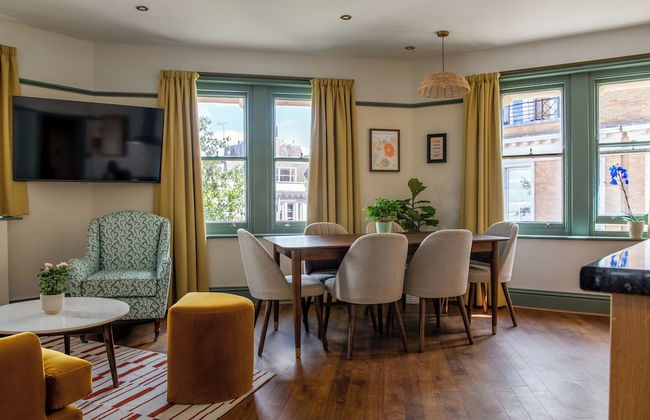
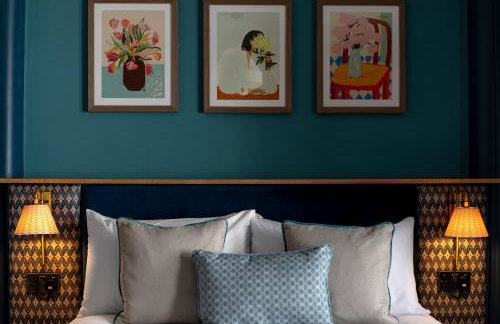
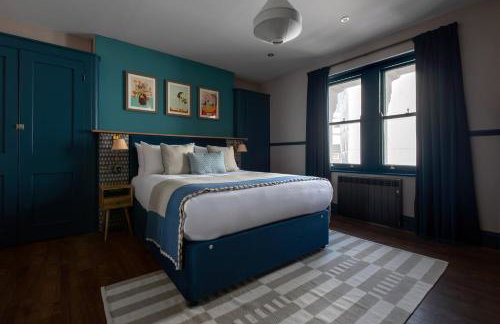
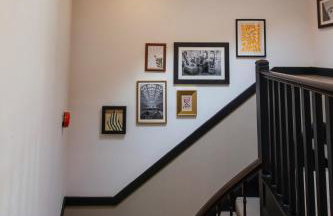
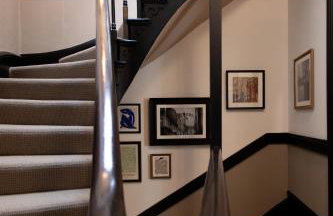
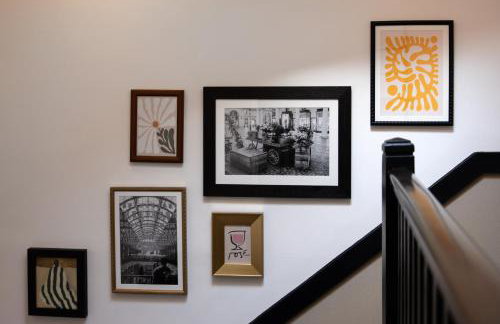
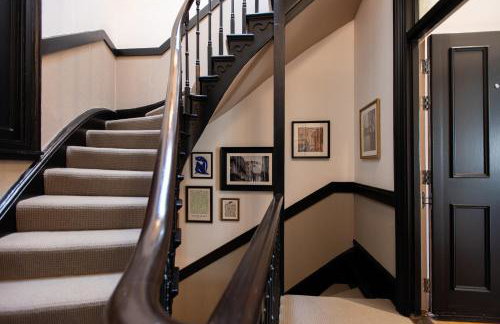
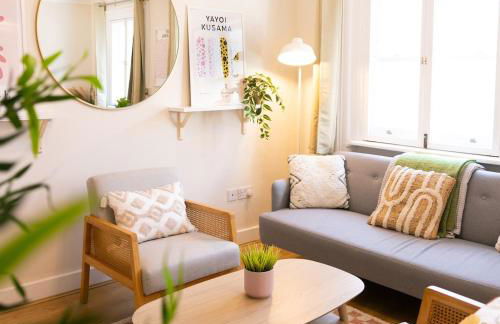
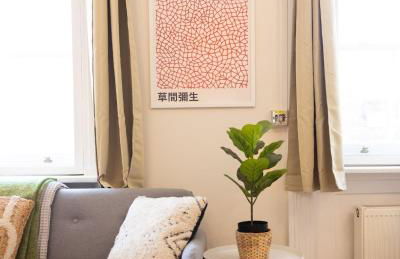
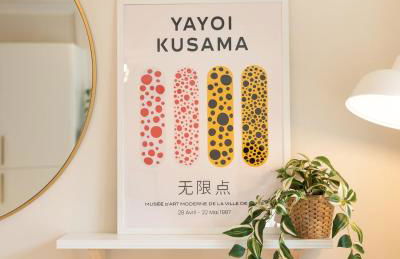
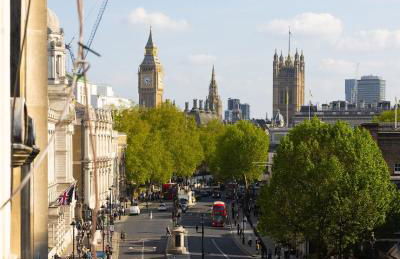
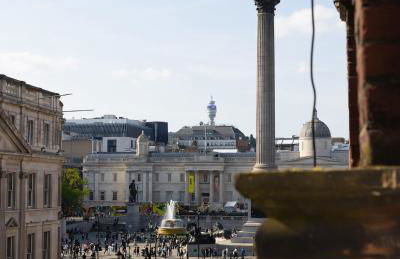
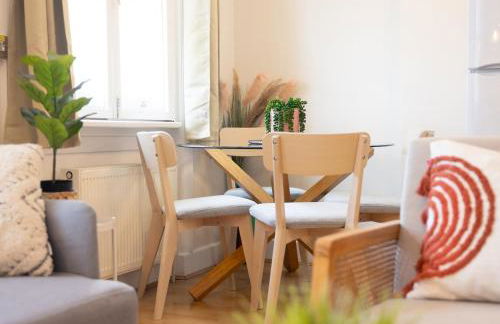
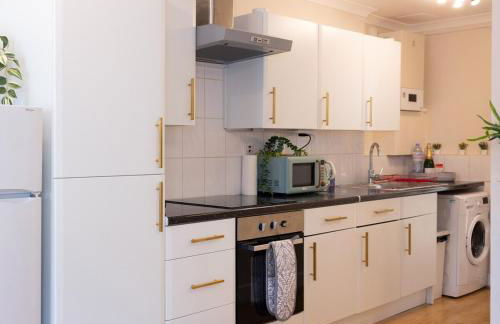
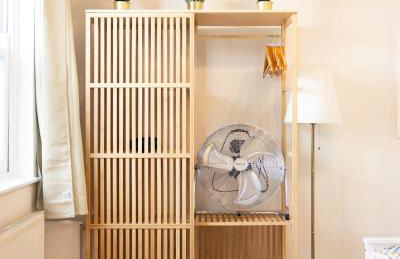
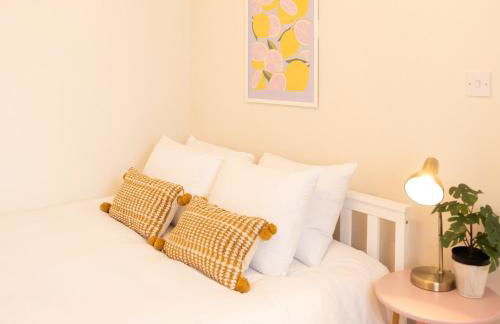
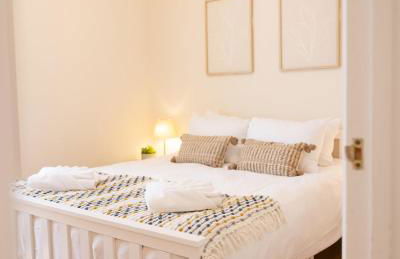
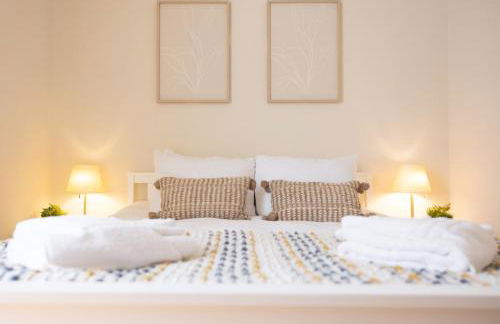
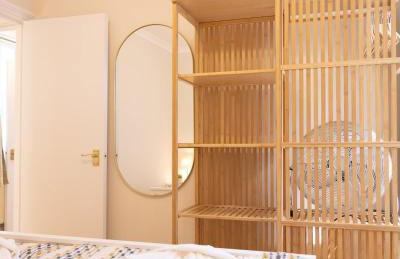
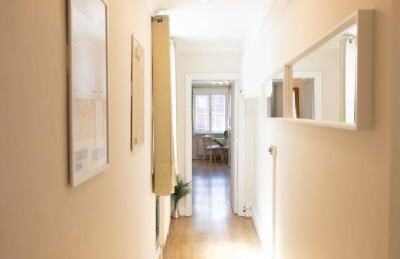
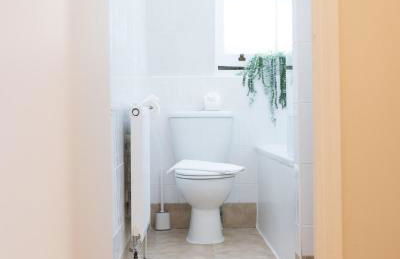
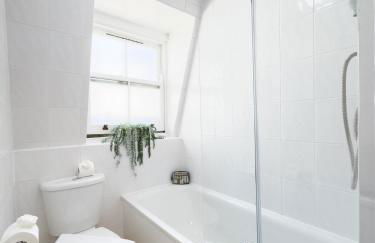
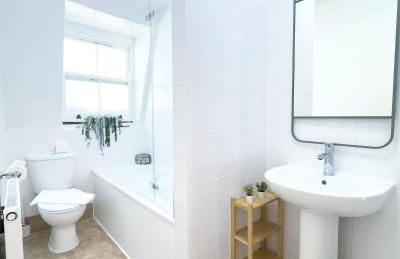
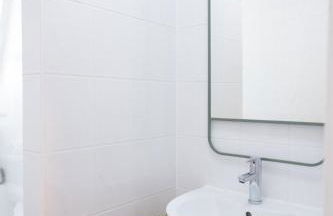
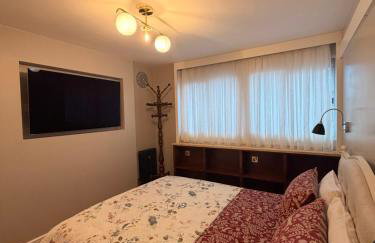
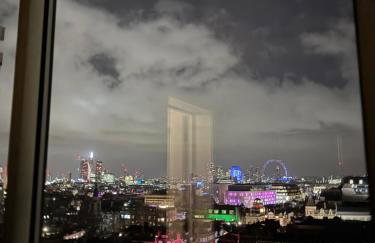
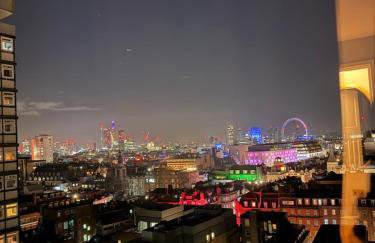
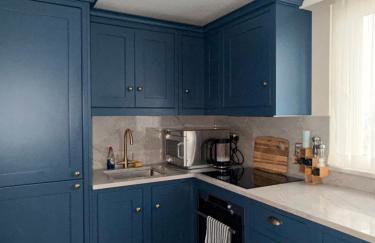
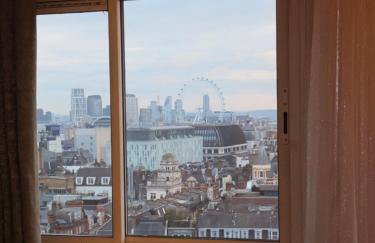
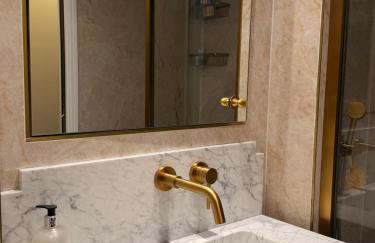
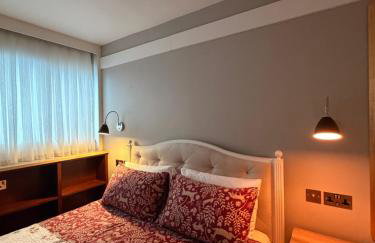
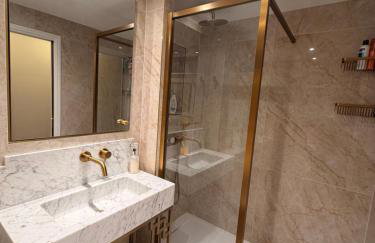
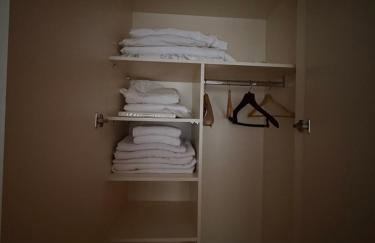
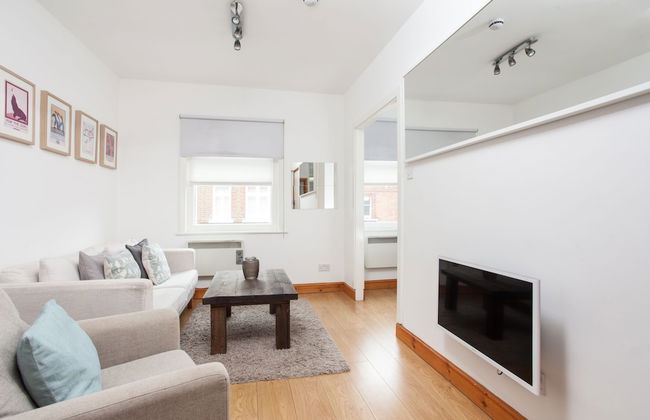
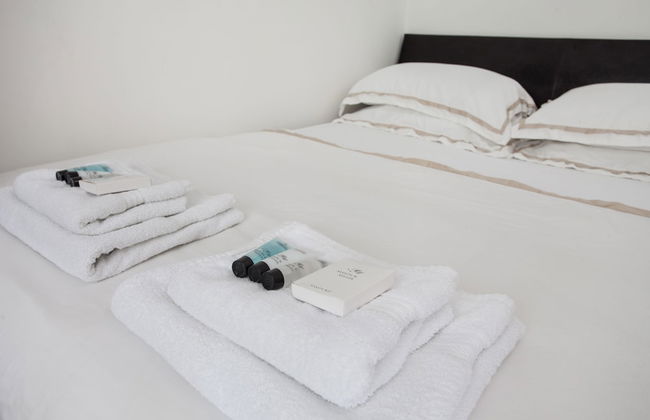
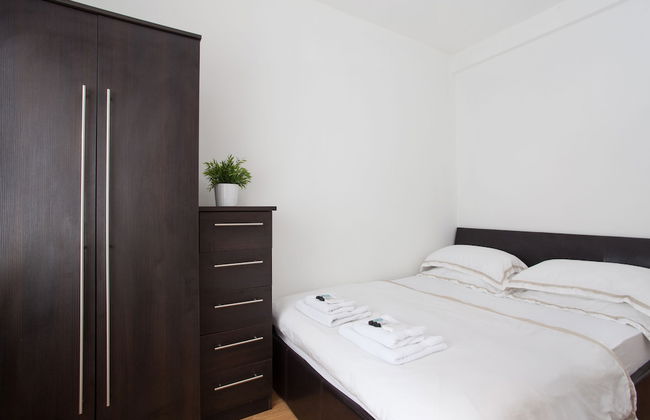
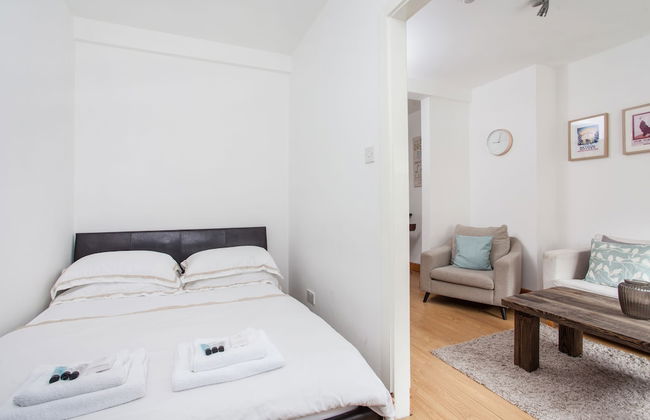
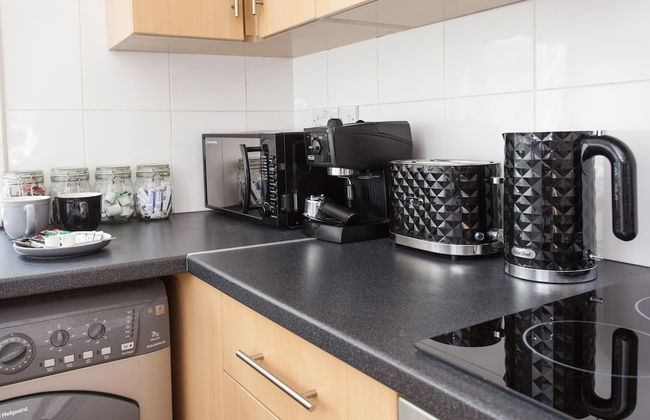
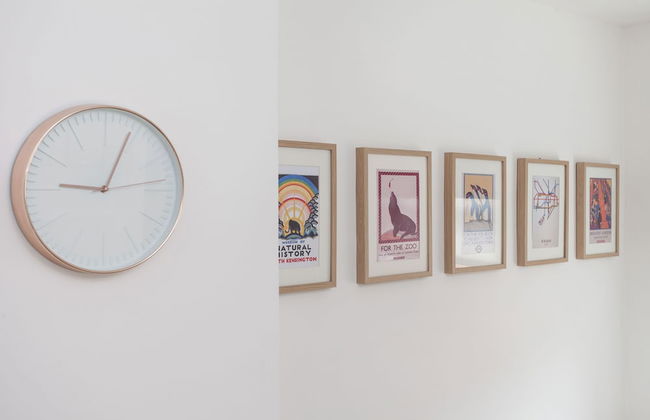
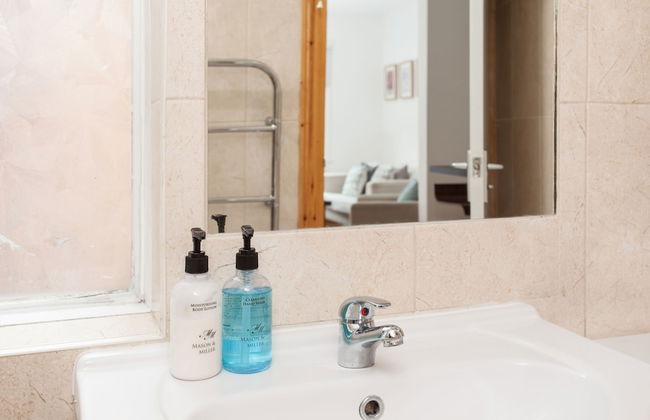
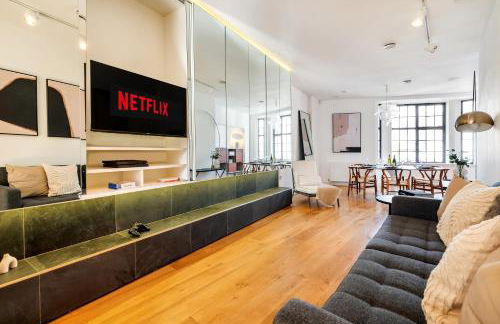
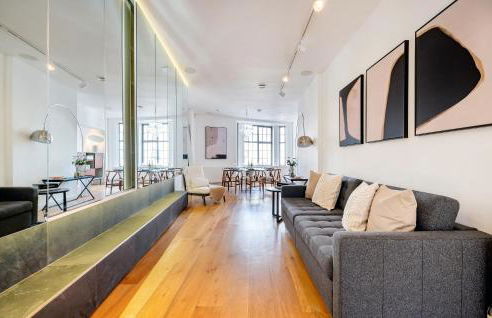
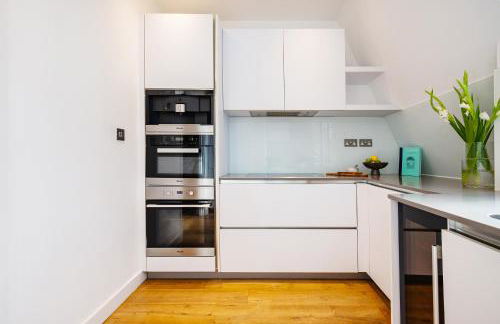
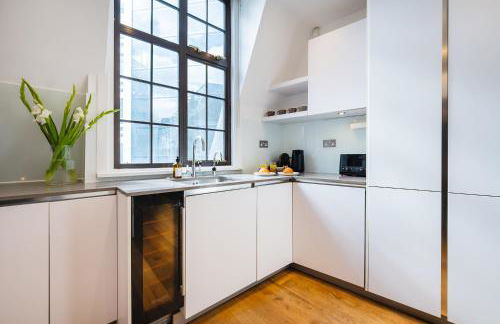
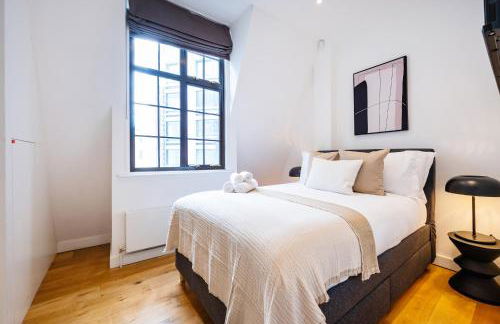
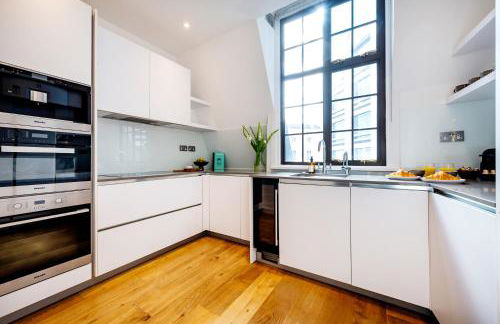
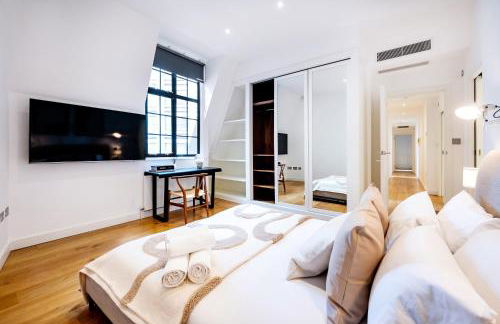
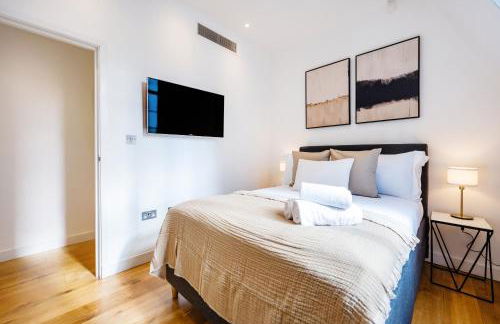
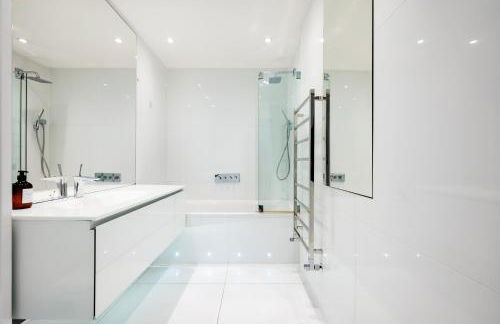
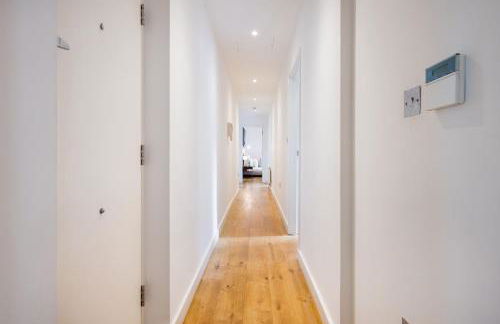
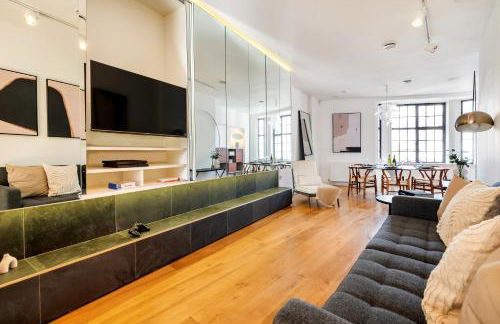
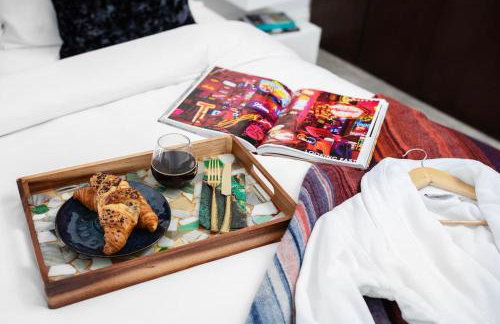
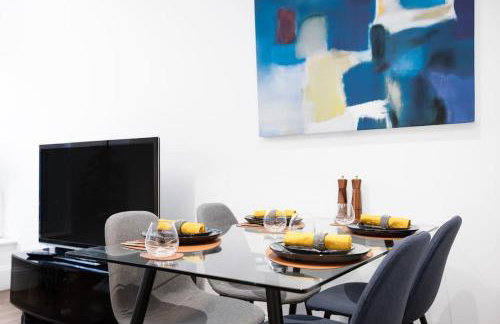
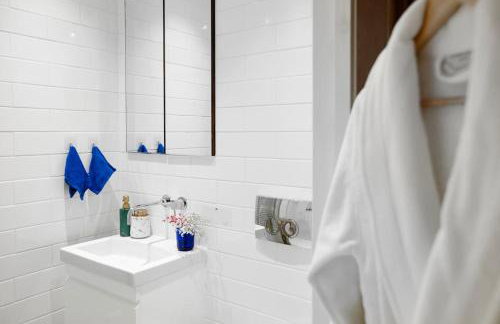
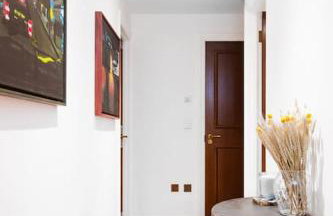
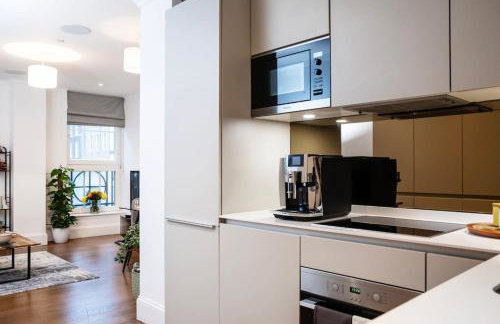
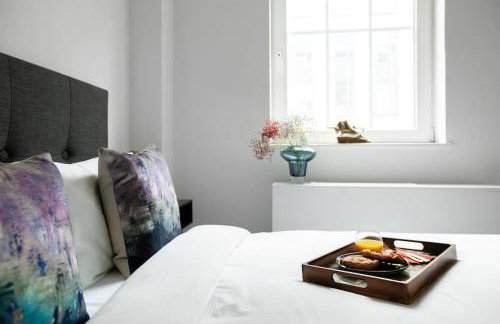
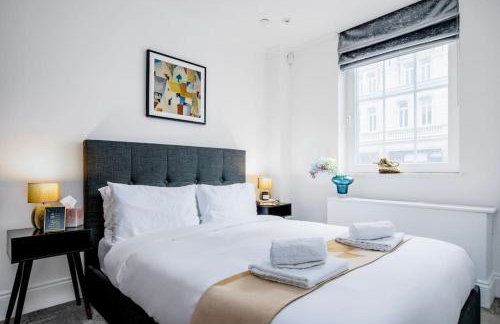
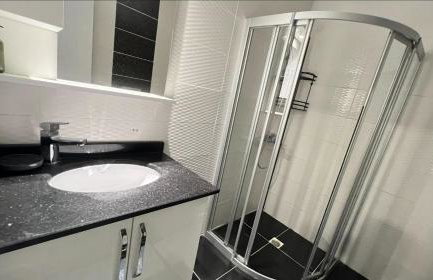
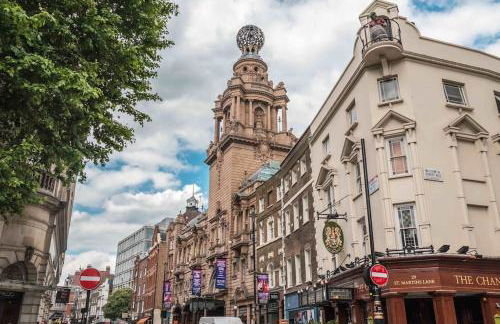
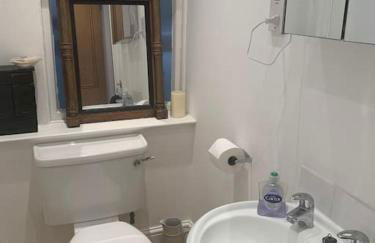
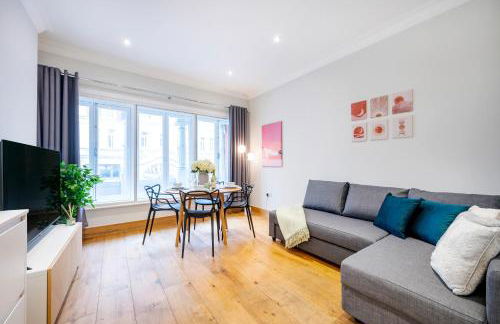
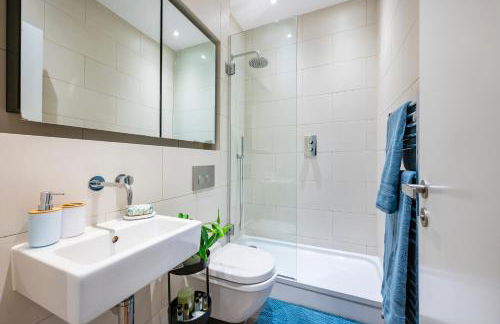
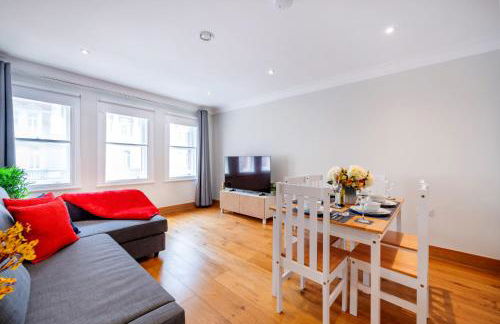
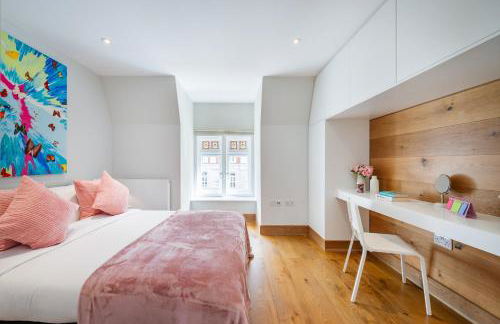
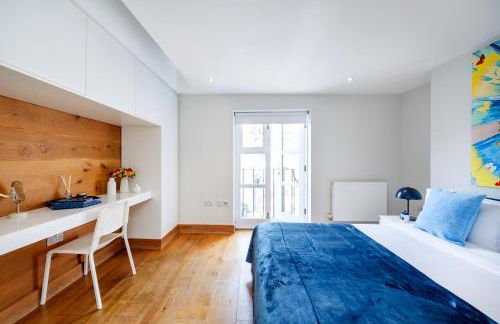
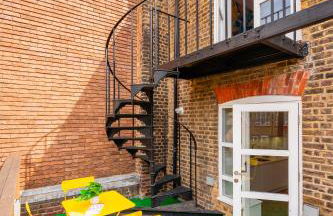
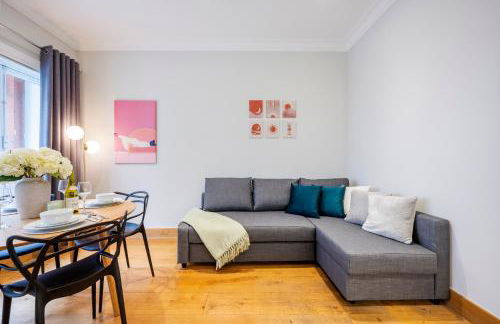
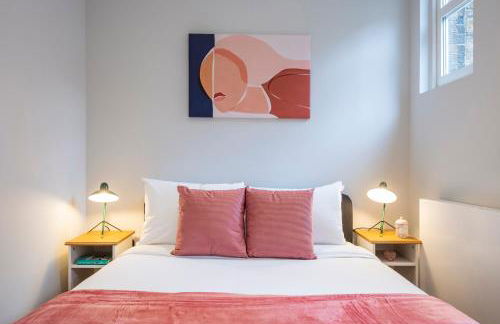
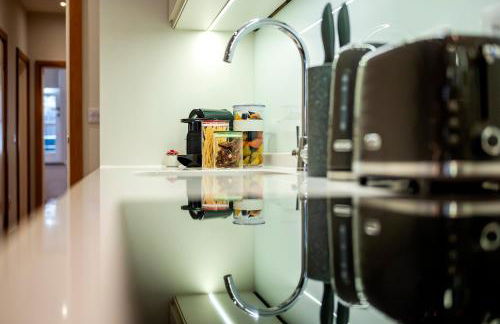
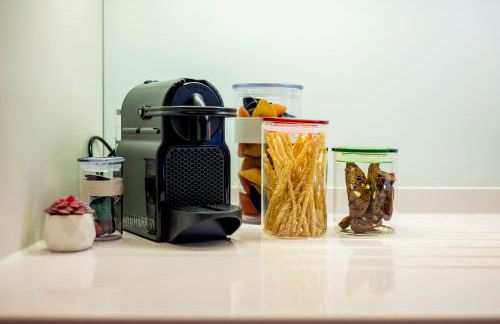
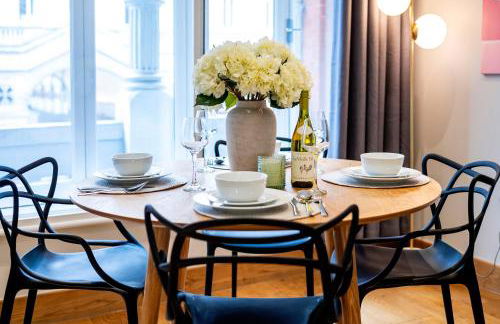
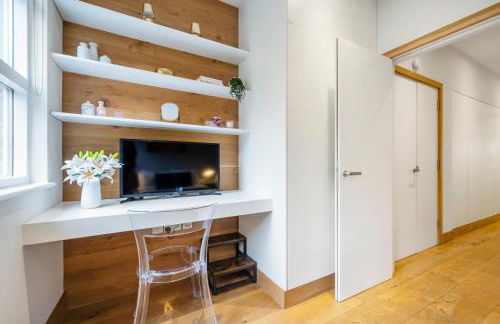
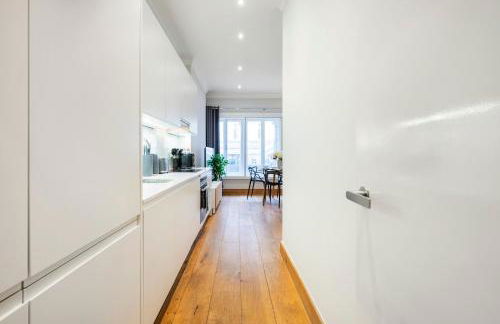
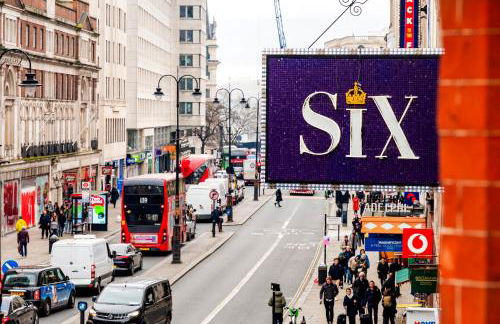
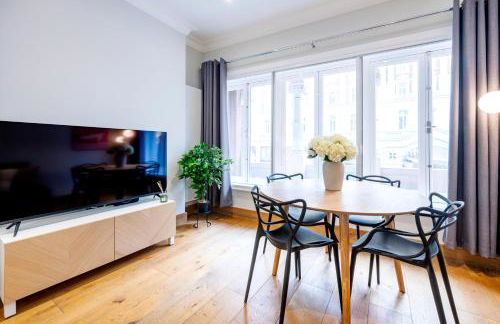
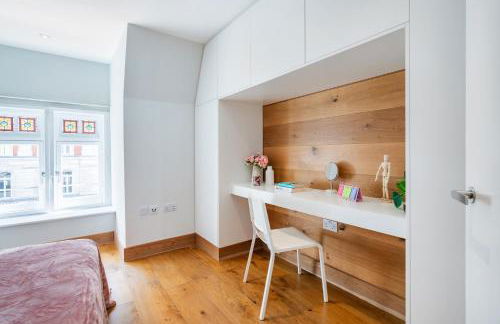
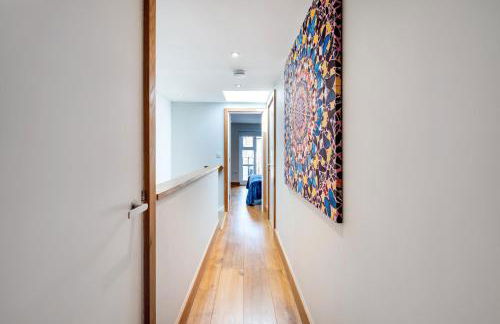
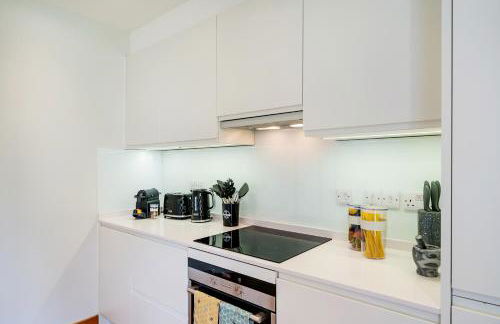
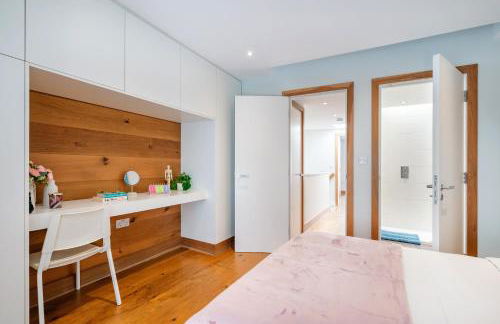
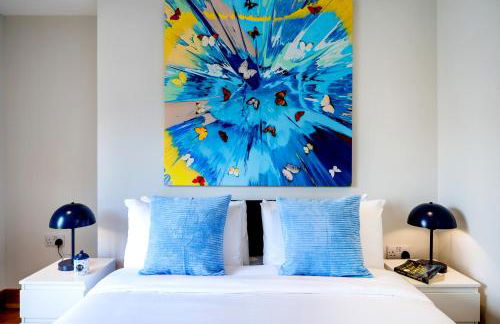
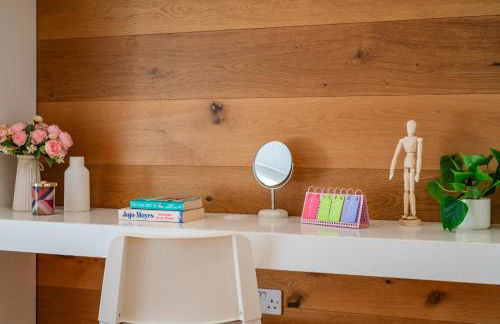
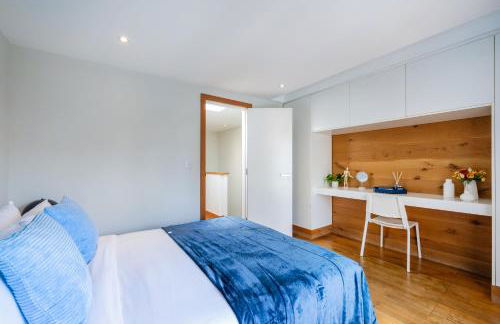
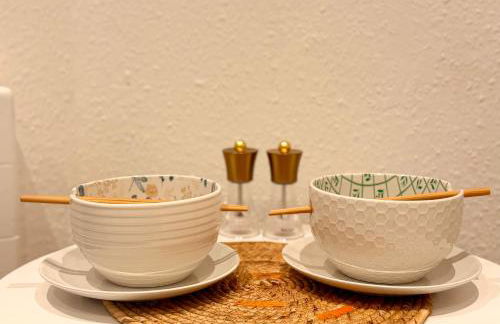
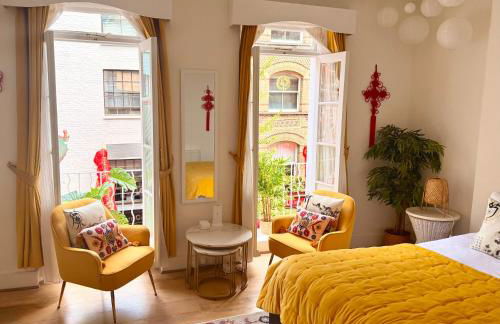
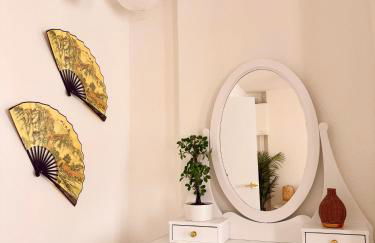
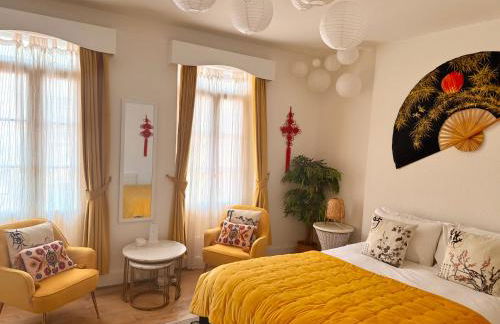
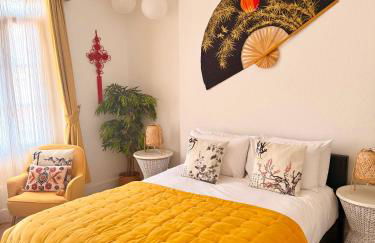
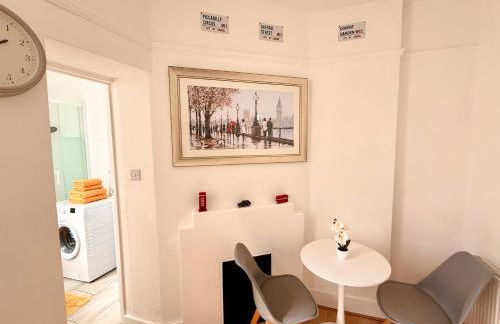
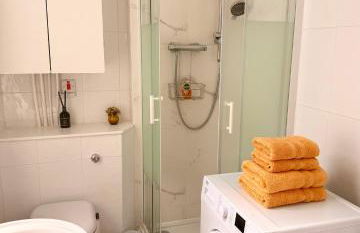
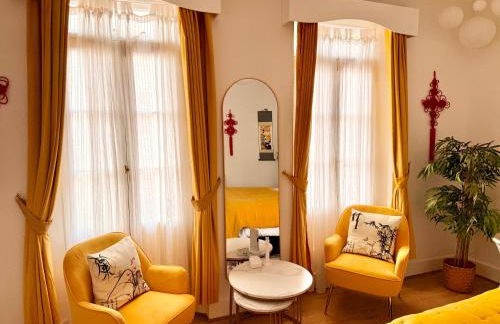
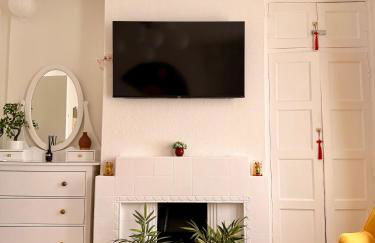
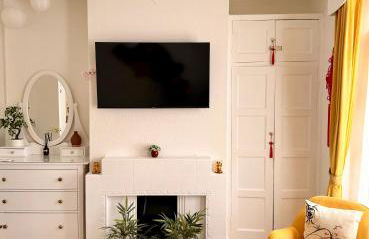
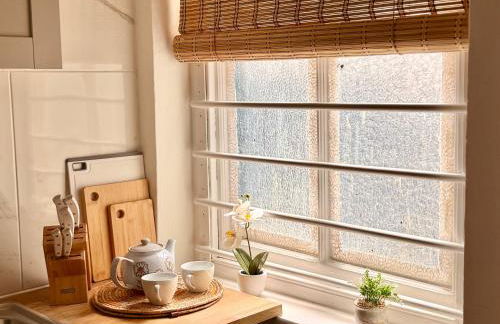
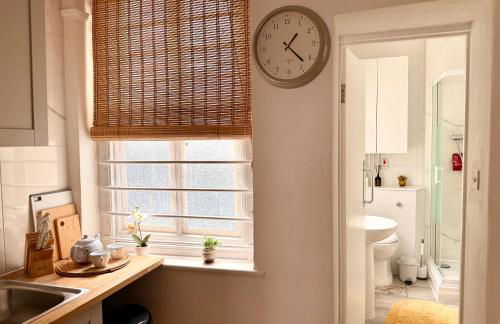
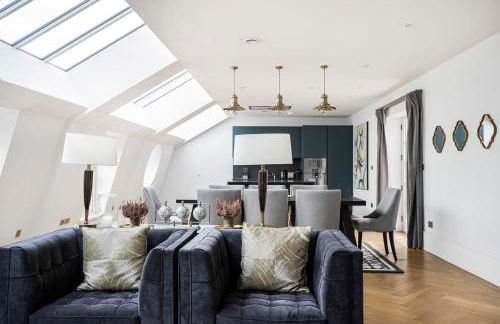
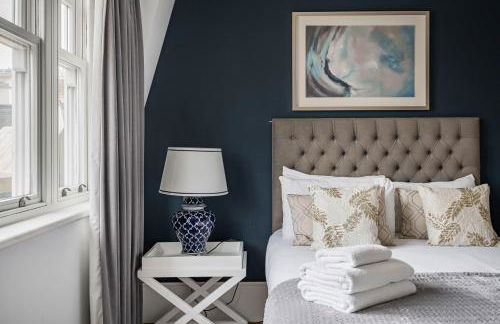
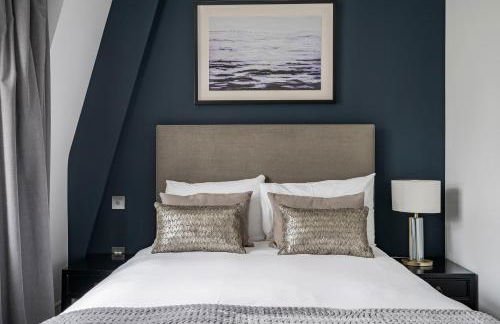
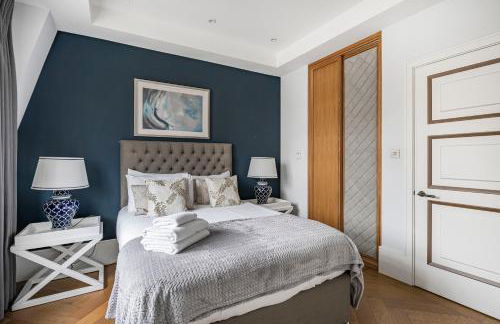
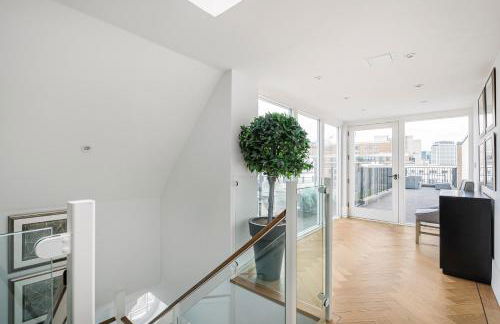
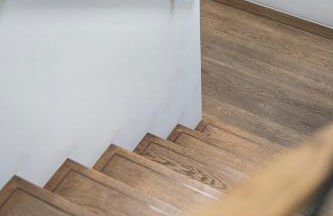
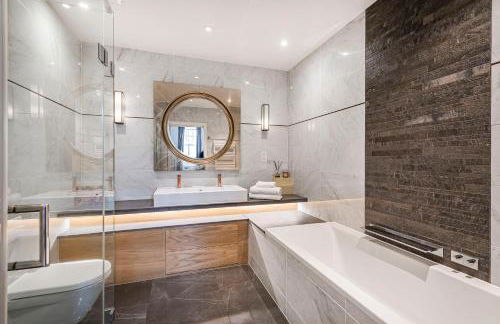
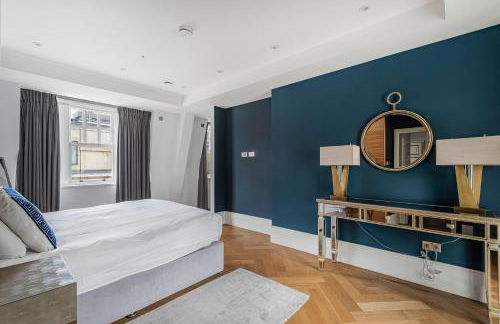
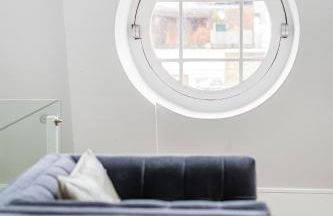
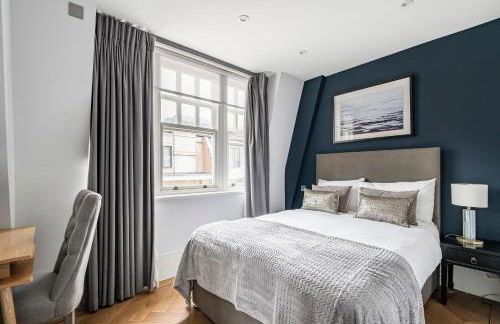
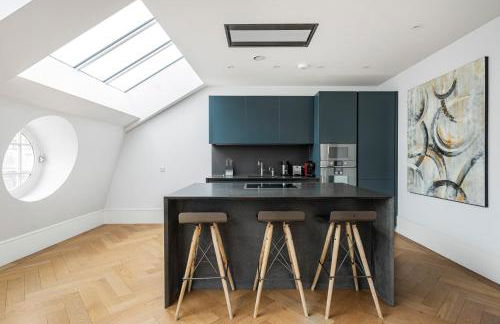
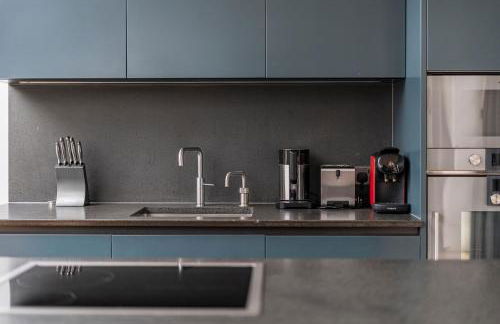
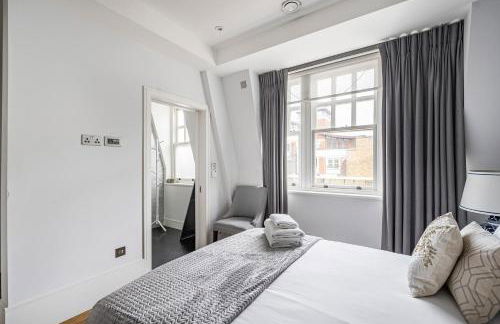
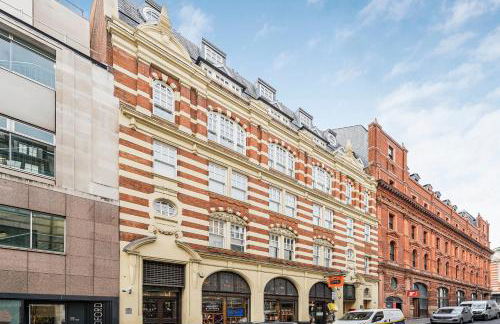
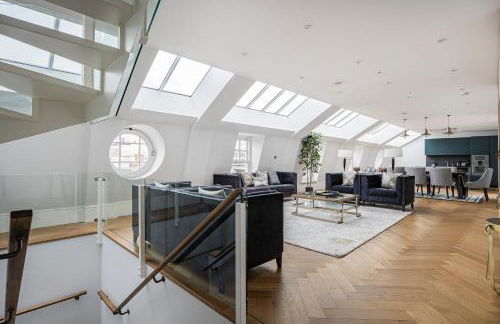
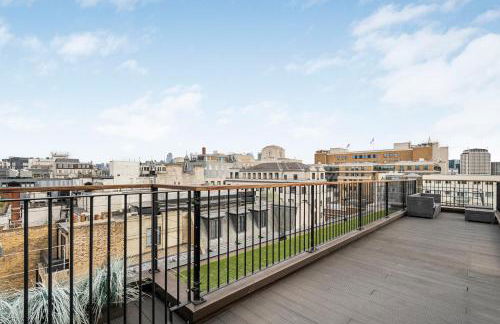
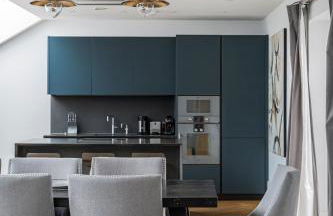
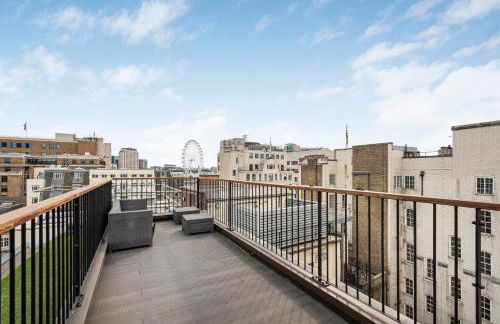
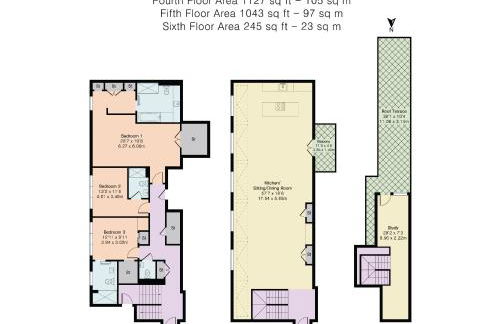
Prime Covent Garden gem with Air-Con - Foto 1
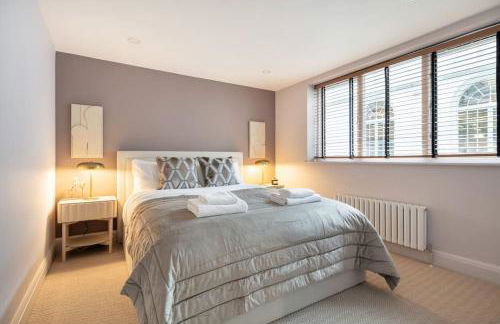
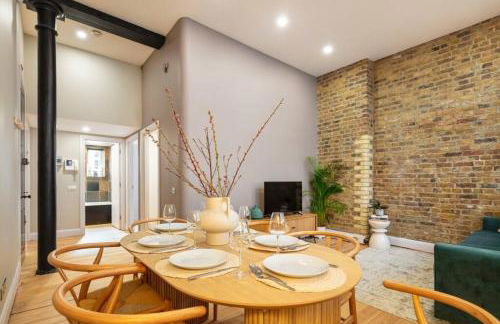
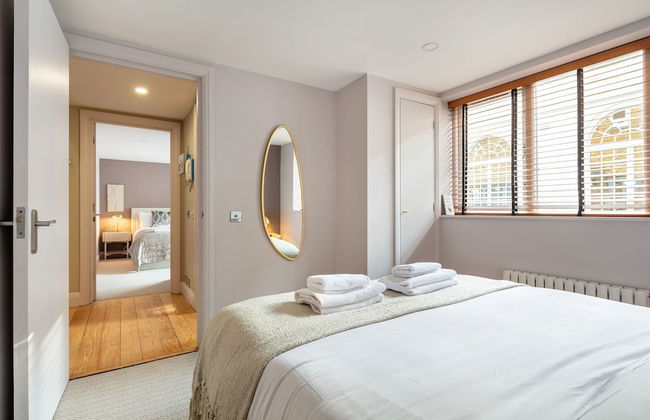
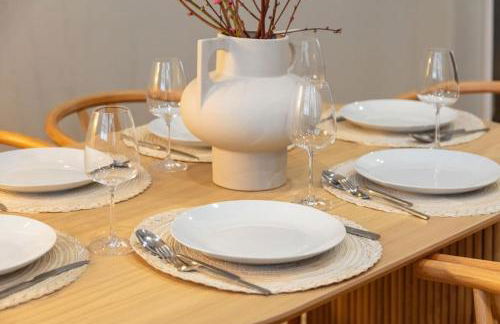
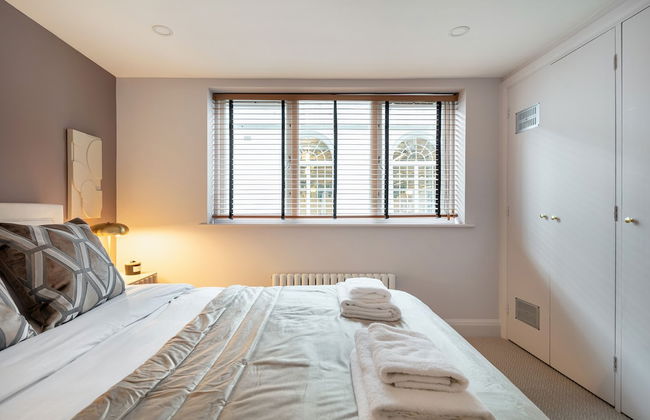
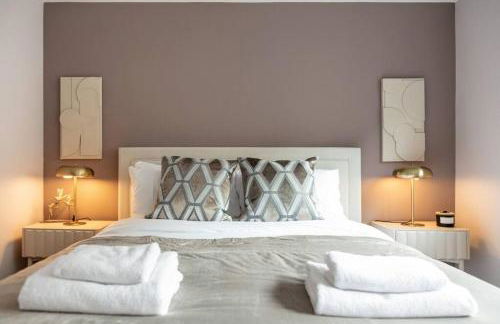
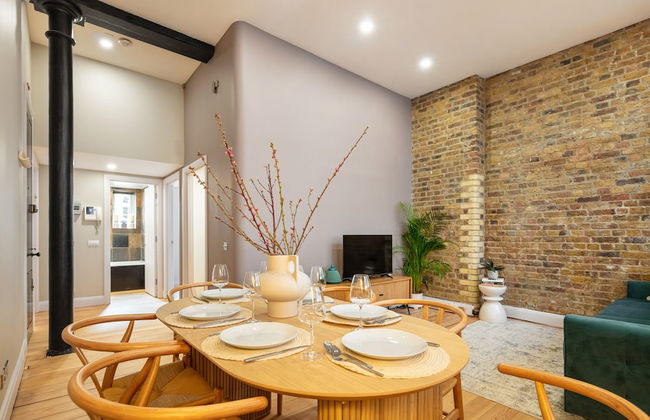
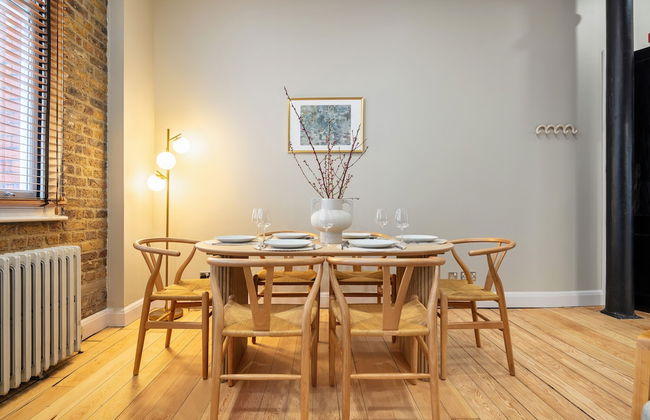
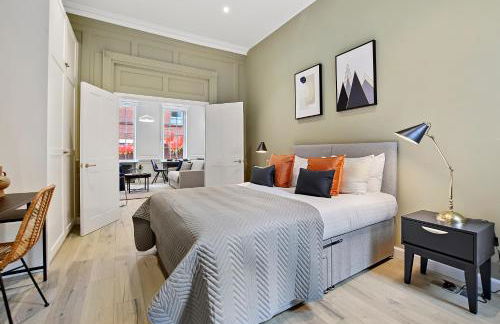
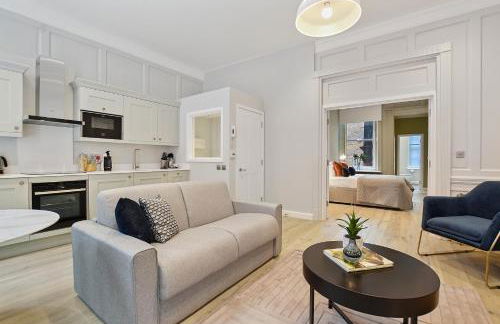
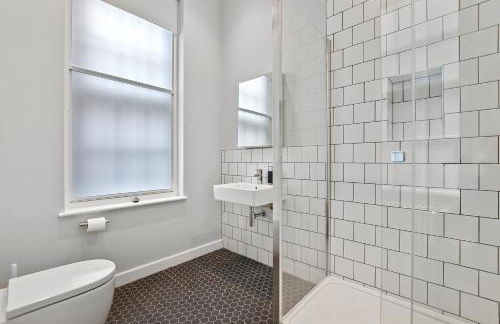
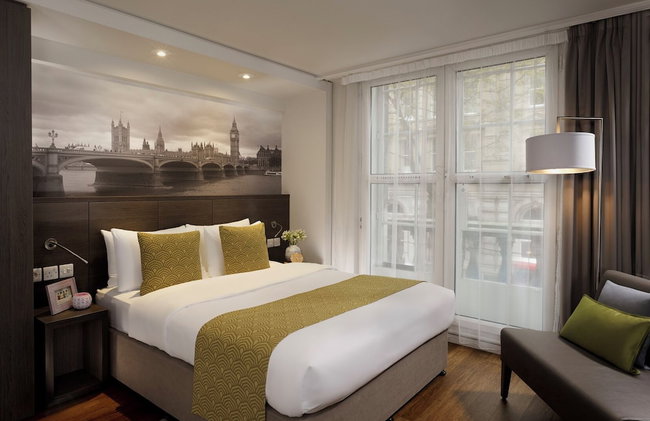
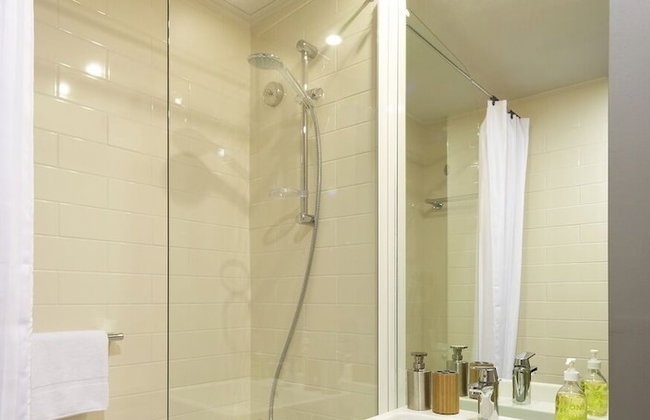
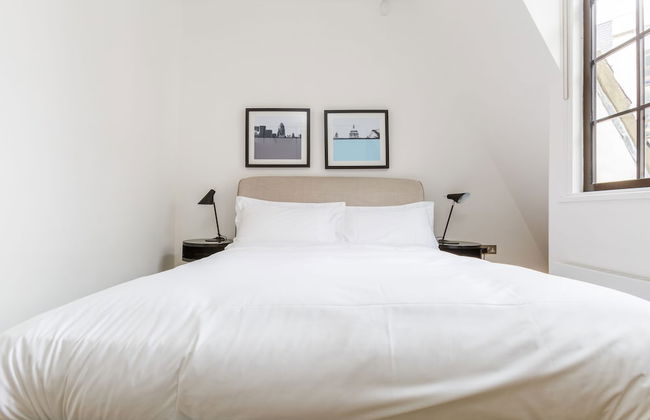
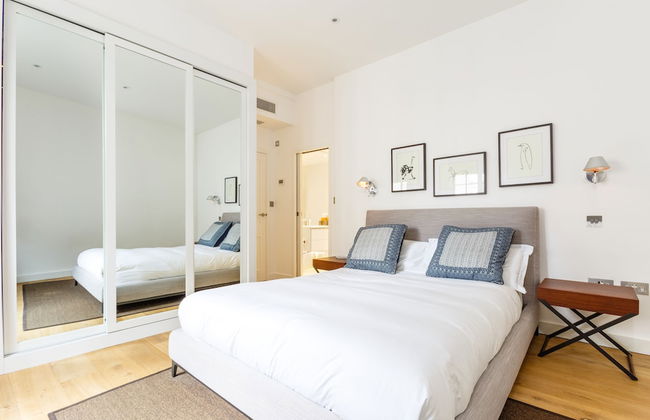
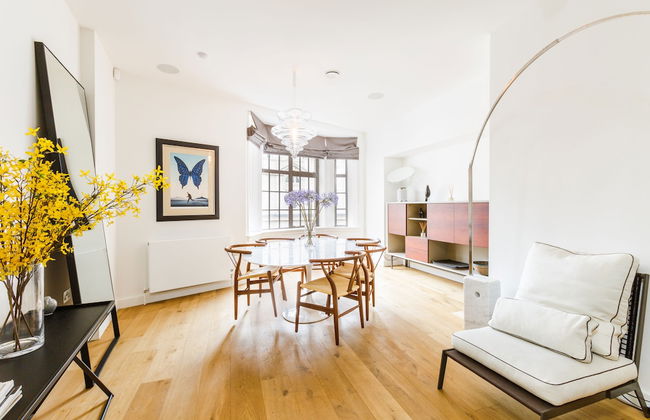
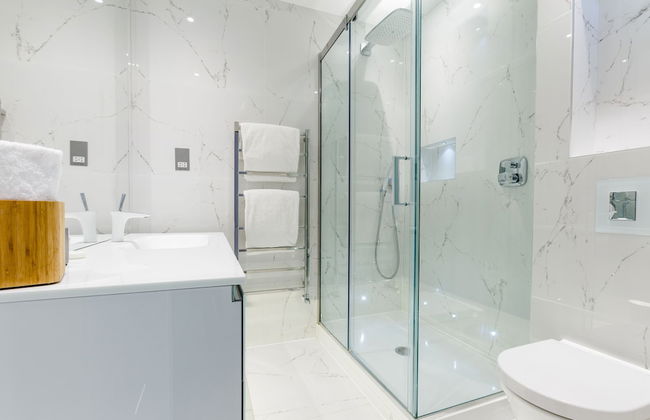
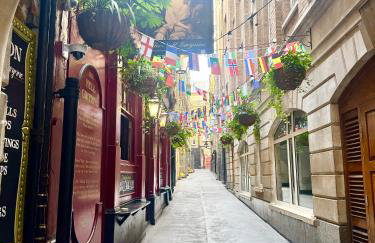
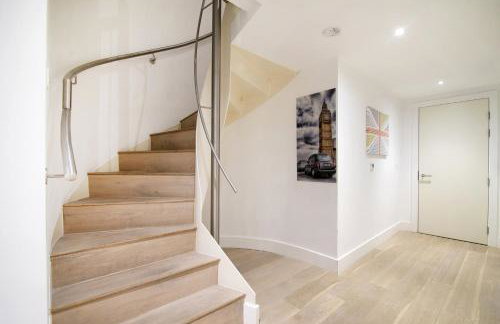
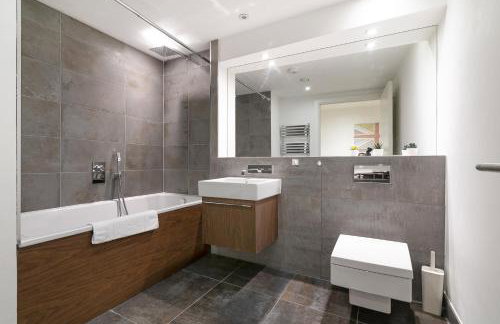
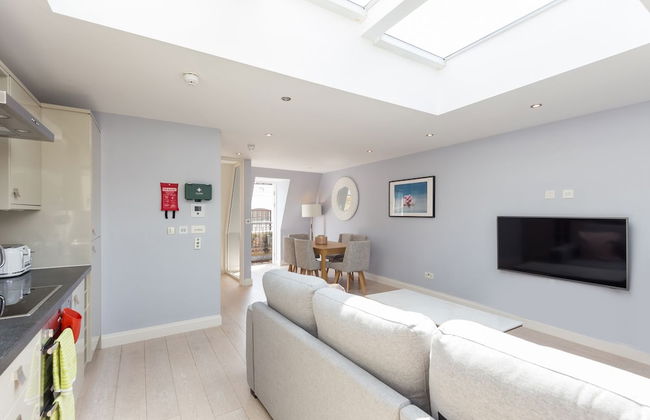
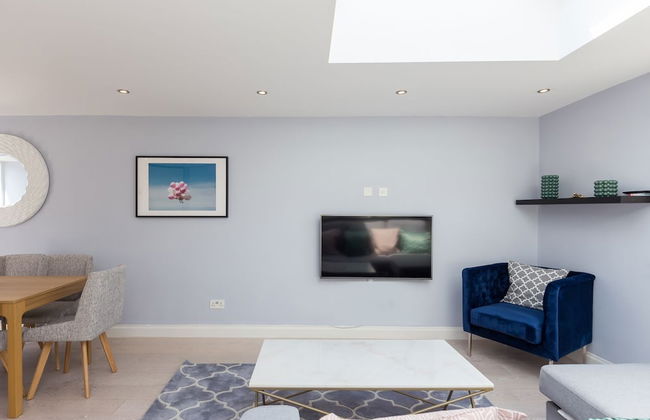
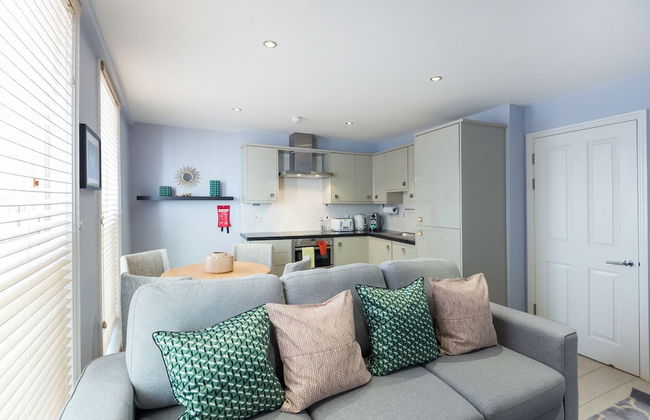
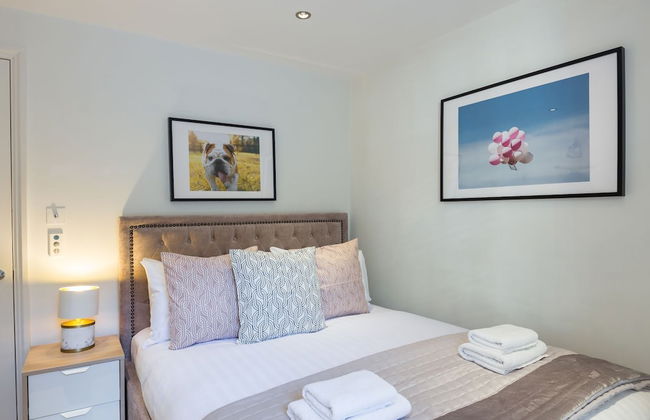
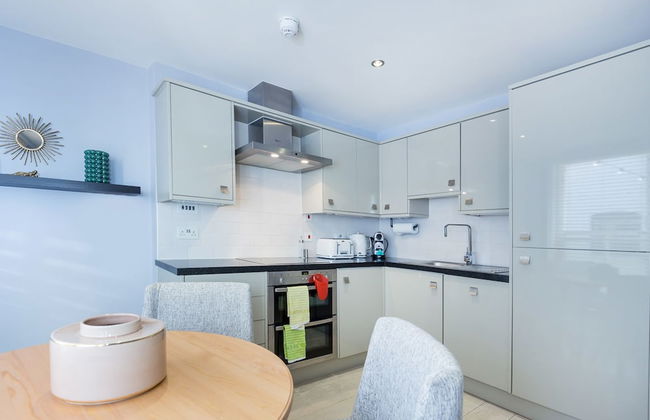
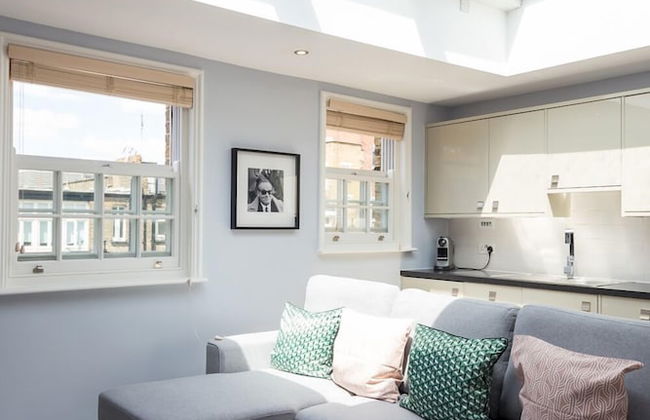
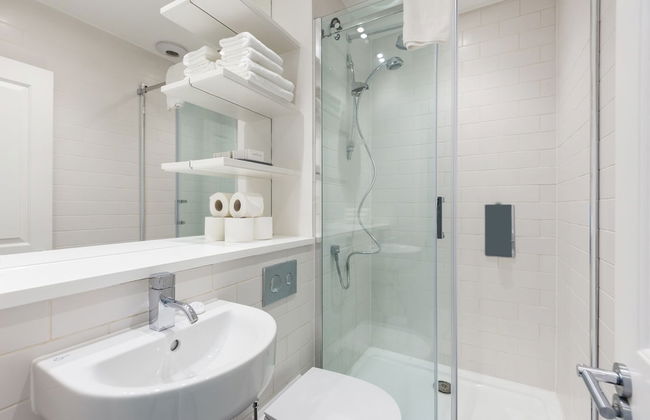
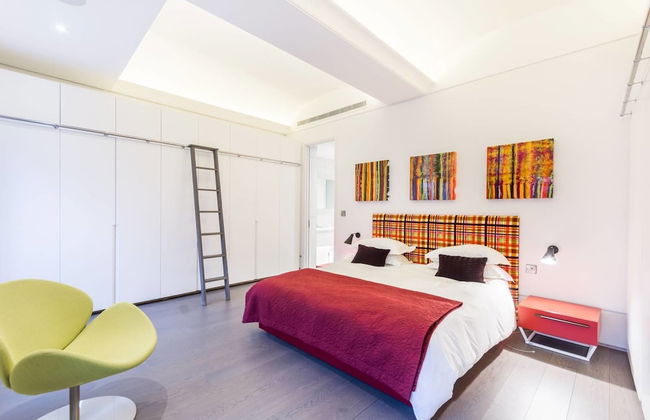
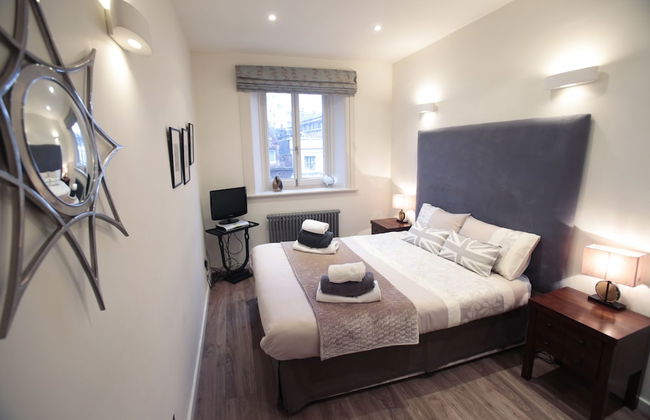
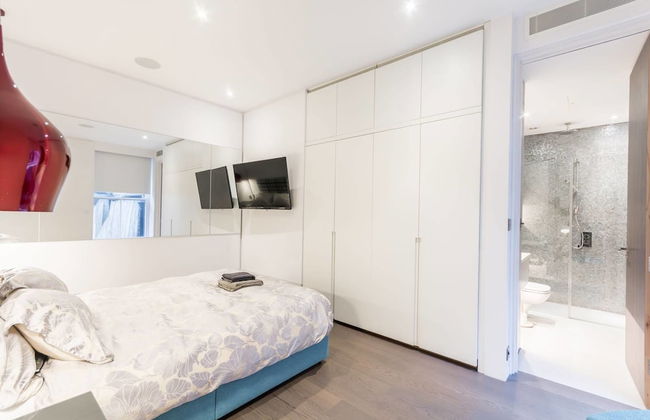
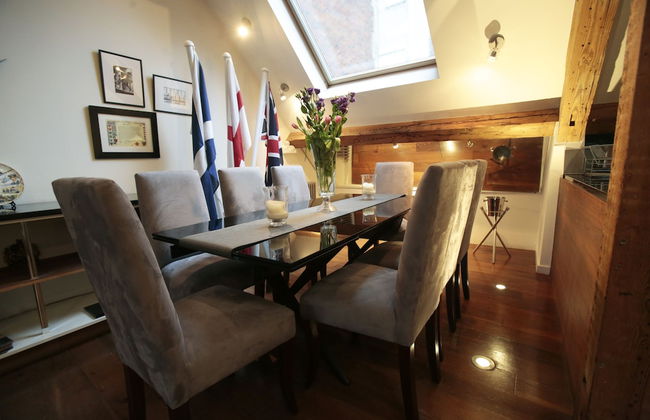
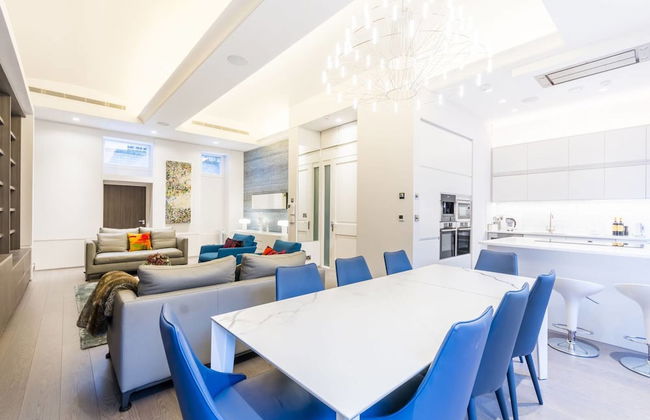
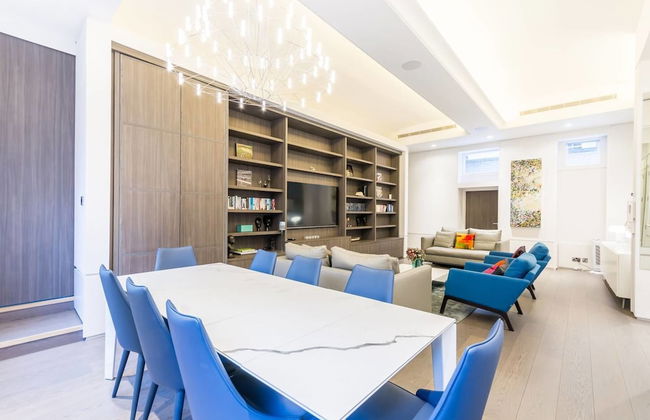
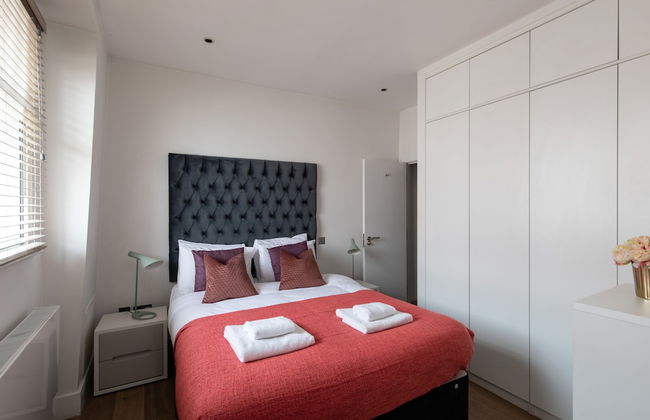
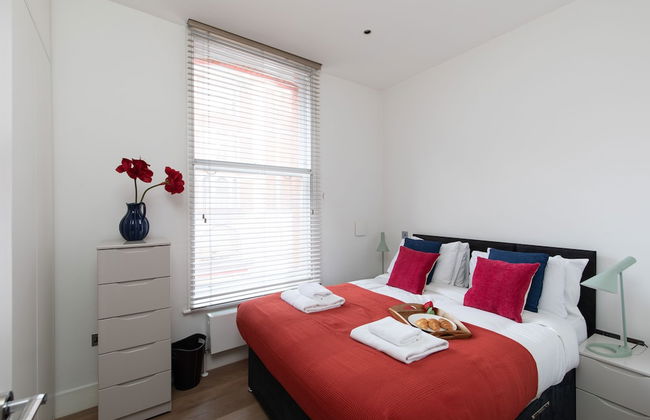
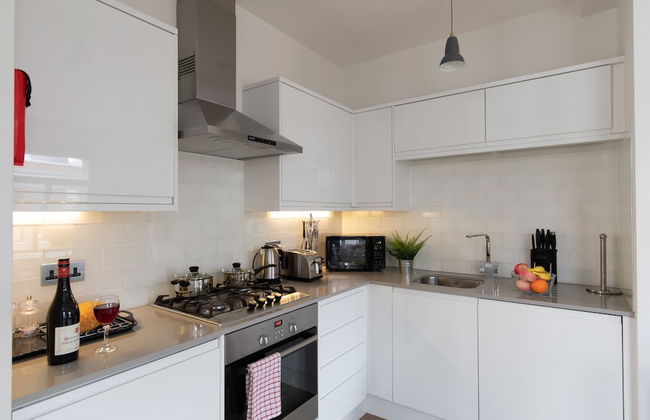
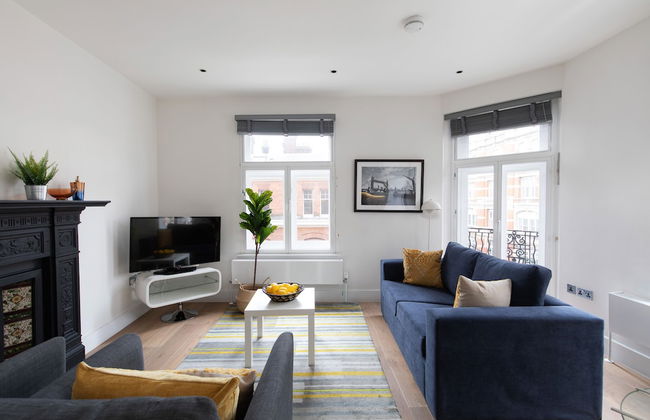
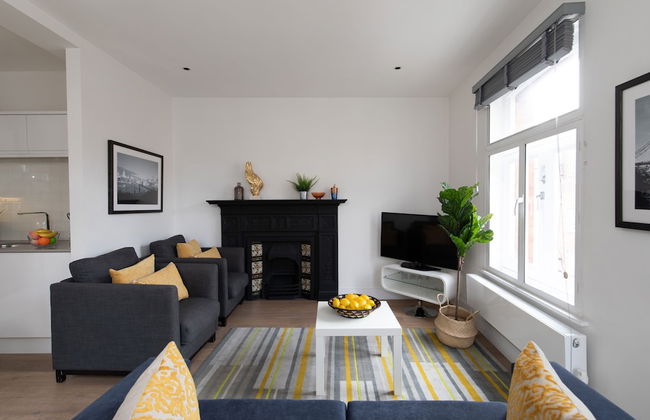
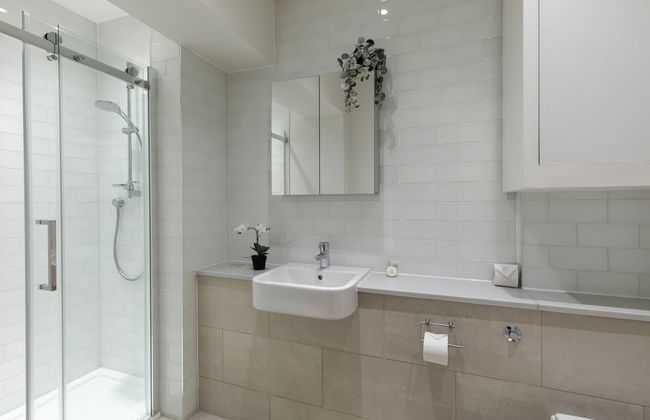
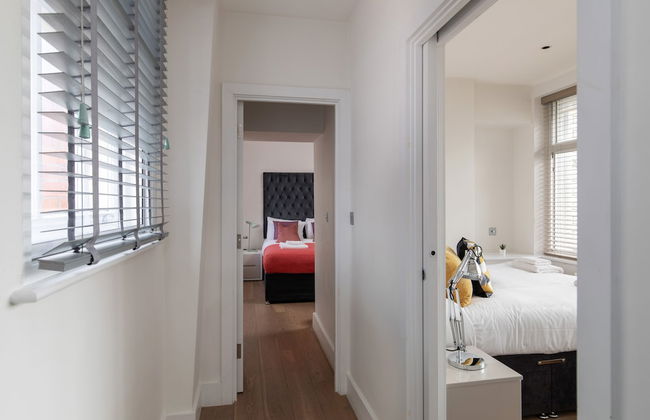
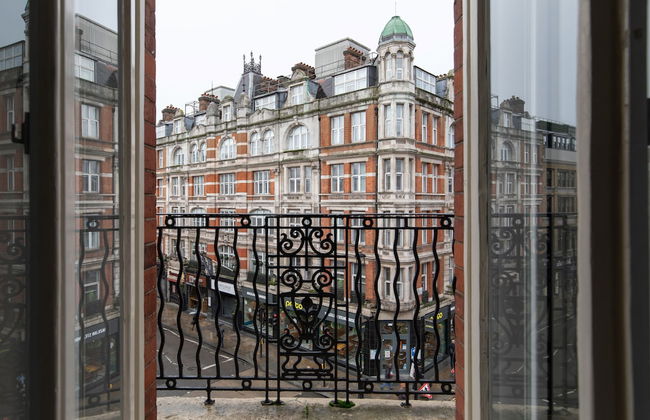
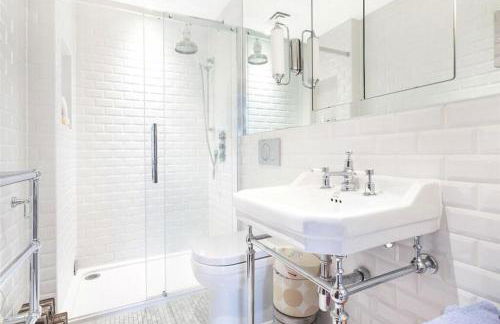
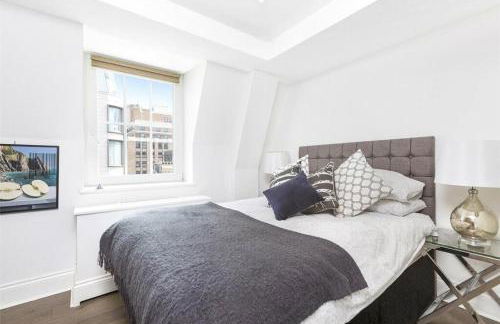
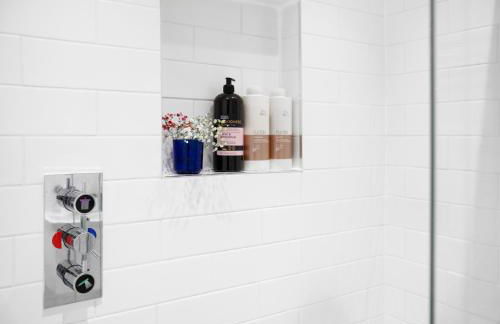
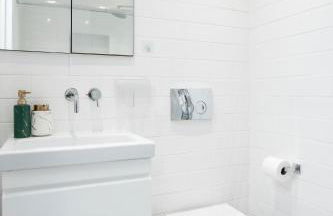
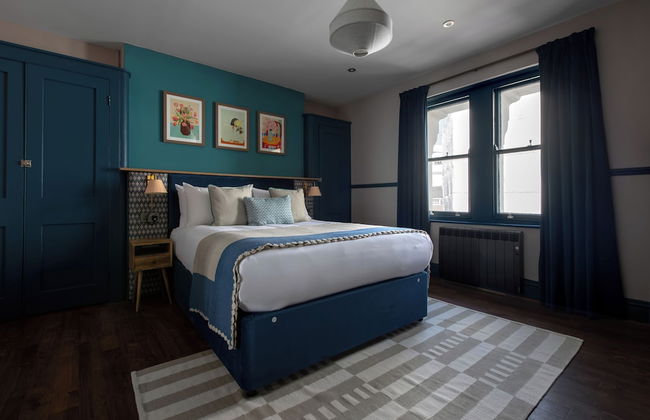
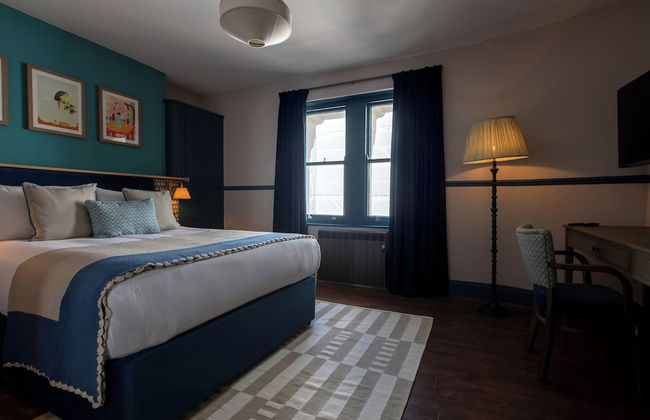
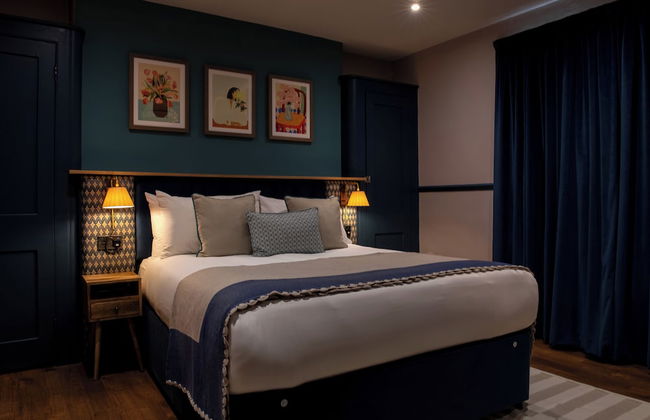
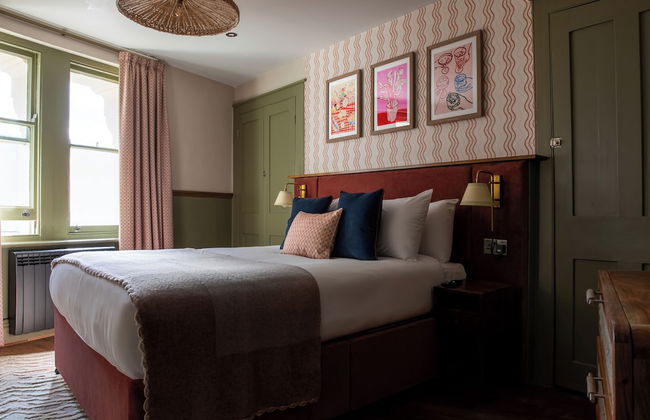
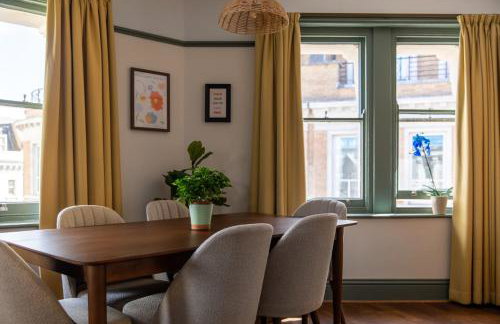
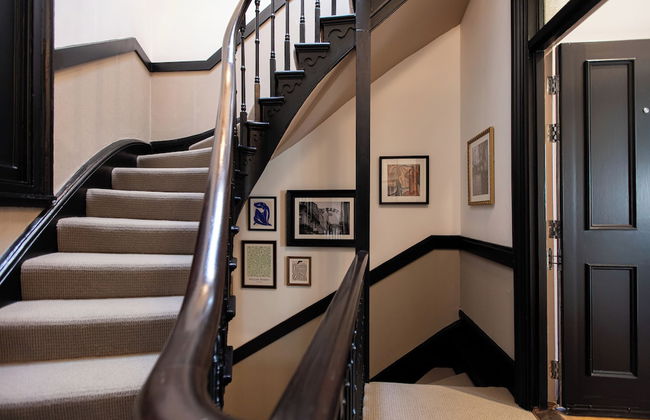
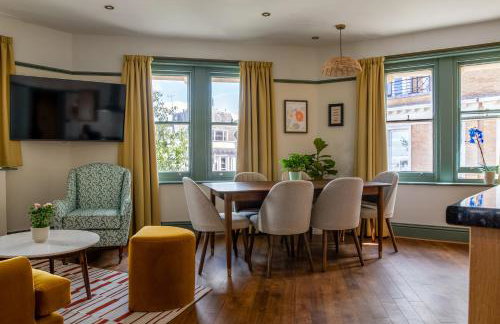
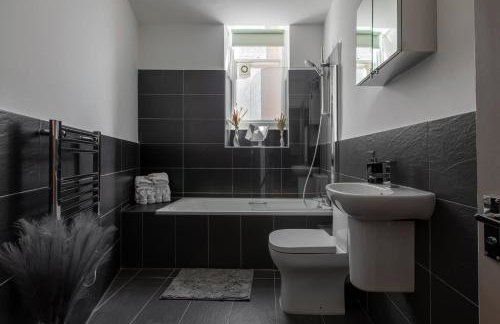
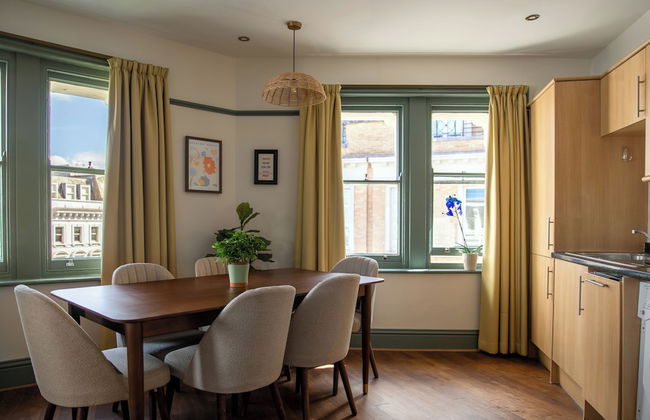
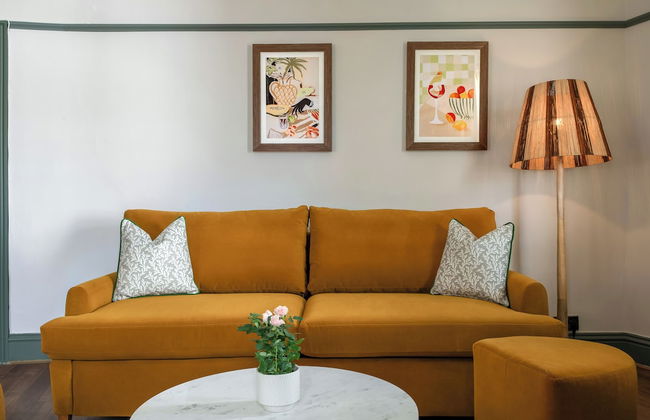
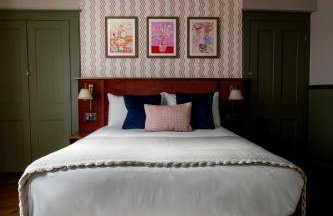
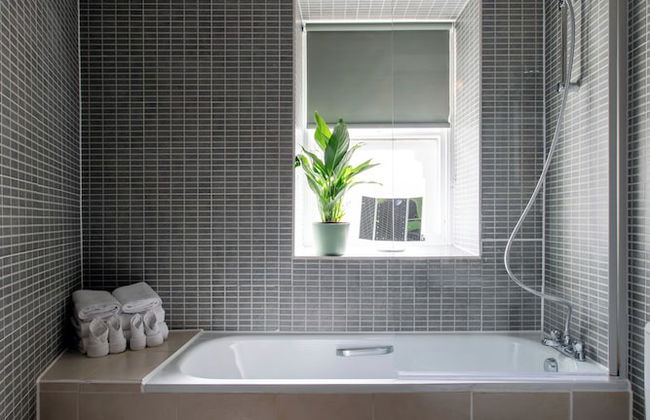
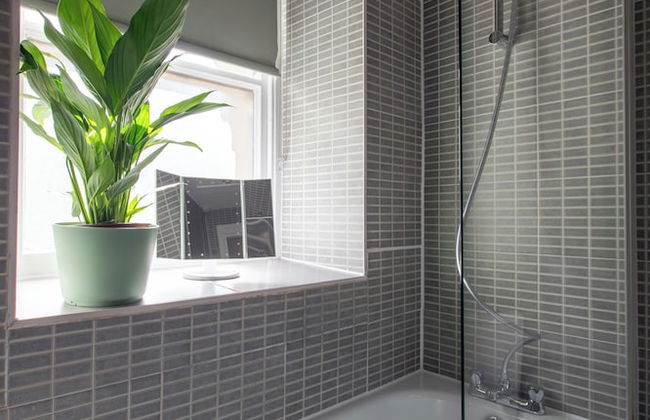
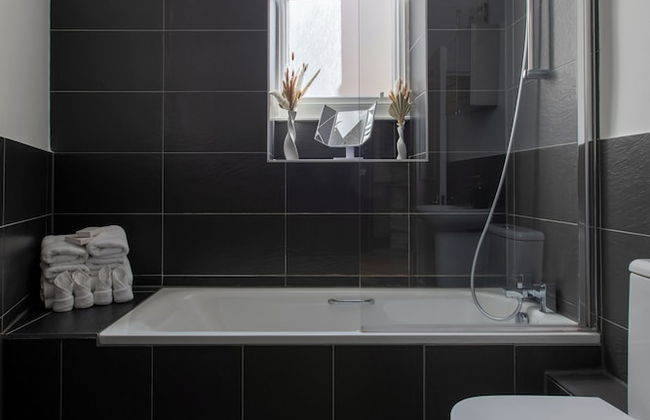
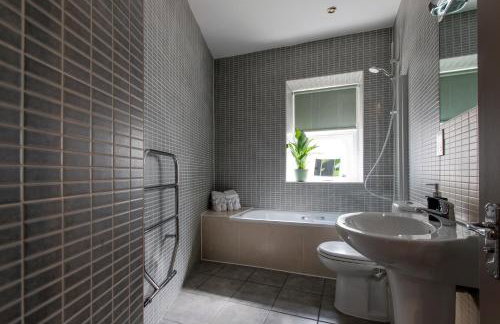
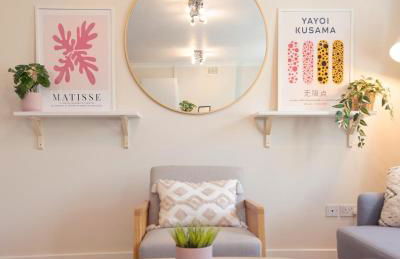
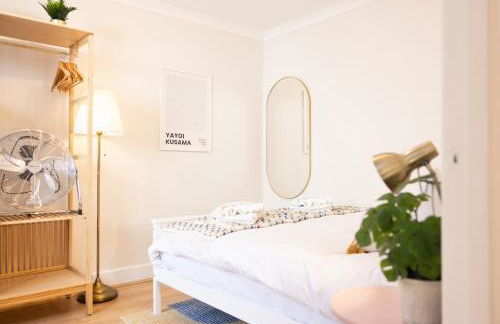
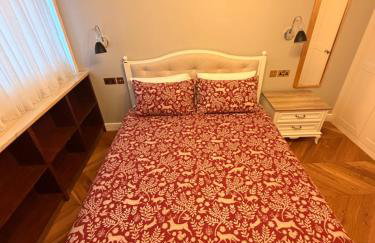
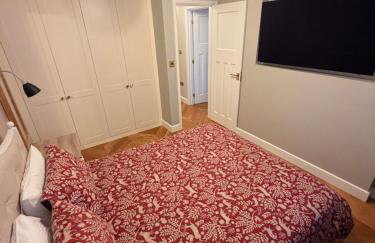
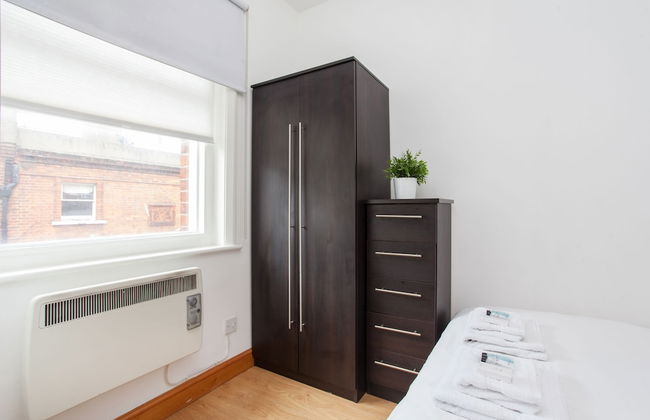
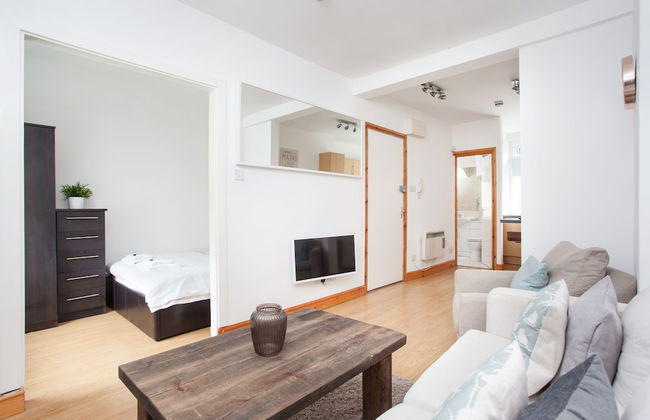
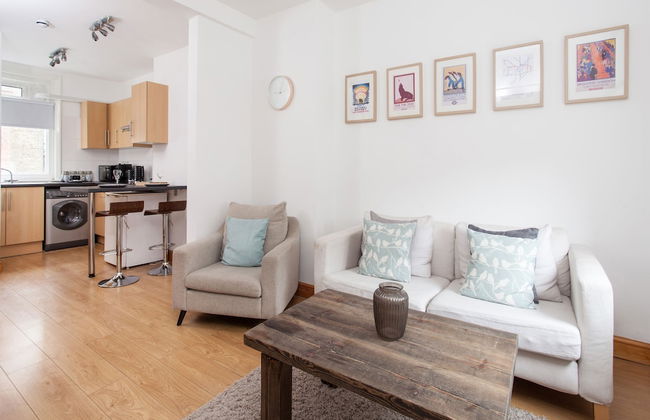
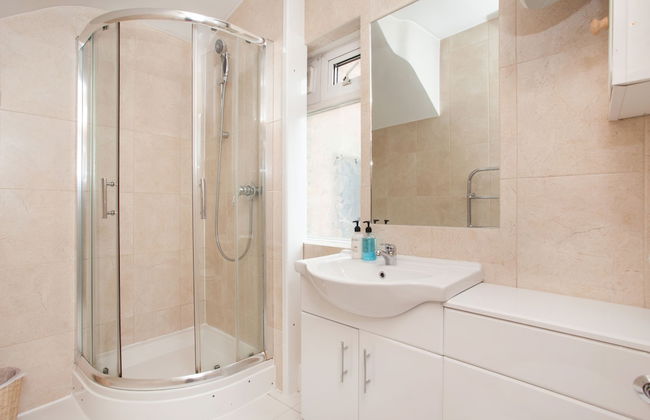
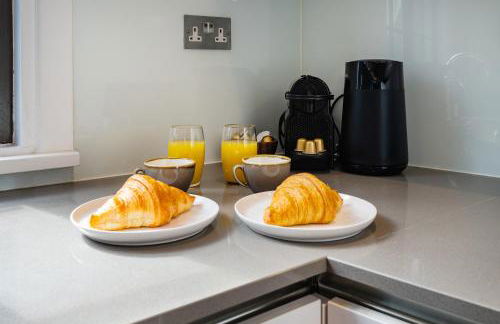
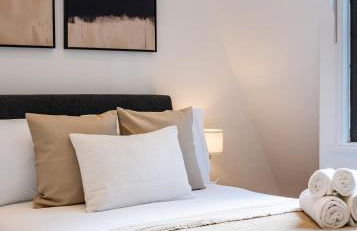
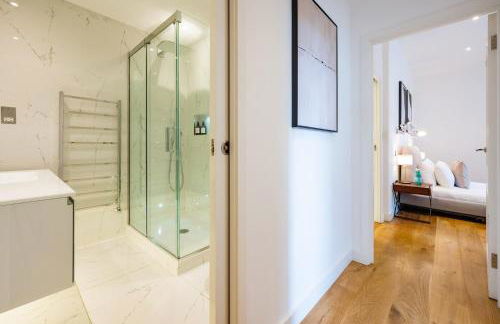
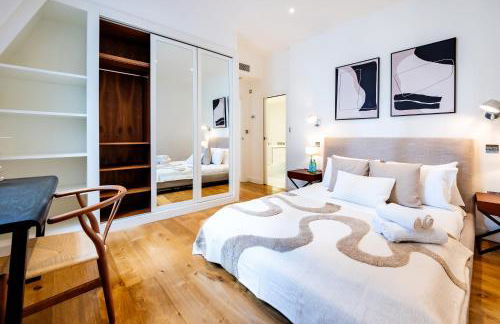
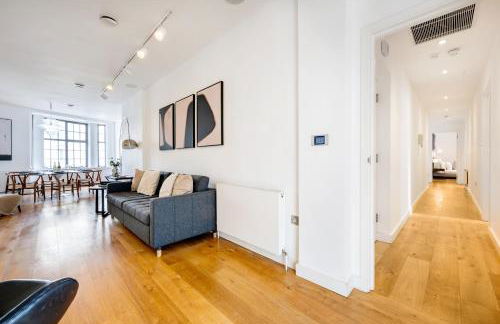
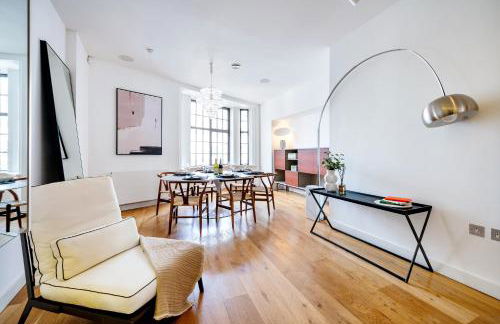
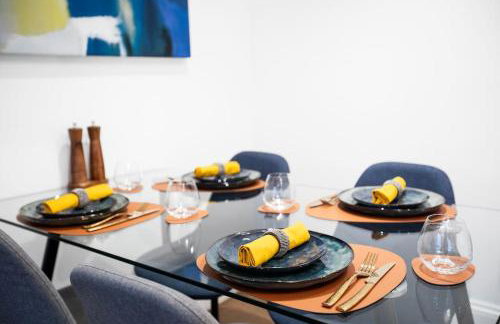
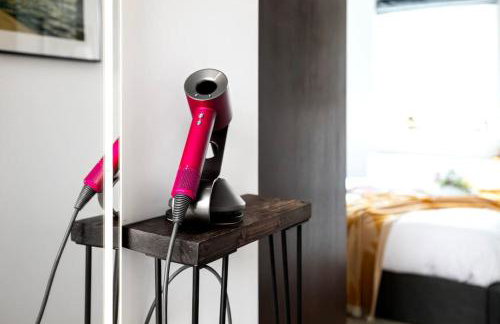
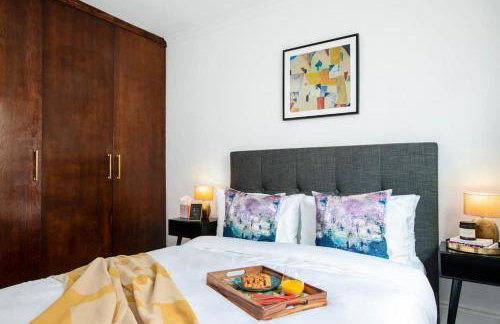
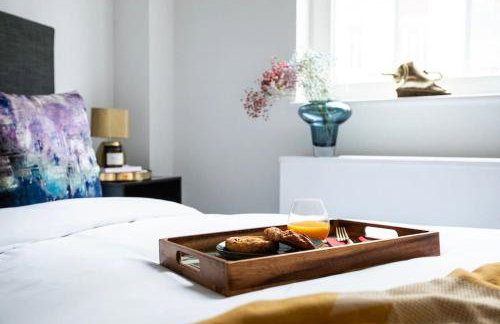
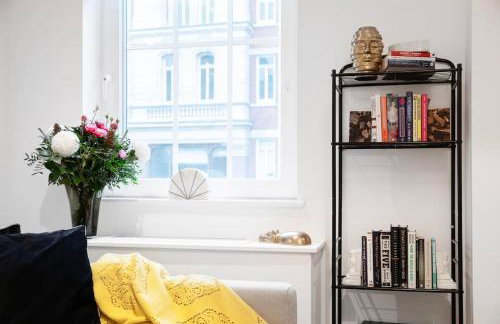
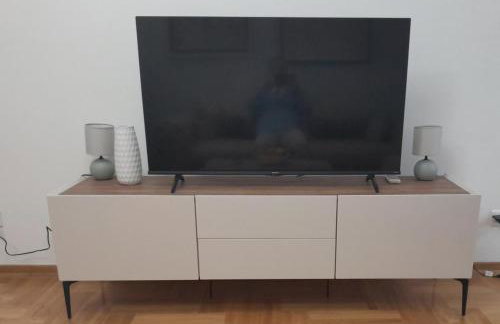
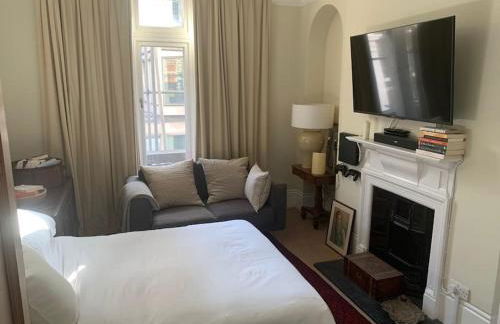
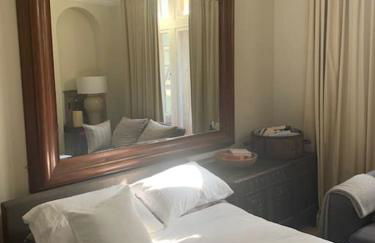
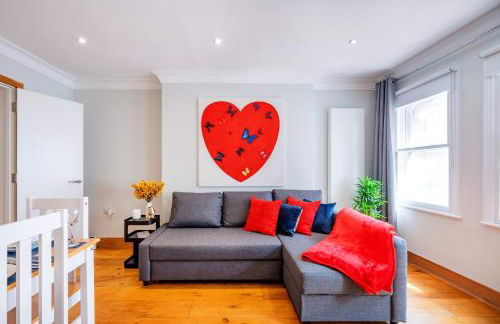
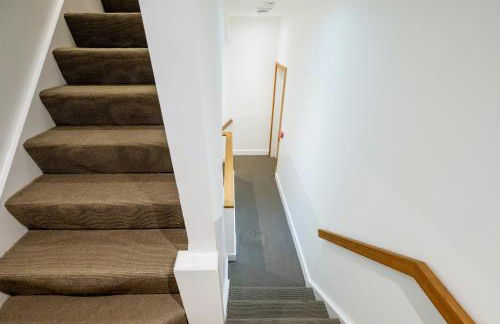
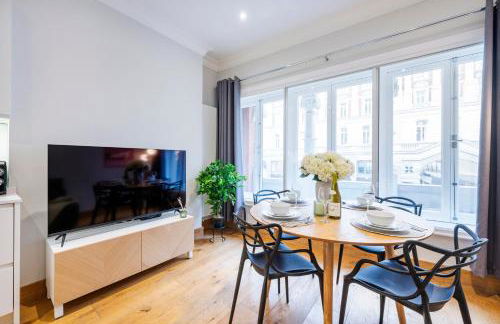
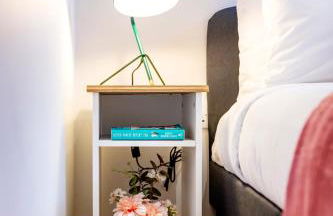
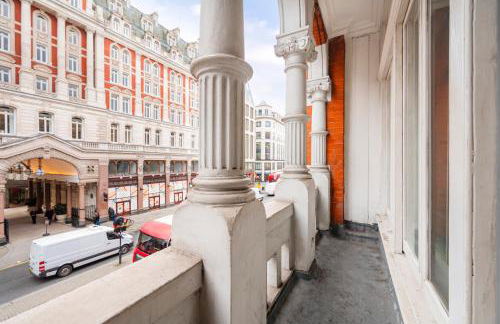
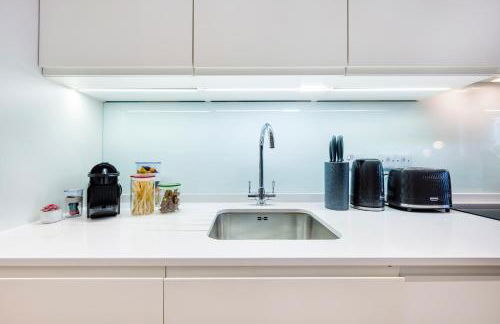
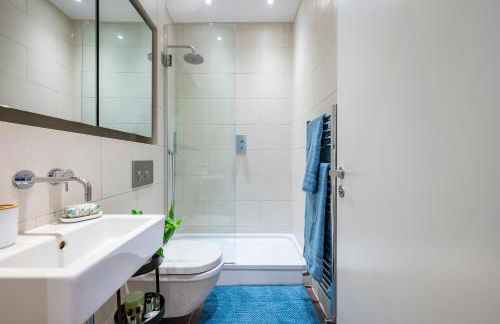
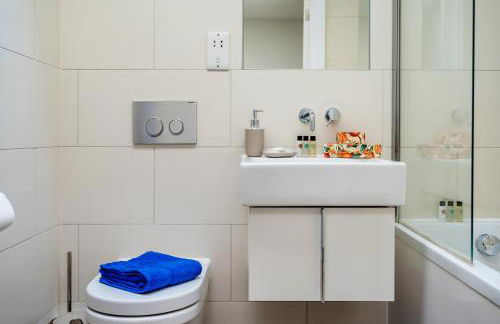
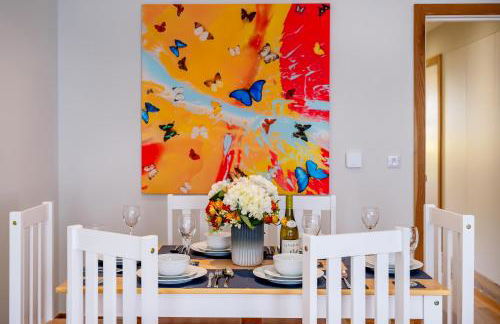
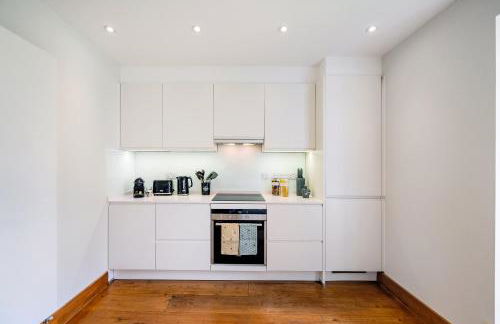
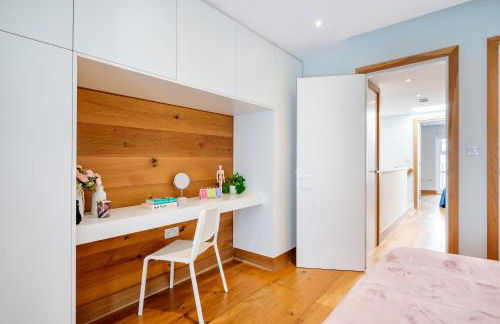
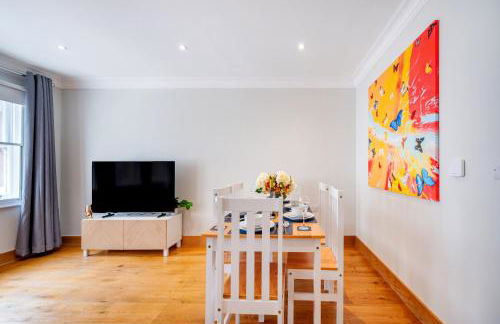
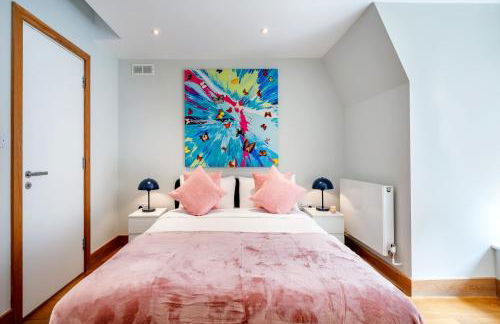
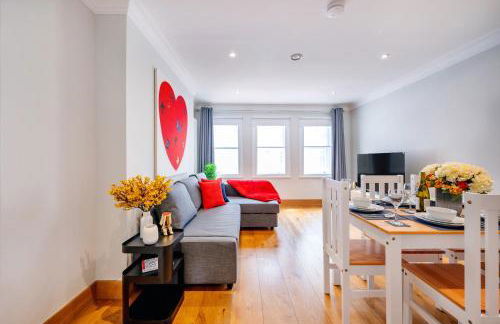
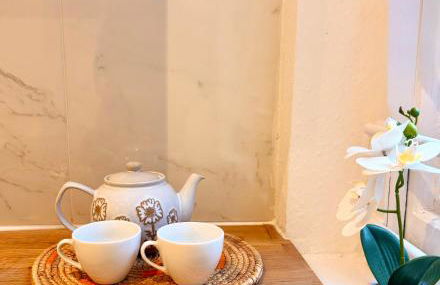
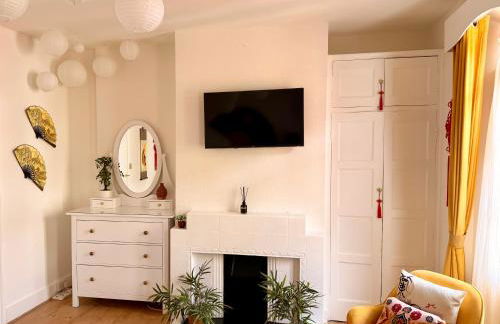
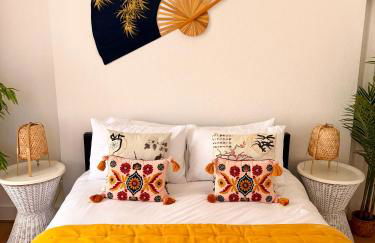
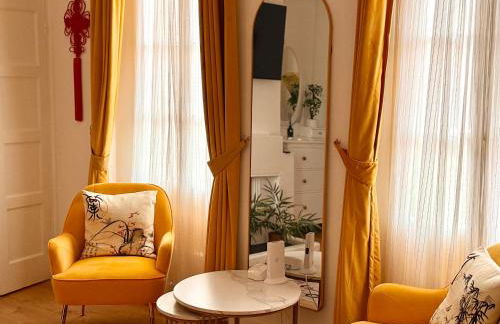
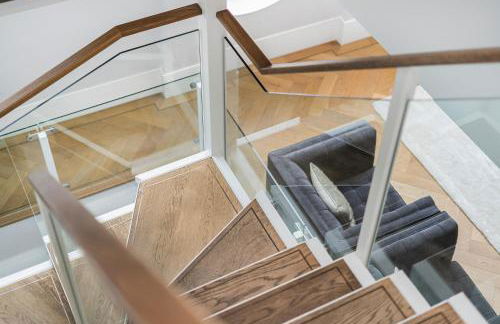
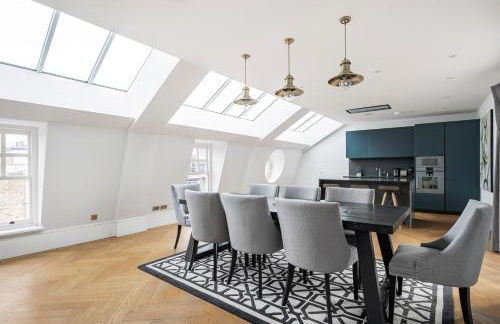
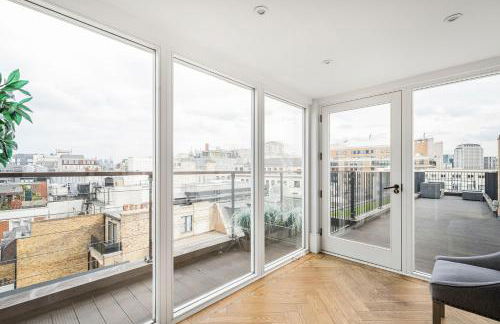
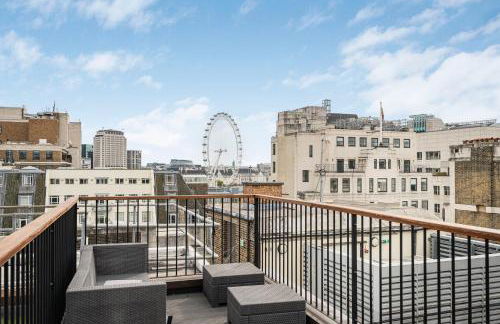
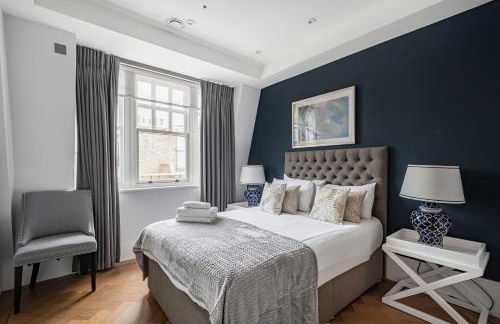
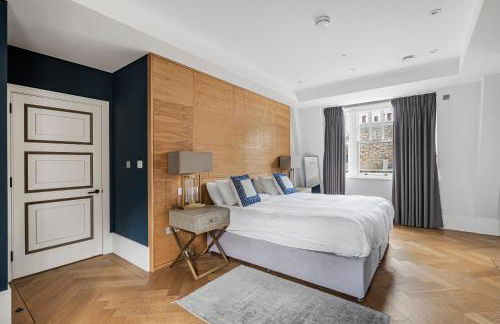
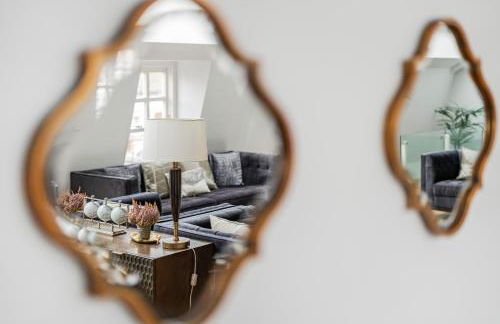
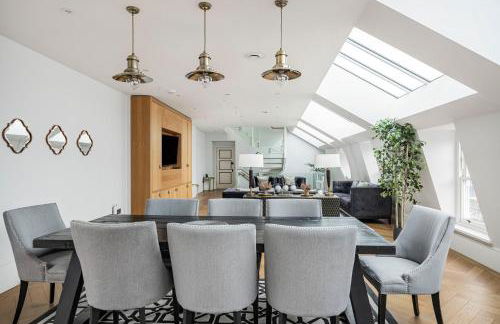
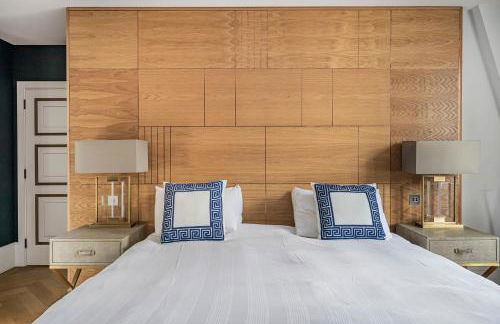
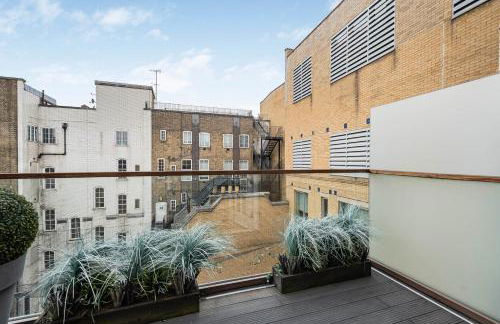
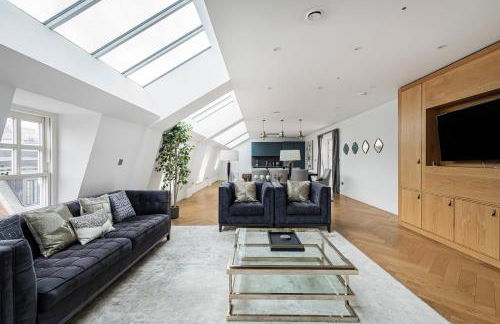
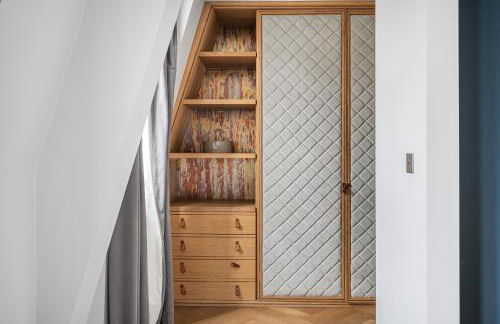
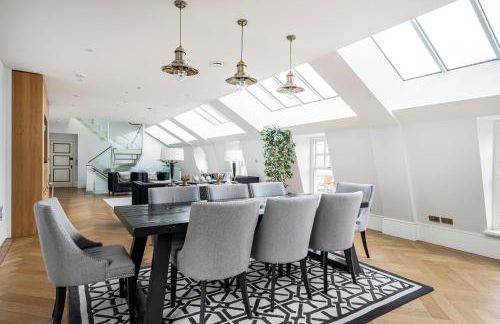
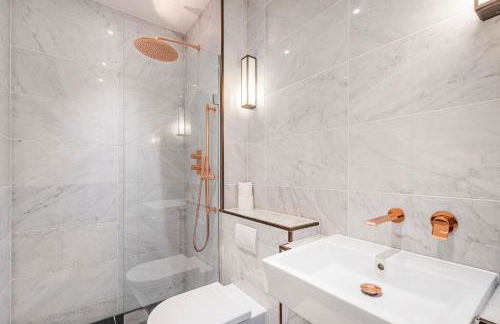
Prime Covent Garden gem with Air-Con - Foto 2
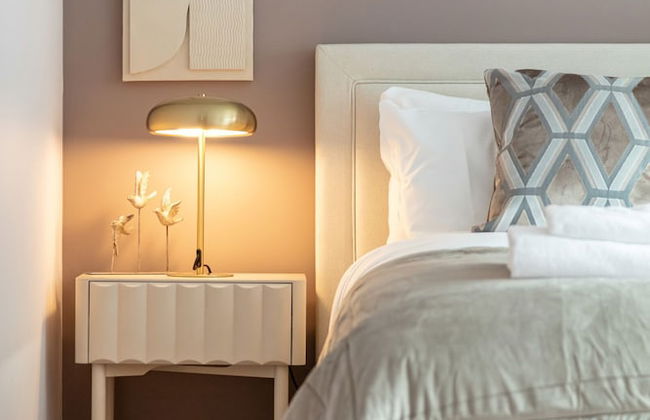
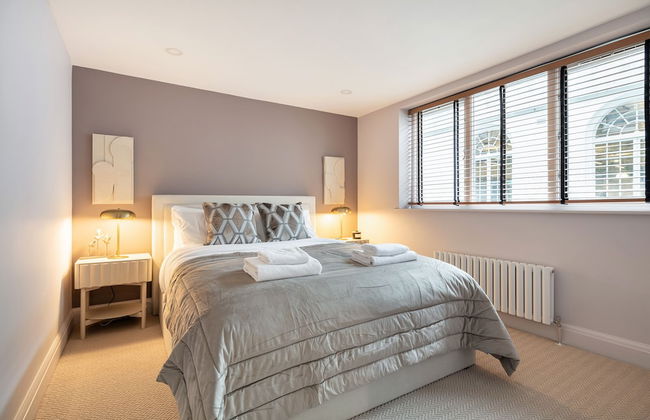
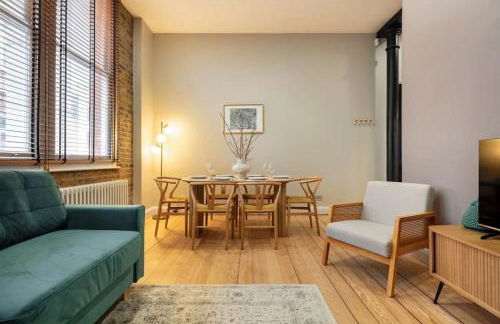
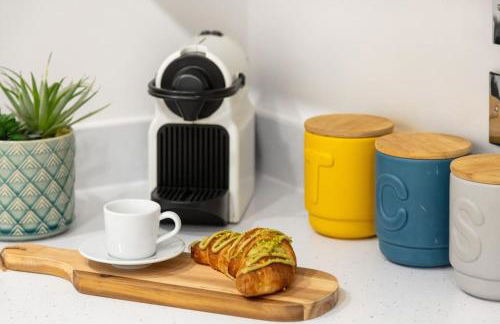
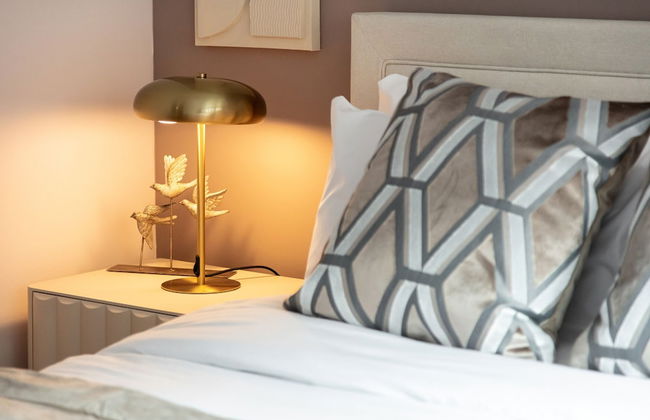
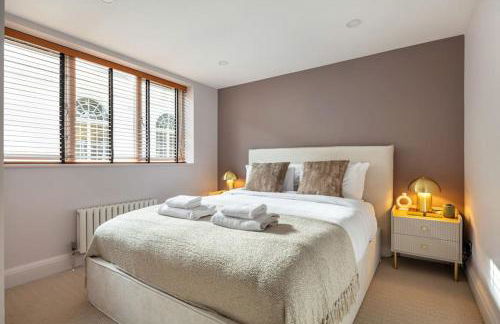
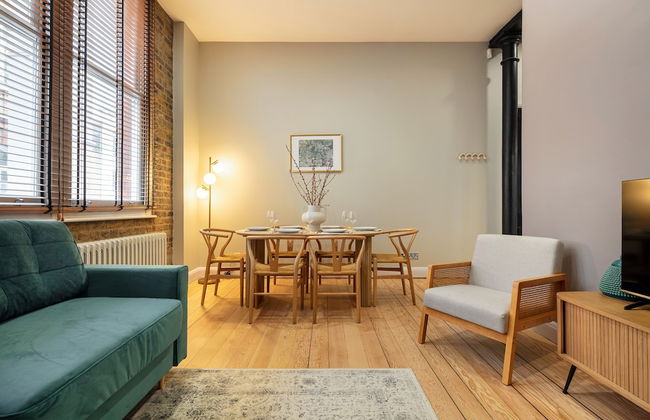
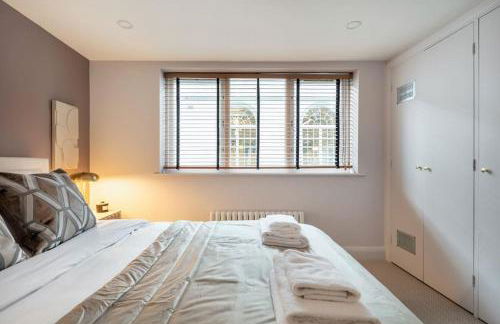
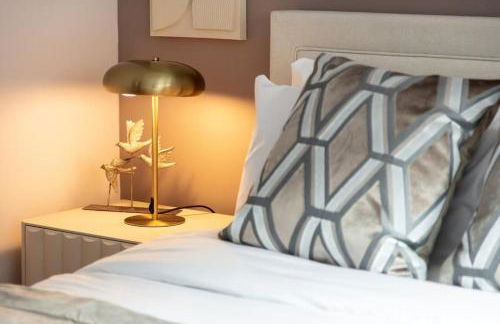
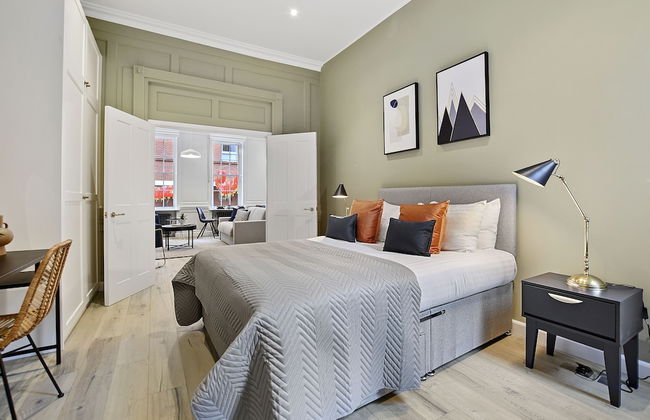
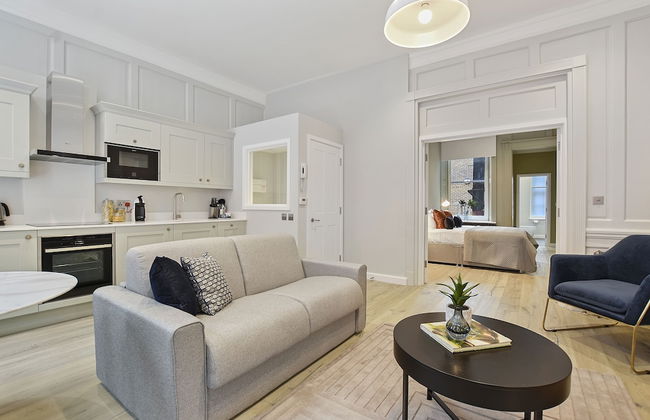
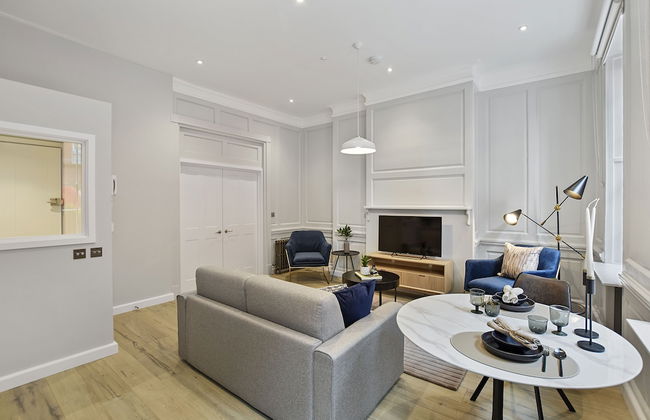
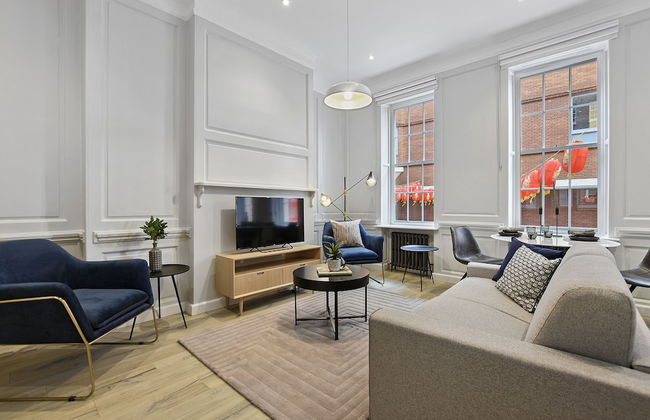
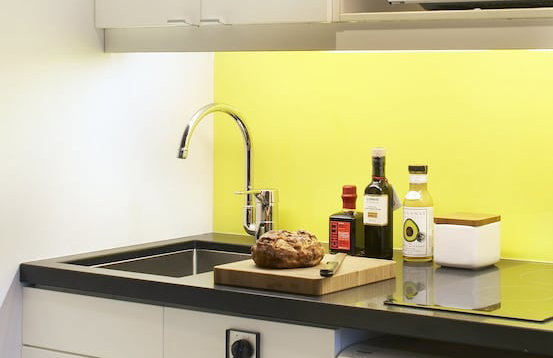
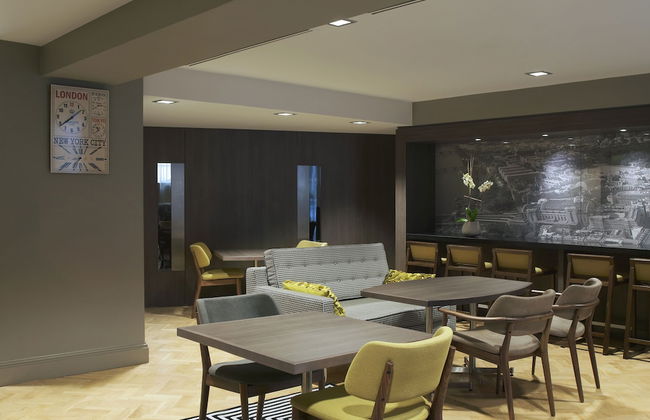
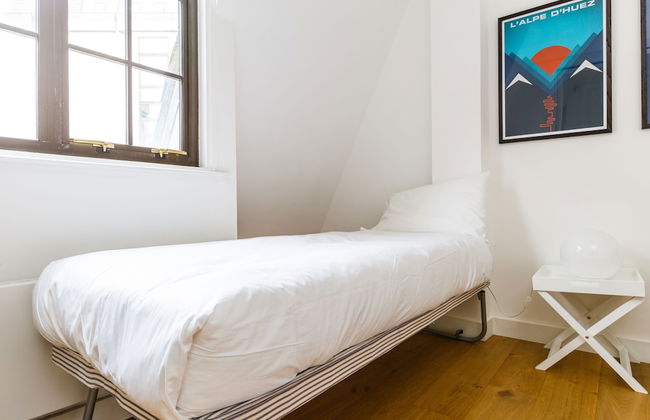
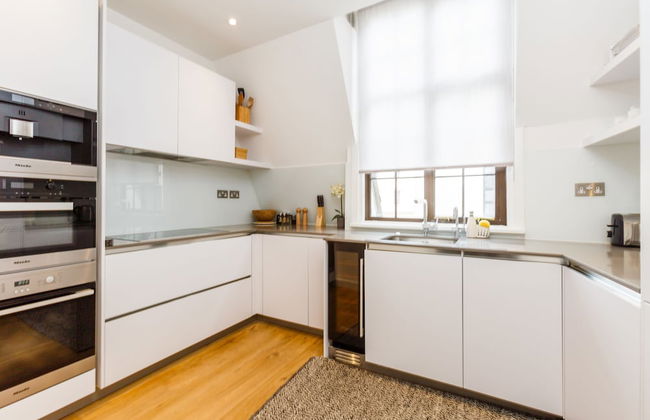
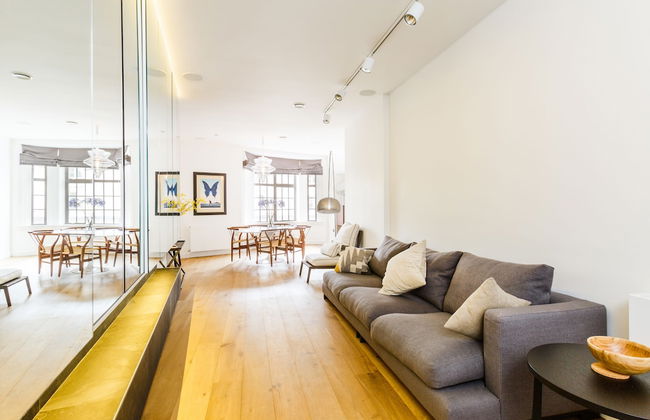
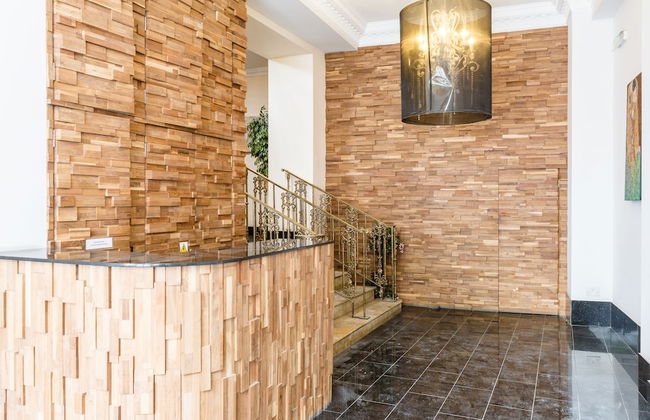
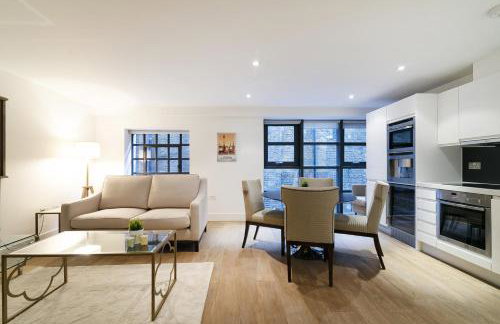
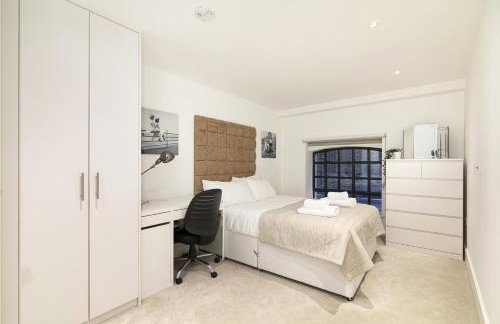
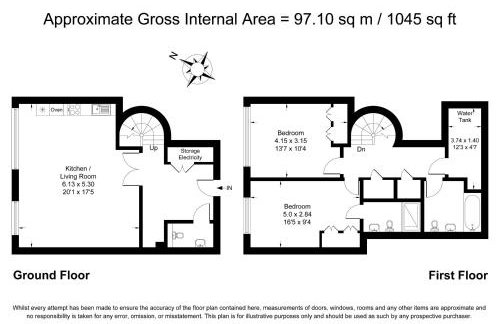
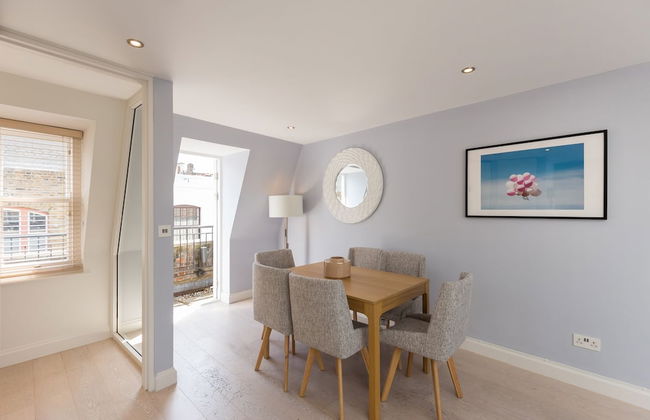
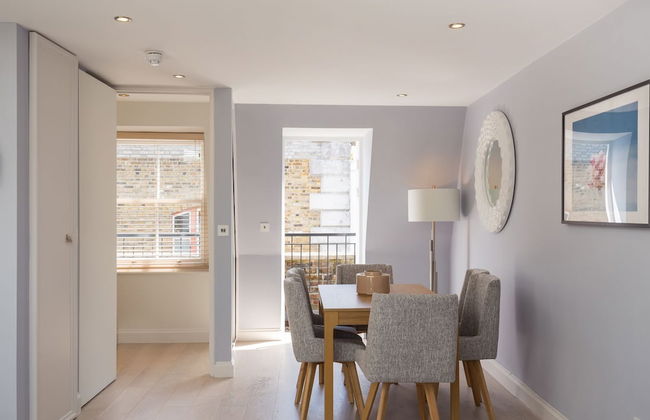
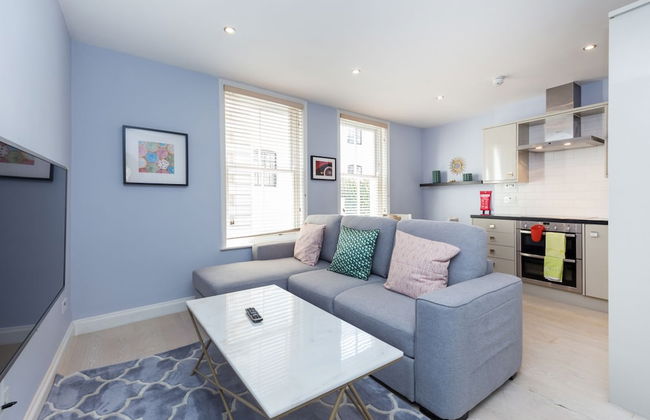
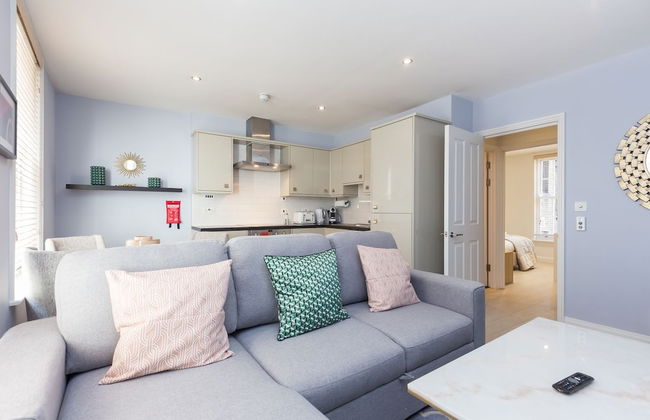
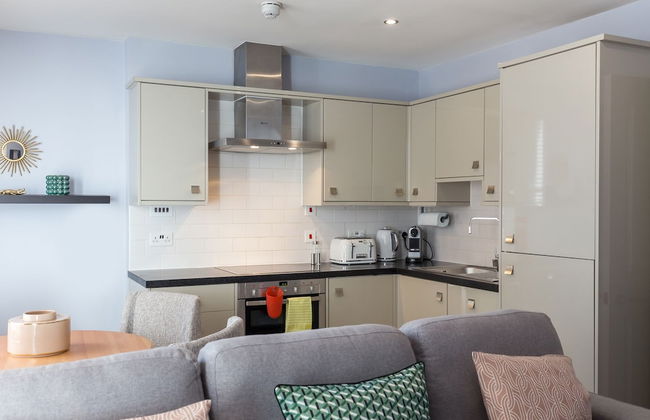
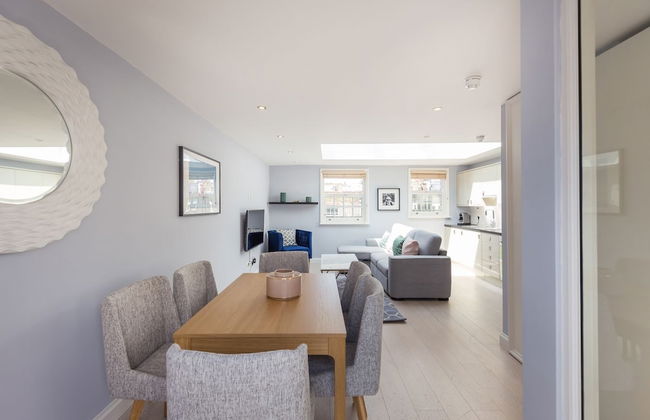
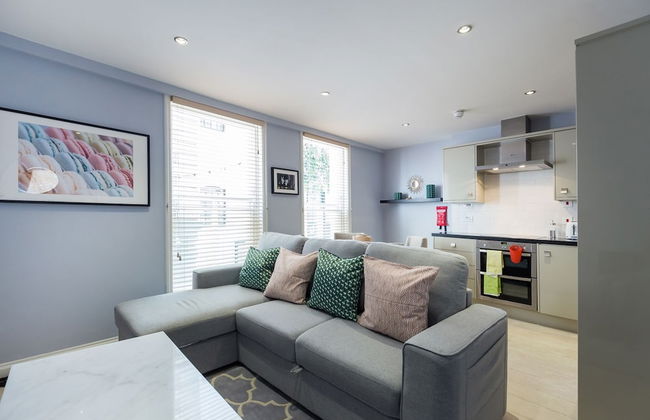
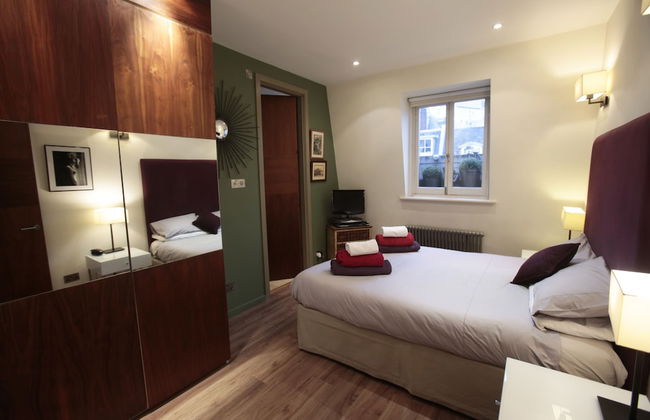
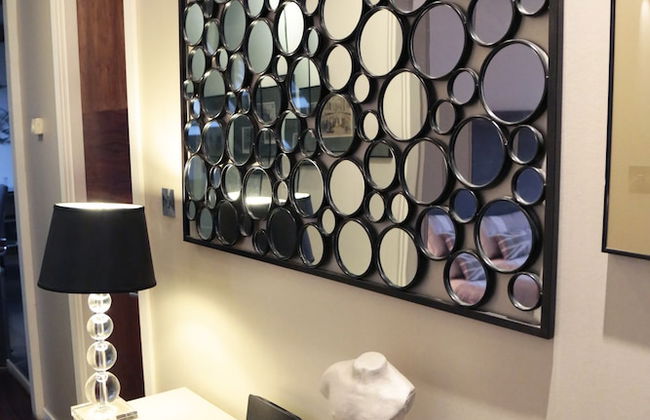
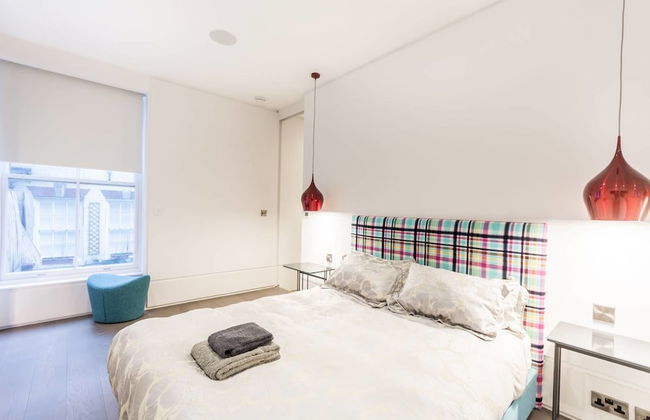
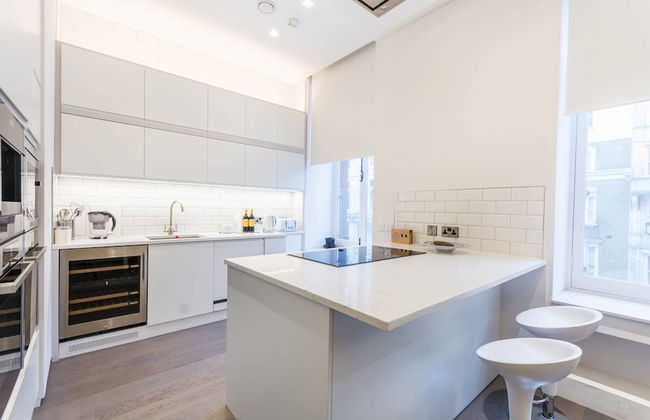
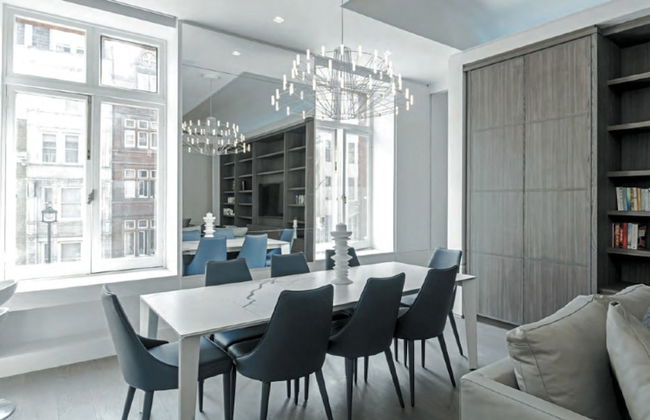
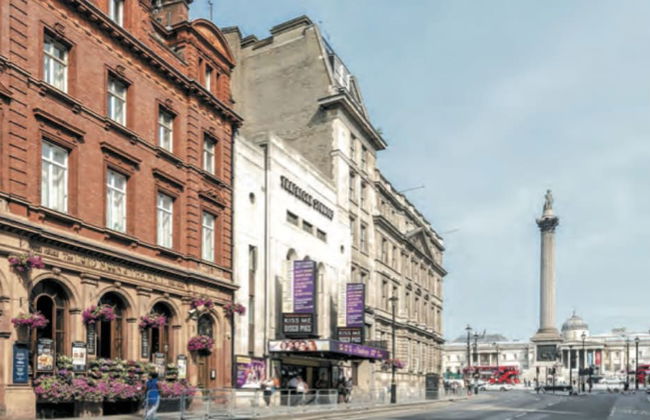
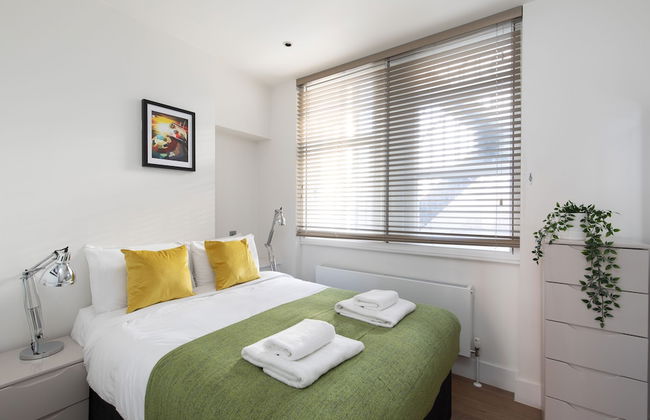
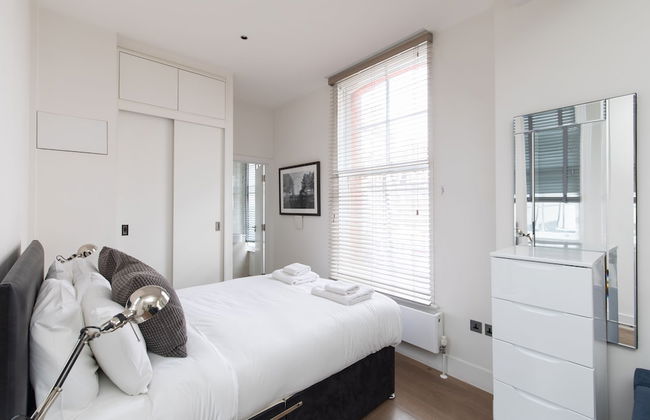
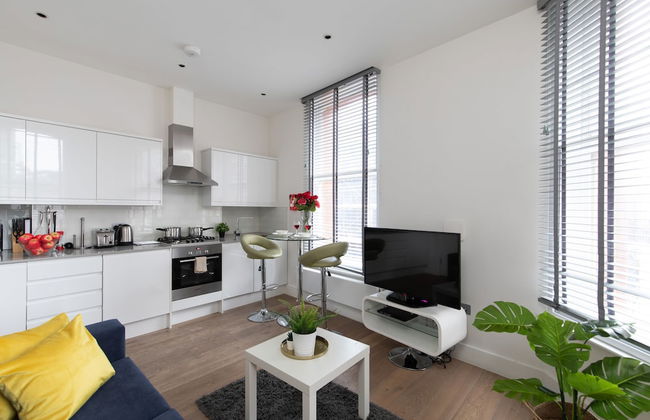
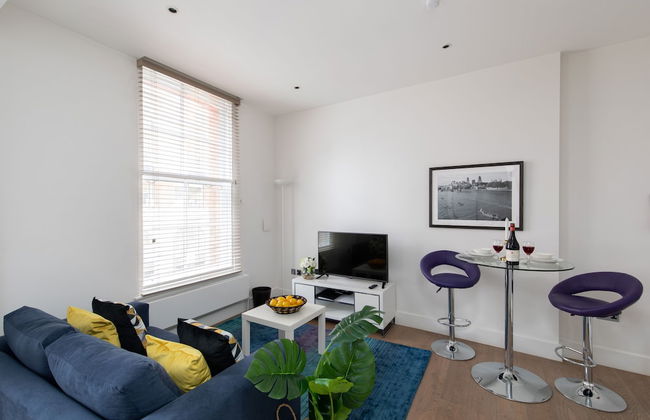
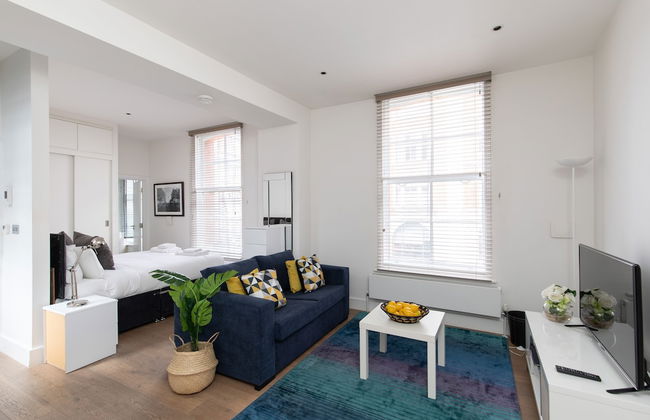
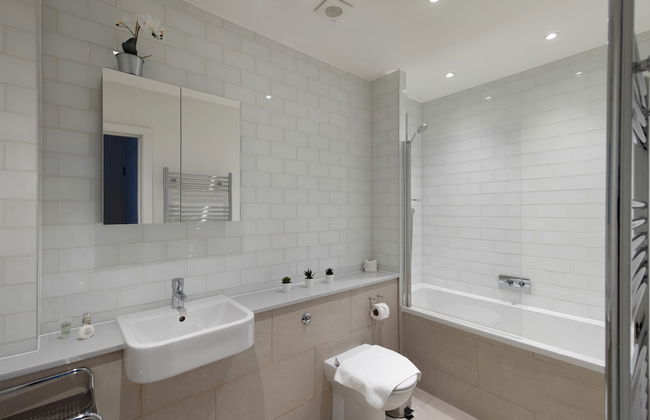
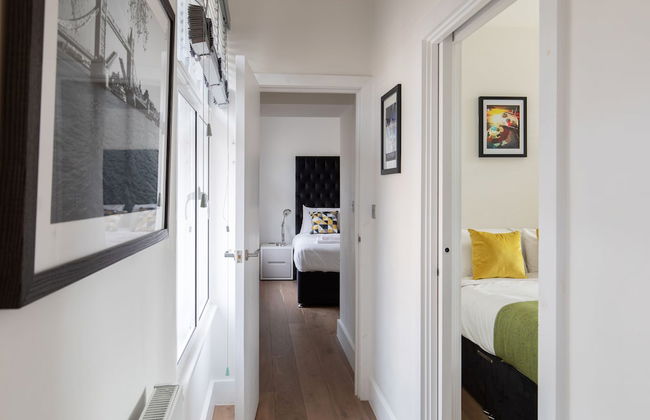
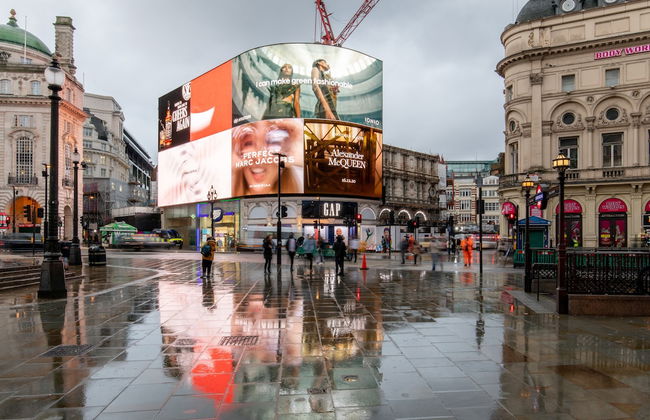
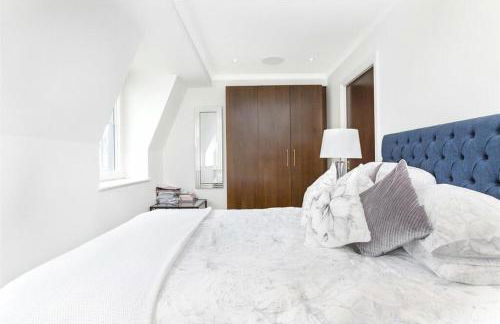
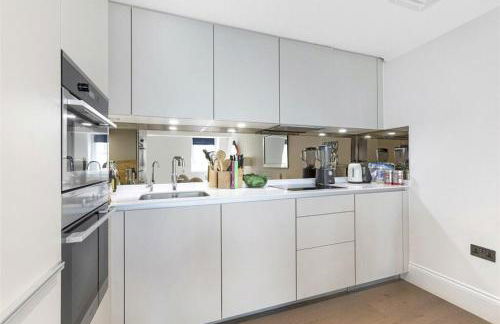
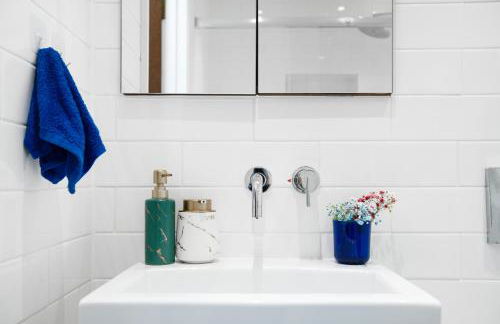
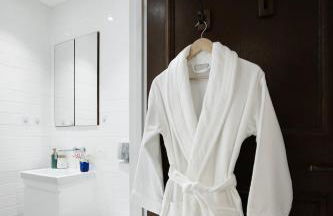
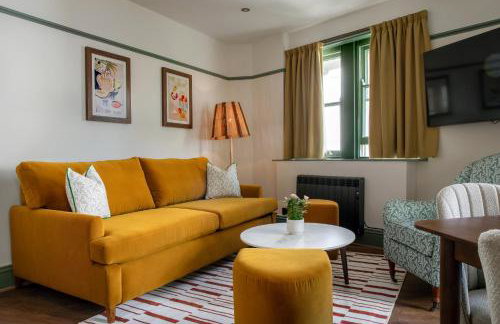
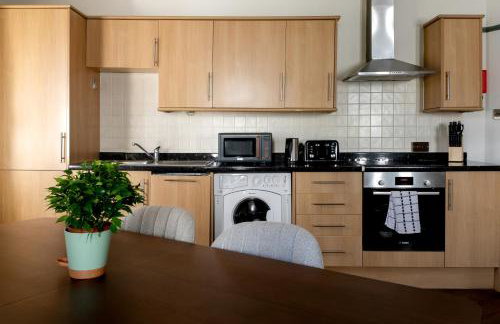
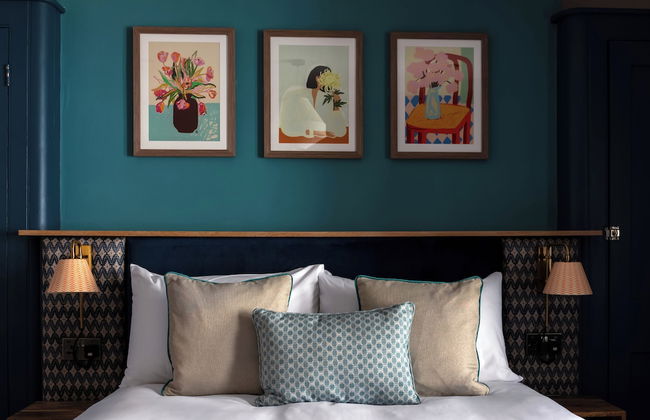
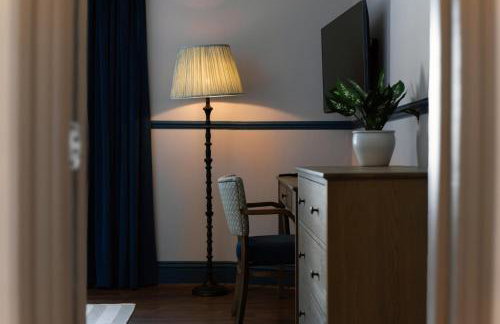
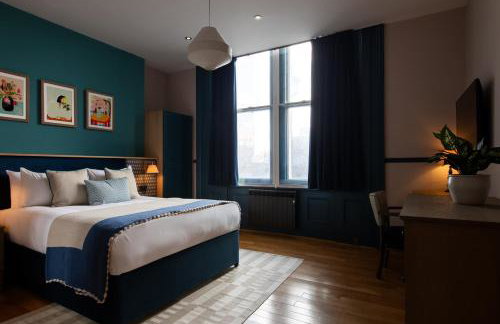
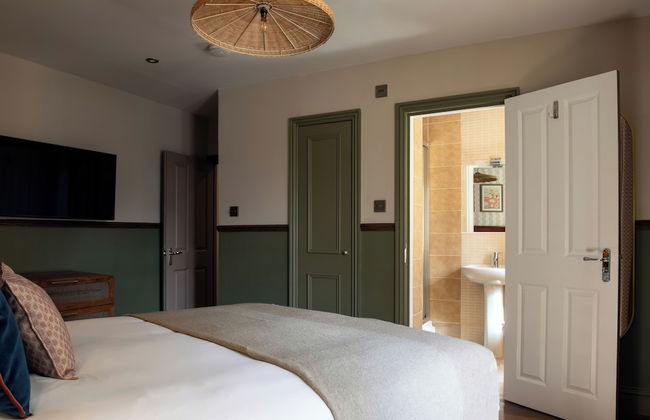
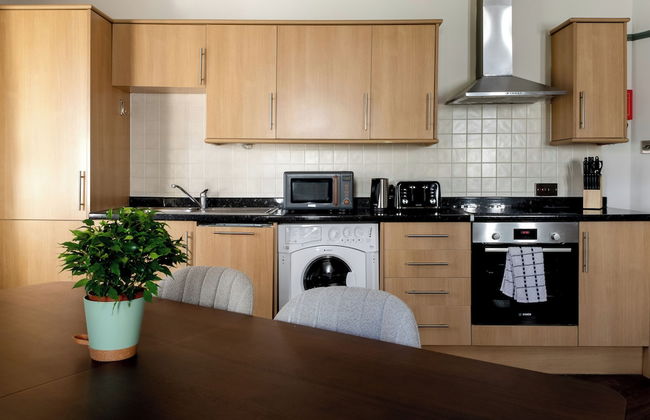
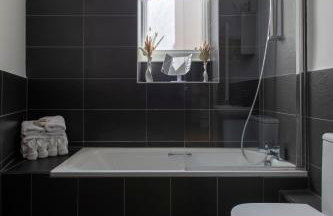
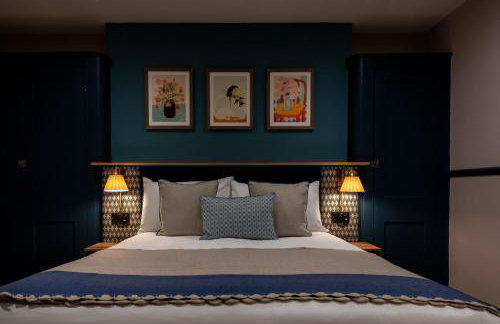
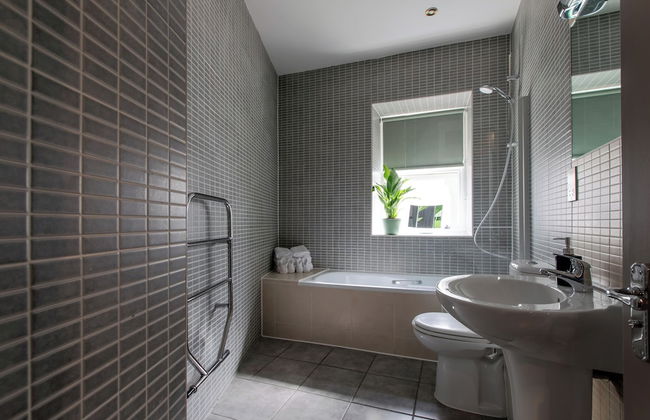
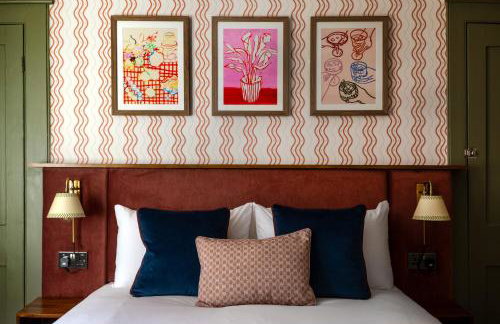
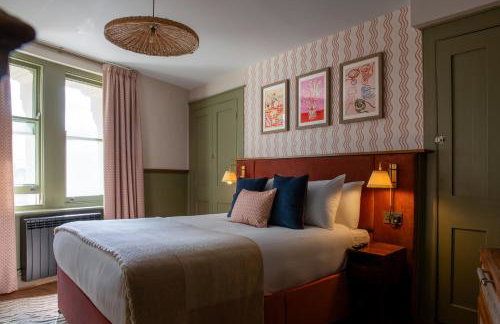
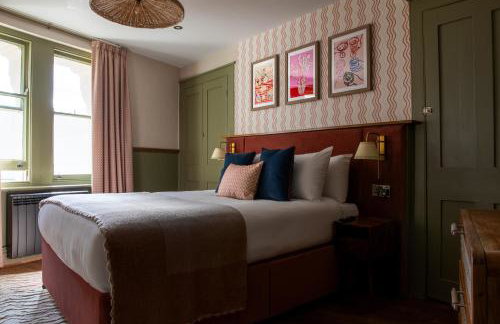
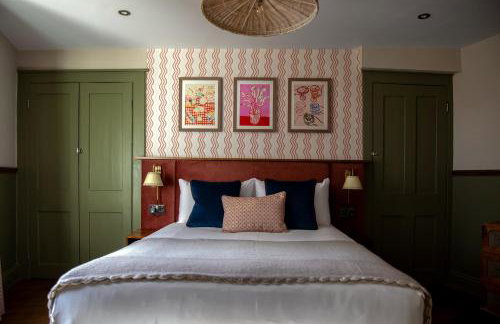
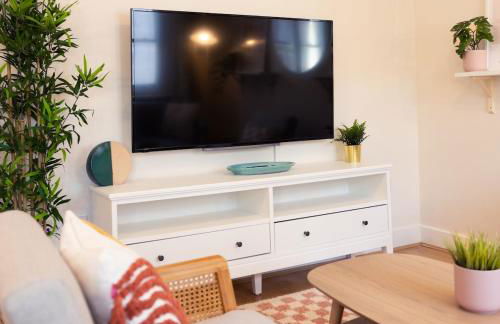
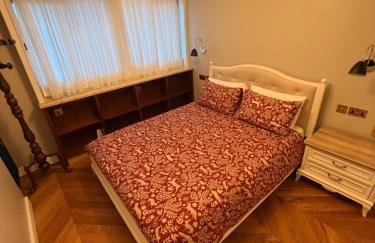
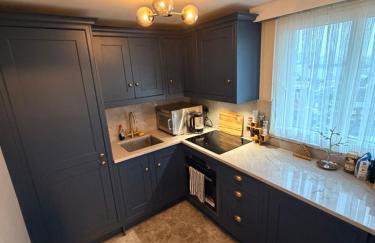
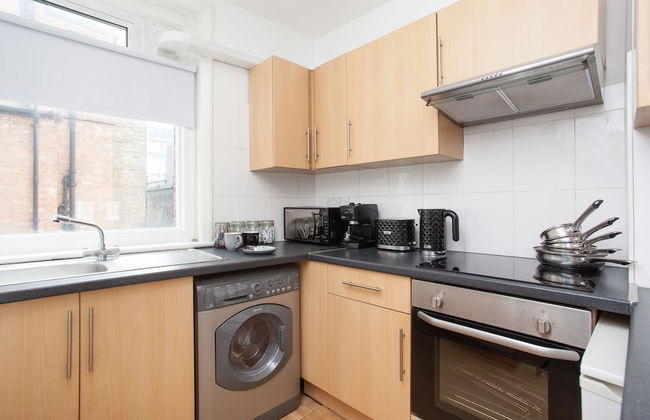
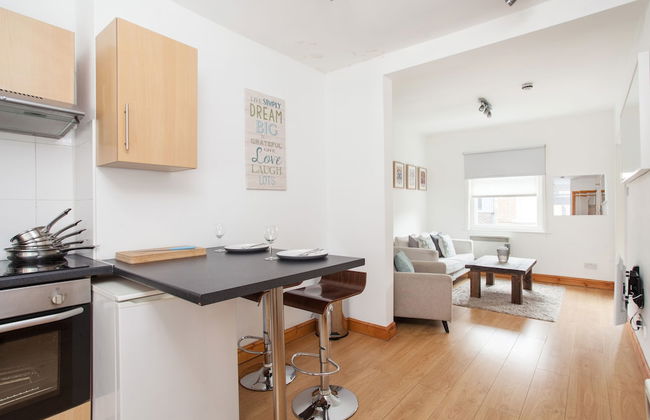
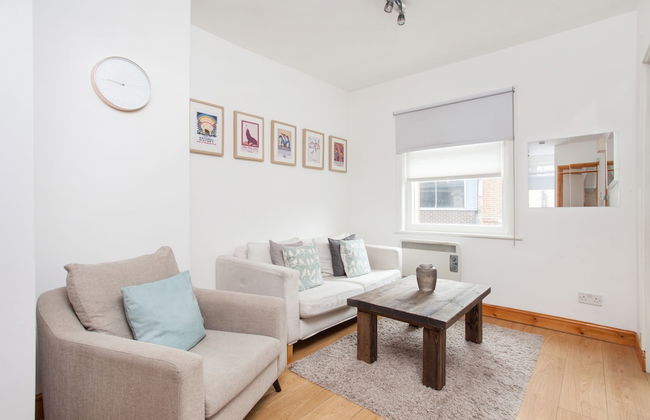
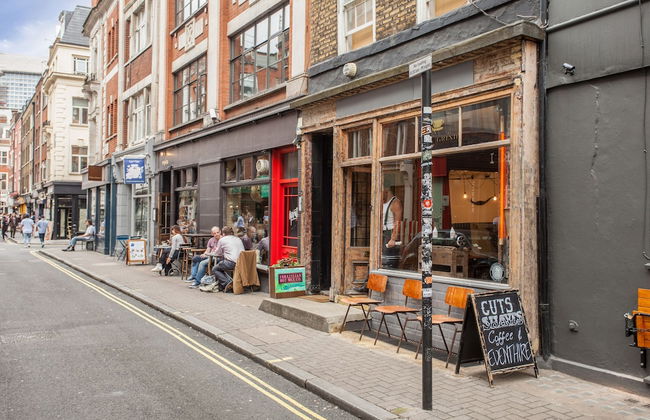
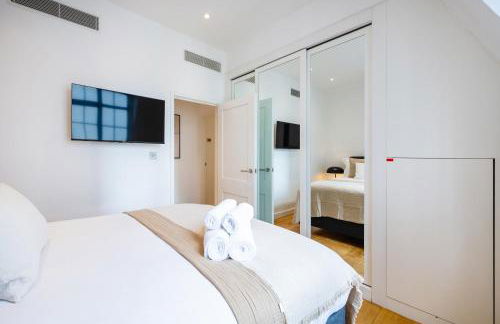
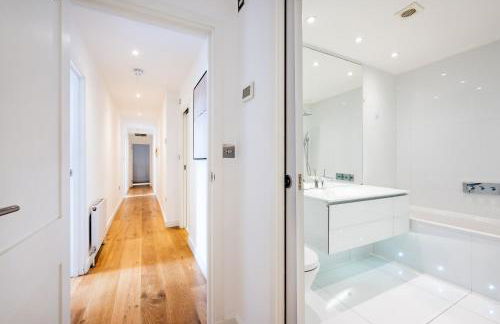
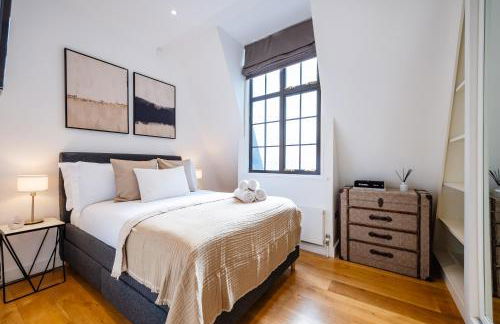
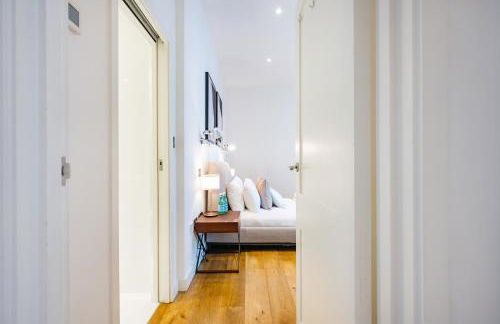
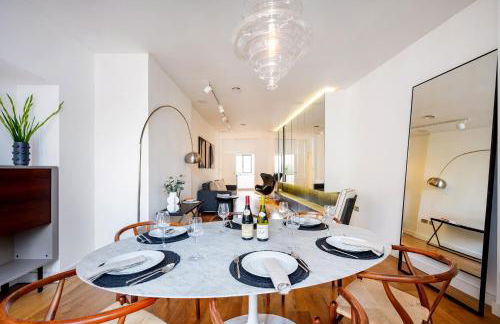
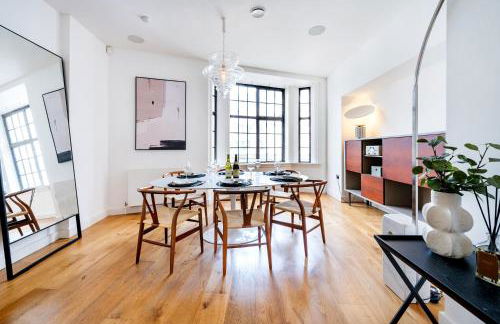
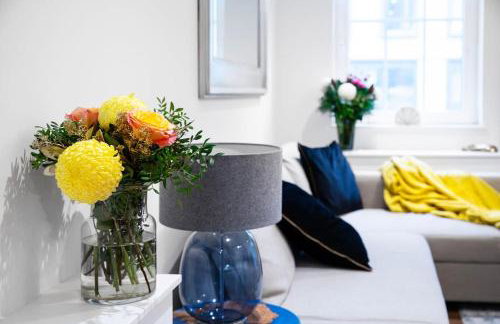
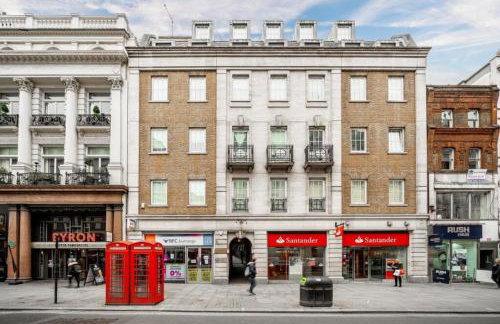
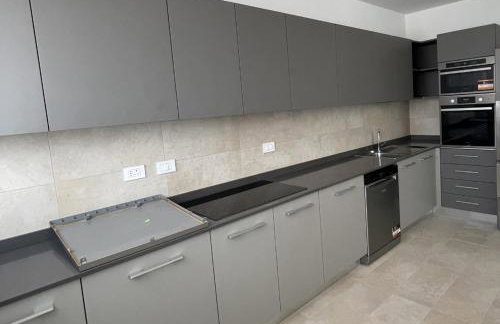
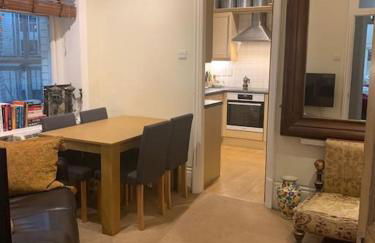
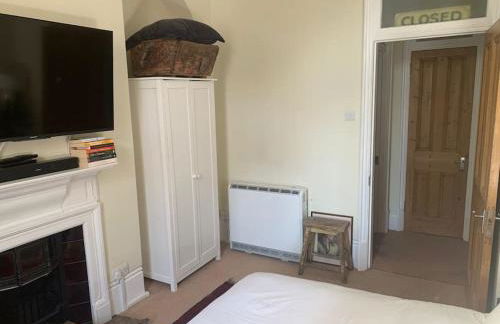
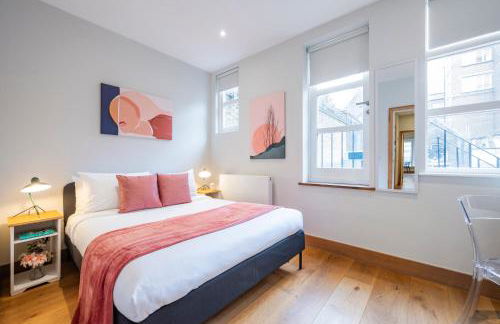
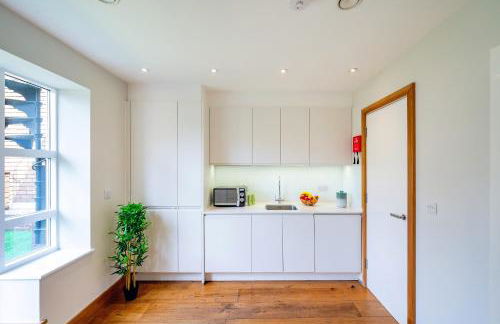
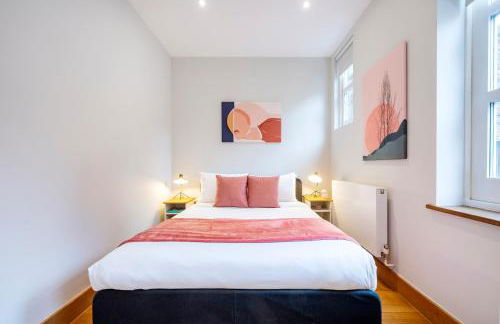
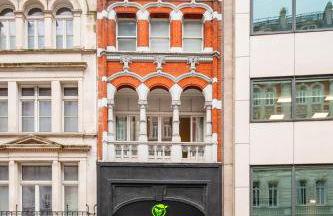
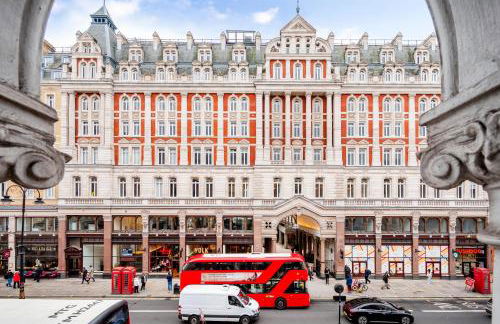
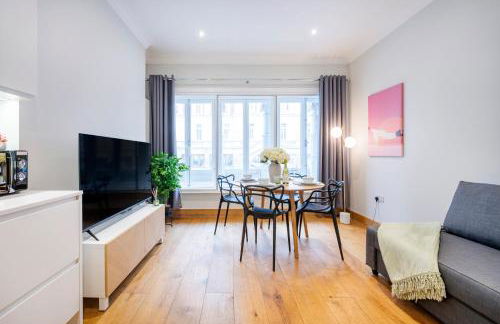
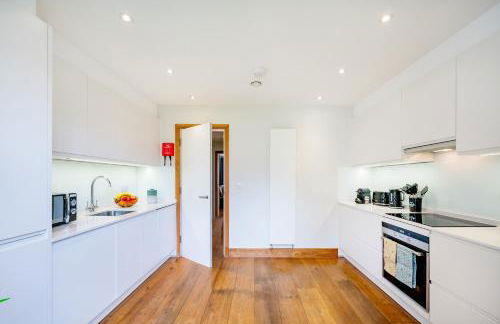
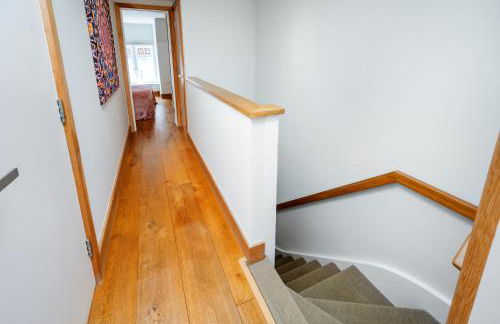
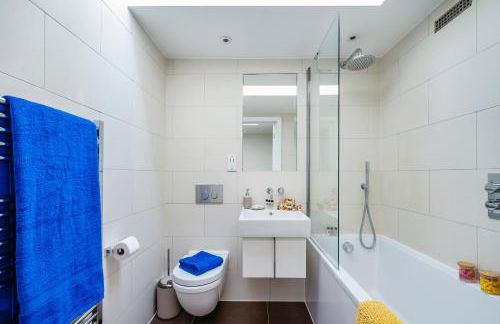
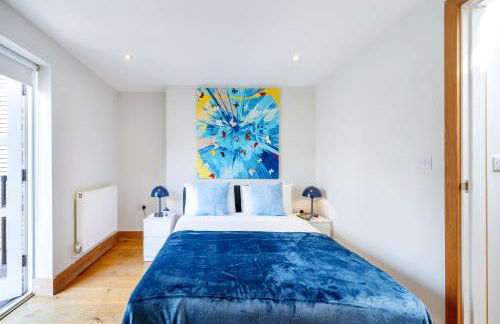
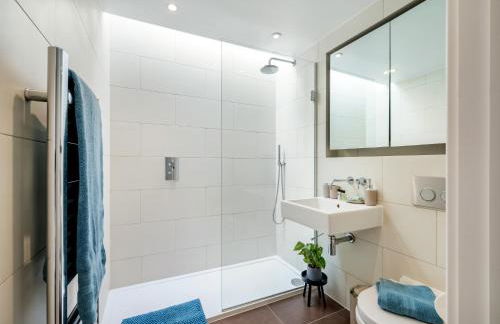
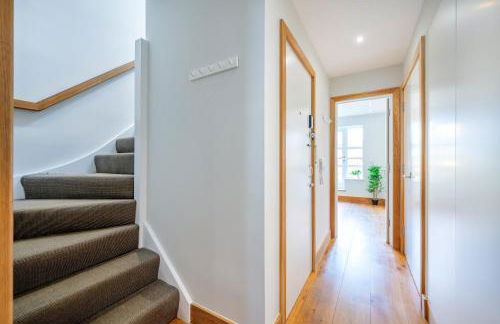
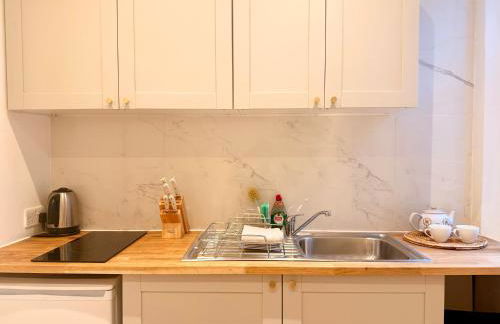
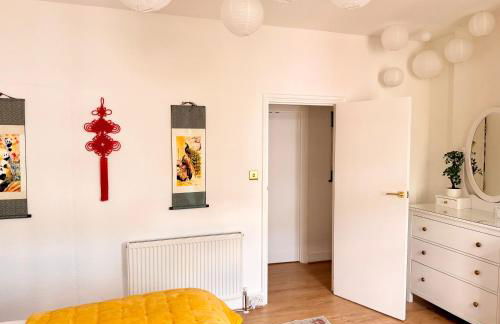
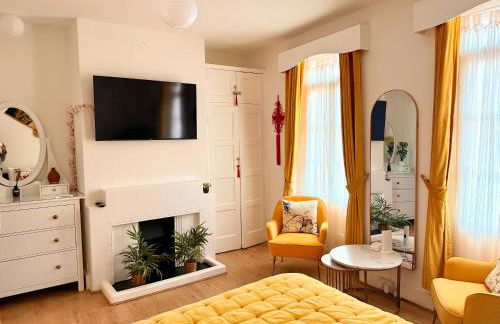
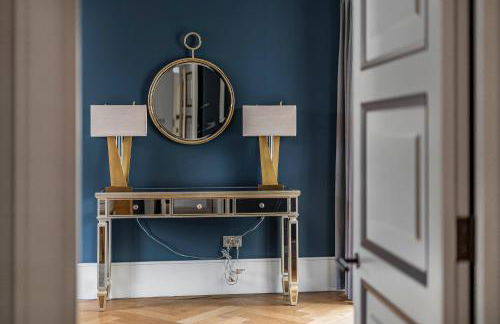
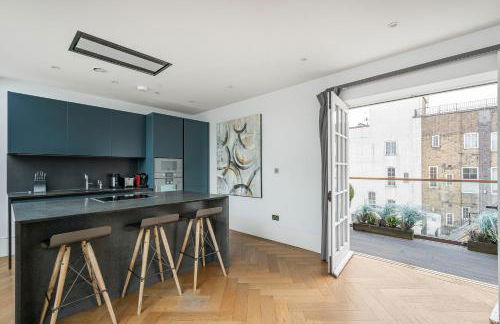
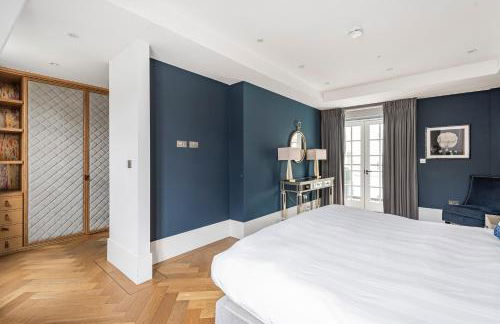
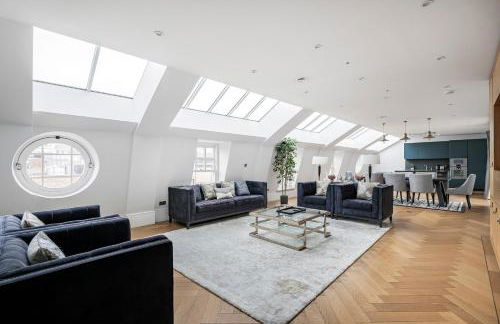
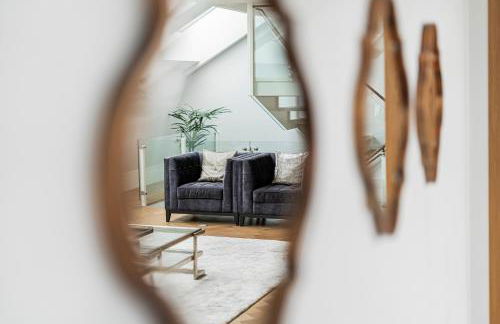
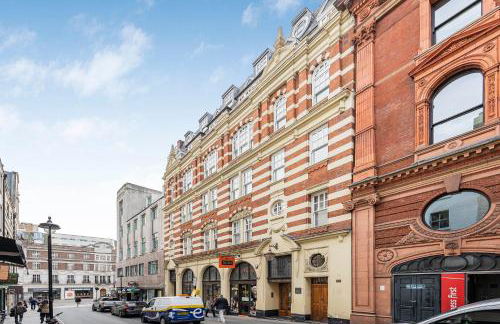
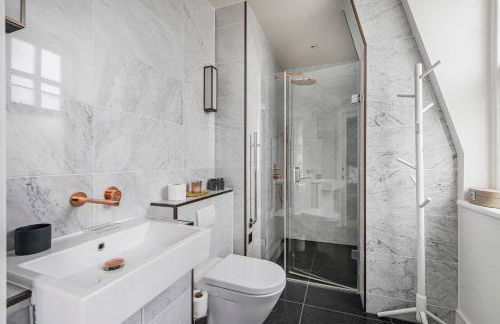
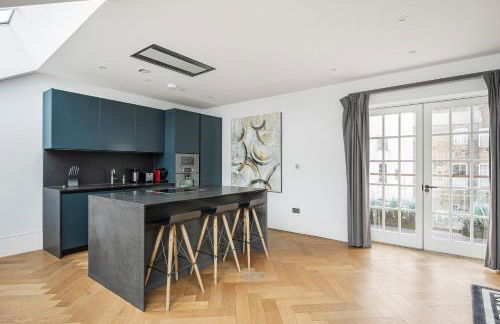
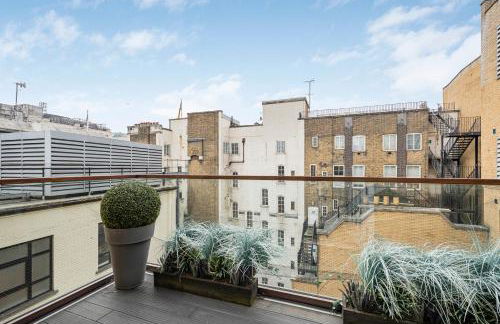
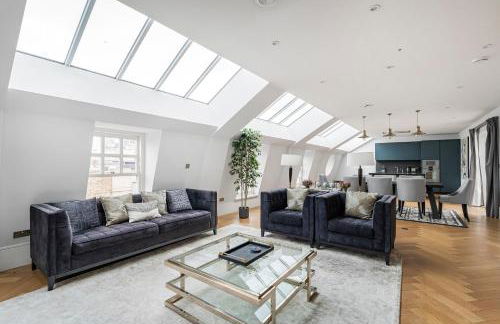
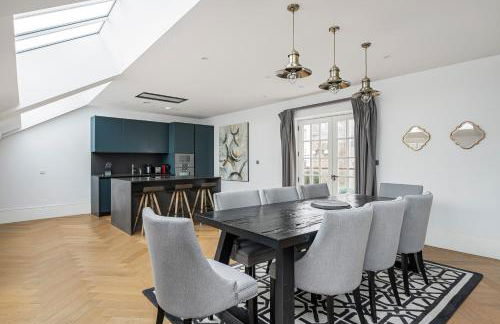
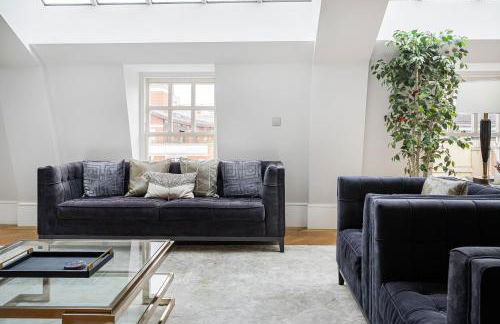
Prime Covent Garden gem with Air-Con - Foto 3
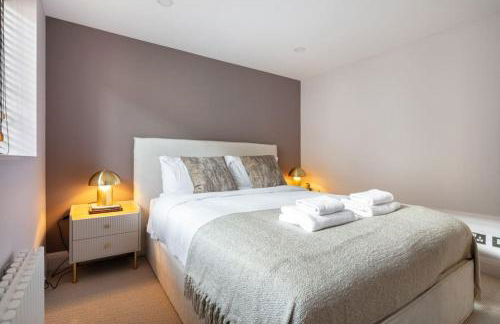
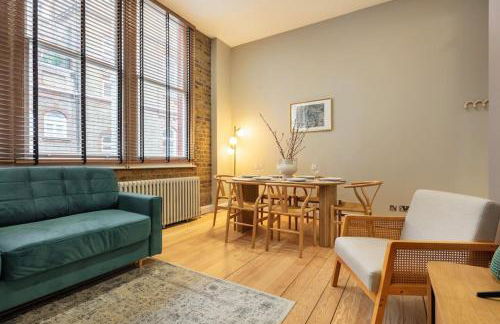
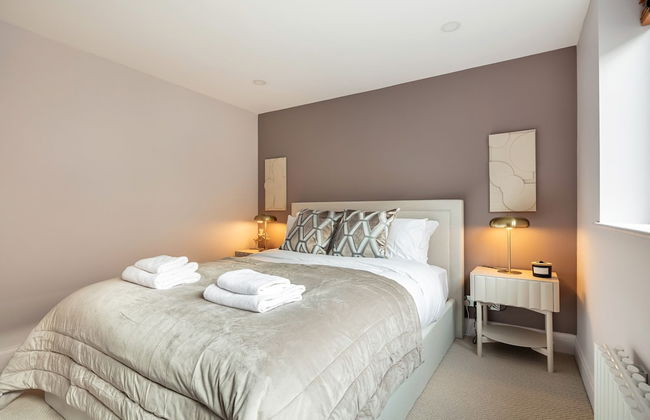
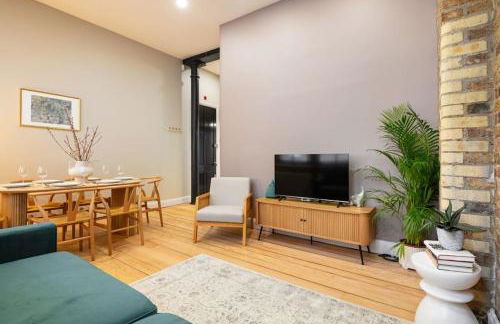
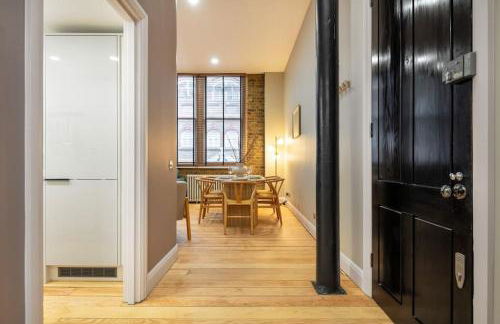
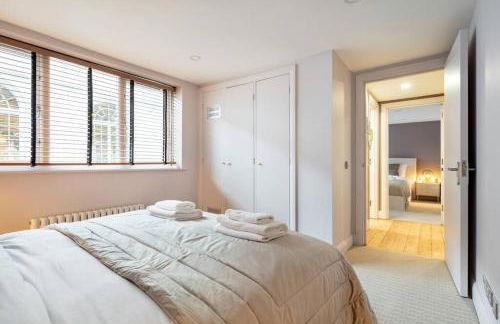
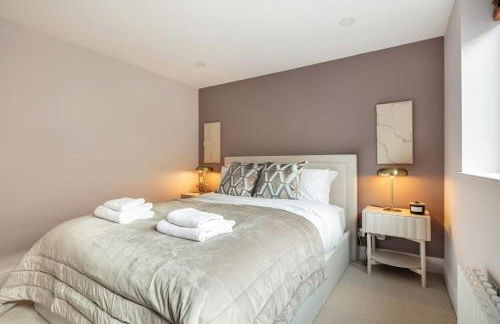
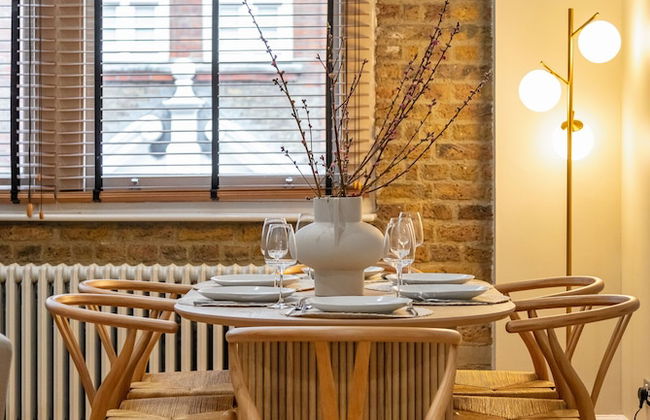
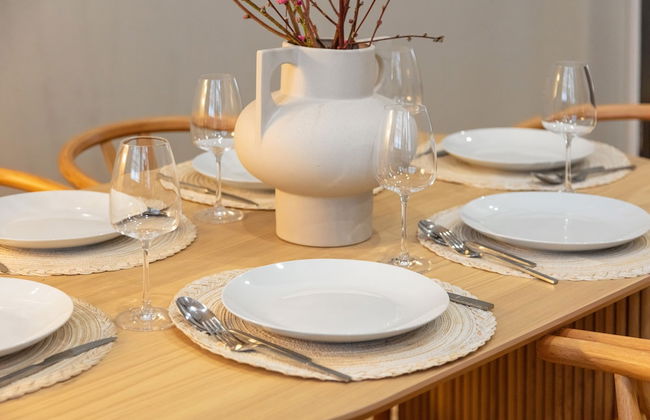
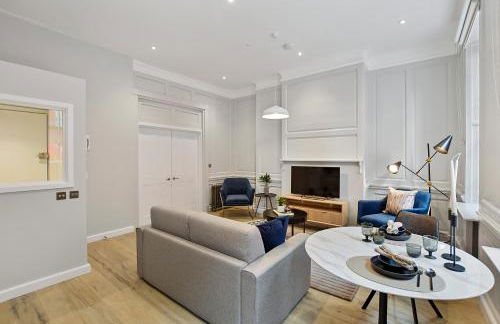
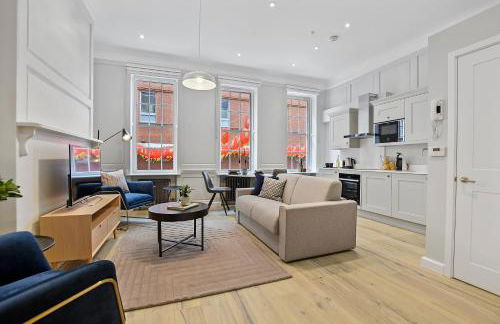
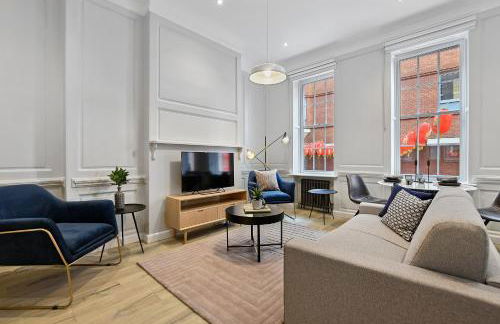
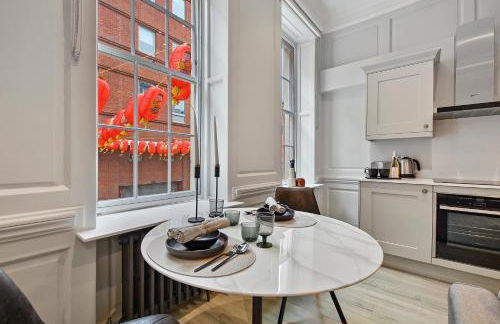
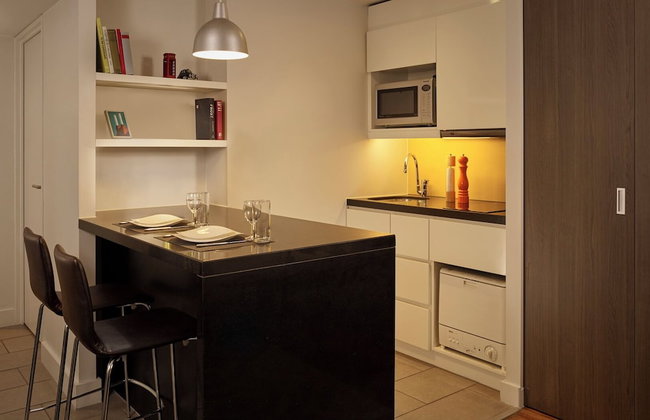
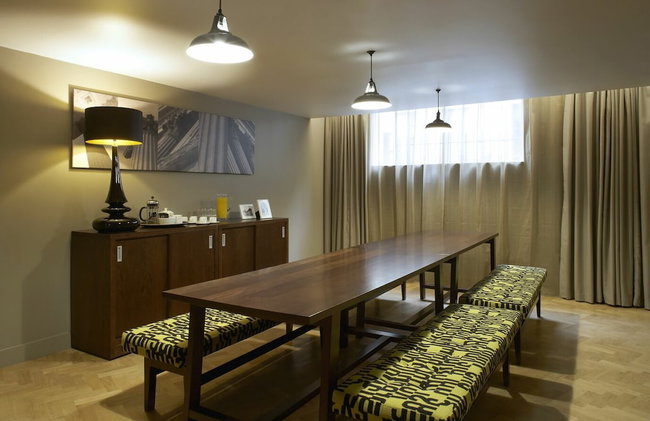
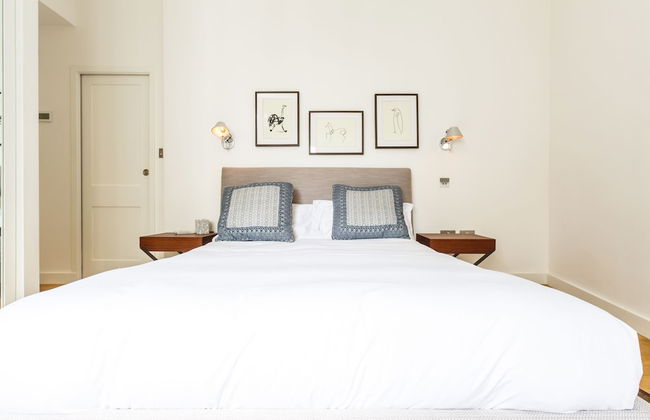
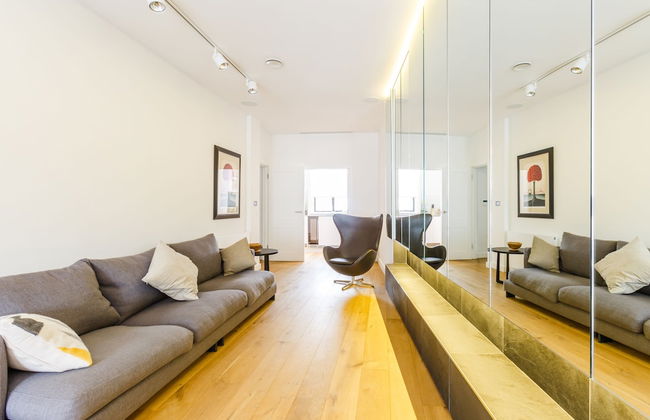
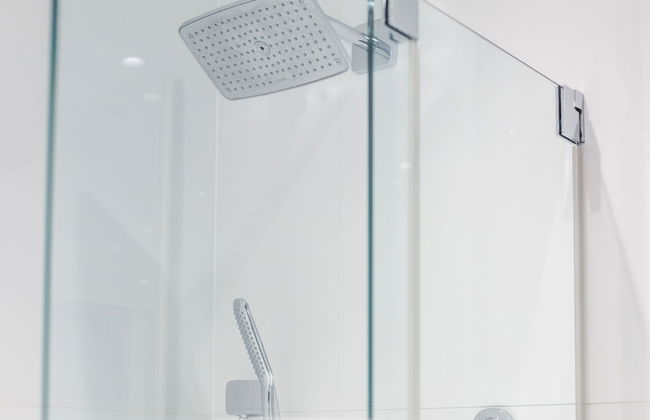
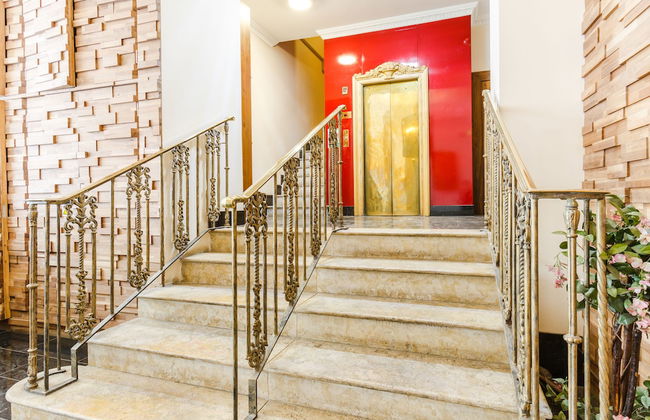
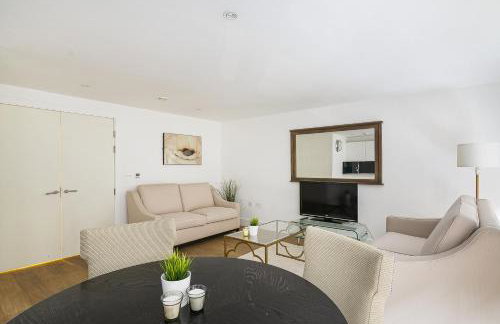
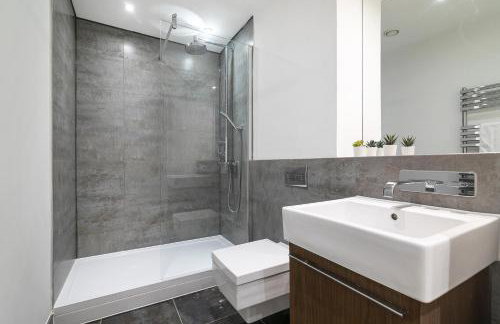
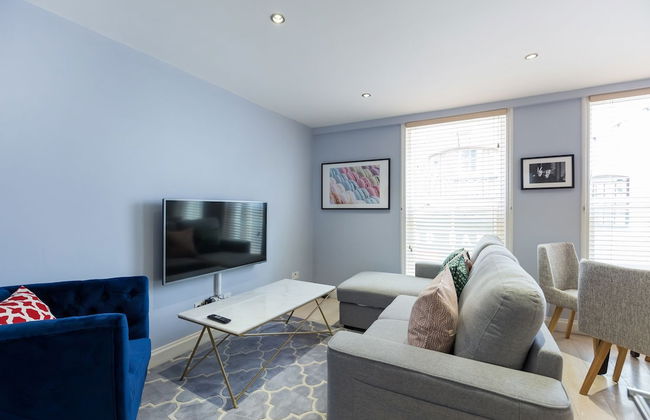
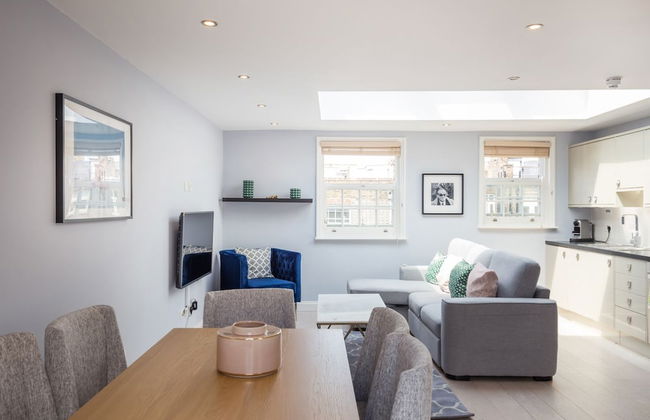
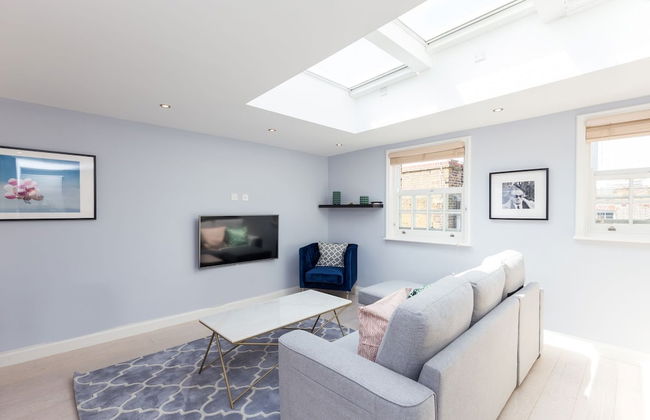
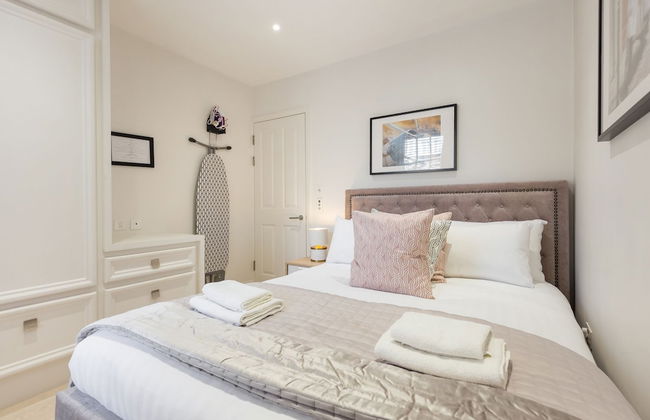
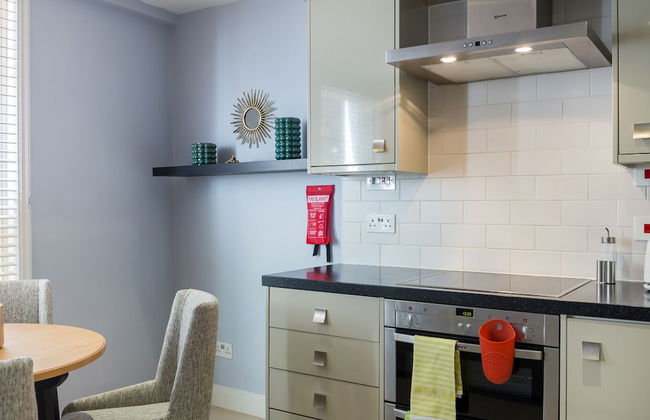
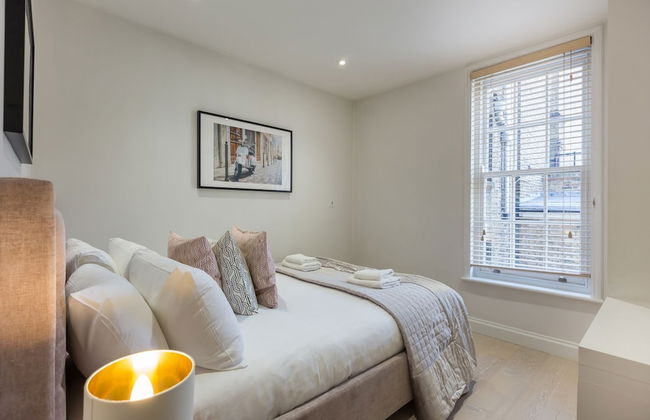
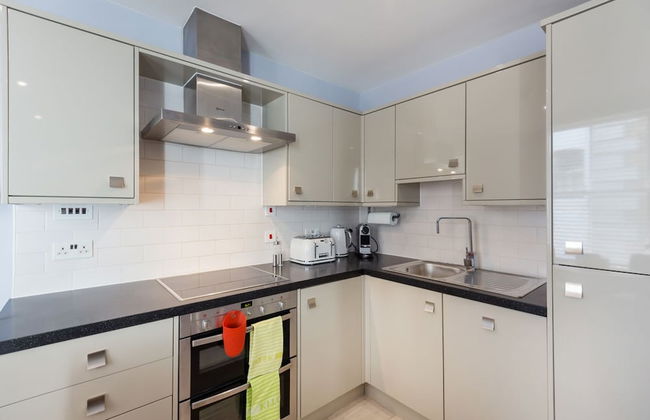
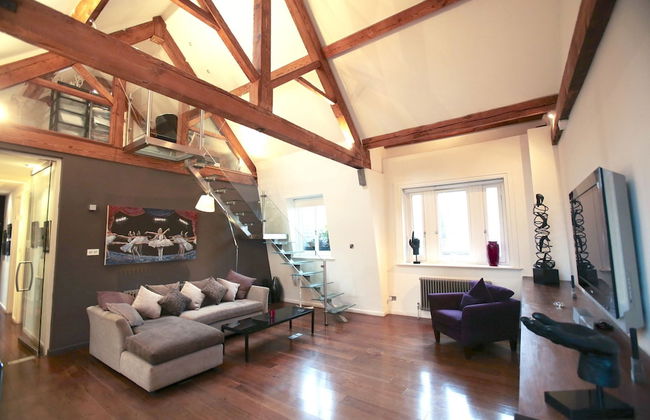
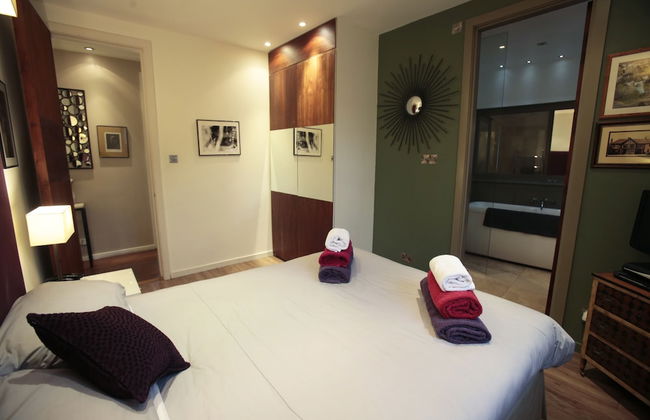
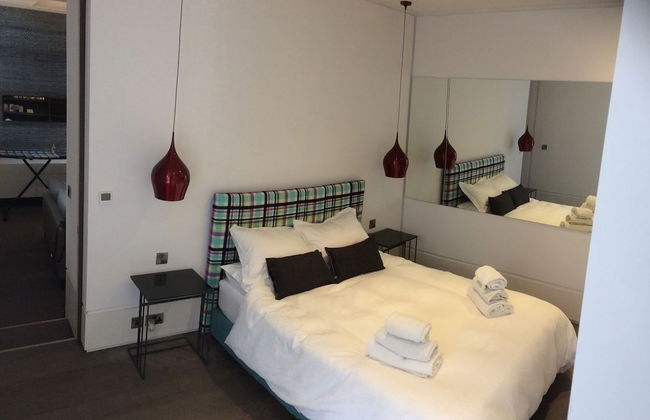
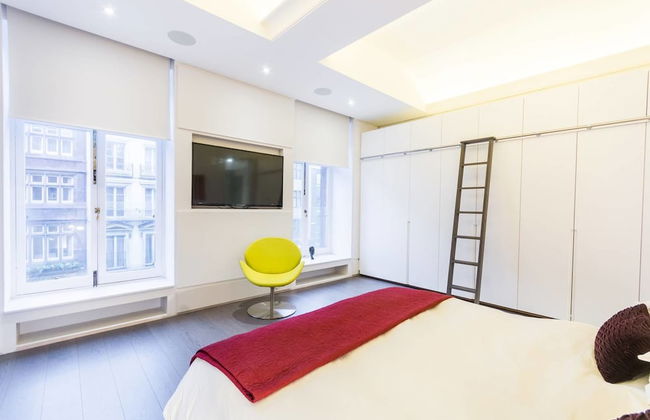
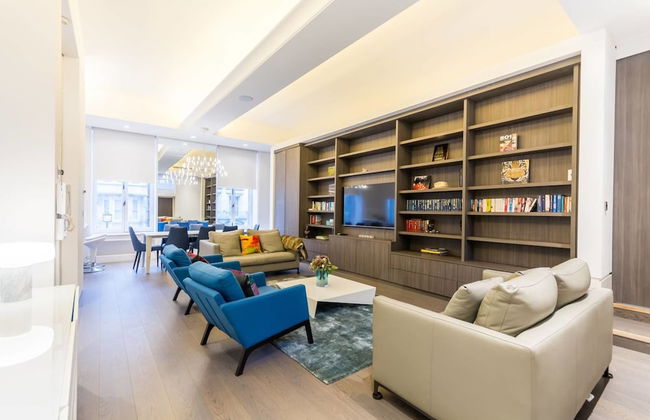
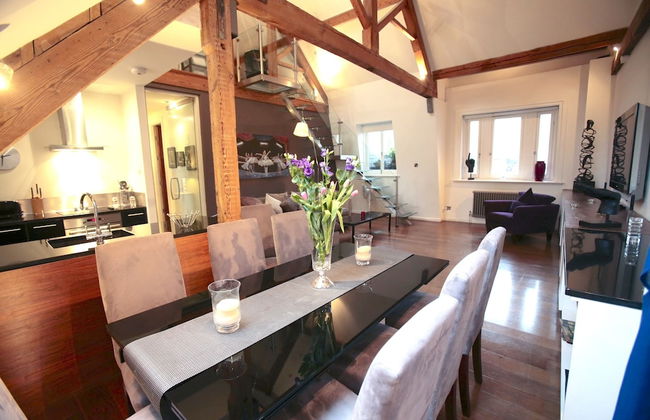
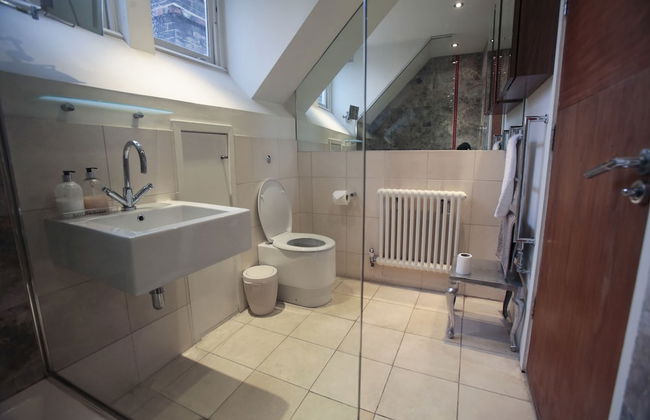
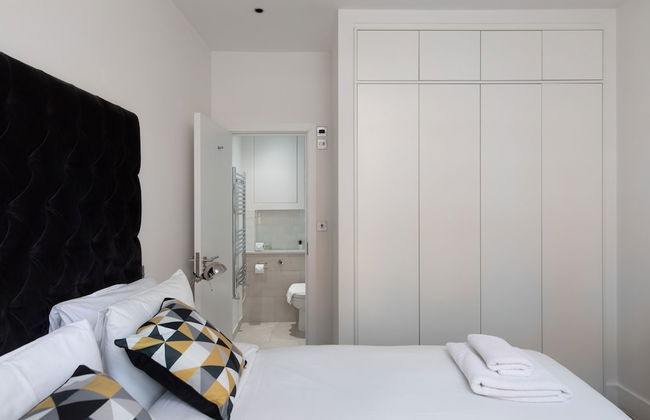
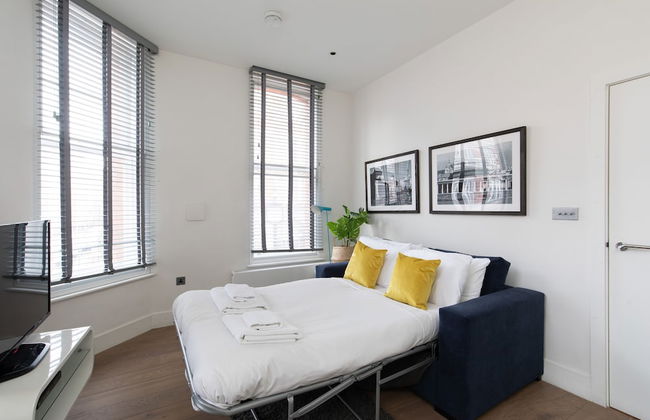
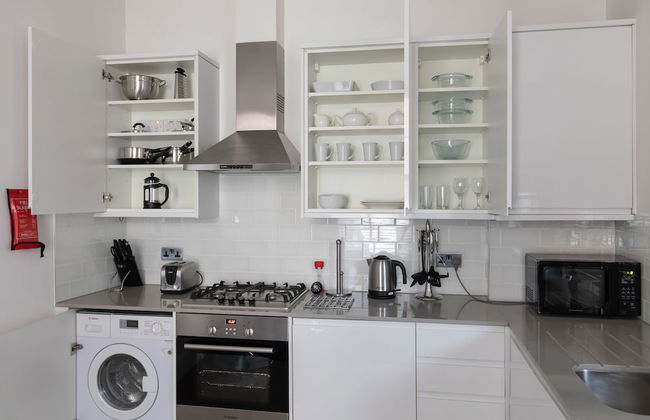
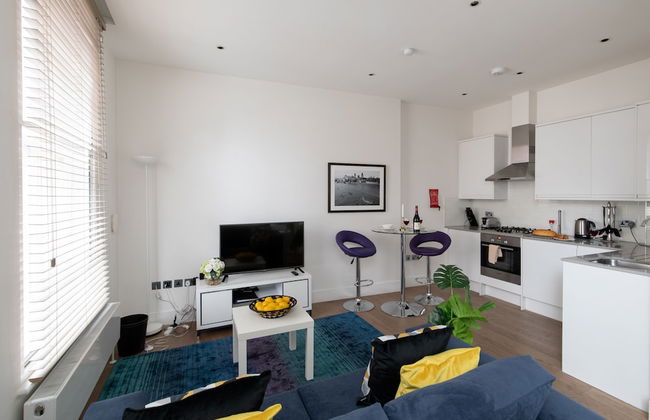
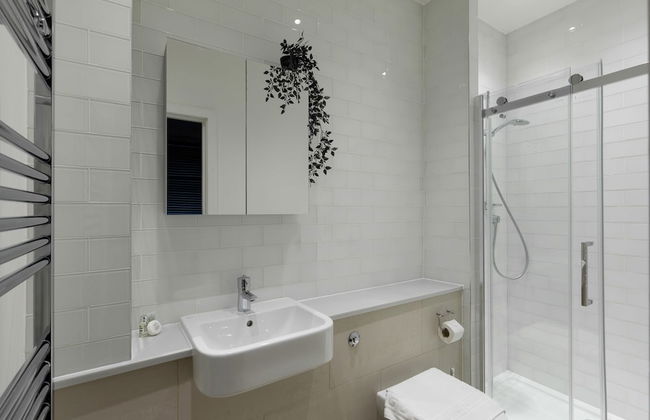
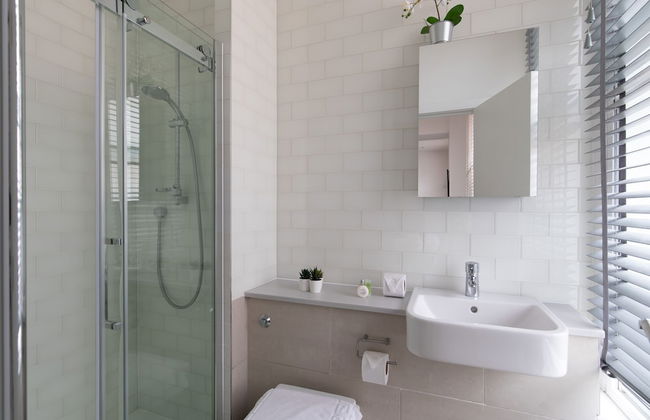
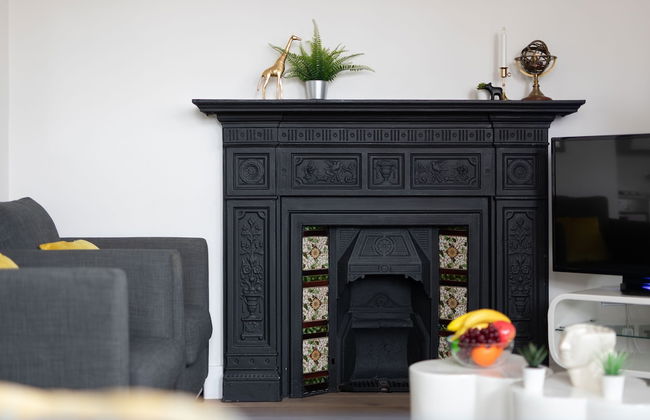
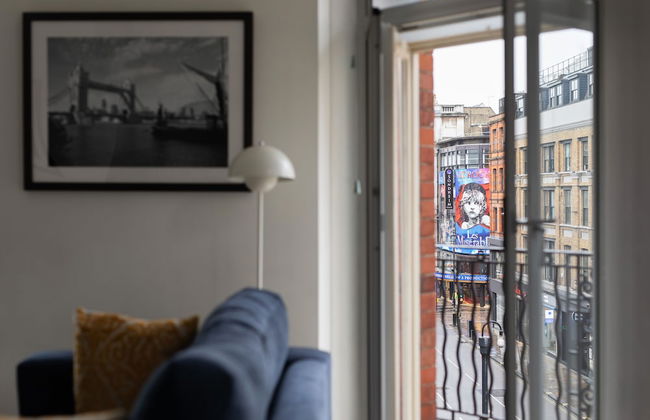
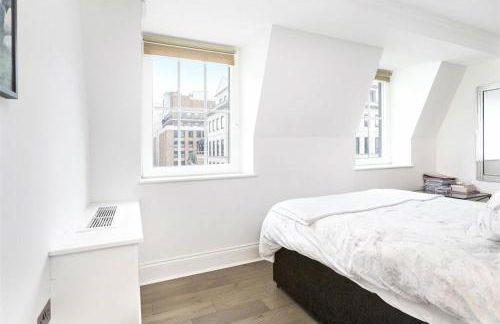
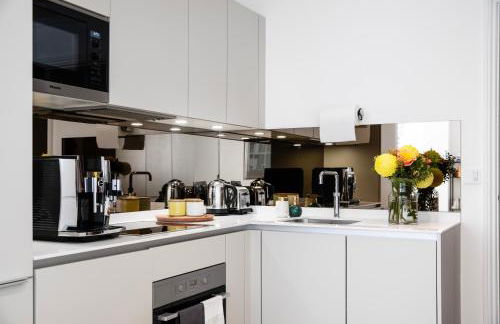
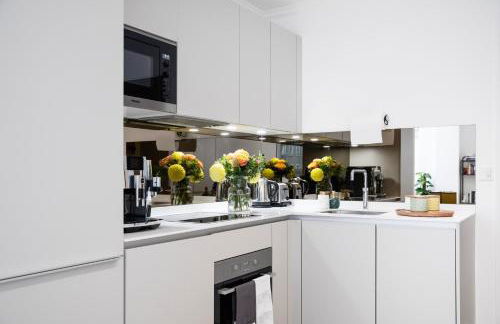
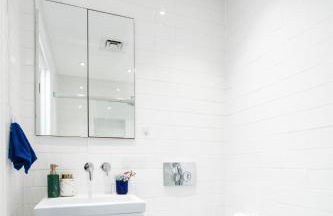
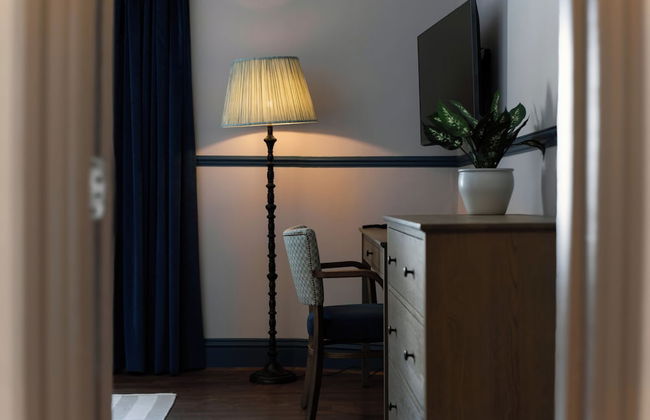
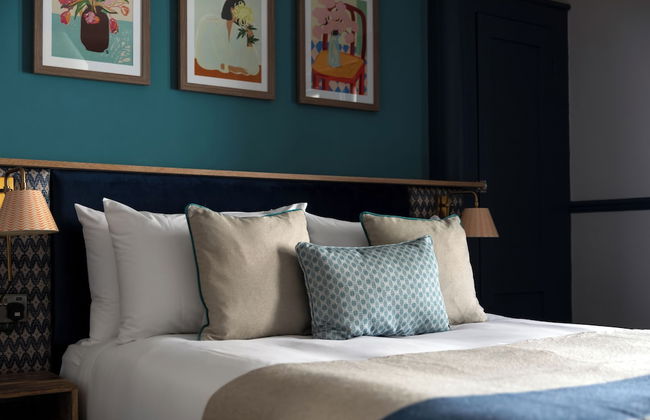
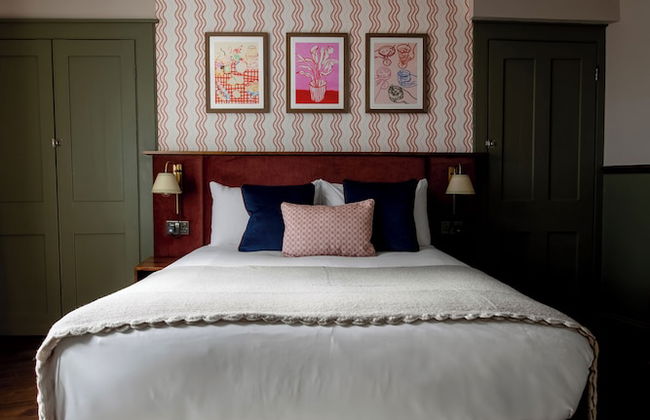
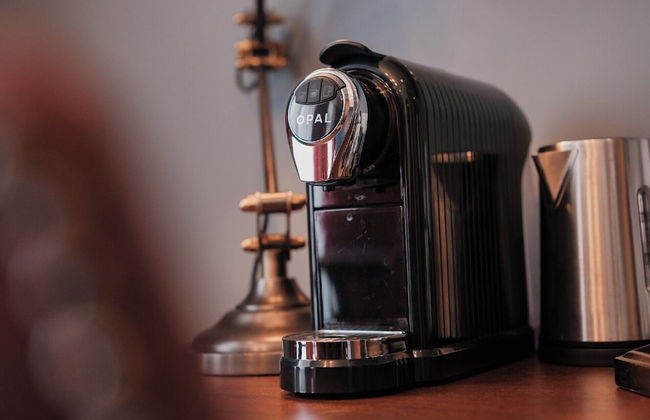
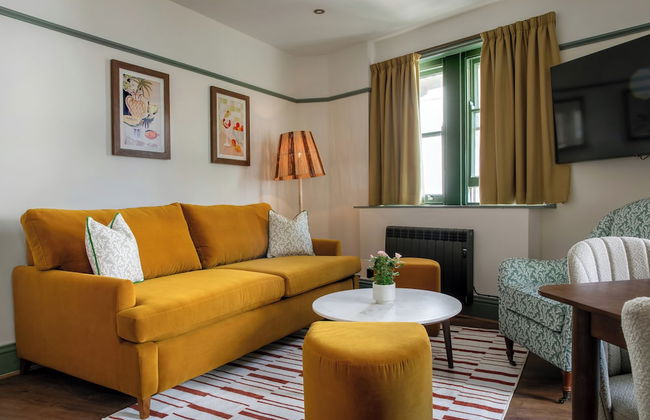
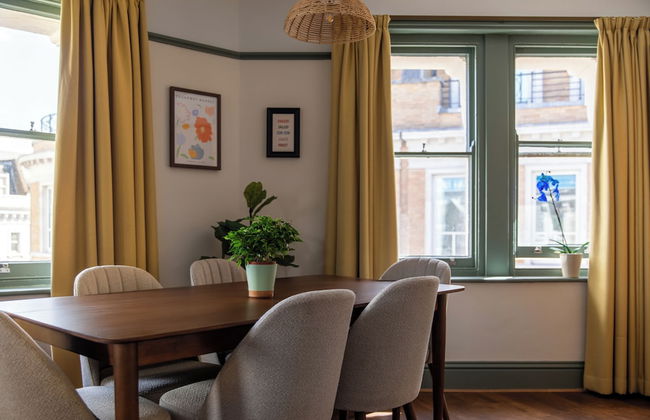
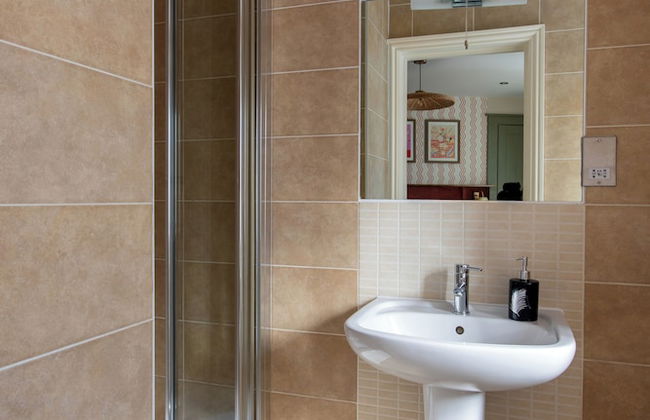
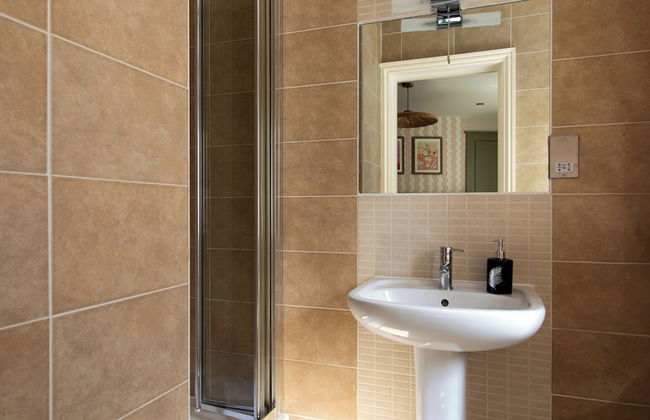
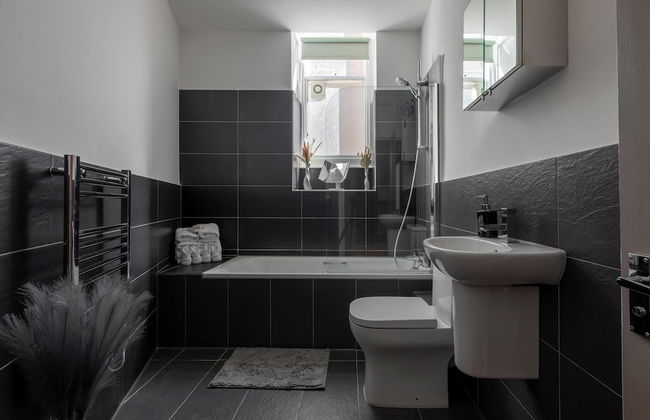
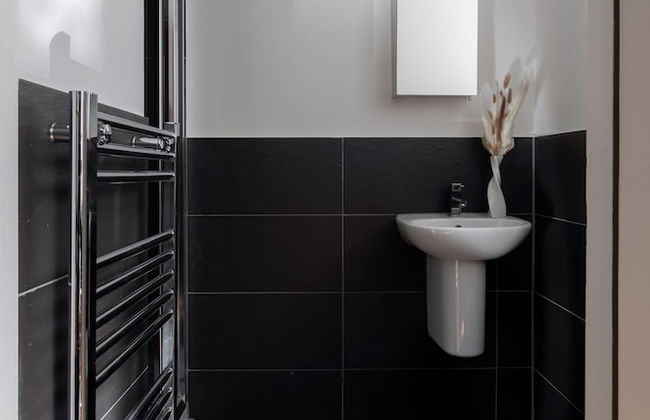
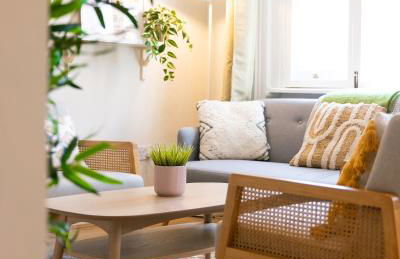
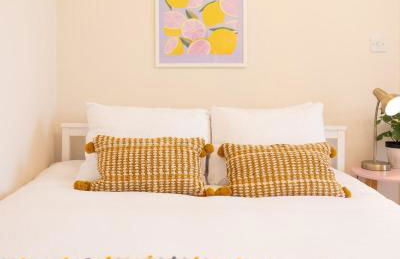
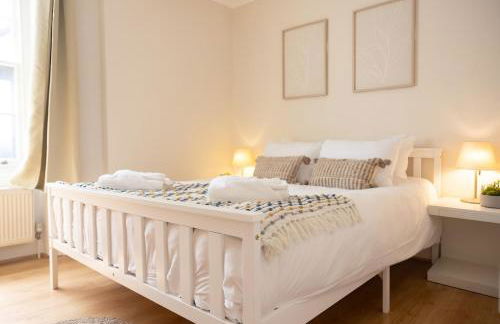
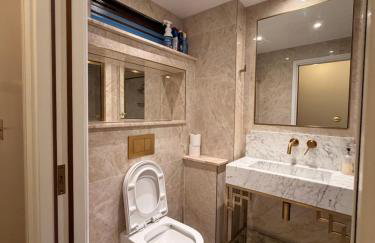
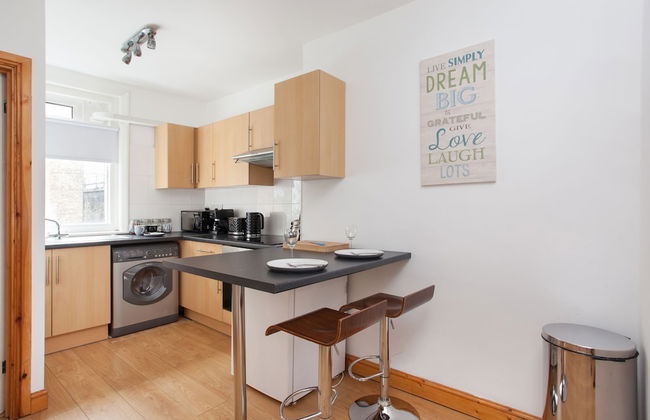
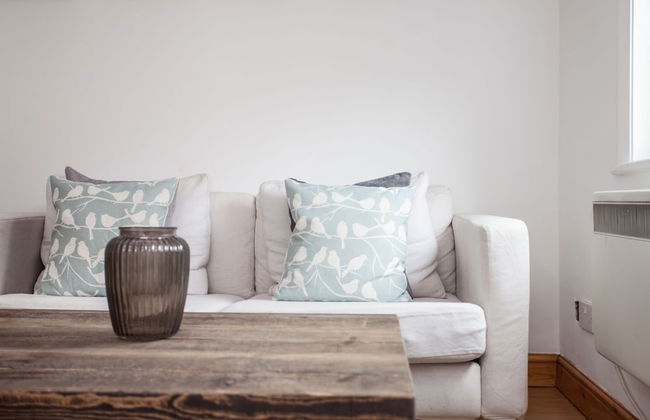
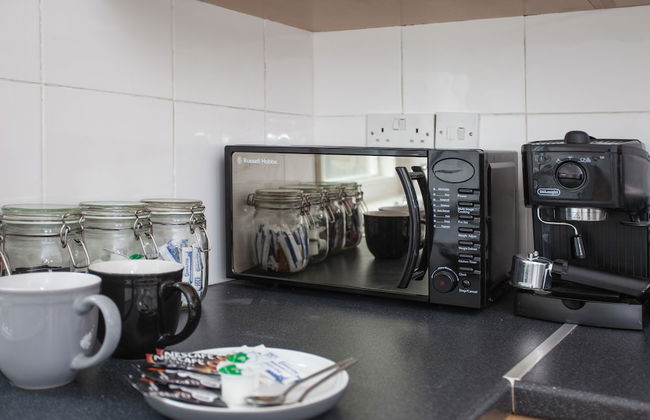
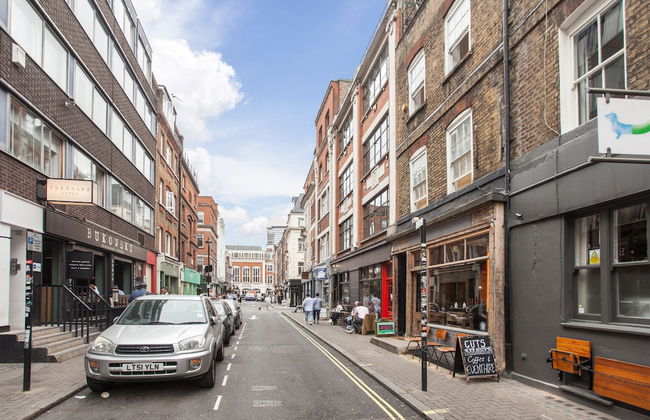
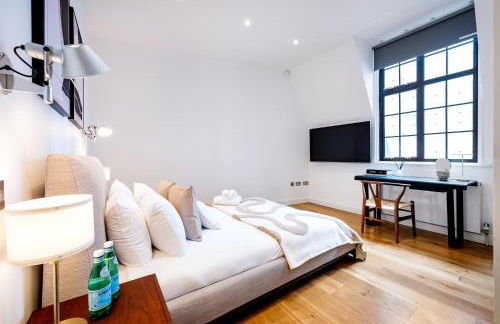
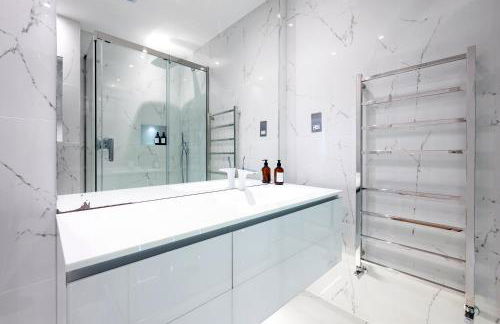
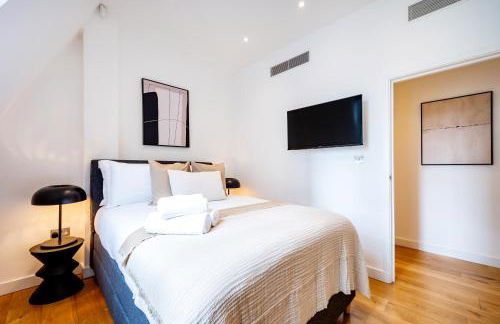
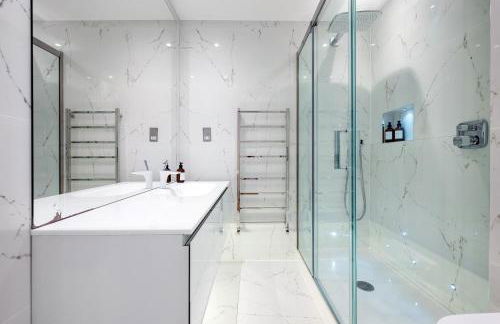
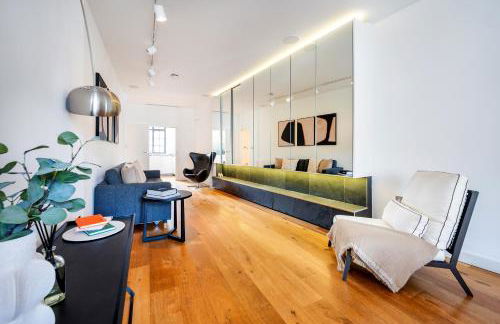
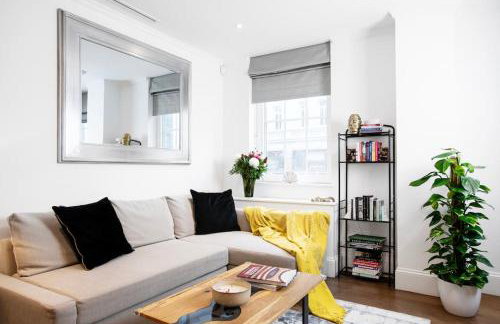
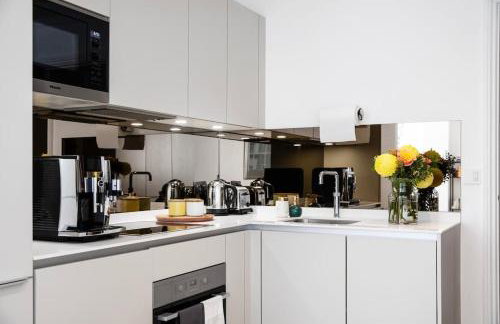
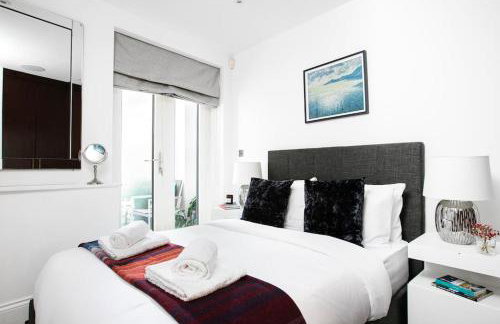
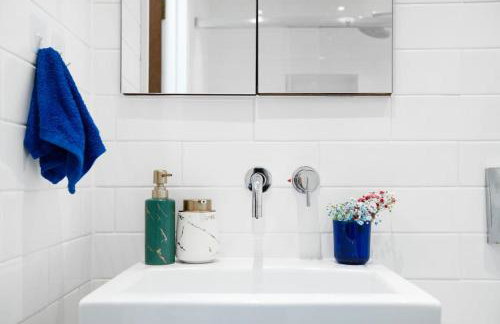
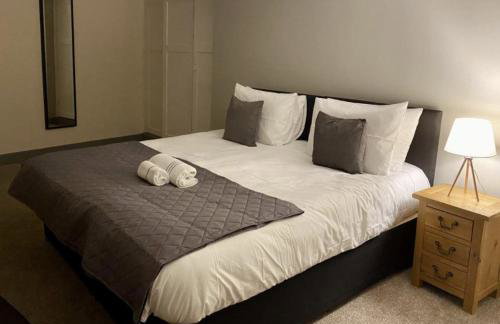
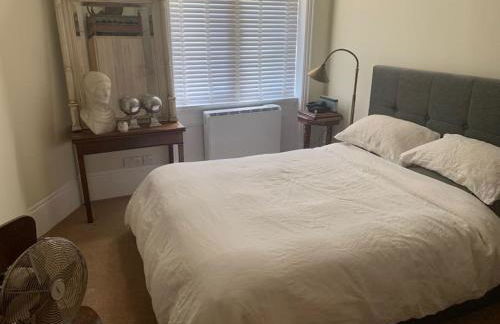
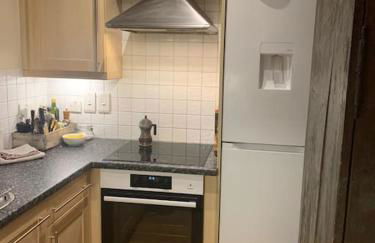
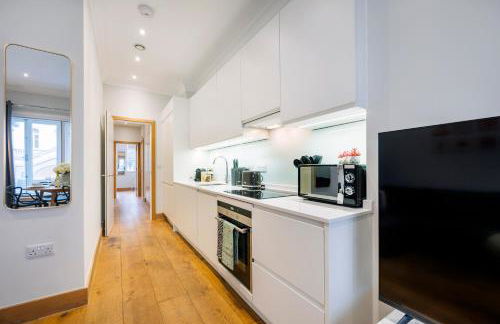
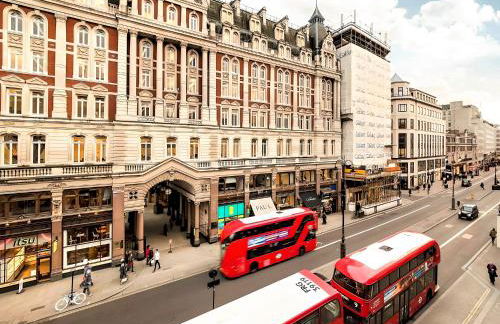
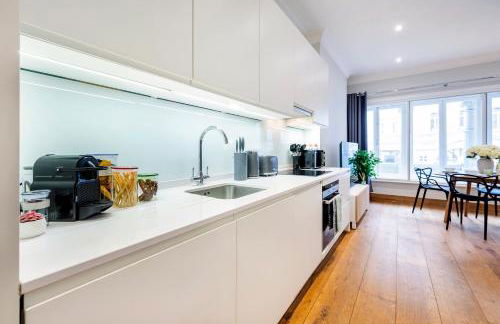
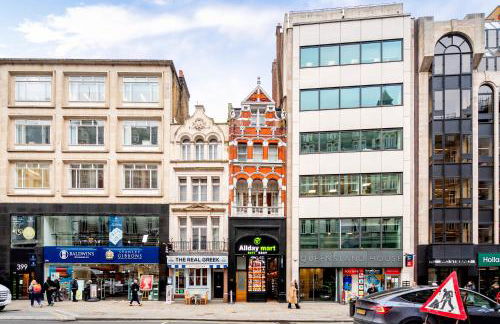
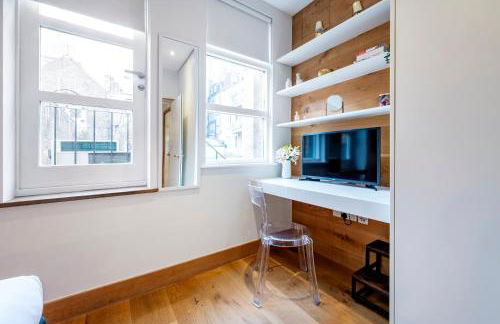
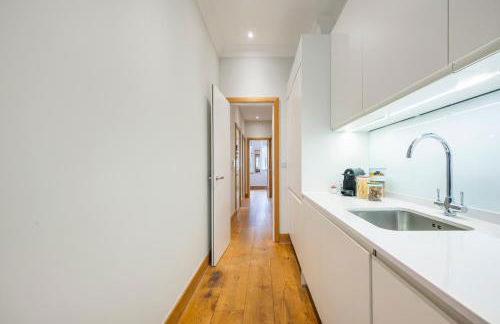
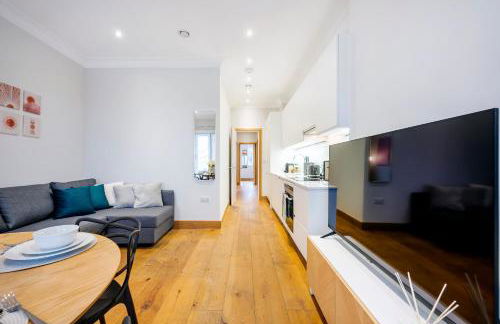
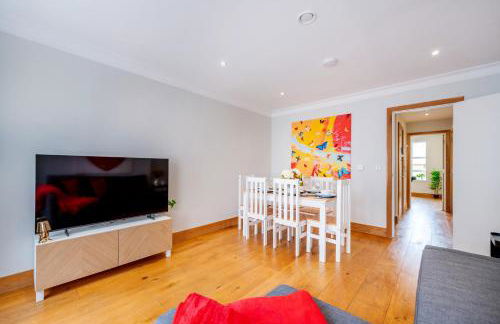
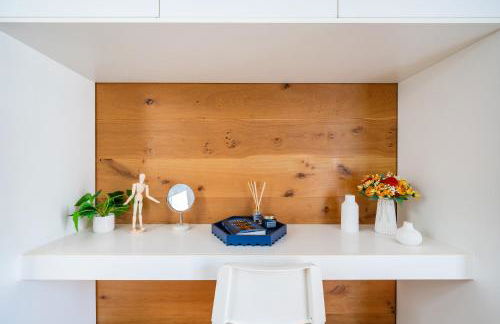
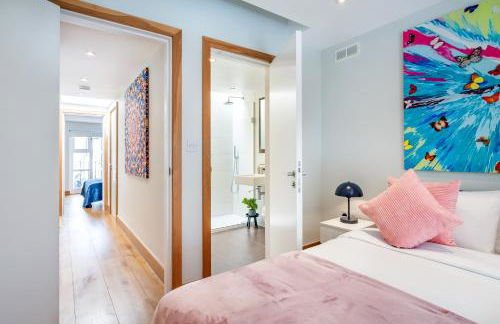
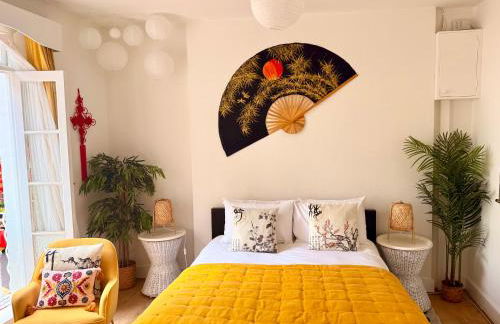
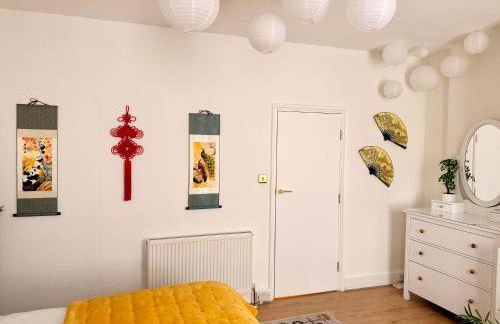
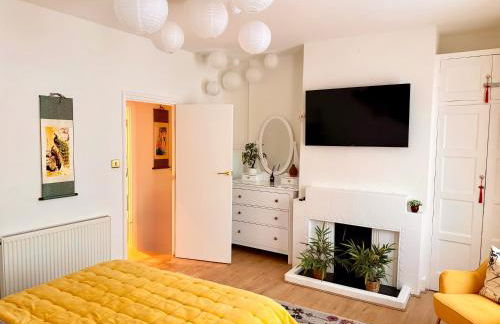
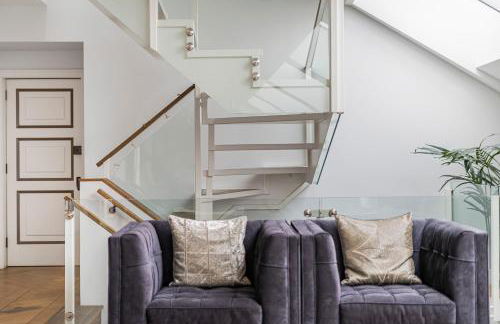
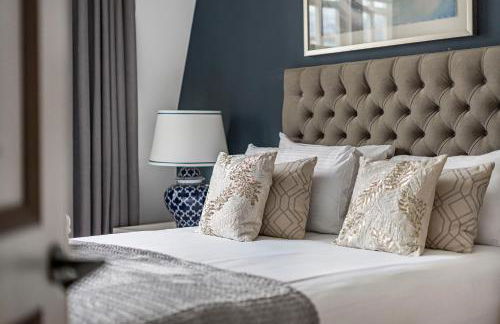
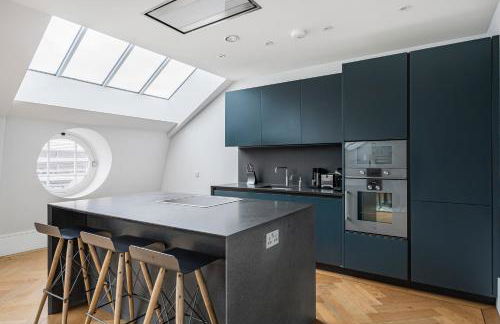
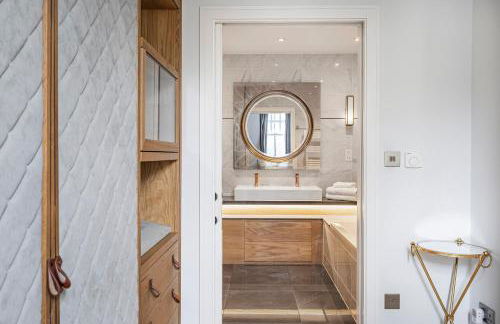
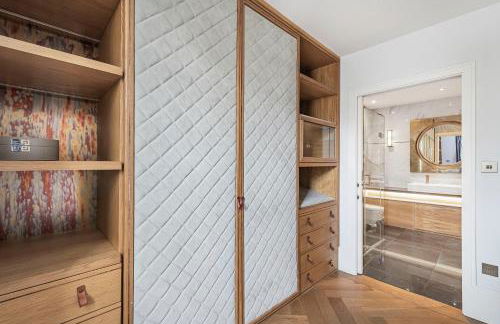
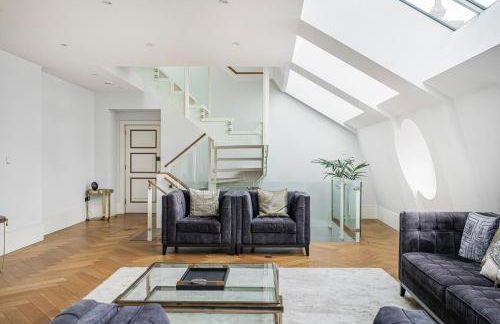
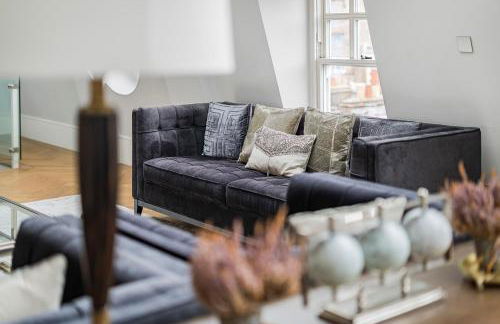
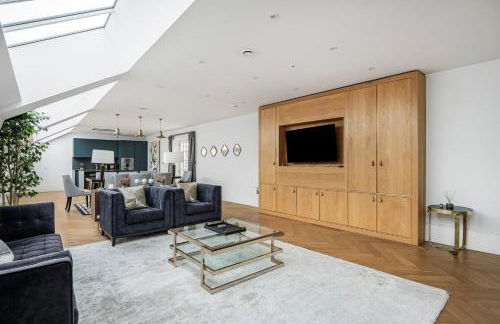
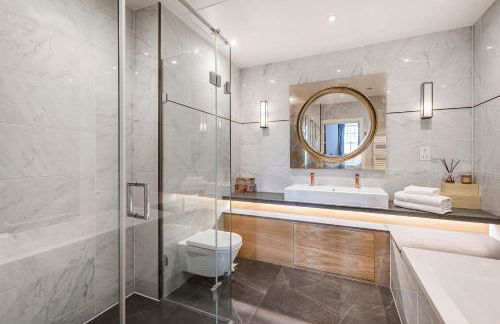
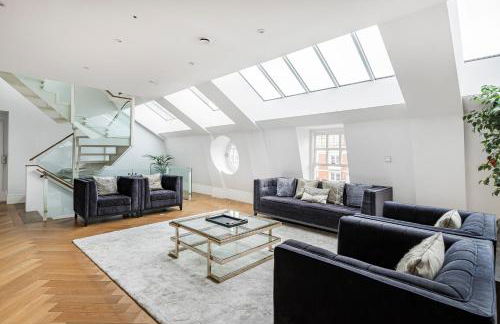
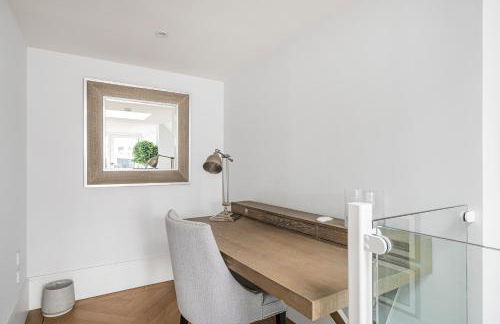
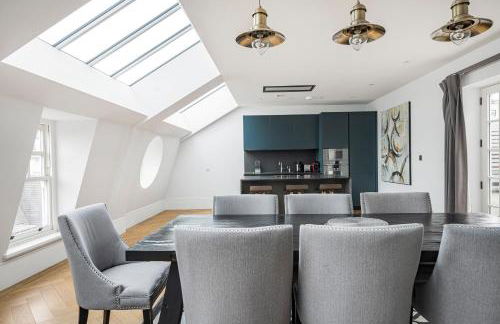
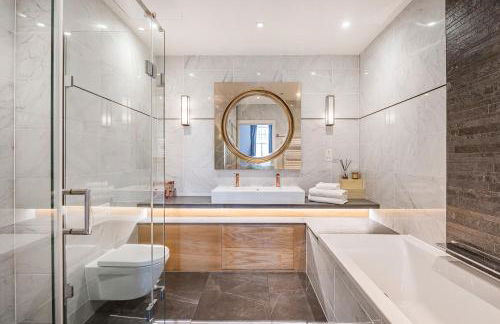
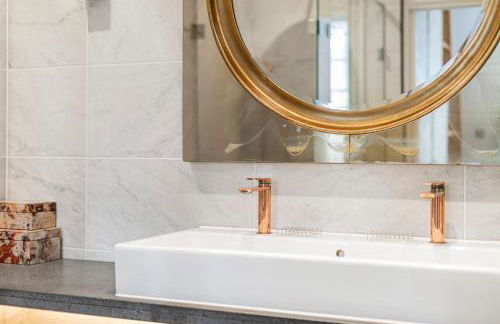
Prime Covent Garden gem with Air-Con - Foto 4
Prime Covent Garden gem with Air-Con - Foto 5
Prime Covent Garden gem with Air-Con - Foto 6
Prime Covent Garden gem with Air-Con - Foto 7
Prime Covent Garden gem with Air-Con - Foto 8
Prime Covent Garden gem with Air-Con - Foto 9
Prime Covent Garden gem with Air-Con - Foto 10
Prime Covent Garden gem with Air-Con - Foto 11
Prime Covent Garden gem with Air-Con - Foto 12
Prime Covent Garden gem with Air-Con - Foto 13
Prime Covent Garden gem with Air-Con - Foto 14
Prime Covent Garden gem with Air-Con - Foto 15
Prime Covent Garden gem with Air-Con - Foto 16
Prime Covent Garden gem with Air-Con - Foto 17
Prime Covent Garden gem with Air-Con - Foto 18
Prime Covent Garden gem with Air-Con - Foto 19
Prime Covent Garden gem with Air-Con - Foto 20
Prime Covent Garden gem with Air-Con - Foto 21
Prime Covent Garden gem with Air-Con - Foto 22
Prime Covent Garden gem with Air-Con - Foto 23
Prime Covent Garden gem with Air-Con - Foto 24
Prime Covent Garden gem with Air-Con - Foto 25
Prime Covent Garden gem with Air-Con - Foto 26
Prime Covent Garden gem with Air-Con - Foto 27
Prime Covent Garden gem with Air-Con - Foto 28
Prime Covent Garden gem with Air-Con - Foto 29
Prime Covent Garden gem with Air-Con - Foto 30
Prime Covent Garden gem with Air-Con - Foto 31
Prime Covent Garden gem with Air-Con - Foto 32
Prime Covent Garden gem with Air-Con - Foto 33
Prime Covent Garden gem with Air-Con - Foto 34
Prime Covent Garden gem with Air-Con - Foto 35
Prime Covent Garden gem with Air-Con - Foto 36
Prime Covent Garden gem with Air-Con - Foto 37
Prime Covent Garden gem with Air-Con - Foto 38
Prime Covent Garden gem with Air-Con - Foto 39
Prime Covent Garden gem with Air-Con - Foto 40
Prime Covent Garden gem with Air-Con - Foto 41
Prime Covent Garden gem with Air-Con - Foto 42
Prime Covent Garden gem with Air-Con - Foto 43
Prime Covent Garden gem with Air-Con - Foto 44
Prime Covent Garden gem with Air-Con - Foto 45
Prime Covent Garden gem with Air-Con - Foto 46
Prime Covent Garden gem with Air-Con - Foto 47
Prime Covent Garden gem with Air-Con - Foto 48
Prime Covent Garden gem with Air-Con - Foto 49
Prime Covent Garden gem with Air-Con - Foto 50
Prime Covent Garden gem with Air-Con - Foto 51
Prime Covent Garden gem with Air-Con - Foto 52
Prime Covent Garden gem with Air-Con - Foto 53
Prime Covent Garden gem with Air-Con - Foto 54
Prime Covent Garden gem with Air-Con - Foto 55
Prime Covent Garden gem with Air-Con - Foto 56
Prime Covent Garden gem with Air-Con - Foto 57
Prime Covent Garden gem with Air-Con - Foto 58
Prime Covent Garden gem with Air-Con - Foto 59

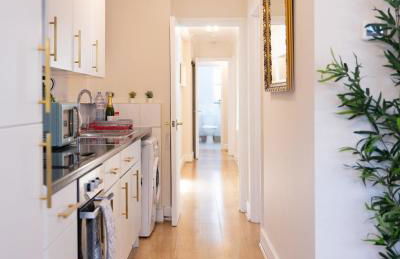
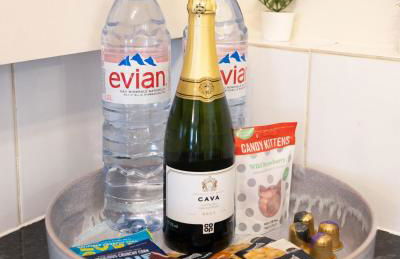
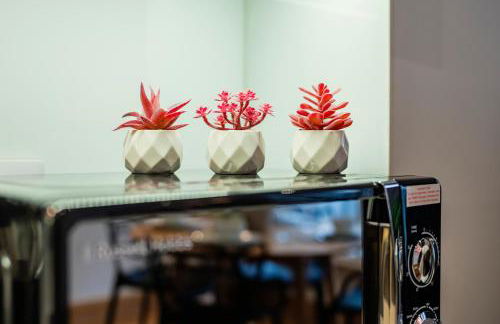
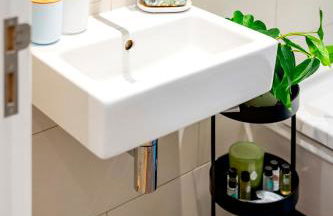
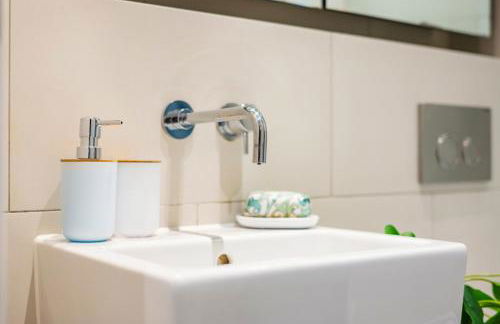
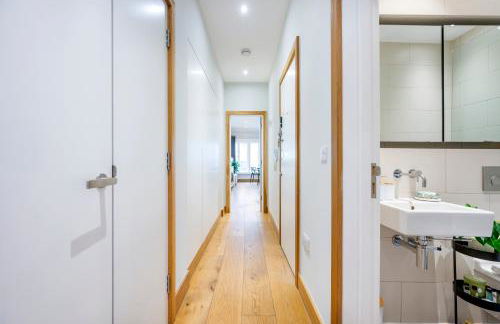
Prime Covent Garden gem with Air-Con

Londres - Covent Garden - A 260 m del centro

  • 63 M2
  • 2 habitaciones
  • 6 personas
  • Aire acondicionado
  • Calefacción
  • Parking
  • Ascensor
  • Televisión
  • Lavadora
  • Toallas
  • Sábanas
9.2Excepcional | 21 reseñas
Gerrard Place by Aeria Apartments - Foto 1
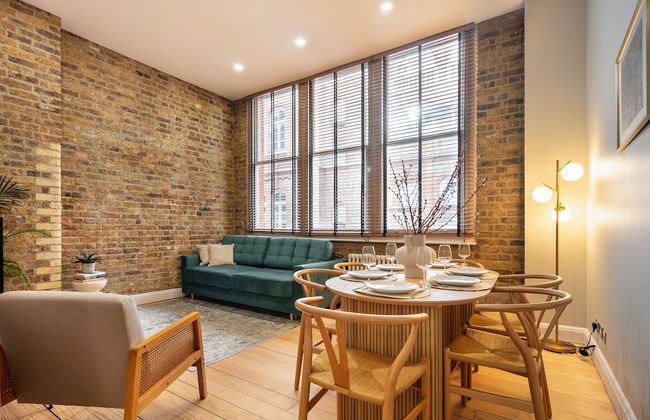
Gerrard Place by Aeria Apartments - Foto 2
Gerrard Place by Aeria Apartments - Foto 3
Gerrard Place by Aeria Apartments - Foto 4
Gerrard Place by Aeria Apartments - Foto 5
Gerrard Place by Aeria Apartments - Foto 6
Gerrard Place by Aeria Apartments - Foto 7
Gerrard Place by Aeria Apartments - Foto 8
Gerrard Place by Aeria Apartments - Foto 9
Gerrard Place by Aeria Apartments - Foto 10
Gerrard Place by Aeria Apartments - Foto 11
Gerrard Place by Aeria Apartments - Foto 12
Gerrard Place by Aeria Apartments - Foto 13
Gerrard Place by Aeria Apartments - Foto 14
Gerrard Place by Aeria Apartments - Foto 15
Gerrard Place by Aeria Apartments - Foto 16
Gerrard Place by Aeria Apartments - Foto 17
Gerrard Place by Aeria Apartments - Foto 18
Gerrard Place by Aeria Apartments - Foto 19
Gerrard Place by Aeria Apartments - Foto 20

Gerrard Place by Aeria Apartments

Londres - Soho - En el centro

  • 45 M2
  • 2 personas
  • Calefacción
  • Televisión
  • Lavadora
  • Toallas
  • Sábanas
9.4Excepcional | 20 reseñas
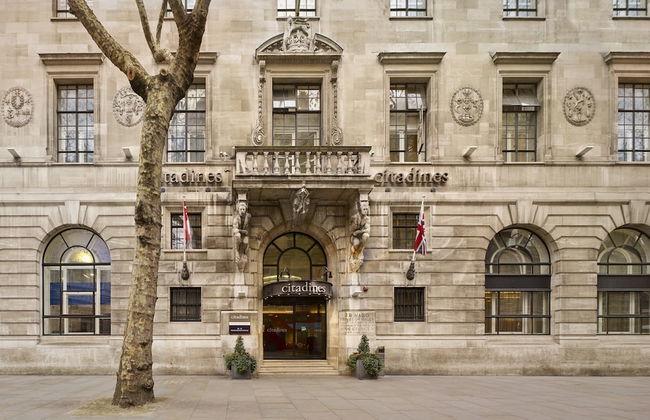
Citadines Trafalgar Square London - Foto 1
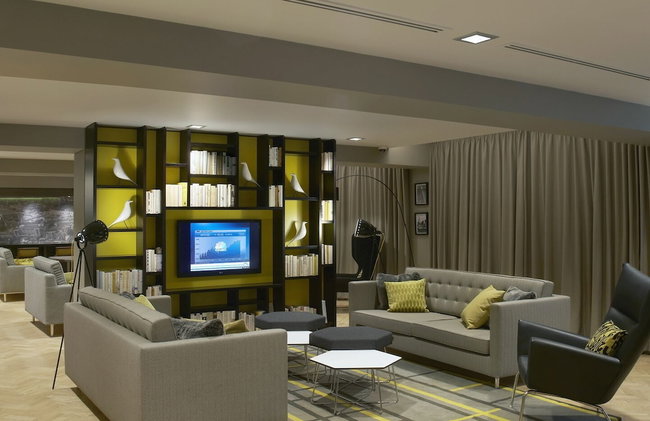
Citadines Trafalgar Square London - Foto 2
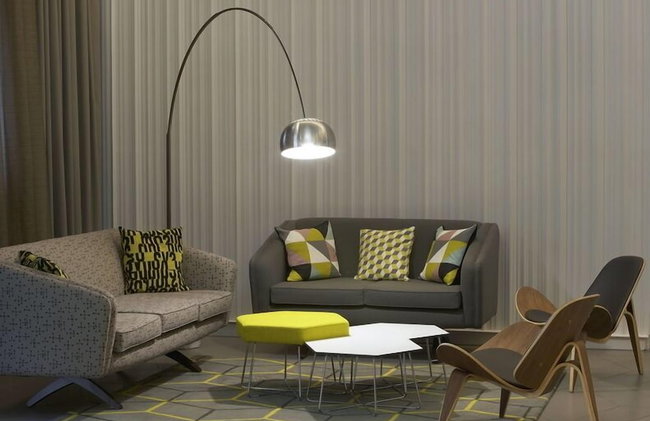
Citadines Trafalgar Square London - Foto 3
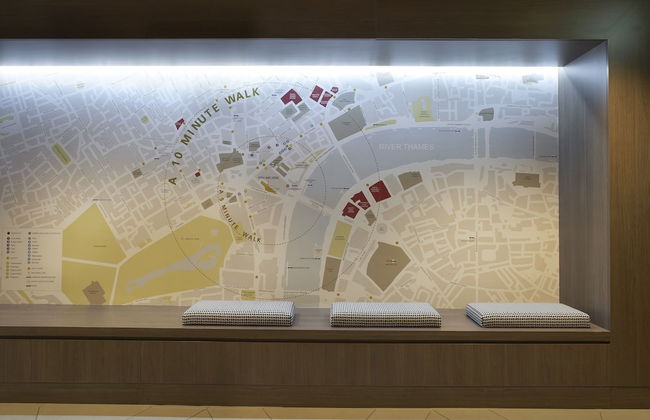
Citadines Trafalgar Square London - Foto 4
Citadines Trafalgar Square London - Foto 5
Citadines Trafalgar Square London - Foto 6
Citadines Trafalgar Square London - Foto 7
Citadines Trafalgar Square London - Foto 8
Citadines Trafalgar Square London - Foto 9
Citadines Trafalgar Square London - Foto 10
Citadines Trafalgar Square London - Foto 11
Citadines Trafalgar Square London - Foto 12
Citadines Trafalgar Square London - Foto 13
Citadines Trafalgar Square London - Foto 14
Citadines Trafalgar Square London - Foto 15
Citadines Trafalgar Square London - Foto 16
Citadines Trafalgar Square London - Foto 17
Citadines Trafalgar Square London - Foto 18
Citadines Trafalgar Square London - Foto 19
Citadines Trafalgar Square London - Foto 20

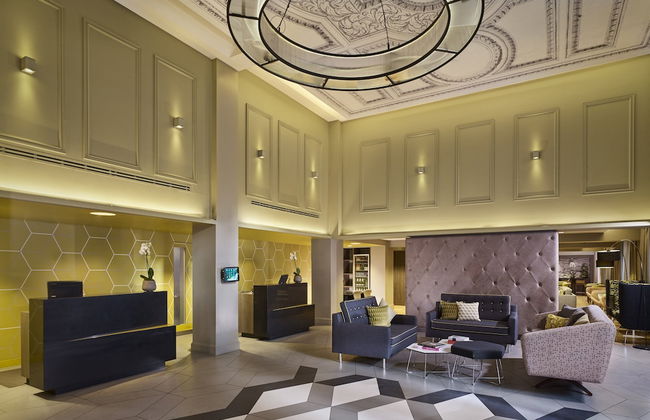
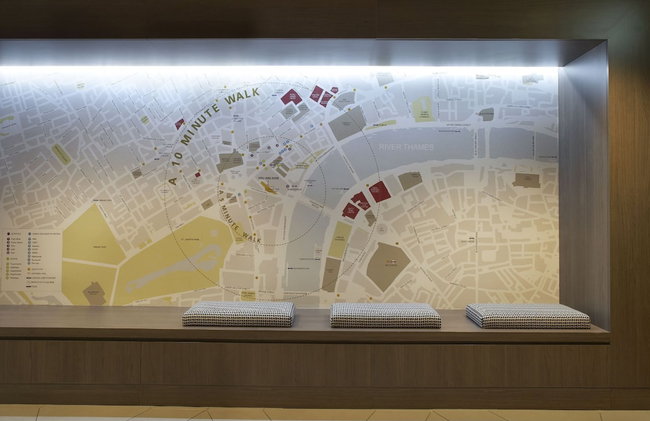
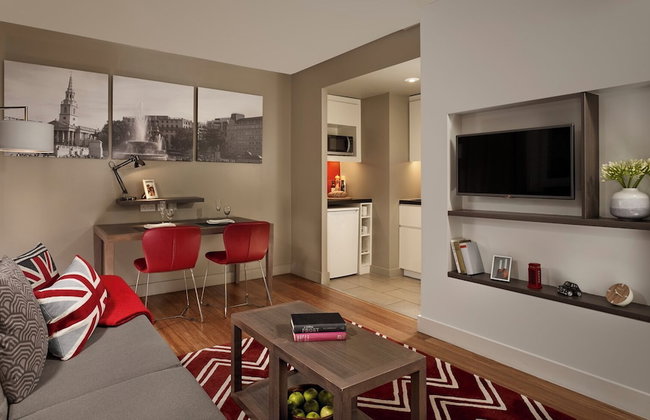
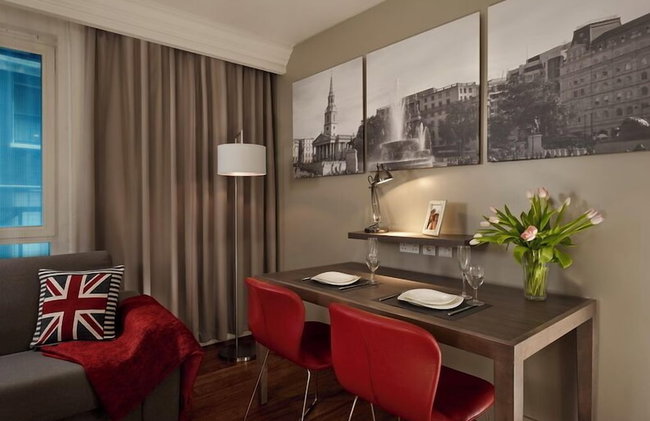
Citadines Trafalgar Square London

Londres - Charing - En el centro

  • 70 M2
  • 6 personas
  • Cocina pequeña
  • Aire acondicionado
  • Calefacción
  • Ascensor
  • Televisión
  • Toallas
  • Sábanas
8.6Muy bueno | 3953 reseñas
Cockspur Street - Foto 1
Cockspur Street - Foto 2
Cockspur Street - Foto 3
Cockspur Street - Foto 4
Cockspur Street - Foto 5
Cockspur Street - Foto 6
Cockspur Street - Foto 7
Cockspur Street - Foto 8
Cockspur Street - Foto 9
Cockspur Street - Foto 10
Cockspur Street - Foto 11
Cockspur Street - Foto 12
Cockspur Street - Foto 13
Cockspur Street - Foto 14
Cockspur Street - Foto 15
Cockspur Street - Foto 16
Cockspur Street - Foto 17
Cockspur Street - Foto 18

Cockspur Street

Londres - St James's - En el centro

  • 116 M2
  • 6 personas
  • Aire acondicionado
  • Ascensor
  • Televisión
  • Lavadora
  • Toallas
  • Sábanas
10Magnífico | 2 reseñas
Bull Inn Court - Walking distance to Covent Garden Square - Foto 1
Bull Inn Court - Walking distance to Covent Garden Square - Foto 2
Bull Inn Court - Walking distance to Covent Garden Square - Foto 3
Bull Inn Court - Walking distance to Covent Garden Square - Foto 4
Bull Inn Court - Walking distance to Covent Garden Square - Foto 5
Bull Inn Court - Walking distance to Covent Garden Square - Foto 6
Bull Inn Court - Walking distance to Covent Garden Square - Foto 7
Bull Inn Court - Walking distance to Covent Garden Square - Foto 8
Bull Inn Court - Walking distance to Covent Garden Square - Foto 9
Bull Inn Court - Walking distance to Covent Garden Square - Foto 10

Bull Inn Court - Walking distance to Covent Garden Square

Londres - Covent Garden - En el centro

  • 97 M2
  • 2 habitaciones
  • 4 personas
  • Calefacción
  • Ascensor
9.1Excepcional | 33 reseñas
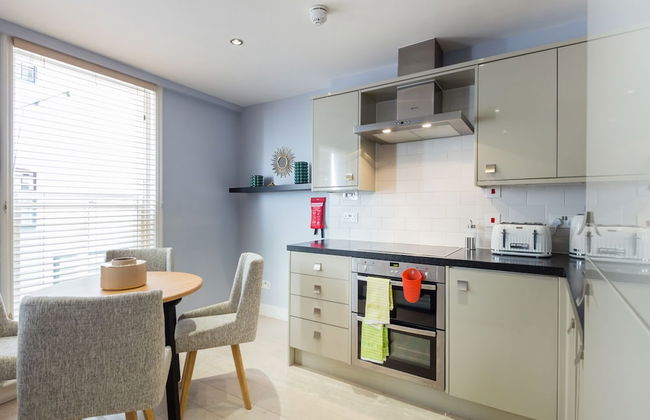
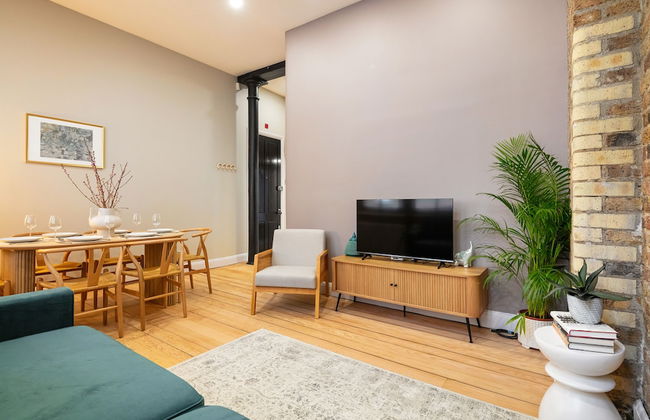
Urban Chic - Covent Garden - Foto 1
Urban Chic - Covent Garden - Foto 2
Urban Chic - Covent Garden - Foto 3
Urban Chic - Covent Garden - Foto 4
Urban Chic - Covent Garden - Foto 5
Urban Chic - Covent Garden - Foto 6
Urban Chic - Covent Garden - Foto 7
Urban Chic - Covent Garden - Foto 8
Urban Chic - Covent Garden - Foto 9
Urban Chic - Covent Garden - Foto 10
Urban Chic - Covent Garden - Foto 11
Urban Chic - Covent Garden - Foto 12
Urban Chic - Covent Garden - Foto 13
Urban Chic - Covent Garden - Foto 14
Urban Chic - Covent Garden - Foto 15
Urban Chic - Covent Garden - Foto 16
Urban Chic - Covent Garden - Foto 17
Urban Chic - Covent Garden - Foto 18
Urban Chic - Covent Garden - Foto 19
Urban Chic - Covent Garden - Foto 20
Urban Chic - Covent Garden - Foto 21
Urban Chic - Covent Garden - Foto 22
Urban Chic - Covent Garden - Foto 23
Urban Chic - Covent Garden - Foto 24
Urban Chic - Covent Garden - Foto 25
Urban Chic - Covent Garden - Foto 26
Urban Chic - Covent Garden - Foto 27
Urban Chic - Covent Garden - Foto 28
Urban Chic - Covent Garden - Foto 29
Urban Chic - Covent Garden - Foto 30
Urban Chic - Covent Garden - Foto 31
Urban Chic - Covent Garden - Foto 32
Urban Chic - Covent Garden - Foto 33
Urban Chic - Covent Garden - Foto 34
Urban Chic - Covent Garden - Foto 35
Urban Chic - Covent Garden - Foto 36
Urban Chic - Covent Garden - Foto 37
Urban Chic - Covent Garden - Foto 38
Urban Chic - Covent Garden - Foto 39
Urban Chic - Covent Garden - Foto 40
Urban Chic - Covent Garden - Foto 41
Urban Chic - Covent Garden - Foto 42
Urban Chic - Covent Garden - Foto 43
Urban Chic - Covent Garden - Foto 44
Urban Chic - Covent Garden - Foto 45

Urban Chic - Covent Garden

Londres - Covent Garden - A 220 m del centro

  • 67 M2
  • 6 personas
  • Calefacción
  • Terraza
  • Balcón
  • Televisión
  • Lavadora
  • Toallas
  • Sábanas
8.2Muy bueno | 24 reseñas
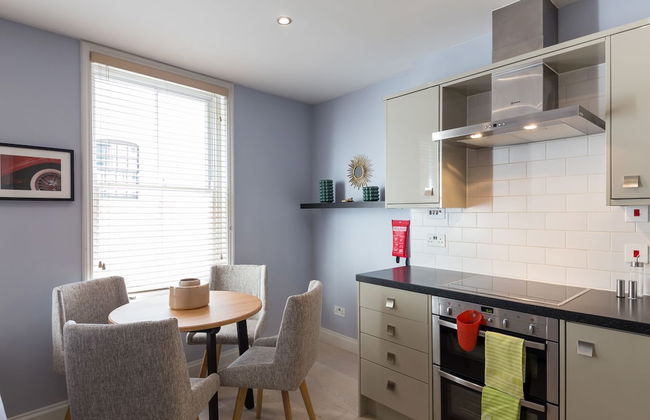
Tsq Whitehall - Foto 1
Tsq Whitehall - Foto 2
Tsq Whitehall - Foto 3
Tsq Whitehall - Foto 4
Tsq Whitehall - Foto 5
Tsq Whitehall - Foto 6
Tsq Whitehall - Foto 7
Tsq Whitehall - Foto 8
Tsq Whitehall - Foto 9
Tsq Whitehall - Foto 10
Tsq Whitehall - Foto 11
Tsq Whitehall - Foto 12
Tsq Whitehall - Foto 13
Tsq Whitehall - Foto 14
Tsq Whitehall - Foto 15
Tsq Whitehall - Foto 16
Tsq Whitehall - Foto 17
Tsq Whitehall - Foto 18
Tsq Whitehall - Foto 19
Tsq Whitehall - Foto 20
Tsq Whitehall - Foto 21
Tsq Whitehall - Foto 22
Tsq Whitehall - Foto 23
Tsq Whitehall - Foto 24
Tsq Whitehall - Foto 25
Tsq Whitehall - Foto 26
Tsq Whitehall - Foto 27
Tsq Whitehall - Foto 28
Tsq Whitehall - Foto 29
Tsq Whitehall - Foto 30
Tsq Whitehall - Foto 31
Tsq Whitehall - Foto 32
Tsq Whitehall - Foto 33

Tsq Whitehall

Londres - Westminster - En el centro

  • 8 personas
  • Calefacción
  • Televisión
  • Toallas
10Magnífico | 2 reseñas
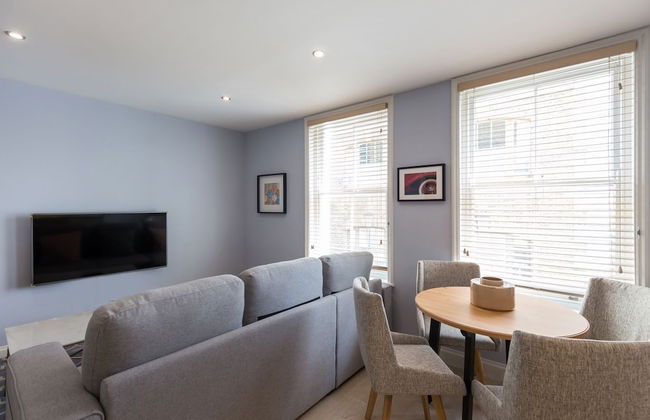
home.ly - London West End Apartments - Foto 1
home.ly - London West End Apartments - Foto 2
home.ly - London West End Apartments - Foto 3
home.ly - London West End Apartments - Foto 4
home.ly - London West End Apartments - Foto 5
home.ly - London West End Apartments - Foto 6
home.ly - London West End Apartments - Foto 7
home.ly - London West End Apartments - Foto 8
home.ly - London West End Apartments - Foto 9
home.ly - London West End Apartments - Foto 10
home.ly - London West End Apartments - Foto 11
home.ly - London West End Apartments - Foto 12
home.ly - London West End Apartments - Foto 13
home.ly - London West End Apartments - Foto 14
home.ly - London West End Apartments - Foto 15
home.ly - London West End Apartments - Foto 16
home.ly - London West End Apartments - Foto 17
home.ly - London West End Apartments - Foto 18
home.ly - London West End Apartments - Foto 19
home.ly - London West End Apartments - Foto 20
home.ly - London West End Apartments - Foto 21
home.ly - London West End Apartments - Foto 22
home.ly - London West End Apartments - Foto 23
home.ly - London West End Apartments - Foto 24
home.ly - London West End Apartments - Foto 25
home.ly - London West End Apartments - Foto 26
home.ly - London West End Apartments - Foto 27
home.ly - London West End Apartments - Foto 28
home.ly - London West End Apartments - Foto 29
home.ly - London West End Apartments - Foto 30
home.ly - London West End Apartments - Foto 31
home.ly - London West End Apartments - Foto 32
home.ly - London West End Apartments - Foto 33
home.ly - London West End Apartments - Foto 34

home.ly - London West End Apartments

Londres - Soho - En el centro

  • 90 M2
  • 6 personas
  • Calefacción
  • Televisión
  • Lavadora
  • Toallas
8.4Muy bueno | 54 reseñas
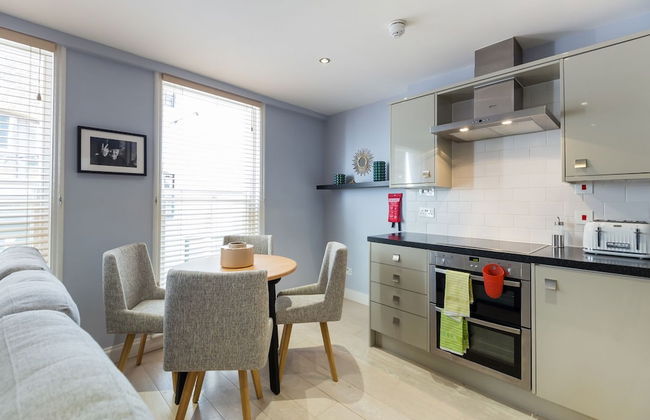
Prime West End The Covent Garden Design Flat - Foto 1
Prime West End The Covent Garden Design Flat - Foto 2
Prime West End The Covent Garden Design Flat - Foto 3
Prime West End The Covent Garden Design Flat - Foto 4
Prime West End The Covent Garden Design Flat - Foto 5
Prime West End The Covent Garden Design Flat - Foto 6
Prime West End The Covent Garden Design Flat - Foto 7
Prime West End The Covent Garden Design Flat - Foto 8
Prime West End The Covent Garden Design Flat - Foto 9
Prime West End The Covent Garden Design Flat - Foto 10
Prime West End The Covent Garden Design Flat - Foto 11
Prime West End The Covent Garden Design Flat - Foto 12
Prime West End The Covent Garden Design Flat - Foto 13
Prime West End The Covent Garden Design Flat - Foto 14
Prime West End The Covent Garden Design Flat - Foto 15
Prime West End The Covent Garden Design Flat - Foto 16
Prime West End The Covent Garden Design Flat - Foto 17
Prime West End The Covent Garden Design Flat - Foto 18
Prime West End The Covent Garden Design Flat - Foto 19
Prime West End The Covent Garden Design Flat - Foto 20
Prime West End The Covent Garden Design Flat - Foto 21
Prime West End The Covent Garden Design Flat - Foto 22
Prime West End The Covent Garden Design Flat - Foto 23
Prime West End The Covent Garden Design Flat - Foto 24
Prime West End The Covent Garden Design Flat - Foto 25
Prime West End The Covent Garden Design Flat - Foto 26

Prime West End The Covent Garden Design Flat

Londres - Covent Garden - En el centro

  • 70 M2
  • 2 habitaciones
  • 4 personas
  • Aire acondicionado
  • Ascensor
9.7Excepcional | 21 reseñas
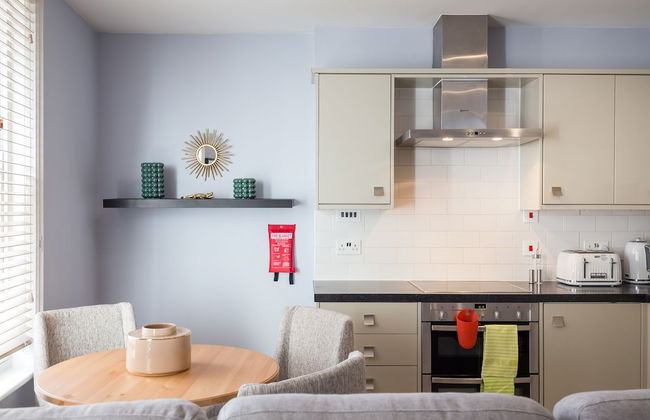
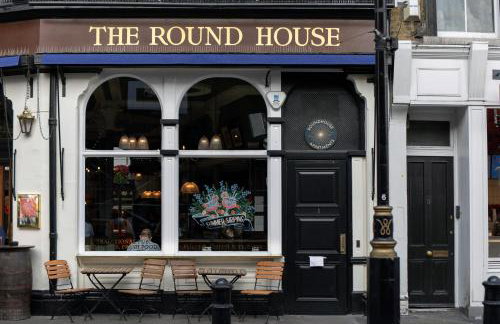
Round House Apartments - Foto 1
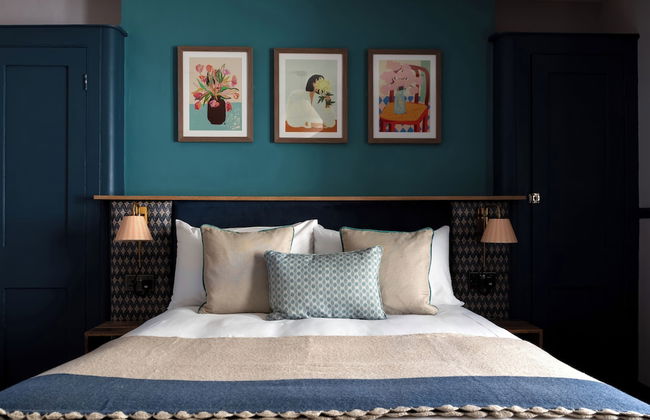
Round House Apartments - Foto 2
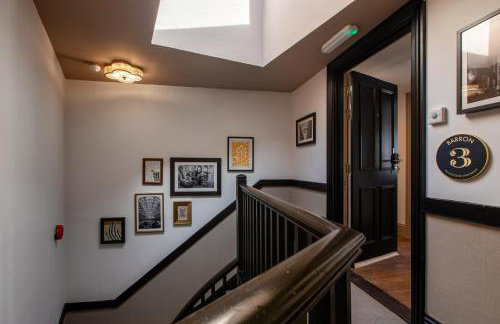
Round House Apartments - Foto 3
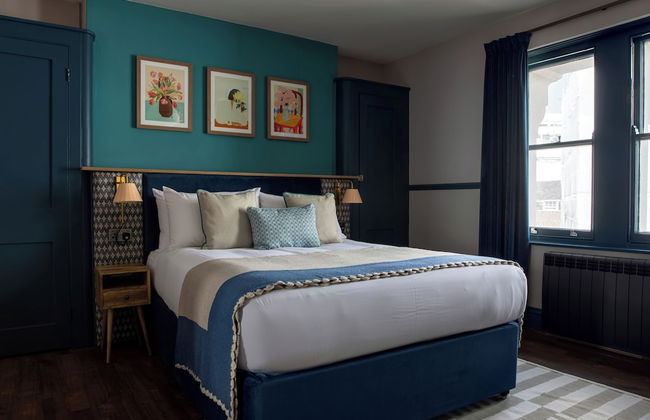
Round House Apartments - Foto 4
Round House Apartments - Foto 5
Round House Apartments - Foto 6
Round House Apartments - Foto 7
Round House Apartments - Foto 8
Round House Apartments - Foto 9
Round House Apartments - Foto 10
Round House Apartments - Foto 11
Round House Apartments - Foto 12
Round House Apartments - Foto 13
Round House Apartments - Foto 14
Round House Apartments - Foto 15
Round House Apartments - Foto 16
Round House Apartments - Foto 17
Round House Apartments - Foto 18
Round House Apartments - Foto 19
Round House Apartments - Foto 20
Round House Apartments - Foto 21
Round House Apartments - Foto 22
Round House Apartments - Foto 23
Round House Apartments - Foto 24
Round House Apartments - Foto 25
Round House Apartments - Foto 26
Round House Apartments - Foto 27
Round House Apartments - Foto 28
Round House Apartments - Foto 29
Round House Apartments - Foto 30
Round House Apartments - Foto 31
Round House Apartments - Foto 32
Round House Apartments - Foto 33
Round House Apartments - Foto 34
Round House Apartments - Foto 35
Round House Apartments - Foto 36
Round House Apartments - Foto 37
Round House Apartments - Foto 38
Round House Apartments - Foto 39
Round House Apartments - Foto 40
Round House Apartments - Foto 41
Round House Apartments - Foto 42
Round House Apartments - Foto 43
Round House Apartments - Foto 44
Round House Apartments - Foto 45
Round House Apartments - Foto 46
Round House Apartments - Foto 47
Round House Apartments - Foto 48
Round House Apartments - Foto 49
Round House Apartments - Foto 50
Round House Apartments - Foto 51
Round House Apartments - Foto 52
Round House Apartments - Foto 53
Round House Apartments - Foto 54
Round House Apartments - Foto 55
Round House Apartments - Foto 56
Round House Apartments - Foto 57
Round House Apartments - Foto 58
Round House Apartments - Foto 59
Round House Apartments - Foto 60
Round House Apartments - Foto 61
Round House Apartments - Foto 62
Round House Apartments - Foto 63
Round House Apartments - Foto 64
Round House Apartments - Foto 65
Round House Apartments - Foto 66
Round House Apartments - Foto 67
Round House Apartments - Foto 68
Round House Apartments - Foto 69
Round House Apartments - Foto 70
Round House Apartments - Foto 71
Round House Apartments - Foto 72
Round House Apartments - Foto 73
Round House Apartments - Foto 74
Round House Apartments - Foto 75
Round House Apartments - Foto 76
Round House Apartments - Foto 77
Round House Apartments - Foto 78
Round House Apartments - Foto 79
Round House Apartments - Foto 80
Round House Apartments - Foto 81
Round House Apartments - Foto 82
Round House Apartments - Foto 83
Round House Apartments - Foto 84
Round House Apartments - Foto 85
Round House Apartments - Foto 86
Round House Apartments - Foto 87
Round House Apartments - Foto 88
Round House Apartments - Foto 89
Round House Apartments - Foto 90
Round House Apartments - Foto 91
Round House Apartments - Foto 92
Round House Apartments - Foto 93
Round House Apartments - Foto 94
Round House Apartments - Foto 95
Round House Apartments - Foto 96
Round House Apartments - Foto 97
Round House Apartments - Foto 98
Round House Apartments - Foto 99
Round House Apartments - Foto 100
Round House Apartments - Foto 101
Round House Apartments - Foto 102
Round House Apartments - Foto 103
Round House Apartments - Foto 104
Round House Apartments - Foto 105
Round House Apartments - Foto 106
Round House Apartments - Foto 107
Round House Apartments - Foto 108
Round House Apartments - Foto 109
Round House Apartments - Foto 110
Round House Apartments - Foto 111
Round House Apartments - Foto 112
Round House Apartments - Foto 113
Round House Apartments - Foto 114
Round House Apartments - Foto 115
Round House Apartments - Foto 116
Round House Apartments - Foto 117
Round House Apartments - Foto 118
Round House Apartments - Foto 119
Round House Apartments - Foto 120
Round House Apartments - Foto 121
Round House Apartments - Foto 122
Round House Apartments - Foto 123
Round House Apartments - Foto 124
Round House Apartments - Foto 125
Round House Apartments - Foto 126
Round House Apartments - Foto 127

Round House Apartments

Londres - Charing - En el centro

  • 71 M2
  • 2 habitaciones
  • 6 personas
  • Cocina pequeña
  • Calefacción
  • Televisión
  • Lavadora
  • Toallas
  • Sábanas
10Magnífico | 16 reseñas
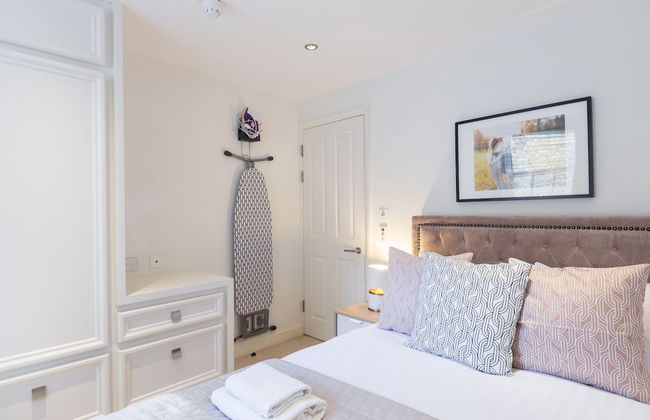
City Centre Hideaway 100m from Trafalgar Square - Foto 1
City Centre Hideaway 100m from Trafalgar Square - Foto 2
City Centre Hideaway 100m from Trafalgar Square - Foto 3
City Centre Hideaway 100m from Trafalgar Square - Foto 4
City Centre Hideaway 100m from Trafalgar Square - Foto 5
City Centre Hideaway 100m from Trafalgar Square - Foto 6
City Centre Hideaway 100m from Trafalgar Square - Foto 7
City Centre Hideaway 100m from Trafalgar Square - Foto 8
City Centre Hideaway 100m from Trafalgar Square - Foto 9
City Centre Hideaway 100m from Trafalgar Square - Foto 10
City Centre Hideaway 100m from Trafalgar Square - Foto 11
City Centre Hideaway 100m from Trafalgar Square - Foto 12
City Centre Hideaway 100m from Trafalgar Square - Foto 13
City Centre Hideaway 100m from Trafalgar Square - Foto 14
City Centre Hideaway 100m from Trafalgar Square - Foto 15
City Centre Hideaway 100m from Trafalgar Square - Foto 16
City Centre Hideaway 100m from Trafalgar Square - Foto 17
City Centre Hideaway 100m from Trafalgar Square - Foto 18
City Centre Hideaway 100m from Trafalgar Square - Foto 19
City Centre Hideaway 100m from Trafalgar Square - Foto 20
City Centre Hideaway 100m from Trafalgar Square - Foto 21
City Centre Hideaway 100m from Trafalgar Square - Foto 22
City Centre Hideaway 100m from Trafalgar Square - Foto 23
City Centre Hideaway 100m from Trafalgar Square - Foto 24
City Centre Hideaway 100m from Trafalgar Square - Foto 25
City Centre Hideaway 100m from Trafalgar Square - Foto 26
City Centre Hideaway 100m from Trafalgar Square - Foto 27
City Centre Hideaway 100m from Trafalgar Square - Foto 28
City Centre Hideaway 100m from Trafalgar Square - Foto 29

City Centre Hideaway 100m from Trafalgar Square

Londres - Westminster - En el centro

  • 57 M2
  • 2 habitaciones
  • 4 personas
  • Aire acondicionado
  • Calefacción
8.9Muy bueno | 31 reseñas
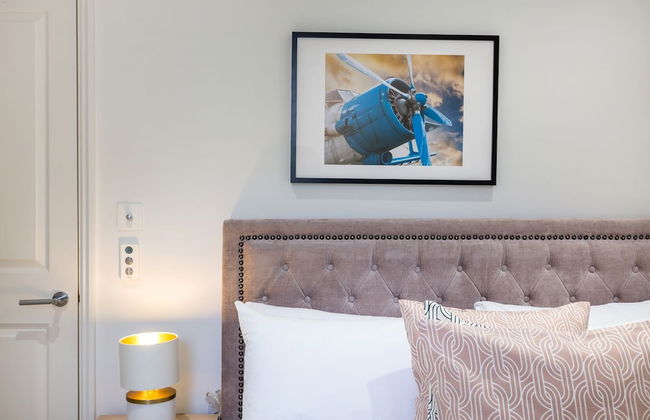
Soho Apartment - Foto 1
Soho Apartment - Foto 2
Soho Apartment - Foto 3
Soho Apartment - Foto 4
Soho Apartment - Foto 5
Soho Apartment - Foto 6
Soho Apartment - Foto 7
Soho Apartment - Foto 8
Soho Apartment - Foto 9
Soho Apartment - Foto 10
Soho Apartment - Foto 11
Soho Apartment - Foto 12
Soho Apartment - Foto 13
Soho Apartment - Foto 14
Soho Apartment - Foto 15
Soho Apartment - Foto 16

Soho Apartment

Londres - Soho - A 210 m del centro

  • 65 M2
  • 1 habitación
  • 4 personas
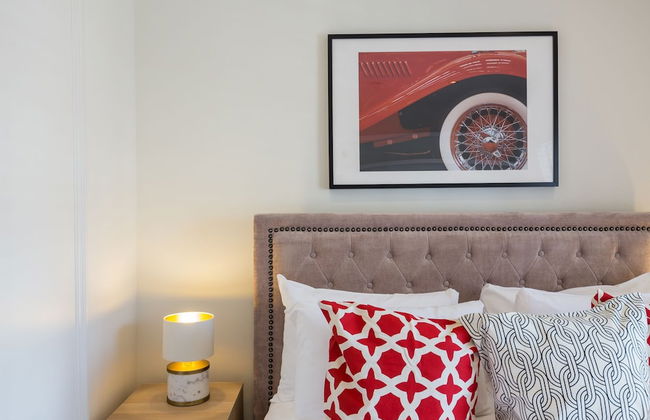
9.2Excepcional | 22 reseñas
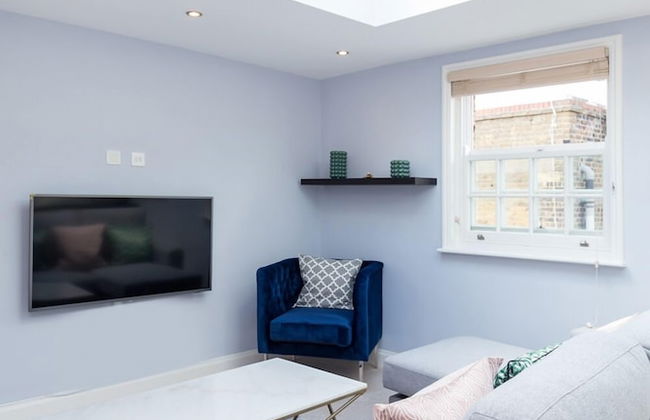
Basic Apartment for Two Amazing Location - Foto 1
Basic Apartment for Two Amazing Location - Foto 2
Basic Apartment for Two Amazing Location - Foto 3
Basic Apartment for Two Amazing Location - Foto 4
Basic Apartment for Two Amazing Location - Foto 5
Basic Apartment for Two Amazing Location - Foto 6
Basic Apartment for Two Amazing Location - Foto 7
Basic Apartment for Two Amazing Location - Foto 8
Basic Apartment for Two Amazing Location - Foto 9
Basic Apartment for Two Amazing Location - Foto 10
Basic Apartment for Two Amazing Location - Foto 11
Basic Apartment for Two Amazing Location - Foto 12
Basic Apartment for Two Amazing Location - Foto 13
Basic Apartment for Two Amazing Location - Foto 14
Basic Apartment for Two Amazing Location - Foto 15
Basic Apartment for Two Amazing Location - Foto 16
Basic Apartment for Two Amazing Location - Foto 17
Basic Apartment for Two Amazing Location - Foto 18
Basic Apartment for Two Amazing Location - Foto 19

Basic Apartment for Two Amazing Location

Londres - Westminster - En el centro

  • 2 personas
  • Calefacción
  • Televisión
  • Toallas
  • Sábanas
8.2Muy bueno | 11 reseñas
Apt with Aircon 3 Bedr, 4 Beds, 2 Bath Trafalgar SQ - Foto 1
Apt with Aircon 3 Bedr, 4 Beds, 2 Bath Trafalgar SQ - Foto 2
Apt with Aircon 3 Bedr, 4 Beds, 2 Bath Trafalgar SQ - Foto 3
Apt with Aircon 3 Bedr, 4 Beds, 2 Bath Trafalgar SQ - Foto 4
Apt with Aircon 3 Bedr, 4 Beds, 2 Bath Trafalgar SQ - Foto 5
Apt with Aircon 3 Bedr, 4 Beds, 2 Bath Trafalgar SQ - Foto 6
Apt with Aircon 3 Bedr, 4 Beds, 2 Bath Trafalgar SQ - Foto 7
Apt with Aircon 3 Bedr, 4 Beds, 2 Bath Trafalgar SQ - Foto 8
Apt with Aircon 3 Bedr, 4 Beds, 2 Bath Trafalgar SQ - Foto 9
Apt with Aircon 3 Bedr, 4 Beds, 2 Bath Trafalgar SQ - Foto 10
Apt with Aircon 3 Bedr, 4 Beds, 2 Bath Trafalgar SQ - Foto 11
Apt with Aircon 3 Bedr, 4 Beds, 2 Bath Trafalgar SQ - Foto 12
Apt with Aircon 3 Bedr, 4 Beds, 2 Bath Trafalgar SQ - Foto 13
Apt with Aircon 3 Bedr, 4 Beds, 2 Bath Trafalgar SQ - Foto 14
Apt with Aircon 3 Bedr, 4 Beds, 2 Bath Trafalgar SQ - Foto 15
Apt with Aircon 3 Bedr, 4 Beds, 2 Bath Trafalgar SQ - Foto 16
Apt with Aircon 3 Bedr, 4 Beds, 2 Bath Trafalgar SQ - Foto 17
Apt with Aircon 3 Bedr, 4 Beds, 2 Bath Trafalgar SQ - Foto 18
Apt with Aircon 3 Bedr, 4 Beds, 2 Bath Trafalgar SQ - Foto 19
Apt with Aircon 3 Bedr, 4 Beds, 2 Bath Trafalgar SQ - Foto 20
Apt with Aircon 3 Bedr, 4 Beds, 2 Bath Trafalgar SQ - Foto 21
Apt with Aircon 3 Bedr, 4 Beds, 2 Bath Trafalgar SQ - Foto 22
Apt with Aircon 3 Bedr, 4 Beds, 2 Bath Trafalgar SQ - Foto 23
Apt with Aircon 3 Bedr, 4 Beds, 2 Bath Trafalgar SQ - Foto 24
Apt with Aircon 3 Bedr, 4 Beds, 2 Bath Trafalgar SQ - Foto 25
Apt with Aircon 3 Bedr, 4 Beds, 2 Bath Trafalgar SQ - Foto 26
Apt with Aircon 3 Bedr, 4 Beds, 2 Bath Trafalgar SQ - Foto 27
Apt with Aircon 3 Bedr, 4 Beds, 2 Bath Trafalgar SQ - Foto 28
Apt with Aircon 3 Bedr, 4 Beds, 2 Bath Trafalgar SQ - Foto 29
Apt with Aircon 3 Bedr, 4 Beds, 2 Bath Trafalgar SQ - Foto 30
Apt with Aircon 3 Bedr, 4 Beds, 2 Bath Trafalgar SQ - Foto 31

Apt with Aircon 3 Bedr, 4 Beds, 2 Bath Trafalgar SQ

Londres - St James's - En el centro

  • 111 M2
  • 3 habitaciones
  • 8 personas
  • Aire acondicionado
  • Calefacción
  • Ascensor
9.3Excepcional | 41 reseñas
Stylish air-con flat in the heart of Covent Garden - Foto 1
Stylish air-con flat in the heart of Covent Garden - Foto 2
Stylish air-con flat in the heart of Covent Garden - Foto 3
Stylish air-con flat in the heart of Covent Garden - Foto 4
Stylish air-con flat in the heart of Covent Garden - Foto 5
Stylish air-con flat in the heart of Covent Garden - Foto 6
Stylish air-con flat in the heart of Covent Garden - Foto 7
Stylish air-con flat in the heart of Covent Garden - Foto 8
Stylish air-con flat in the heart of Covent Garden - Foto 9
Stylish air-con flat in the heart of Covent Garden - Foto 10
Stylish air-con flat in the heart of Covent Garden - Foto 11
Stylish air-con flat in the heart of Covent Garden - Foto 12
Stylish air-con flat in the heart of Covent Garden - Foto 13
Stylish air-con flat in the heart of Covent Garden - Foto 14
Stylish air-con flat in the heart of Covent Garden - Foto 15
Stylish air-con flat in the heart of Covent Garden - Foto 16
Stylish air-con flat in the heart of Covent Garden - Foto 17
Stylish air-con flat in the heart of Covent Garden - Foto 18
Stylish air-con flat in the heart of Covent Garden - Foto 19
Stylish air-con flat in the heart of Covent Garden - Foto 20
Stylish air-con flat in the heart of Covent Garden - Foto 21
Stylish air-con flat in the heart of Covent Garden - Foto 22
Stylish air-con flat in the heart of Covent Garden - Foto 23

Stylish air-con flat in the heart of Covent Garden

Londres - Covent Garden - En el centro

  • 65 M2
  • 2 habitaciones
  • 5 personas
9.9Excepcional | 24 reseñas
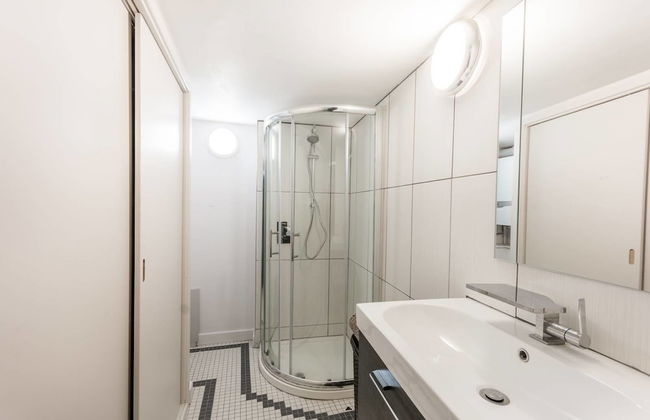
Core of London - Foto 1
Core of London - Foto 2
Core of London - Foto 3
Core of London - Foto 4
Core of London - Foto 5
Core of London - Foto 6

Core of London

Londres - Soho - A 270 m del centro

  • 50 M2
  • 1 habitación
  • 4 personas
9Excepcional | 77 reseñas
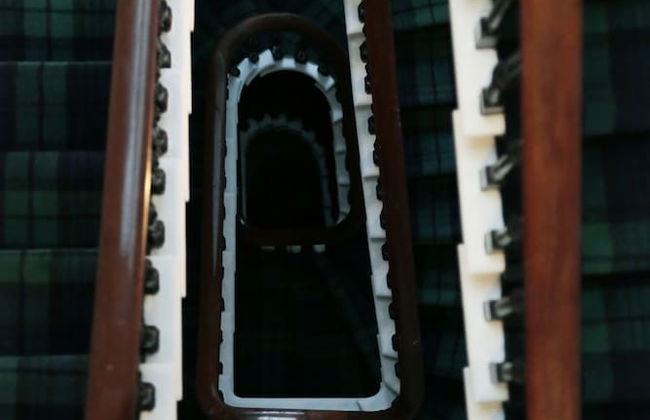
Central London (West End) two bedroom flat - Foto 1
Central London (West End) two bedroom flat - Foto 2
Central London (West End) two bedroom flat - Foto 3
Central London (West End) two bedroom flat - Foto 4
Central London (West End) two bedroom flat - Foto 5
Central London (West End) two bedroom flat - Foto 6
Central London (West End) two bedroom flat - Foto 7
Central London (West End) two bedroom flat - Foto 8

Central London (West End) two bedroom flat

Londres - Charing - En el centro

  • 2 habitaciones
  • 4 personas
  • Parking
  • Ascensor
9.5Excepcional | 48 reseñas
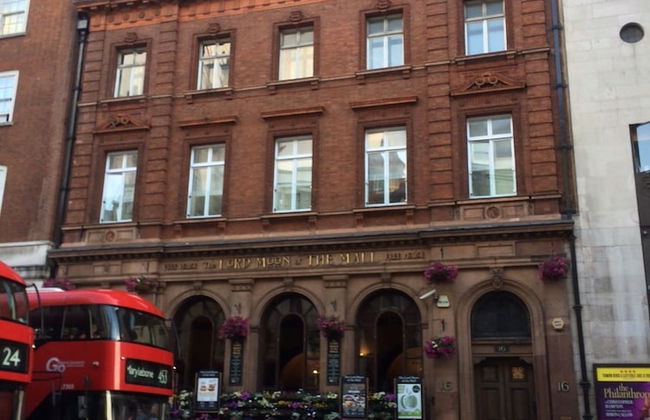
Welcome London Savoy Strand - Foto 1
Welcome London Savoy Strand - Foto 2
Welcome London Savoy Strand - Foto 3
Welcome London Savoy Strand - Foto 4
Welcome London Savoy Strand - Foto 5
Welcome London Savoy Strand - Foto 6
Welcome London Savoy Strand - Foto 7
Welcome London Savoy Strand - Foto 8
Welcome London Savoy Strand - Foto 9
Welcome London Savoy Strand - Foto 10
Welcome London Savoy Strand - Foto 11
Welcome London Savoy Strand - Foto 12
Welcome London Savoy Strand - Foto 13
Welcome London Savoy Strand - Foto 14
Welcome London Savoy Strand - Foto 15
Welcome London Savoy Strand - Foto 16
Welcome London Savoy Strand - Foto 17
Welcome London Savoy Strand - Foto 18
Welcome London Savoy Strand - Foto 19
Welcome London Savoy Strand - Foto 20
Welcome London Savoy Strand - Foto 21
Welcome London Savoy Strand - Foto 22
Welcome London Savoy Strand - Foto 23
Welcome London Savoy Strand - Foto 24
Welcome London Savoy Strand - Foto 25
Welcome London Savoy Strand - Foto 26
Welcome London Savoy Strand - Foto 27
Welcome London Savoy Strand - Foto 28
Welcome London Savoy Strand - Foto 29
Welcome London Savoy Strand - Foto 30
Welcome London Savoy Strand - Foto 31
Welcome London Savoy Strand - Foto 32
Welcome London Savoy Strand - Foto 33
Welcome London Savoy Strand - Foto 34
Welcome London Savoy Strand - Foto 35
Welcome London Savoy Strand - Foto 36
Welcome London Savoy Strand - Foto 37
Welcome London Savoy Strand - Foto 38
Welcome London Savoy Strand - Foto 39
Welcome London Savoy Strand - Foto 40
Welcome London Savoy Strand - Foto 41
Welcome London Savoy Strand - Foto 42
Welcome London Savoy Strand - Foto 43
Welcome London Savoy Strand - Foto 44
Welcome London Savoy Strand - Foto 45
Welcome London Savoy Strand - Foto 46
Welcome London Savoy Strand - Foto 47
Welcome London Savoy Strand - Foto 48
Welcome London Savoy Strand - Foto 49
Welcome London Savoy Strand - Foto 50
Welcome London Savoy Strand - Foto 51
Welcome London Savoy Strand - Foto 52
Welcome London Savoy Strand - Foto 53
Welcome London Savoy Strand - Foto 54
Welcome London Savoy Strand - Foto 55
Welcome London Savoy Strand - Foto 56
Welcome London Savoy Strand - Foto 57
Welcome London Savoy Strand - Foto 58
Welcome London Savoy Strand - Foto 59
Welcome London Savoy Strand - Foto 60
Welcome London Savoy Strand - Foto 61
Welcome London Savoy Strand - Foto 62
Welcome London Savoy Strand - Foto 63
Welcome London Savoy Strand - Foto 64
Welcome London Savoy Strand - Foto 65
Welcome London Savoy Strand - Foto 66
Welcome London Savoy Strand - Foto 67
Welcome London Savoy Strand - Foto 68
Welcome London Savoy Strand - Foto 69
Welcome London Savoy Strand - Foto 70
Welcome London Savoy Strand - Foto 71
Welcome London Savoy Strand - Foto 72
Welcome London Savoy Strand - Foto 73
Welcome London Savoy Strand - Foto 74
Welcome London Savoy Strand - Foto 75
Welcome London Savoy Strand - Foto 76
Welcome London Savoy Strand - Foto 77
Welcome London Savoy Strand - Foto 78
Welcome London Savoy Strand - Foto 79
Welcome London Savoy Strand - Foto 80

Welcome London Savoy Strand

Londres - Covent Garden - En el centro

  • 90 M2
  • 2 habitaciones
  • 6 personas
  • Calefacción
  • Terraza
  • Parking
9.3Excepcional | 47 reseñas
Candy Cafe Apartment - Foto 1
Candy Cafe Apartment - Foto 2
Candy Cafe Apartment - Foto 3
Candy Cafe Apartment - Foto 4
Candy Cafe Apartment - Foto 5
Candy Cafe Apartment - Foto 6
Candy Cafe Apartment - Foto 7
Candy Cafe Apartment - Foto 8
Candy Cafe Apartment - Foto 9
Candy Cafe Apartment - Foto 10
Candy Cafe Apartment - Foto 11
Candy Cafe Apartment - Foto 12
Candy Cafe Apartment - Foto 13
Candy Cafe Apartment - Foto 14
Candy Cafe Apartment - Foto 15
Candy Cafe Apartment - Foto 16
Candy Cafe Apartment - Foto 17
Candy Cafe Apartment - Foto 18
Candy Cafe Apartment - Foto 19
Candy Cafe Apartment - Foto 20
Candy Cafe Apartment - Foto 21
Candy Cafe Apartment - Foto 22
Candy Cafe Apartment - Foto 23
Candy Cafe Apartment - Foto 24
Candy Cafe Apartment - Foto 25
Candy Cafe Apartment - Foto 26

Candy Cafe Apartment

Londres - Soho - En el centro

  • 23 M2
  • 2 personas
  • Calefacción
8.8Muy bueno | 46 reseñas
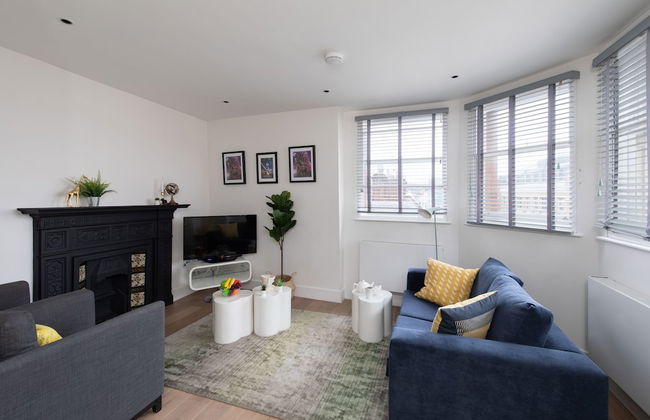
Trafalgar Square Residences - Foto 1
Trafalgar Square Residences - Foto 2
Trafalgar Square Residences - Foto 3
Trafalgar Square Residences - Foto 4
Trafalgar Square Residences - Foto 5
Trafalgar Square Residences - Foto 6
Trafalgar Square Residences - Foto 7
Trafalgar Square Residences - Foto 8
Trafalgar Square Residences - Foto 9
Trafalgar Square Residences - Foto 10
Trafalgar Square Residences - Foto 11
Trafalgar Square Residences - Foto 12
Trafalgar Square Residences - Foto 13
Trafalgar Square Residences - Foto 14
Trafalgar Square Residences - Foto 15
Trafalgar Square Residences - Foto 16
Trafalgar Square Residences - Foto 17
Trafalgar Square Residences - Foto 18
Trafalgar Square Residences - Foto 19
Trafalgar Square Residences - Foto 20
Trafalgar Square Residences - Foto 21
Trafalgar Square Residences - Foto 22
Trafalgar Square Residences - Foto 23
Trafalgar Square Residences - Foto 24
Trafalgar Square Residences - Foto 25
Trafalgar Square Residences - Foto 26
Trafalgar Square Residences - Foto 27
Trafalgar Square Residences - Foto 28
Trafalgar Square Residences - Foto 29
Trafalgar Square Residences - Foto 30
Trafalgar Square Residences - Foto 31
Trafalgar Square Residences - Foto 32
Trafalgar Square Residences - Foto 33
Trafalgar Square Residences - Foto 34
Trafalgar Square Residences - Foto 35
Trafalgar Square Residences - Foto 36
Trafalgar Square Residences - Foto 37
Trafalgar Square Residences - Foto 38
Trafalgar Square Residences - Foto 39
Trafalgar Square Residences - Foto 40
Trafalgar Square Residences - Foto 41
Trafalgar Square Residences - Foto 42
Trafalgar Square Residences - Foto 43
Trafalgar Square Residences - Foto 44
Trafalgar Square Residences - Foto 45
Trafalgar Square Residences - Foto 46
Trafalgar Square Residences - Foto 47
Trafalgar Square Residences - Foto 48
Trafalgar Square Residences - Foto 49
Trafalgar Square Residences - Foto 50
Trafalgar Square Residences - Foto 51
Trafalgar Square Residences - Foto 52
Trafalgar Square Residences - Foto 53
Trafalgar Square Residences - Foto 54
Trafalgar Square Residences - Foto 55
Trafalgar Square Residences - Foto 56
Trafalgar Square Residences - Foto 57
Trafalgar Square Residences - Foto 58
Trafalgar Square Residences - Foto 59
Trafalgar Square Residences - Foto 60
Trafalgar Square Residences - Foto 61
Trafalgar Square Residences - Foto 62

Trafalgar Square Residences

Londres - En el centro

  • 225 M2
  • 3 habitaciones
  • 10 personas
  • Aire acondicionado
  • Terraza
9.3Excepcional | 10 reseñas
Destinos relacionados