
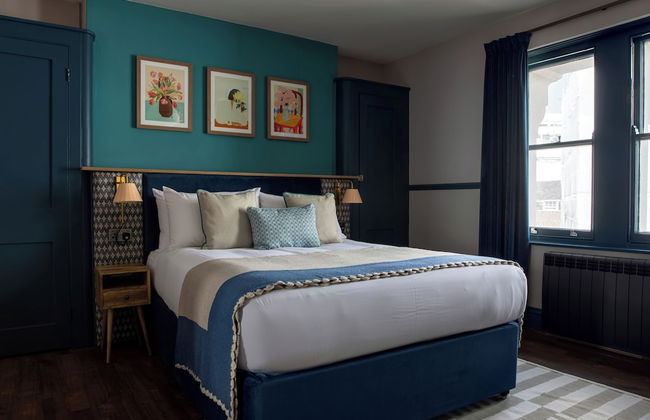
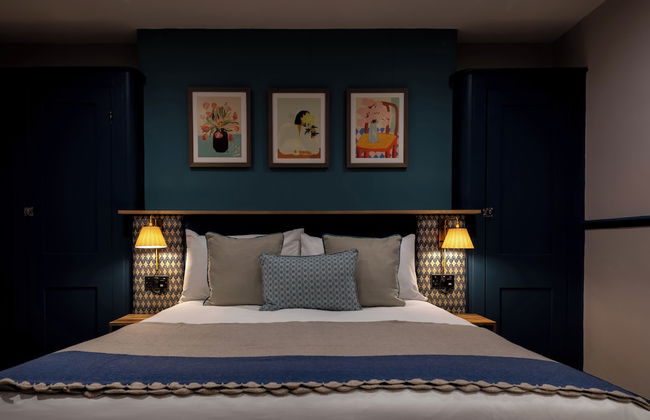
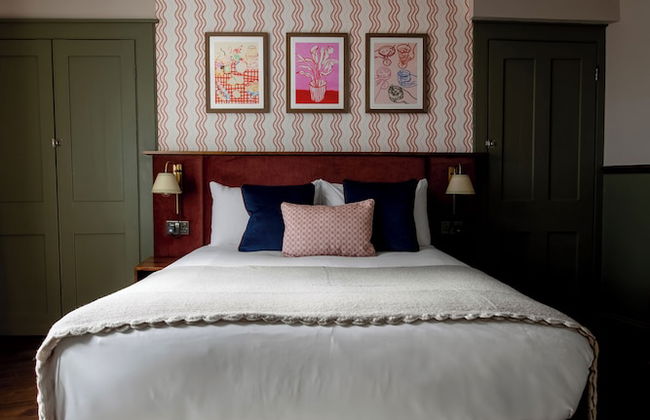
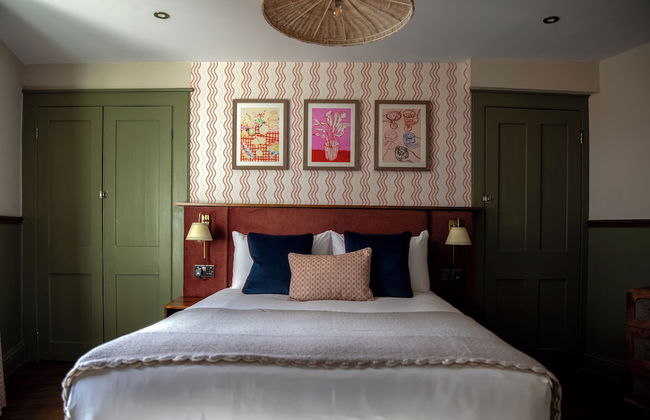
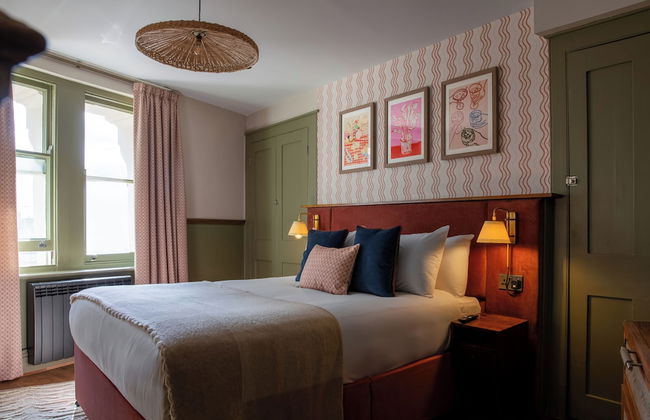
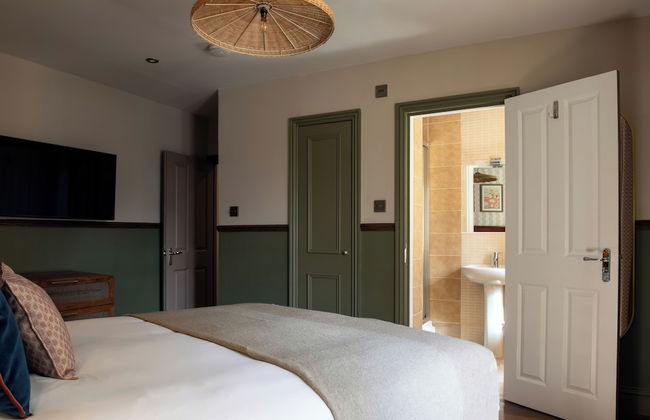
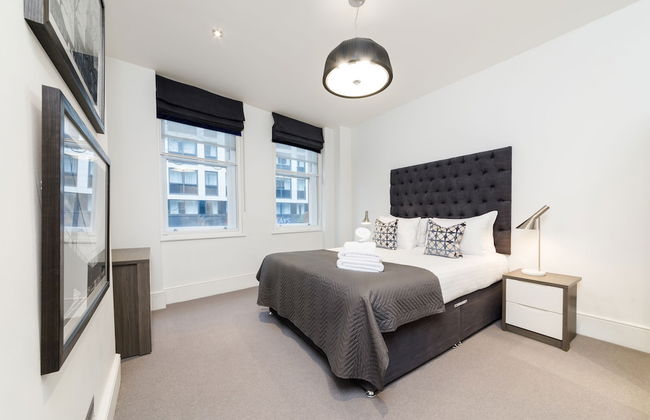
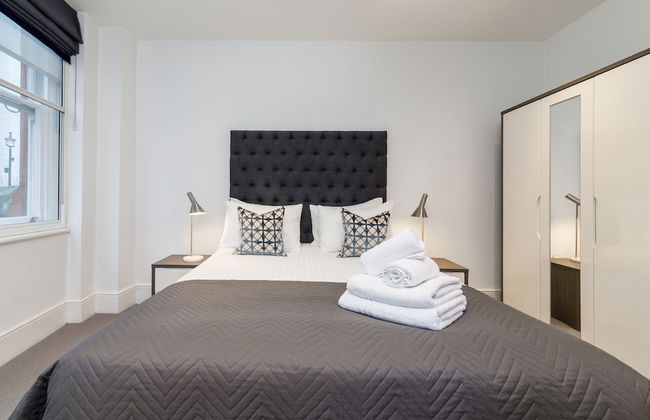
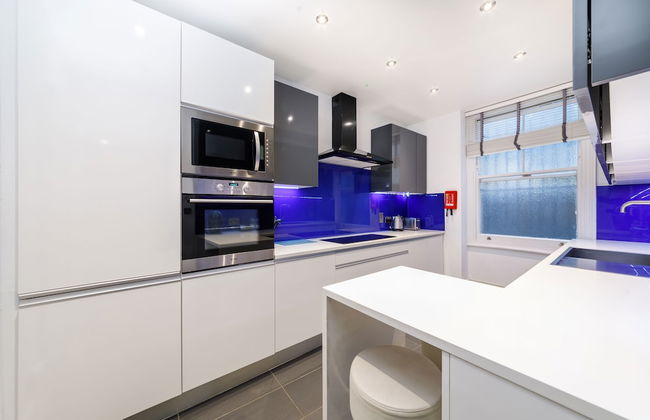
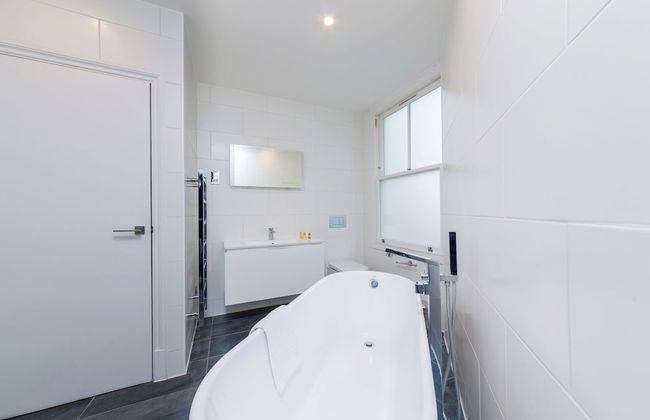
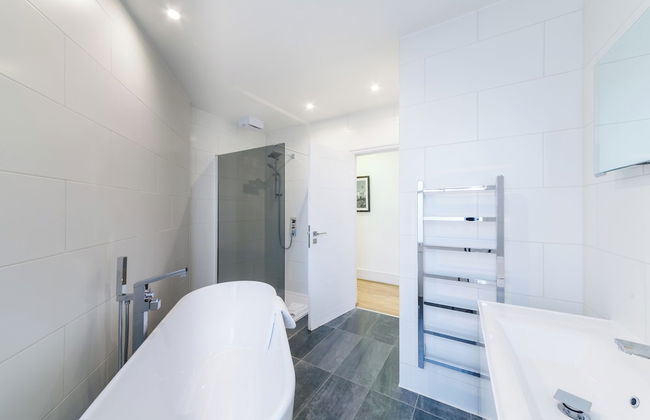
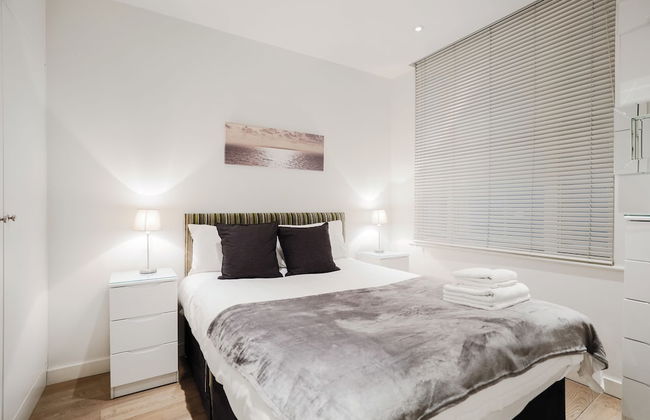
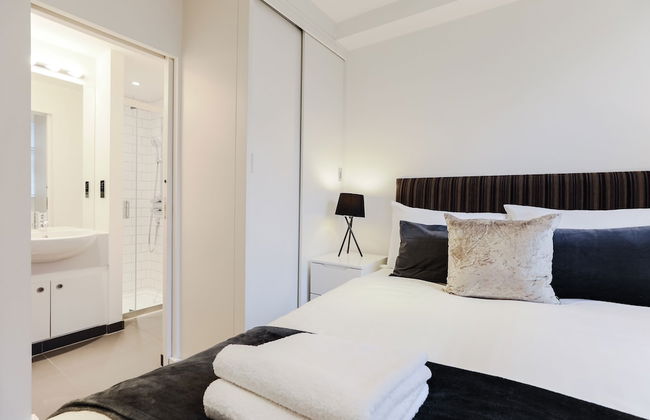
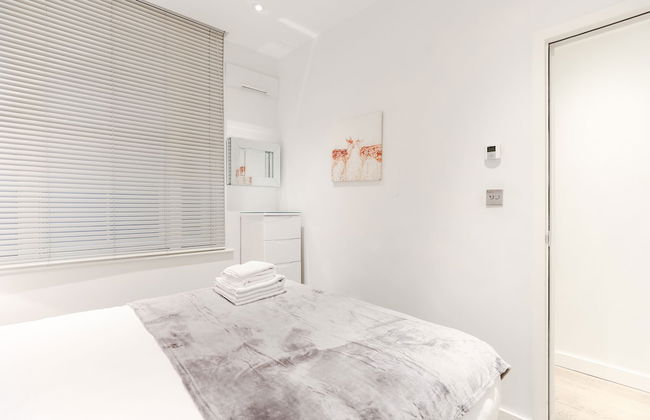
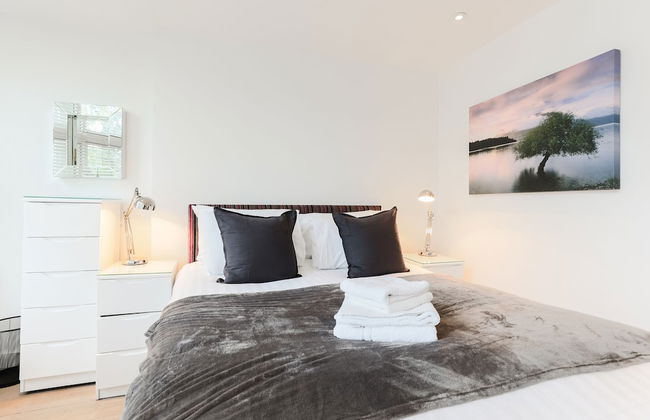
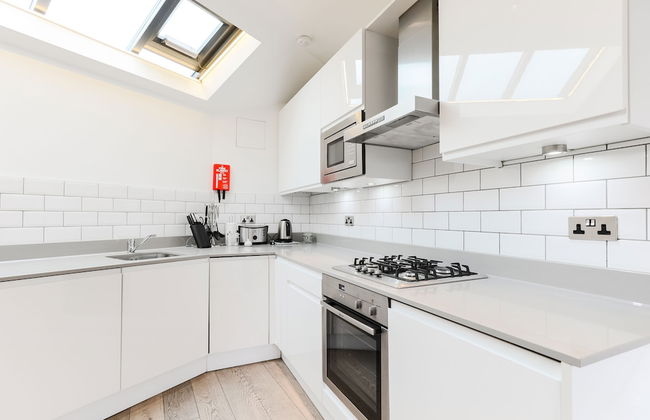
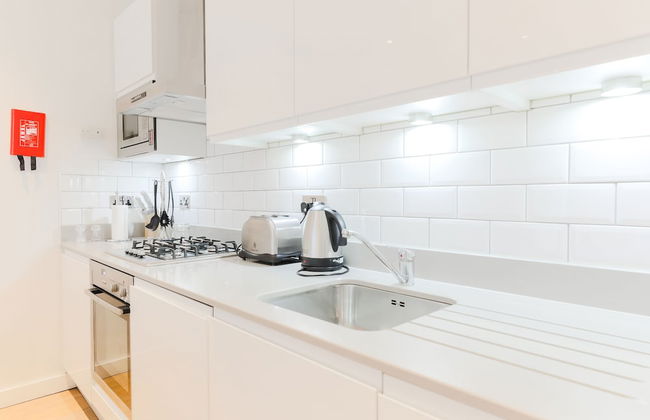
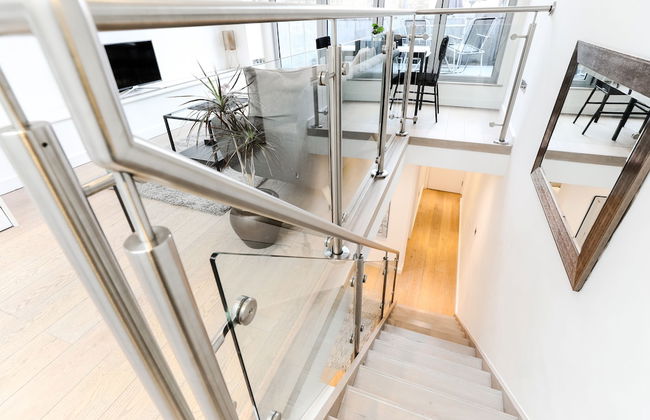
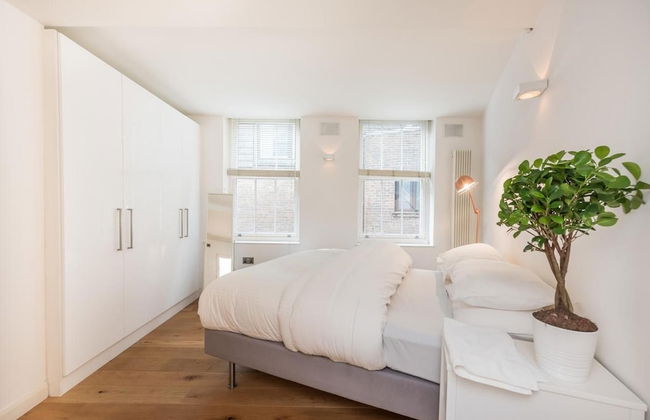
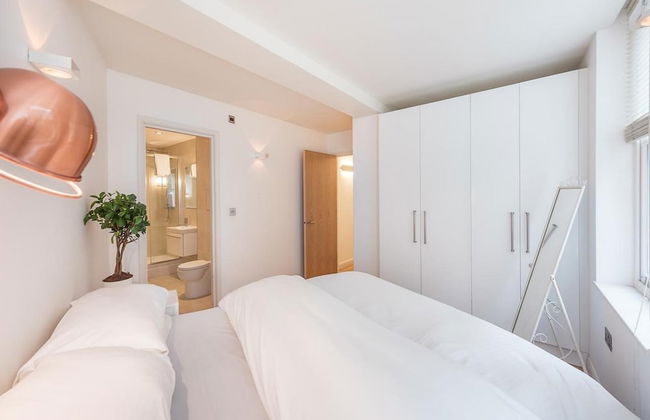
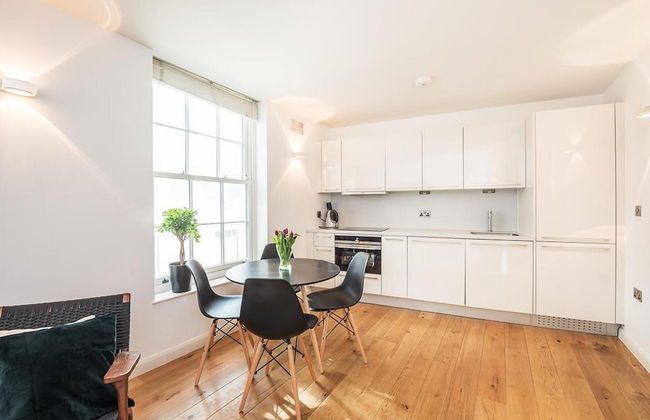
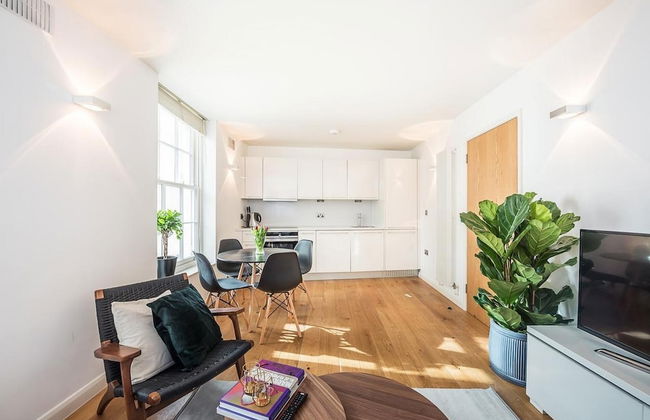
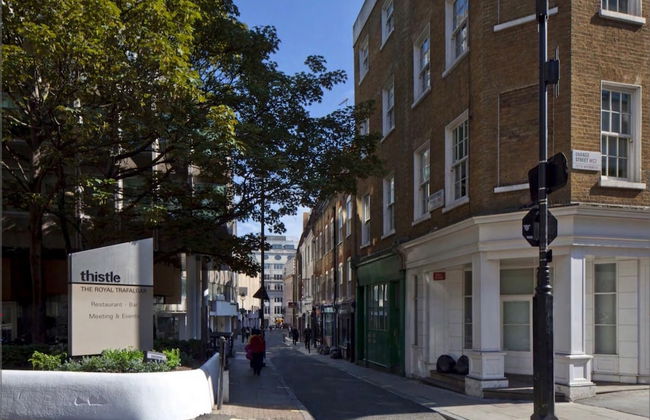
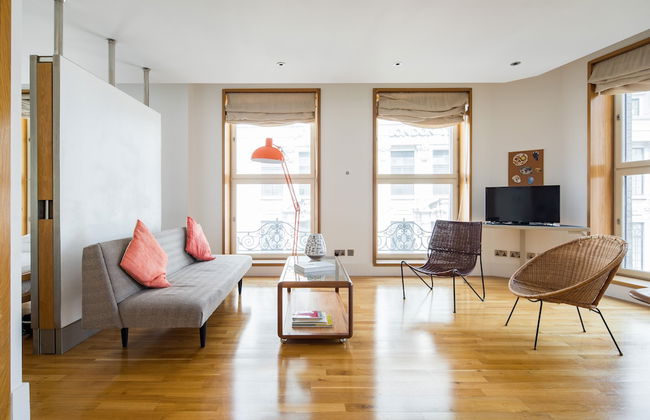
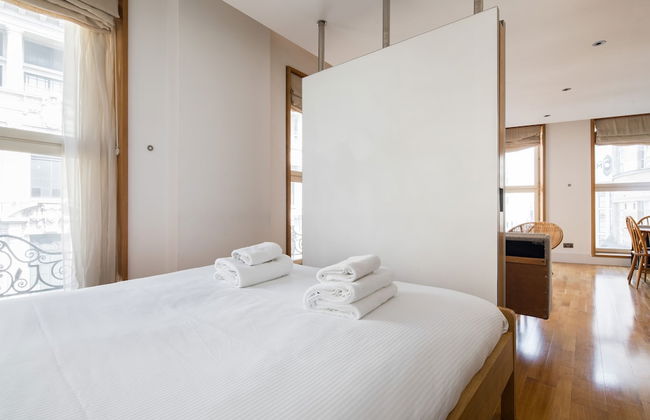
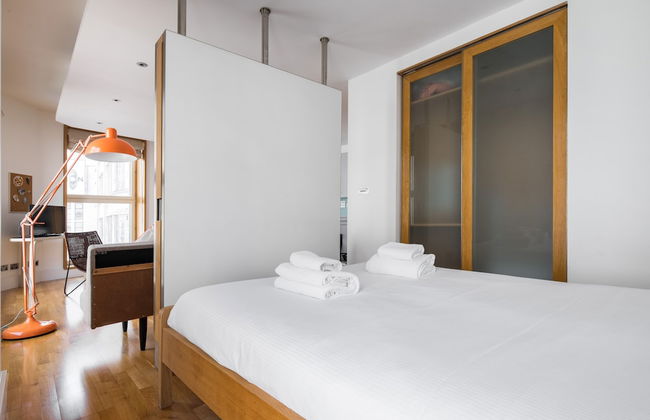
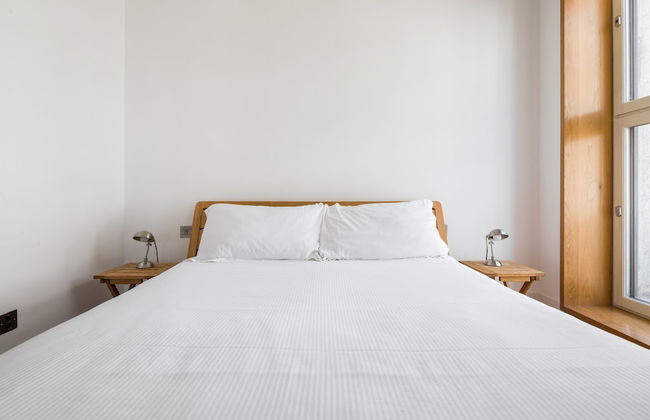
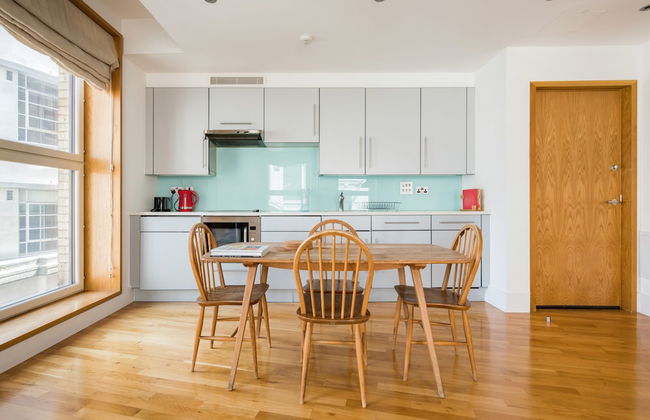
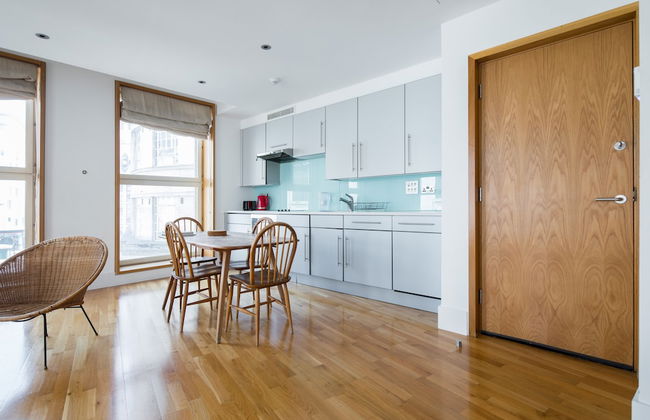
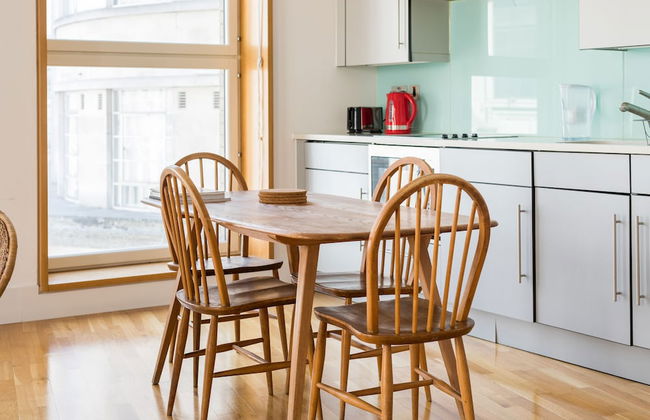
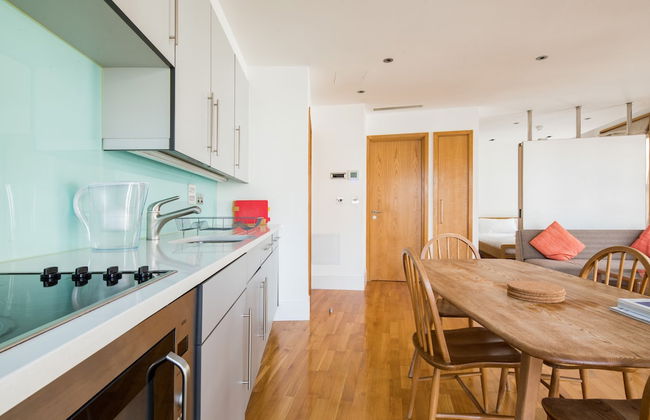
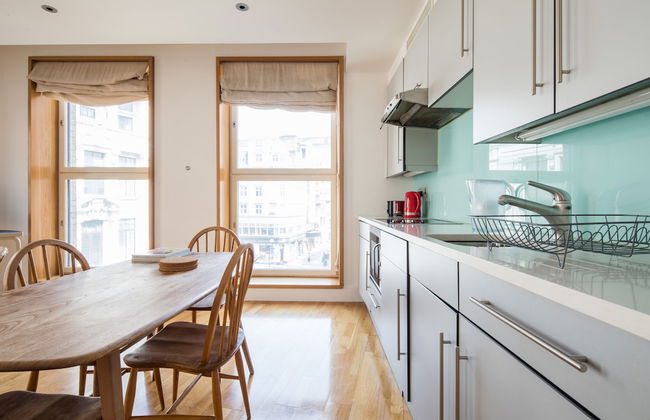
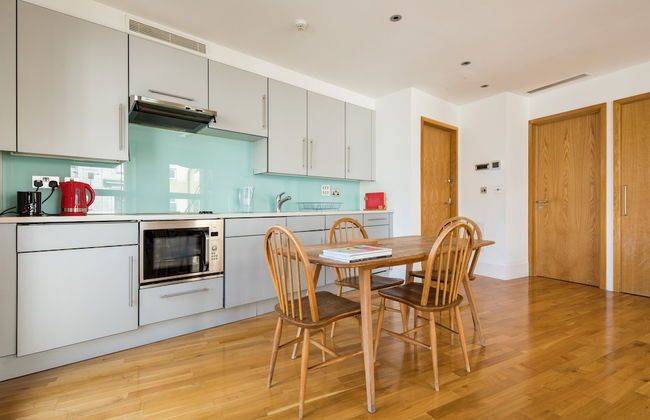
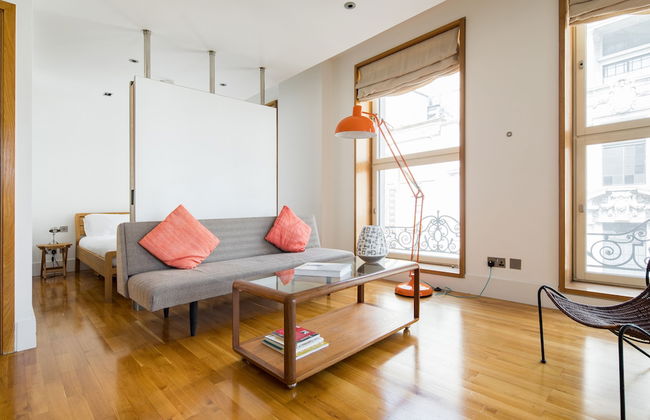
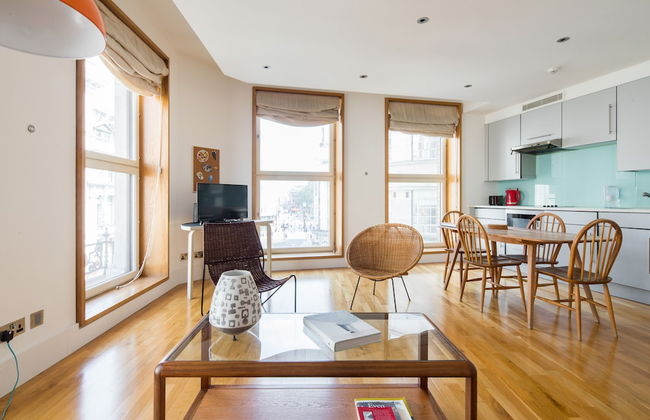
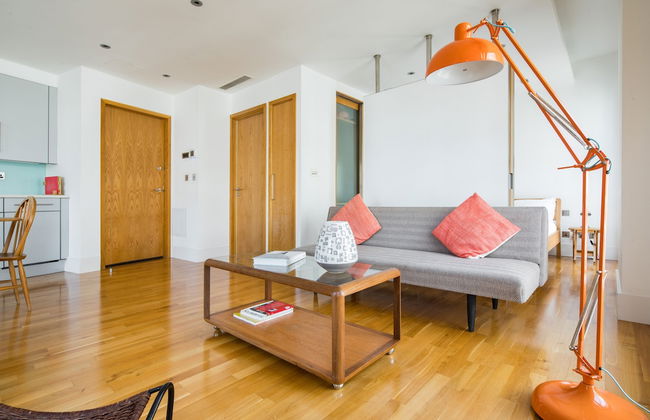
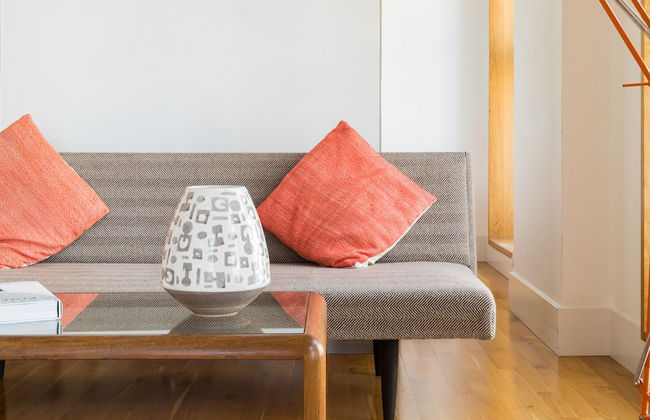
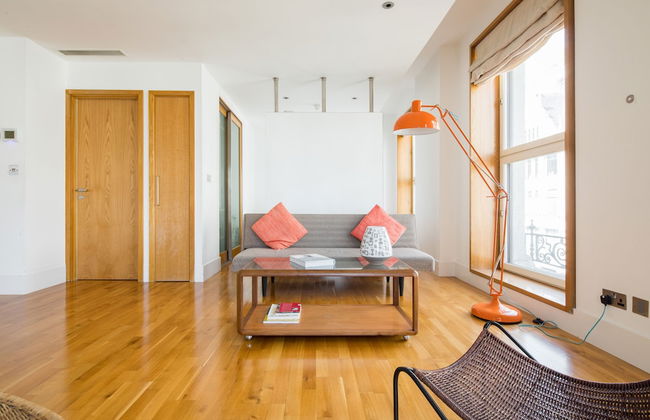
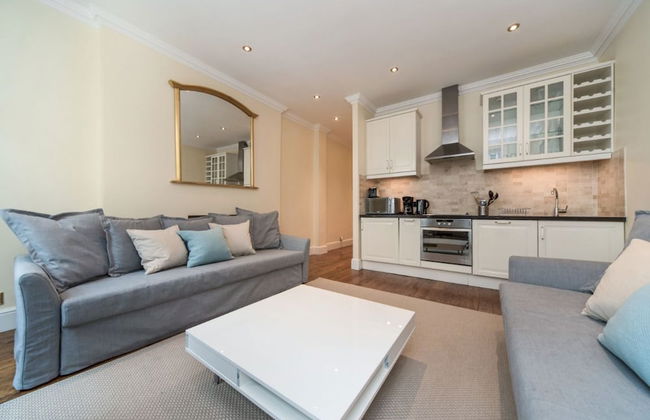
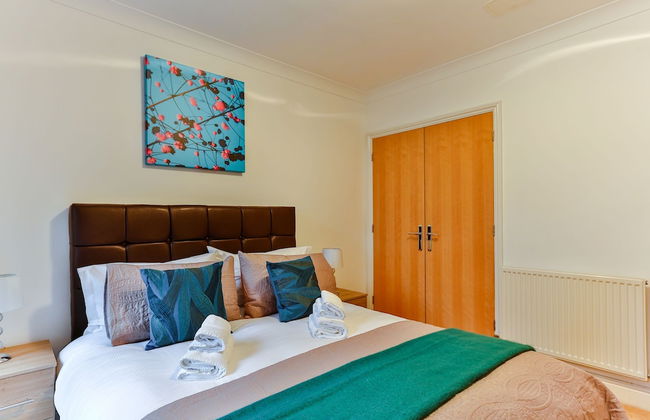
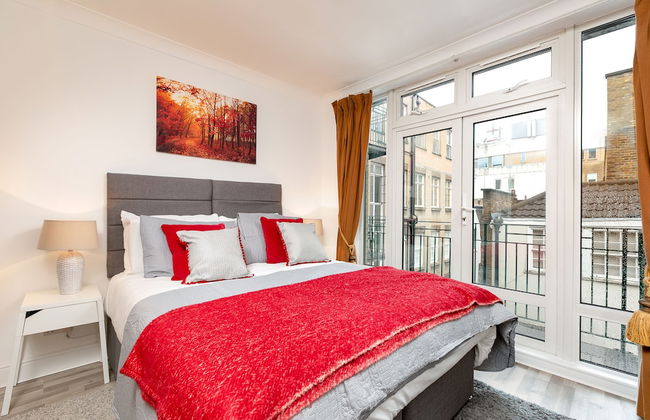
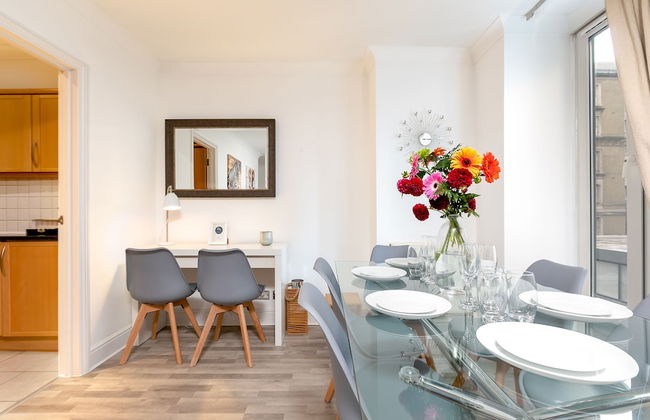
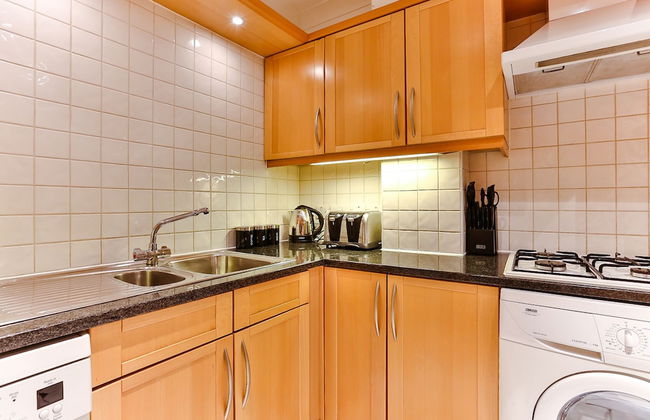
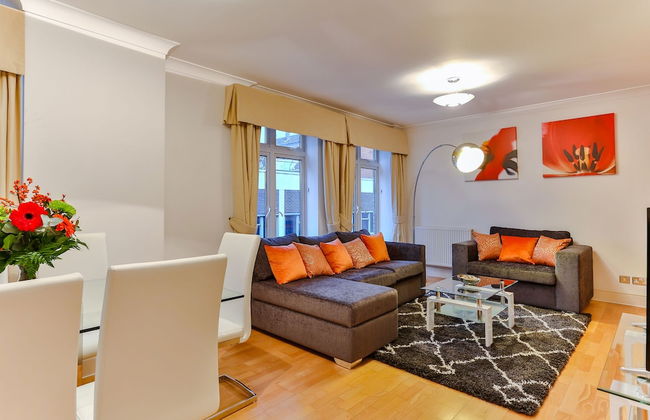
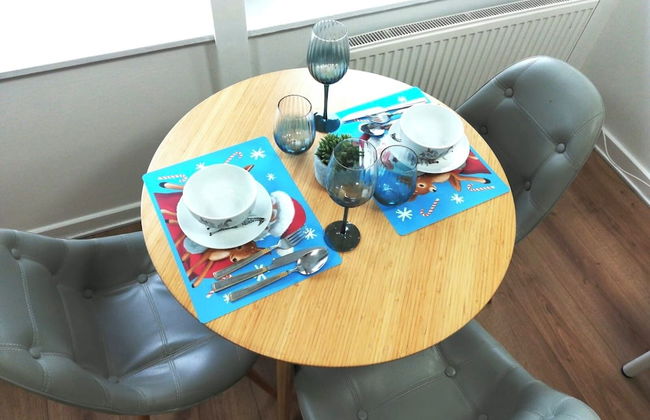
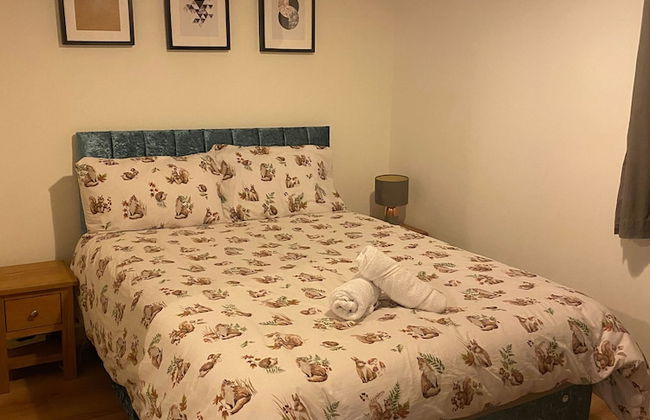
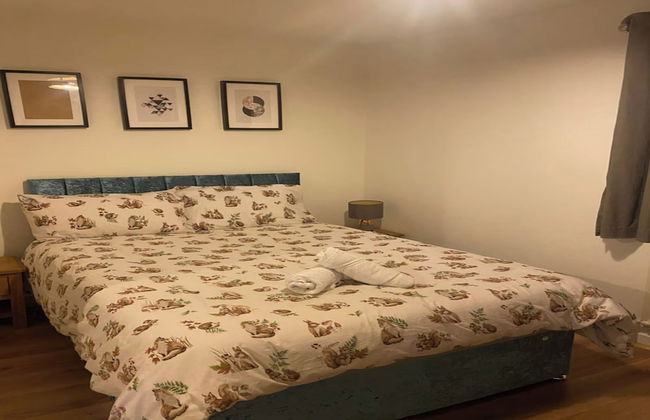
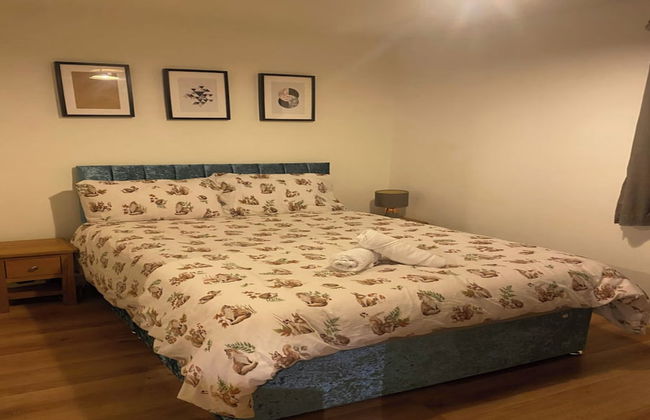
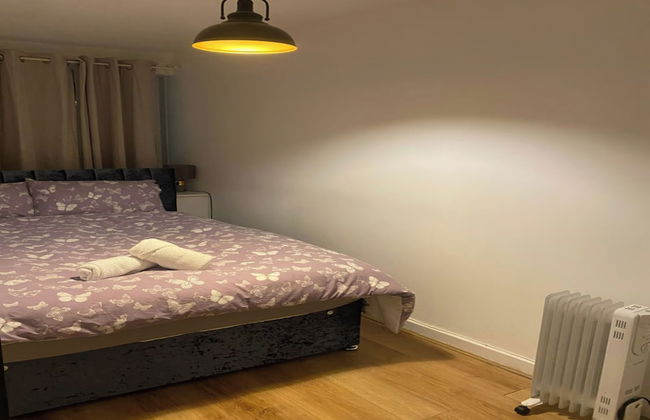
31 Apartamentos cerca de Trafalgar Square


Cockspur Street
Londres - St James's - En el centro
- 116 M2
- 6 personas
- Aire acondicionado
- Ascensor
- Televisión
- Lavadora
- Toallas
- Sábanas
2 reseñas


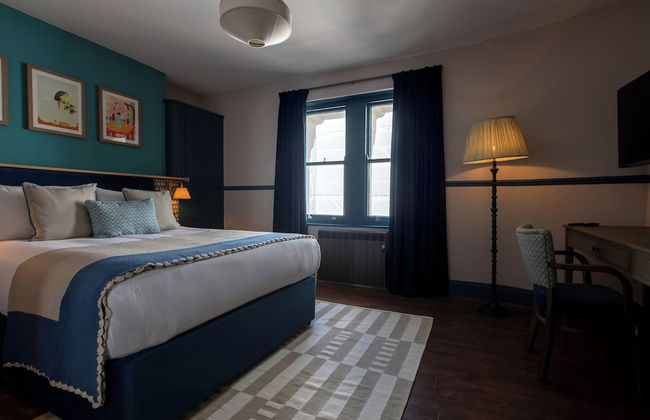


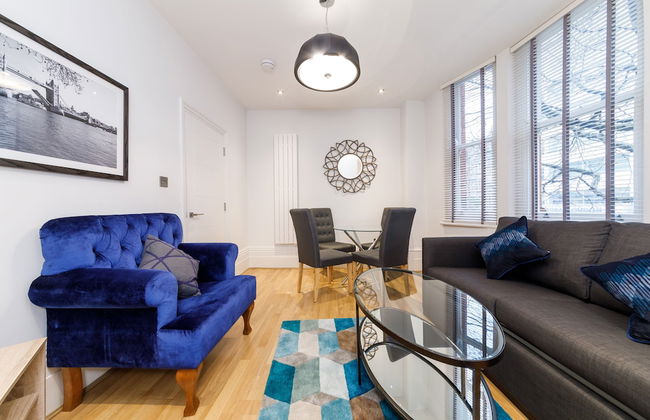
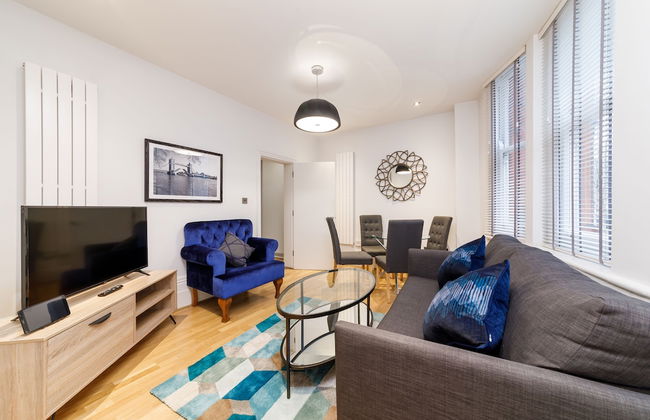
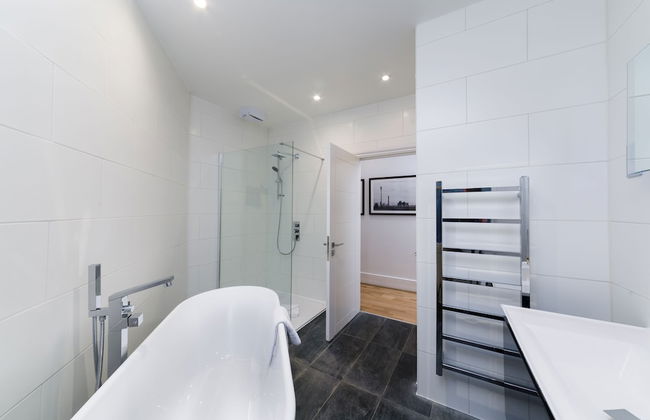
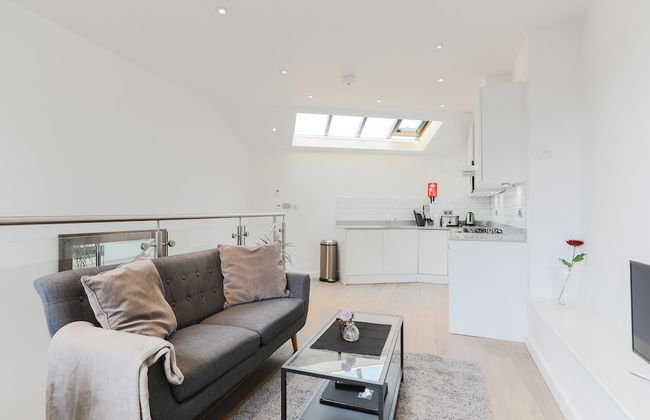
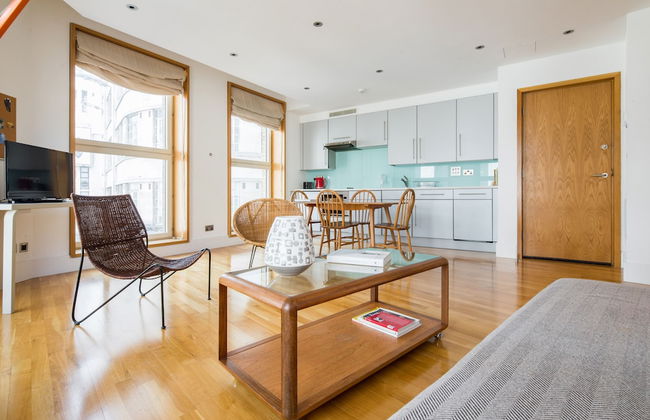
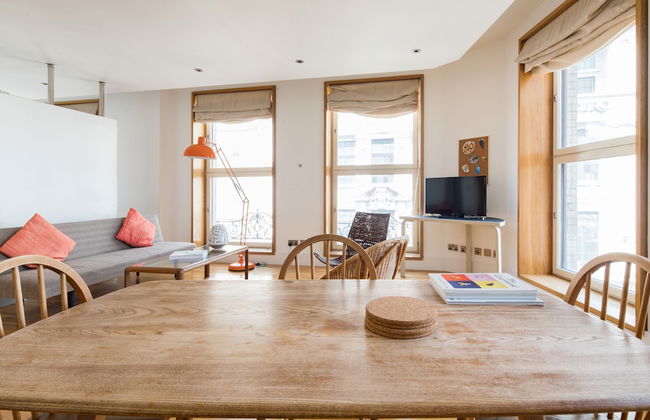
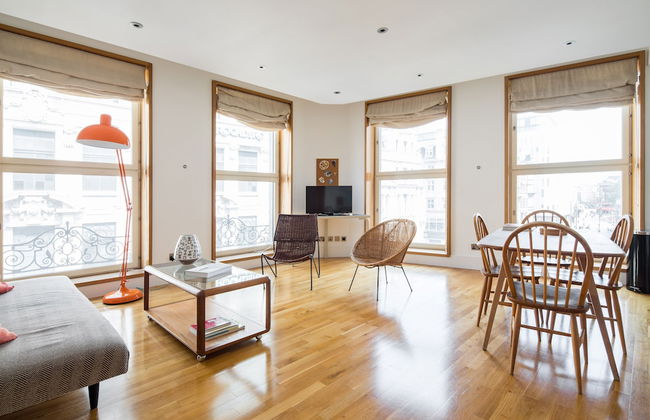
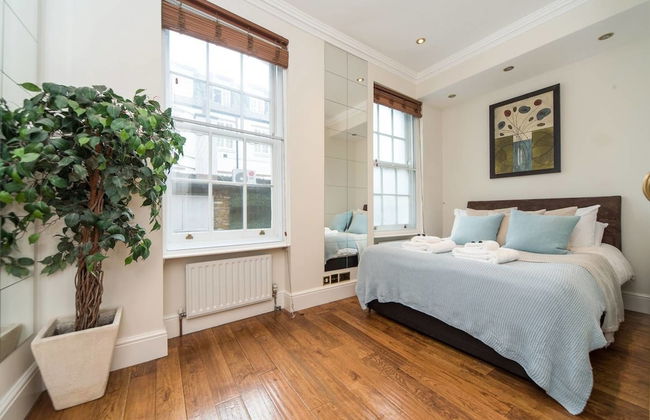
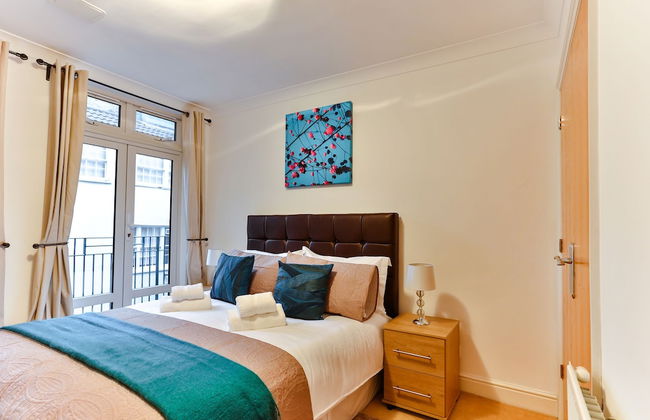
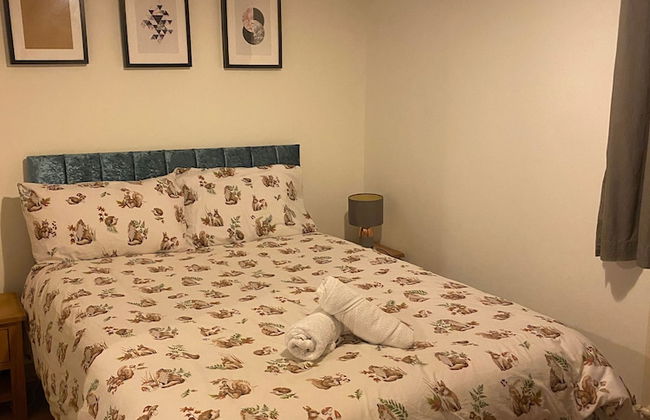
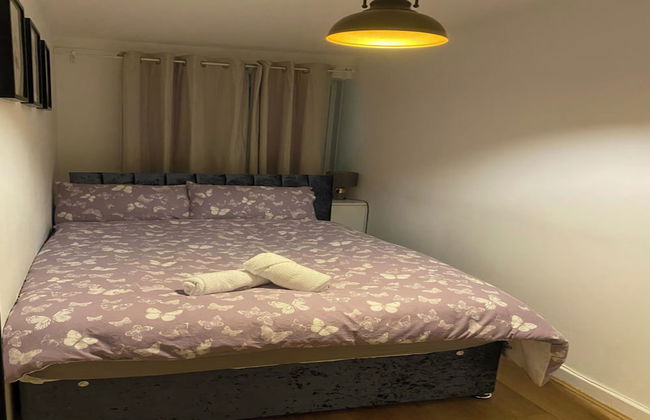
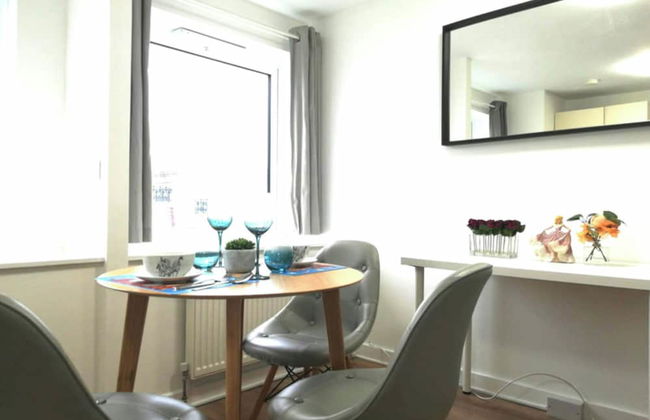
Round House Apartments
Londres - Charing - En el centro
- 71 M2
- 6 personas
- Cocina pequeña
- Calefacción
- Televisión
- Lavadora
- Toallas
- Sábanas
4 reseñas


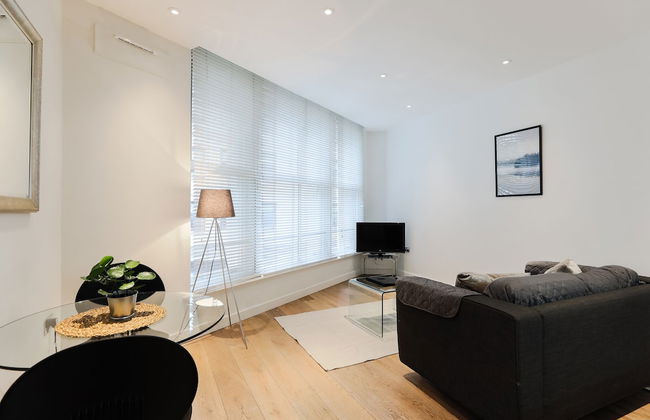
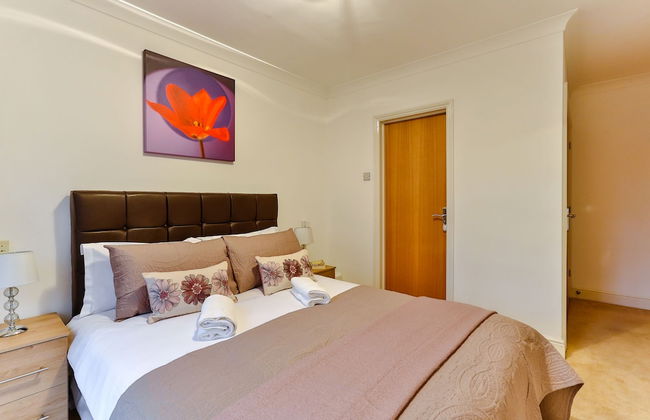
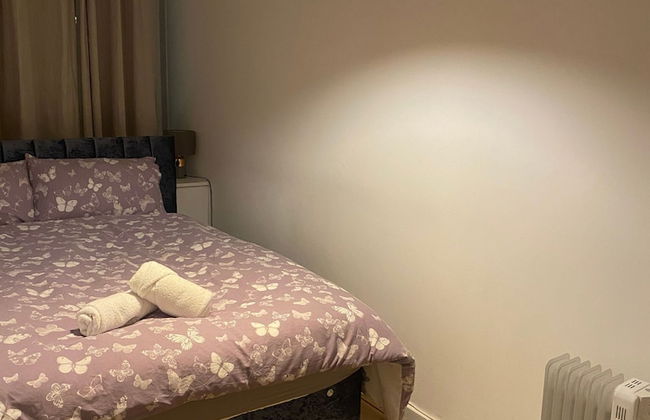
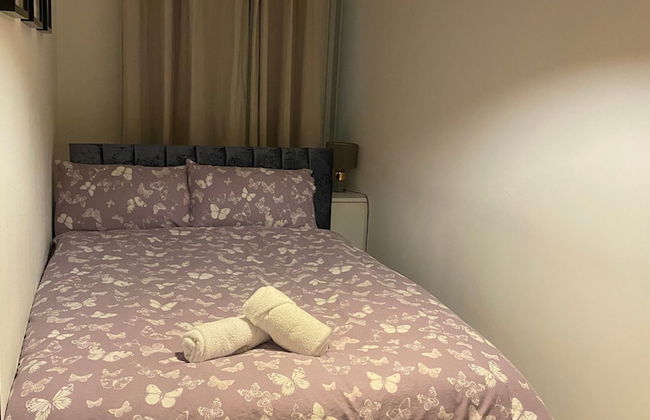
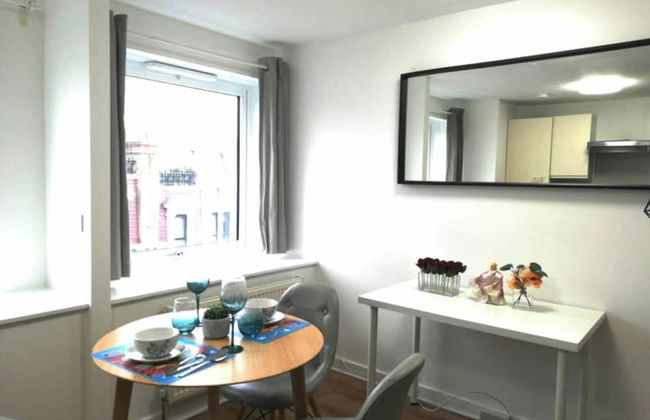
Leicester Square 3rd Floor Studio
Londres - Charing - En el centro
- 4 personas
- Cocina pequeña
- Calefacción
- Televisión
- Lavadora
- Toallas
- Sábanas
5 reseñas


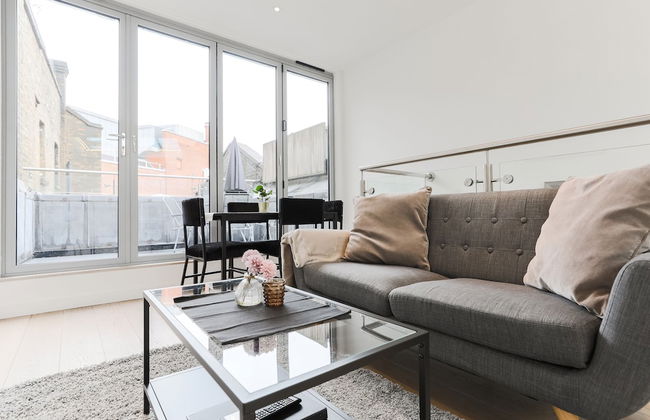
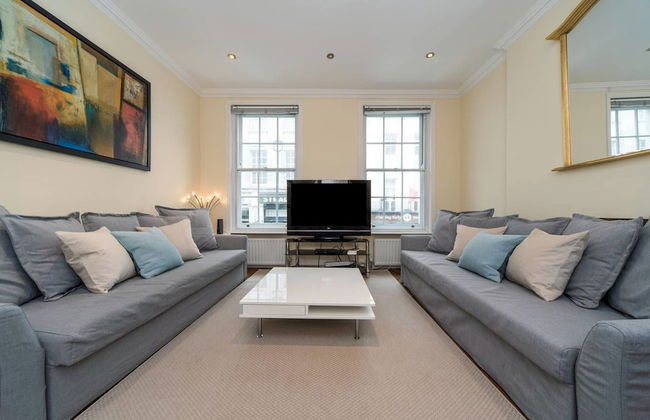
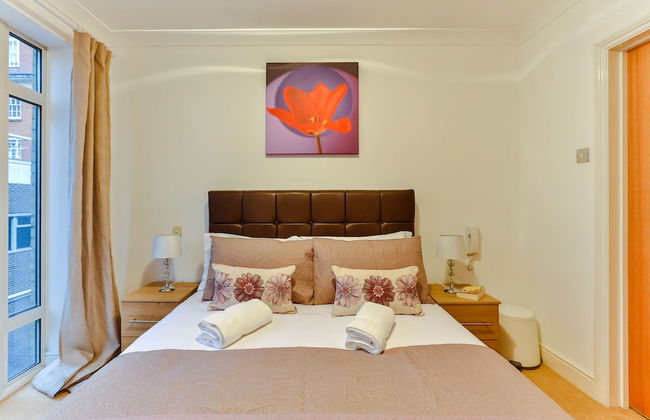
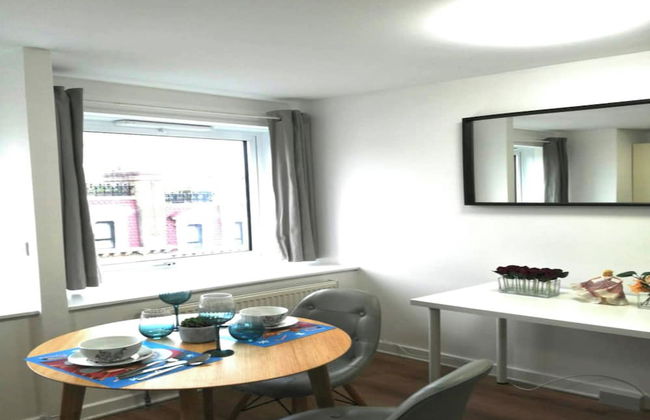
Citadines Trafalgar Square London
Londres - Charing - En el centro
- 70 M2
- 6 personas
- Cocina pequeña
- Aire acondicionado
- Calefacción
- Ascensor
- Televisión
- Toallas
- Sábanas
3648 reseñas


Garrick Mansions by Aeria Apartments
Londres - Charing - En el centro
- 2 personas
- Calefacción
- Televisión
- Lavadora
- Toallas
- Sábanas
9 reseñas


Trafalgar Square by Excel Apartments
Londres - Charing - En el centro
- 51 M2
- 4 personas
- Calefacción
- Televisión
- Lavadora
- Toallas
- Sábanas
40 reseñas


Basic Apartment for Two Amazing Location
Londres - Westminster - En el centro
- 2 personas
- Calefacción
- Televisión
- Lavadora
- Toallas
- Sábanas
8 reseñas


Fantastic 1 Bedroom Flat Leicester Square West End
Londres - St James's - En el centro
- 40 M2
- 4 personas
- Calefacción
- Televisión
- Lavadora
- Toallas
- Sábanas
3 reseñas


Soulful Central London Apartment
Londres - St James's - En el centro
- 44 M2
- 2 personas
- Calefacción
- Ascensor
- Televisión
- Lavadora
- Toallas
- Sábanas
1 reseña


Cockspur Street by Onefinestay
Londres - St James's - En el centro
- 4 personas
- Calefacción
- Ascensor
- Televisión
- Lavadora
- Chimenea
- Toallas
- Sábanas
1 reseña


Luxurious Entire Home, Leicester Square, Covent Garden, Tottenham Court Road
Londres - Soho - En el centro
- 30 M2
- 3 personas
- Calefacción
- Parking
- Ascensor
- Televisión
- Lavadora
- Chimenea
- Toallas
- Sábanas
1 reseña


PML Exclusive Apartments Piccadilly
Londres - St James's - En el centro
- 6 personas
- Cocina pequeña
- Televisión
2 reseñas


Theatreland Walk
Londres - Charing - En el centro
- 8 personas
- Calefacción
- Balcón
- Televisión
- Lavadora
- Toallas
- Sábanas
1 reseña


Citadines Trafalgar Square London
Londres - Charing - En el centro
- 1 habitación
- 10 personas
- Aire acondicionado
- Calefacción
- Ascensor
- Televisión
- Cuna
- Toallas
- Sábanas
Desde216,58 €
Desde216,58 €


Luxurious Home Tottenham Court Road Charingcross Leicester Square
Londres - Soho - En el centro
- 49 M2
- 4 personas
- Calefacción
- Parking
- Ascensor
- Televisión
- Lavadora
- Toallas
- Sábanas


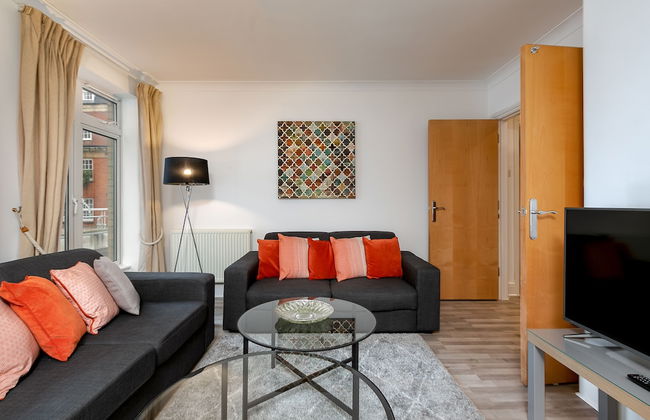
Modern, Luxurious 1BR Flat- Heart of Covent Garden
Londres - Covent Garden - En el centro
- 60 M2
- 4 personas
- Aire acondicionado
- Calefacción
- Televisión
- Lavadora
- Toallas
- Sábanas